J and I are getting away for a couple days to wrap up 2014 so LiL is going on a little break too… I hope everyone has a great holiday! See you in 2015!
J and I are getting away for a couple days to wrap up 2014 so LiL is going on a little break too… I hope everyone has a great holiday! See you in 2015!
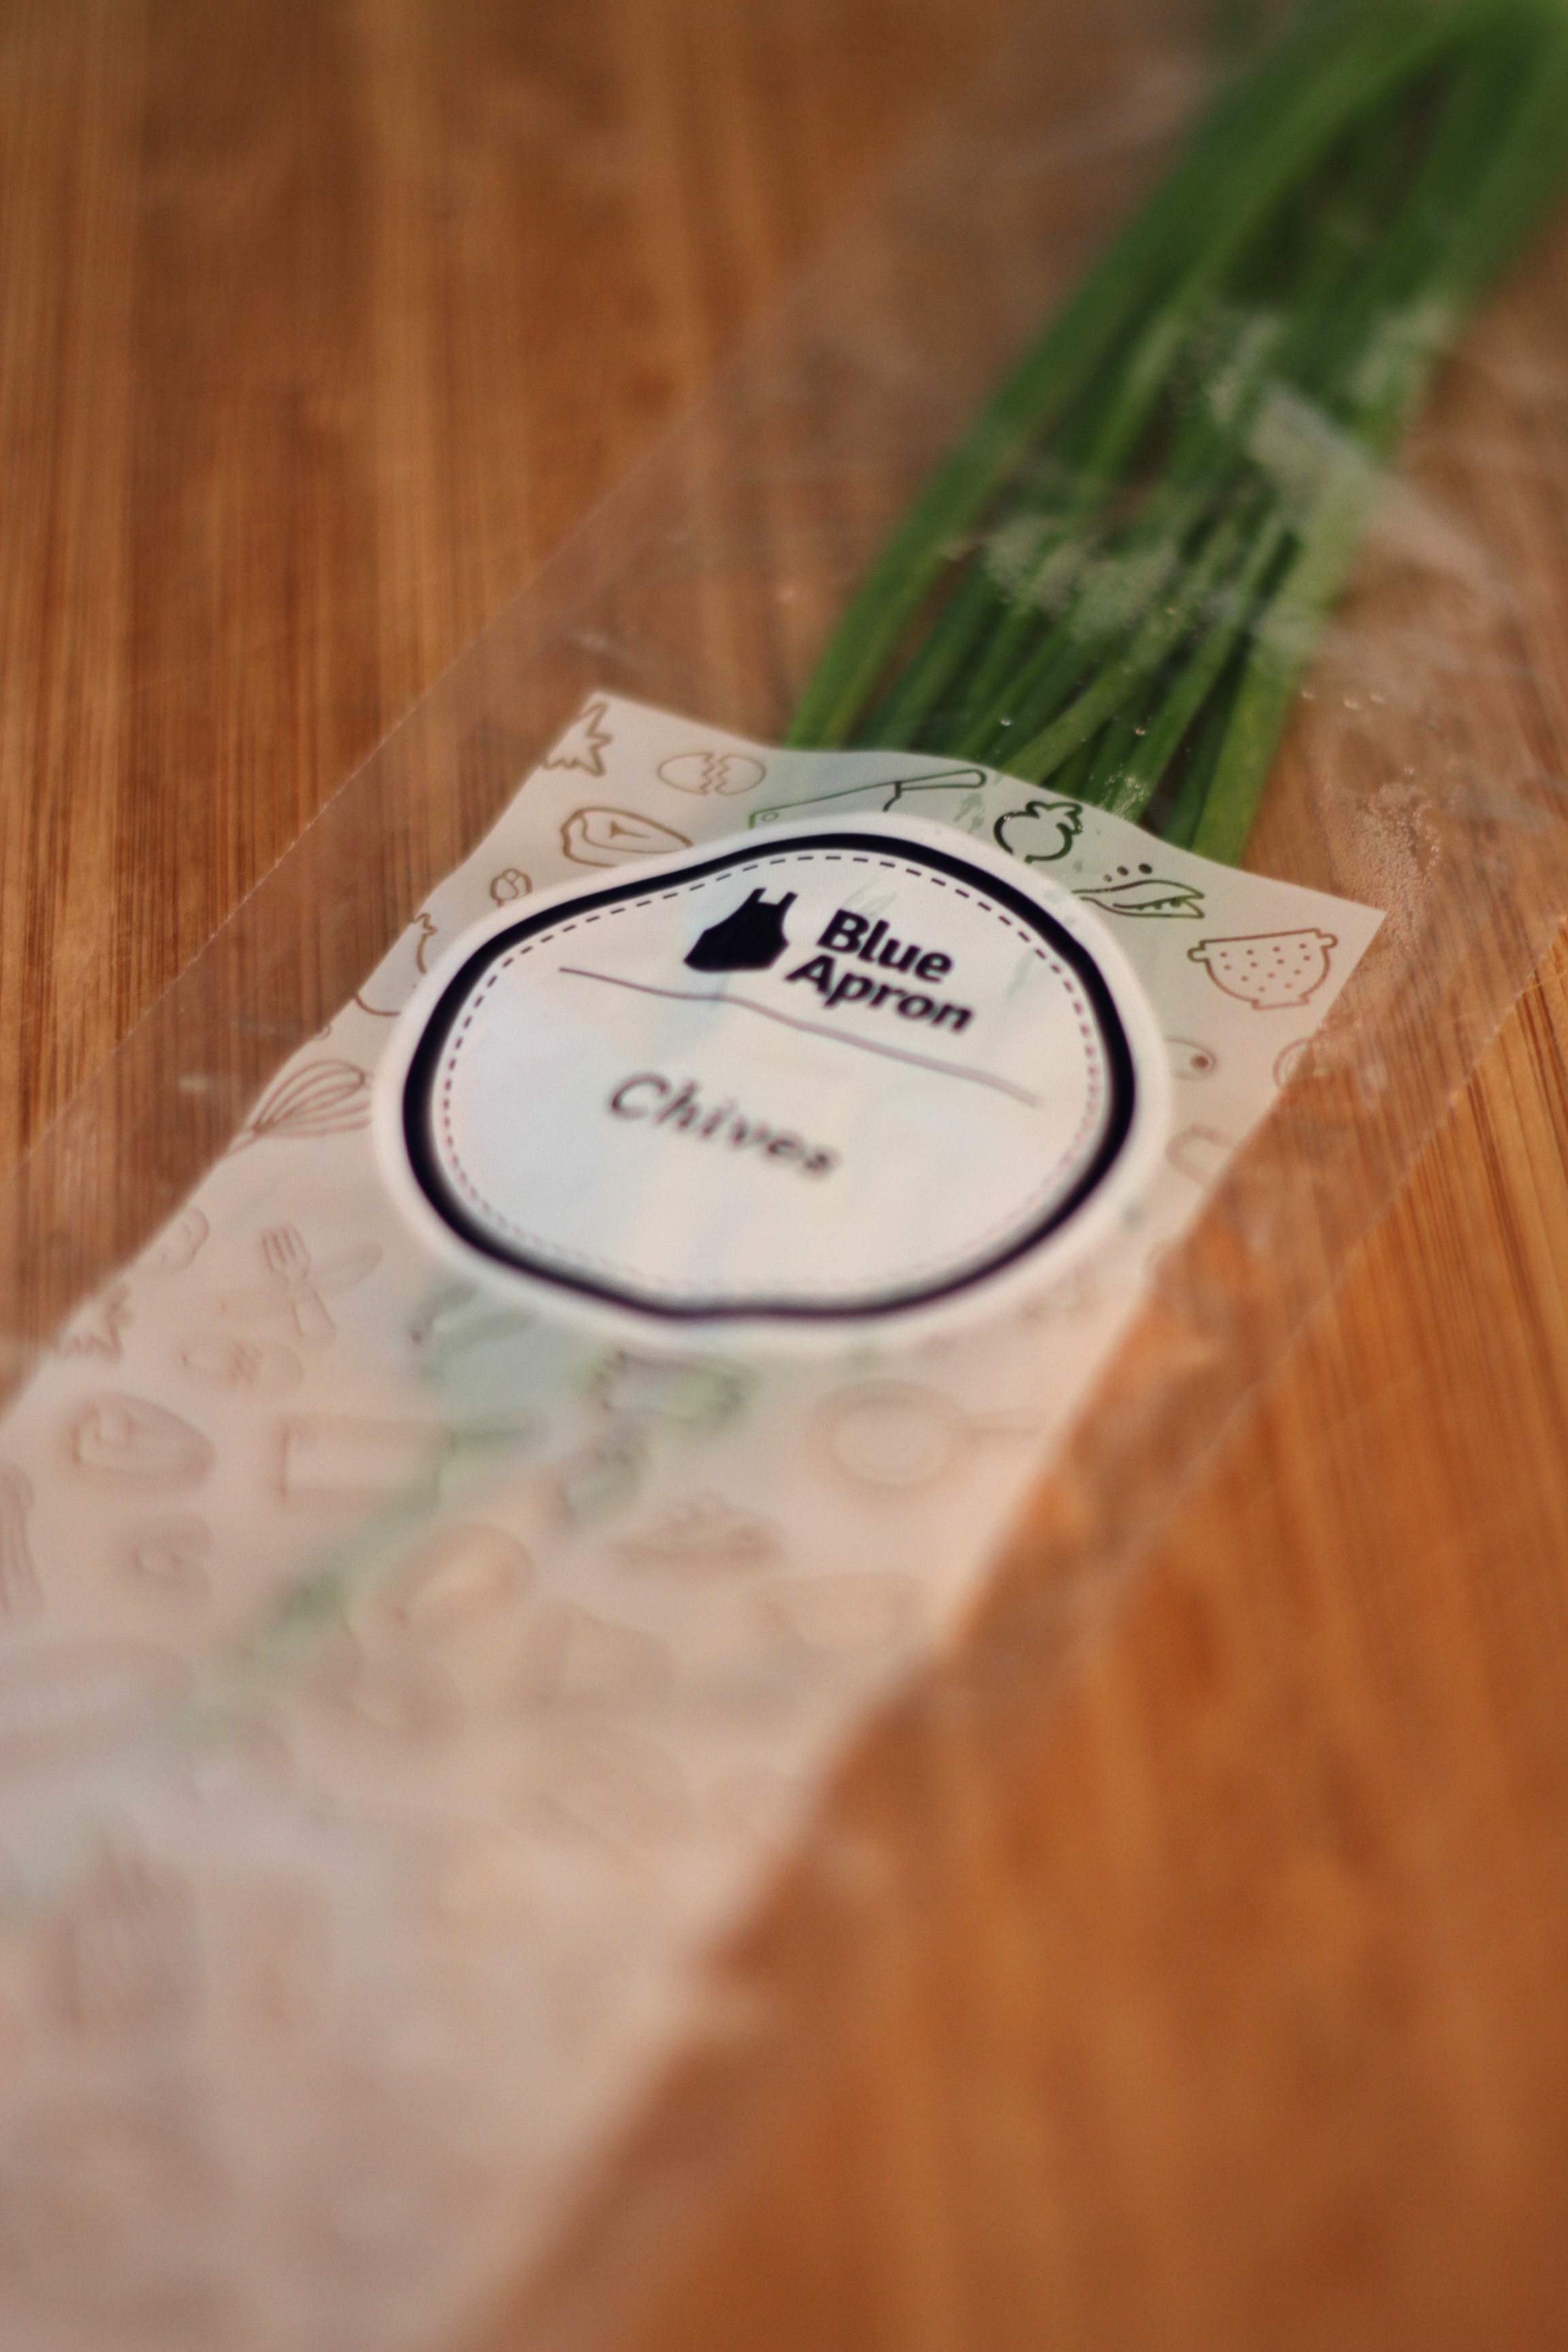
My mom recently gifted me a weeks worth of meals from Blue Apron and I was excited to see what all of these bloggers have been talking about! Long story short, each week recipes and produce for 3 meals are shipped to your door (complete with separately labeled and measured ingredients, which I LOVED), and all you have to do is pick which meal and get to cooking!
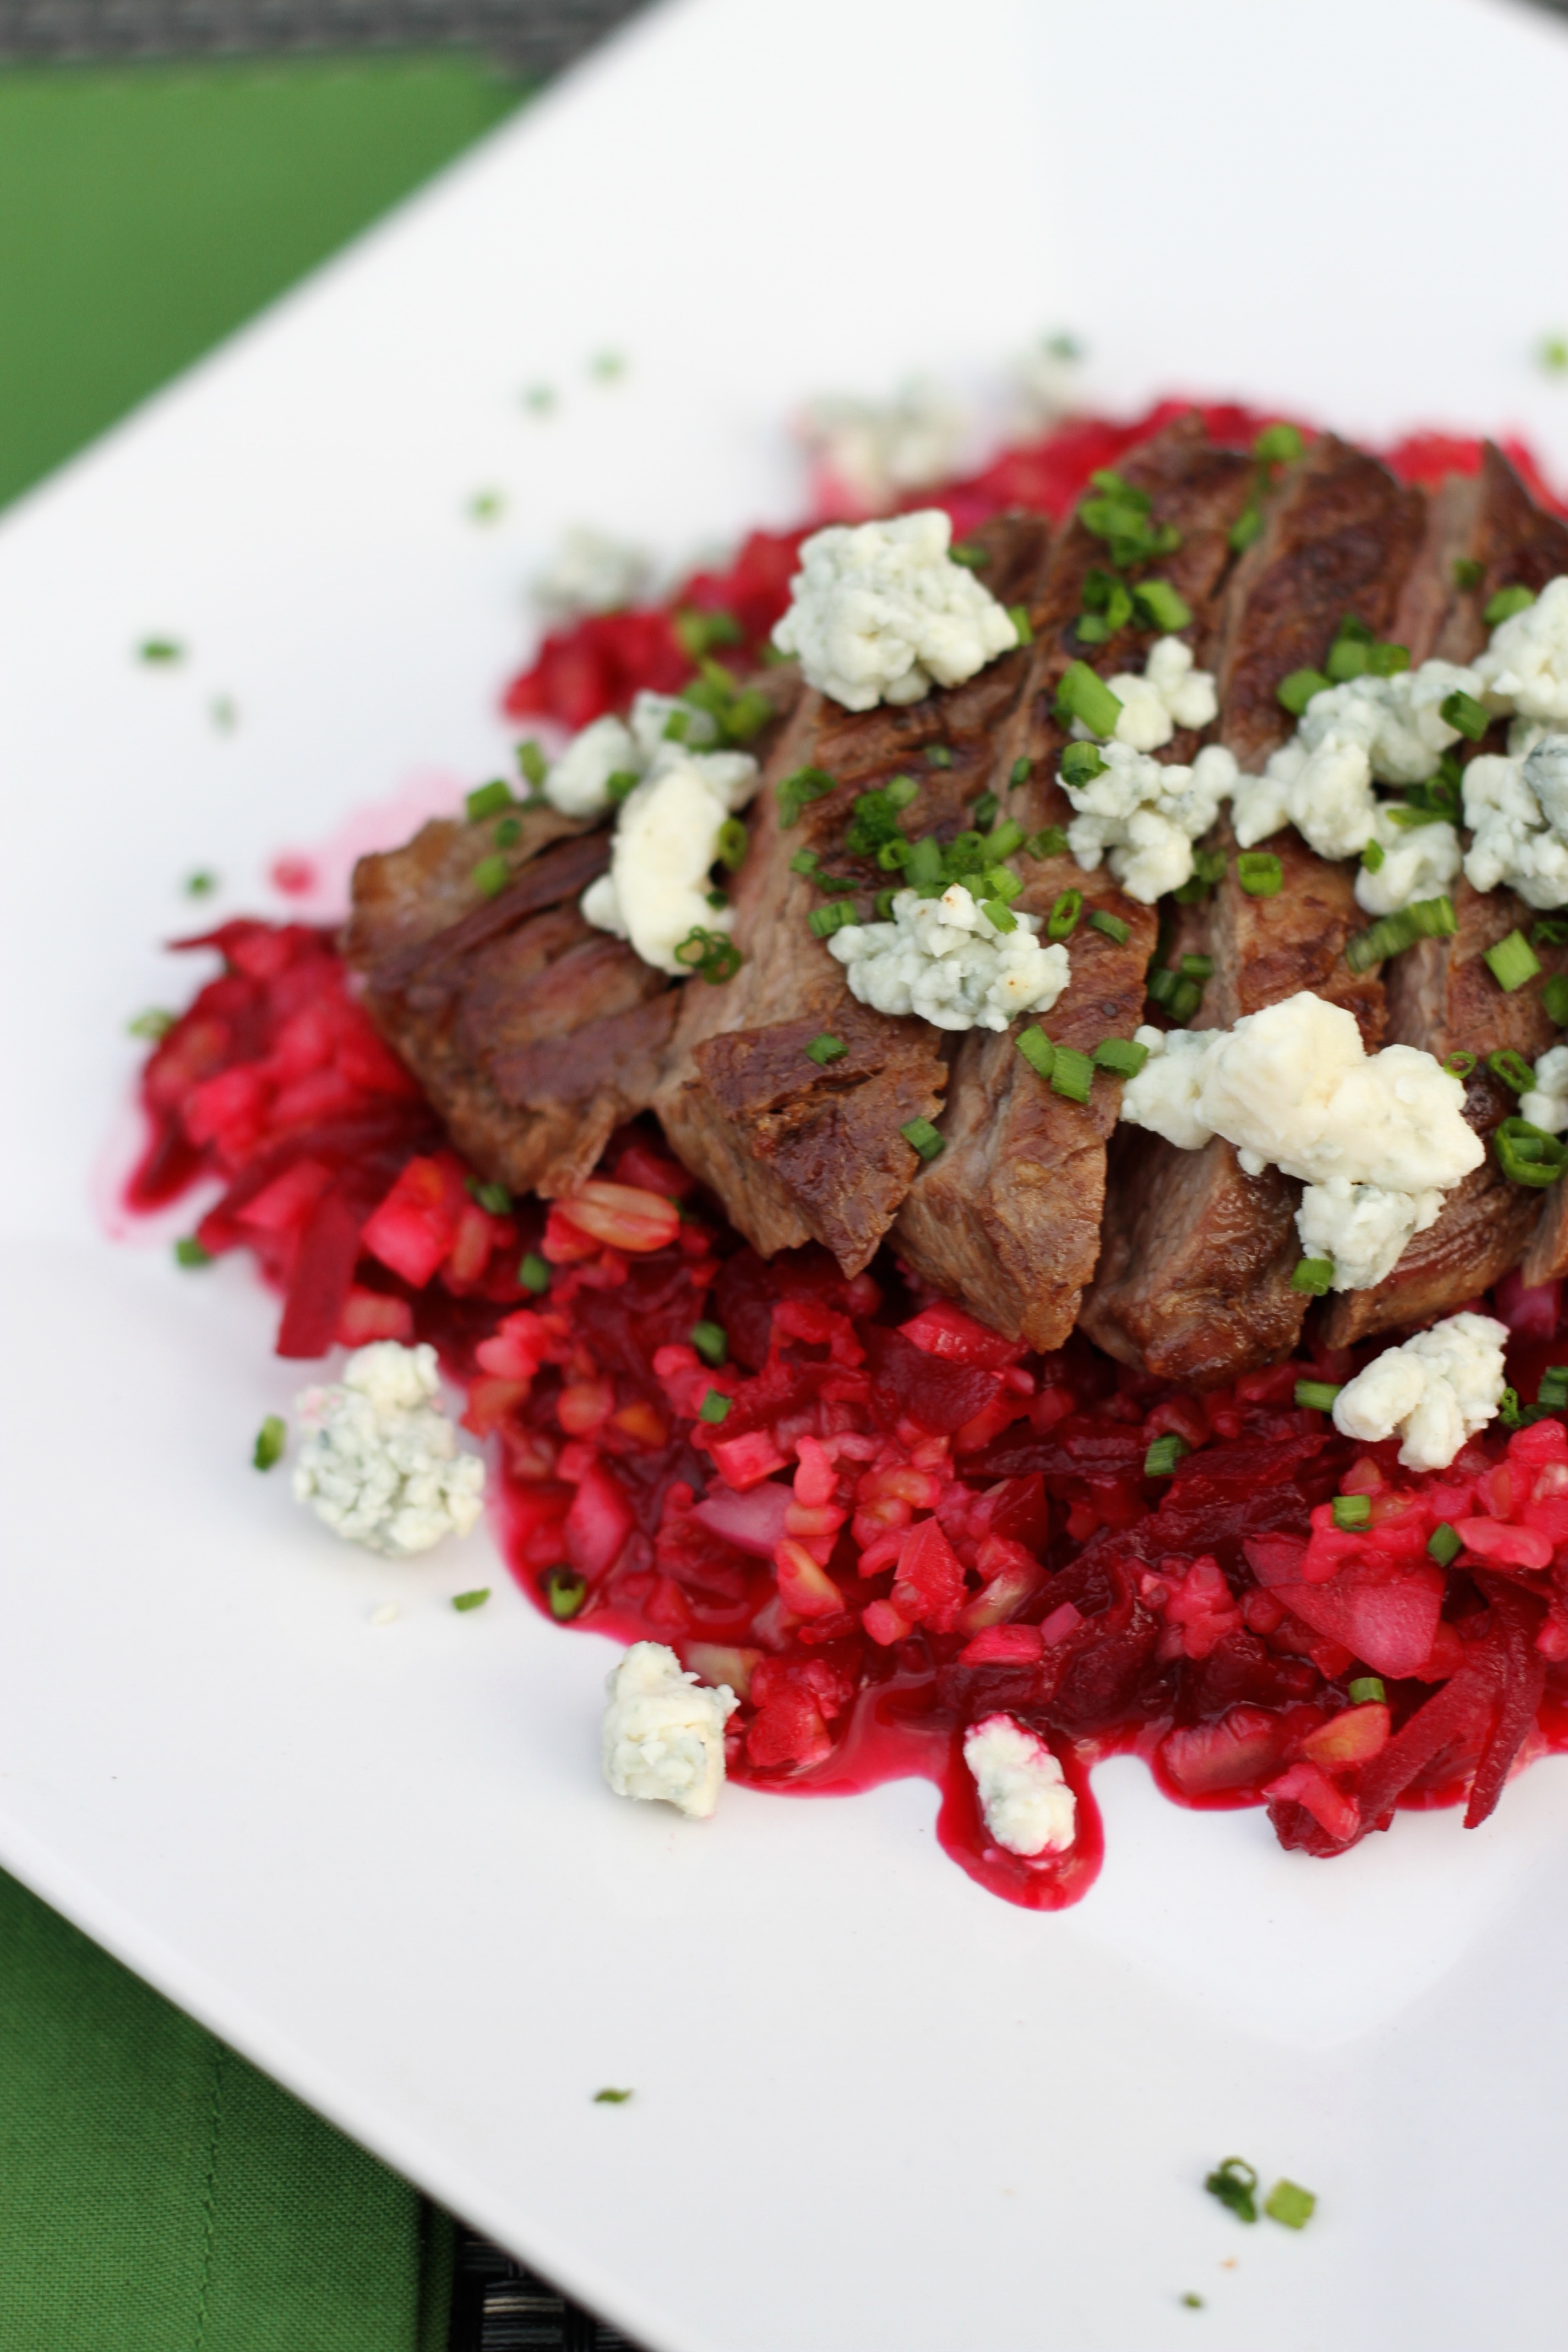
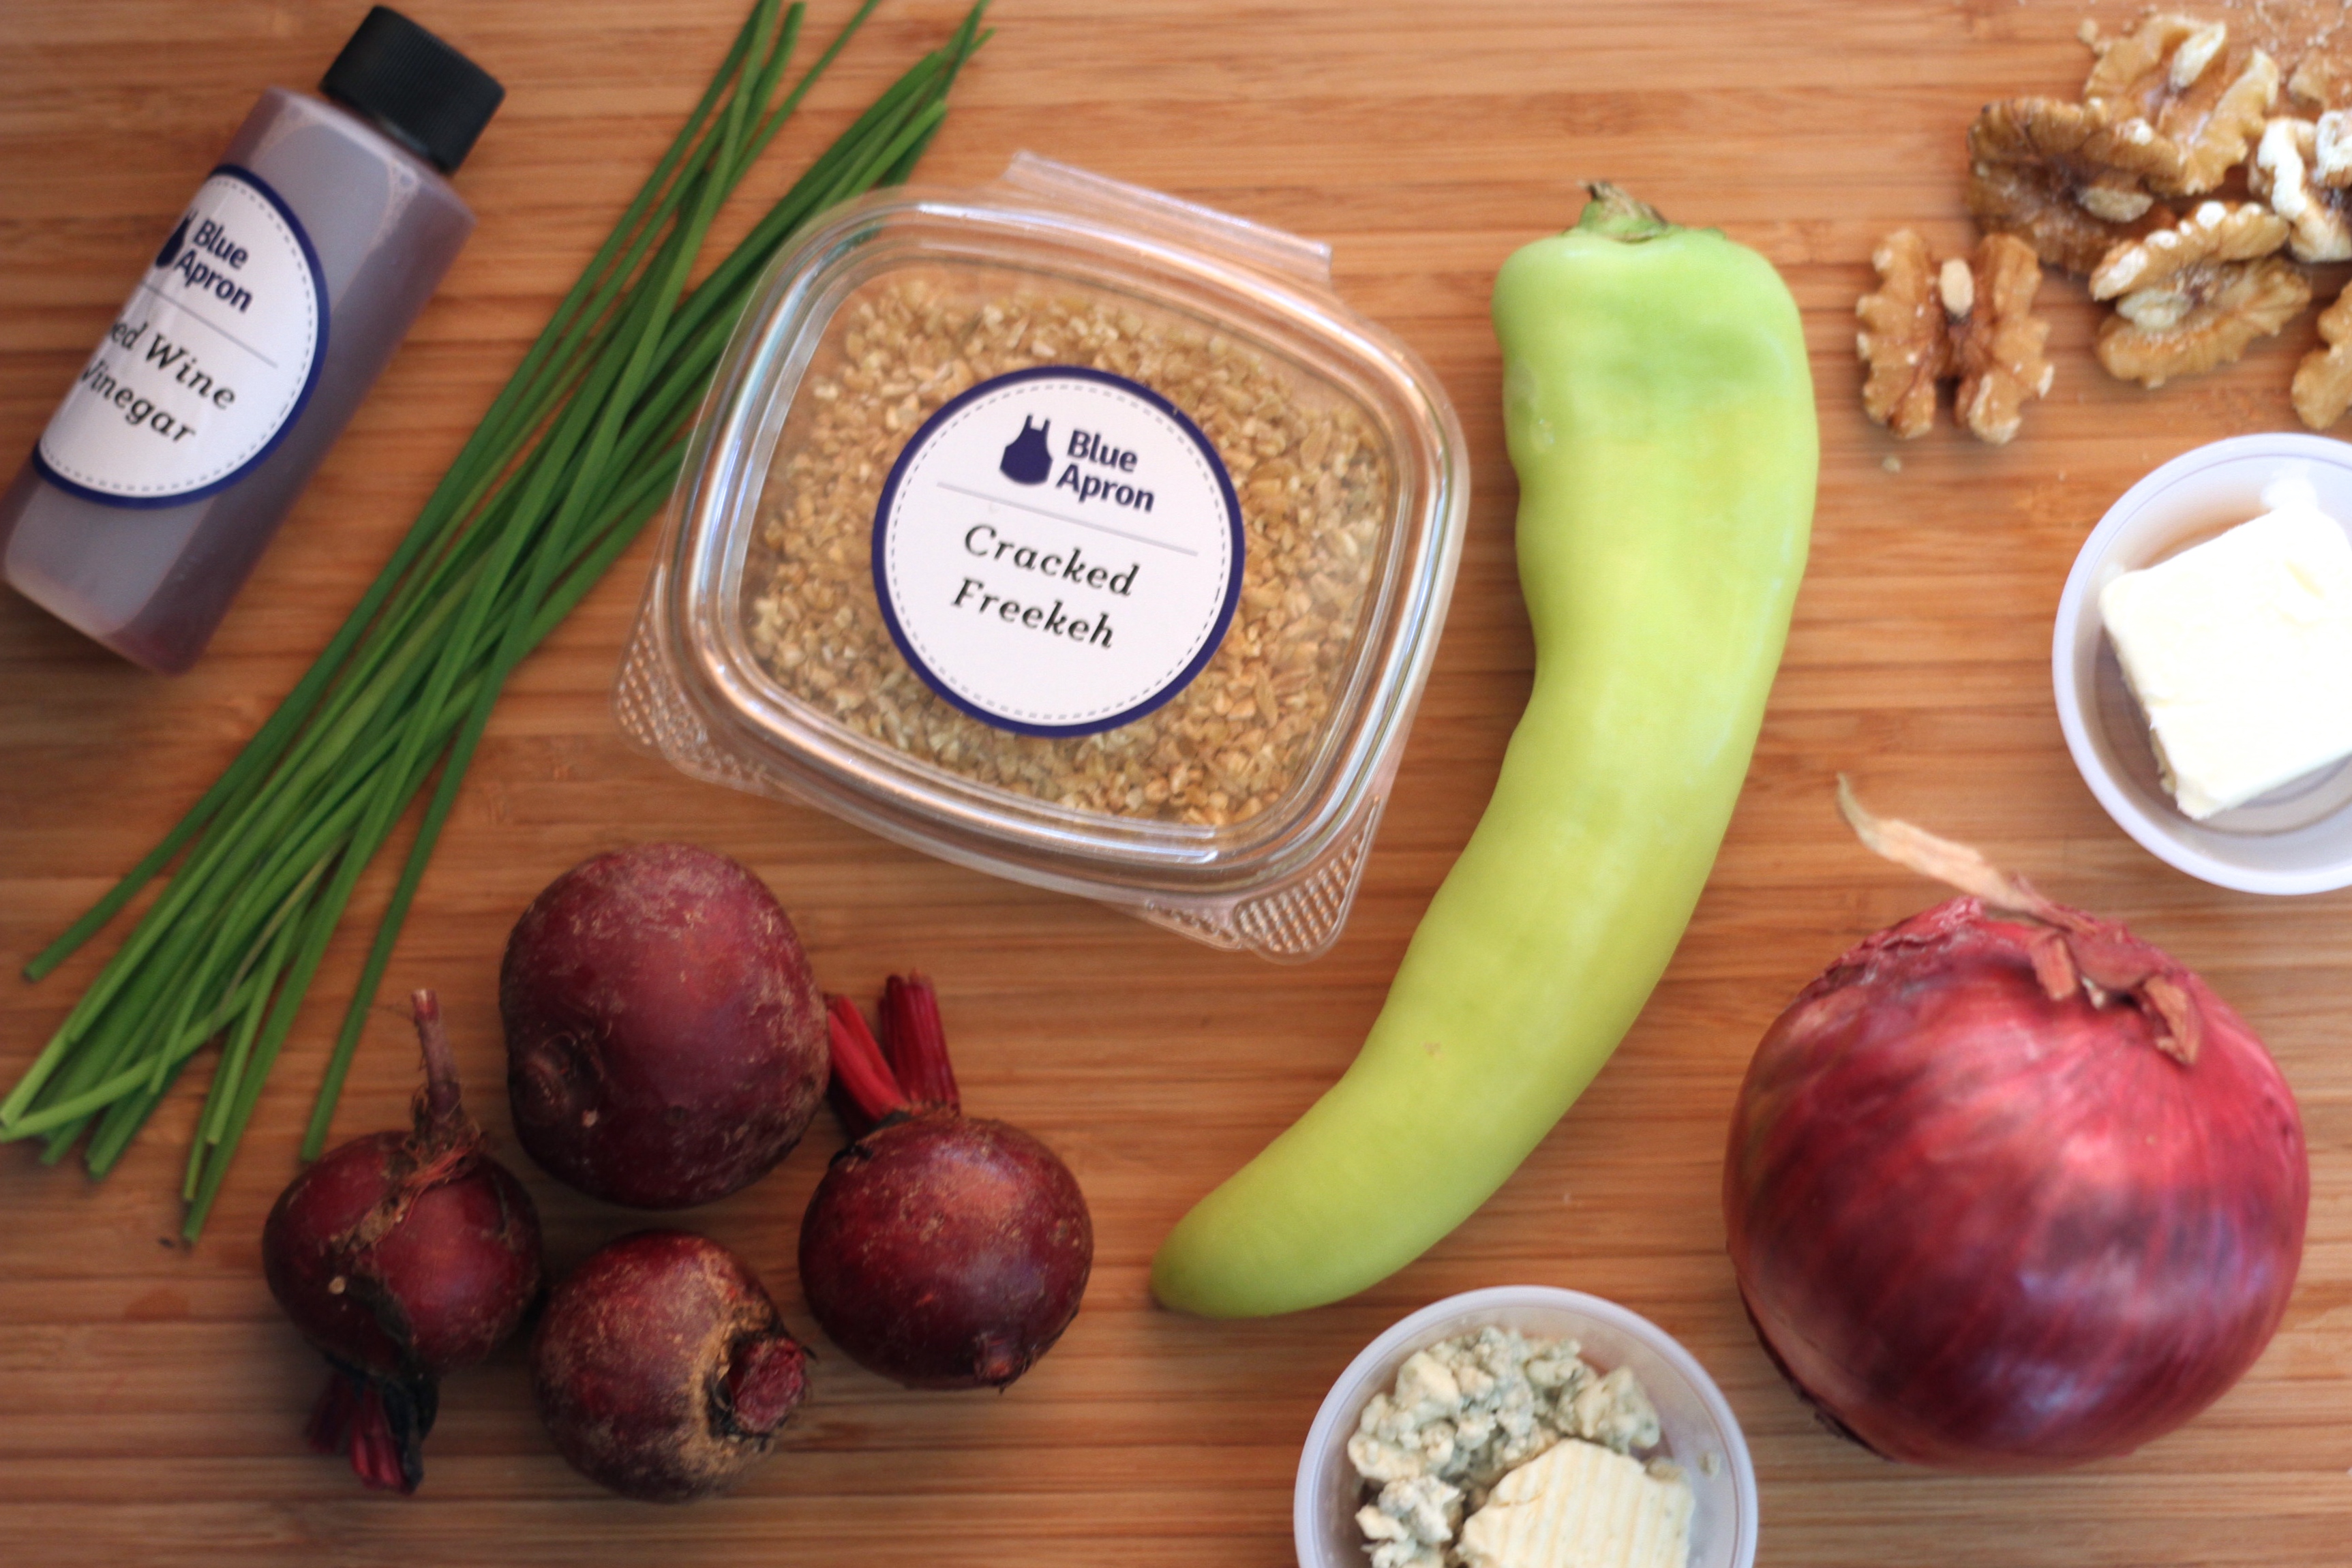
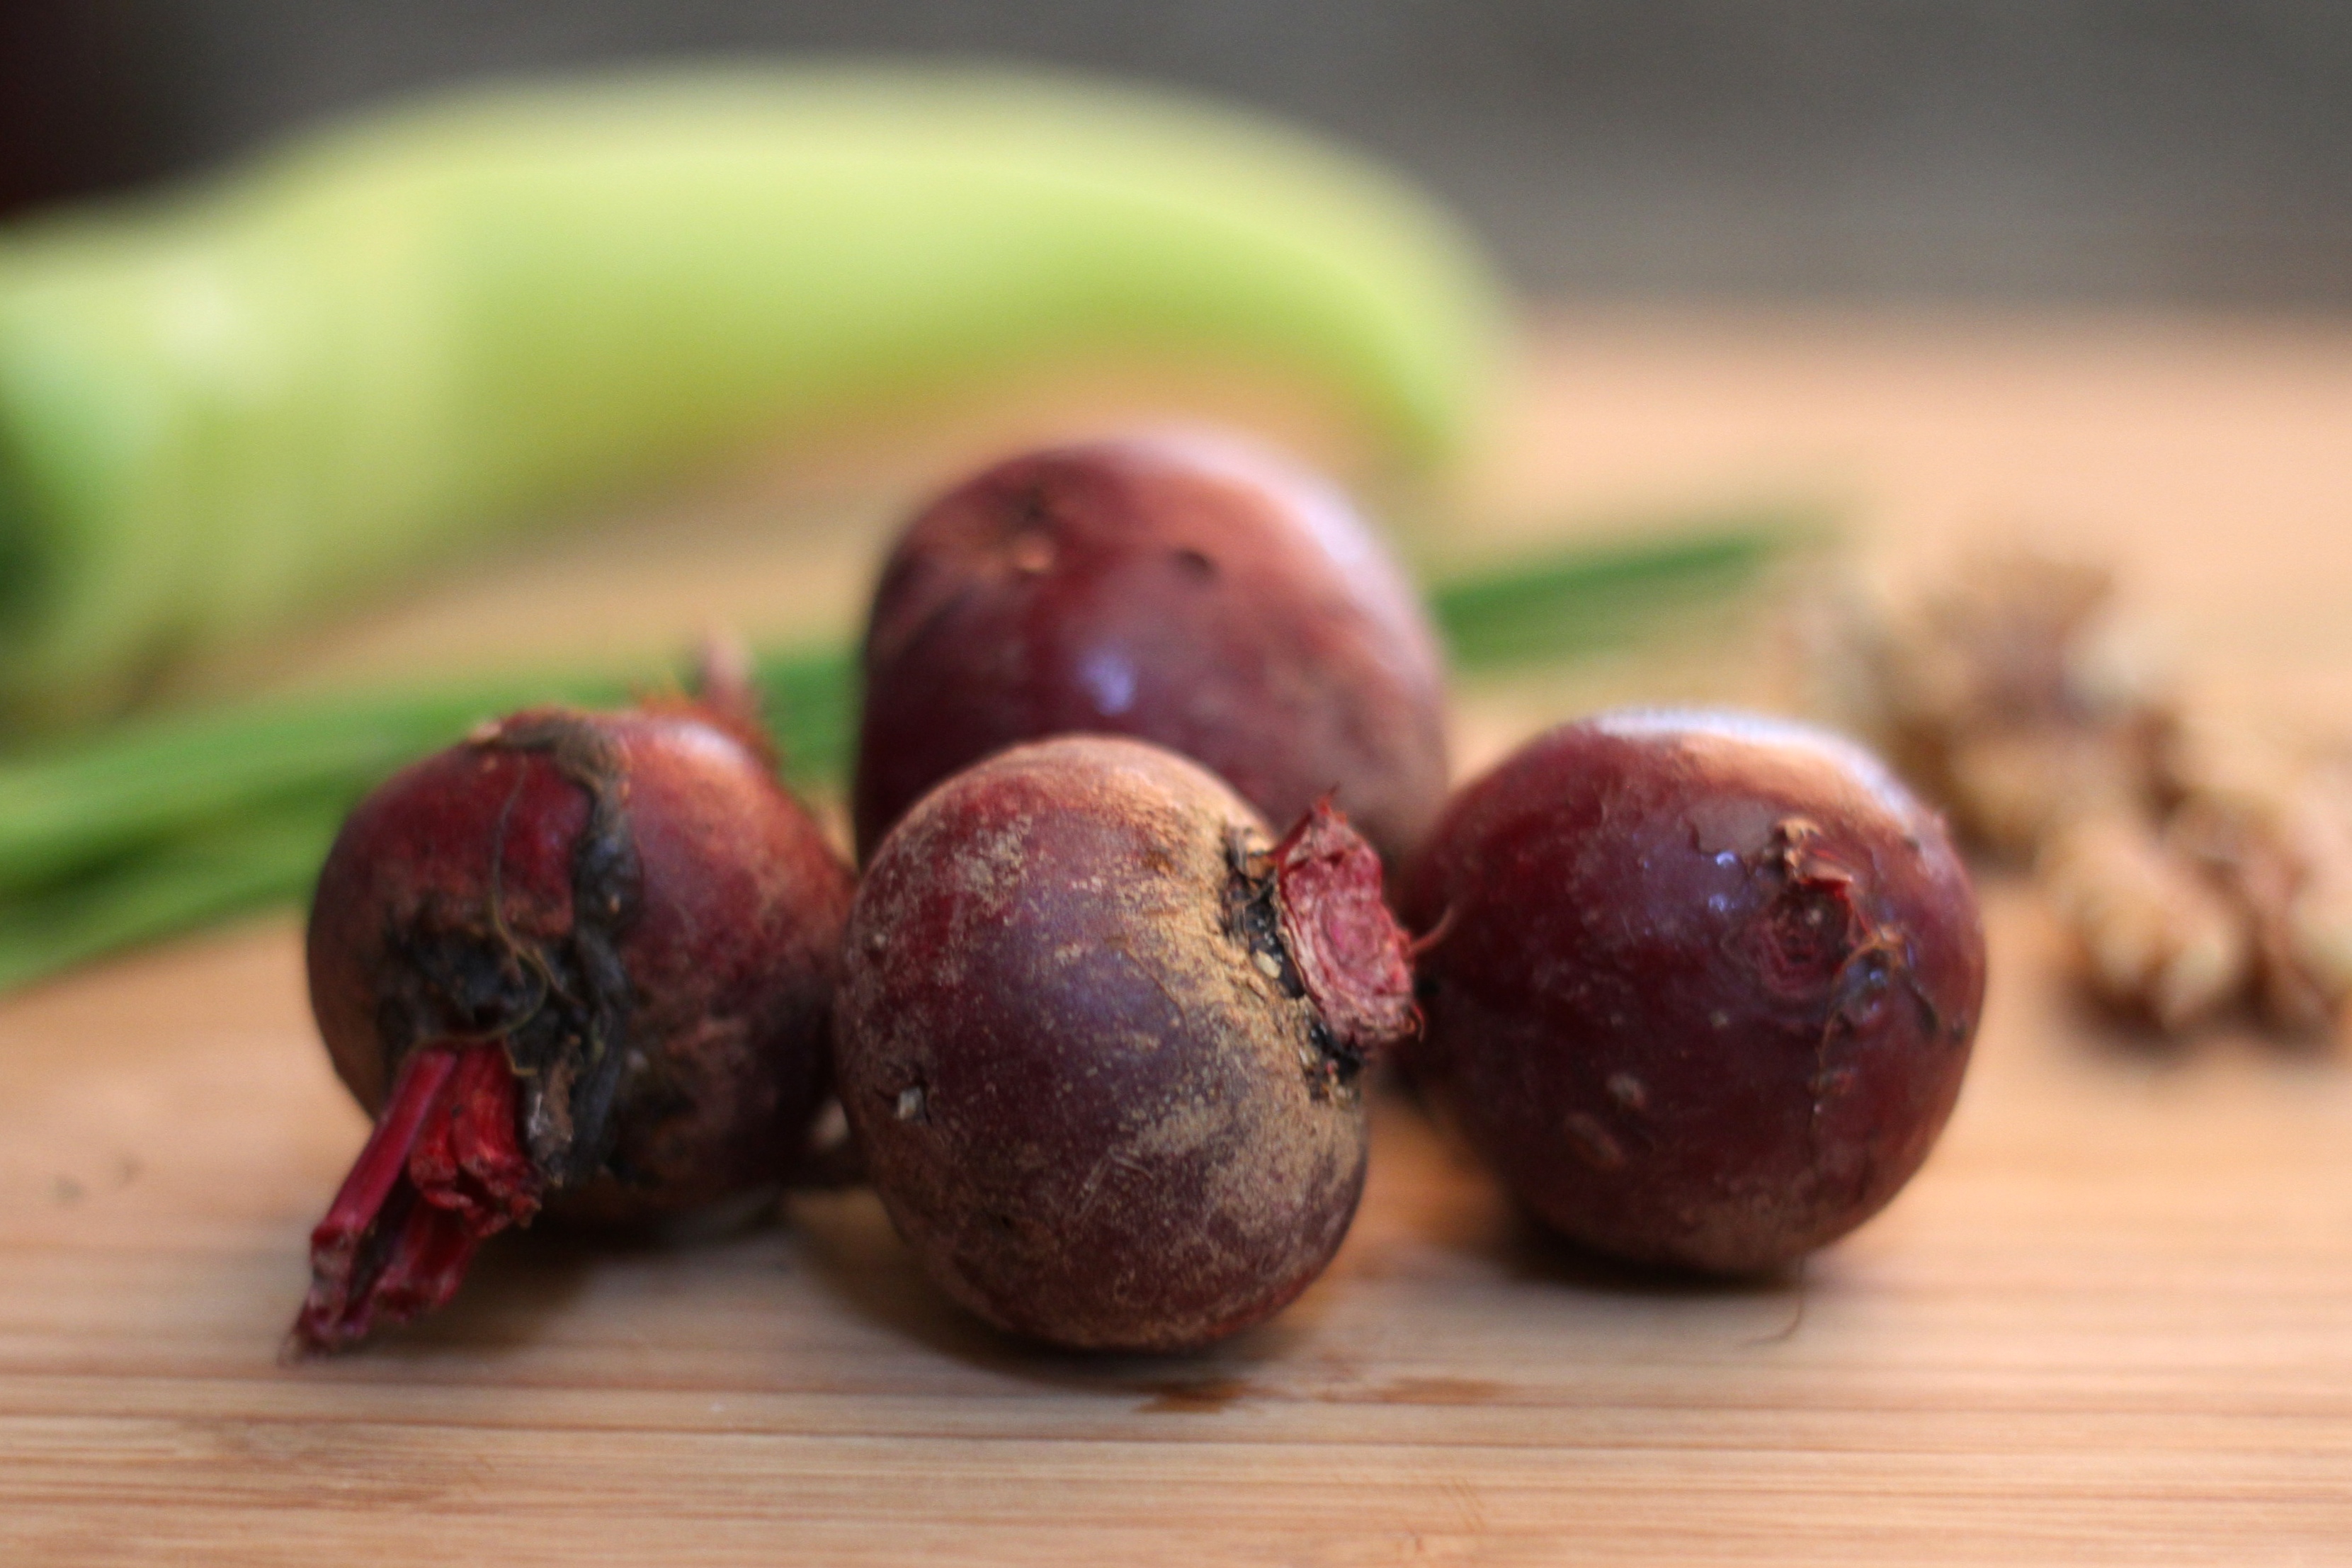
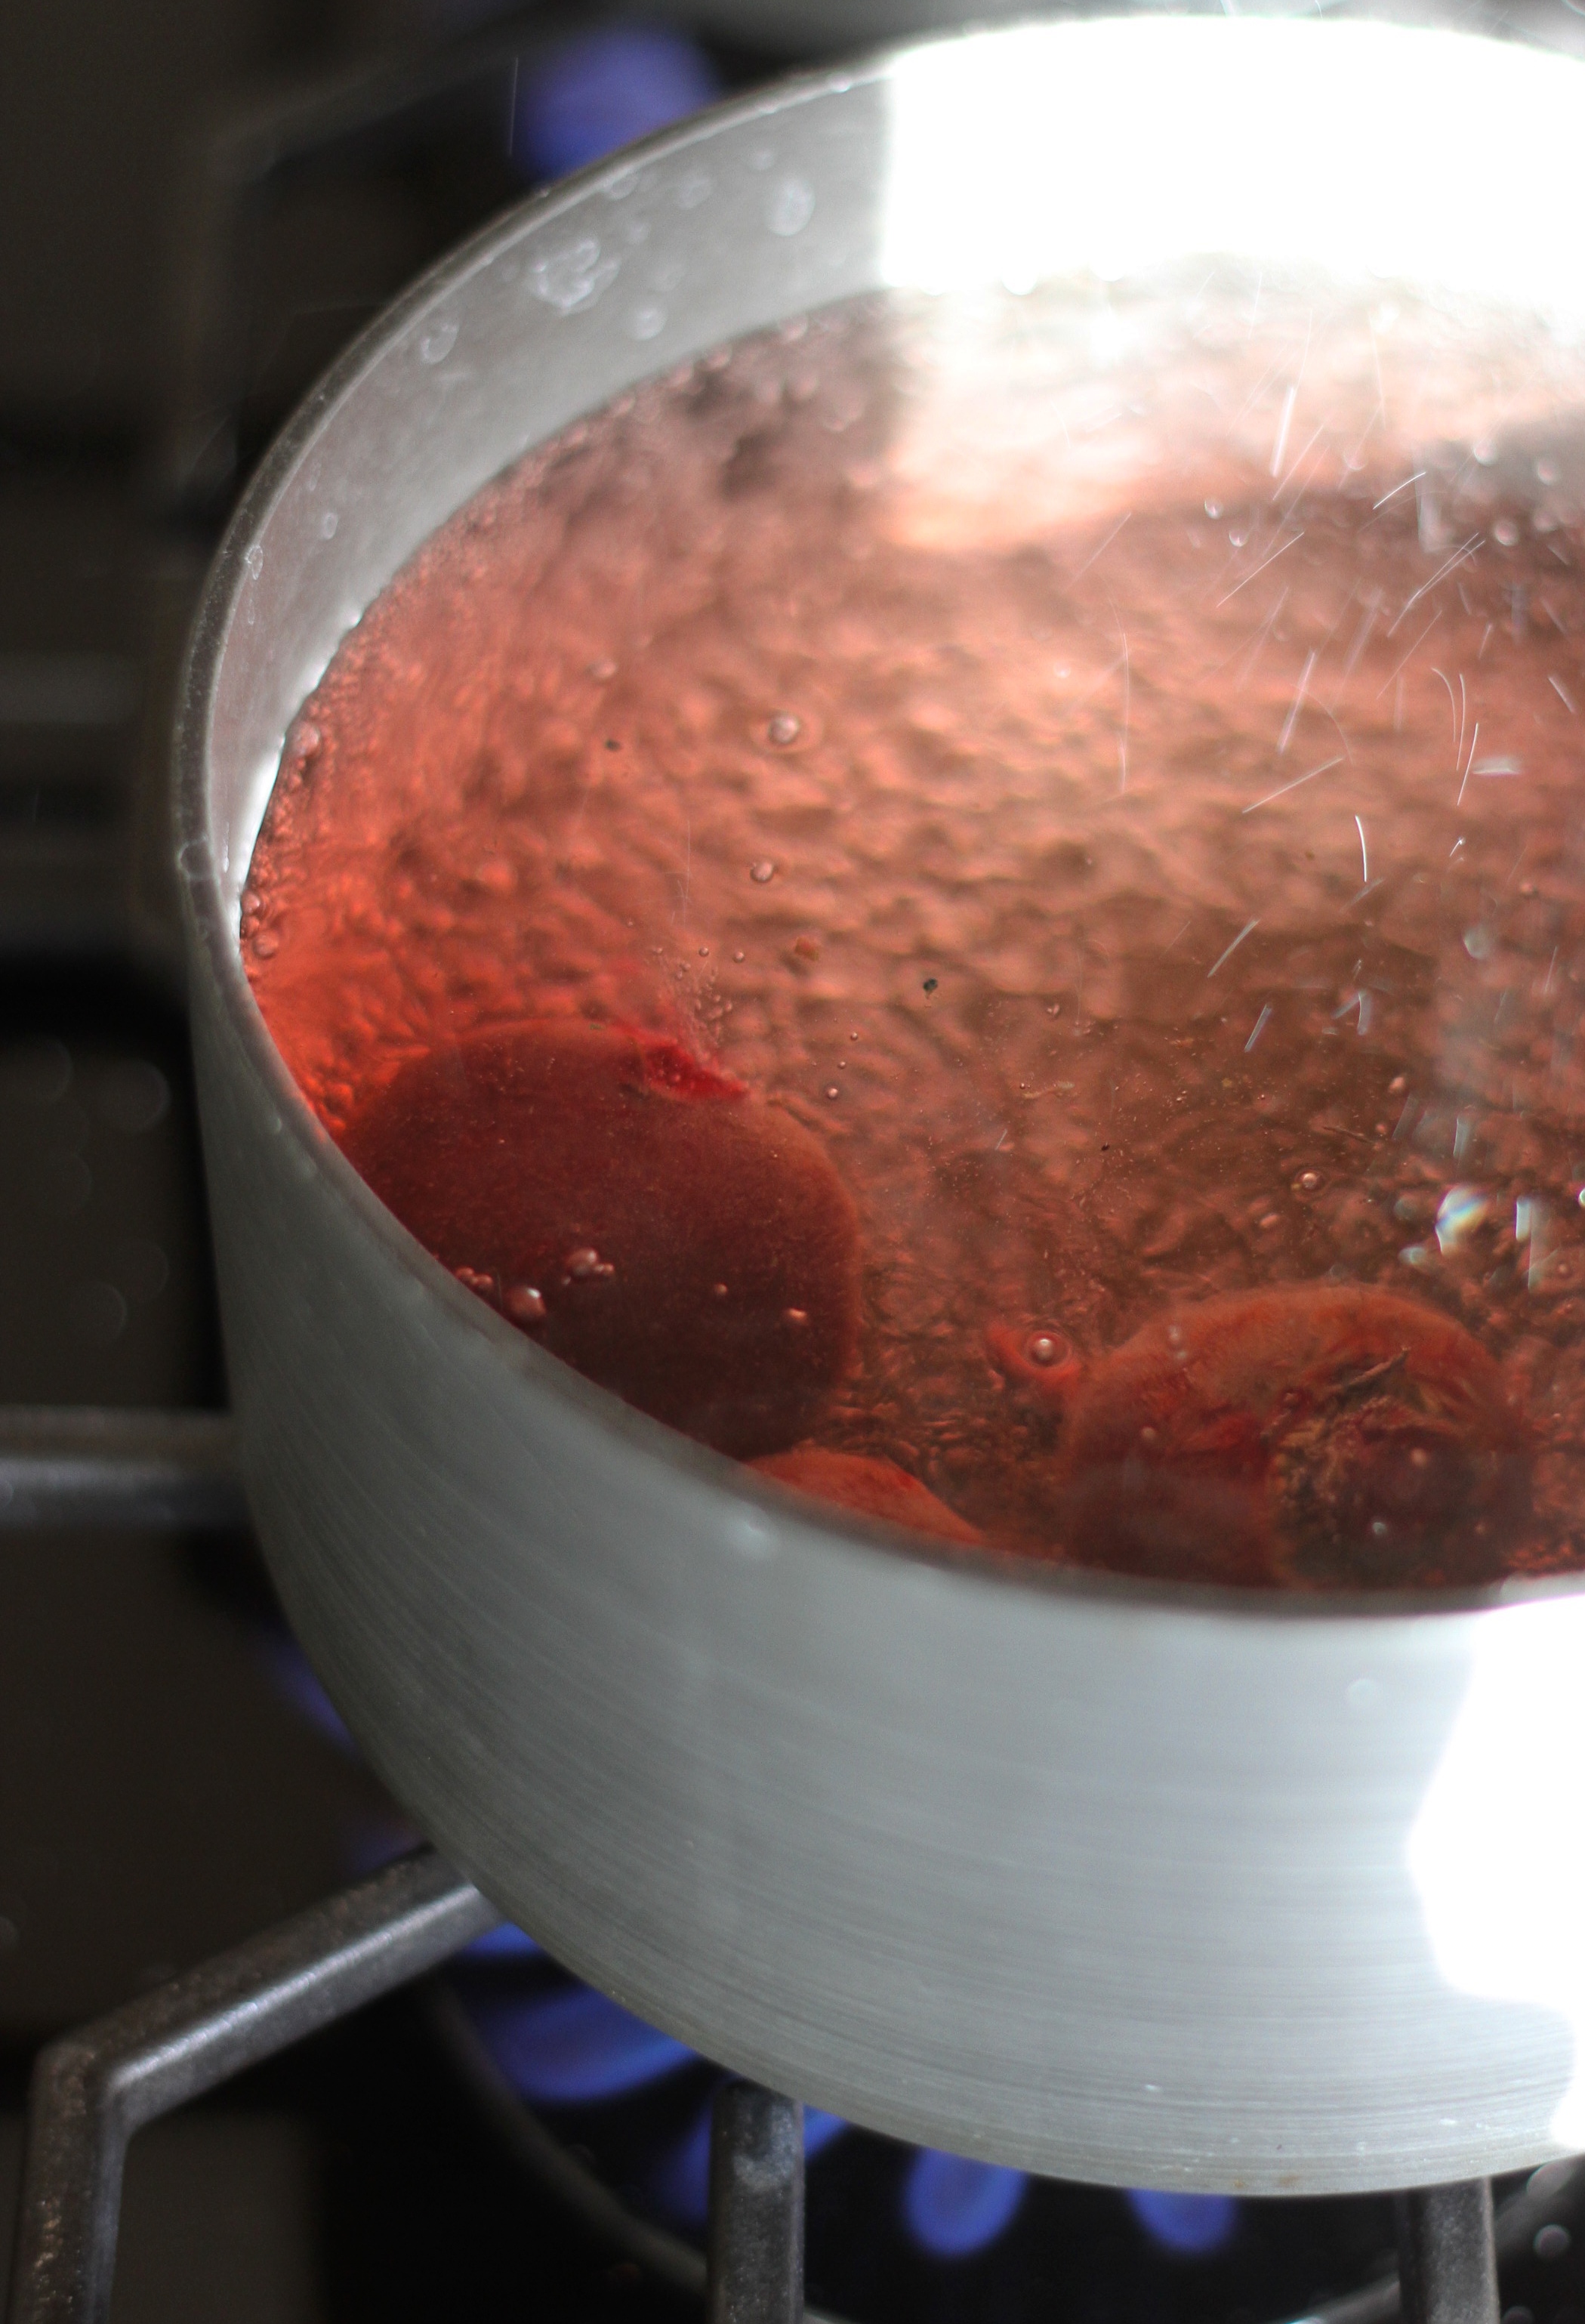
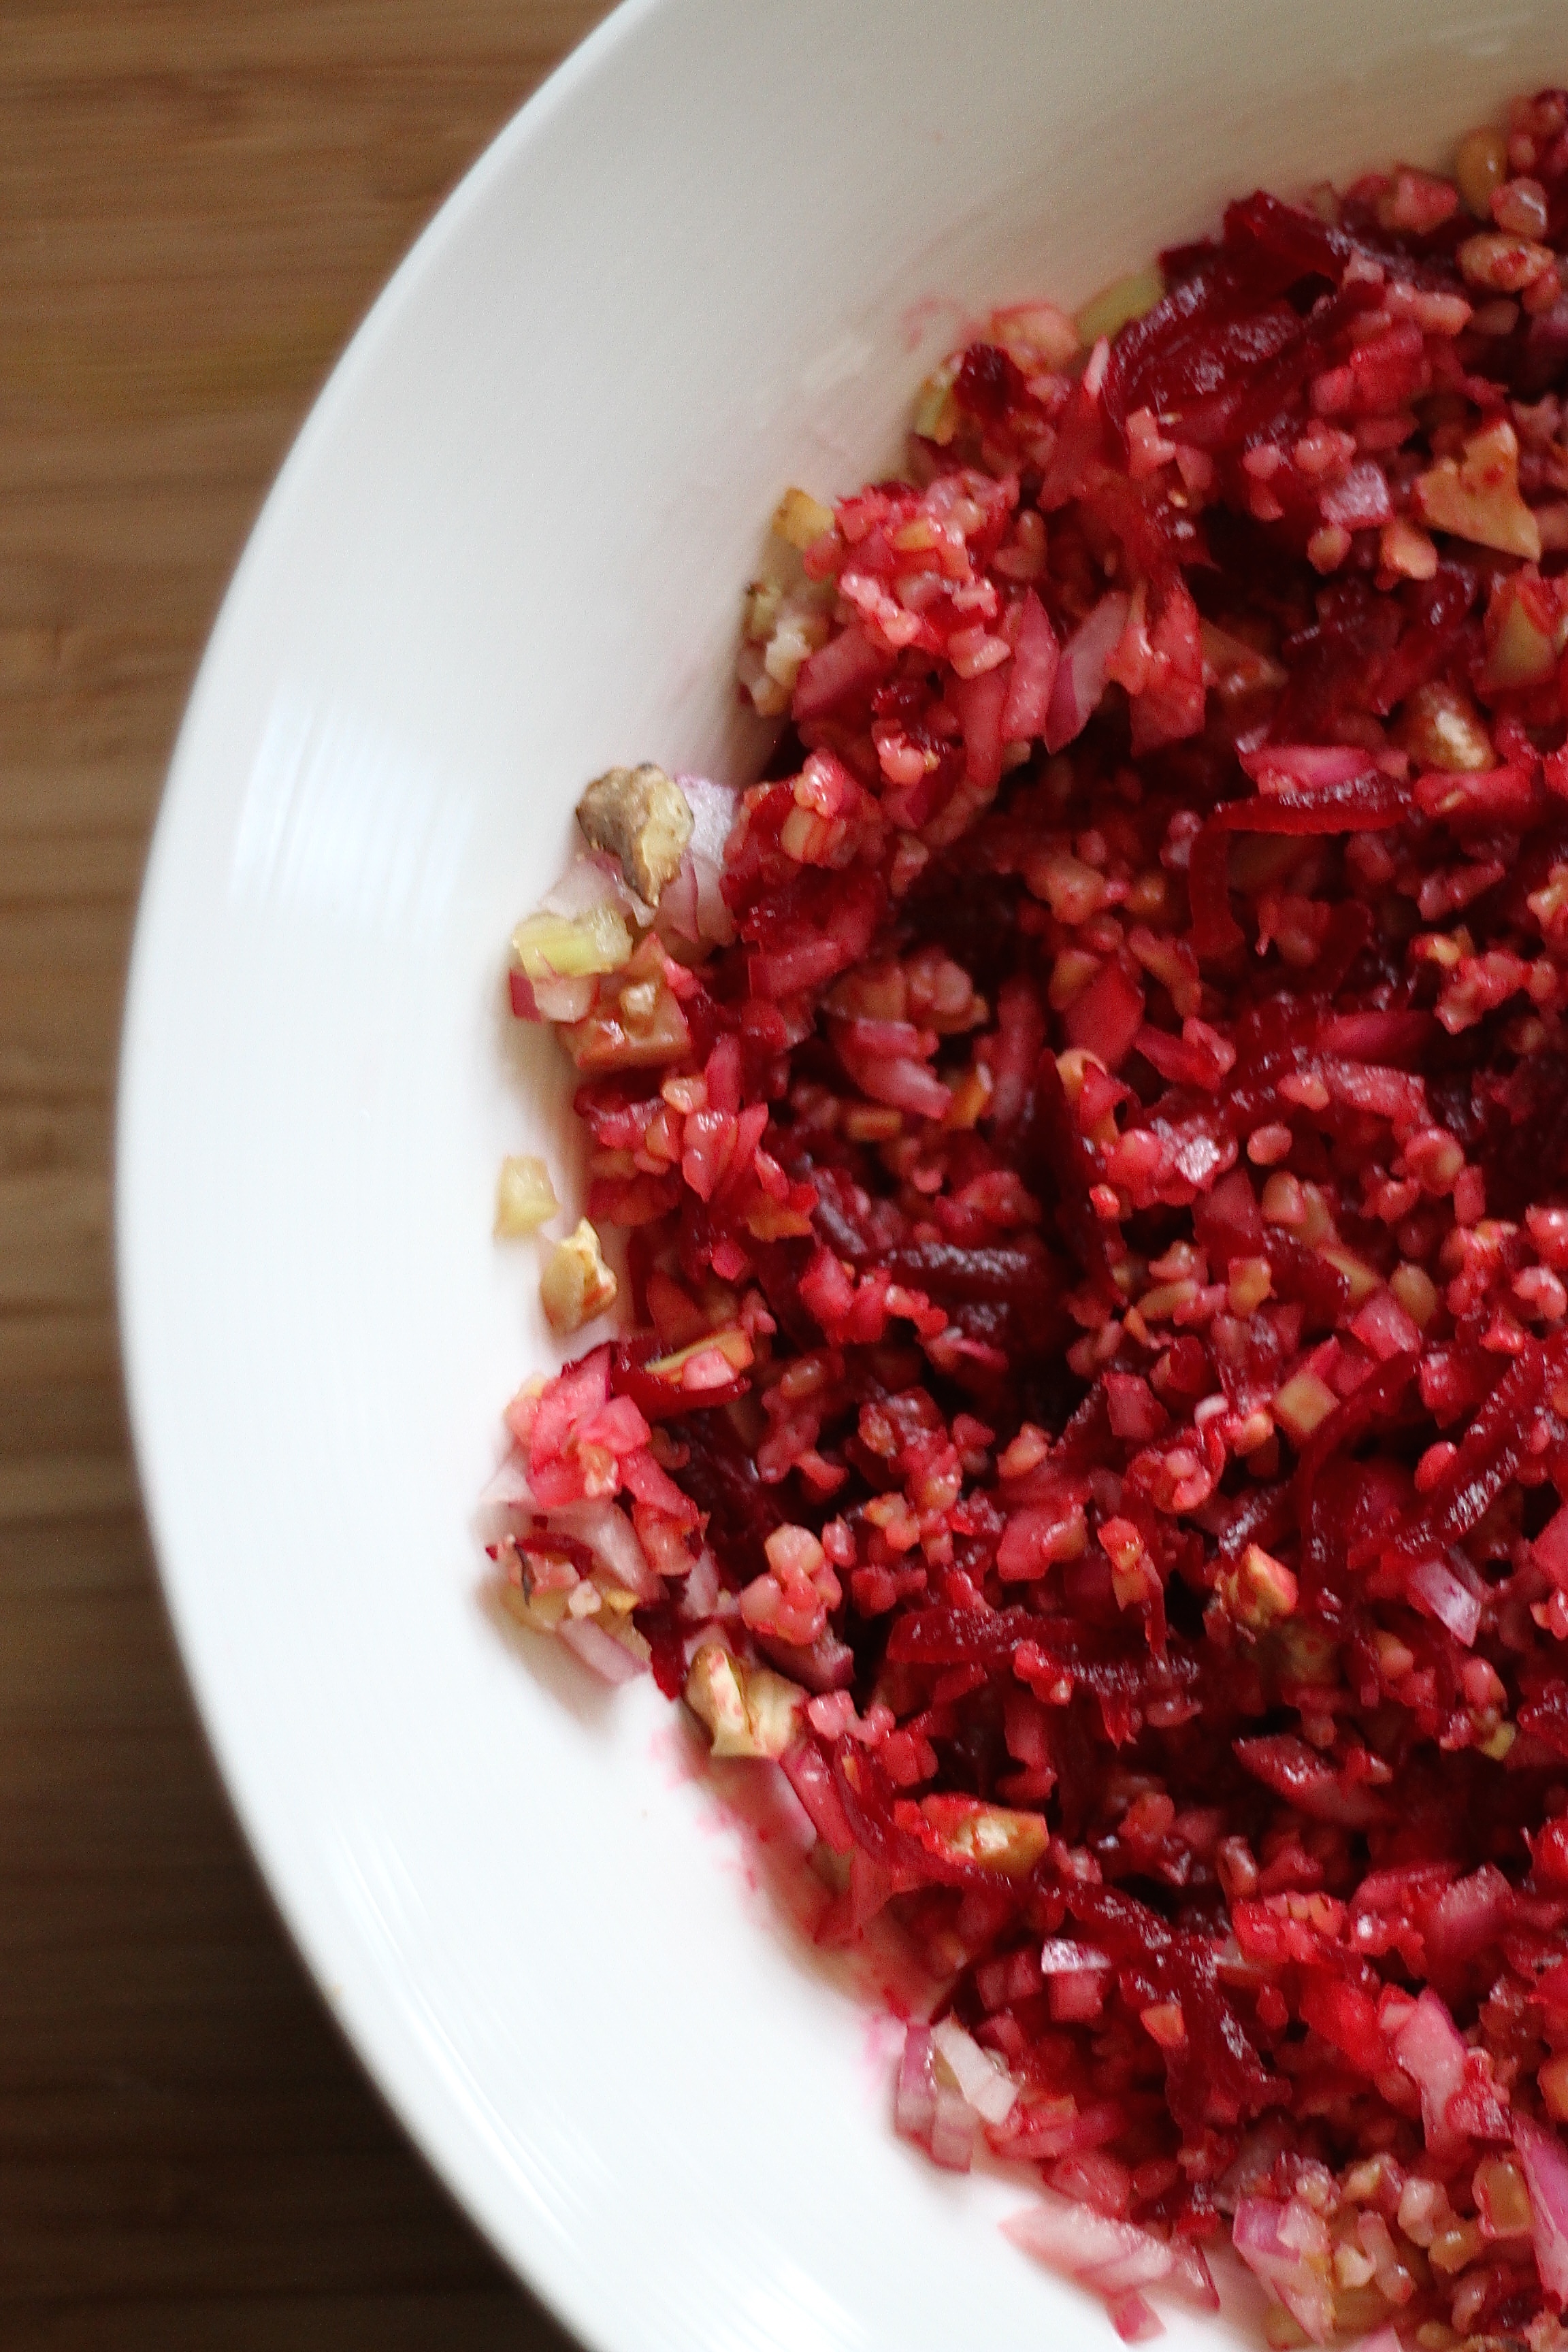
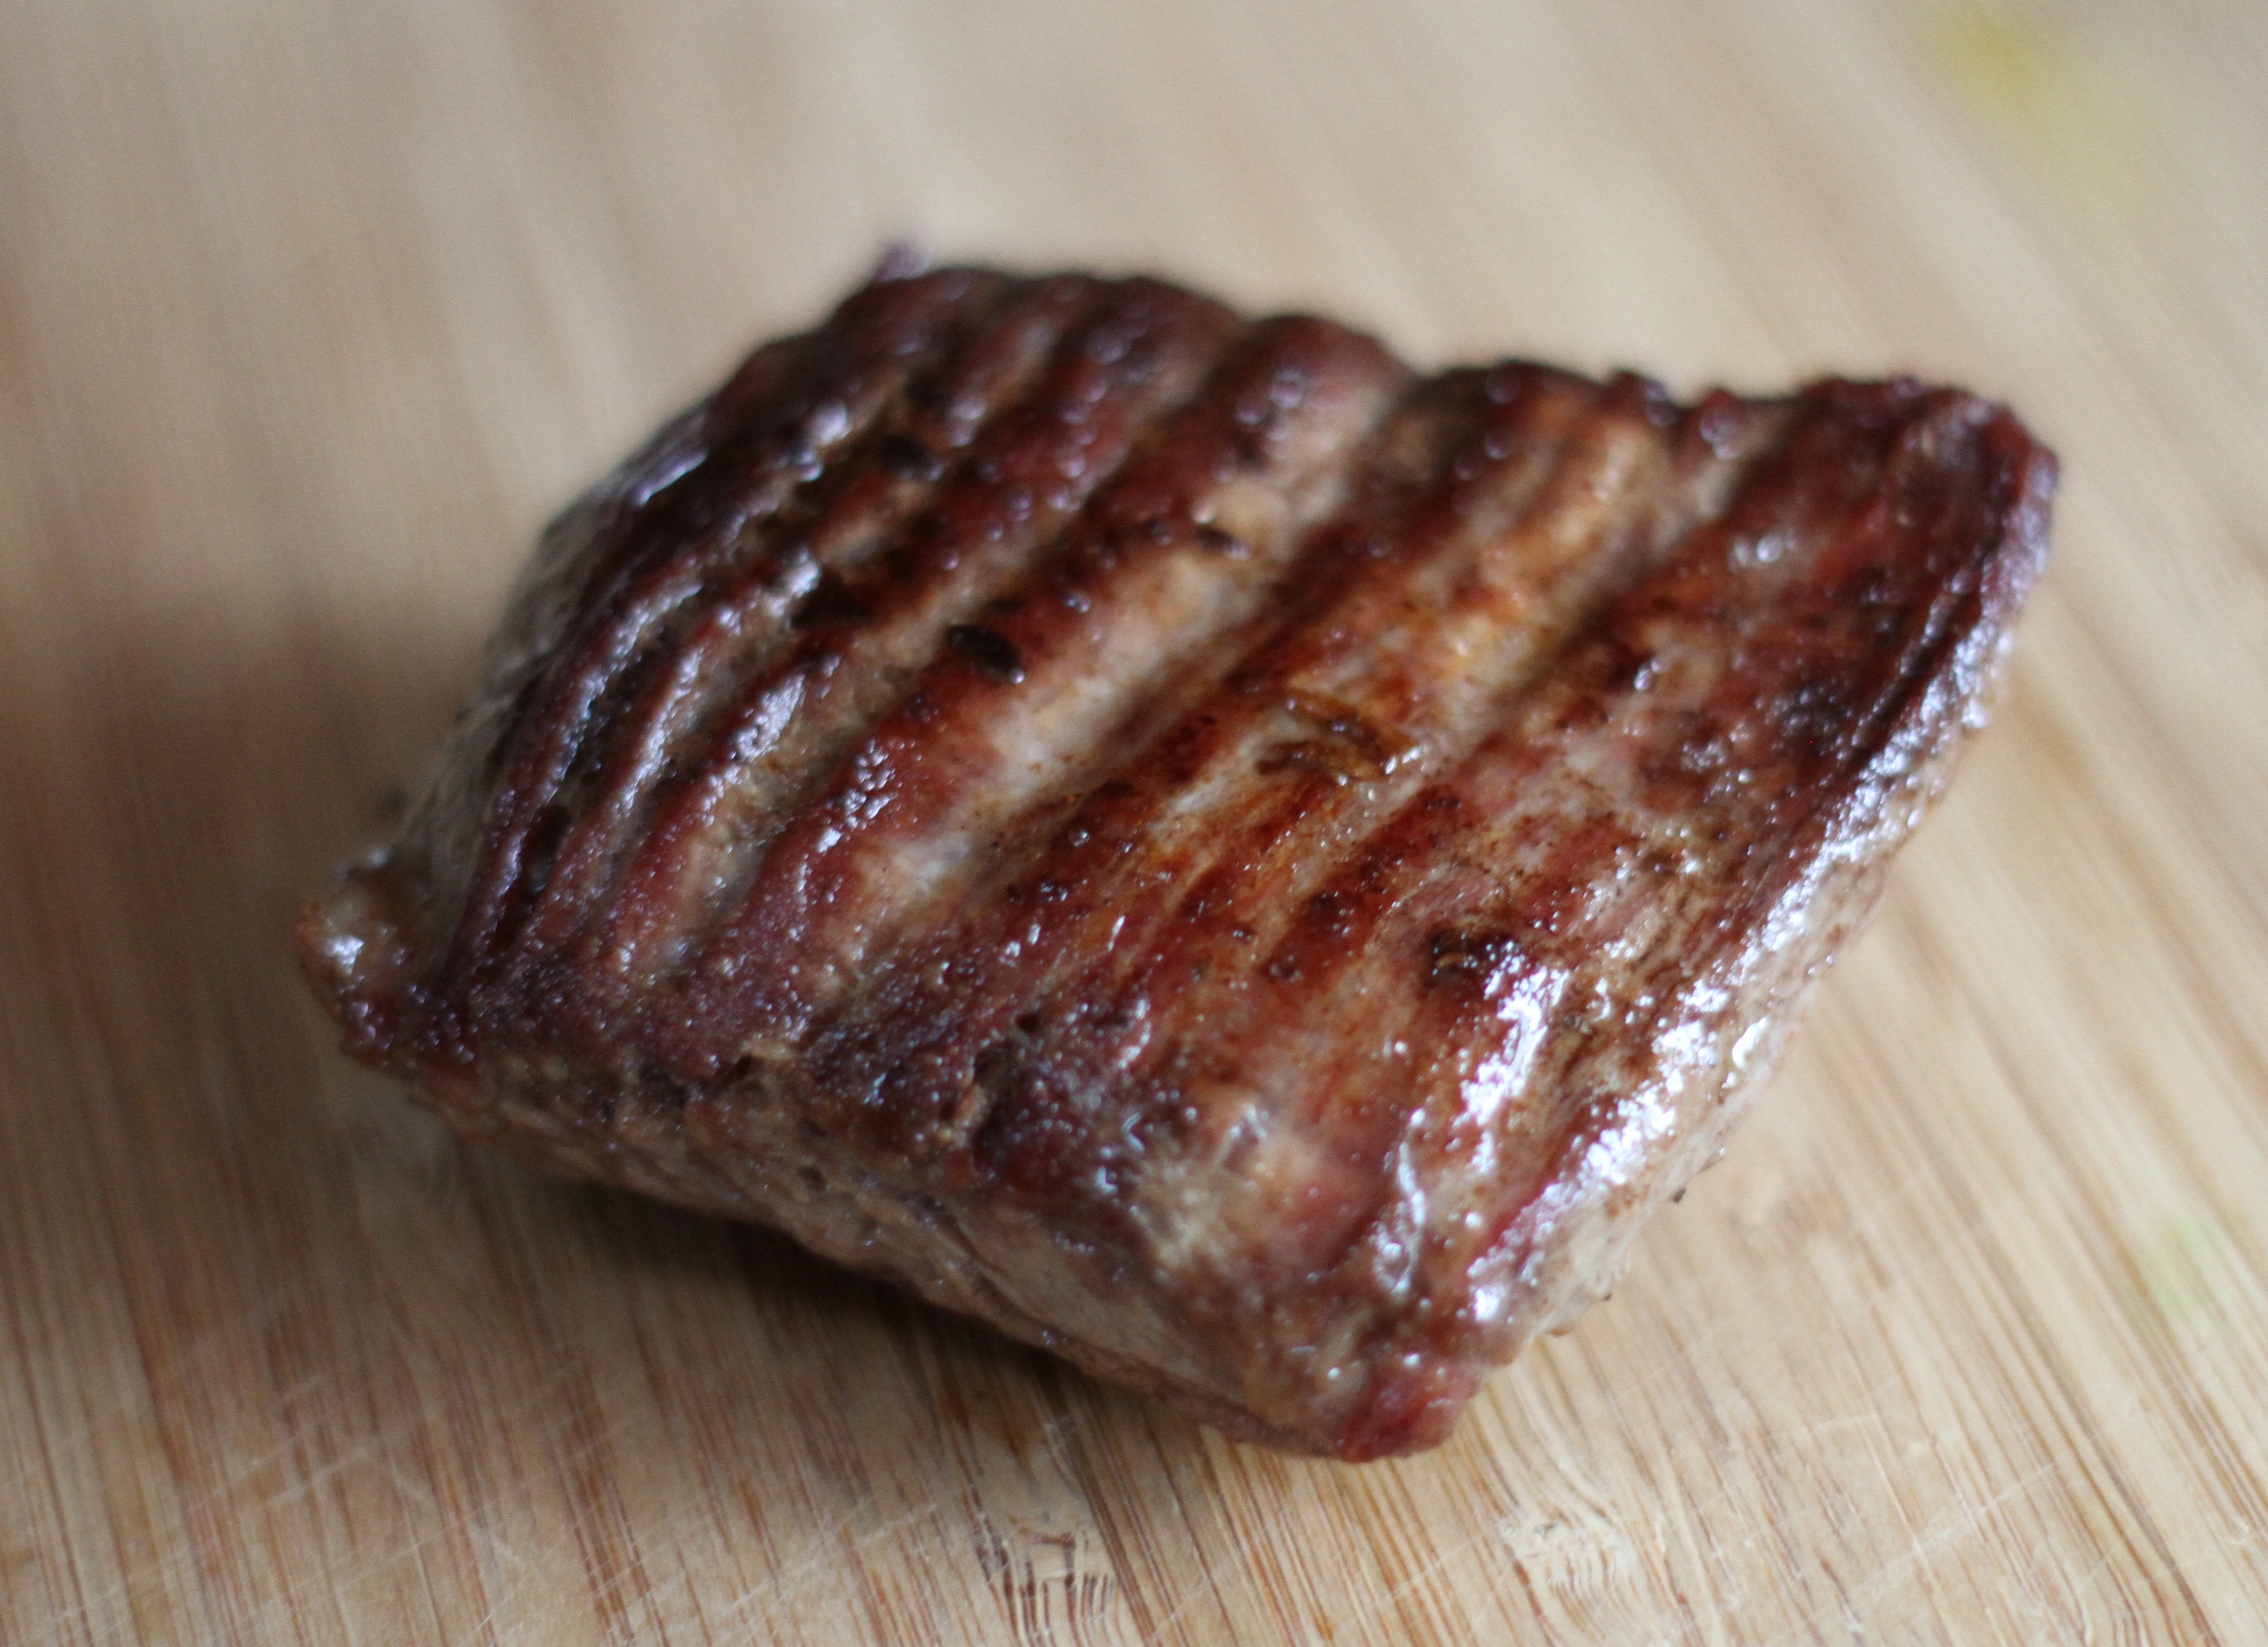
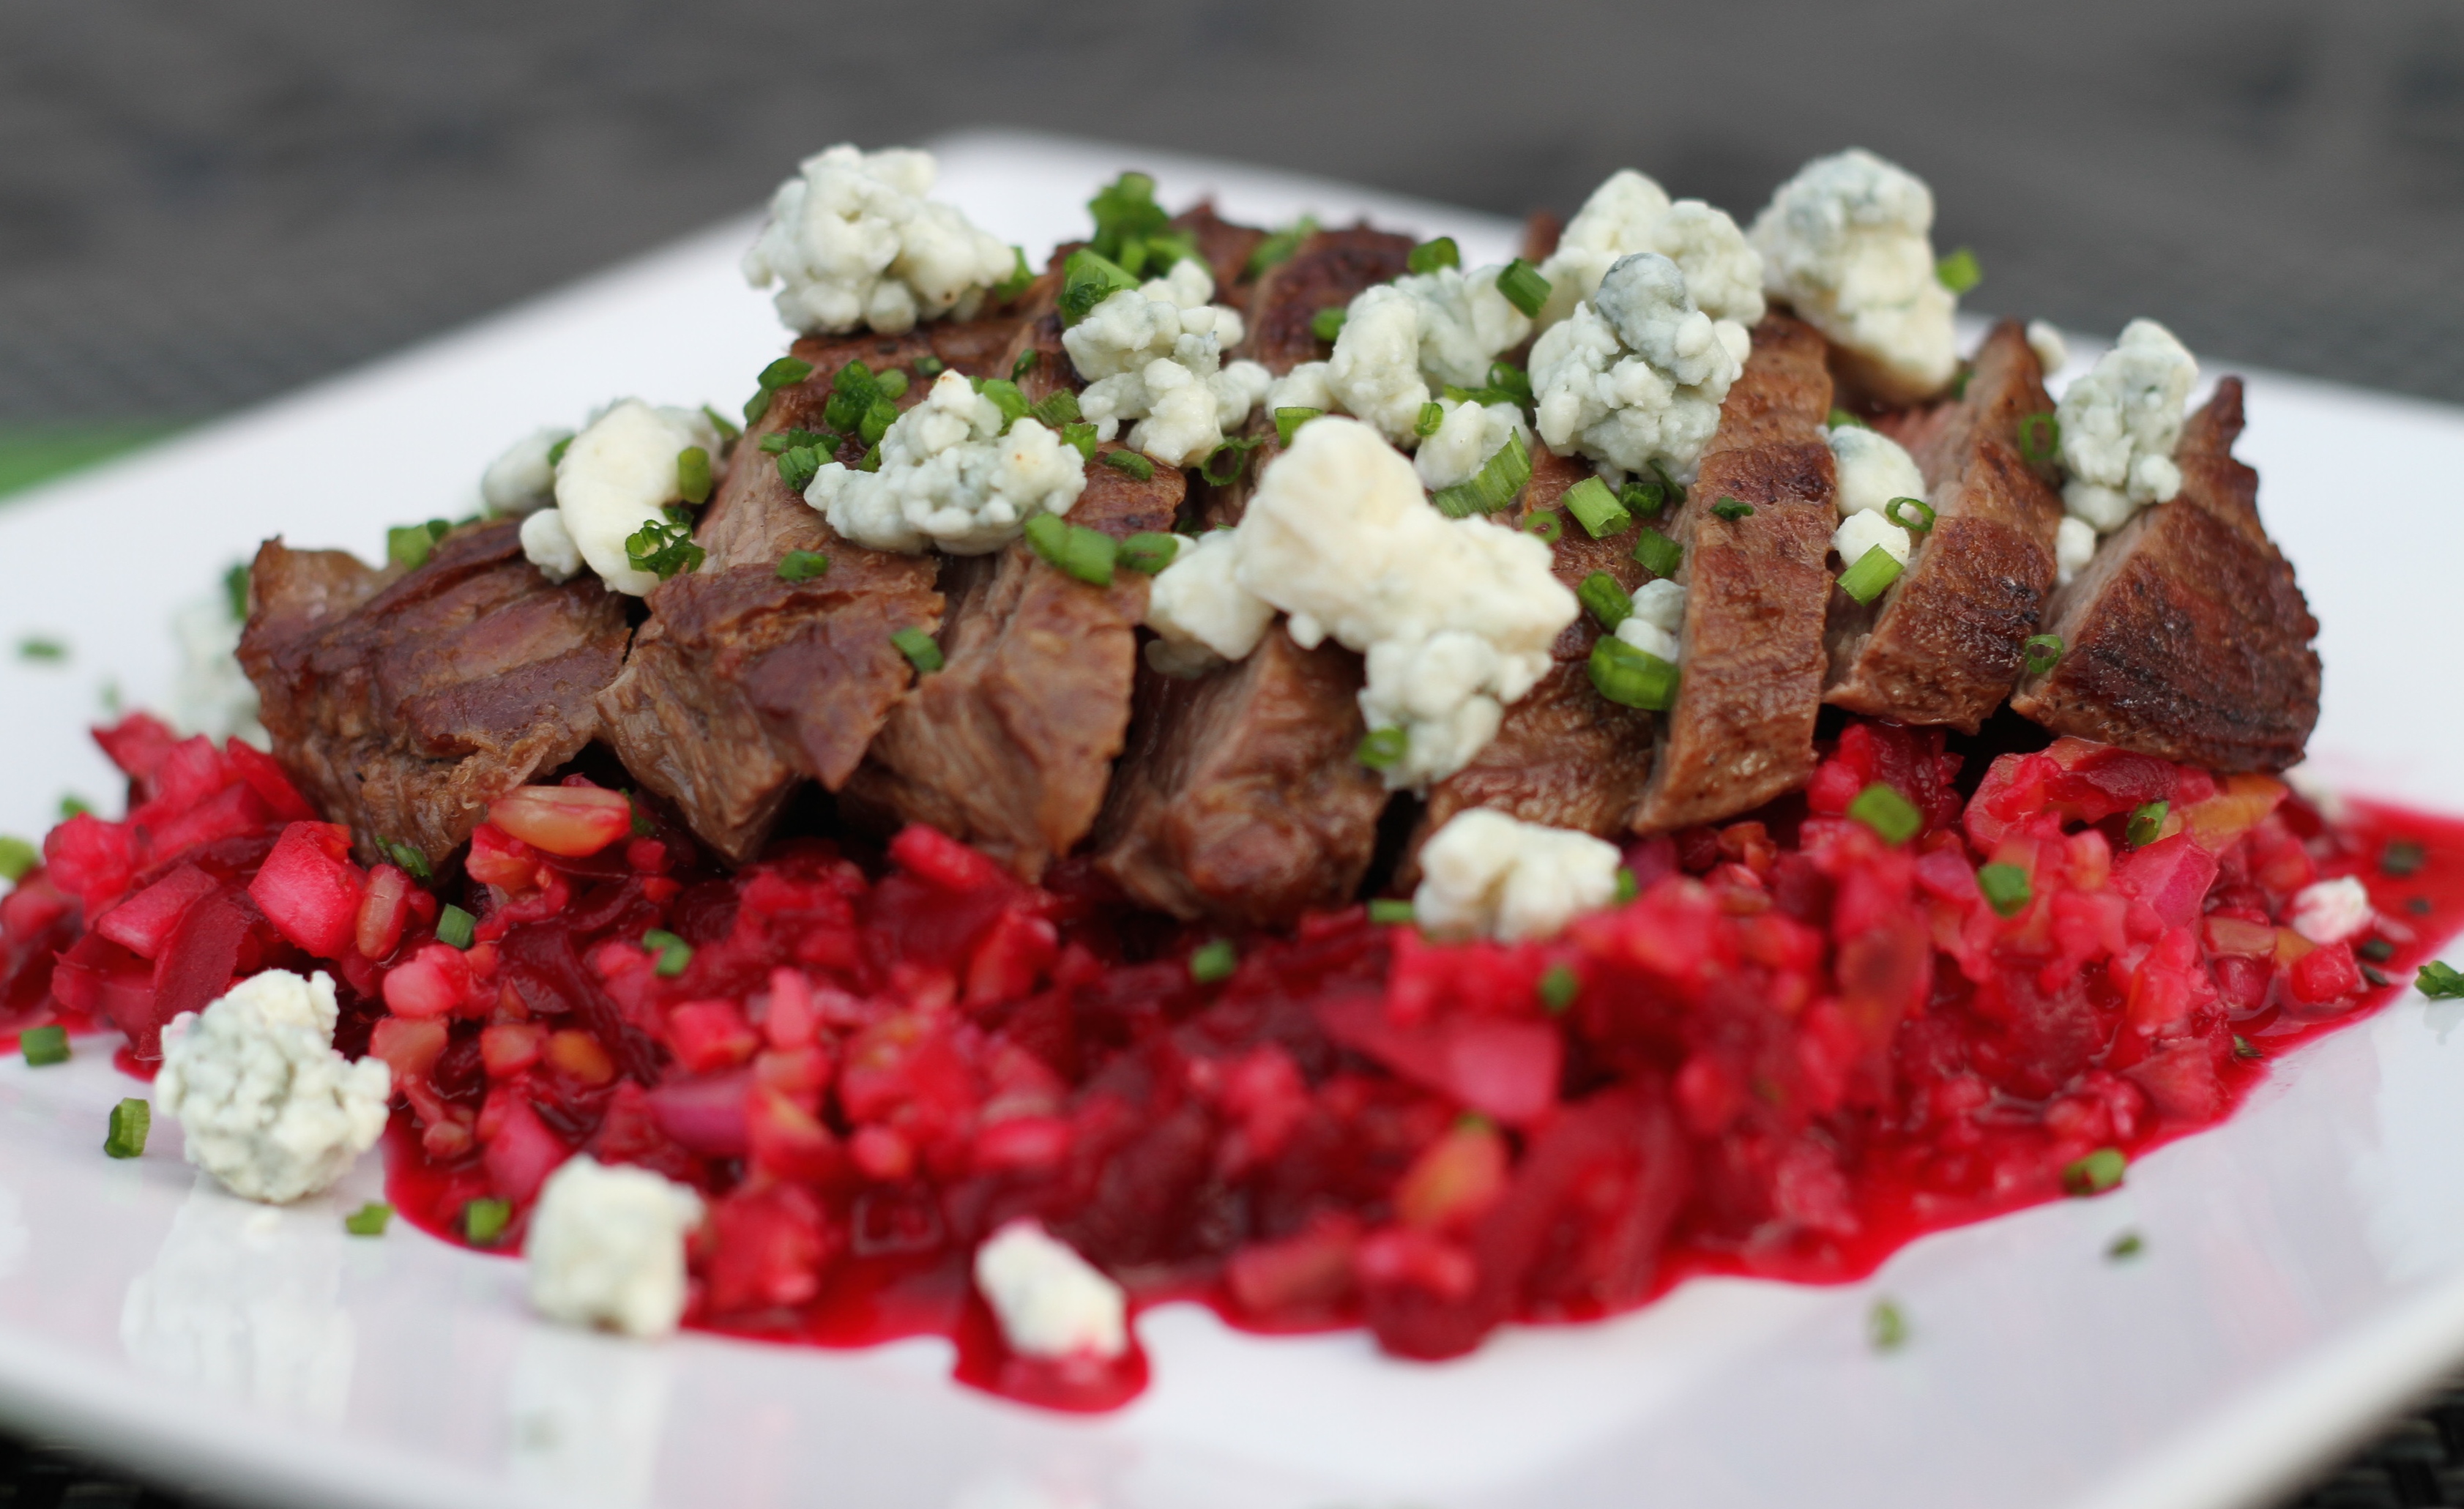
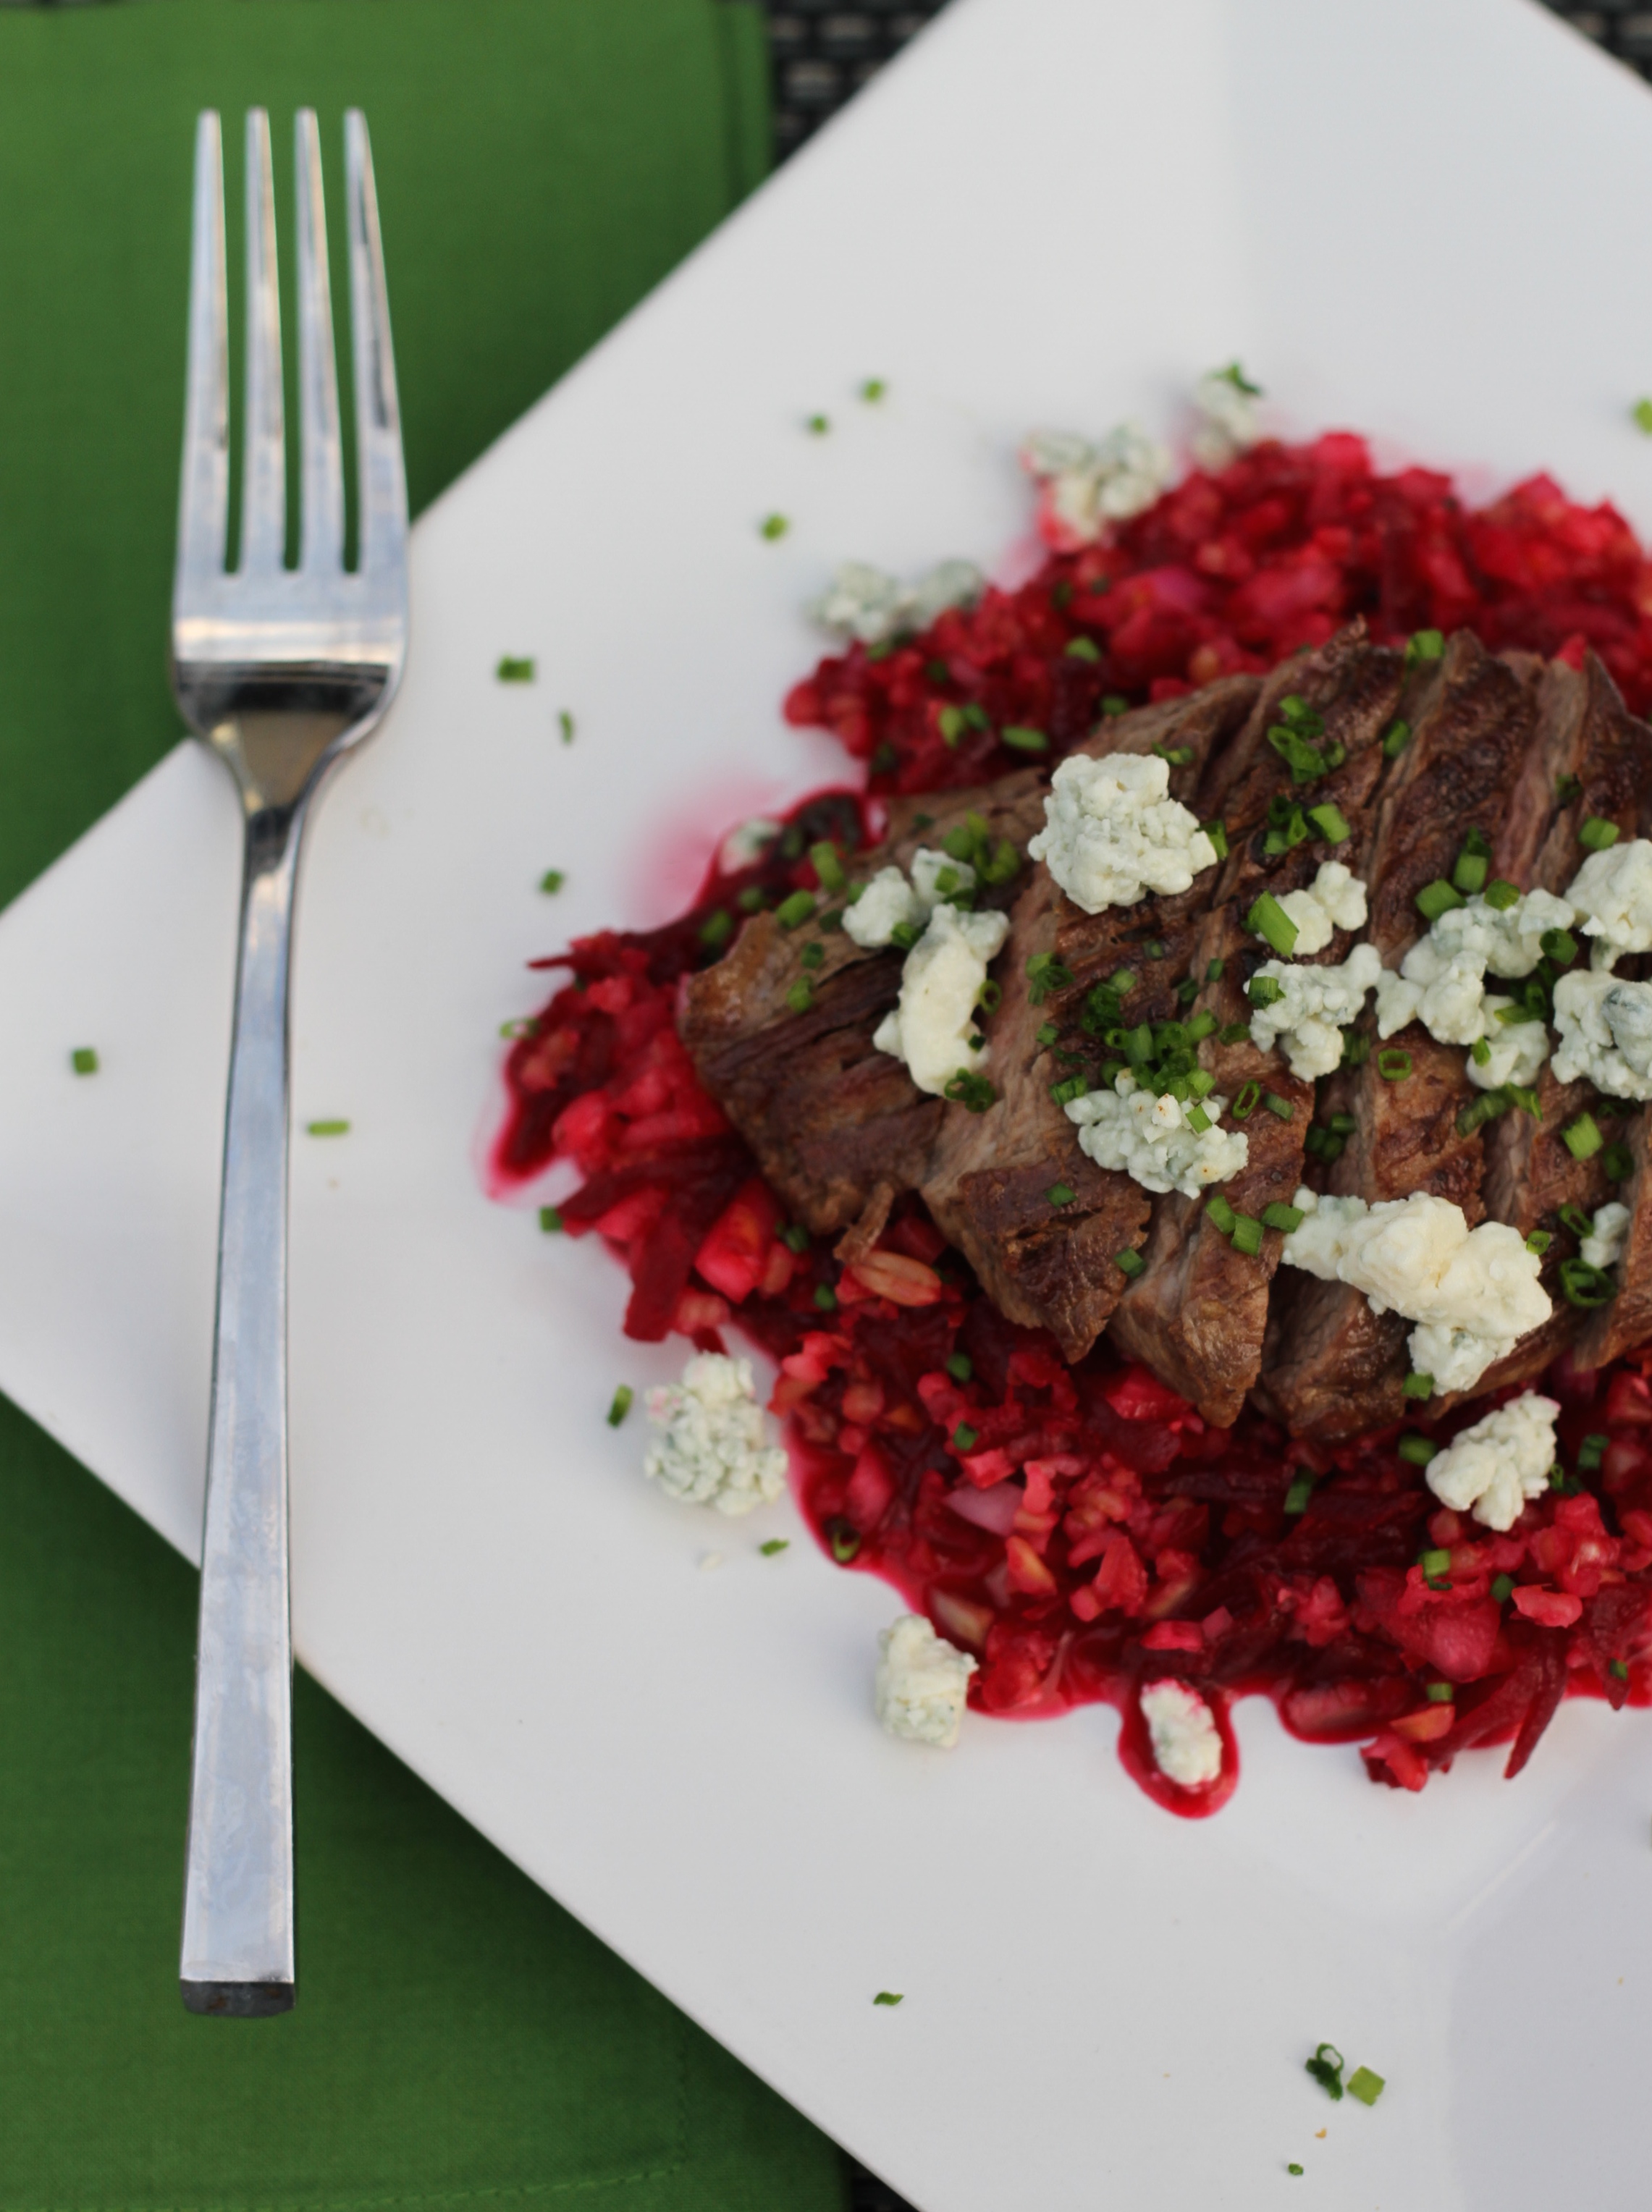
One of my first meals was the Flank Steak with Beet Freekeh Salad and Gorgonzola. When I was telling a girlfriend about Blue Apron, she mentioned the fact it is a great way to try new foods, and I have to agree. From wax Hungarian peppers, to sunchokes, to granulated honey, they help to introduce new foods in a non-threatening way.
Another great element is the timing. Aside from not having to meal plan or grocery shop, all the recipes take around 30 minutes to cook. I even prepped some ingredients the night before (diced celery, chopped carrots, etc.) which helped me to whip up one of the dishes in 15 minutes!
You can sign up for portions for 2 or 4 people, but my sister and I have found that a 2 person serving is better suited for 3 people (great for lunch leftovers). I also was super surprised by how flavorful the dishes are. That being said, I definitely recommend this for families, or a couple with a big eater. I find that the strong flavors make it tough for next day leftovers… but if you are a leftover person, this may totally work for you.
Another highlight has to be the quality of the produce and meat/fish. One night my mom bought additional steaks from Whole Foods to add to an existing Blue Apron recipe and we all chose the meat from Blue Apron in a blind tasting! And don’t worry… you won’t be paying through the nose for that quality – each meal is $20 (which feeds 2-3 people!). Can’t argue with that!
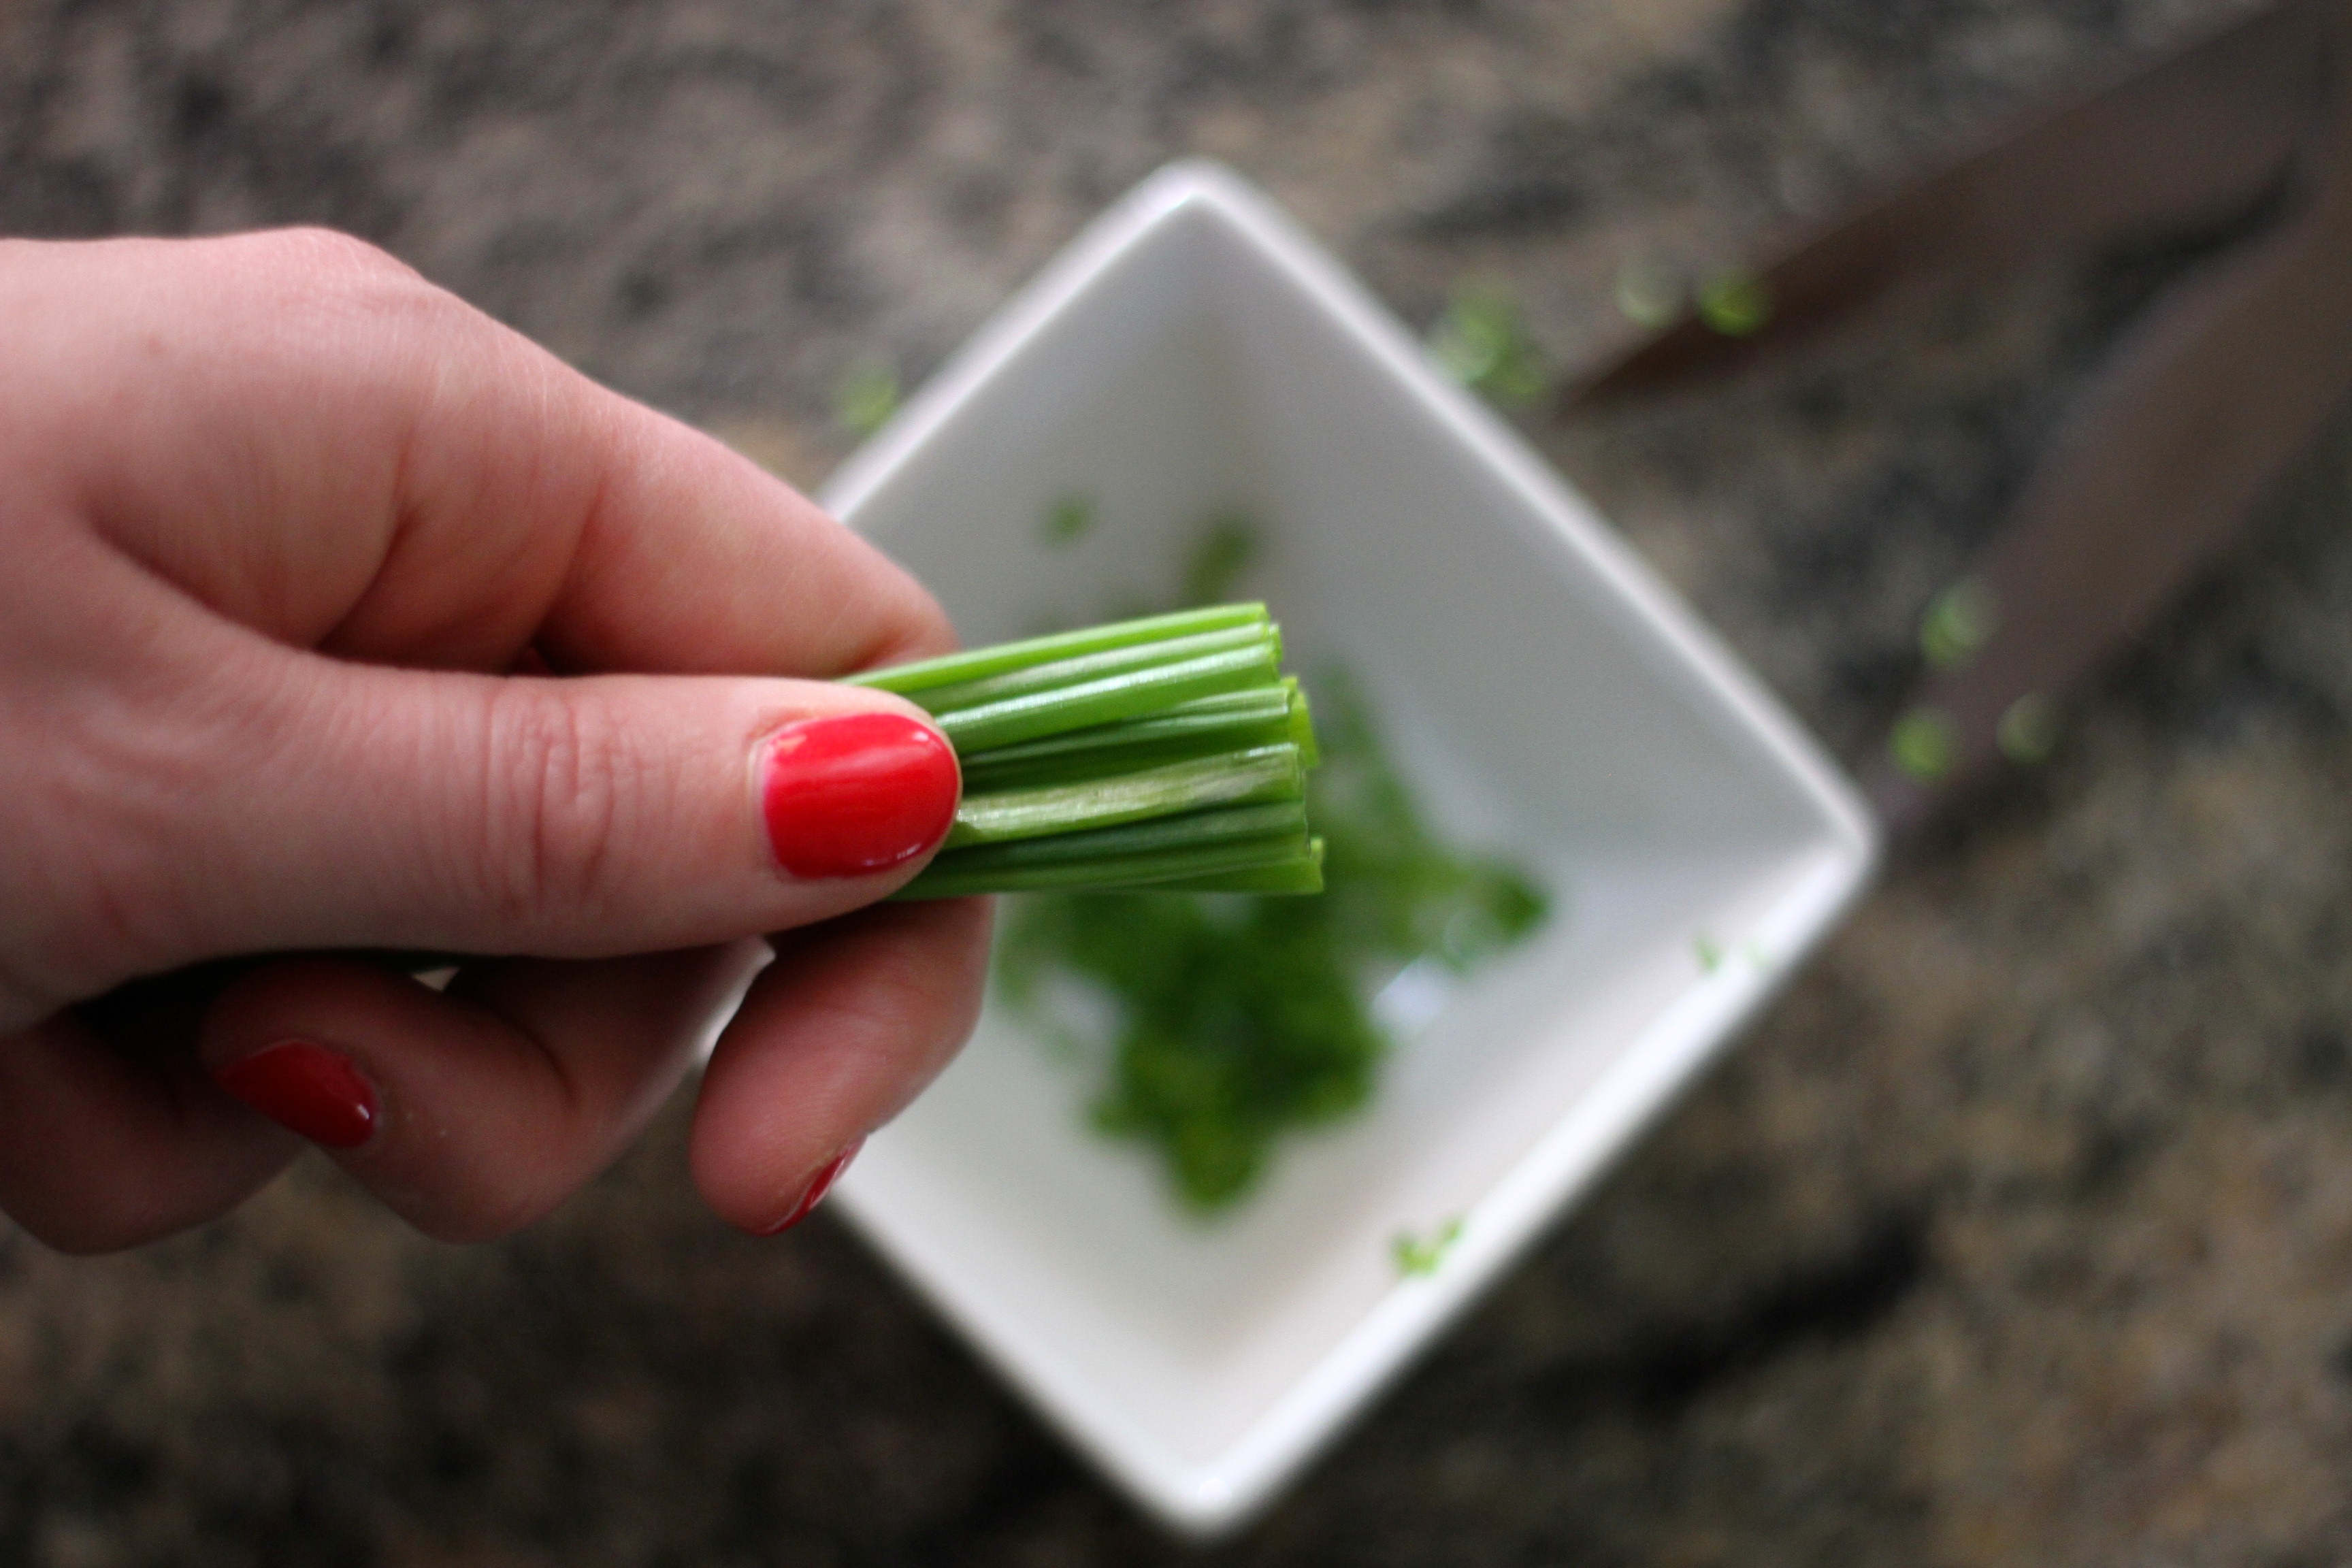
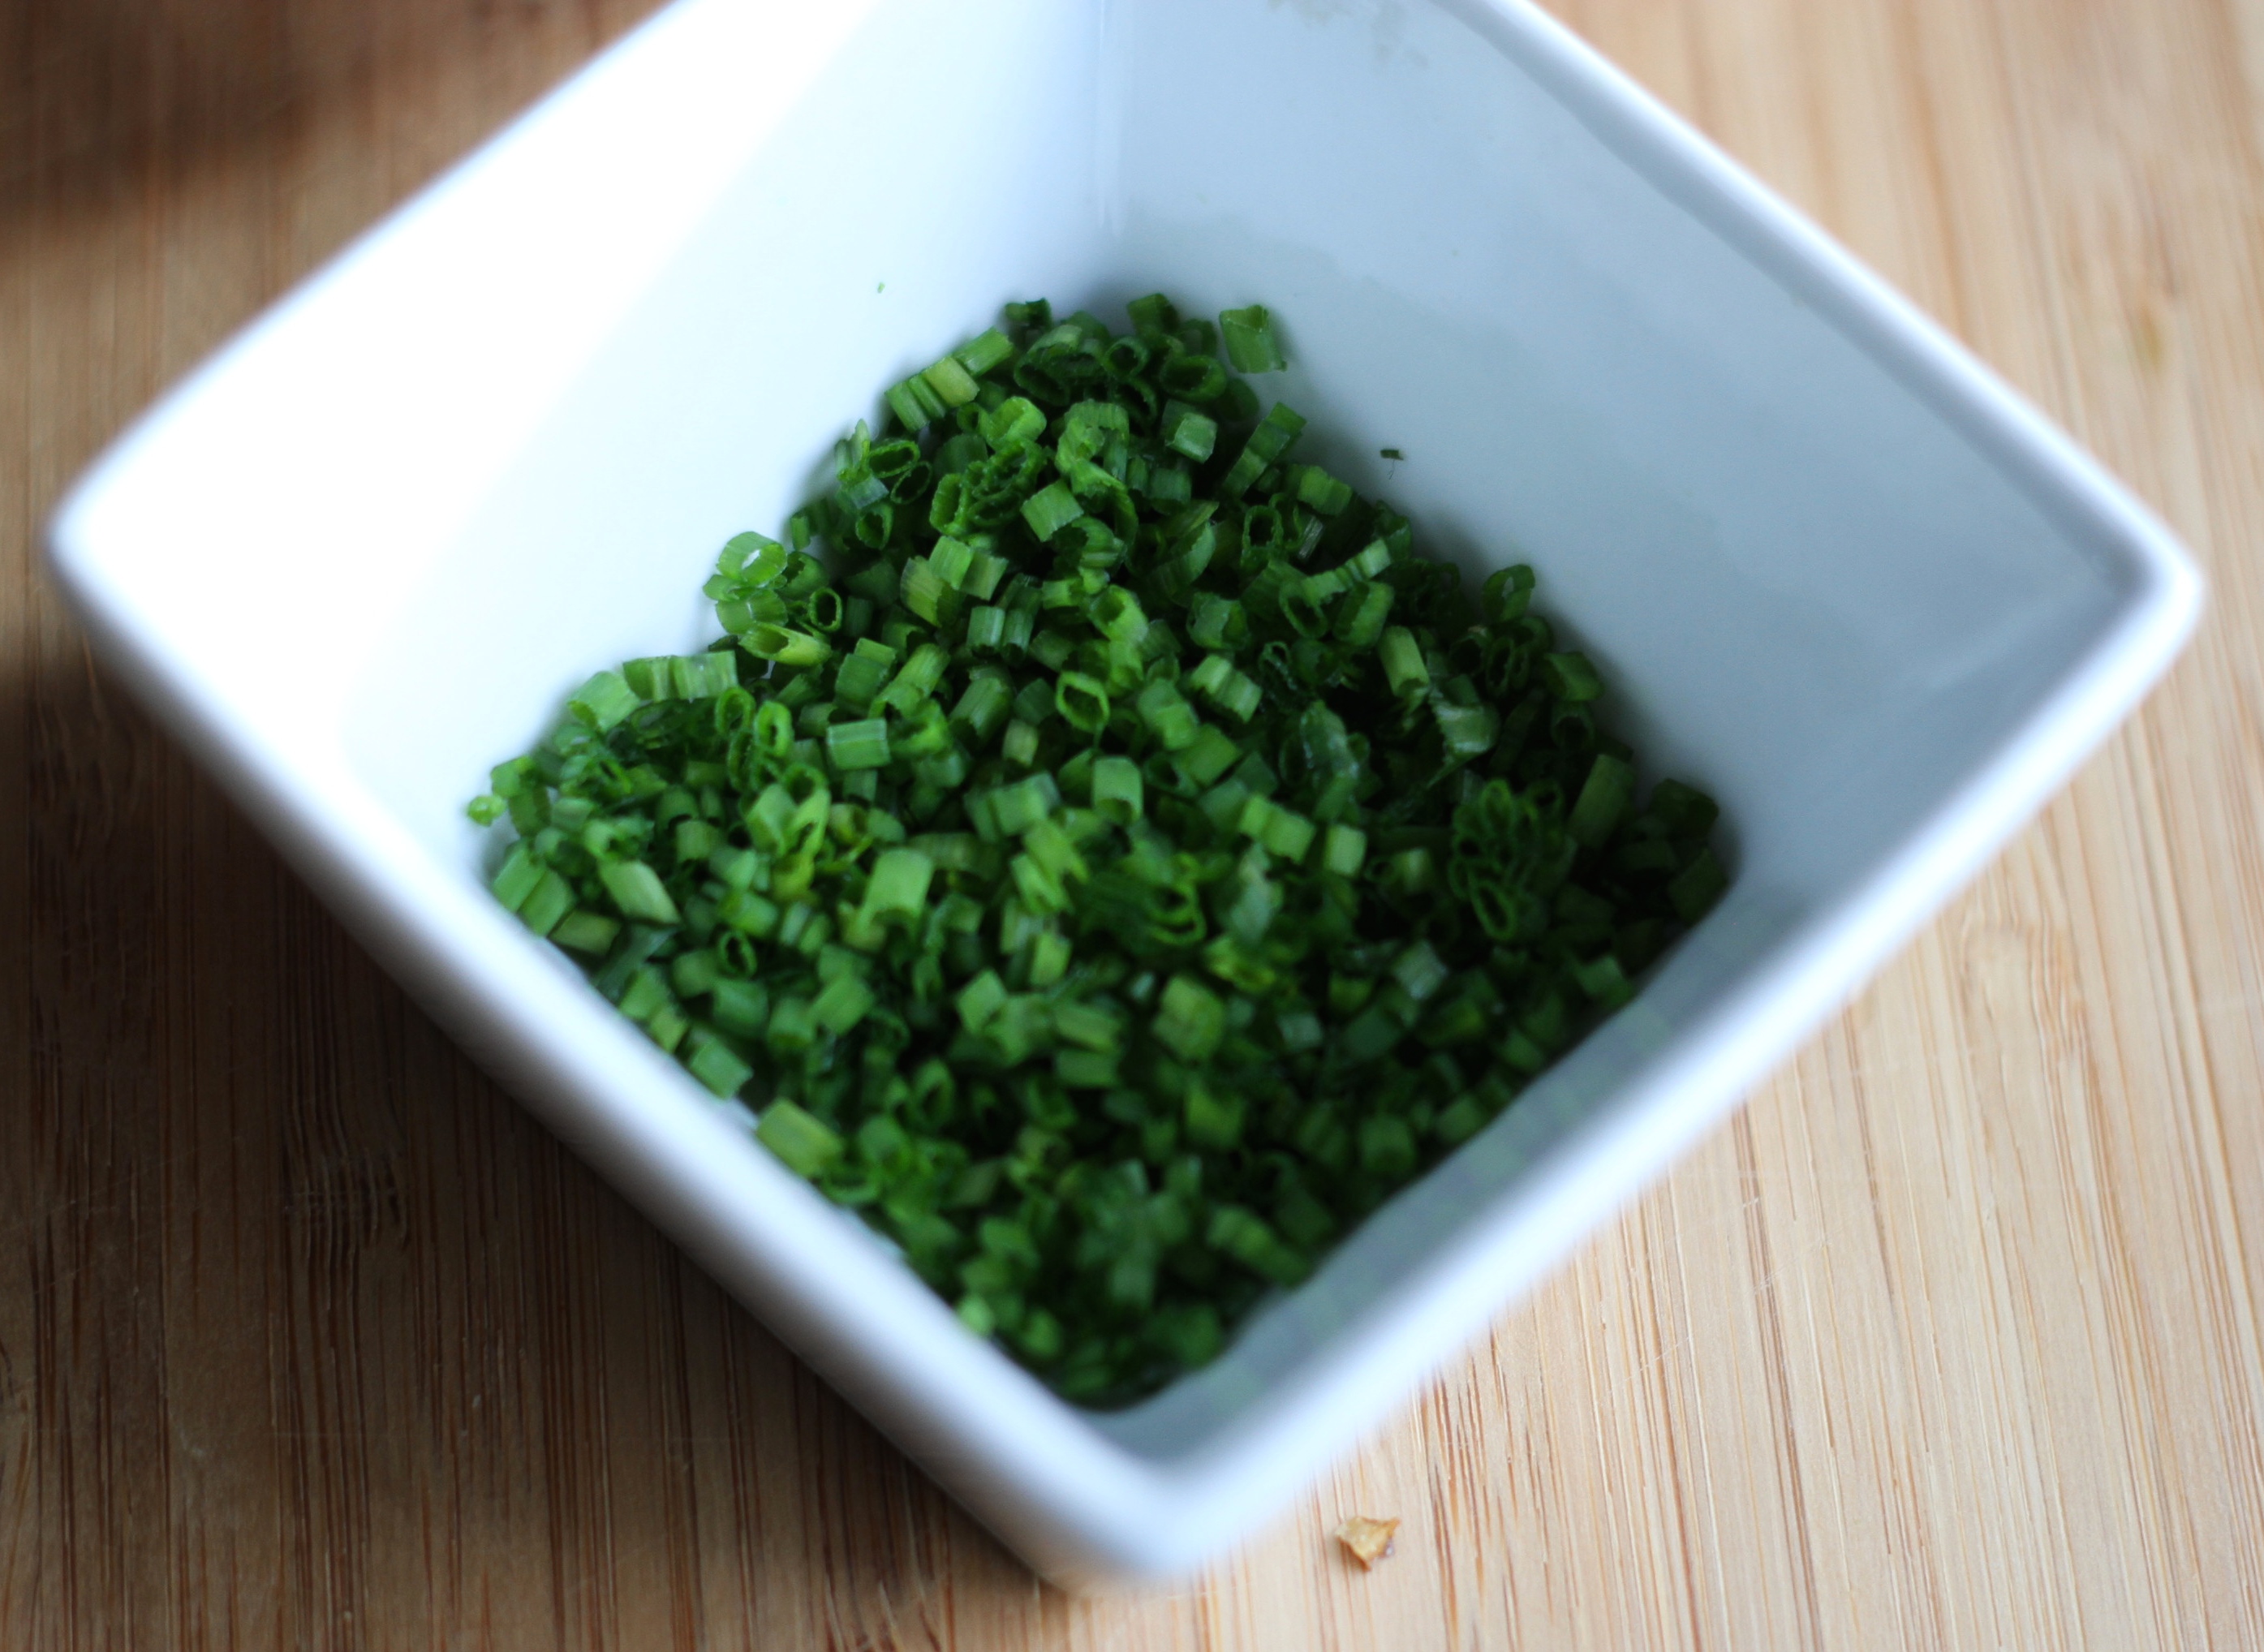
Flank Steak with Beet Freekeh Salad and Gorgonzola
If you are intersted in giving Blue Apron a try, click here!

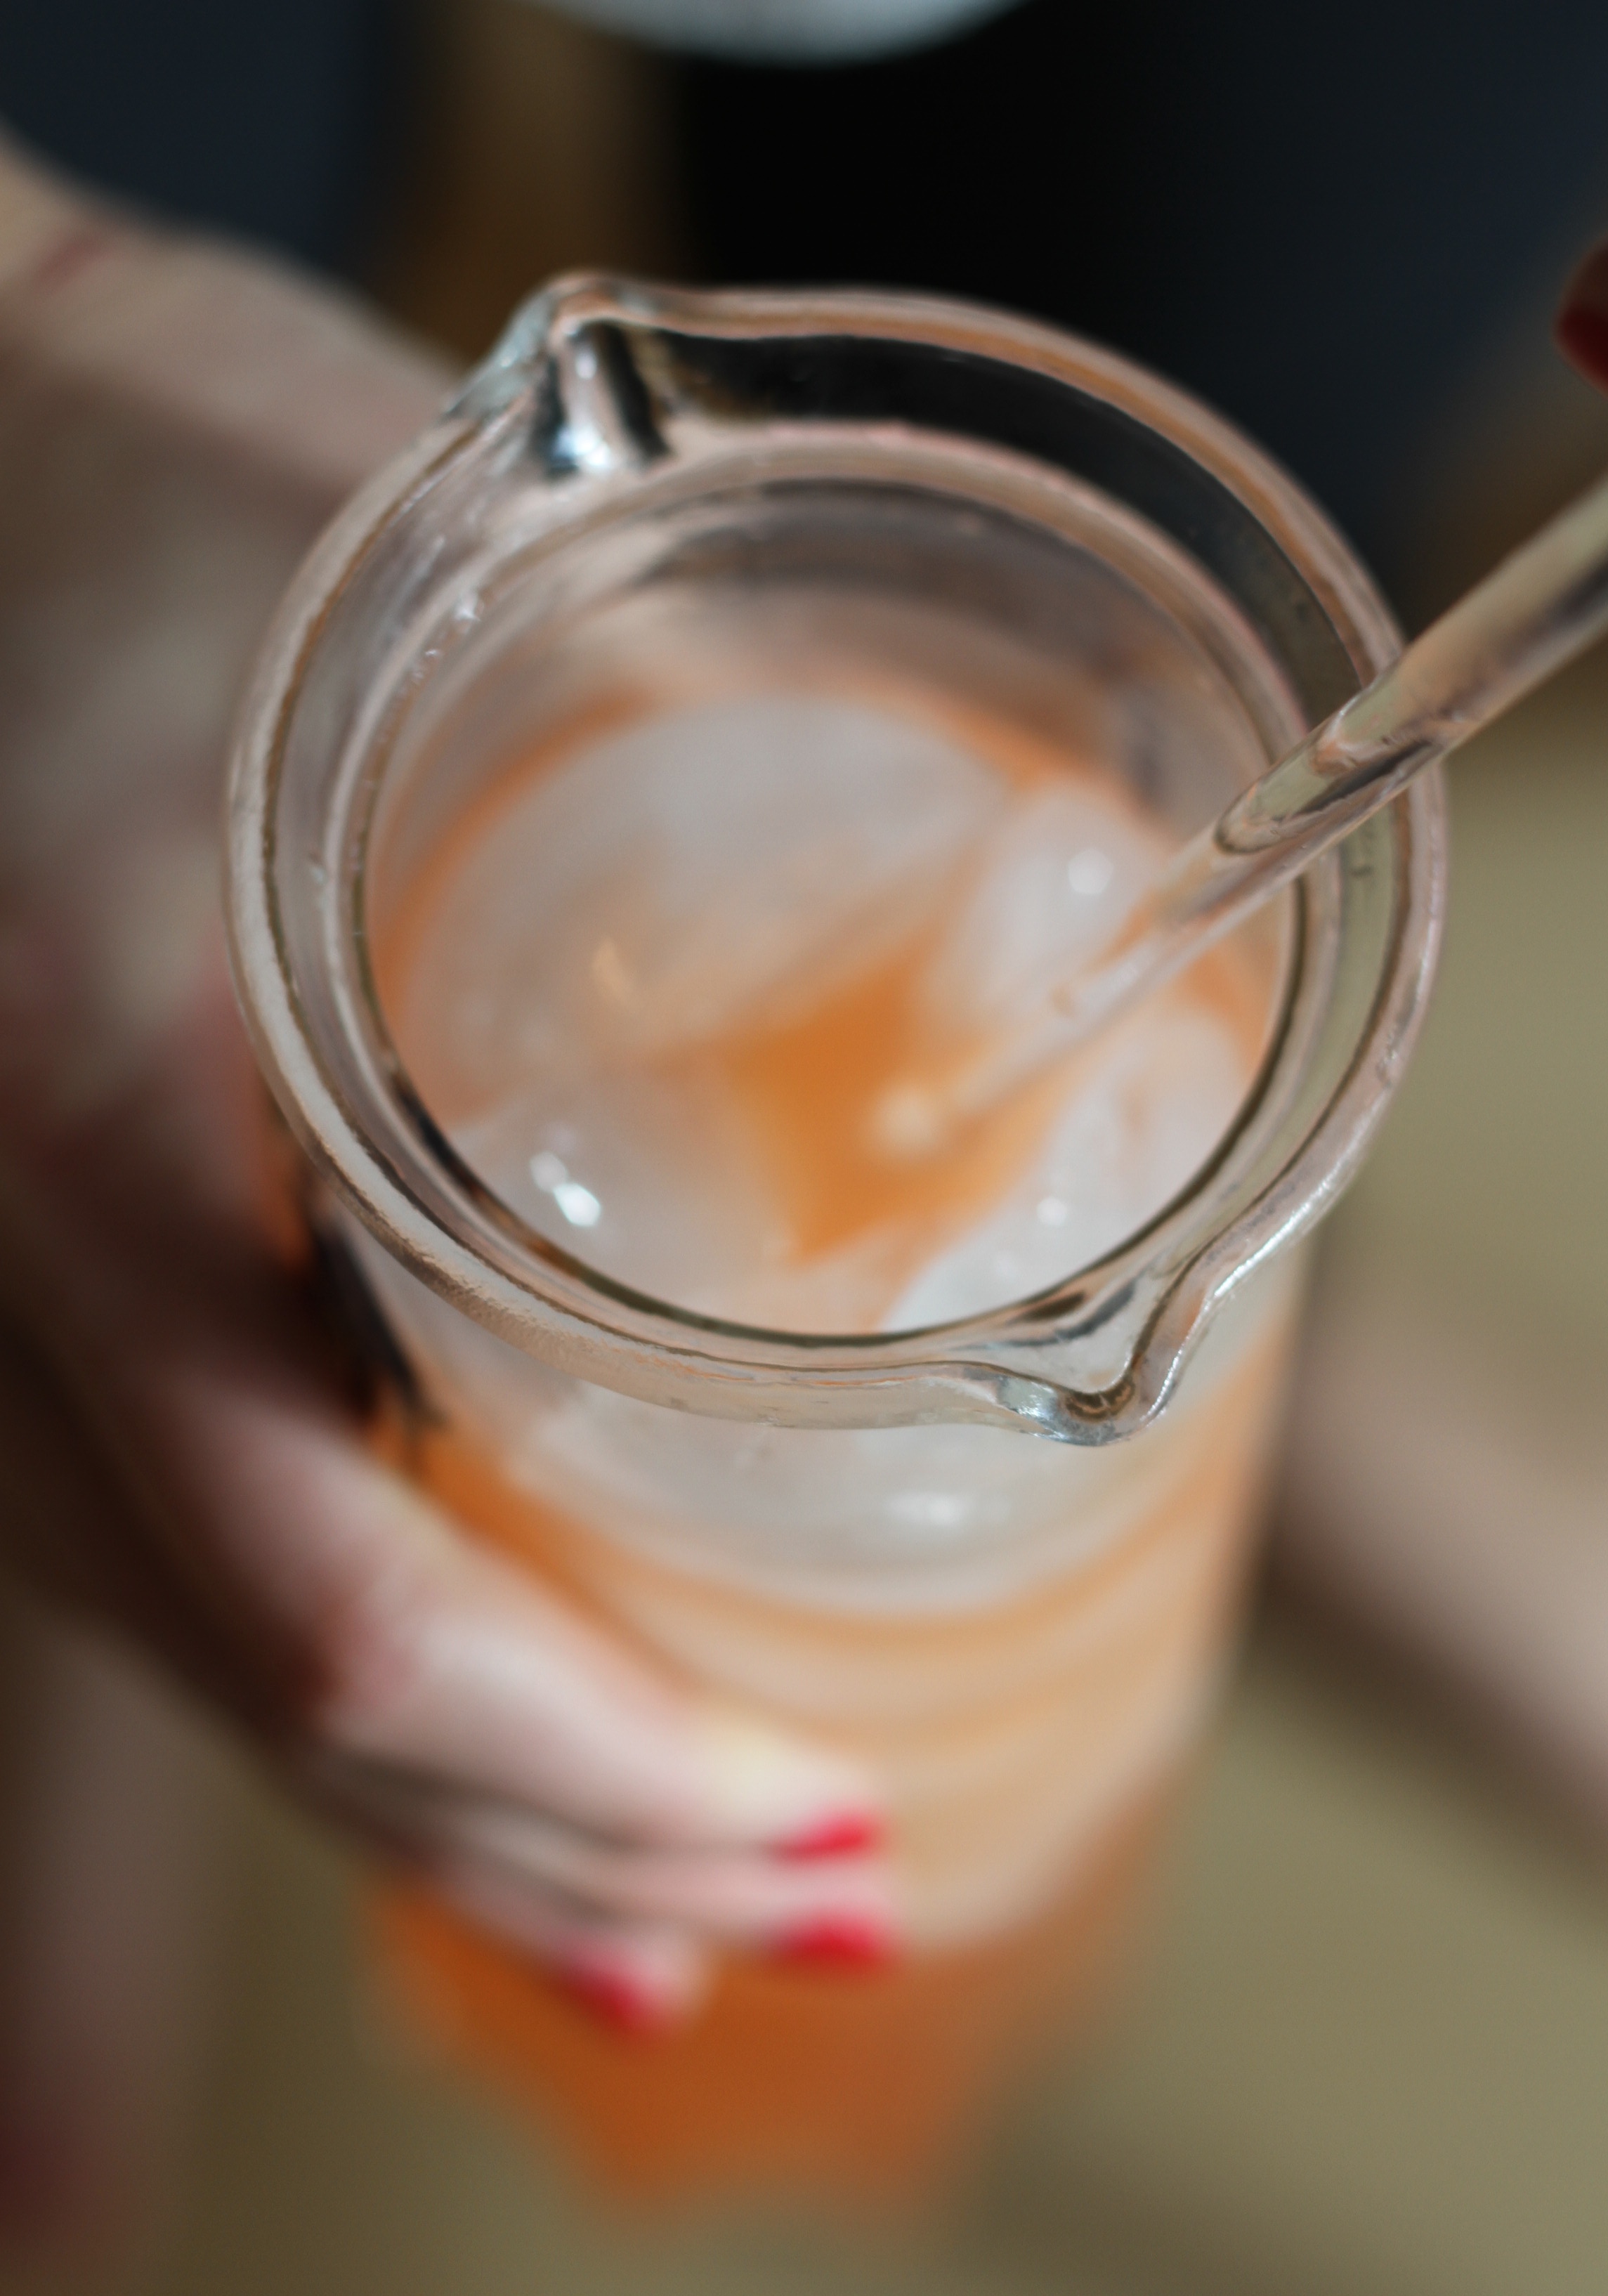
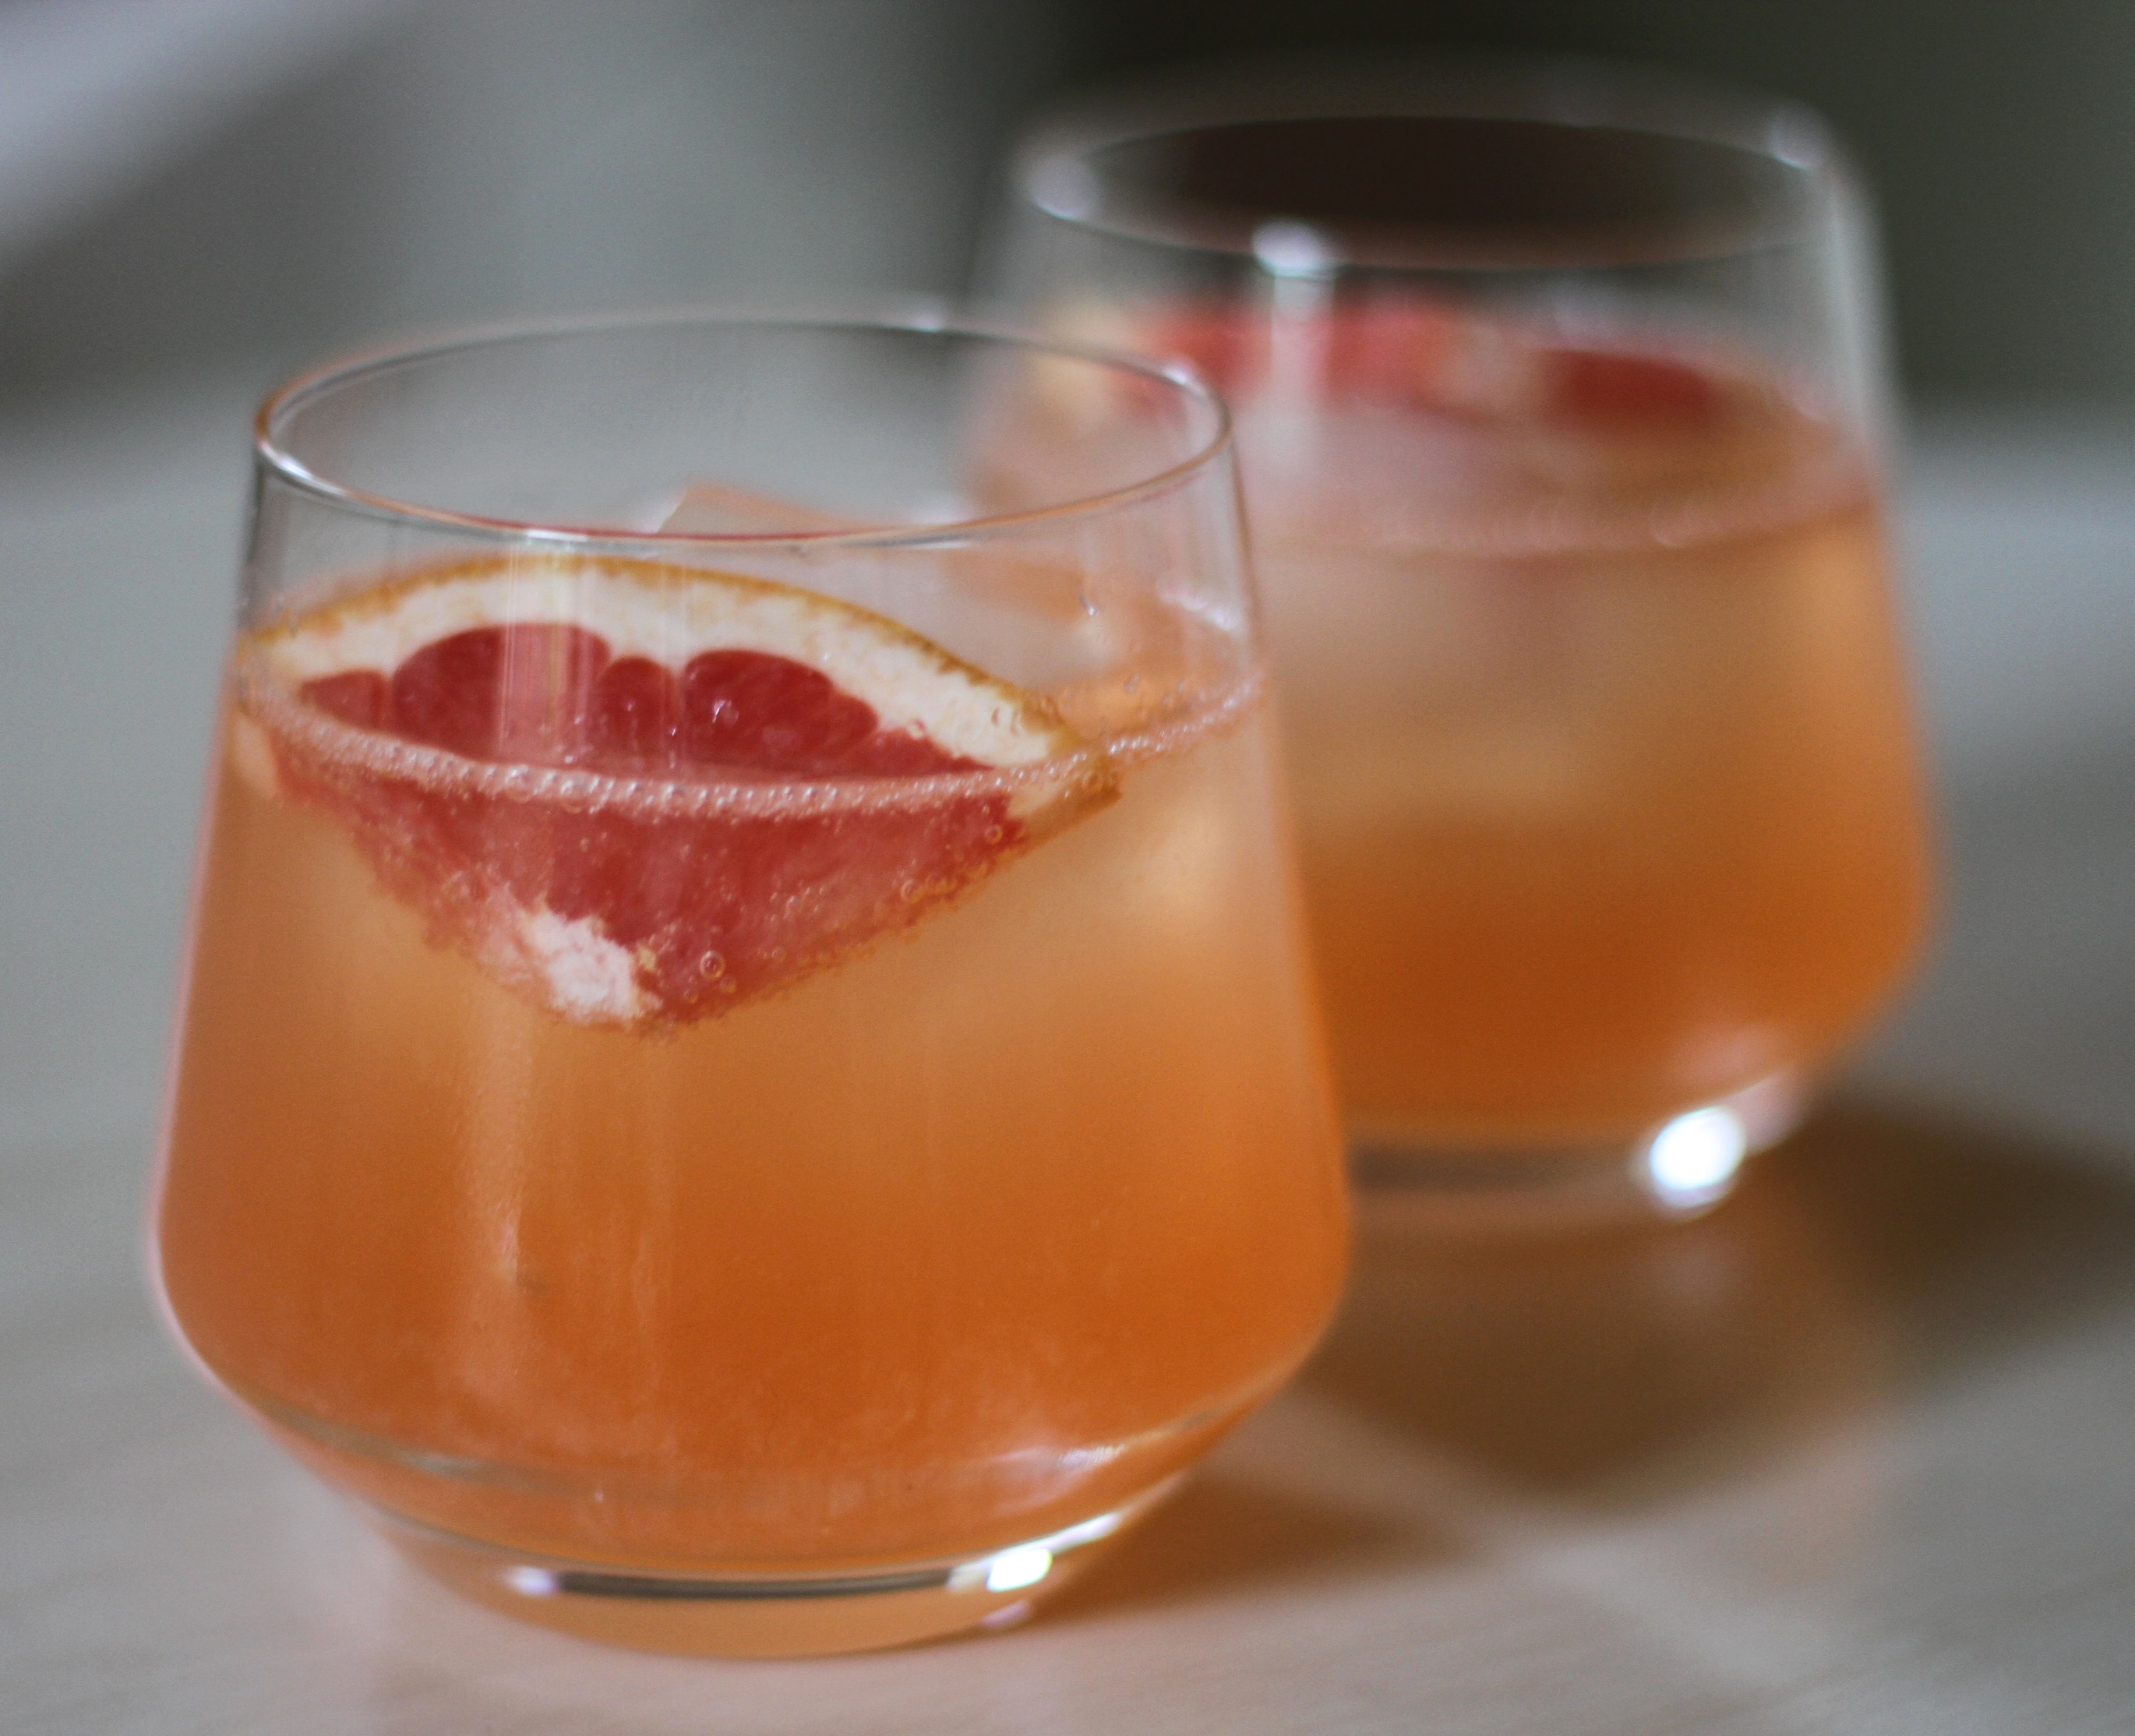
All of this cooking and baking calls for a little drinking? Does it not?
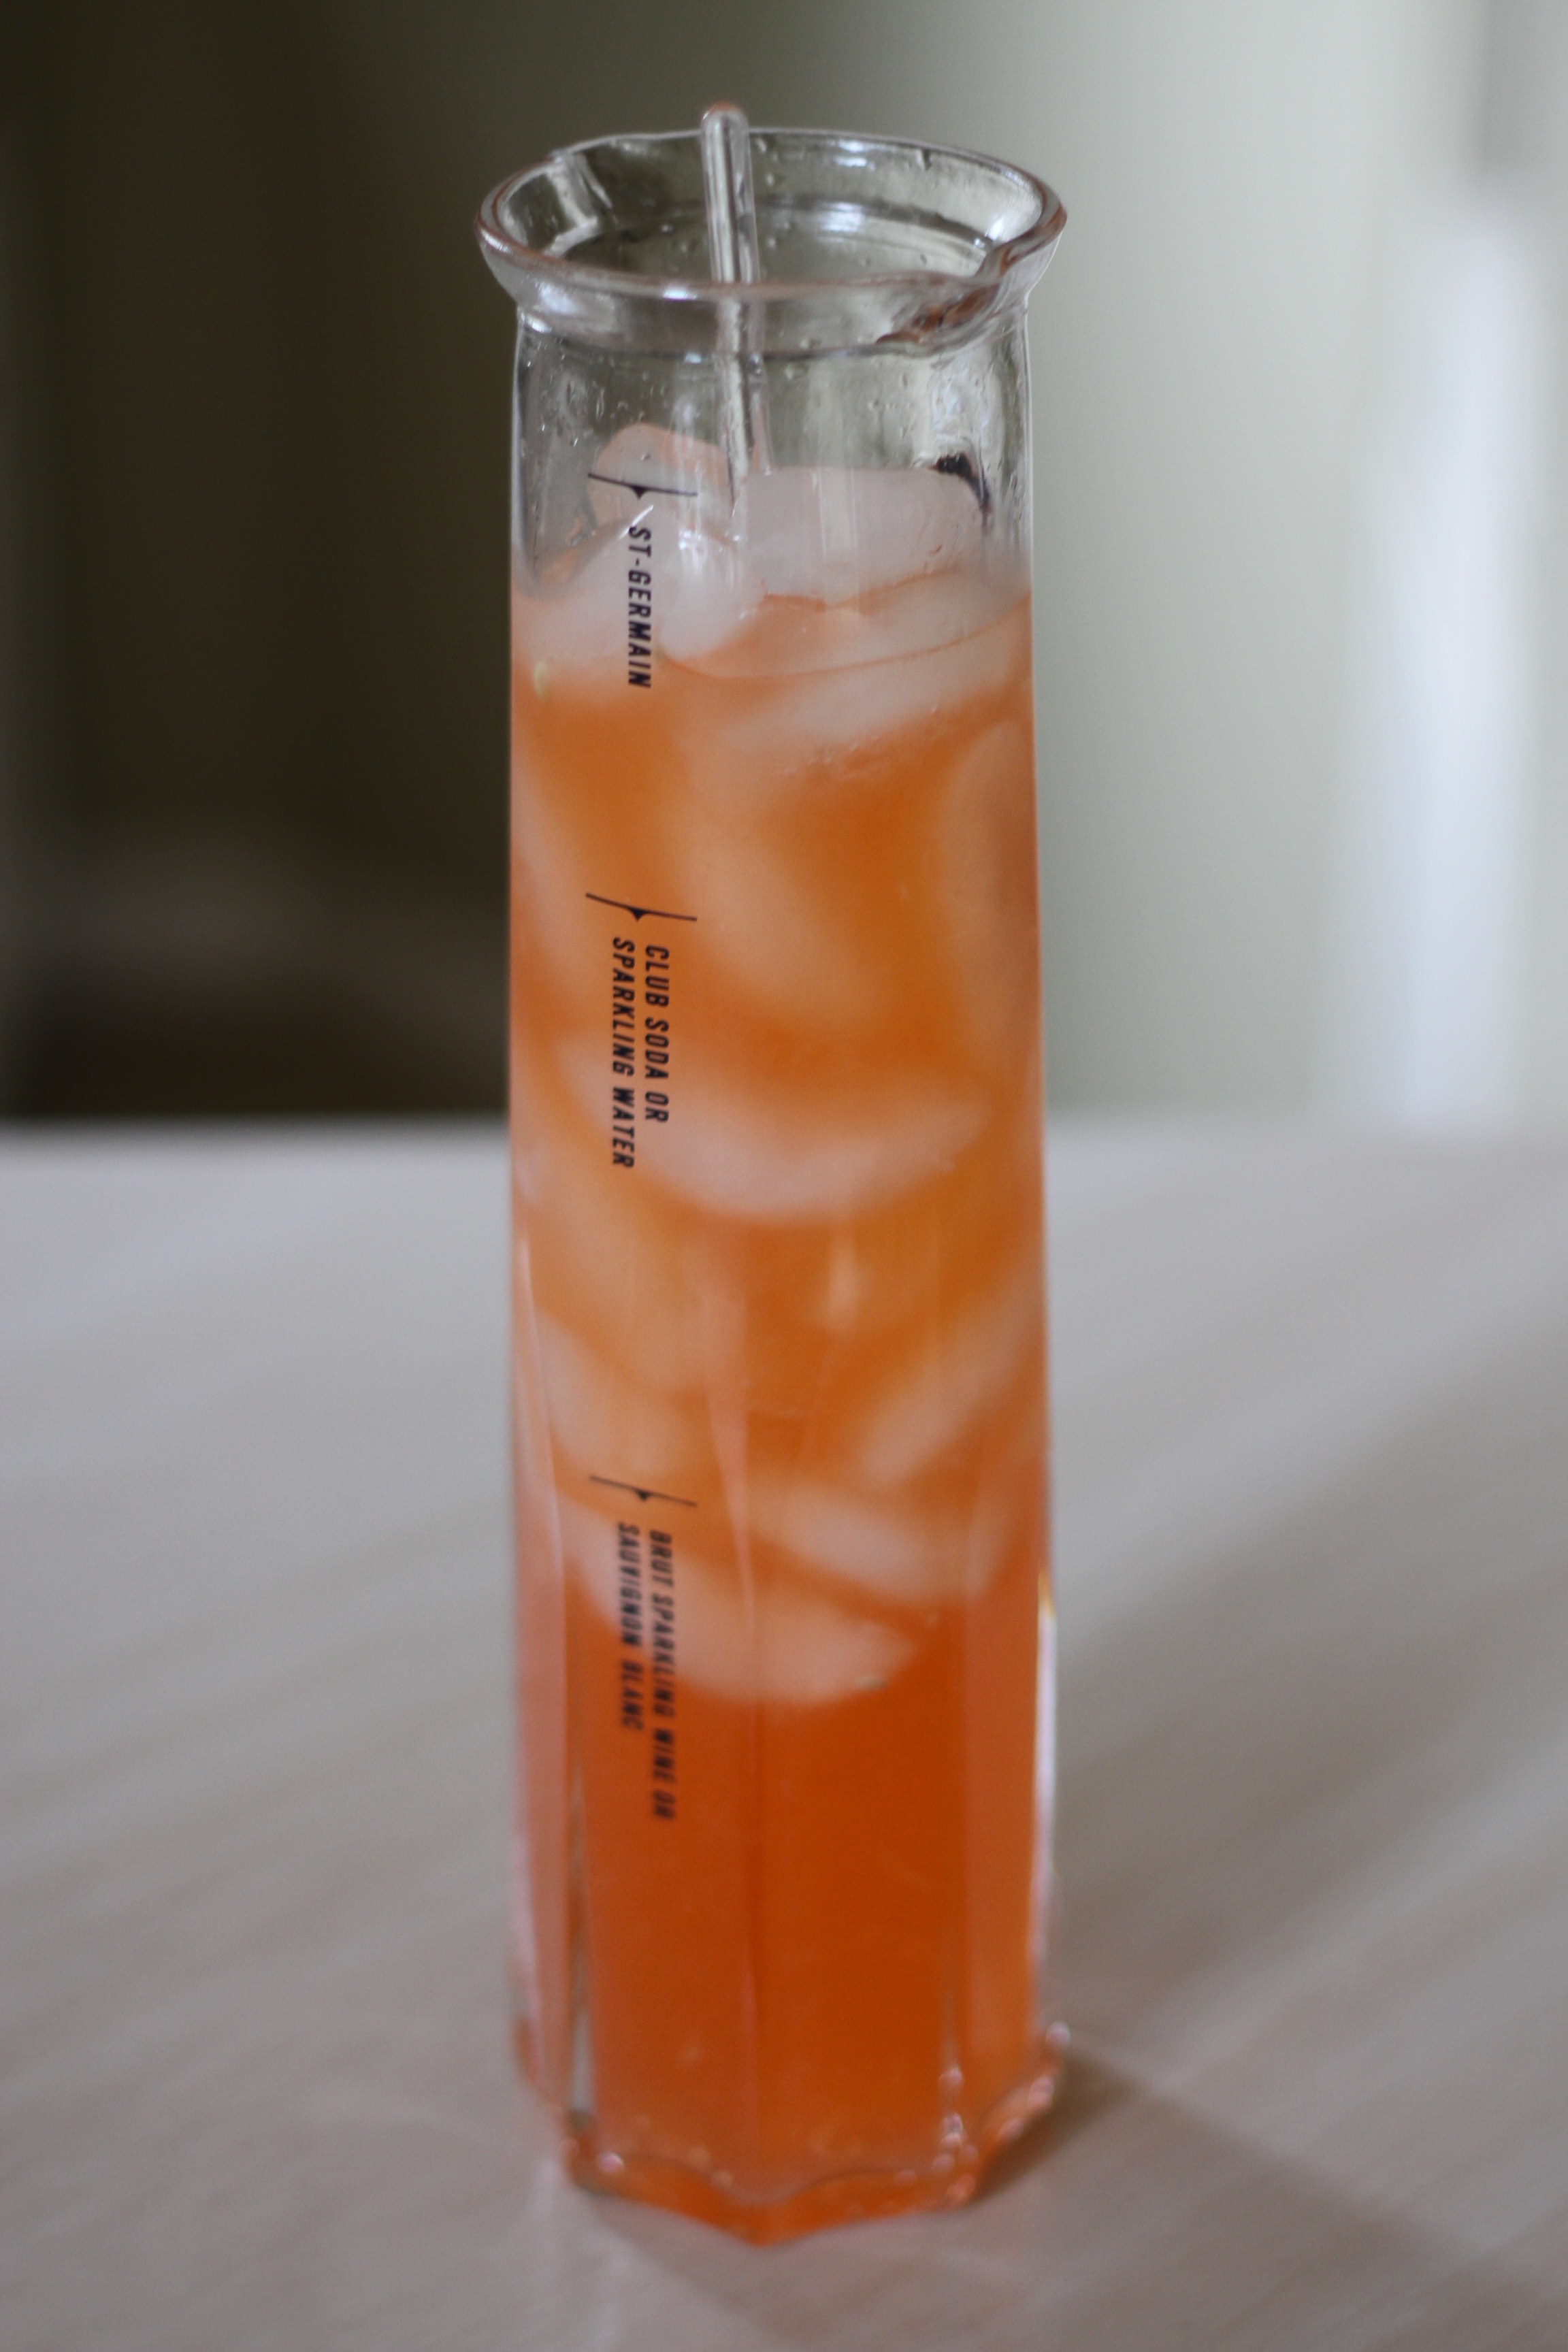
My mom found this awesome Bowery Punch recipe and I had to share… it’s seriously delicious!
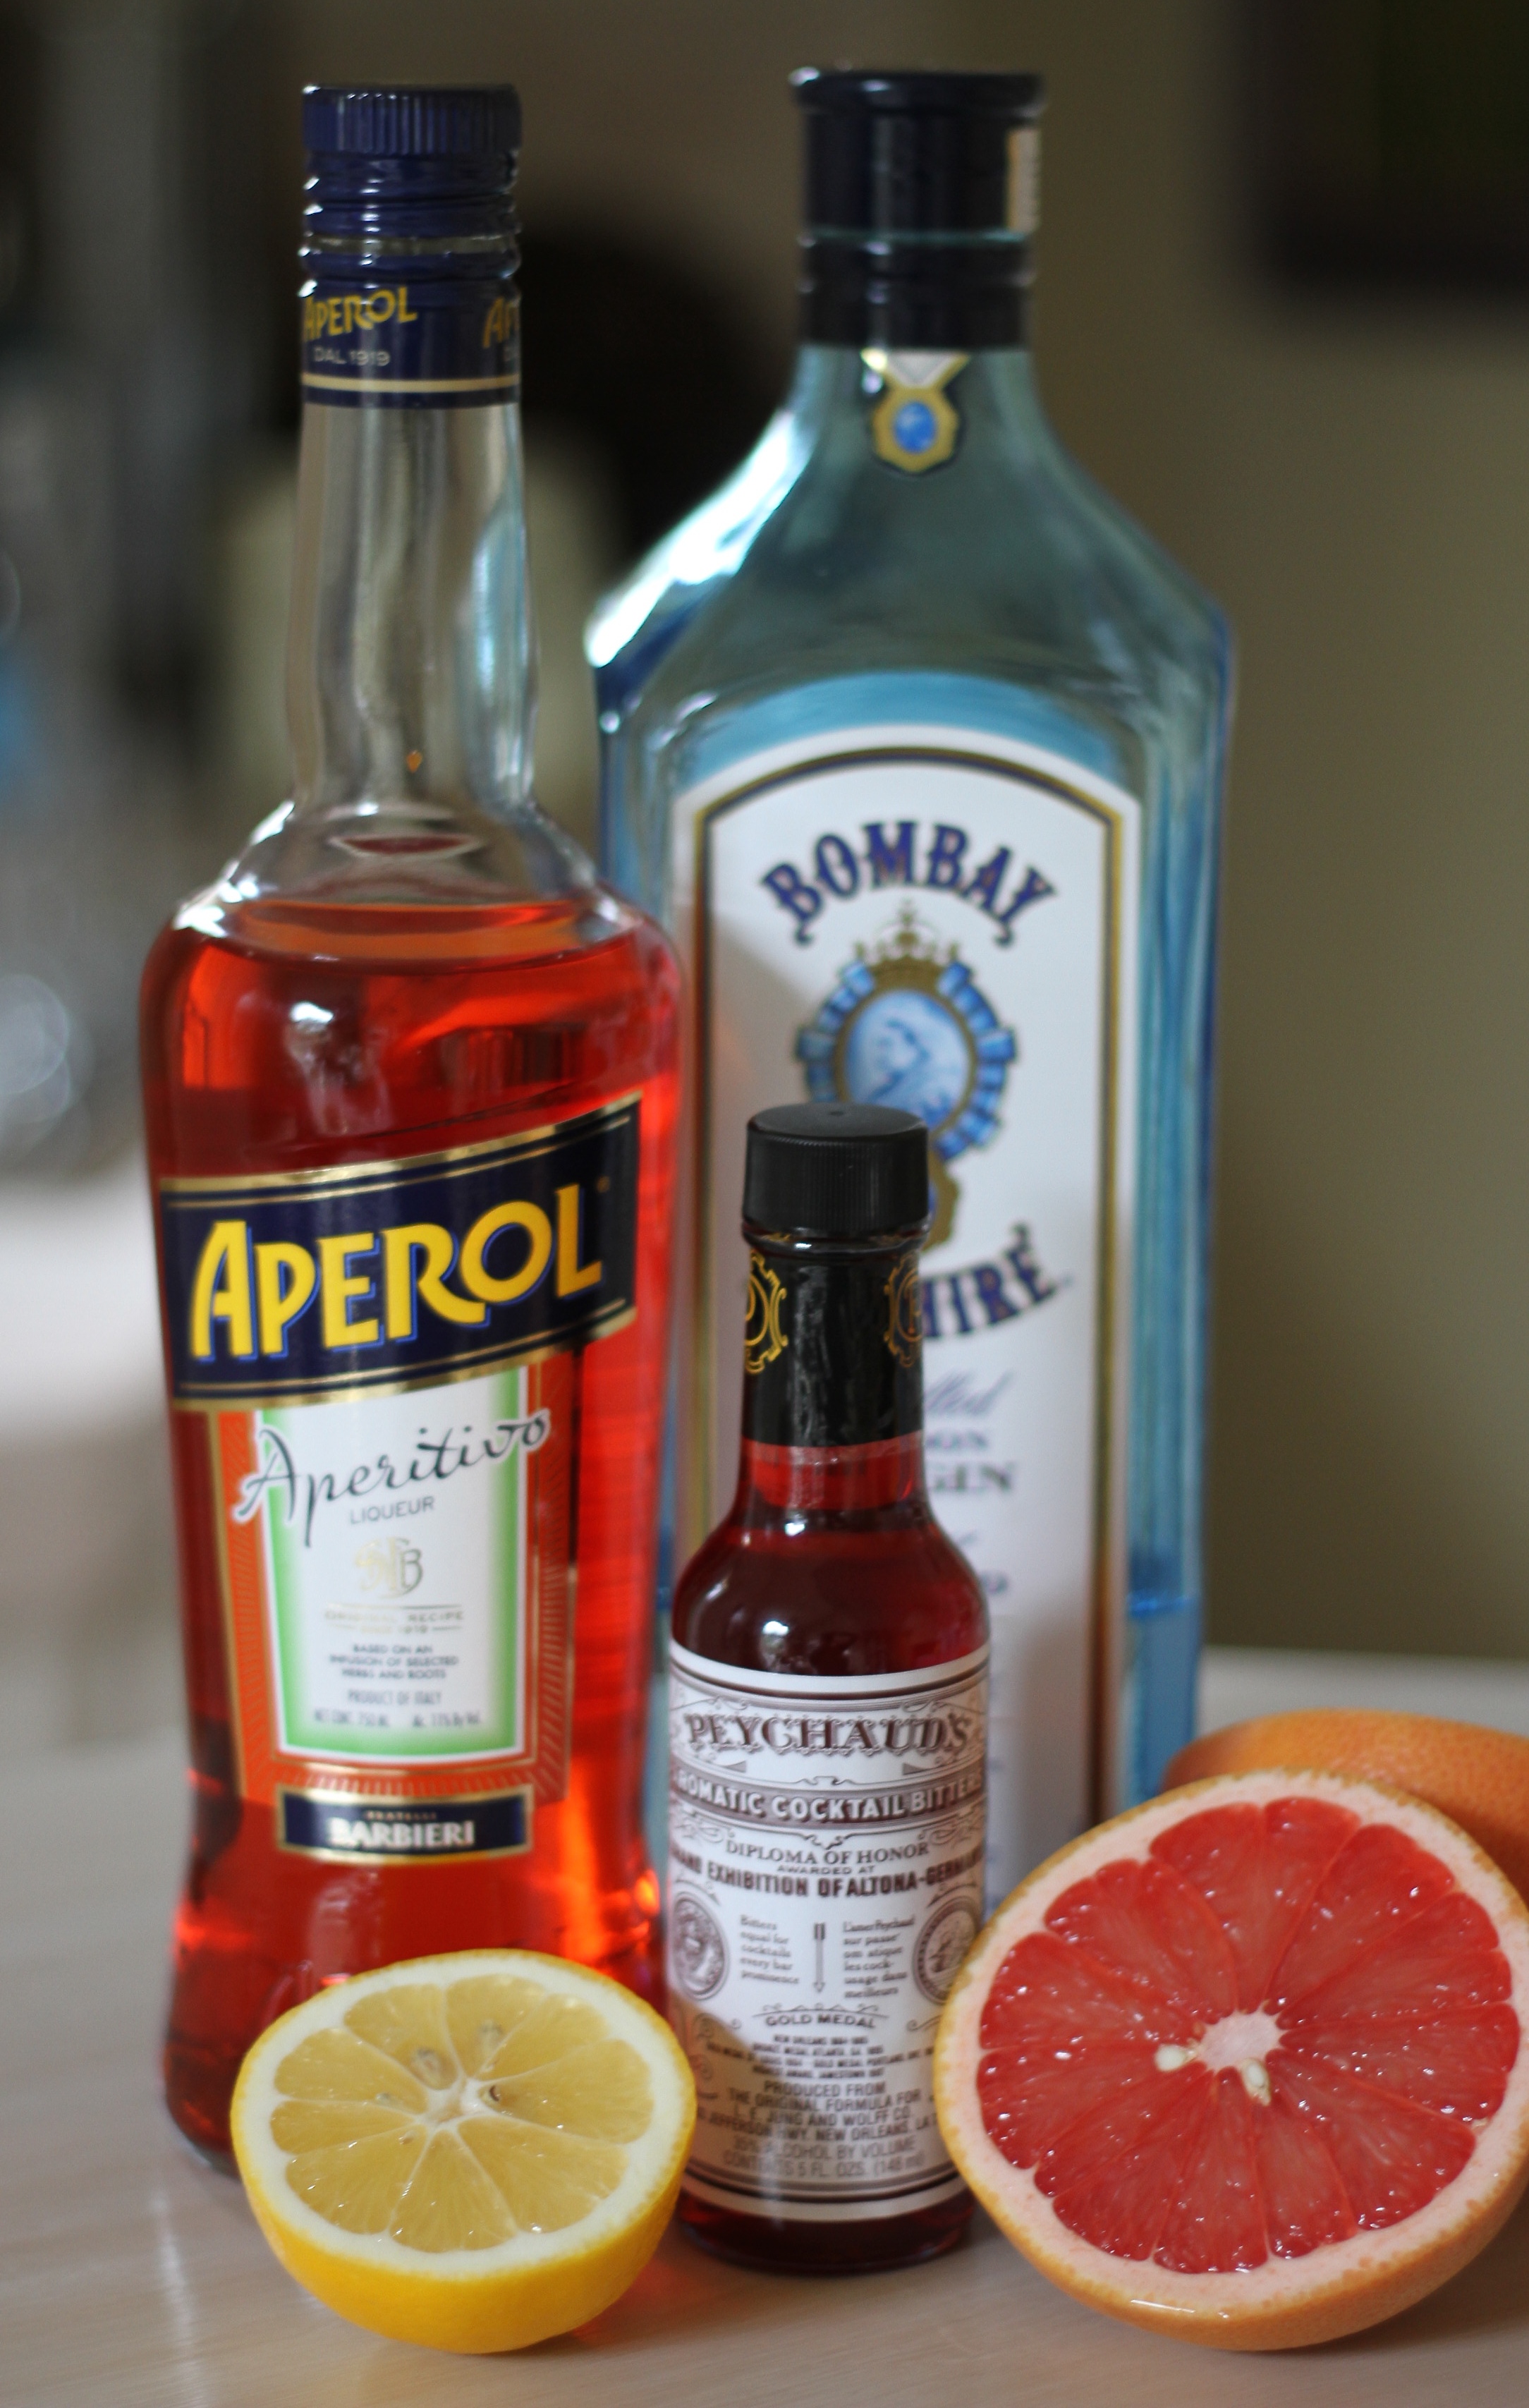
Bowery Punch
Serves 6

I hope everyone is having a magical and Merry Christmas!

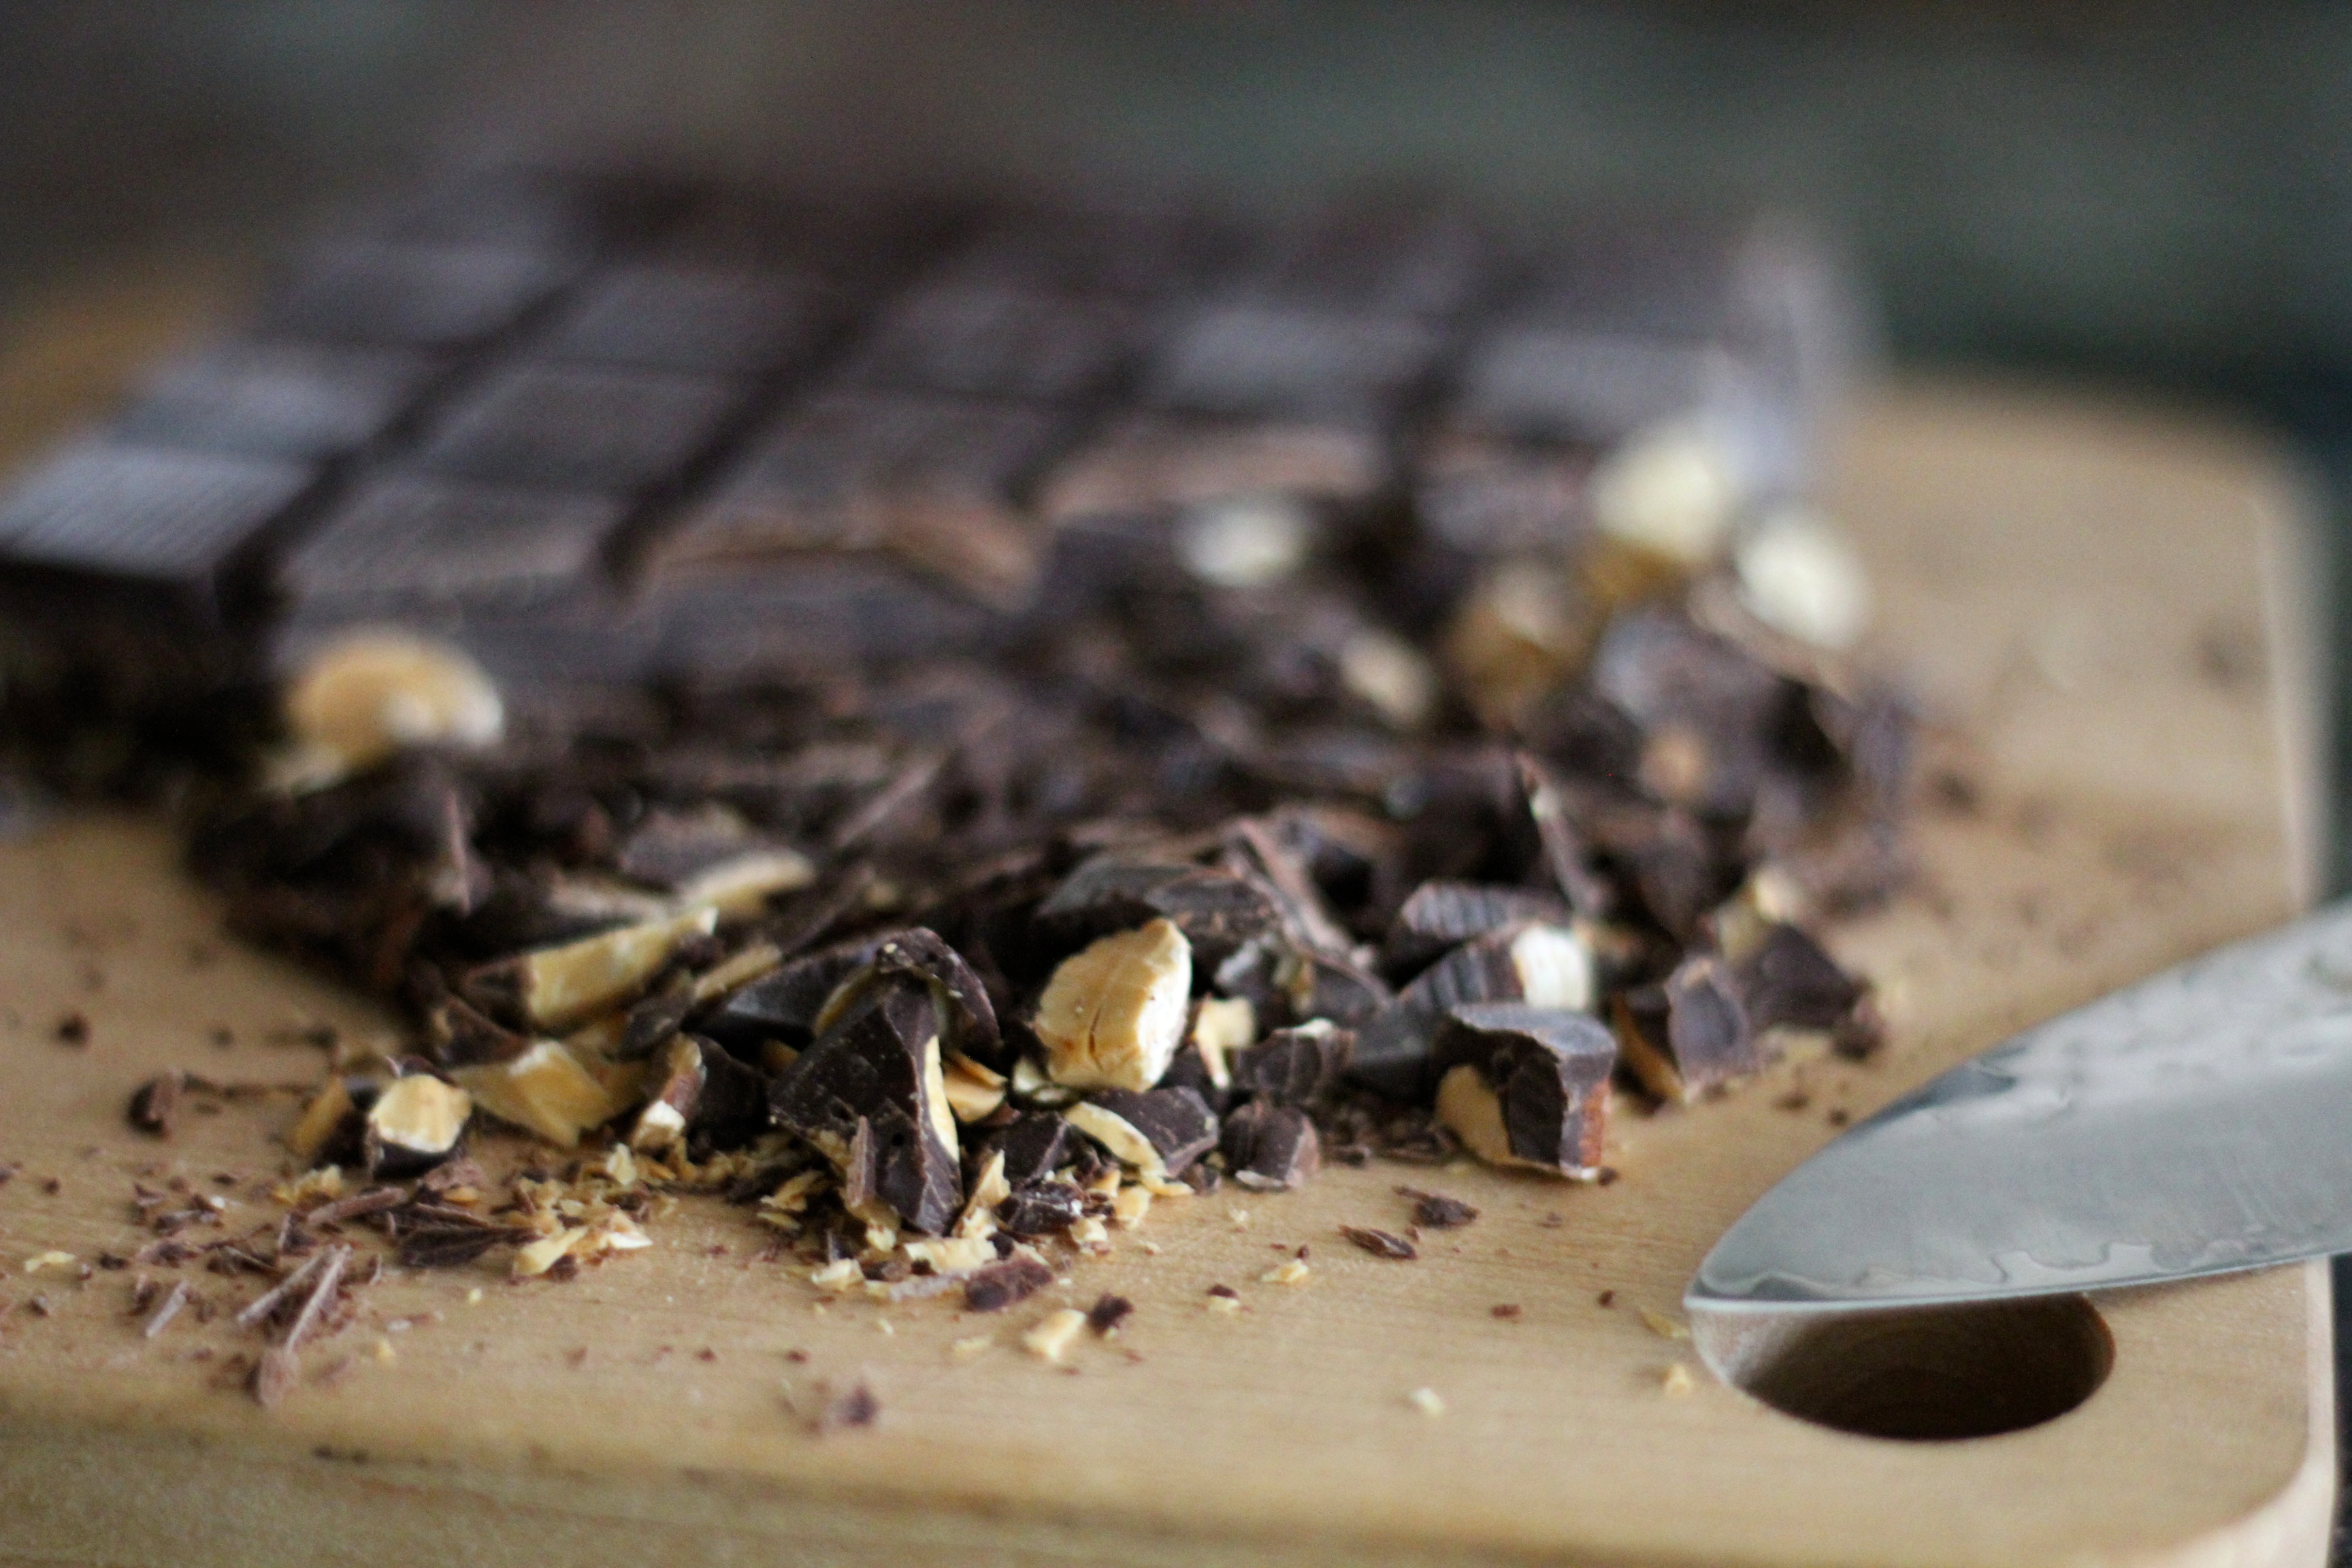
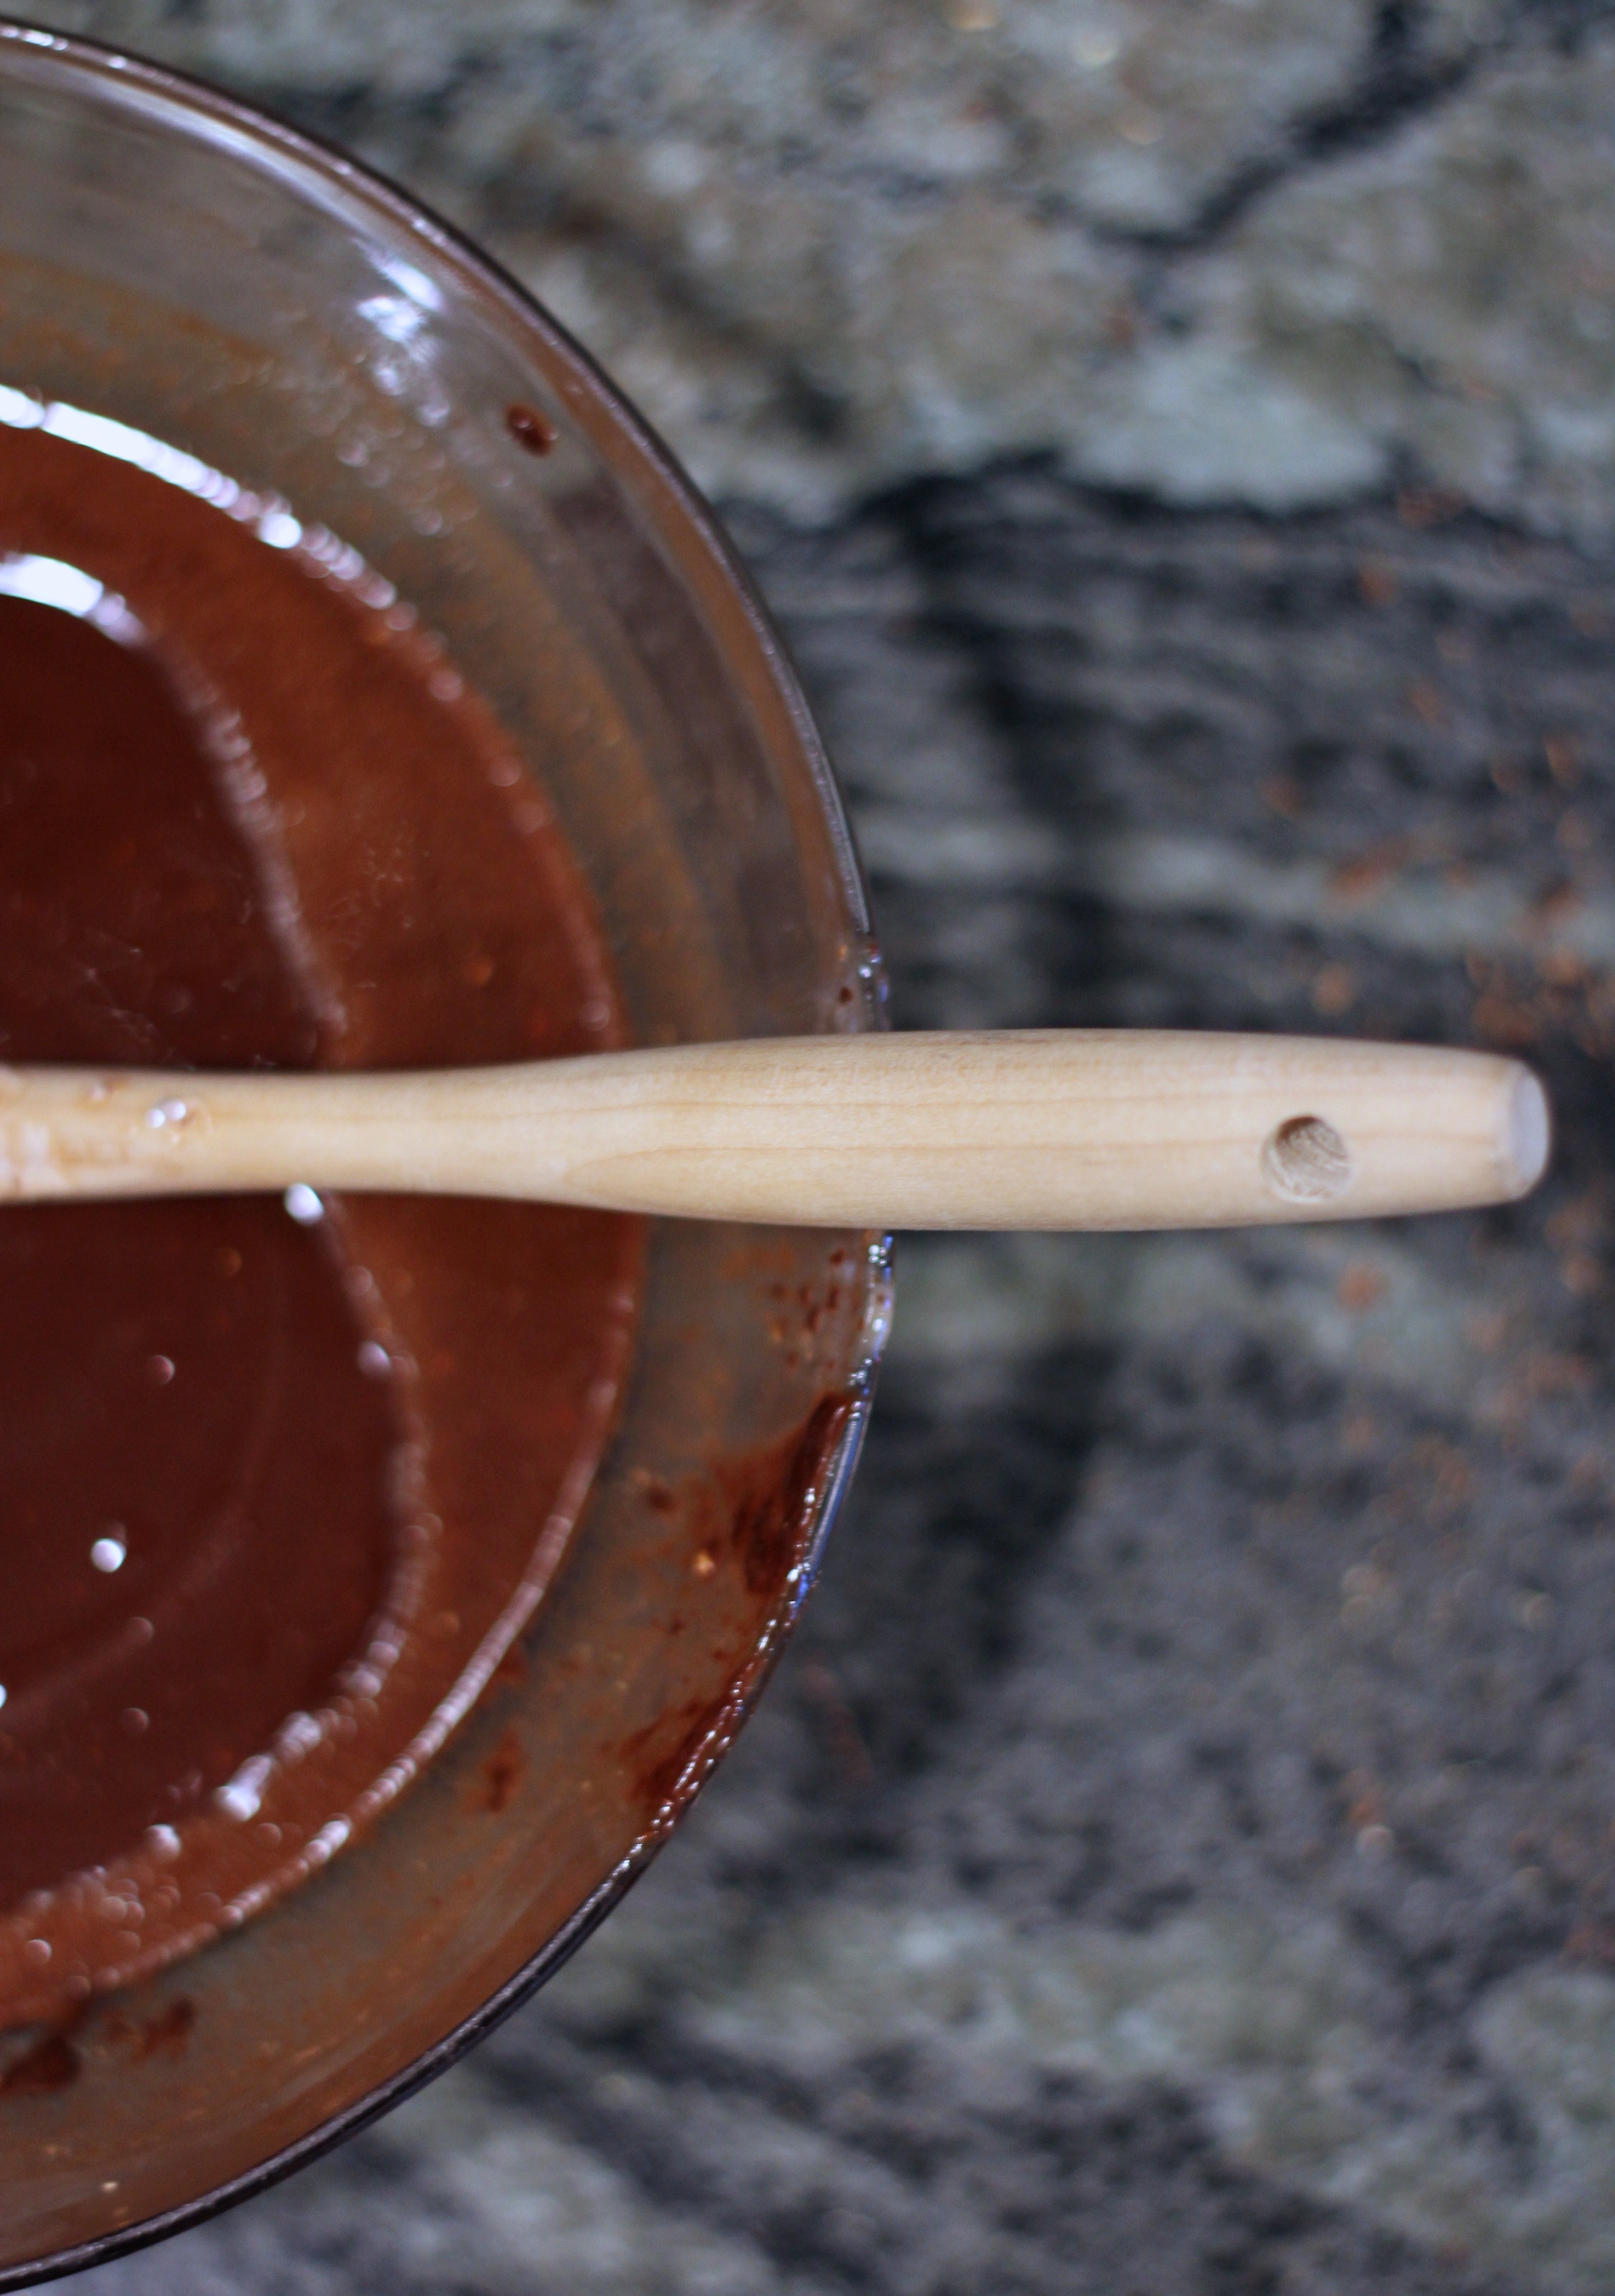
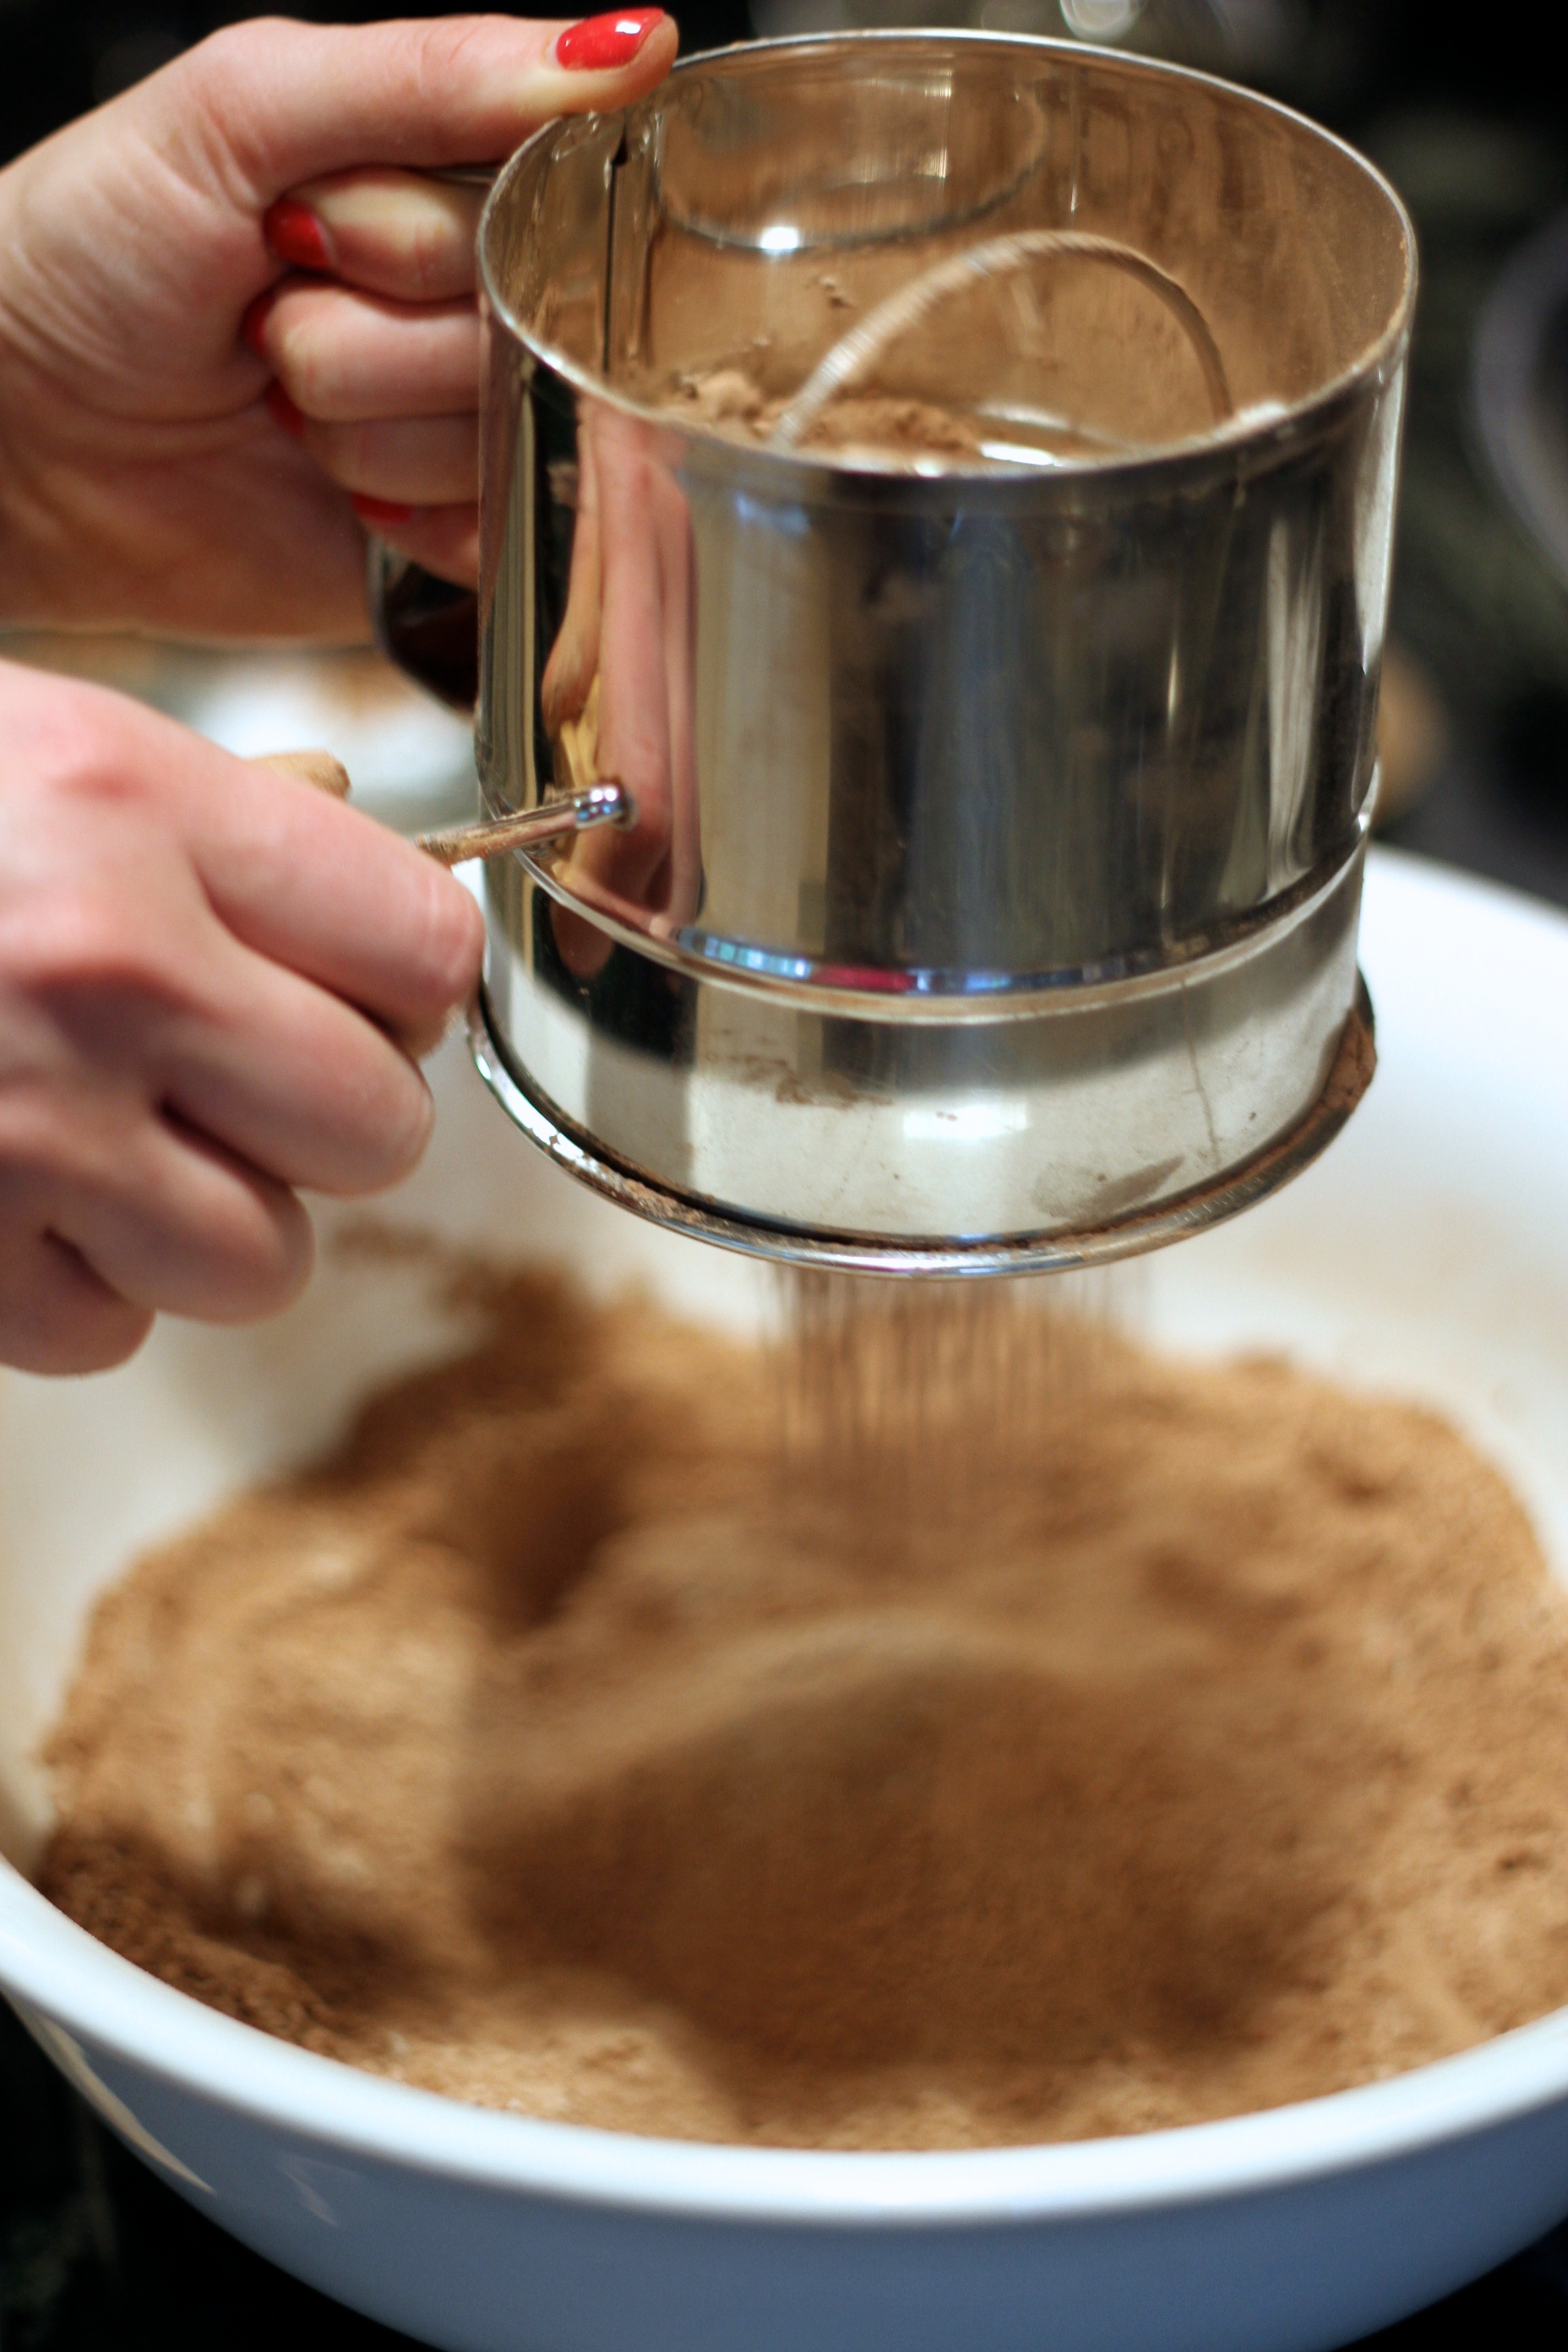
It’s been awhile since I’ve been able to enjoy an afternoon of baking, and this weekend I got to do just that! I made these a few years ago and my mom (who doesn’t even eat sweets) loved them, so I thought it would be a fun little cheat treat for us to enjoy this week. The mixture of fudgy chocolate with refreshing peppermint (and butter… and sugar…) is truly the best combination!

Brownie Cupcakes with Candy Cane Buttercream
For the cupcakes:
For the Candy Cane Buttercream:
* I accidentally burnt the chocolate (opps!) and made the recipe without the chocolate and heavy cream and it was still delicious!
Note: these are more like brownies meets molton chocolate cake in cupcake form. Basically they are delicious. I under cook mine a bit for a more molton chocolate effect. But either way – they are DELICIOUS.