Browsing Tag

snack

Tasty

Gluten Free Banana Bread

January 28, 2015

IMG_8791

I love to meal plan, but sometimes you just don’t get around to using everything… one of biggest issues in the kitchen? Consuming bananas before they turn on me.  Therefore half of my freezer is frozen bananas – which isn’t a great situation for anti-smoothie weather.  But what to do?  Banana bread!

IMG_8786

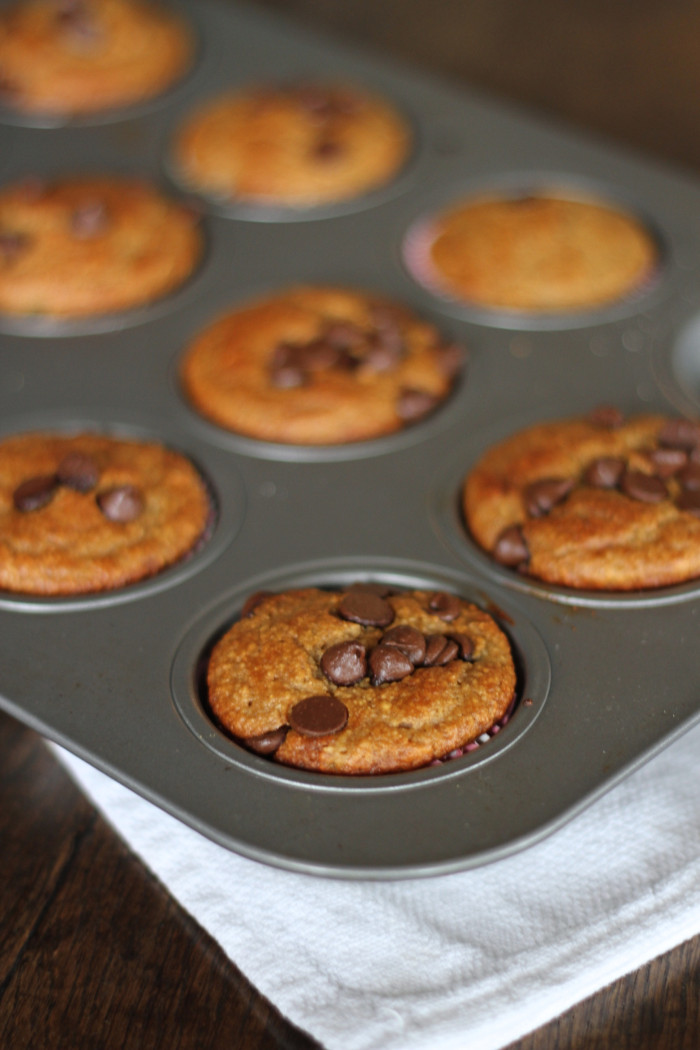
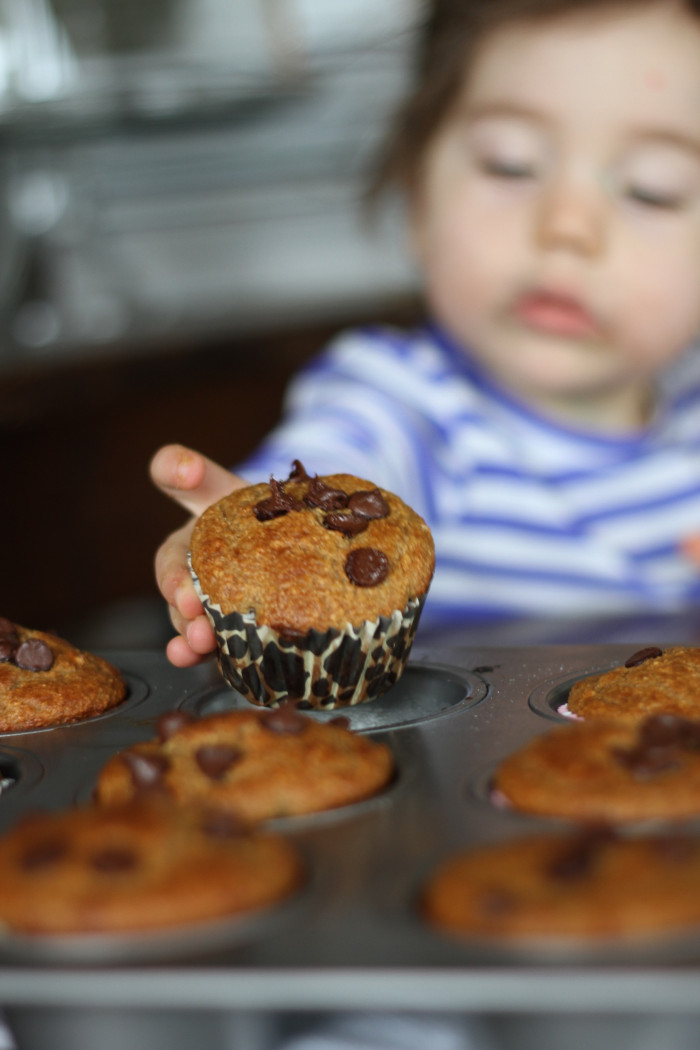
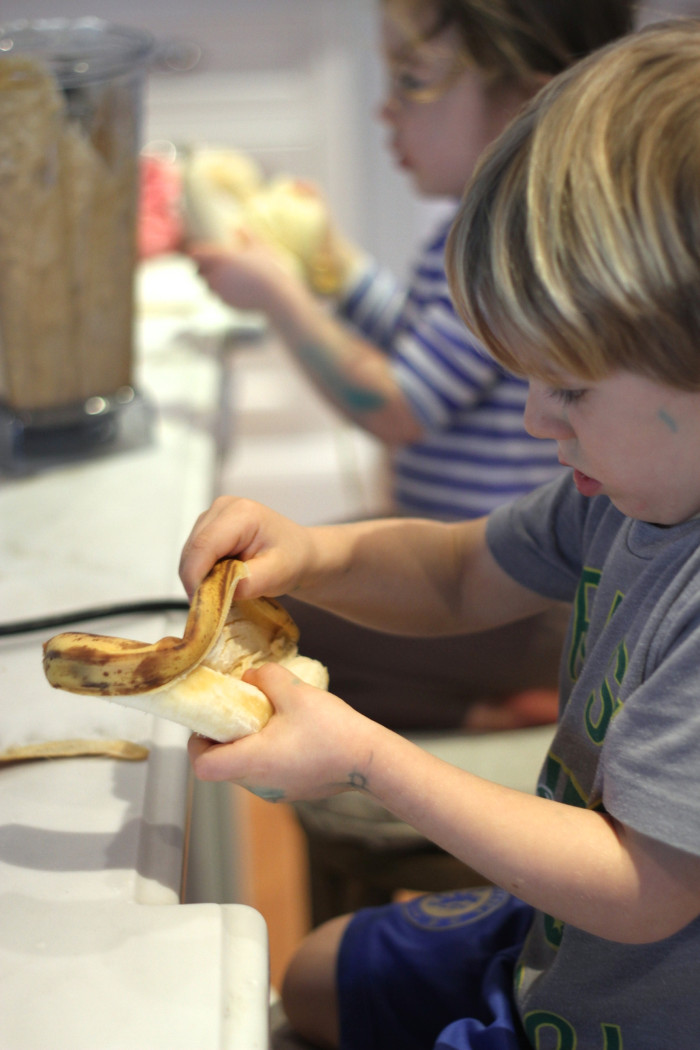
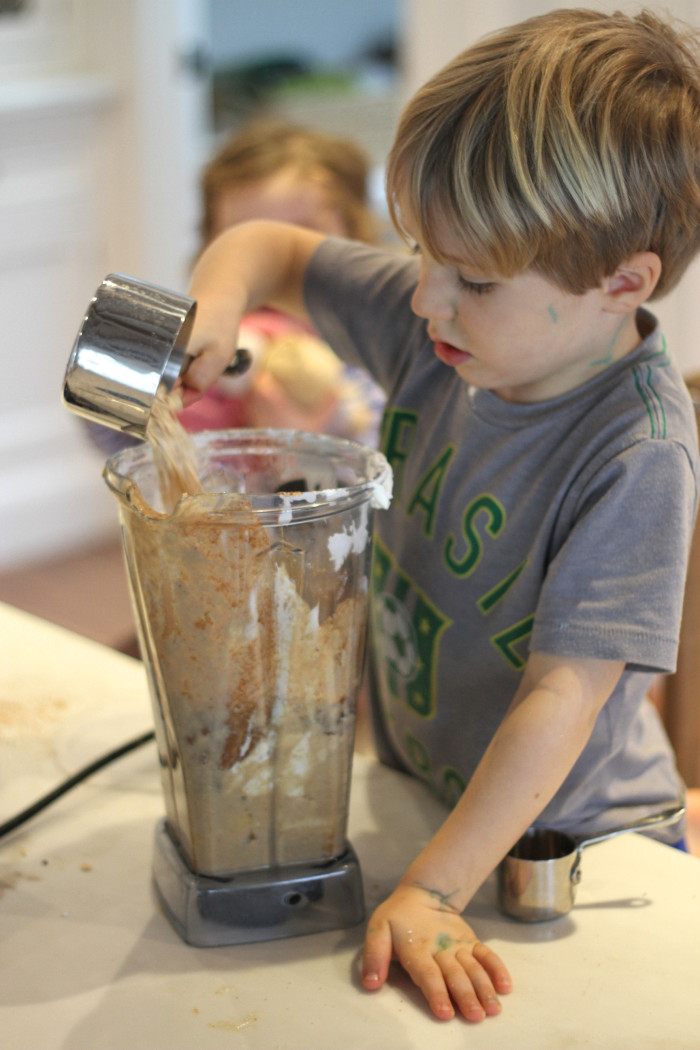
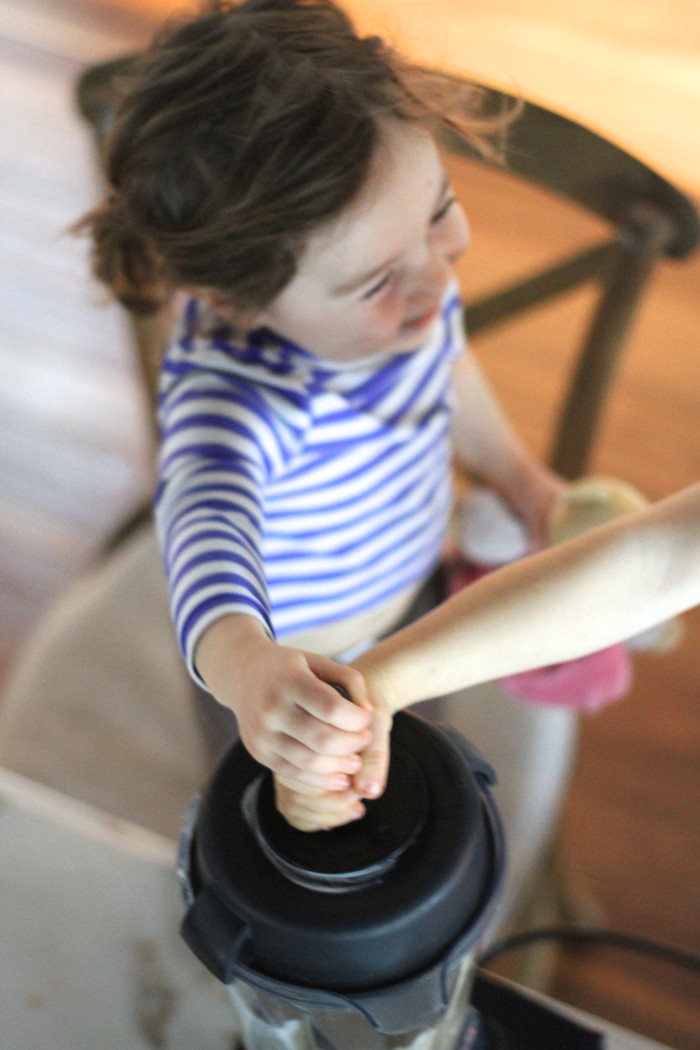
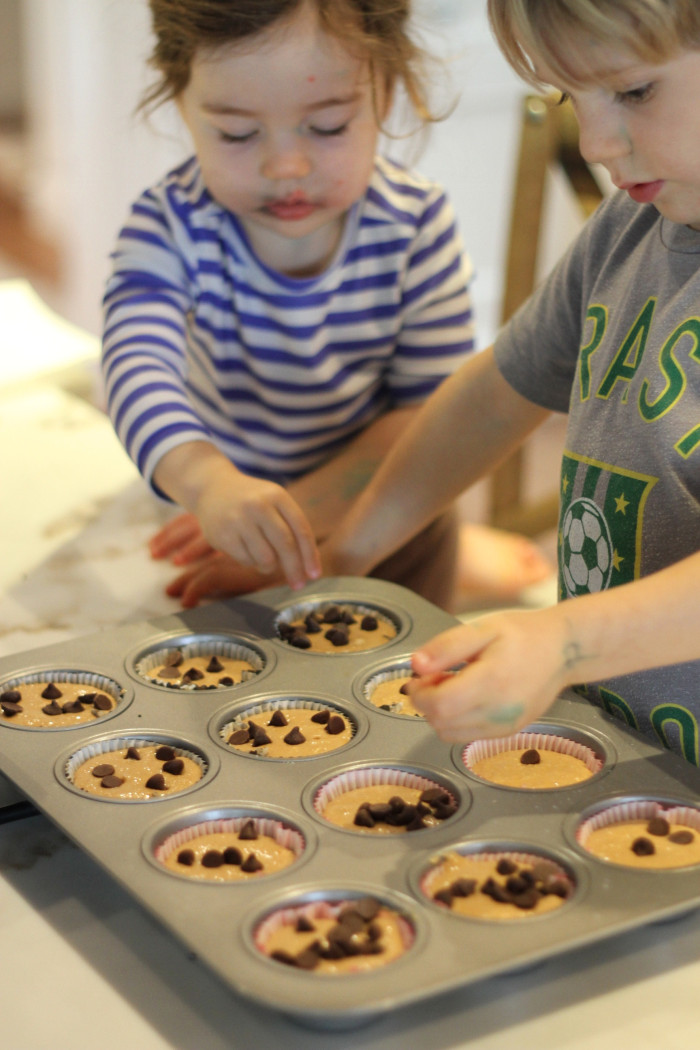
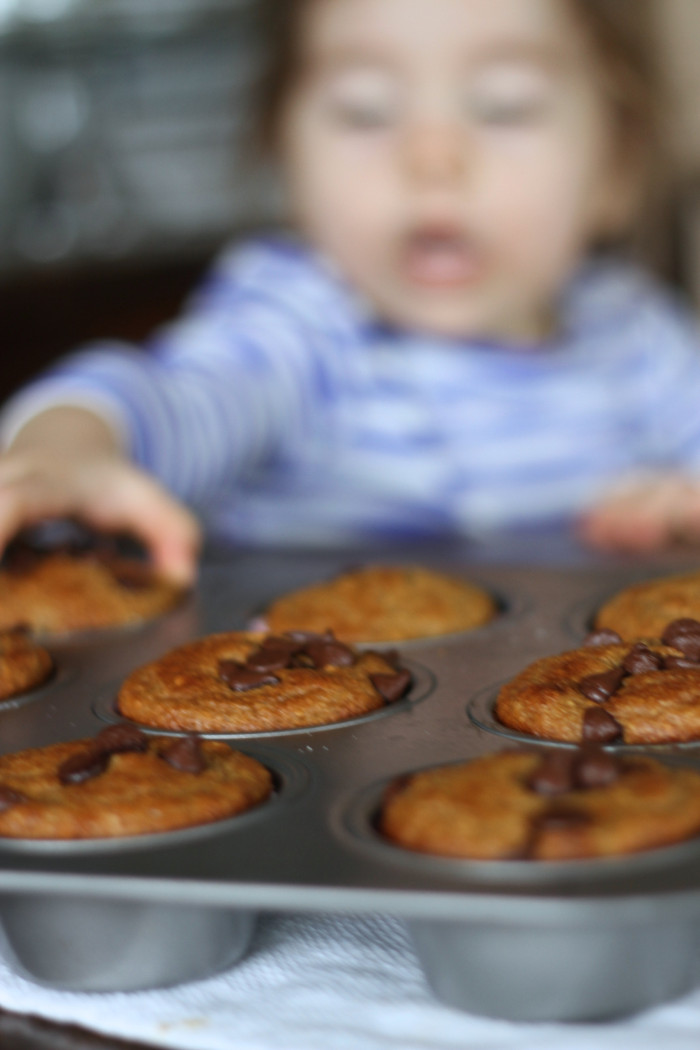
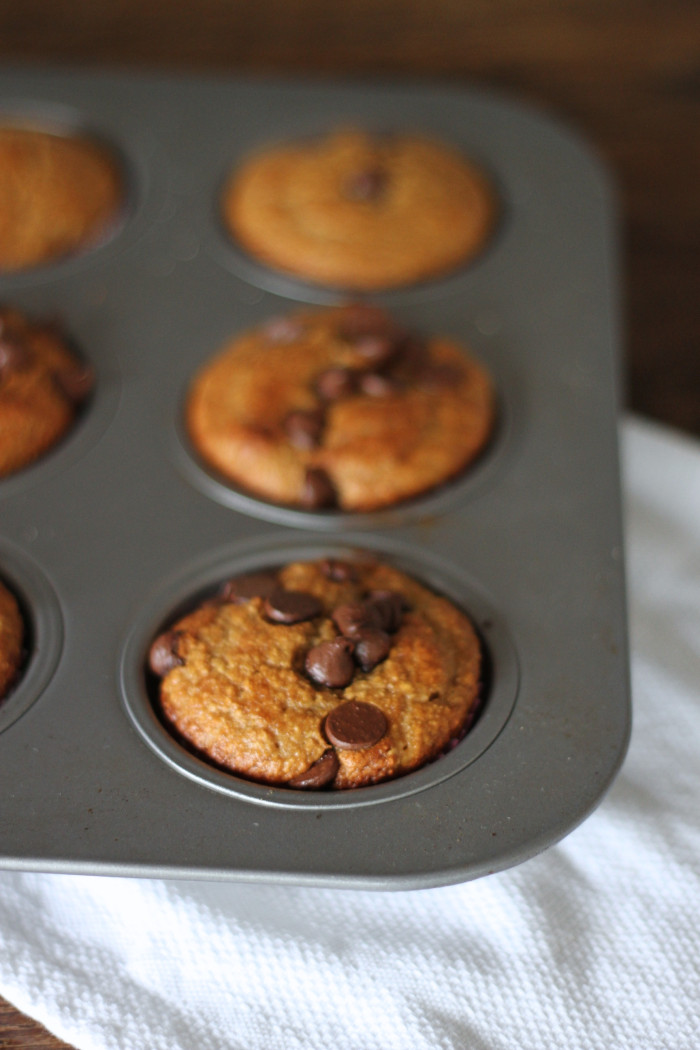
I enlisted the help of my favorite (and cutest) helpers and got to work some banana bread muffins.  The catch? They are flour, oil and butter free – and no one could tell the difference!

IMG_8723

Gluten Free Banana Bread

recipe via The Well Traveled Wife

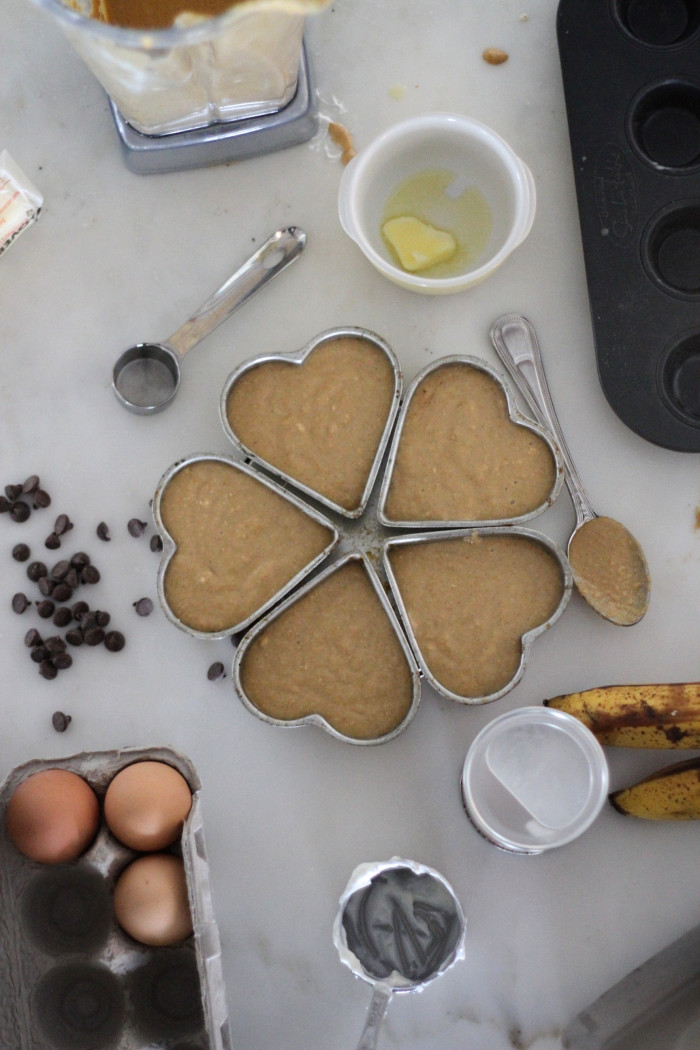
  • 2 1/2 cups gluten free old fashioned oats (you can use normal oats if you don’t care about GF)
  • 1 cup plain greek yogurt
  • 2 eggs
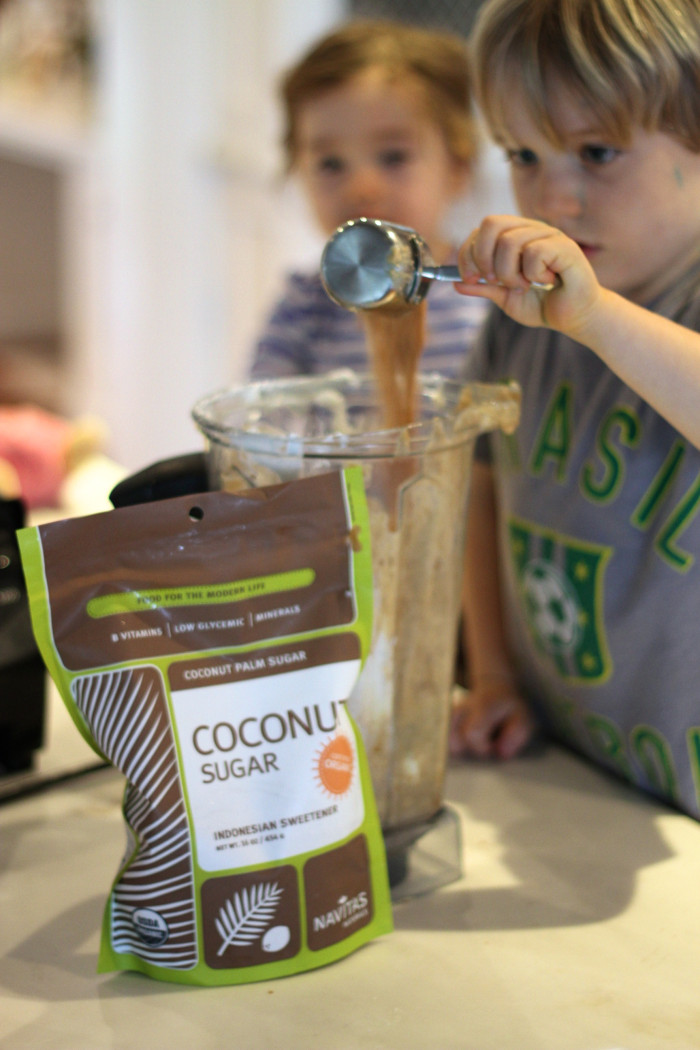
  • heaping 1/2 cup sugar (I used coconut sugar – hence the dark color – for a healthier sweetener alt.)
  • 1 1/2 teaspoon baking powder
  • 1/2 teaspoon baking soda
  • 2 ripe bananas
  1. Preheat oven to 400 degrees.
  2. Line muffin tins with liners or non-stick cooking spray.
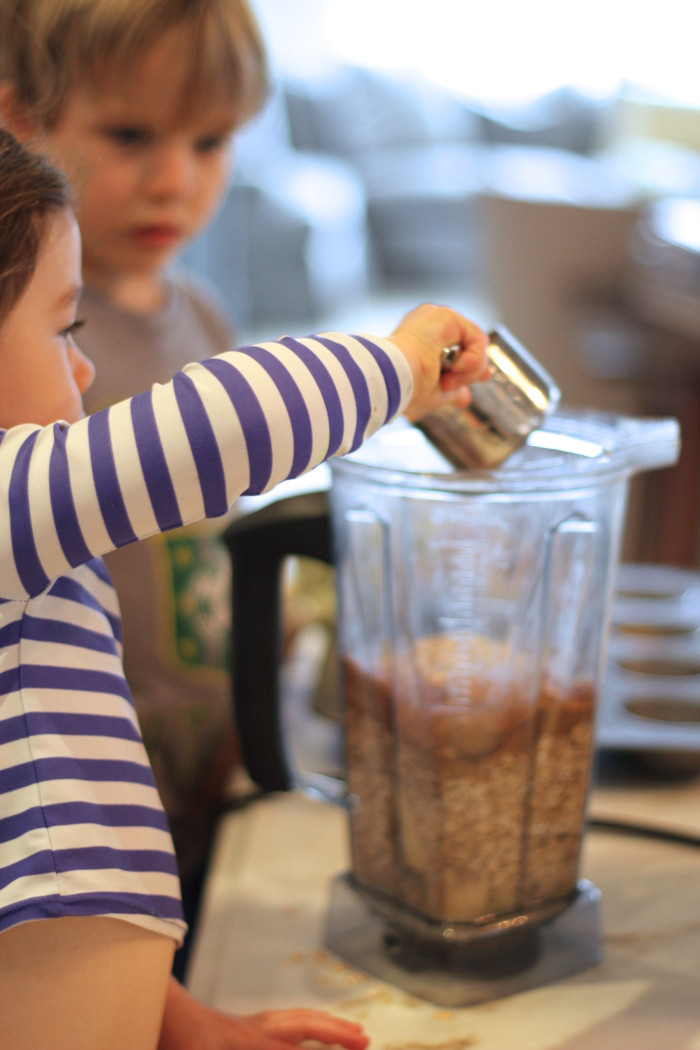
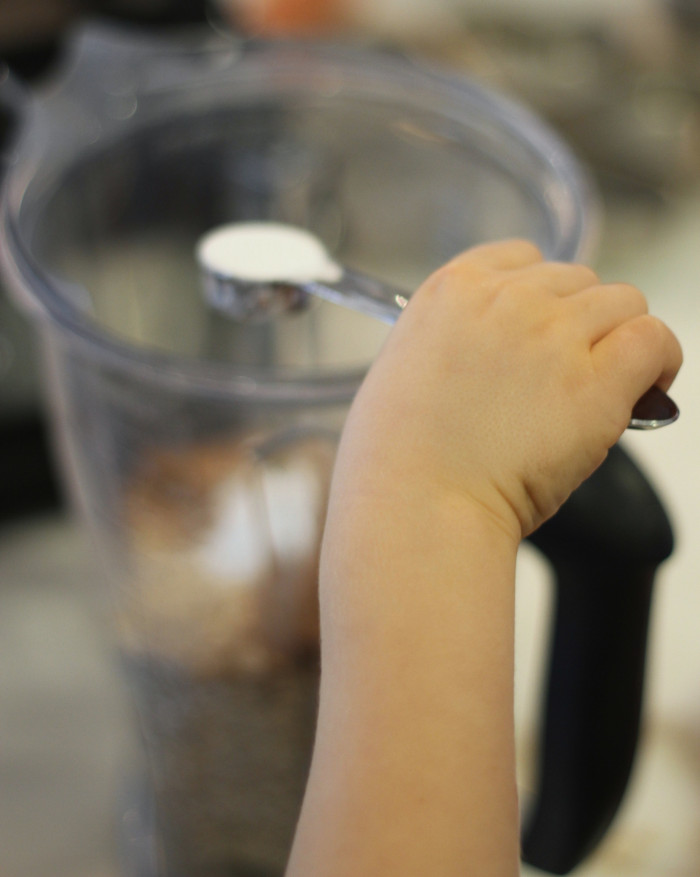
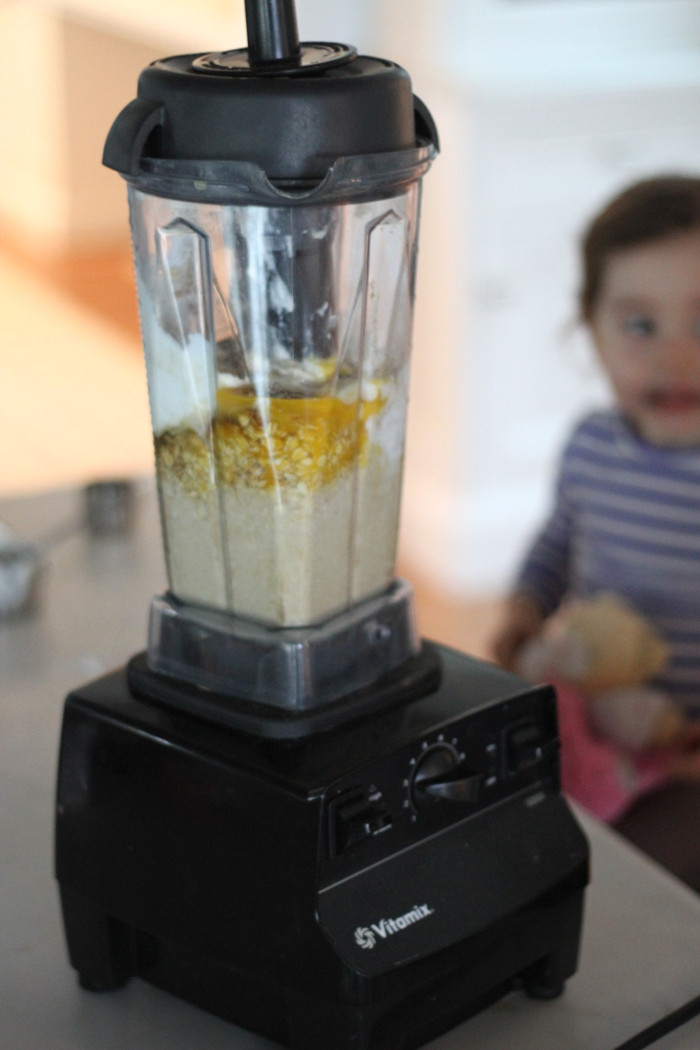
  3. Place above ingredients into a blender and mix until smooth (it works best to add the oats last, working with a cup at a time).
  4. Pour batter into muffin tins.
  5. Top with chocolate chips (optional)
  6. Bake for 13-15 minutes or until toothpick comes out clean.

IMG_8679

A few tips:

  • You can fill the muffin tins pretty much up to the top.  They do not rise too much.
  • Do not overcook muffins.  It’s better to under-cook them a bit (they will cook a bit more once removed from the oven) – because they will end up chewy and tough.
  • These are great to make an extra batch and freeze for later.
  • Mixing in hemp seeds and flax seeds could be a nice healthy boost!

IMG_8734

IMG_8680

IMG_8730

IMG_8701

IMG_8706

IMG_8765

IMG_8719

IMG_8754

IMG_8781

IMG_8777

IMG_8785

Tasty

Pear Chips

October 22, 2014

IMG_5420

My CSA box has sent me an influx of pears lately and I was a little overwhelmed with what to do with them. Thankfully Martha Stewart steered me in the right direction (per usual) and I am excited to have a new fall friendly (and gluten free) appetizer option!
IMG_5386

Pear Chips

  • 2 pears (firm, under ripe)
  1. Preheat oven to 225 degrees.
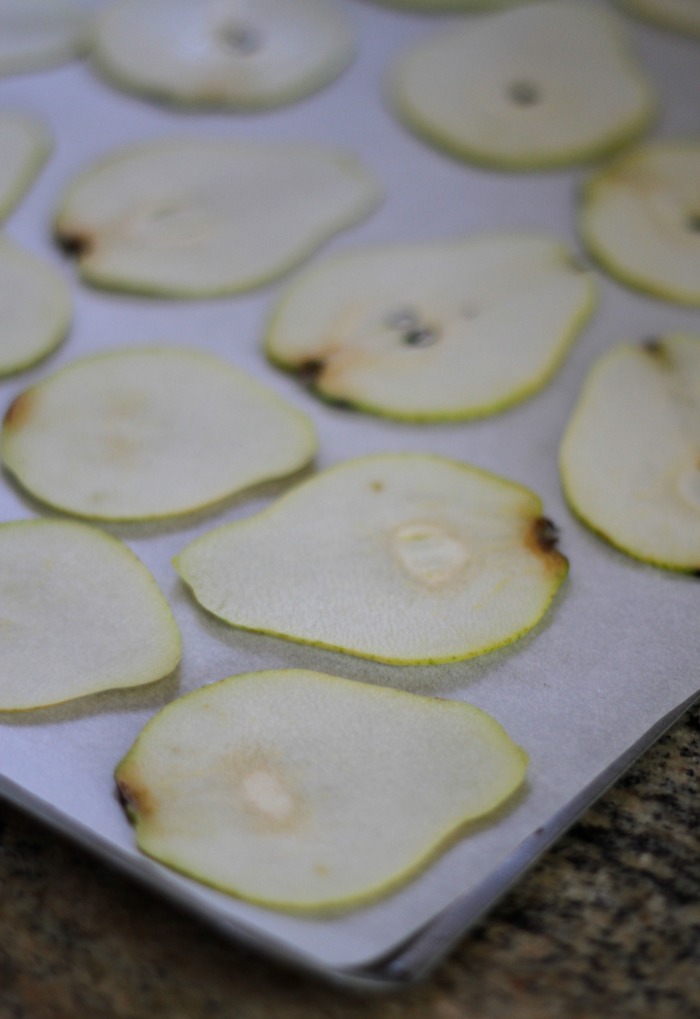
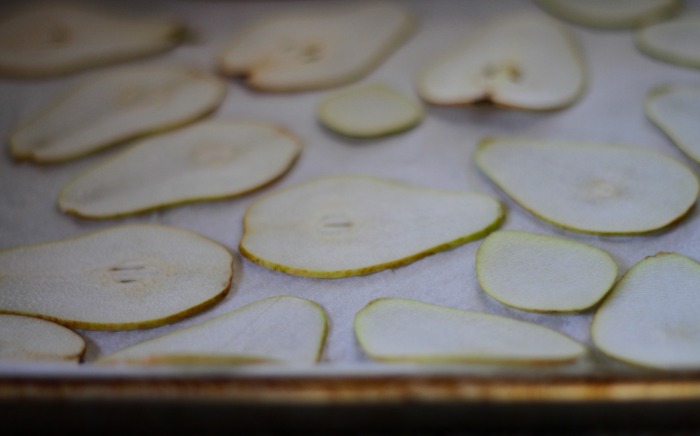
  2. Use a mandolin to thinly slice pears (you don’t have to de-seed or de-stem them).
  3. Arrange them in a single layer on a parchment lined baking sheet.
  4. Bake pear slices for 1 1/2 hours.
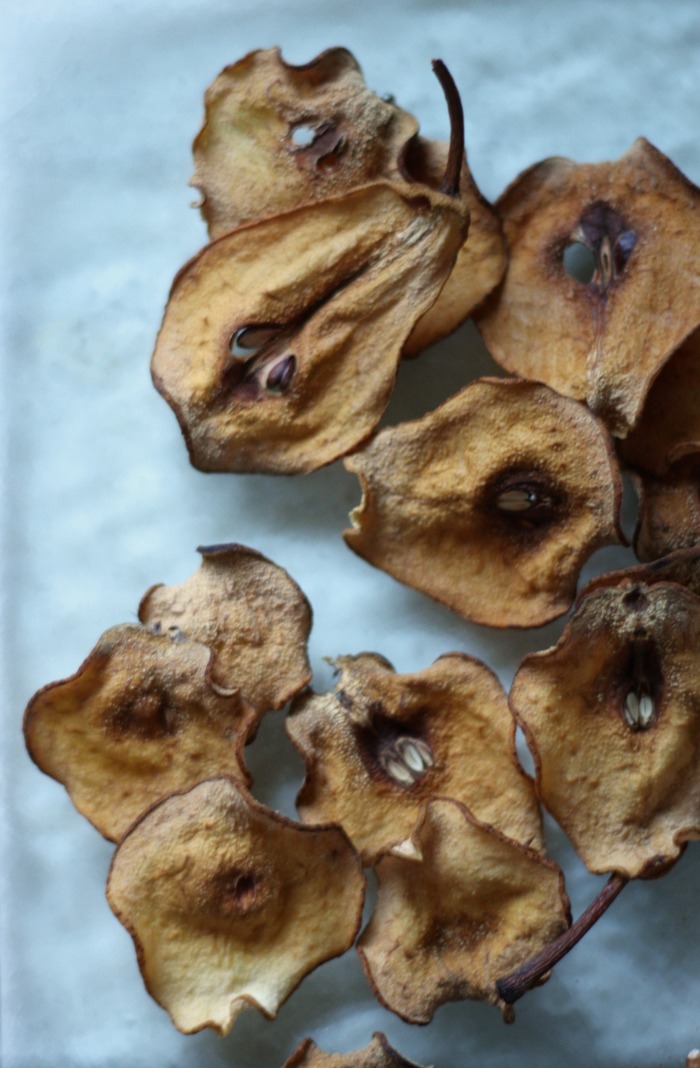
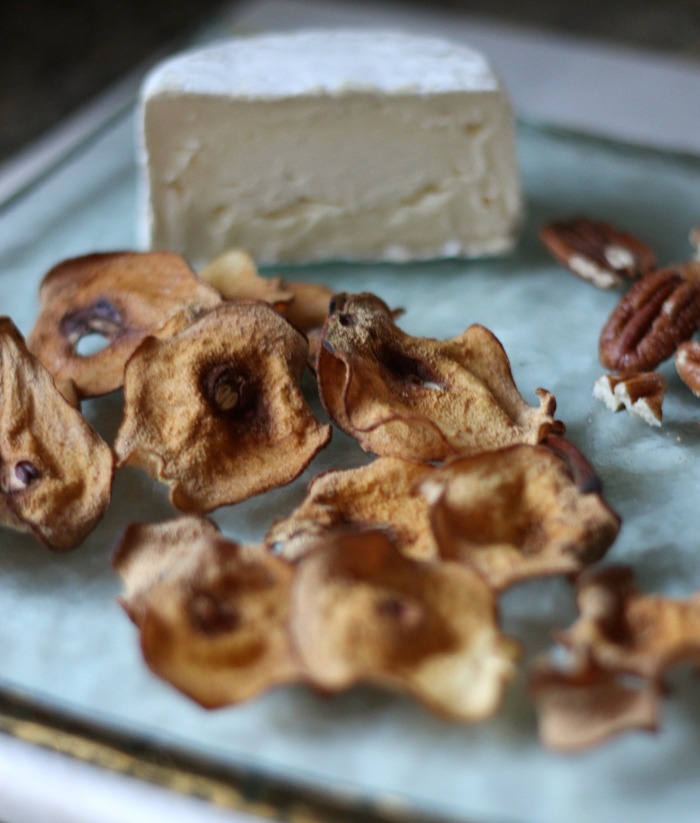
  5. Flip slices them bake 1+ hour more or until edges have started to curl.
  6. Transfer to a wire rack and let cool.

IMG_5417

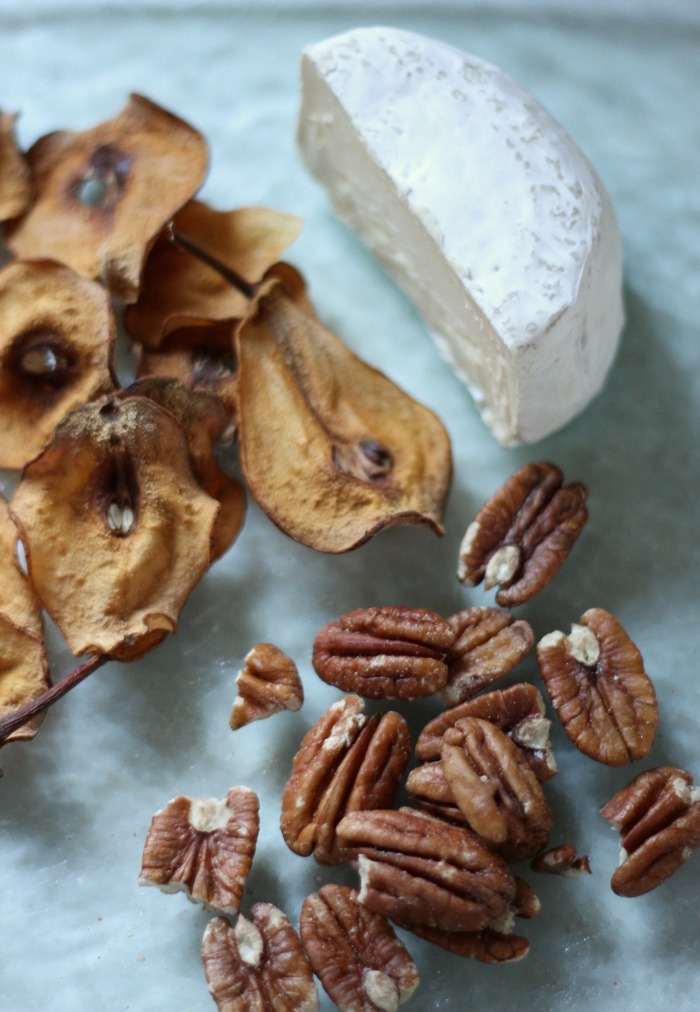
These taste best when served with a triple cream cheese and pecans!

IMG_5391

IMG_5413

Tasty

Zucchini Patty Pita

July 28, 2014

Zucchini Pita 14

As I wrote the title of this post I realized that while it may be catchy, it may not be the most appetizing option.   But if you make this dish, I promise you, it will more than make up for it…

Zucchini Pita 2

Zucchini Patty Pita

Patty:

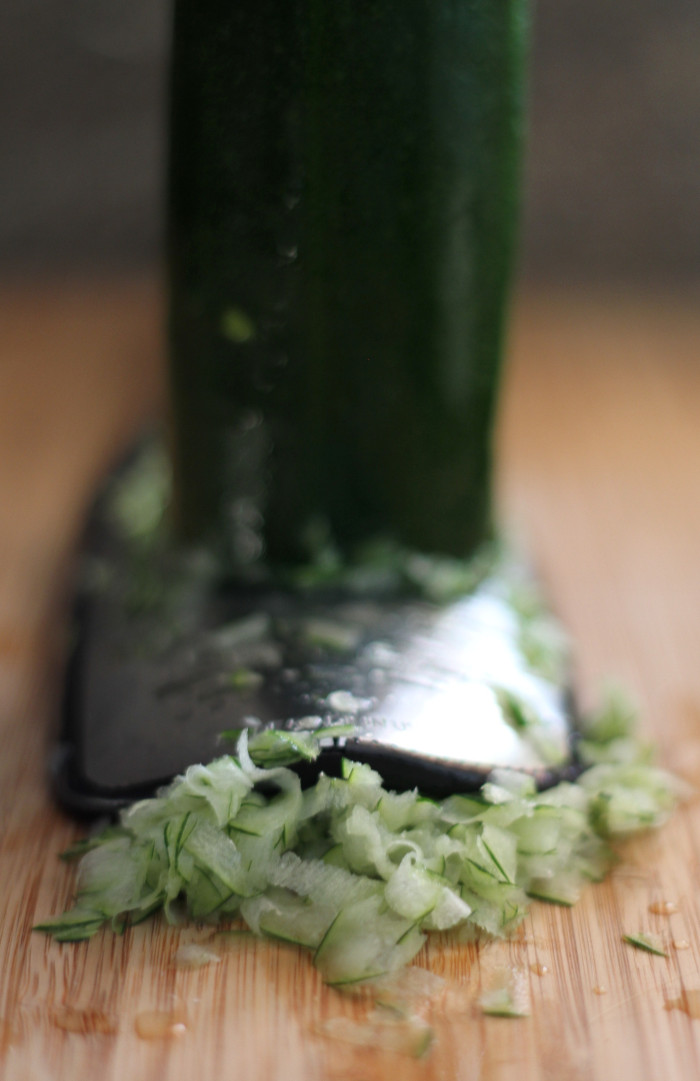
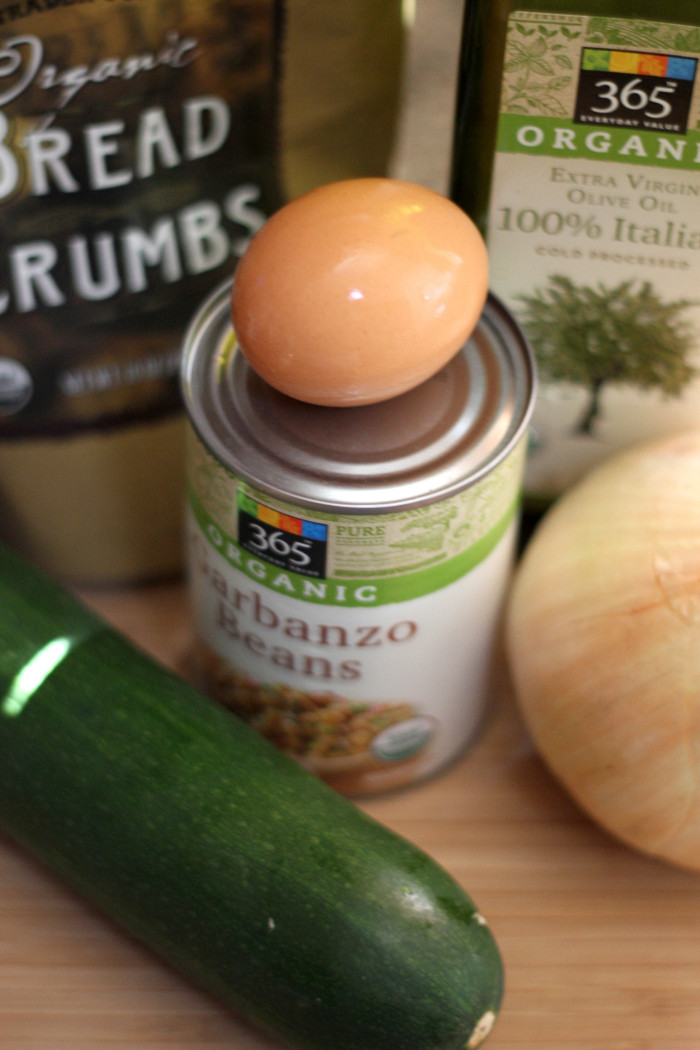
  • 1 zucchini, grated
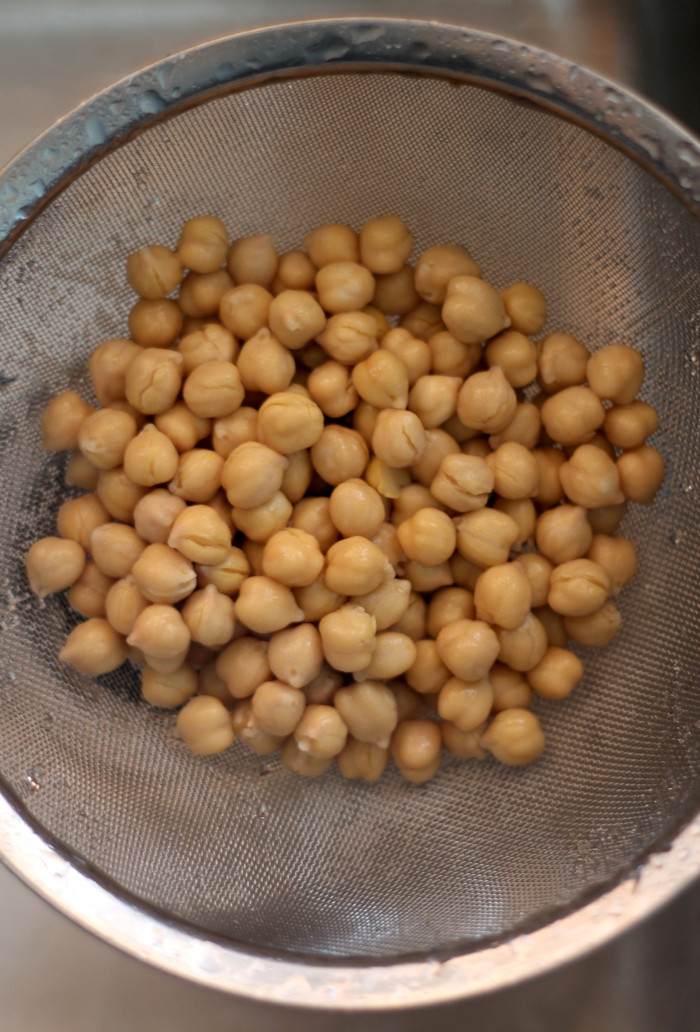
  • 1 15.5 oz can chickpeas, drained and rinsed
  • 1 cup plain breadcrumbs
  • 1 small red onion, grated
  • 1 egg, lightly whisked
  • 1/4 cup EVOO
  • 1 teaspoon coarse salt

Fillings:

  • Whole wheat pitas
  • Tzatziki or Greek yogurt
  • Hummus
  • Chopped heirloom tomatoes
  • Cucumber slices
  • Lettuce leaves
  • Mint leaves
  • anything else you can think of!
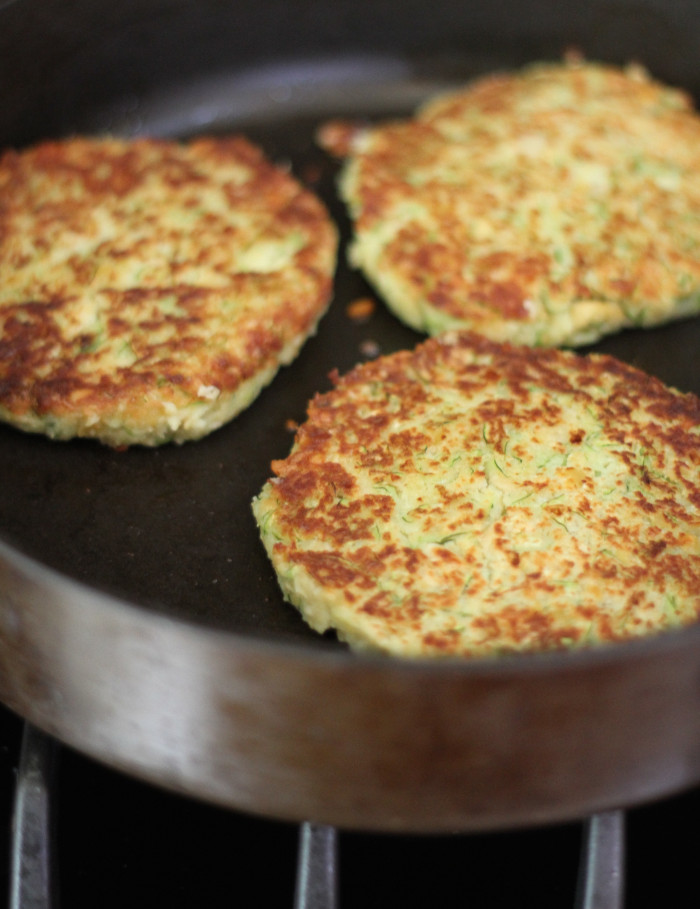
  1. Mash chickpeas in a medium sized mixing bowl until smooth.
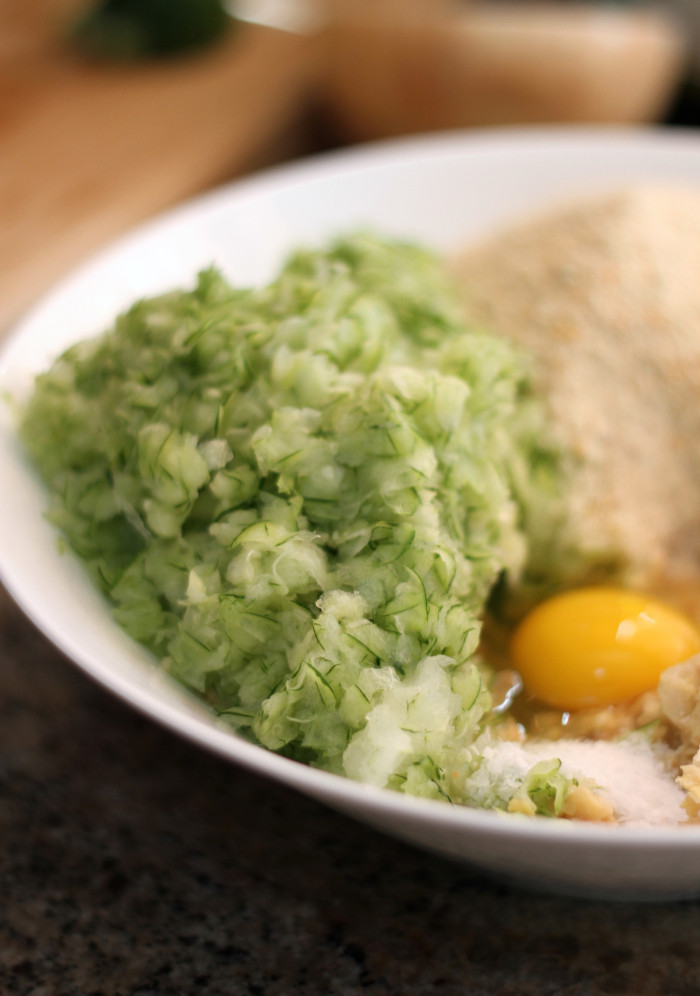
  2. Stir in zucchini, red onion, breadcrumbs, egg and salt.
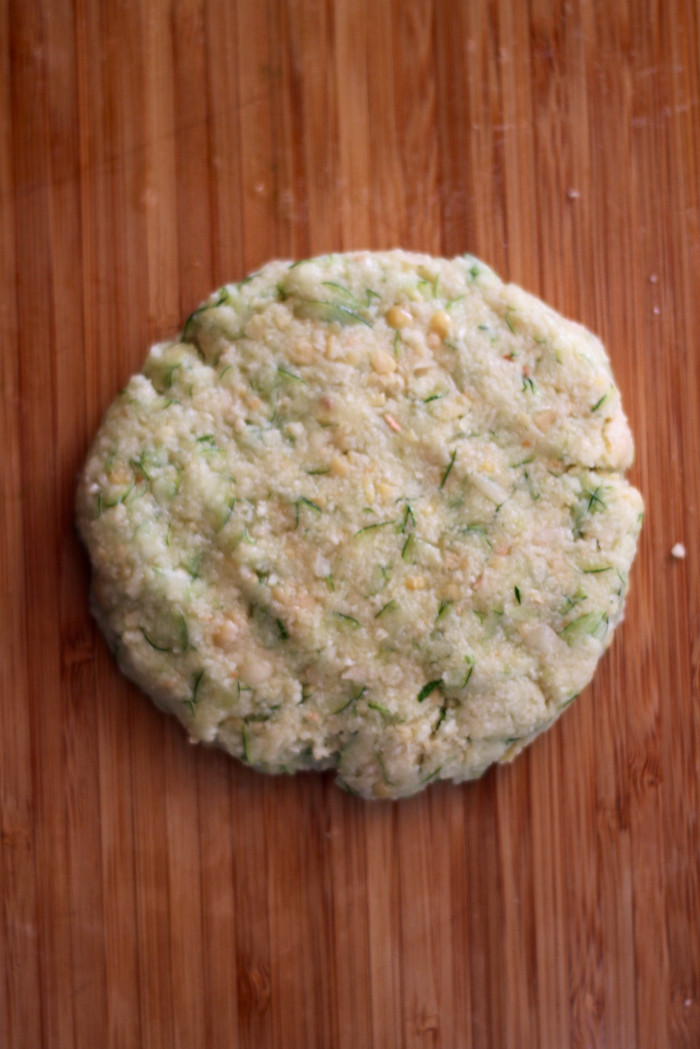
  3. Form mixture into patties (the sized of a hamburger patty)
  4. Saute patties in olive oil until golden and crispy (about 3 minutes a side)
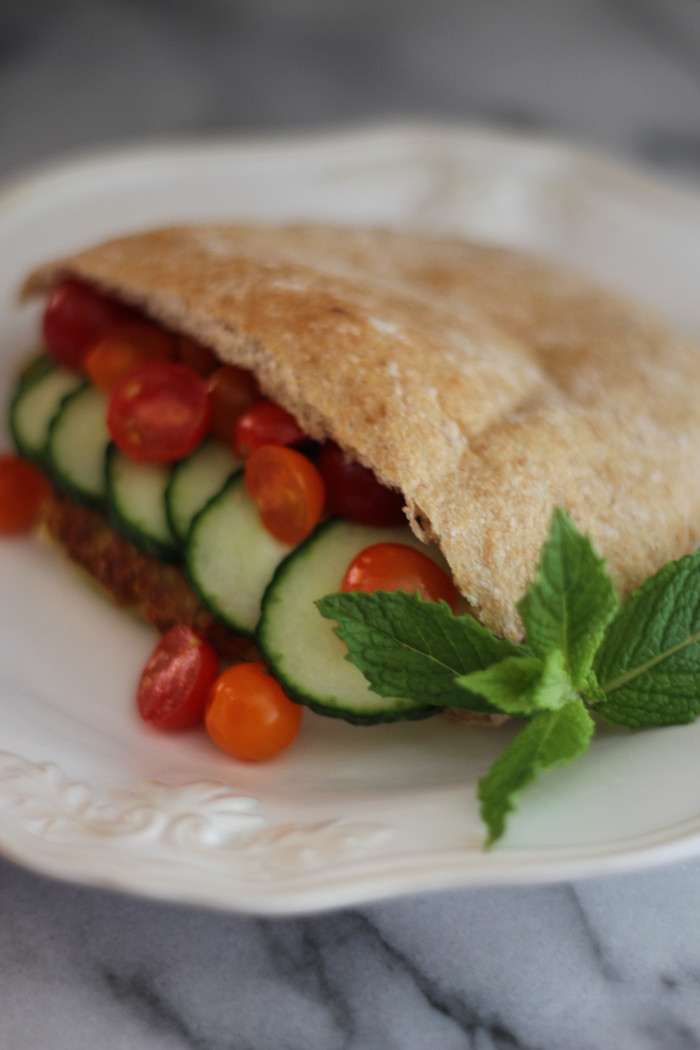
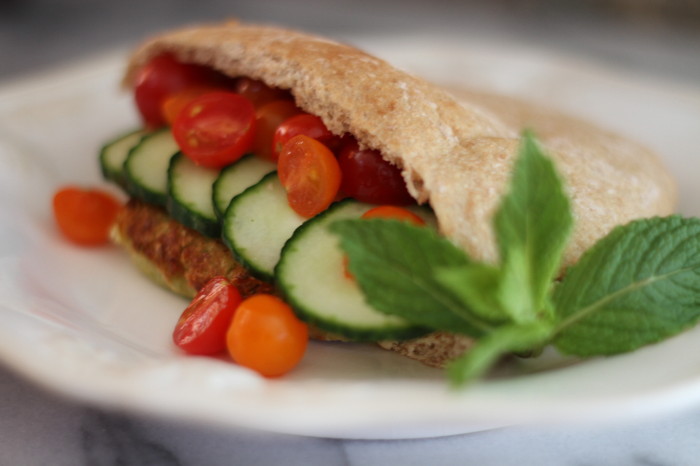
  5. Serve patties in pitas filled/topped with whatever your heart desires (I love lemon hummus, cucumber slices, chopped tomato, torn mint and a dollop of tzatziki -yum!)

Zucchini Pita 1

Zucchini Pita 3

Zucchini Pita 6

Zucchini Pita 7

Zucchini Pita 9

My favorite thing about this dish (aside from the taste) is how easy it is!  It’s turned into my go-to meal option for those nights where I just don’t feel like cooking (and don’t feel like figuring out takeout options).

Zucchini Pita 15

This fun spin on the Falafel helps to get your veggie intake in and use up your farmer’s market produce! The perfect option for your next Meatless Monday!


Tasty

Blood Orange Granita

May 28, 2014

IMG_0225

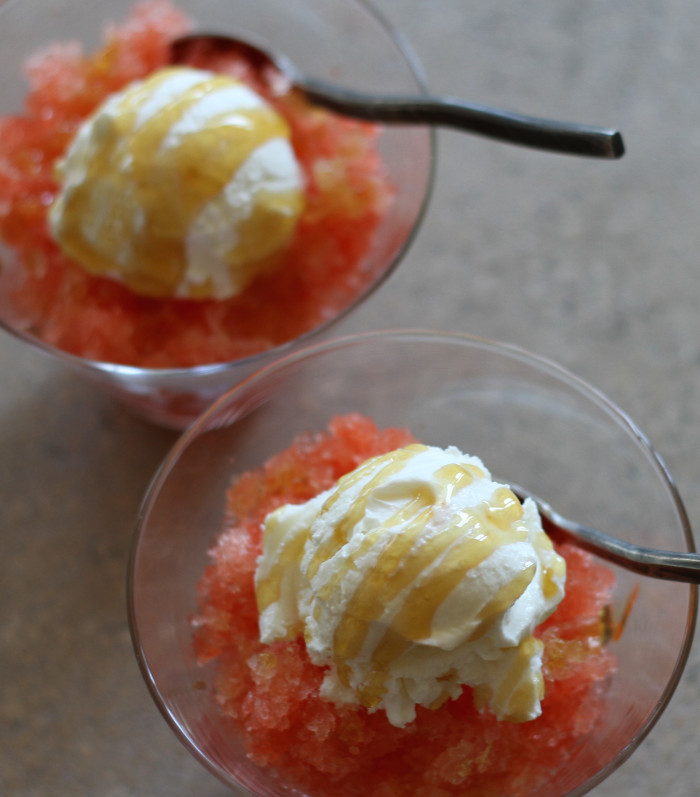
One of my family’s favorite restaurants is Evvia in Palo Alto (or their sister restaurant Kokkari in the city).  While we always over indulge with each course, we somehow always have room for dessert (don’t you hate how that happens!?)… and this is the PERFECT, most refreshing (and guilt free) dessert of them all.

IMG_5764

Blood Orange Granita

  • 4 cups juice of your choice (we used blood orange juice… watermelon and strawberry are other great options)
  • 1/4 cup simple syrup
  • a squeeze of lemon juice
  1. Combine mixture and pour into a metal rimmed baking sheet.
  2. Freeze for 3 hours.
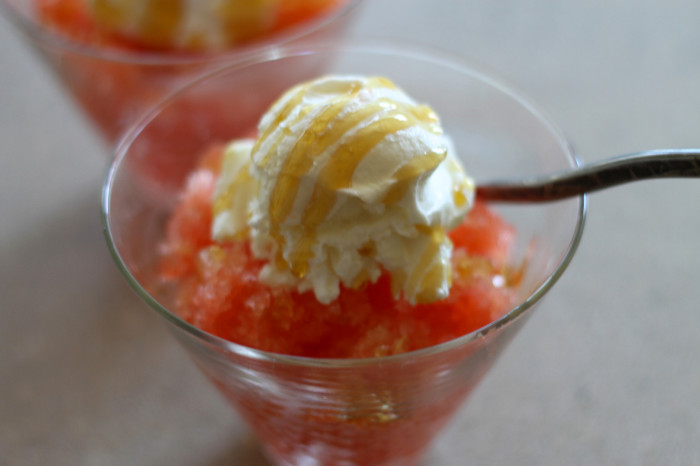
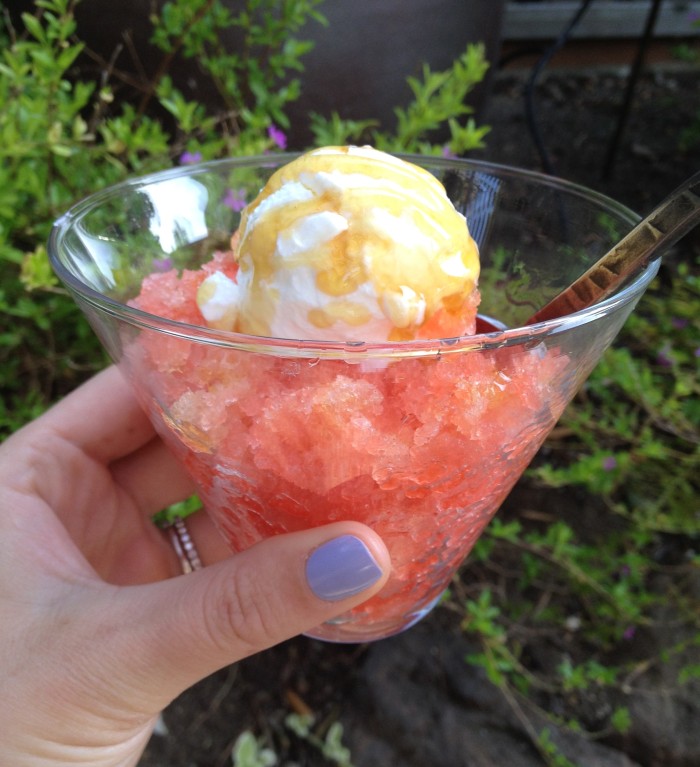
  3. Once set, use a fork to scrape dessert into a slushie consistency.
  4. Top with frozen Greek Yogurt (I literally mean freeze a tub of full fat Greek yogurt and use an ice cream scoop to serve it atop your granita).

IMG_0226

Tasty

Healthy Donut Holes

May 21, 2014

IMG_0601

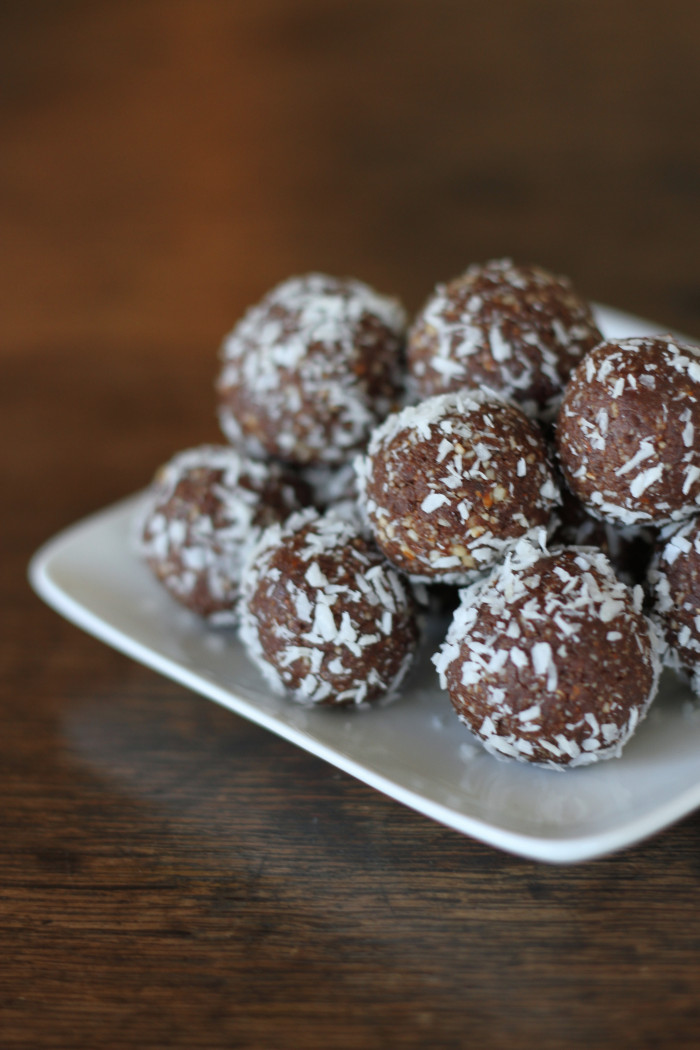
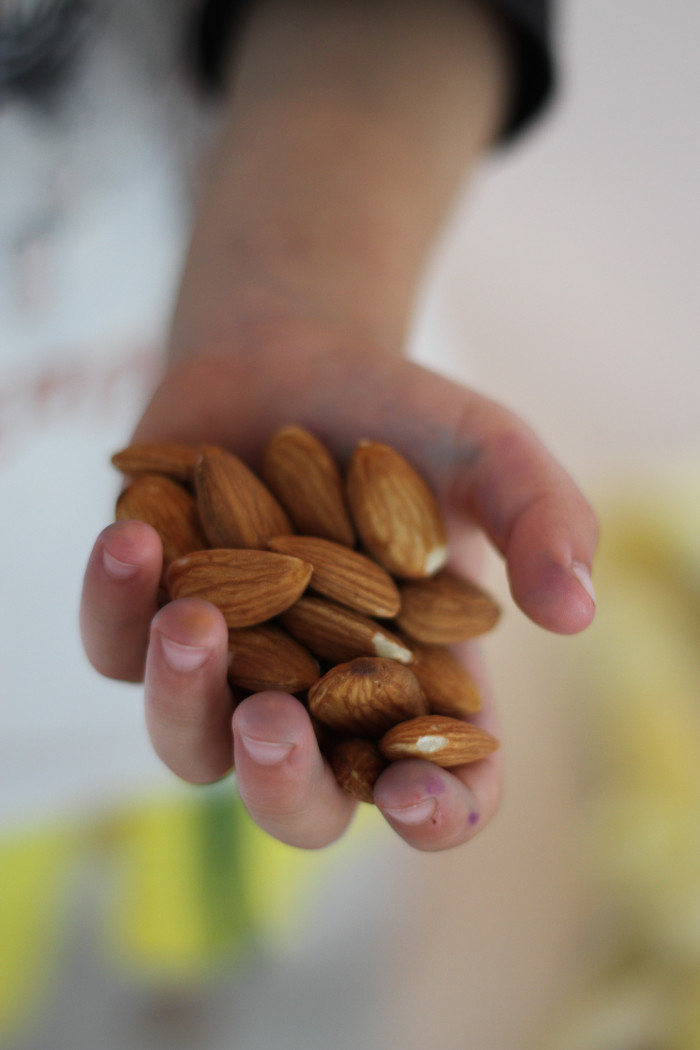
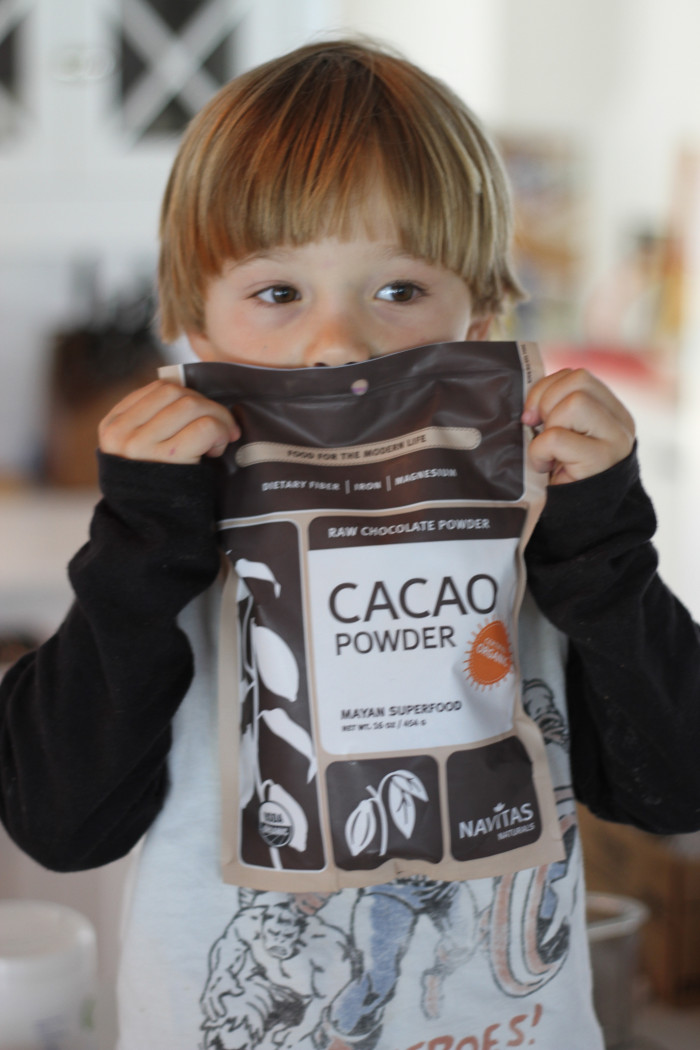
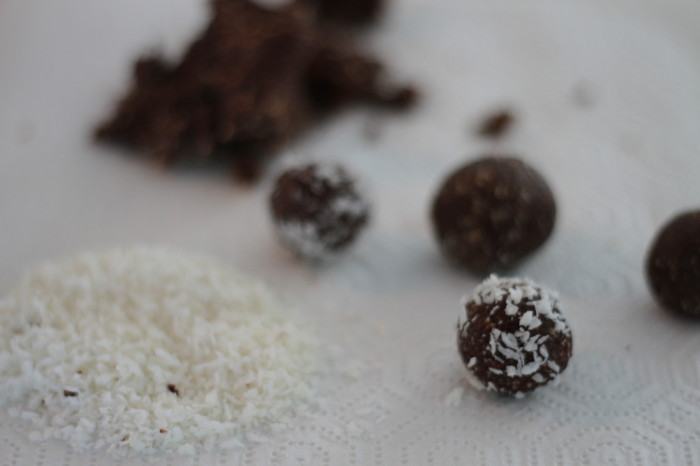
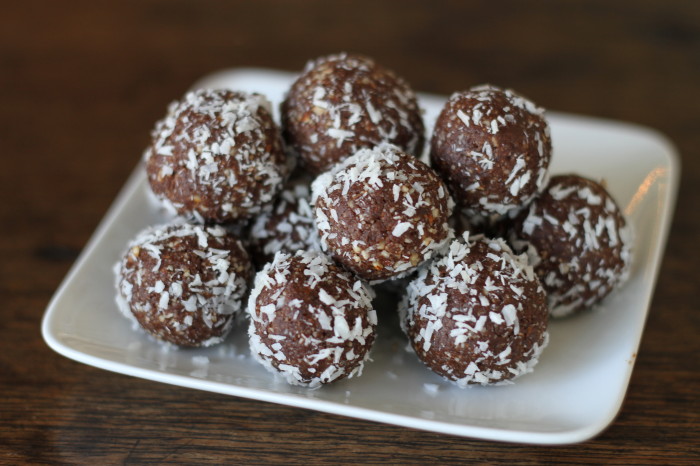
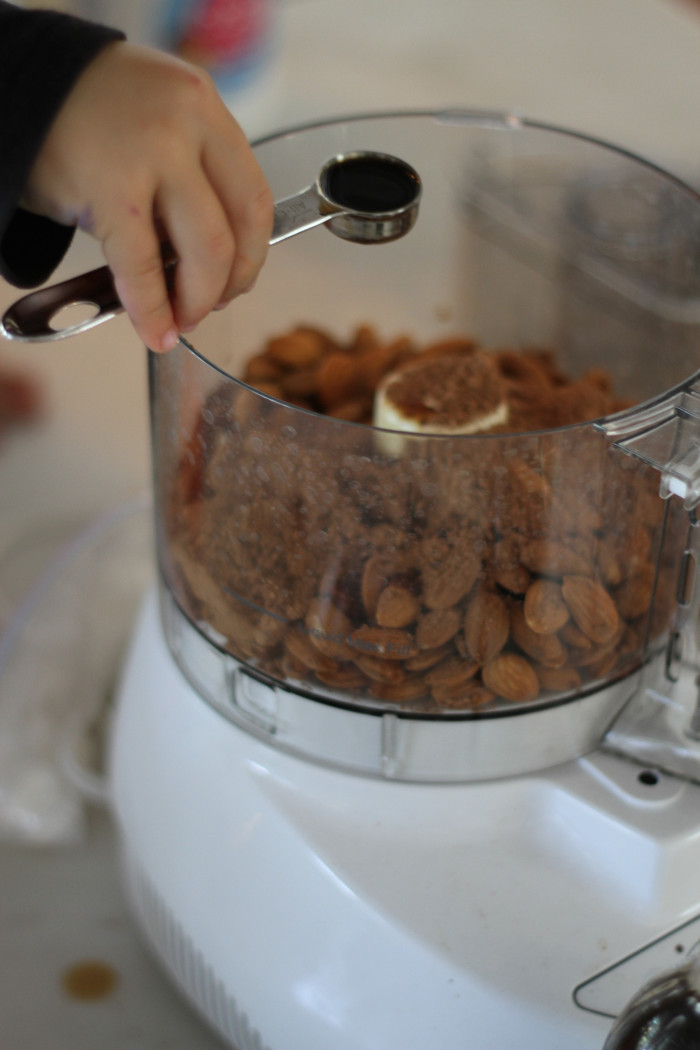
The hardest part about my Barre3 Spring Challenge is laying off of the sugar (oh and the wine, and the bread, and…) but luckily they have a ton of recipes to help you get through the month with minimal slip-ups.  My favorite “cheat treat?” These “healthy” donut holes.  And not only are they not SUPER bad for you, but they are easy enough to make that a 4 year old can make them… literally!

IMG_0540

Healthy Donut Holes

by Andrea Nakayama

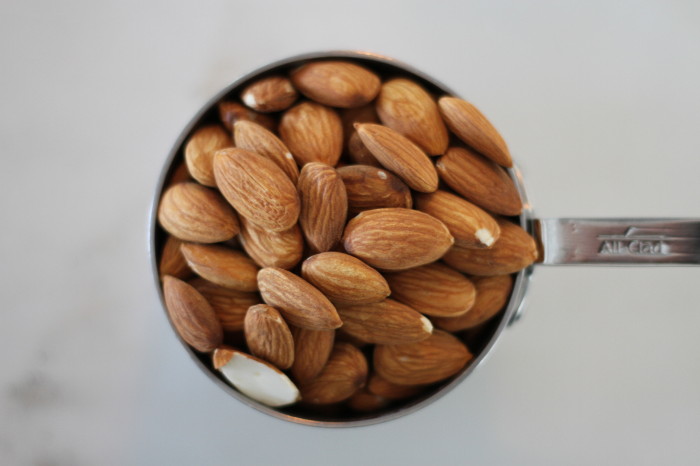
  • 1-1/2 cups raw almonds
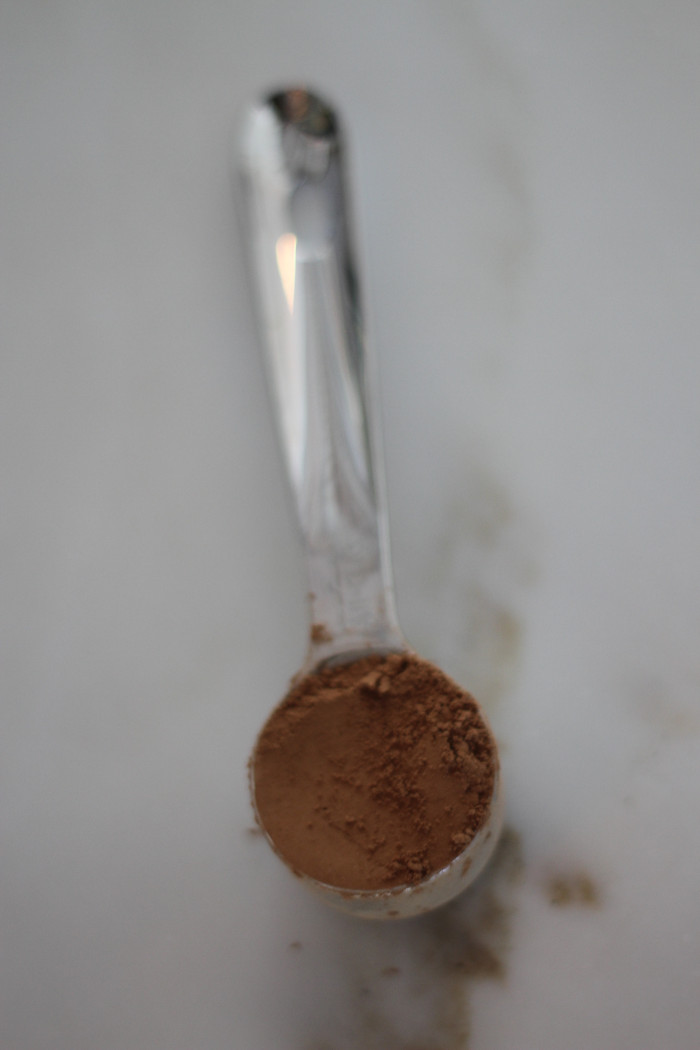
  • 5 tbsp raw cacao powder
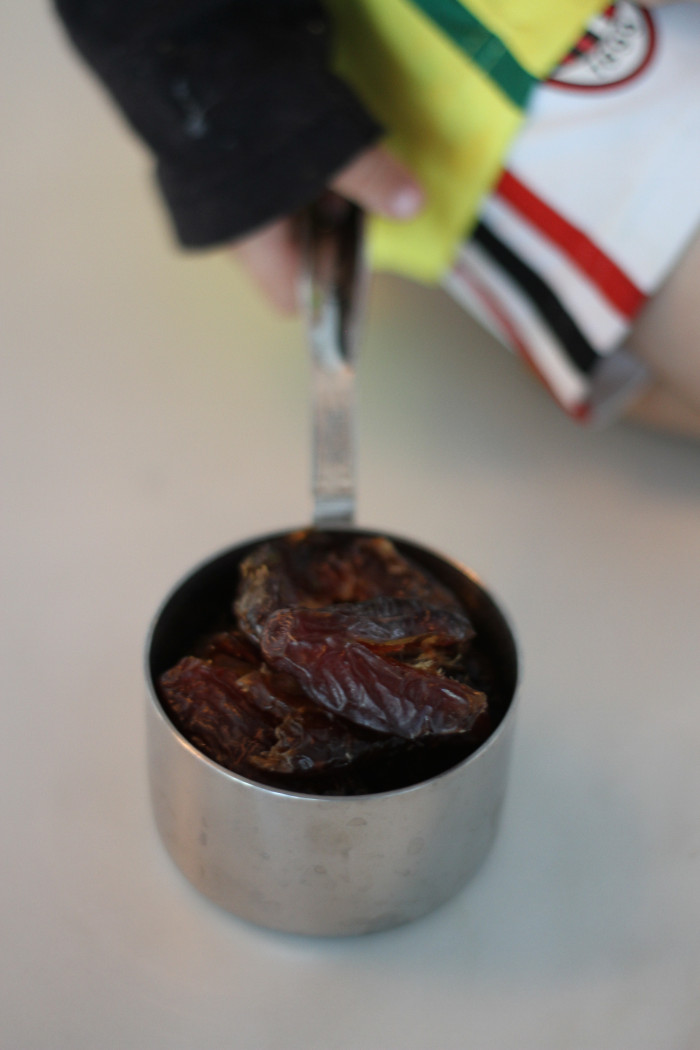
  • 1 cup dates (pitted)
  • 1 tsp vanilla extract
  • 1/4 tsp salt
  • Large handful unsweetened, shredded coconut (I recommend toasting it!)
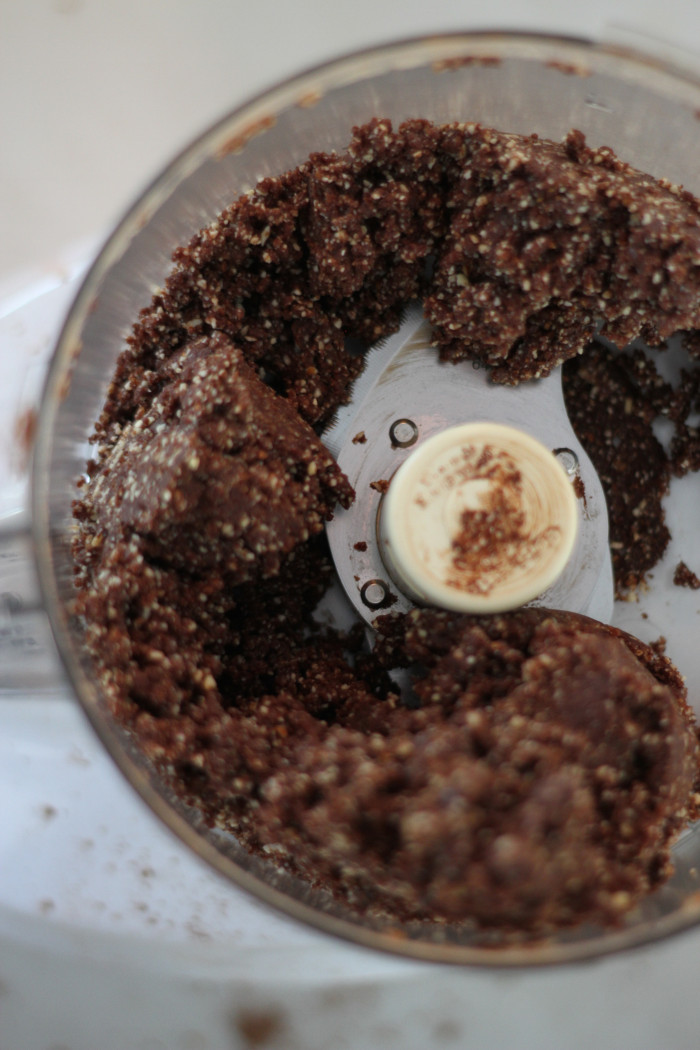
  1. Place first 5 ingredients (all but coconut) into a food processor and combine until mixture resembles a cookie dough consistency (you may need to add a little water at this point… I usually need a Tablespoon or 2).
  2. Roll the dough into little bite sized balls (about a Tablespoon worth).
  3. Roll date balls/donut holes in coconut.
  4. Transfer finished treats into a Tupperware and freeze for about an hour (although they really are great straight away too) and enjoy!

Store them in the freezer/fridge until a craving hits!

IMG_0545

IMG_0551

IMG_0556

IMG_0557

IMG_0561

IMG_0568

(they took artistic liberties during our arts and crafts session)

IMG_0573

IMG_0580

IMG_0583

The great part about this recipe is once the dough is made, any little helpers can be in charge of making their own bited sized treats.  Or you can be like Tucker (above) and just eat your serving straight away.

IMG_0589

They store wonderfully… so I highly recommend doubling this recipe and storing for those days where you want to go nuts on those new Ben & Jerry’s Core Ice Cream flavors… ugh.

IMG_0595