Browsing Tag

home

Domestic

How to Clean a Clarisonic Brush

June 19, 2014

IMG_2269

I always have to have a little laugh when it comes to cleaning cleaning devices – bleaching your washing machine, disinfecting your dishwasher, or boiling your toothbrush… How can things used to clean get so dirty?!

Now that I’ve added another product to my daily beauty regimen, I also have added another product to my cleaning to do list – Le sigh.
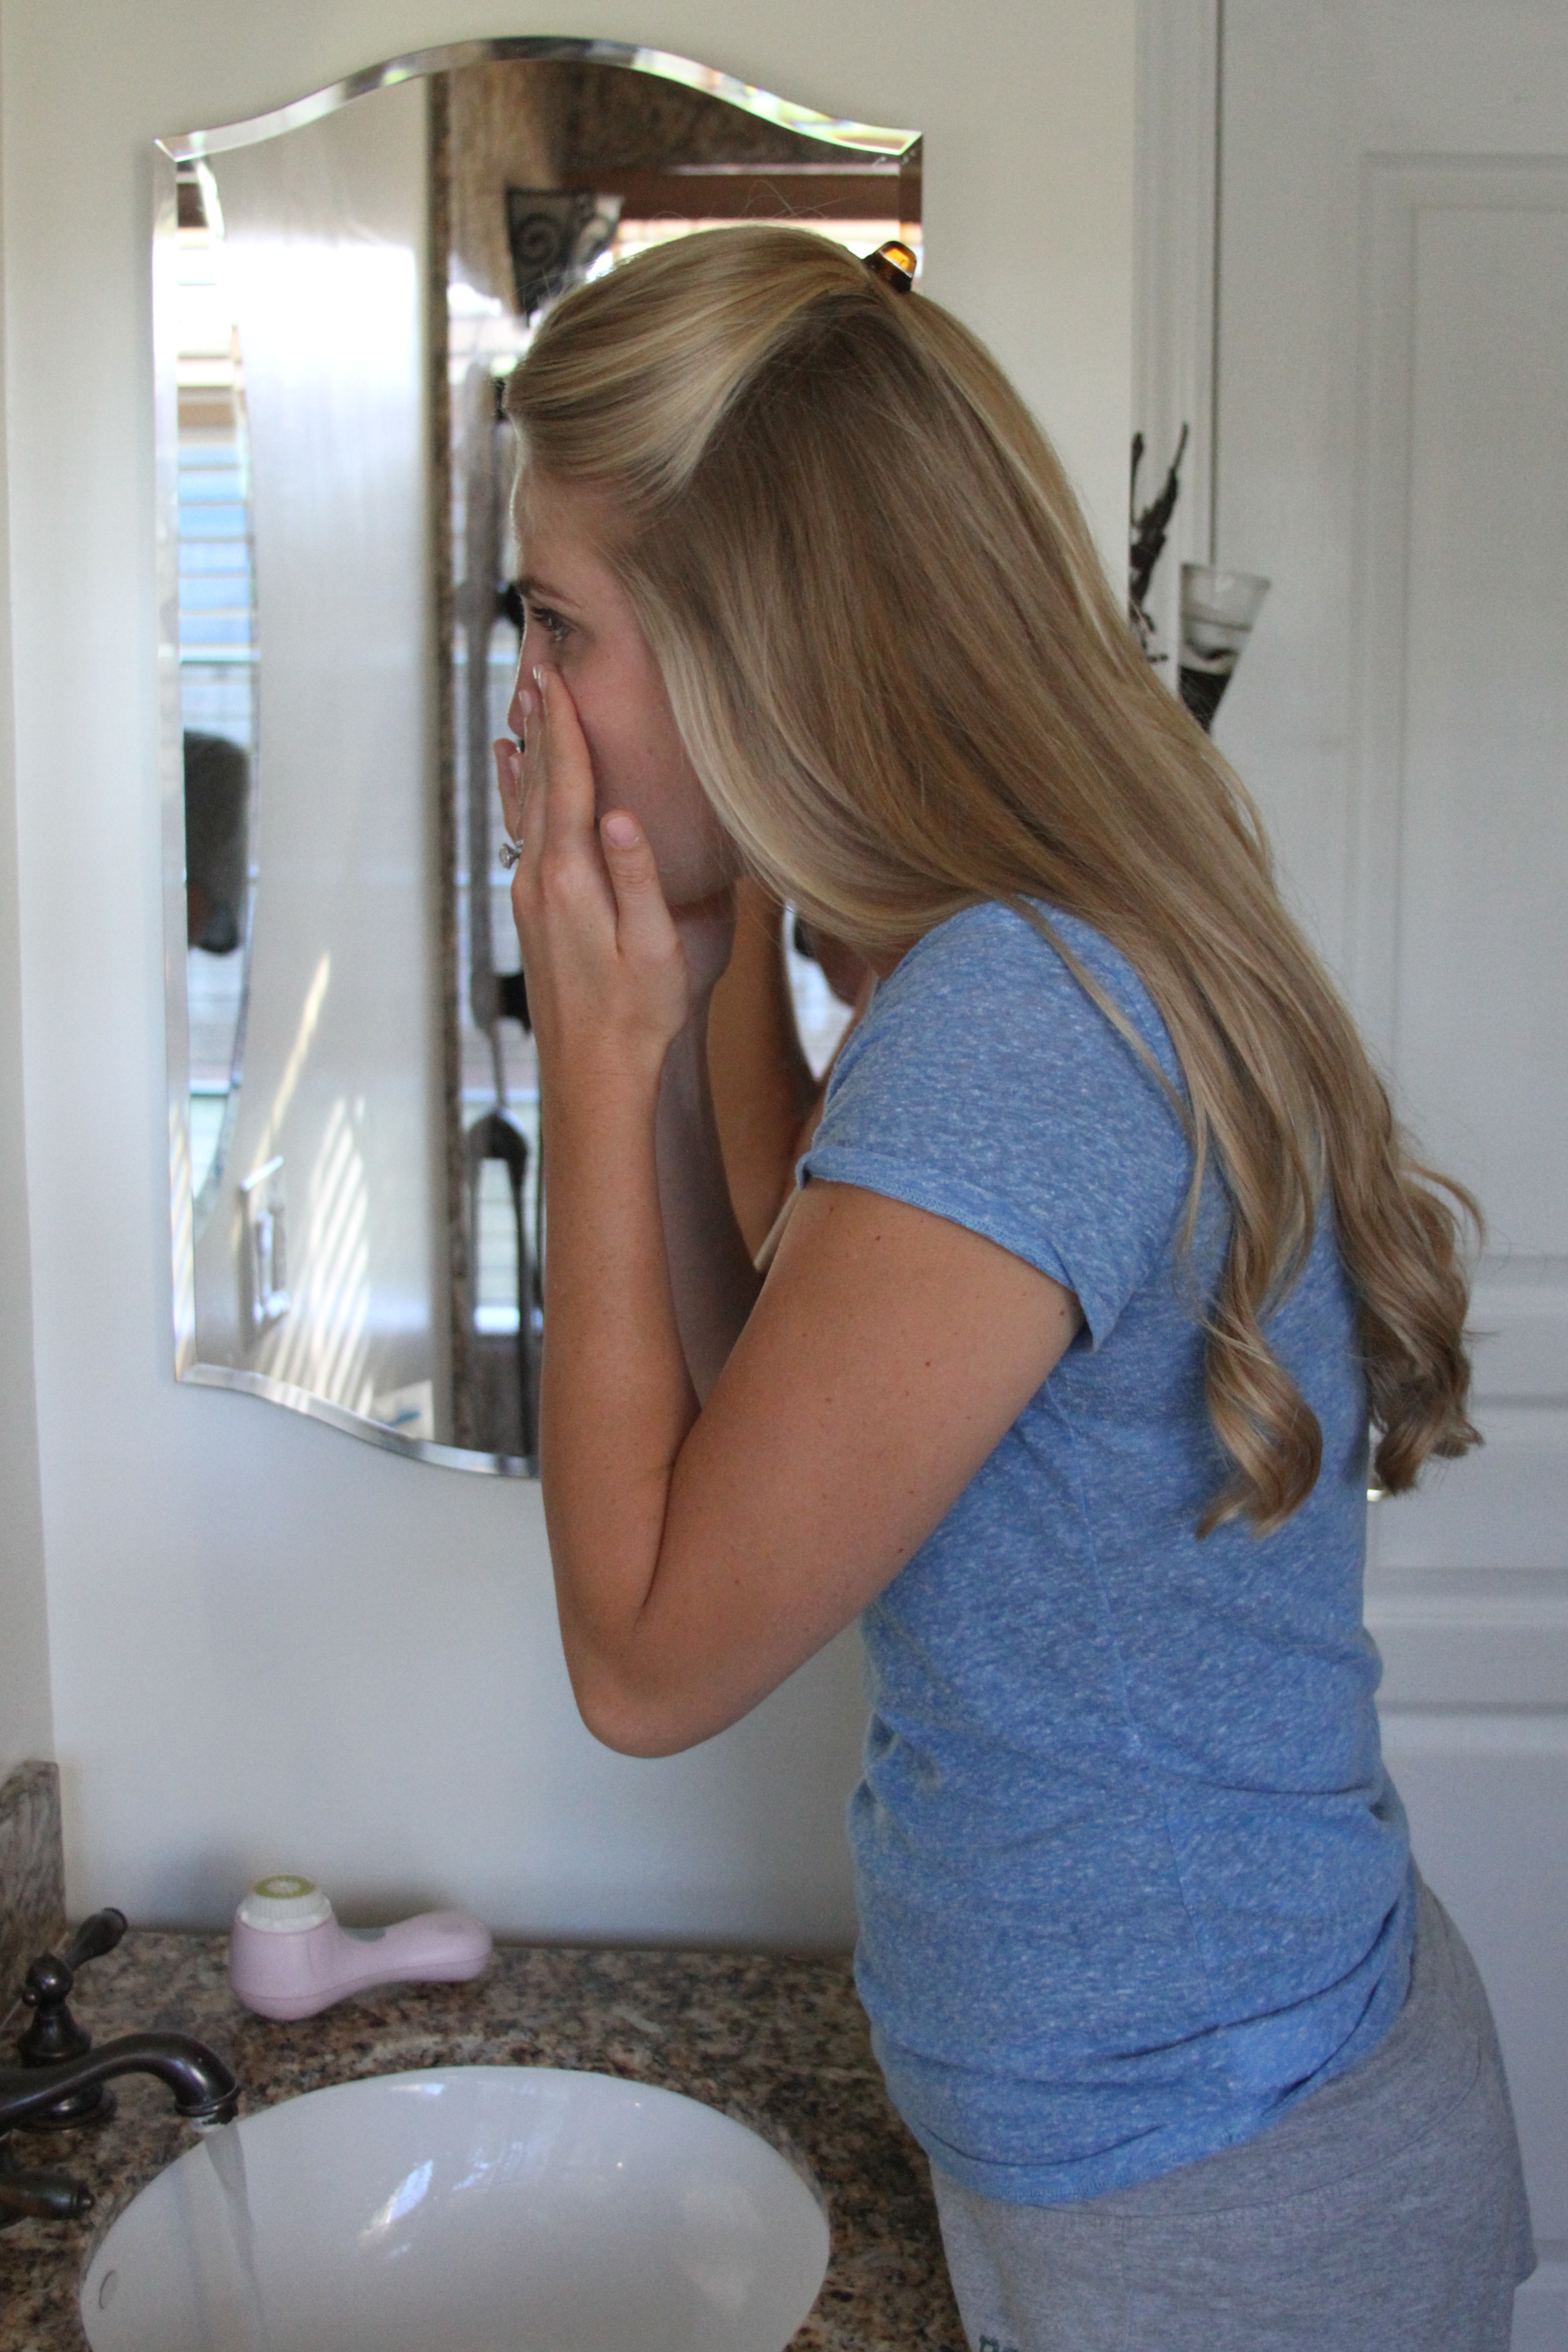
IMG_2250

Clarisonic BrushMurad Facial Cleanser

So for those of you with a Clarisonic brush here are a few tips on how to keep yours squeaky clean:

1. Once a week unscrew the brush head and remove it from the handle.

2. Put a few drops of Dawn (or antibacterial dish soap) onto a toothbrush and scrub bristles (I also use my fingers and a couple drops of shampoo on the brush head daily for a quick clean).

3. Let the brush head air dry separately from the handle (best overnight).

4. I store mine upright in the shower (the whole device is waterproof, so I use mine as part of my shower routine) but I think you are supposed to store it face down with the cap on (you just want to make sure the bristles are protected.

5. Every 3 months change out the brush head. Personally my skin starts to take a turn for the worst if I push the usage any longer.

IMG_2266

Happy Cleaning!

Domestic

Spring Cleaning – Don’t Forget!

May 1, 2014

I used to think my college living scenario was clean until my mom came to visit.  Somehow she could spend a day scrubbing what I thought to be a clean space.  As I’ve come to take care of my own home (and learned from her cleaning sessions along the way), is the most most used/obvious areas in your home, often are the ones that don’t get cleaned.  Yes, we remember to “clean the toilet,” “mop the floors,” etc. but I have a few tips of the places you forget to think of (unless you’re my mom)…

Door Knob NationalGeographic.com

Door Knobs:  Just clean them with antibacterial wipes.   Also, while we are on the topic of knobs, don’t forget to clean your stove knobs (sorry for that HORRIBLE segue).  Just pop them off, wash them in soapy, warm water, let dry and put back on!


CuttingBoard BHG.com

Cutting Boards: If I am cutting meat I ALWAYS pop it in the dishwasher afterwards.  No matter what you are cutting make sure to wash it with hot soapy water and rinse.  Also a disinfecting spray (ie bleach solution) is great to spritz on after each use.  If your cutting board has too many deep grooves/cut marks in it – get rid of it (bacteria harbors in there and it is not pretty).

Ice Cubes Flickr.com

Ice Maker:  Ice absorbs odors, so once a month it is recommended that you empty the bin and start a fresh batch.


Pillow Love Vintage Finds

Pillows: I have a confession.  I don’t wash my pillows. Well I didn’t. When I started researching/brainstorming for the post, I realized I have a million “How to Wash Your Pillow” pins on Pintrest and never once used them.  That being said… I had to give it a go – for the blogs sake! Apparently if you can fold your pillow and half and it stays, it is time to wash it.  Some say twice a year… either way, wash 2 pillows at a time (helps with balancing your machine?!) with mild liquid detergent (no powder!). Dry on low (not high heat) with tennis balls in socks (or just clean tennis balls) to help fluff them up. Note: I do wash my pillow case on a weekly basis.


Faucet TheGadgetFlow.com

Faucets:  Another easy fix for a potentially destructive germ-harboring zone = antibacterial wipes.   If you haven’t realized this, I’m a huge proponent of them. You can buy them in bulk at Costco, or here. Just stock up on them… they make kitchen clean up SO much easier.

Party

Wine Walk Recap

April 28, 2014

Our town does a great job of hosting fun events throughout the year (Dancin’ on the Ave, Founder’s Day Parade, Farmer’s Markets, trick-or-treating, etc.), and the spring season really kicks off some fun festivities.  First on the list? Spring Wine Walk!

IMG_5853

Events like this are perfect, because J and I can host for an hour or two on the front end, everyone walks downtown and then can finish the night with some pizza (the perks of living around the corner from Pizza My Heart!) back at our house.

IMG_0358

Like all things in life practice makes perfect, and while my entertaining is FAR from perfect, I’m finally getting the hang of putting together a menu that can be created in a couple hours and required minimal set-up/clean-up.  Here was our menu:

IMG_0303

Spring Wine Walk 

IMG_0330

To Do List

Night Before

  • Prep cabbage for salad
  • Make salad dressing
  • Make fruit skewers

Morning Of

  • Make cantaloupe salad (2 1/2 hours before) – refrigerate until ready to serve
  • Make cucumber wheels (2 hours before) – refrigerate until ready to serve
  • Make brie bites (1.5 hours before) – refrigerate until ready to serve
  • Take out sausages (1 hours before) – don’t cook yet
  • Make ham & cheese puffs (1 hour before) – don’t bake yet
  • Toss salad and serve in individual cups (20 minutes before)
  • Put ham & cheese puffs into oven (15 minutes before)
  • Grill sausages (10 minutes before)
  • Put refrigerated items out
  • Have hot food ready (and warm) when guests arrive
  • Party on!

Proscuitto Salad

IMG_0350

The event downtown was from 2-6pm, so I just wanted to do some appetizers to tide everyone over for the afternoon (our party started at 1pm).  Because I hate cold appetizers (that are supposed to be hot), I tried to have a lot of options that were cold, and then have a handful of warm appetizers I could prepare closer to the party time.  The ratio make prep work so much easier and I will definitely be re-creating this menu for another event soon… definitely recommend giving it a try for any of your summer parties!

IMG_0335

IMG_0364

IMG_0368

IMG_5808

IMG_0387

IMG_5809


Domestic

Spring Cleaning – How to Clean a Cooking Sheet

April 24, 2014

I am going to start a little series called “Spring Cleaning” (original huh?) with some of my favorite cleaning tips I’ve picked up along the way… First up? How to de-gunk your baking sheets.

IMG_9768

I always forget to line my baking sheet with foil, thus eliminating the need to clean it 99% of the time.  So if you are like me, your cooking sheets may be a little grimy if you’ve had them awhile…

IMG_9692

Have no fear! In a few easy steps you can have your sheets (almost) like new!

  1. Place gunky baking sheet in sink.
  2. Top with a Bounce dryer sheet and fill with warm water.
  3. Let soak overnight.
  4. Remove dryer sheet and wipe clean with a sponge.
  5. Rinse well.

IMG_9695

IMG_9698

IMG_9709


IMG_9771

After Cookie Sheet

*Note: You don’t want your sheets looking like how they did when you bought them… a well seasoned baking sheet is important, but that being said chunks of food (for lack of a better phrase), or stubborn stains can be off putting, so this method helps with getting rid of some surface stains without removing the yummy seasoning you have worked hard to create!

Click here and here for more cleaning tips!


Domestic

DIY Ombre Art

February 27, 2014

IMG_7039

I have grown to realize I have this obsession with artwork, or things that can be turned into artwork.  I love framing cards and magazine ads, browsing for emerging artists on ETSY is a favorite pastime, and one of my favorite gifts is this gorgeous columned ombre piece my sister made for me.   The issue with this little art obsession, is it can get a bit pricey (which is laughable to any one who is a real art collector), but at $30-50 a print, then $20-50 a frame, matting… you get the deal, these things add up!

IMG_6884

So when Aaron Brothers was having their half off canvas sale, I had to jump on it!  I bought this giant canvas, and finally wanted to give a little love to the giant blank space above my kitchen table… I have had this idea pinned for FOREVER, and felt it was finally time to pull the trigger!

Here was you need to make a (what I think is) beautiful piece of artwork… for under $50!

IMG_6851

  • Canvas (I did a larger size, but any size will do)
  • Paint Brush
  • Acrylic Paints (1 color,  1 black, 1 white)
  • Water Cup
  • Rag
  1. Using your colored paint, paint a stripe at the edge of your canvas (I went from left to right, you could also work your way out to in as they did here). I tried to make the brush stroke at the top relatively straight across, but preferred to leave the bottom of the stripe imperfect.  Rinse and dry your brush.
  2. Mix a drop of white into your color and add another stripe, slightly overlapping the first. Rinse and dry your brush again.
  3. Add a drop or so of white paint for each stripe.  The color will continue to get lighter as you move across the canvas.

IMG_6863 IMG_6873 IMG_6876 IMG_6879 IMG_6888 IMG_6893

Remember to space out your stripes so that you get to your desired lightened color at the end… You can always overlap a little more or less, depending on your spacing situation towards the end 🙂

IMG_7041