Browsing Tag

cleaning

Domestic

How to Remove Labels Off of Bottles

November 18, 2014

IMG_6167

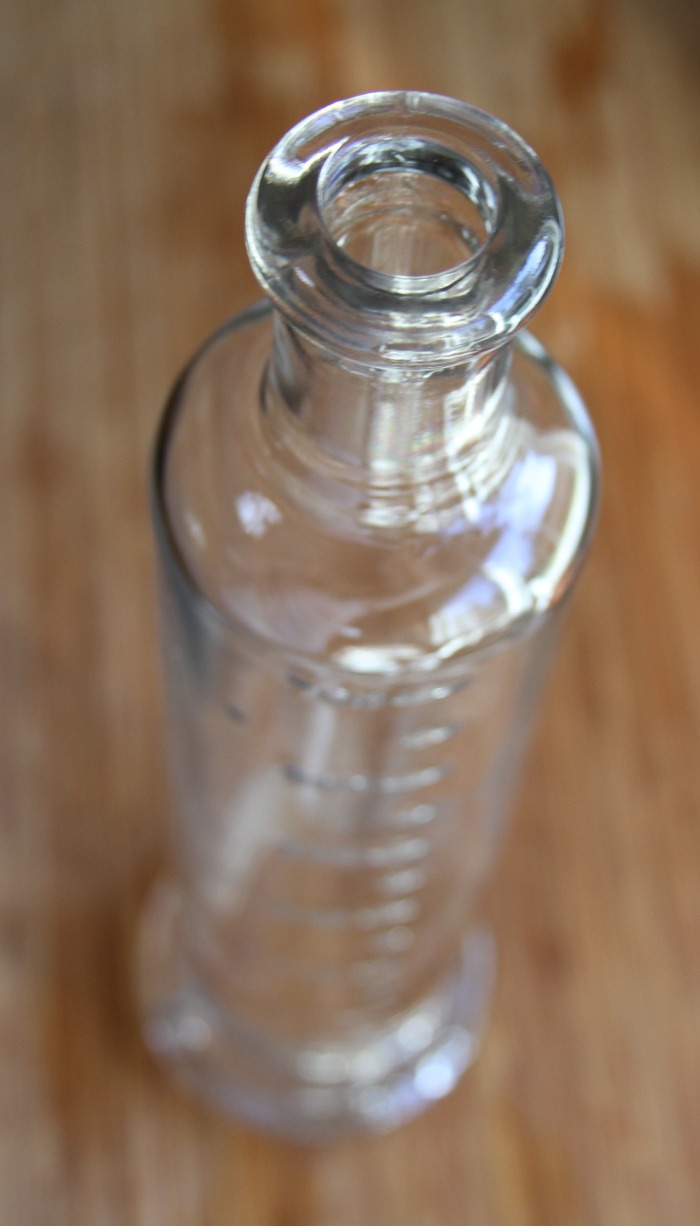
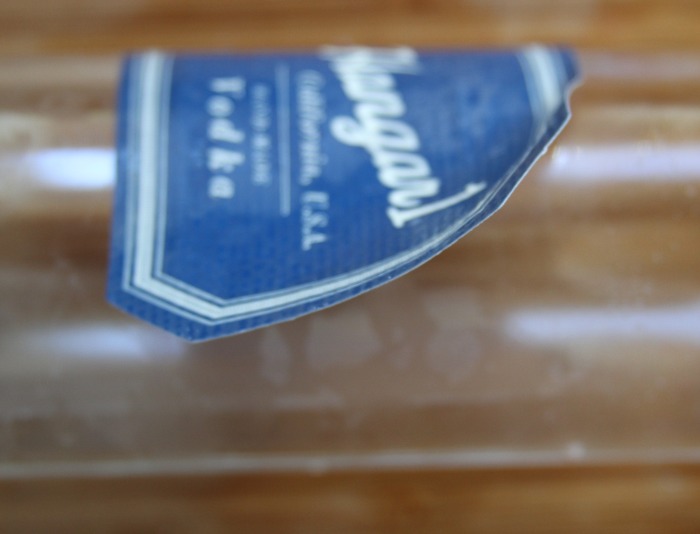
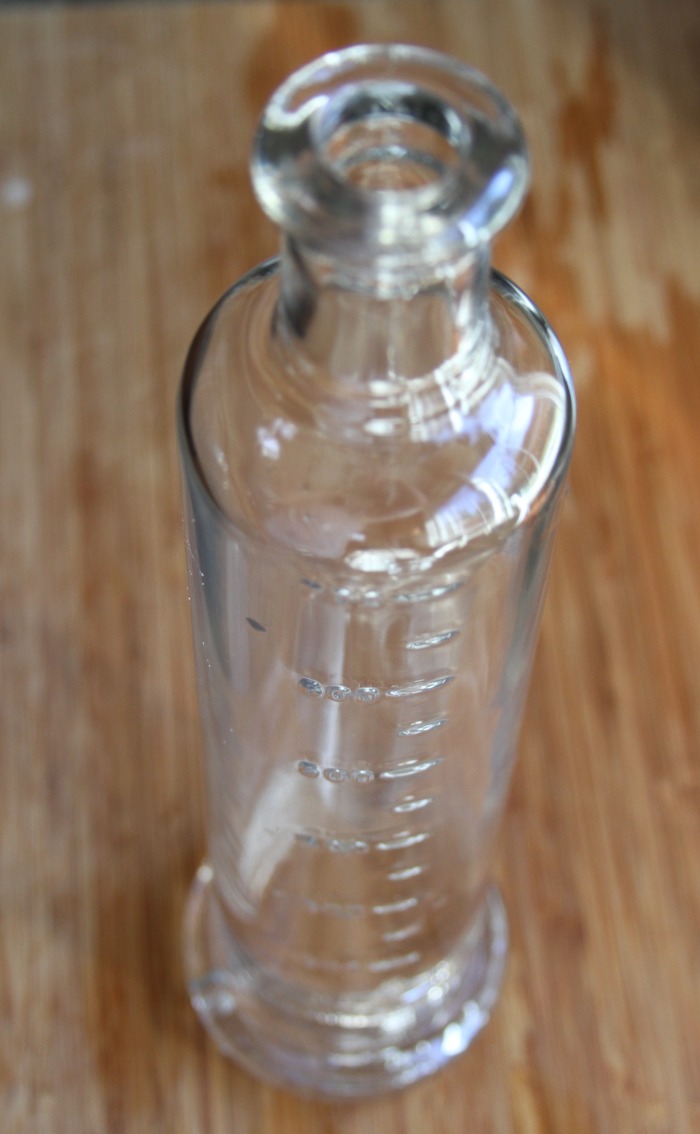
Between artisan olive oil, liquor and sparkling water, there are a lot of gorgeous bottles out there.  After a fun summer filled with lots of delicious meals, I have been left with a lot of empty bottles that I almost feel guilty throwing away.  Lucky for me, I came across a few restaurants that serve water out of recycled Bulleit bottles and Hangar One bottles, and figured what better way to repurpose my own!?

IMG_6144

The only thing that keeps from DIYing is the time and effort that goes into these projects.  Luckily this one requires very few of either and there are countless uses for these bottles afterwards!  Here a few easy steps to sparkling new bottles:

  1. Rinse out existing bottles
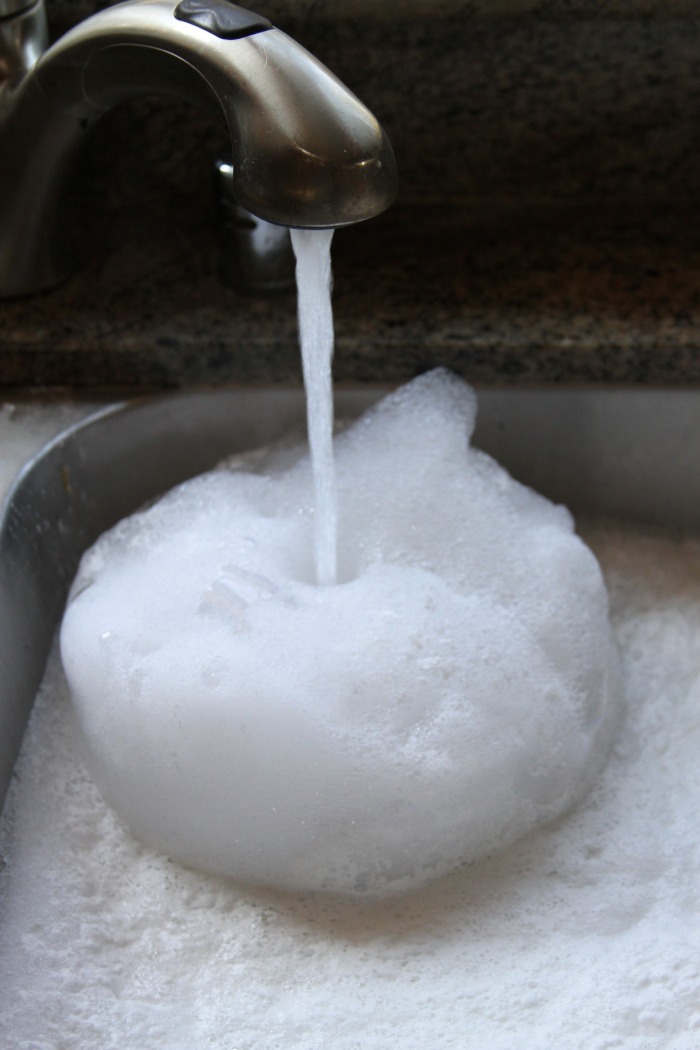
  2. Fill sink with VERY hot water.
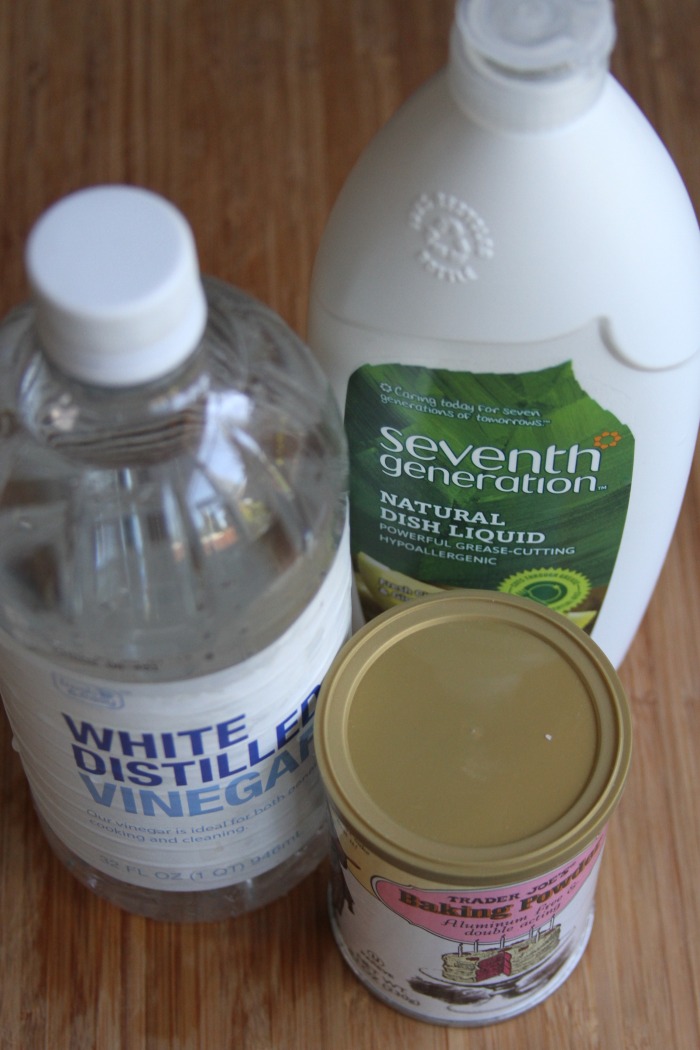
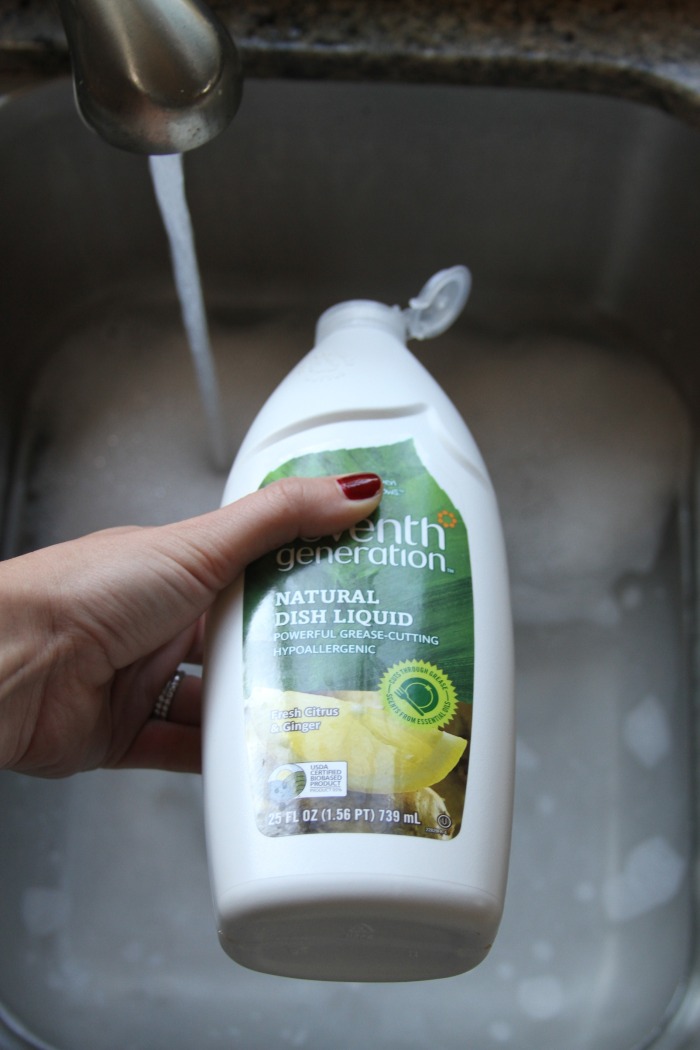
  3. Add 1/2 cup baking powder, 1 tablespoon dish washing liquid and 2 cups vinegar to the hot water.
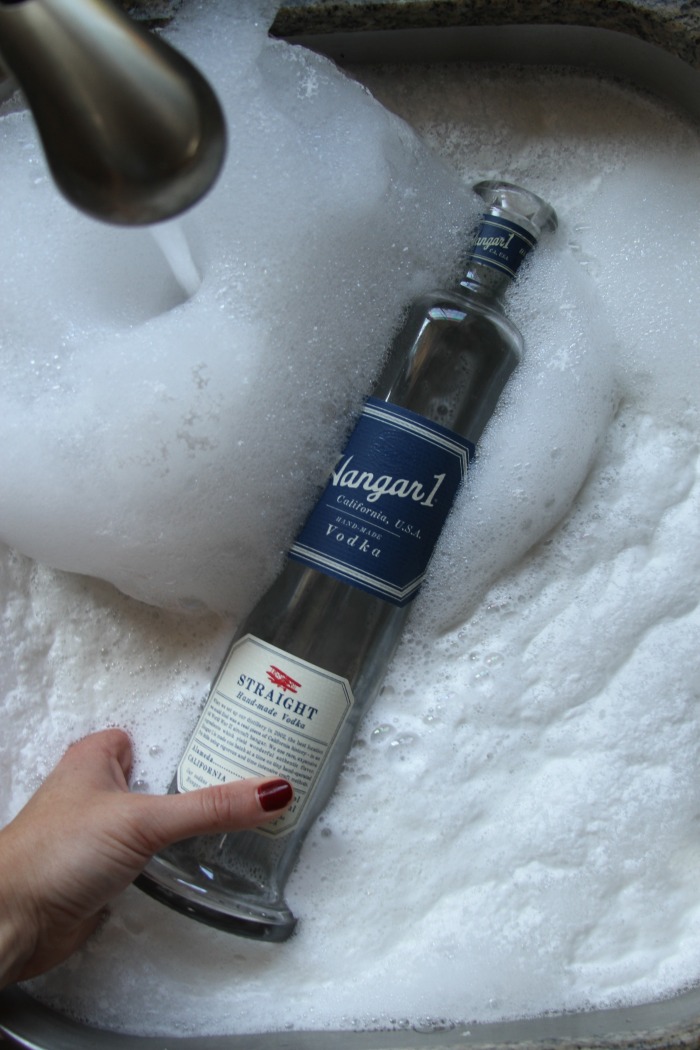
  4. Swirl around to combine and add bottles.
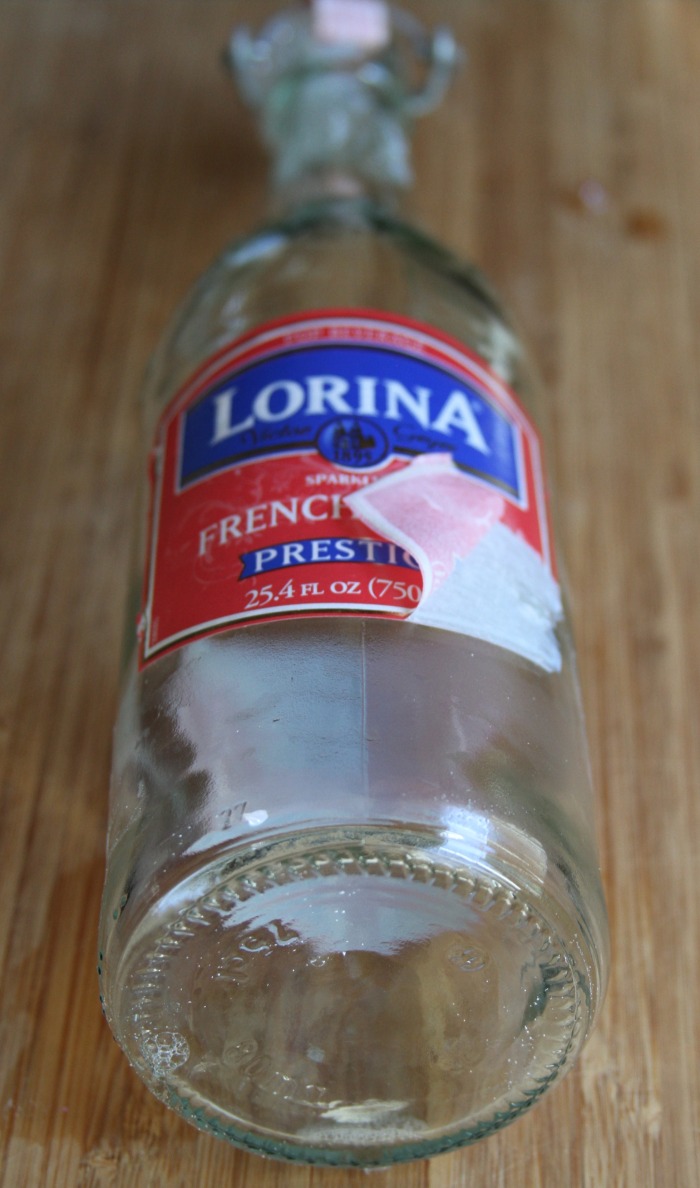
  5. Let soak for an hour or so, or until labels are able to be removed relatively easily.
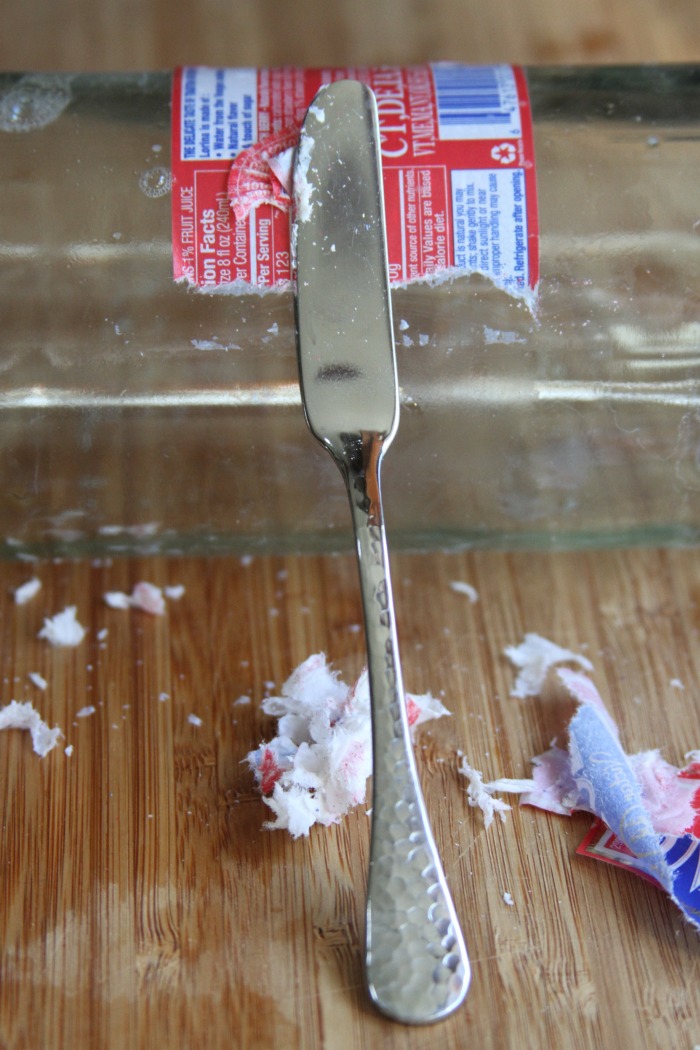
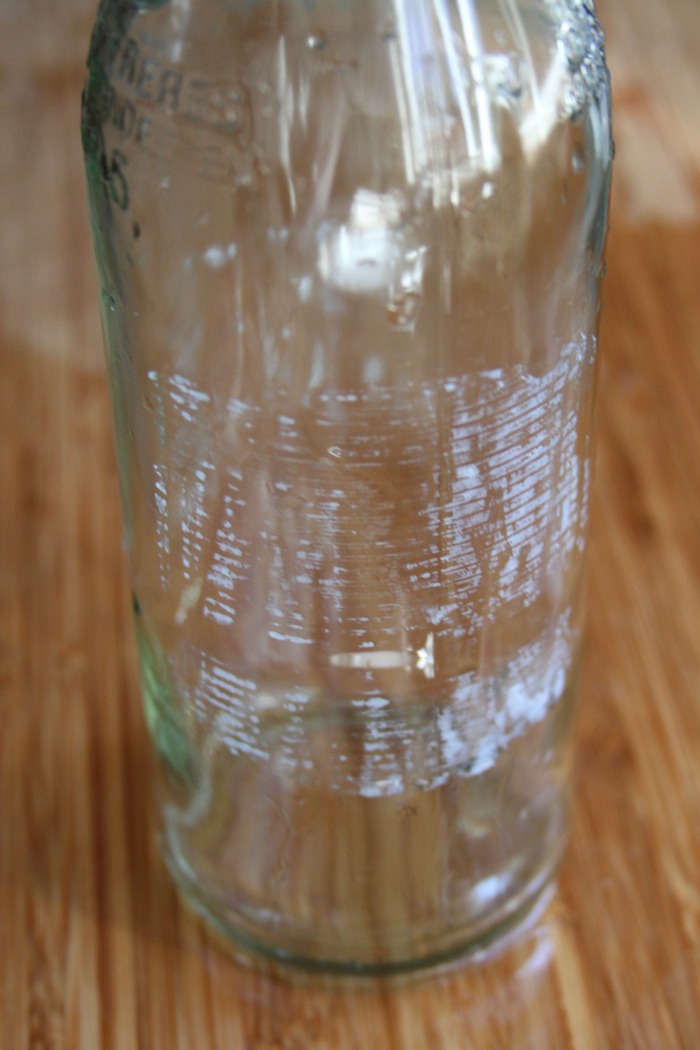
  6. Remove labels (you may need to use a butter knife for those that don’t peel off in one piece).
  7. Use rubbing alcohol or Go-Be-Gone to get rid of any remaining residue.
  8. Dry and store for later use.

IMG_6115

IMG_6134

IMG_6121

IMG_6136

IMG_6152

IMG_6154

IMG_6157

IMG_6162


IMG_6166

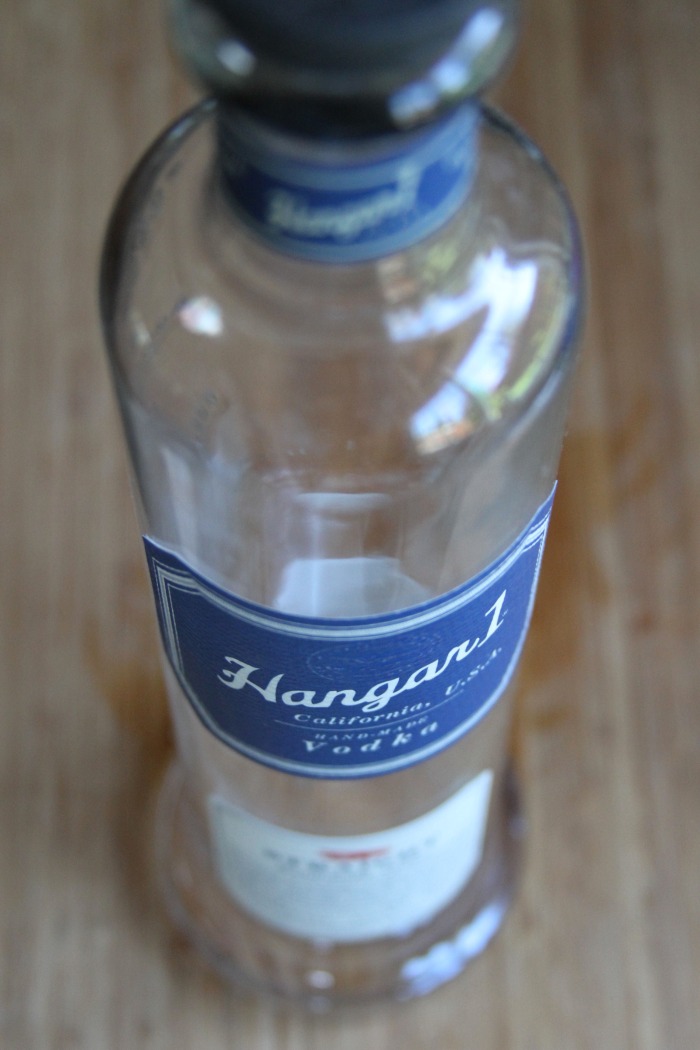
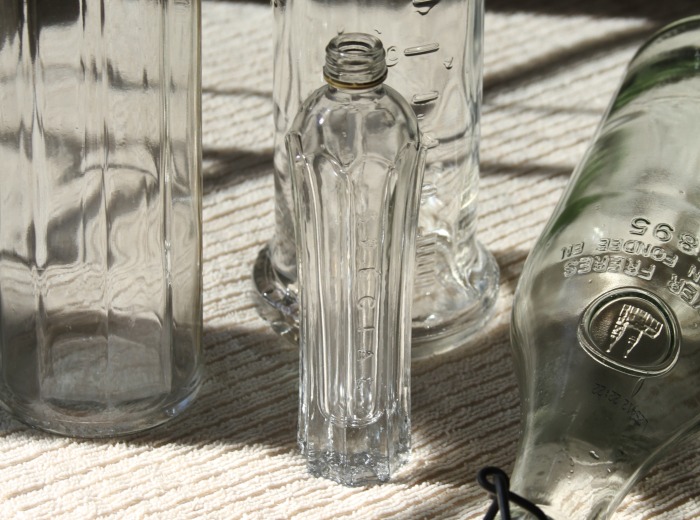
Note: I did this with 4 different bottles and each label was different.  The Hangar bottle removed in one piece with no residue left behind (definitely the easiest), while an olive oil bottle not only required a butter knife to remove the label, but the residue was SO sticky I had to allow the bottle to soak in the alcohol a bit (and use a LOT of elbow grease).

IMG_6165

Here are a some fun projects you can use with these re-purposed bottles: hanging flower arrangements, water bottle, or vases… just to name a few!

Domestic

How to Clean a Clarisonic Brush

June 19, 2014

IMG_2269

I always have to have a little laugh when it comes to cleaning cleaning devices – bleaching your washing machine, disinfecting your dishwasher, or boiling your toothbrush… How can things used to clean get so dirty?!

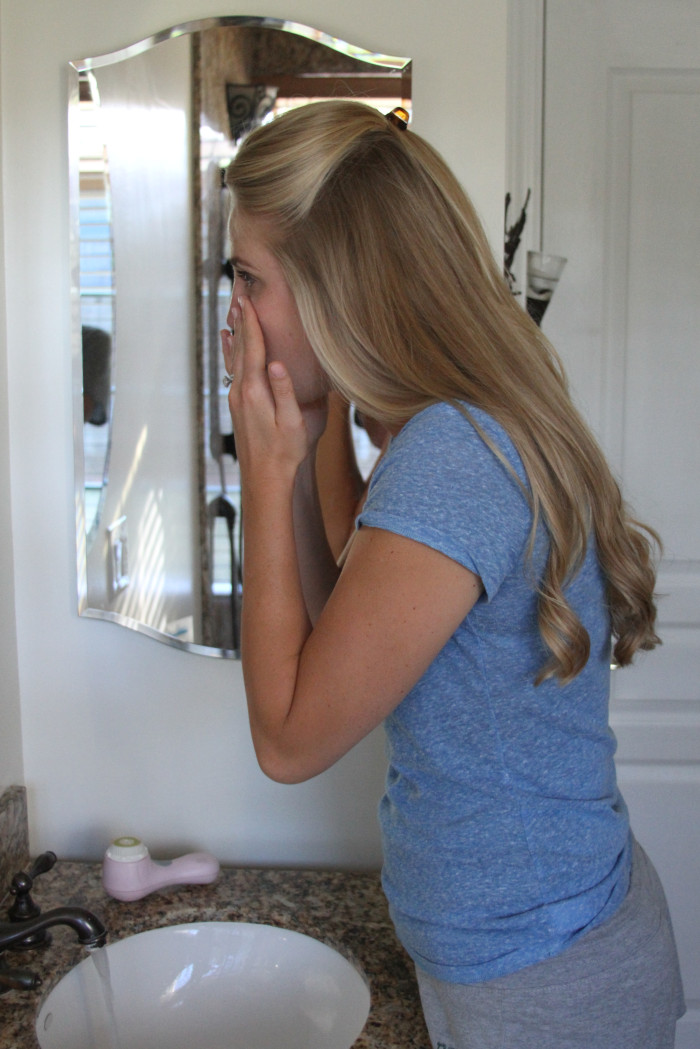
Now that I’ve added another product to my daily beauty regimen, I also have added another product to my cleaning to do list – Le sigh.

IMG_2250

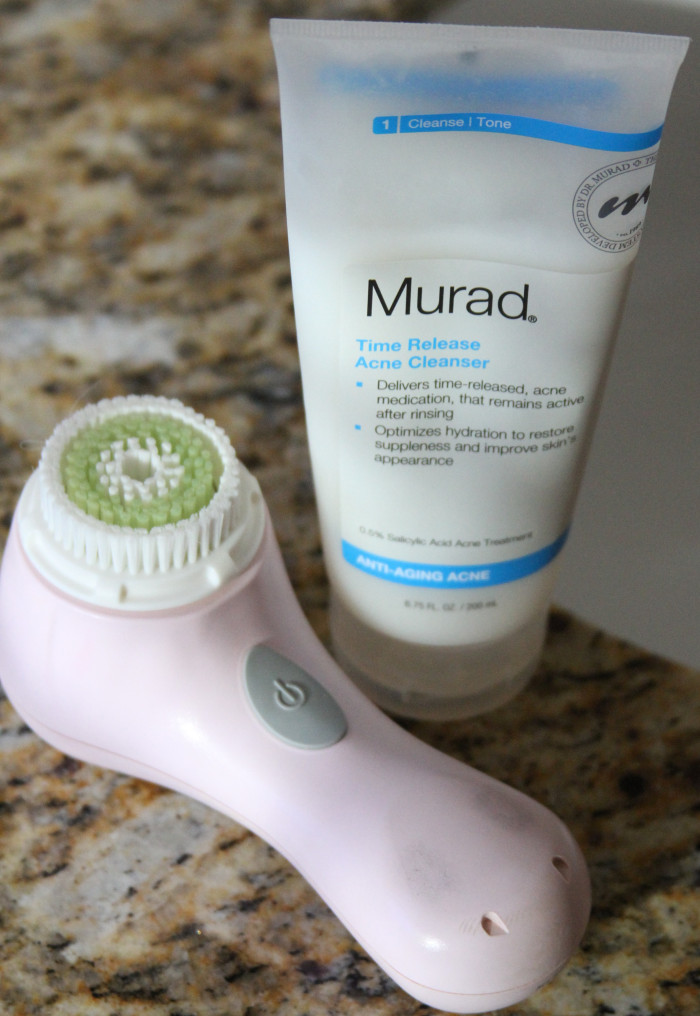
Clarisonic BrushMurad Facial Cleanser

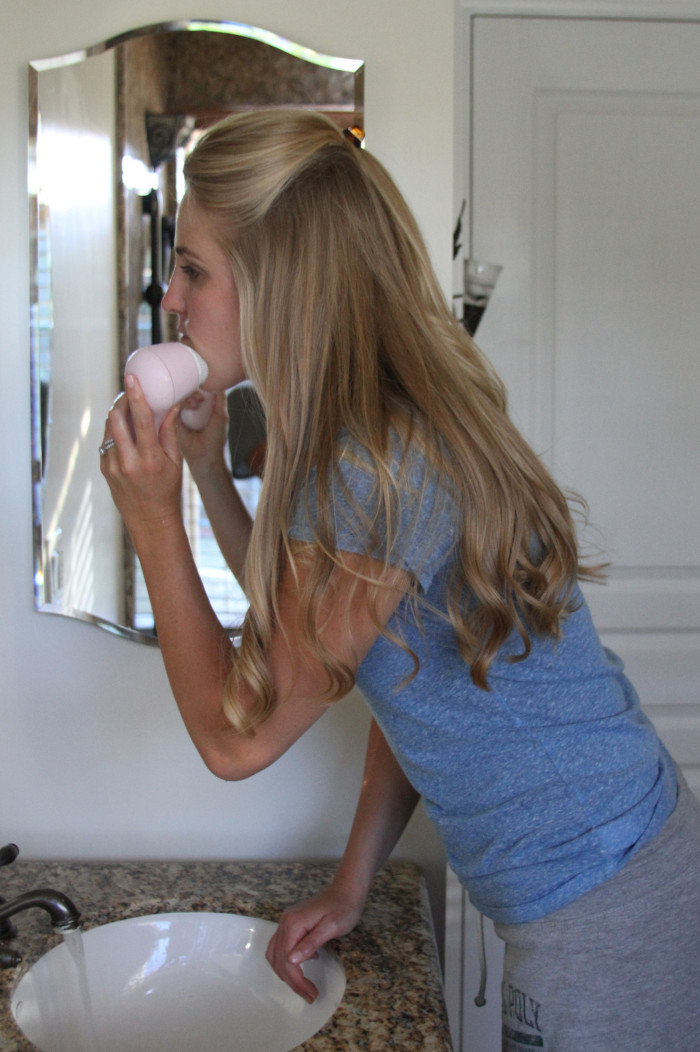
So for those of you with a Clarisonic brush here are a few tips on how to keep yours squeaky clean:

1. Once a week unscrew the brush head and remove it from the handle.

2. Put a few drops of Dawn (or antibacterial dish soap) onto a toothbrush and scrub bristles (I also use my fingers and a couple drops of shampoo on the brush head daily for a quick clean).

3. Let the brush head air dry separately from the handle (best overnight).

4. I store mine upright in the shower (the whole device is waterproof, so I use mine as part of my shower routine) but I think you are supposed to store it face down with the cap on (you just want to make sure the bristles are protected.

5. Every 3 months change out the brush head. Personally my skin starts to take a turn for the worst if I push the usage any longer.

IMG_2266

Happy Cleaning!

Domestic

Spring Cleaning – Don’t Forget!

May 1, 2014

I used to think my college living scenario was clean until my mom came to visit.  Somehow she could spend a day scrubbing what I thought to be a clean space.  As I’ve come to take care of my own home (and learned from her cleaning sessions along the way), is the most most used/obvious areas in your home, often are the ones that don’t get cleaned.  Yes, we remember to “clean the toilet,” “mop the floors,” etc. but I have a few tips of the places you forget to think of (unless you’re my mom)…

Door Knob NationalGeographic.com

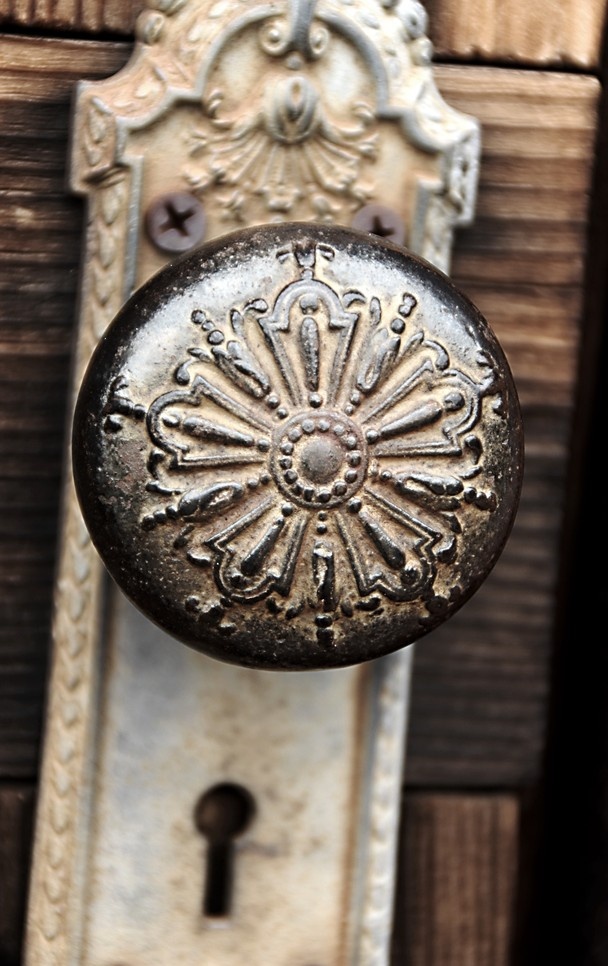
Door Knobs:  Just clean them with antibacterial wipes.   Also, while we are on the topic of knobs, don’t forget to clean your stove knobs (sorry for that HORRIBLE segue).  Just pop them off, wash them in soapy, warm water, let dry and put back on!


CuttingBoard BHG.com

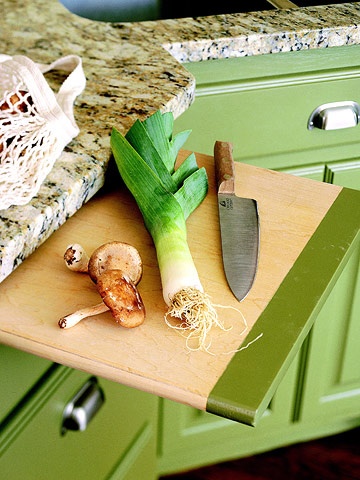
Cutting Boards: If I am cutting meat I ALWAYS pop it in the dishwasher afterwards.  No matter what you are cutting make sure to wash it with hot soapy water and rinse.  Also a disinfecting spray (ie bleach solution) is great to spritz on after each use.  If your cutting board has too many deep grooves/cut marks in it – get rid of it (bacteria harbors in there and it is not pretty).

Ice Cubes Flickr.com

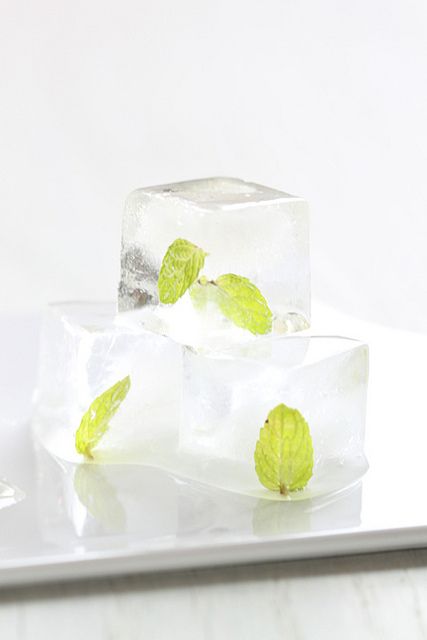
Ice Maker:  Ice absorbs odors, so once a month it is recommended that you empty the bin and start a fresh batch.


Pillow Love Vintage Finds

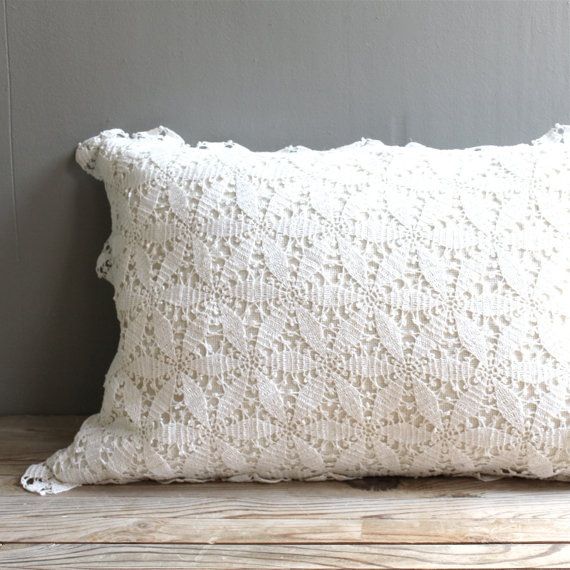
Pillows: I have a confession.  I don’t wash my pillows. Well I didn’t. When I started researching/brainstorming for the post, I realized I have a million “How to Wash Your Pillow” pins on Pintrest and never once used them.  That being said… I had to give it a go – for the blogs sake! Apparently if you can fold your pillow and half and it stays, it is time to wash it.  Some say twice a year… either way, wash 2 pillows at a time (helps with balancing your machine?!) with mild liquid detergent (no powder!). Dry on low (not high heat) with tennis balls in socks (or just clean tennis balls) to help fluff them up. Note: I do wash my pillow case on a weekly basis.


Faucet TheGadgetFlow.com

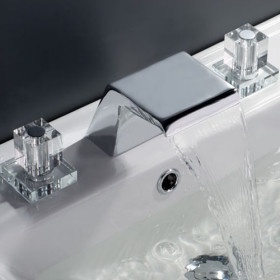
Faucets:  Another easy fix for a potentially destructive germ-harboring zone = antibacterial wipes.   If you haven’t realized this, I’m a huge proponent of them. You can buy them in bulk at Costco, or here. Just stock up on them… they make kitchen clean up SO much easier.

Domestic

Spring Cleaning – How to Clean a Cooking Sheet

April 24, 2014

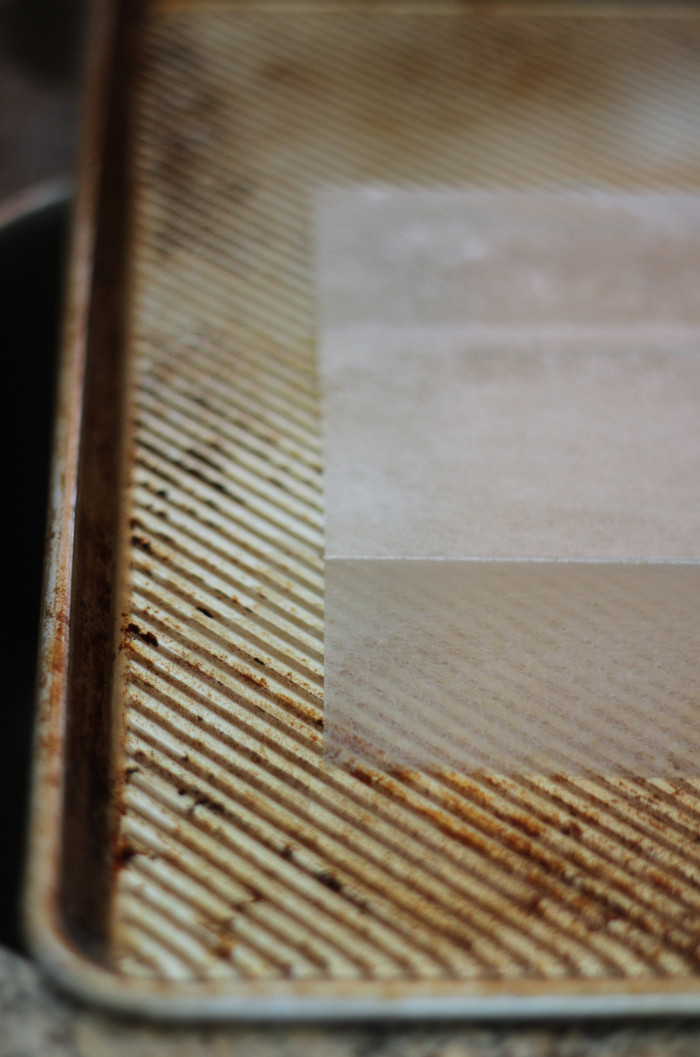
I am going to start a little series called “Spring Cleaning” (original huh?) with some of my favorite cleaning tips I’ve picked up along the way… First up? How to de-gunk your baking sheets.

IMG_9768

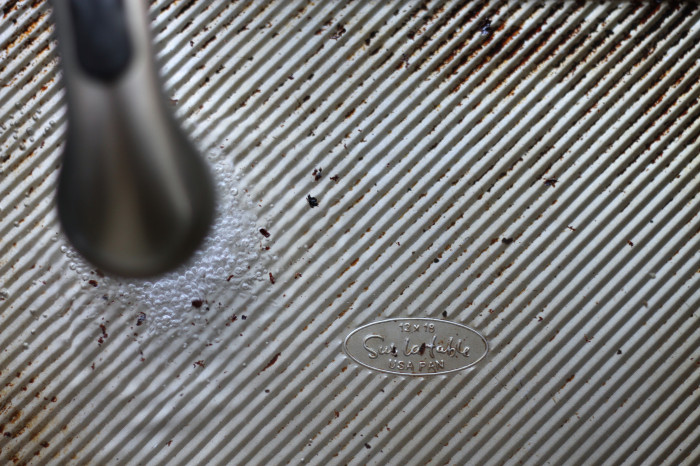
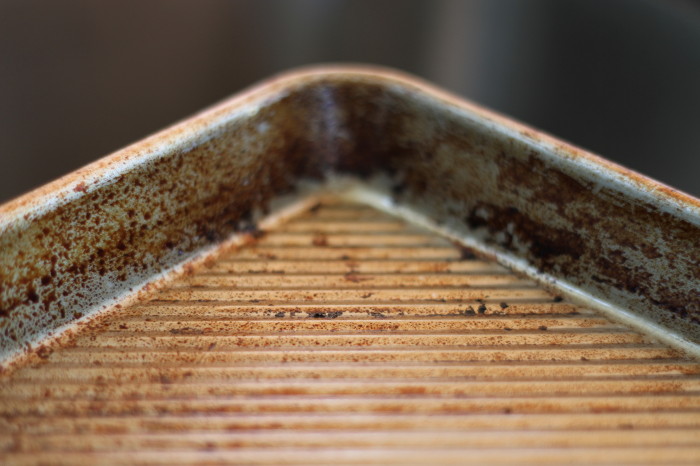
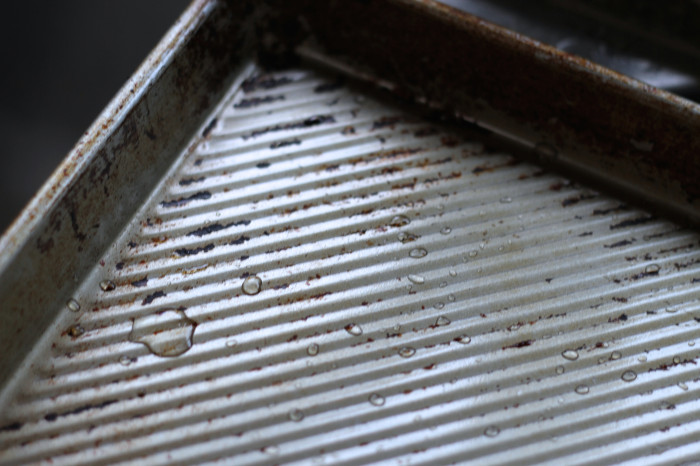
I always forget to line my baking sheet with foil, thus eliminating the need to clean it 99% of the time.  So if you are like me, your cooking sheets may be a little grimy if you’ve had them awhile…

IMG_9692

Have no fear! In a few easy steps you can have your sheets (almost) like new!

  1. Place gunky baking sheet in sink.
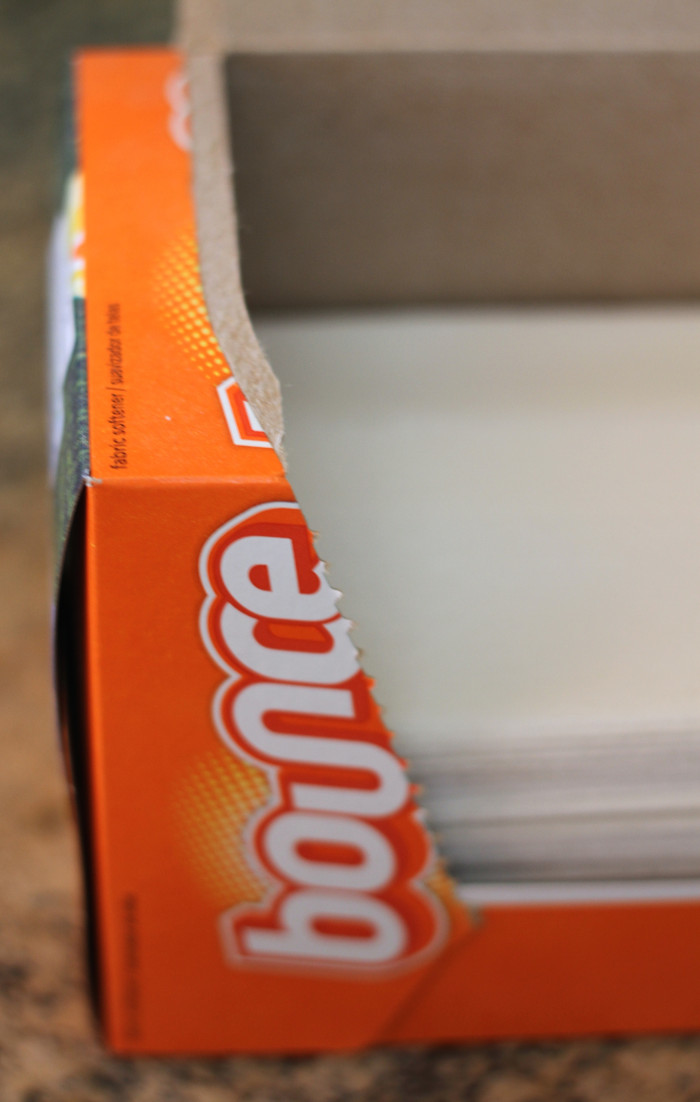
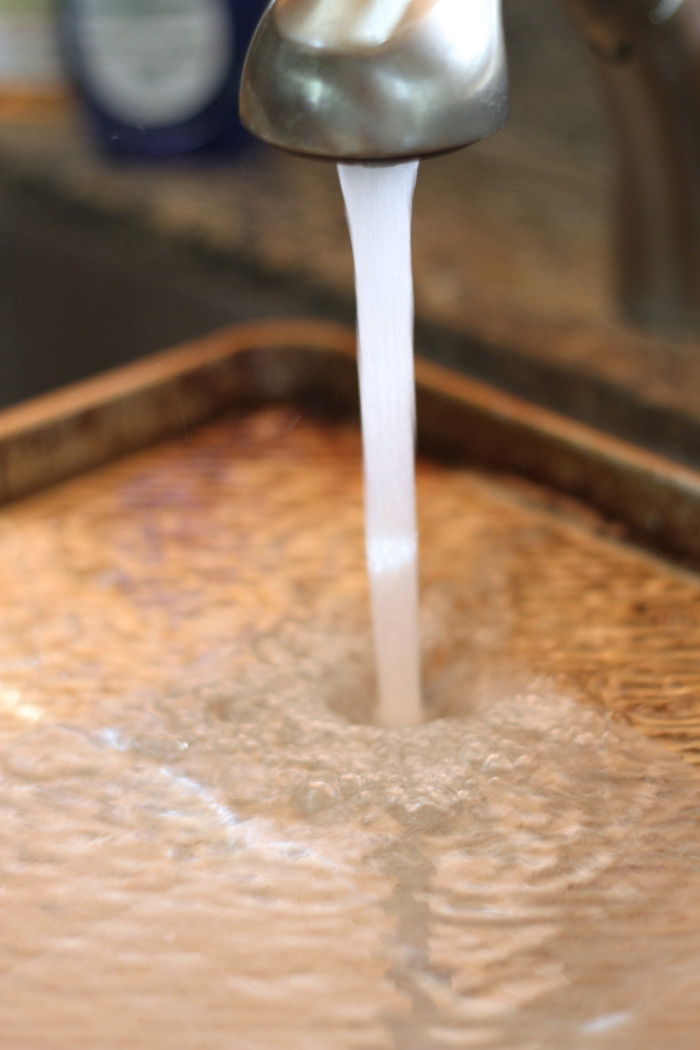
  2. Top with a Bounce dryer sheet and fill with warm water.
  3. Let soak overnight.
  4. Remove dryer sheet and wipe clean with a sponge.
  5. Rinse well.

IMG_9695

IMG_9698

IMG_9709


IMG_9771

After Cookie Sheet

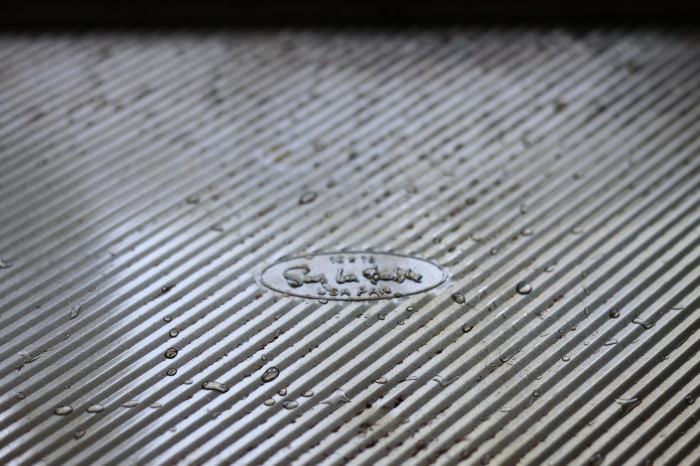
*Note: You don’t want your sheets looking like how they did when you bought them… a well seasoned baking sheet is important, but that being said chunks of food (for lack of a better phrase), or stubborn stains can be off putting, so this method helps with getting rid of some surface stains without removing the yummy seasoning you have worked hard to create!

Click here and here for more cleaning tips!


Domestic

How to Get Gum Off Your Clothes

October 3, 2013

Bubble Gum

image by Micheal Moebius

I was leaving an amazing dinner with my sister and hubby, and what does my sister notice on my brand new jeans?! GUM.  The worst thing anyway… or so I thought… One call into my mom later and I was all set… here is what I did (for denim)!

1. Take an ice cube to the gum stain.  You want to freeze it through (if you are working with a smaller garment you can put the whole thing in the freezer if you prefer).

Ice Cube Gum Get Gum Out Get Gum Out of Clothes

2. Use a butter knife (or the backside of a dinner knife) to scrape the gum off.  It should come right off!

Knife Gum

3. Repeat steps 1-2 until the stain is removed.

Gum Stain

4. Run item through the wash with the hottest water the material can handle.

Laundry

5. Make sure gum is totally removed from article of clothing before putting in the dryer (unless you air dry your clothing).

It will be good as new!