Browsing Category

Tasty

Tasty

Sunday Sauce with AgLocal

March 16, 2015

AgLocal Sunday Sauce

After my family found out about my obsession with buying meat from my local farmer’s market, my sister gifted me one of the most amazing gifts ever – a subscription to AgLocal.  They buy pasture raised meats from local farms and offer meats by the cut and by subscription ($85/month for 4 types of meat).

IMG_0103

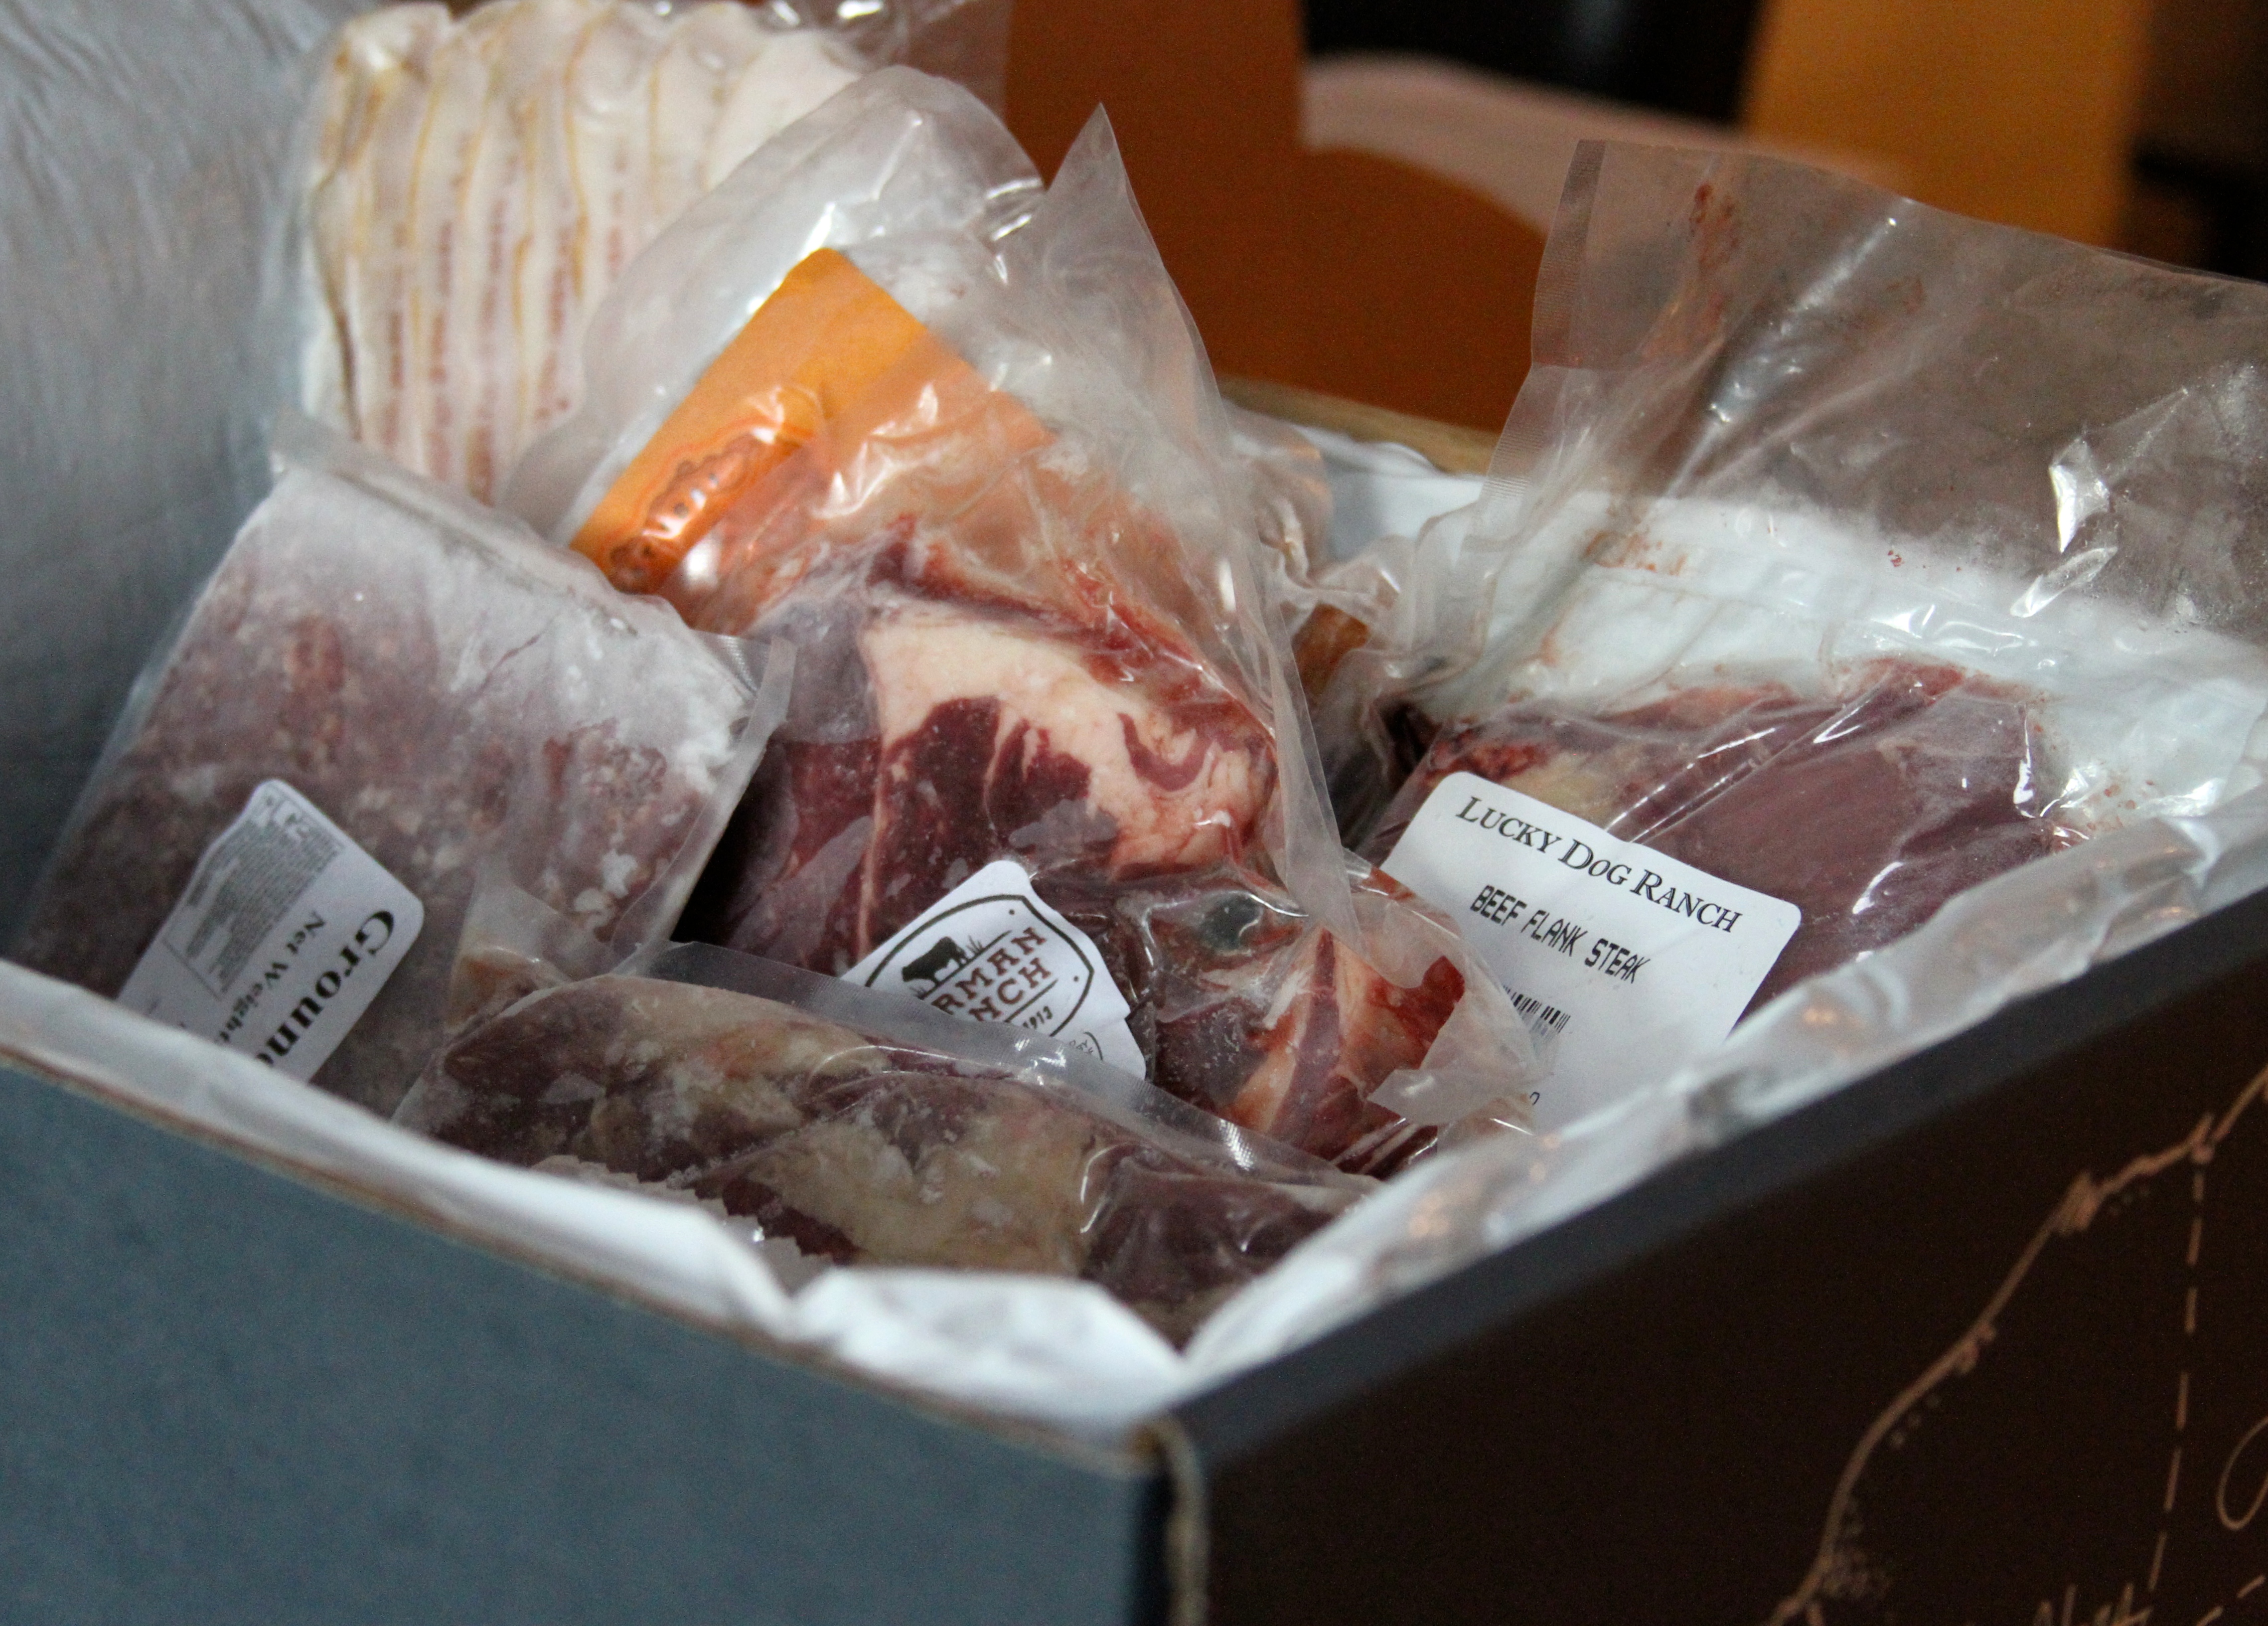
Available meats are constantly changing and I love that you are able to see what farm the meat is coming from, as well as the raising practices (i.e. Non-GMO, 100% Grass Fed, Pasture Raised, Animal Welfare Approved, Local Feed, etc.).

IMG_0088

AgLocal Sunday Sauce

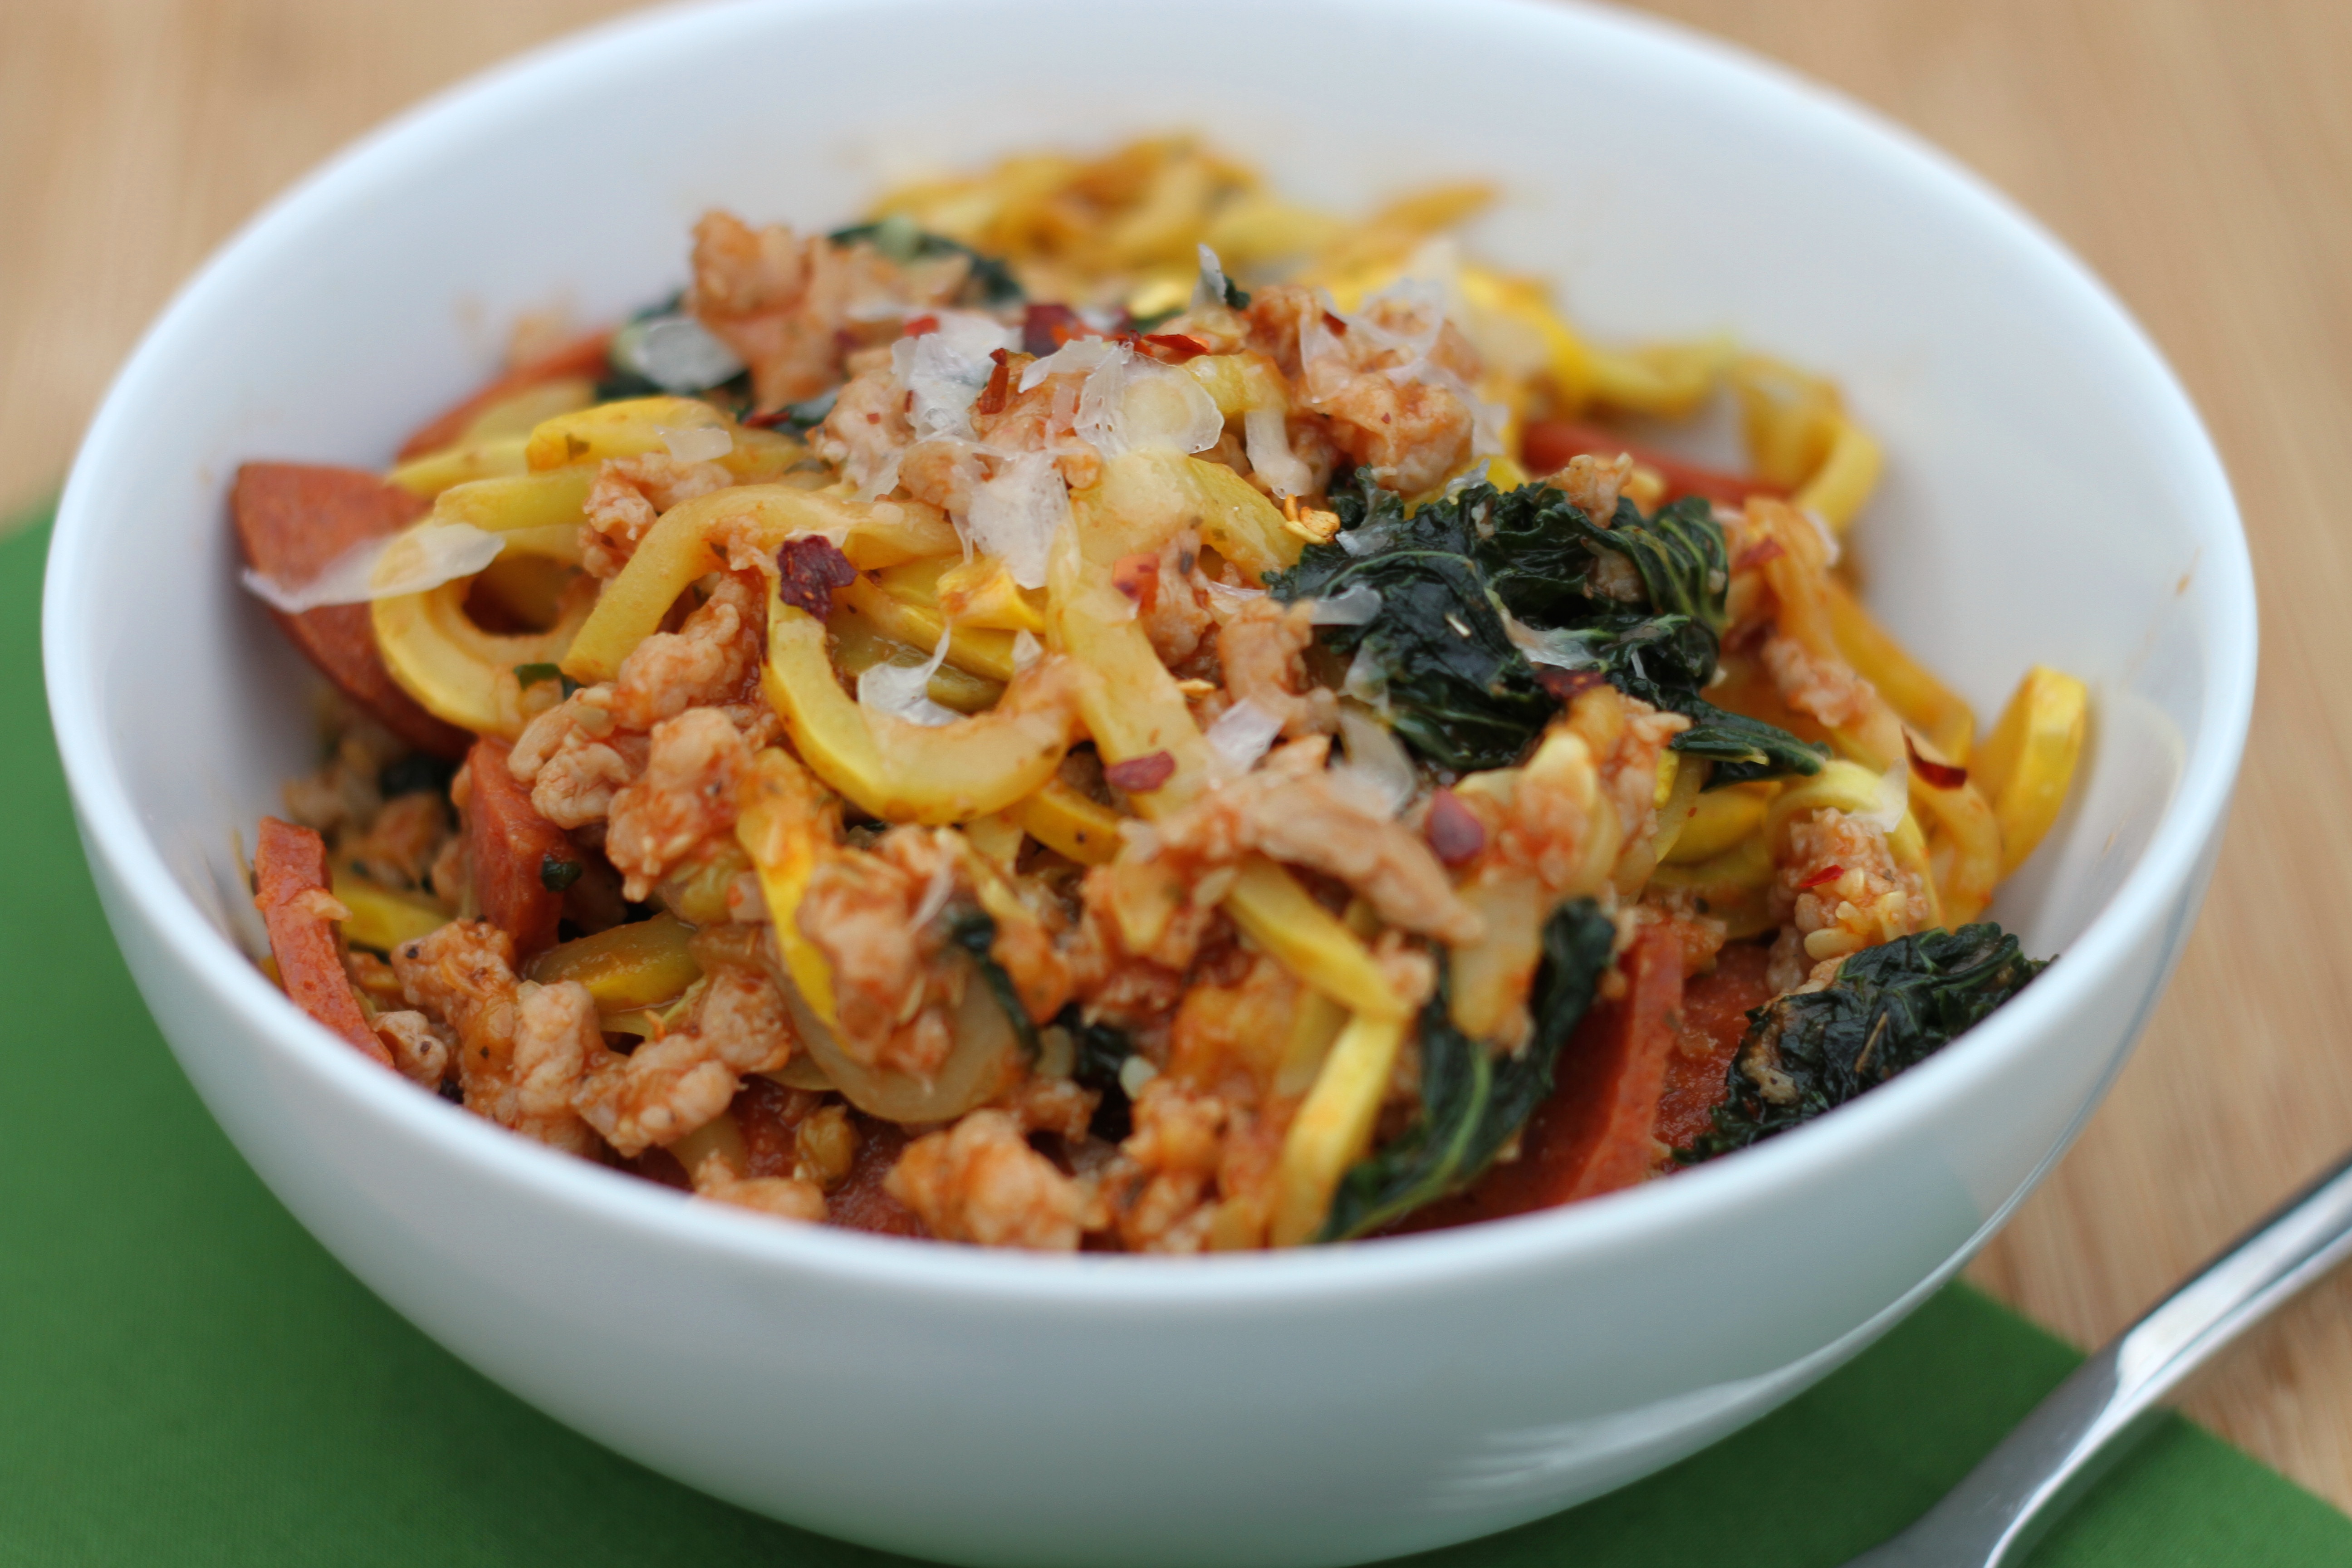
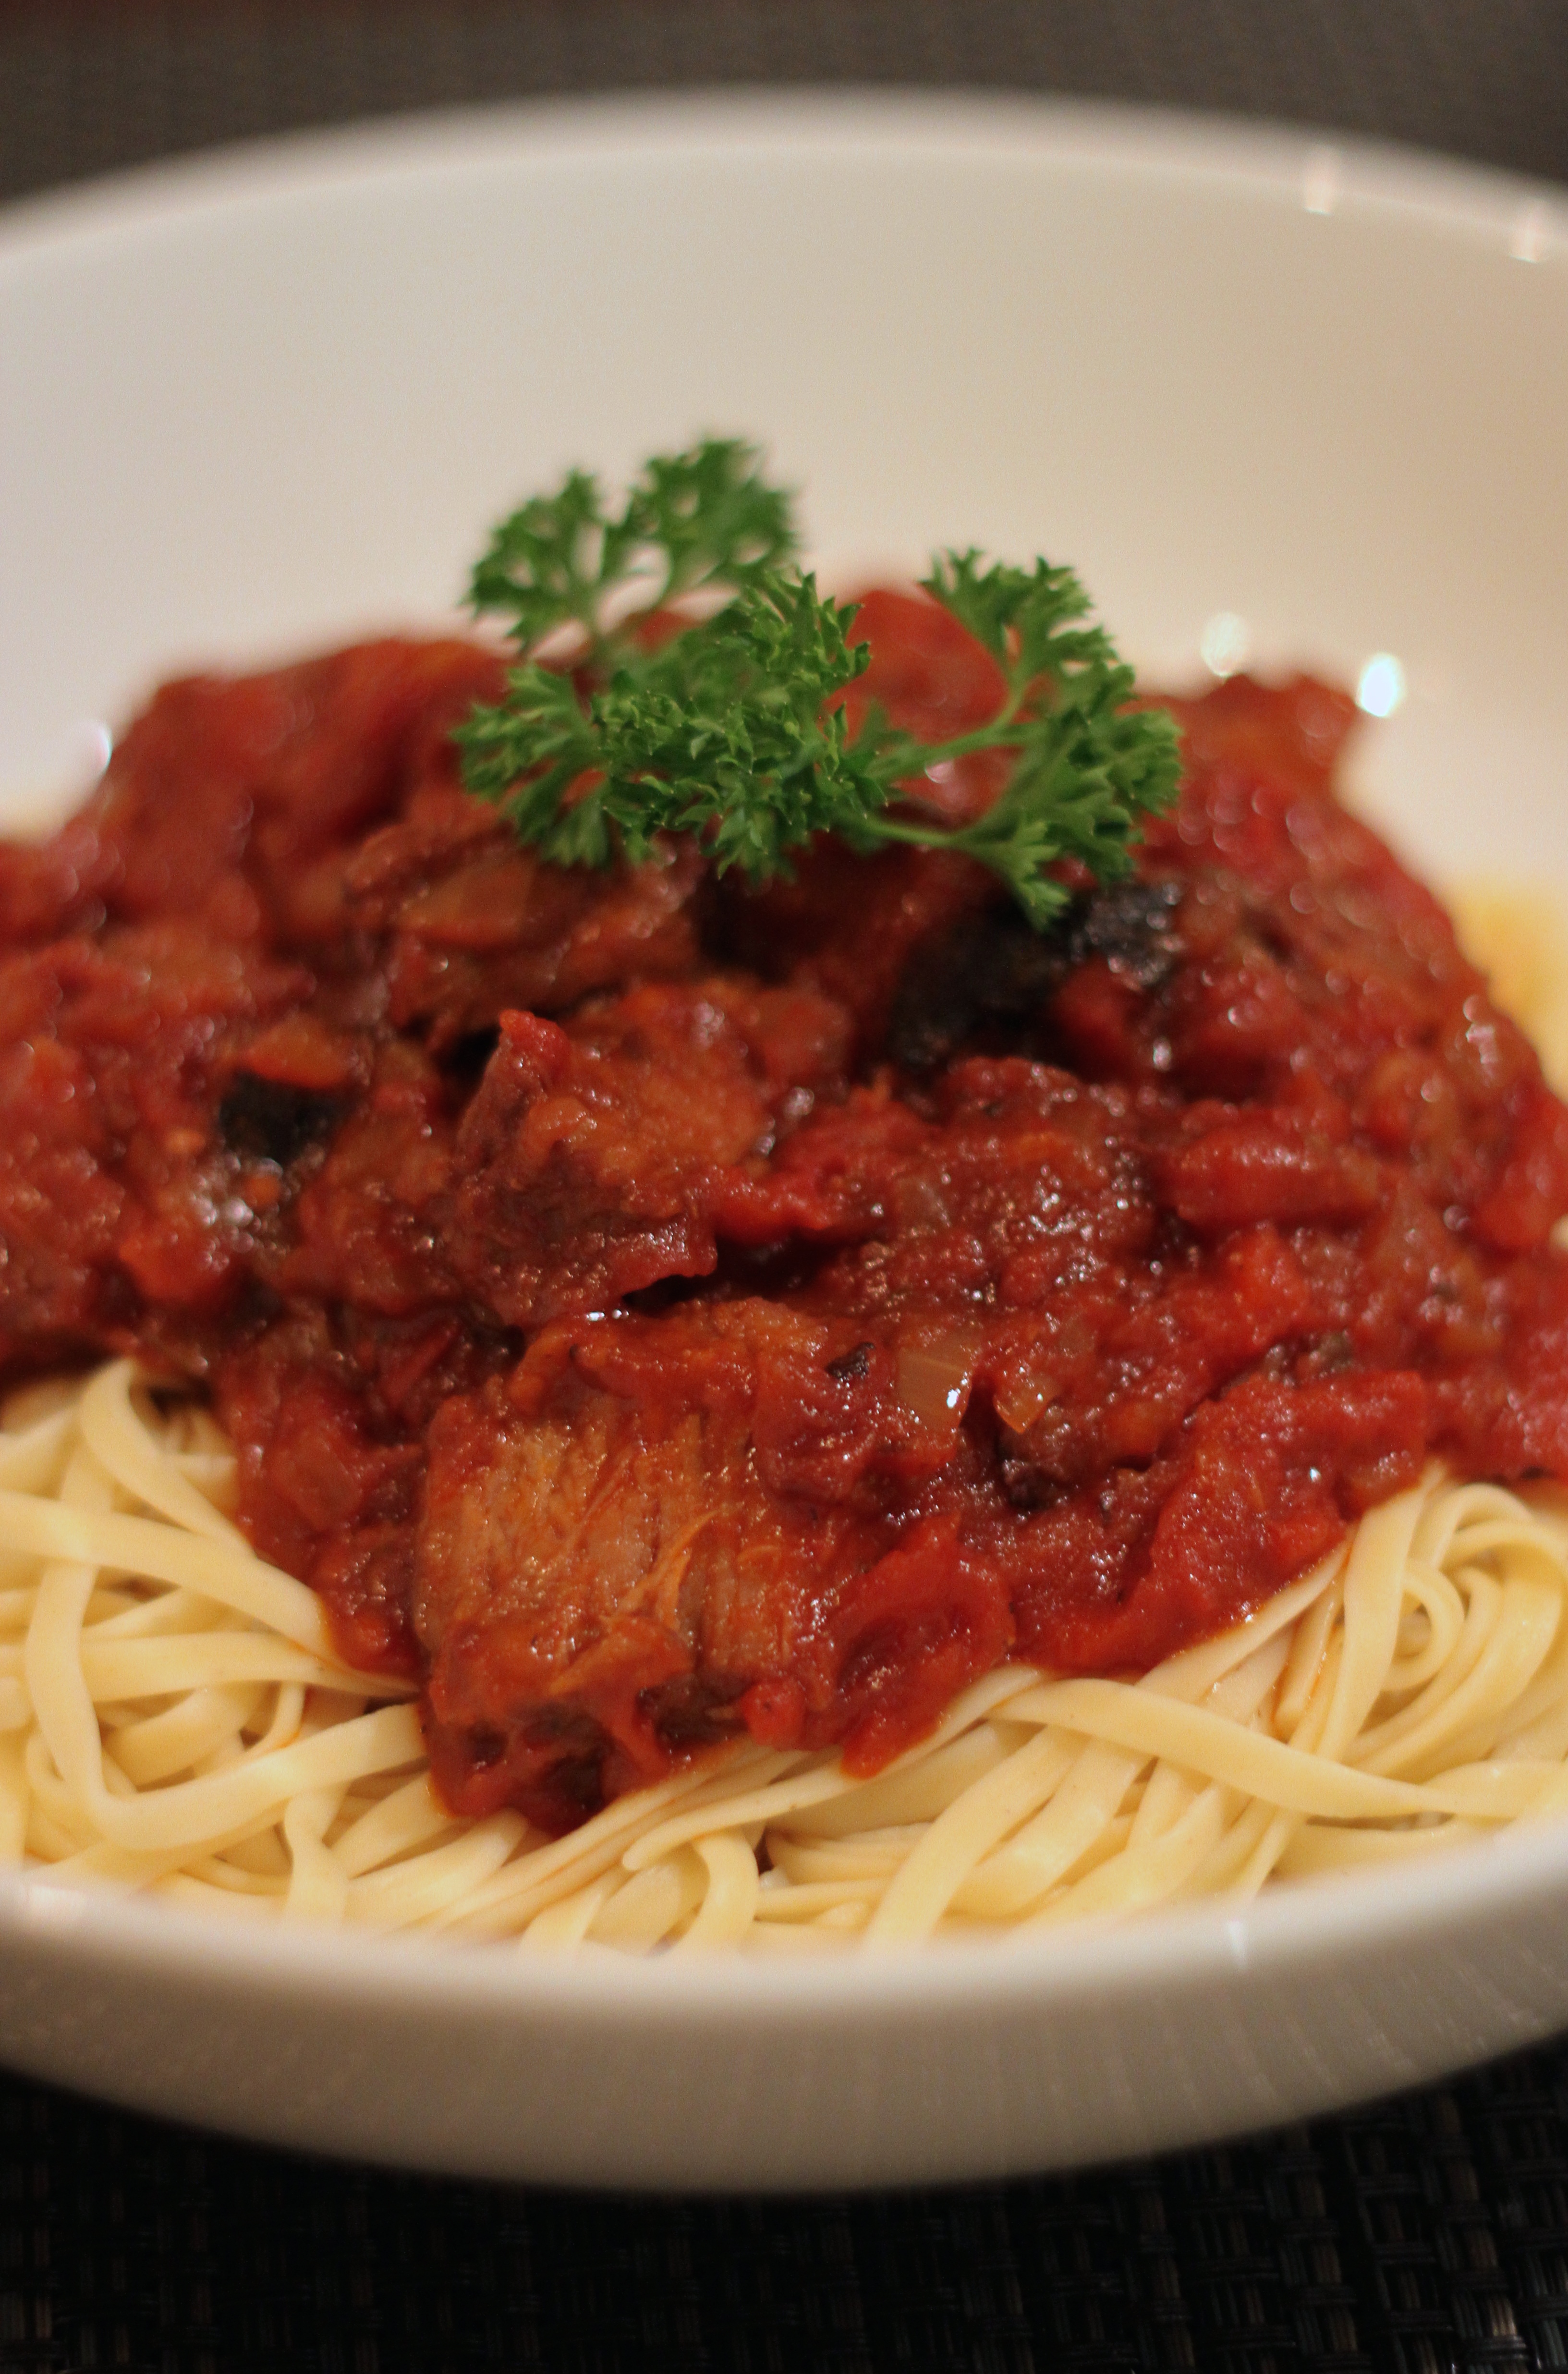
To kick off my first ever meal made with AgLocal delivered meat I wanted to recreate one of my favorite dishes – Sunday Gravy from Lillian’s.  While I couldn’t find the secret family recipe, I whipped one up of my own (inspired by Food & Wine’s Sunday Sauce recipe).

IMG_0529

Sunday Gravy

  • 2 tablespoons olive oil
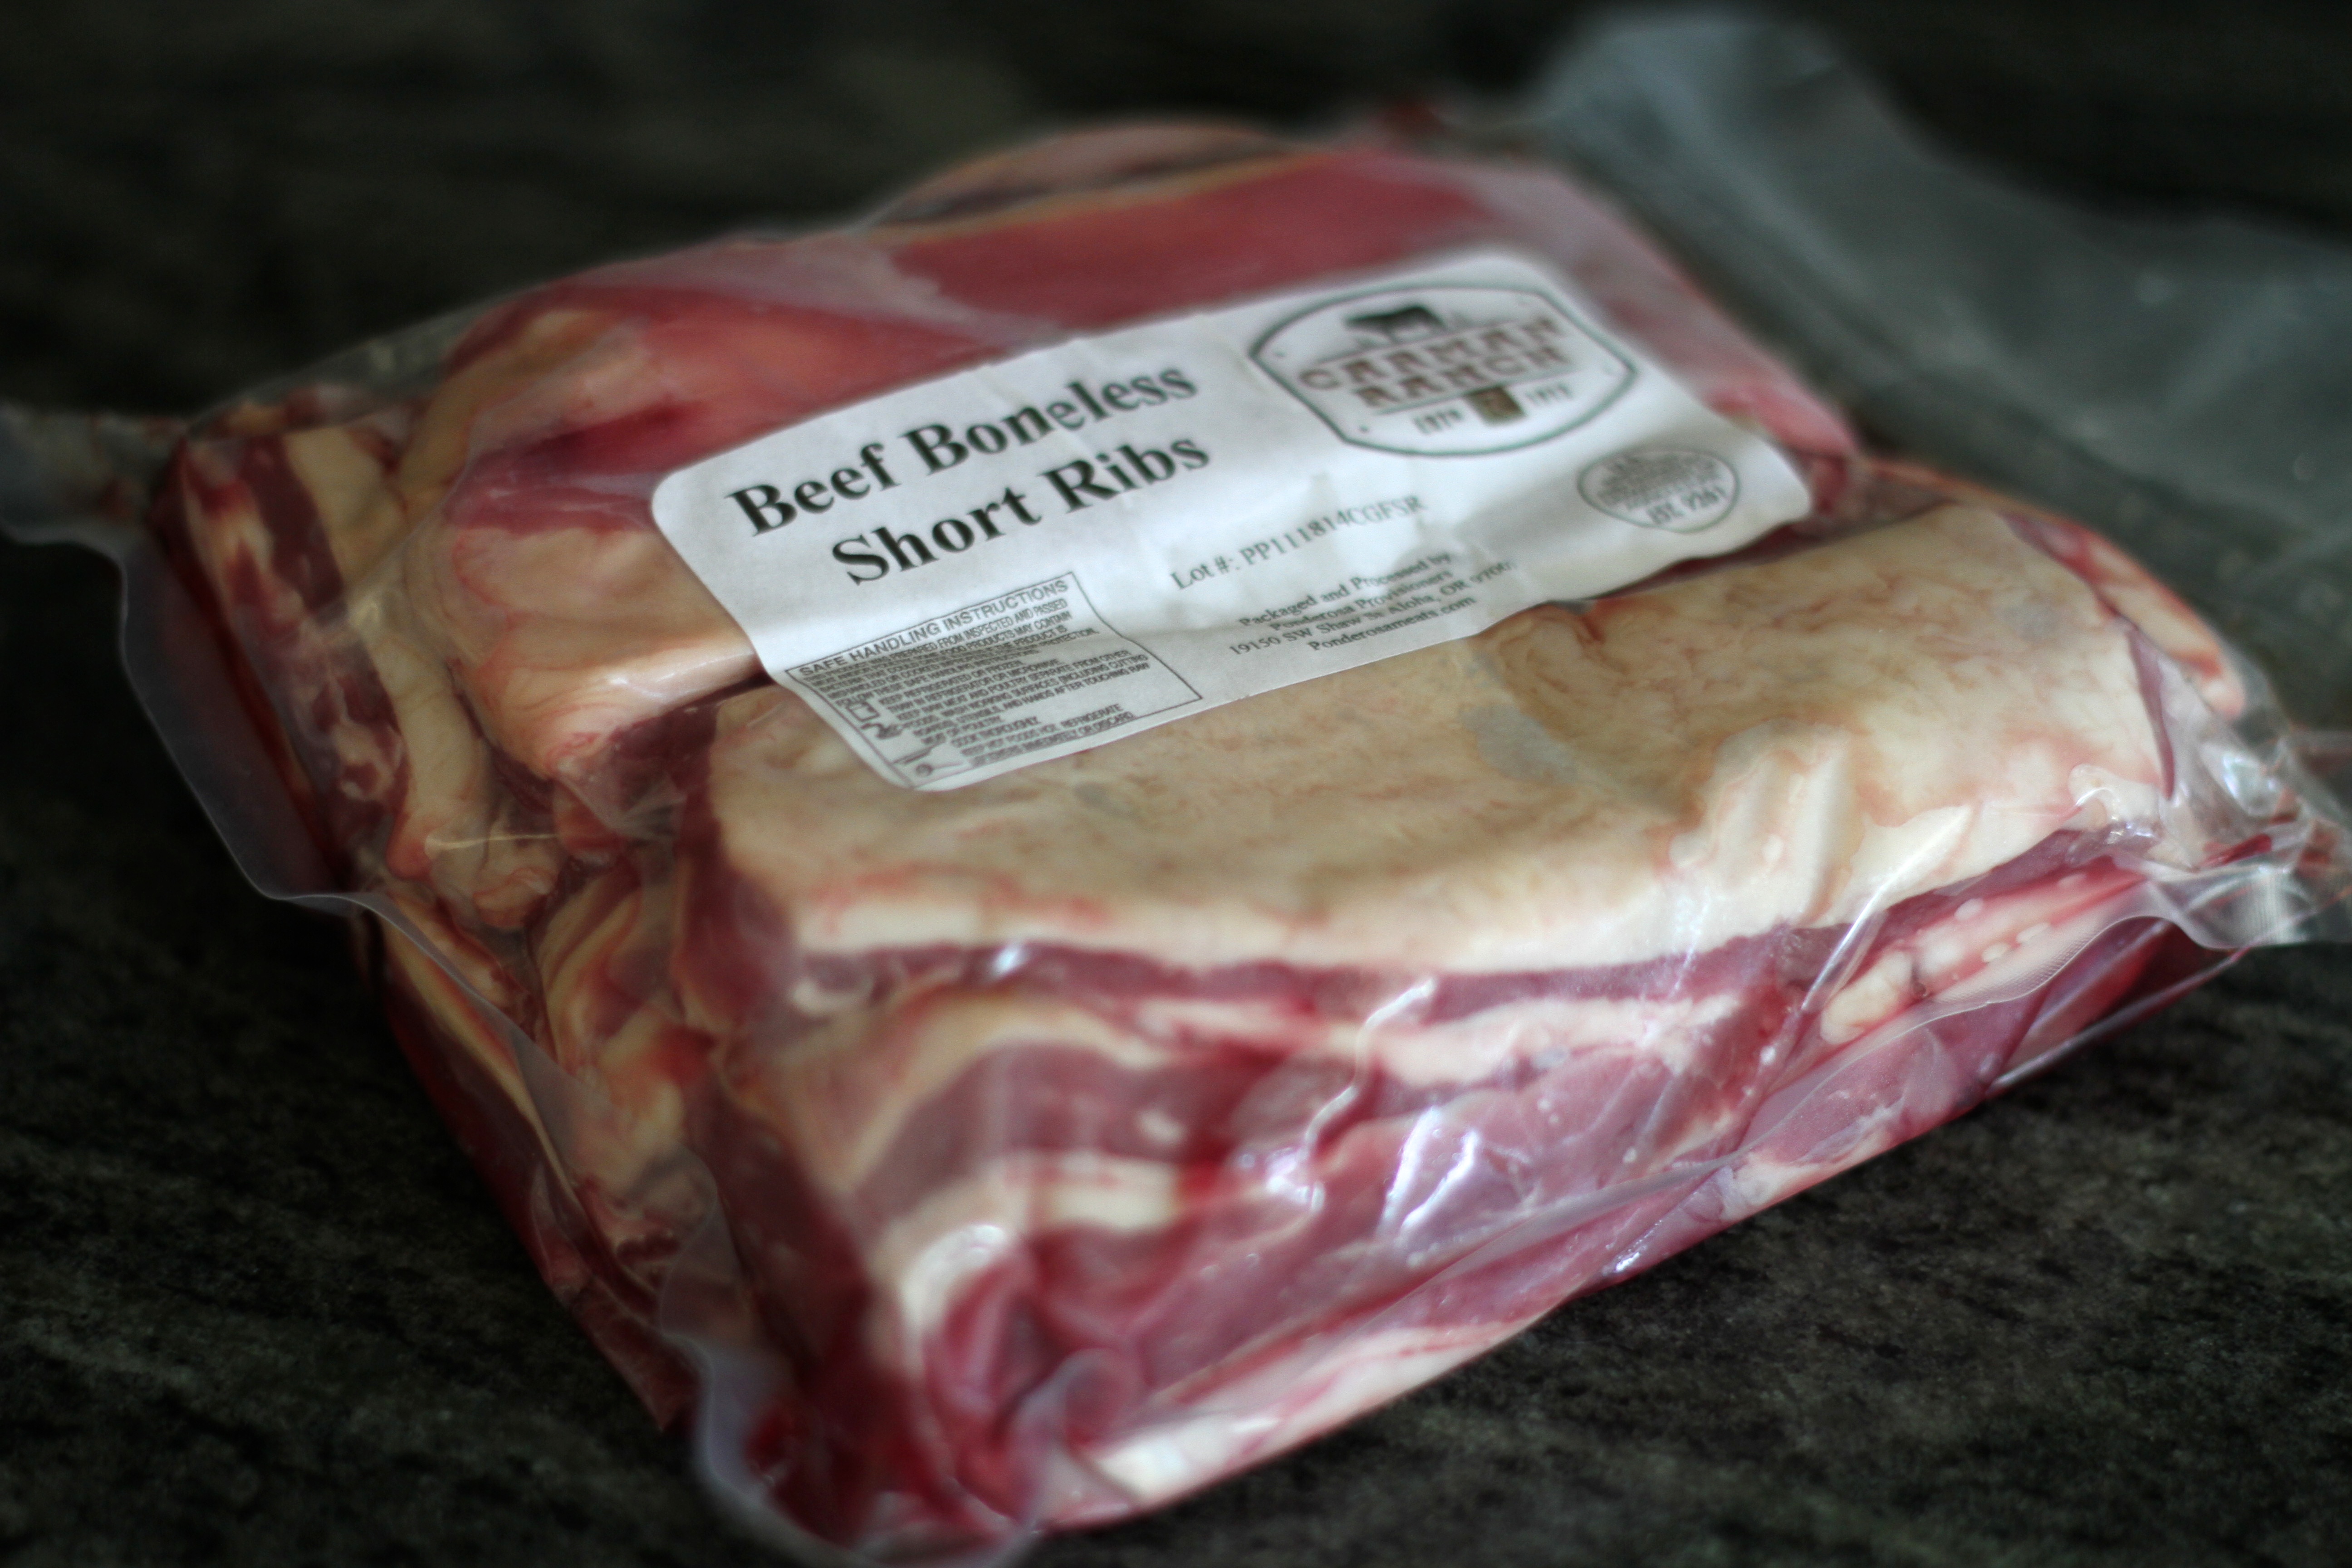
  • 2 lbs beef short ribs
  • 1 lb Italian sausage
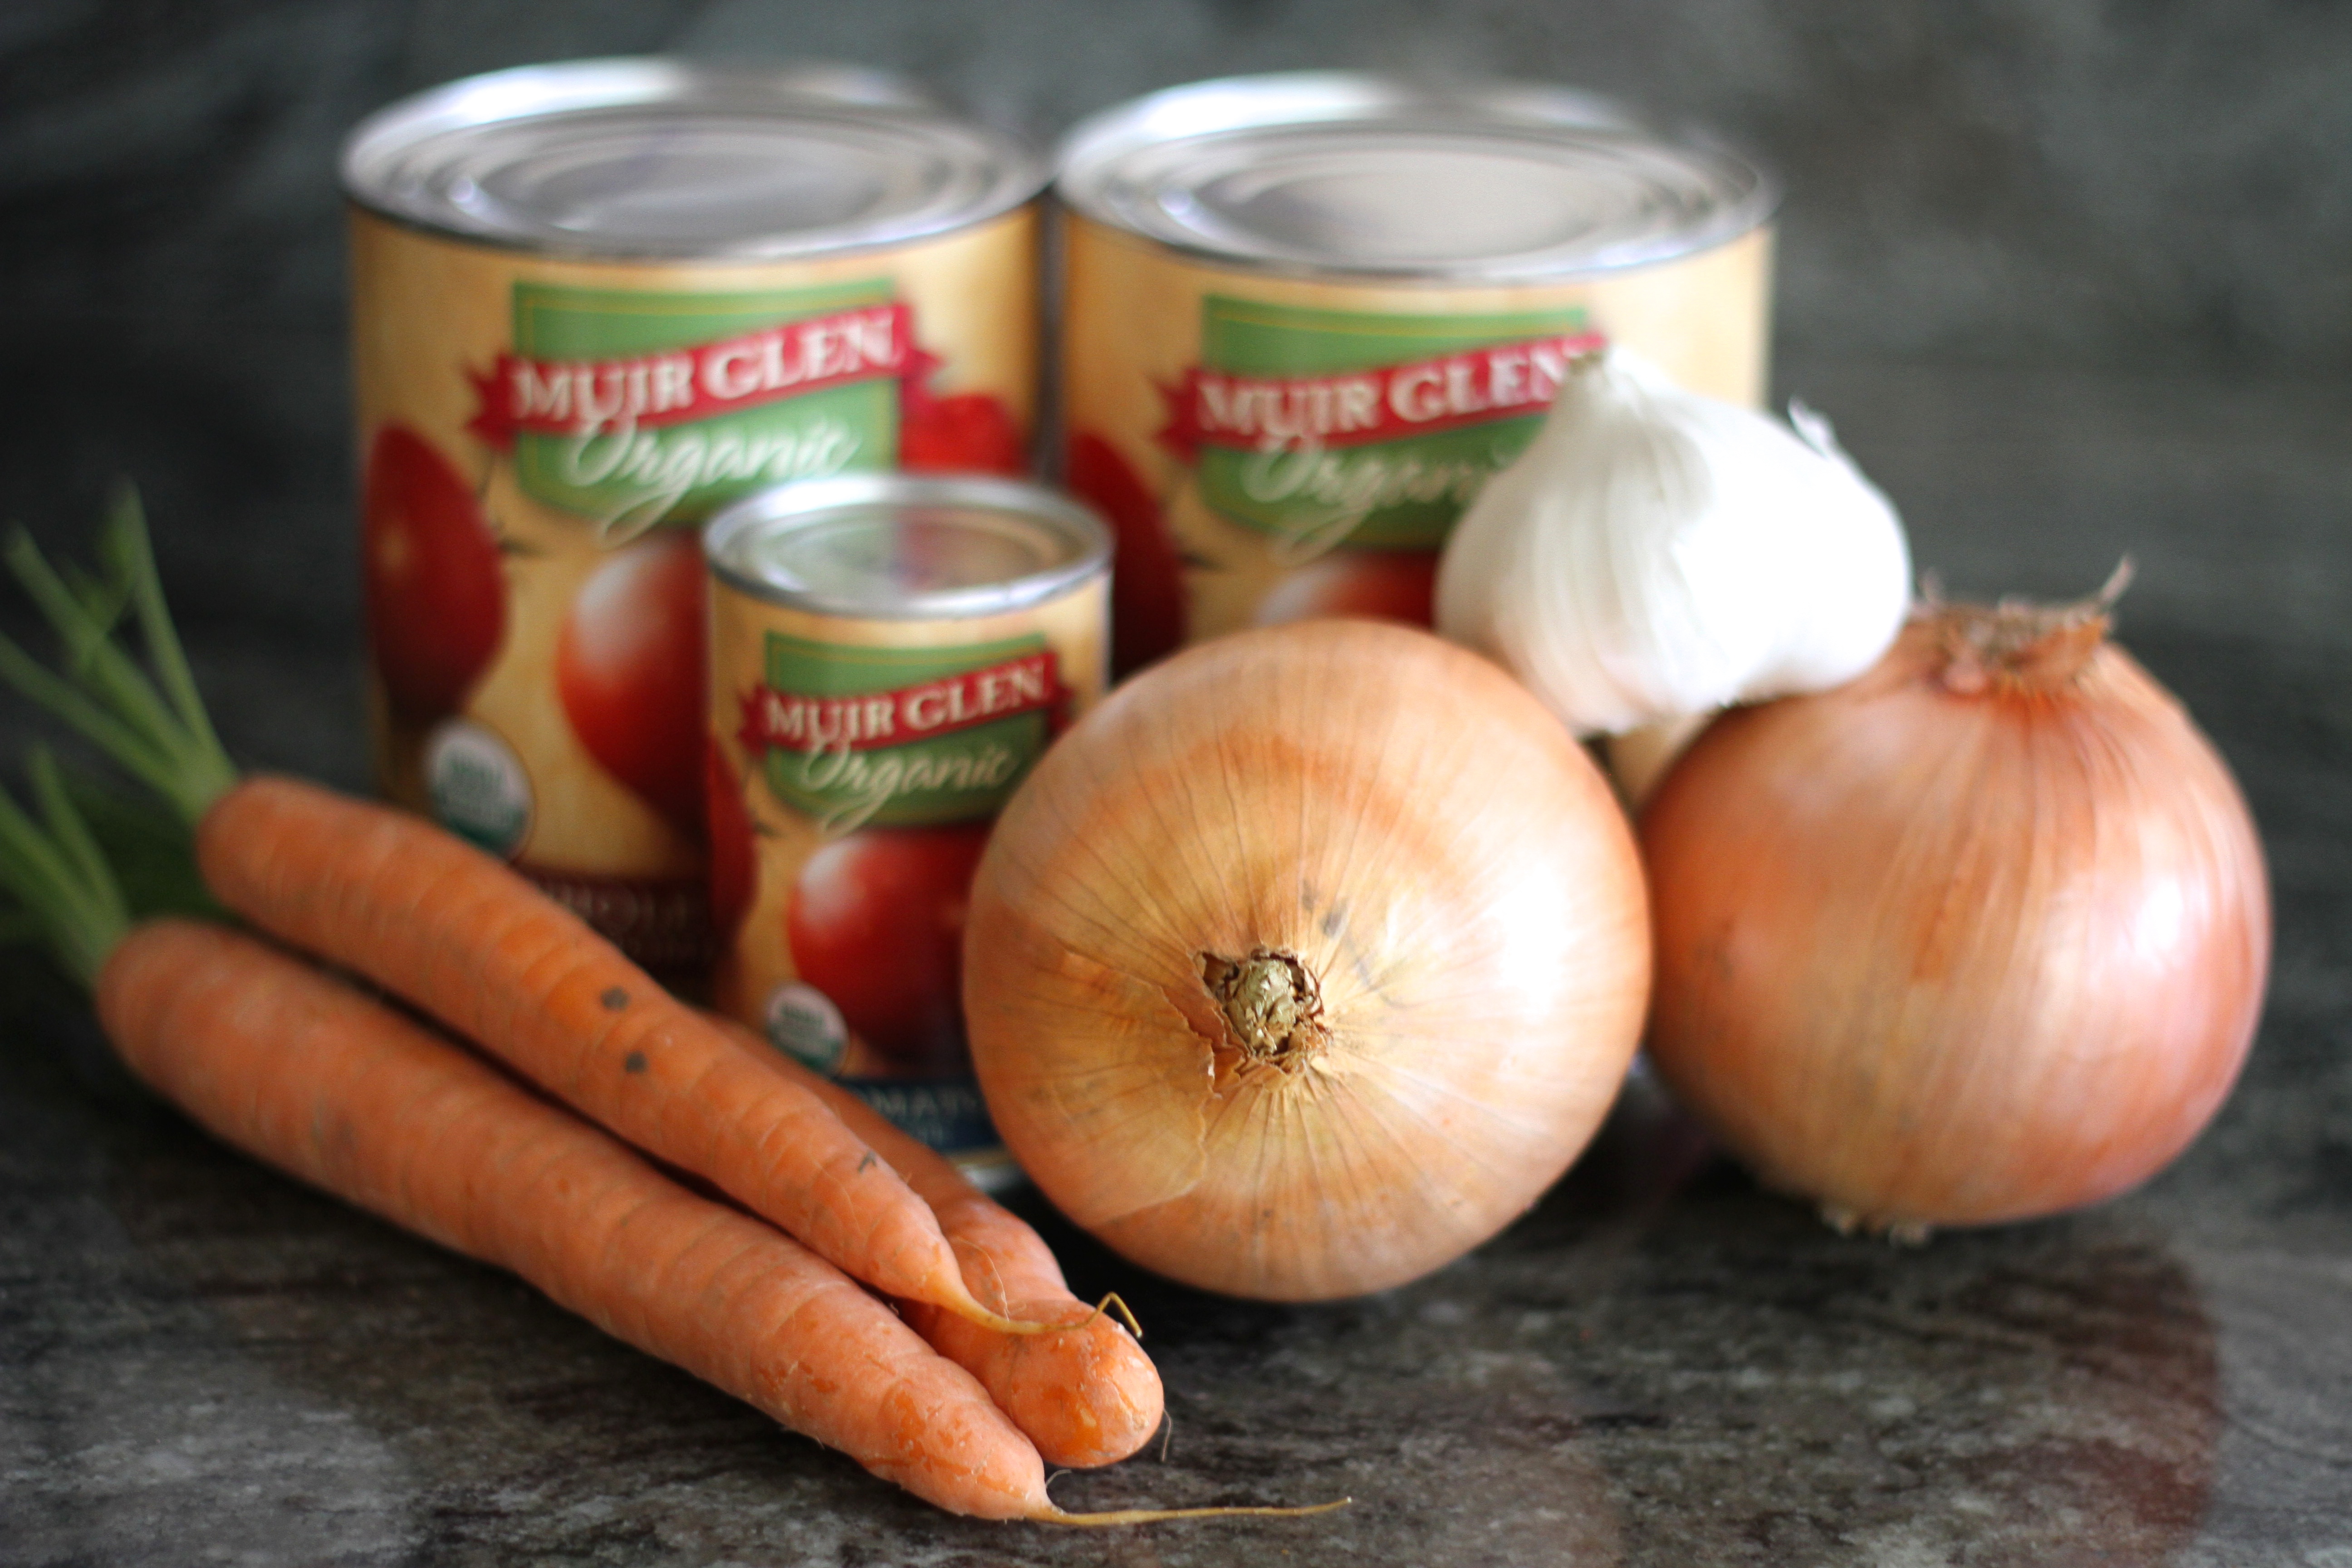
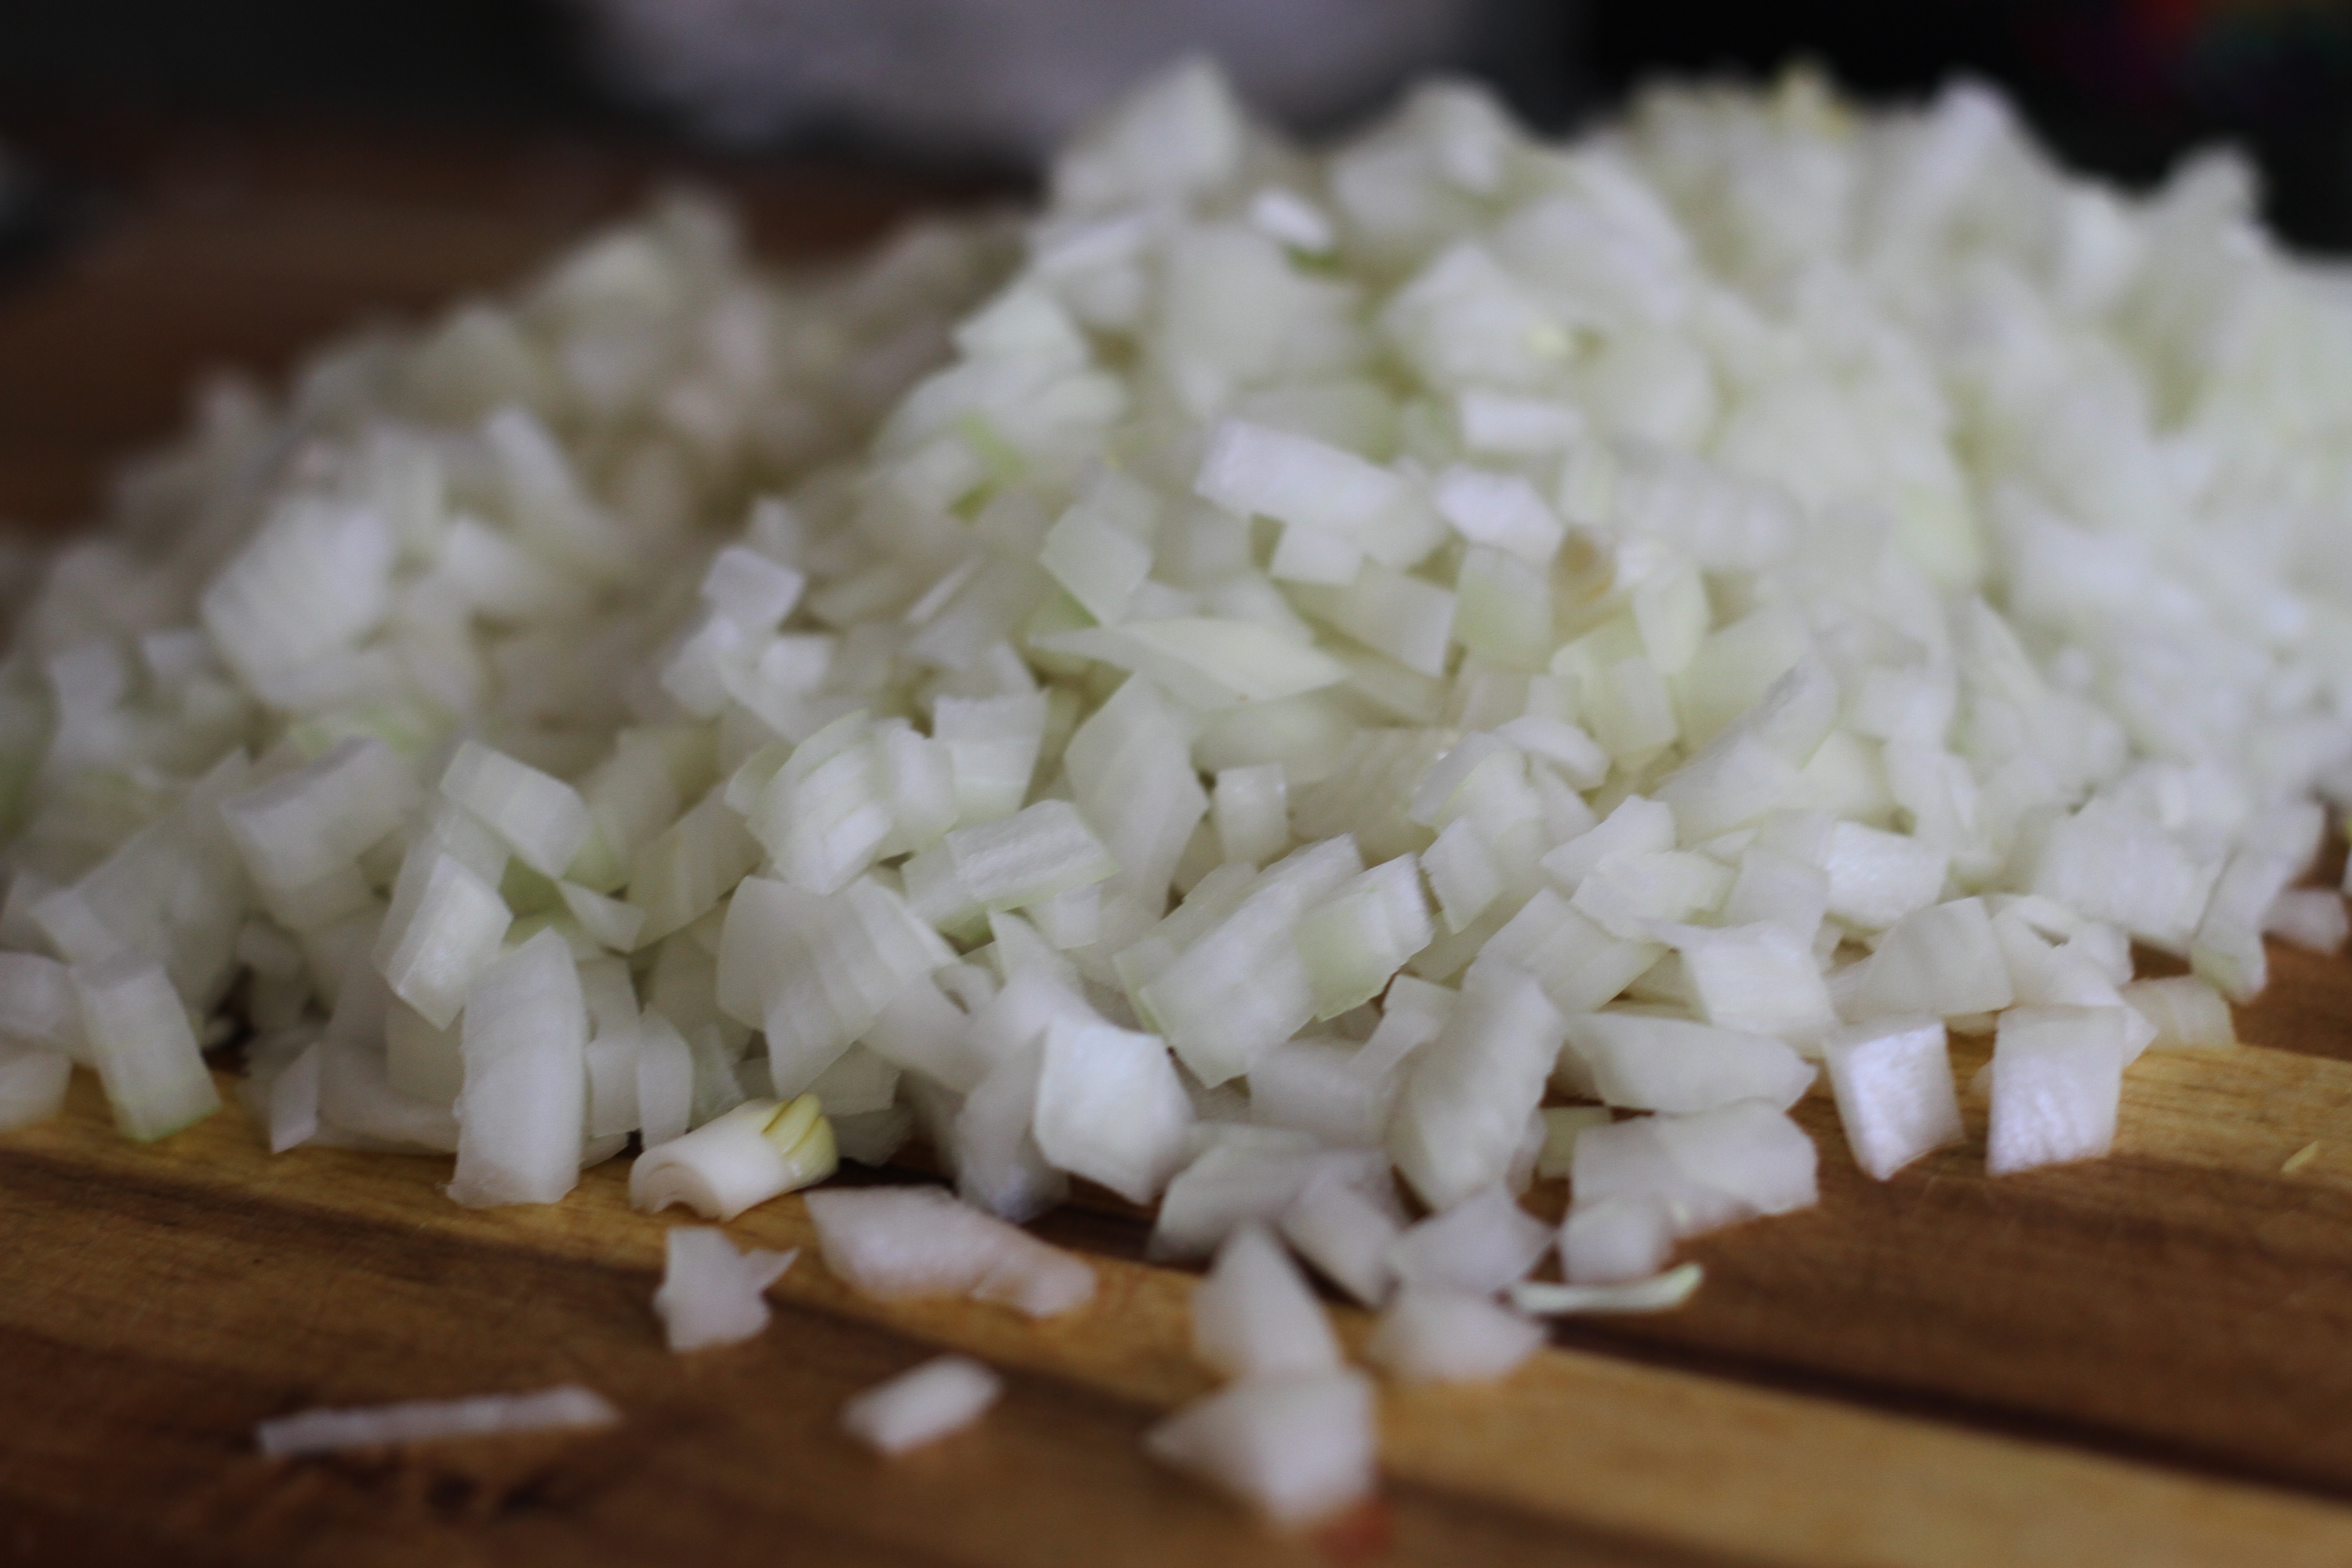
  • 2 medium onions, finely chopped
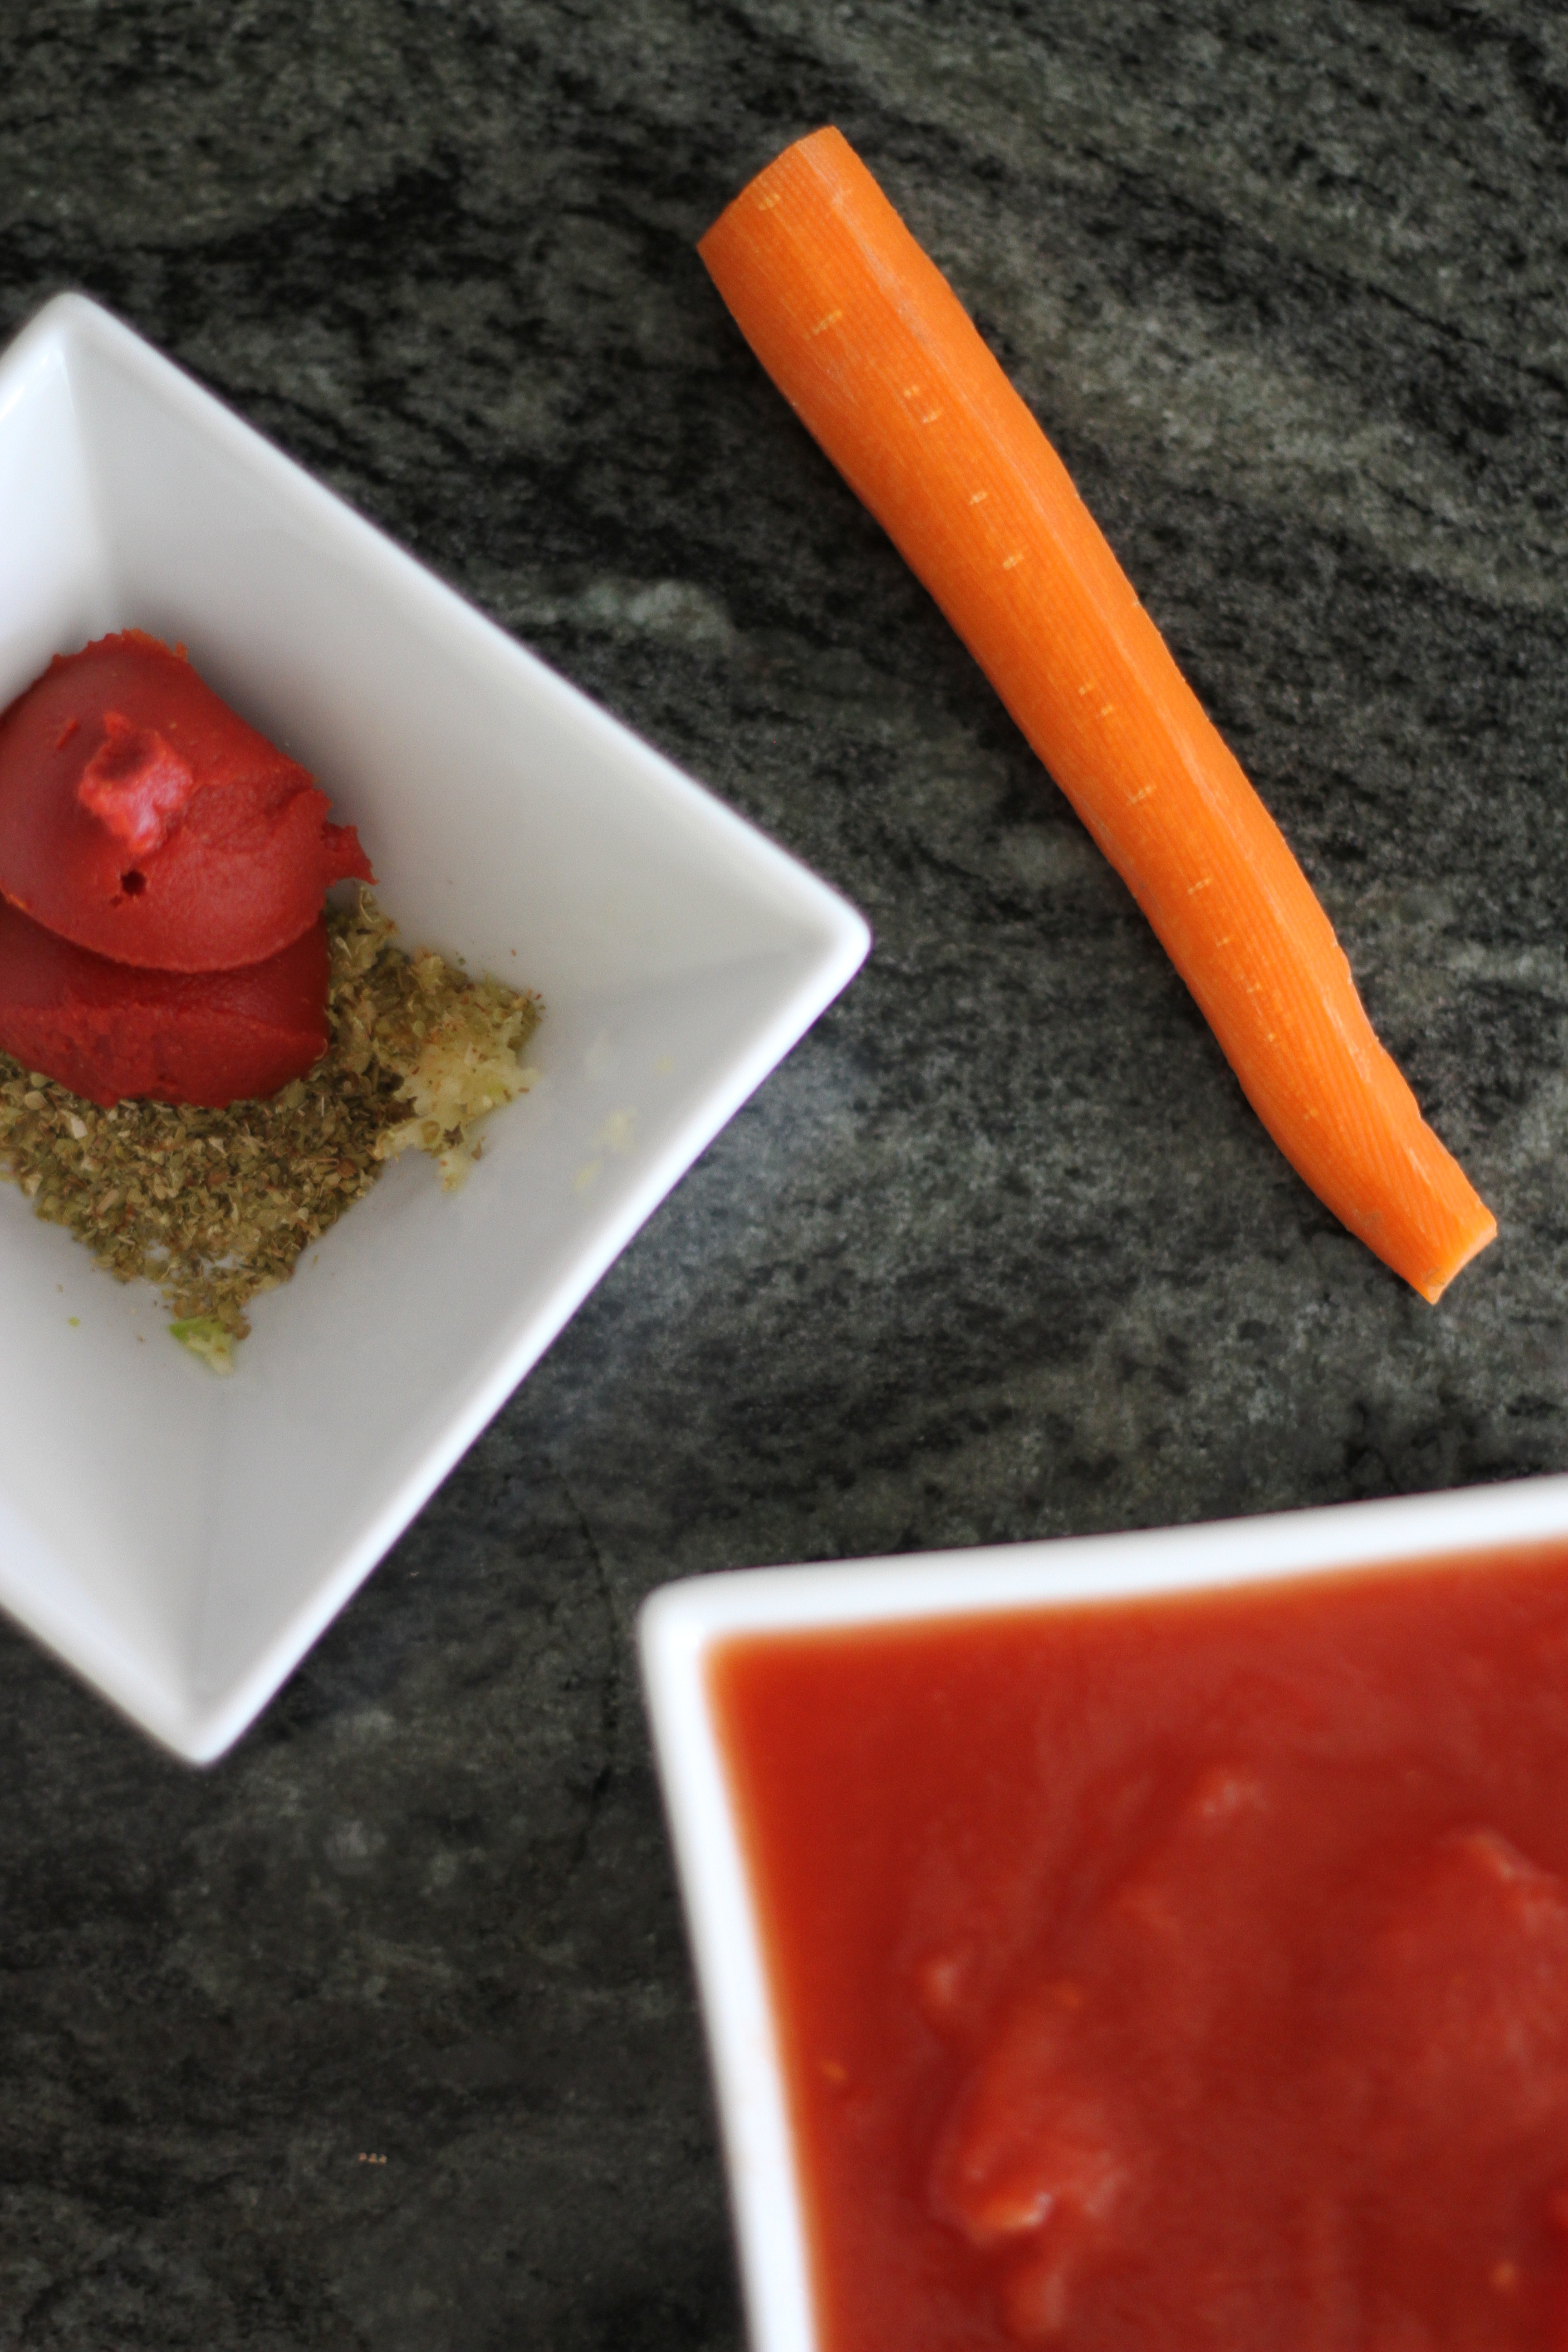
  • 2 tablespoons tomato paste
  • 4 garlic cloves, minced
  • 1 teaspoon dried oregano
  • 2 – 28 oz cans whole peeled Italian tomatoes, crushed by hand
  • 1 medium carrot, peeled
  • pasta of choice (I used spaghetti)
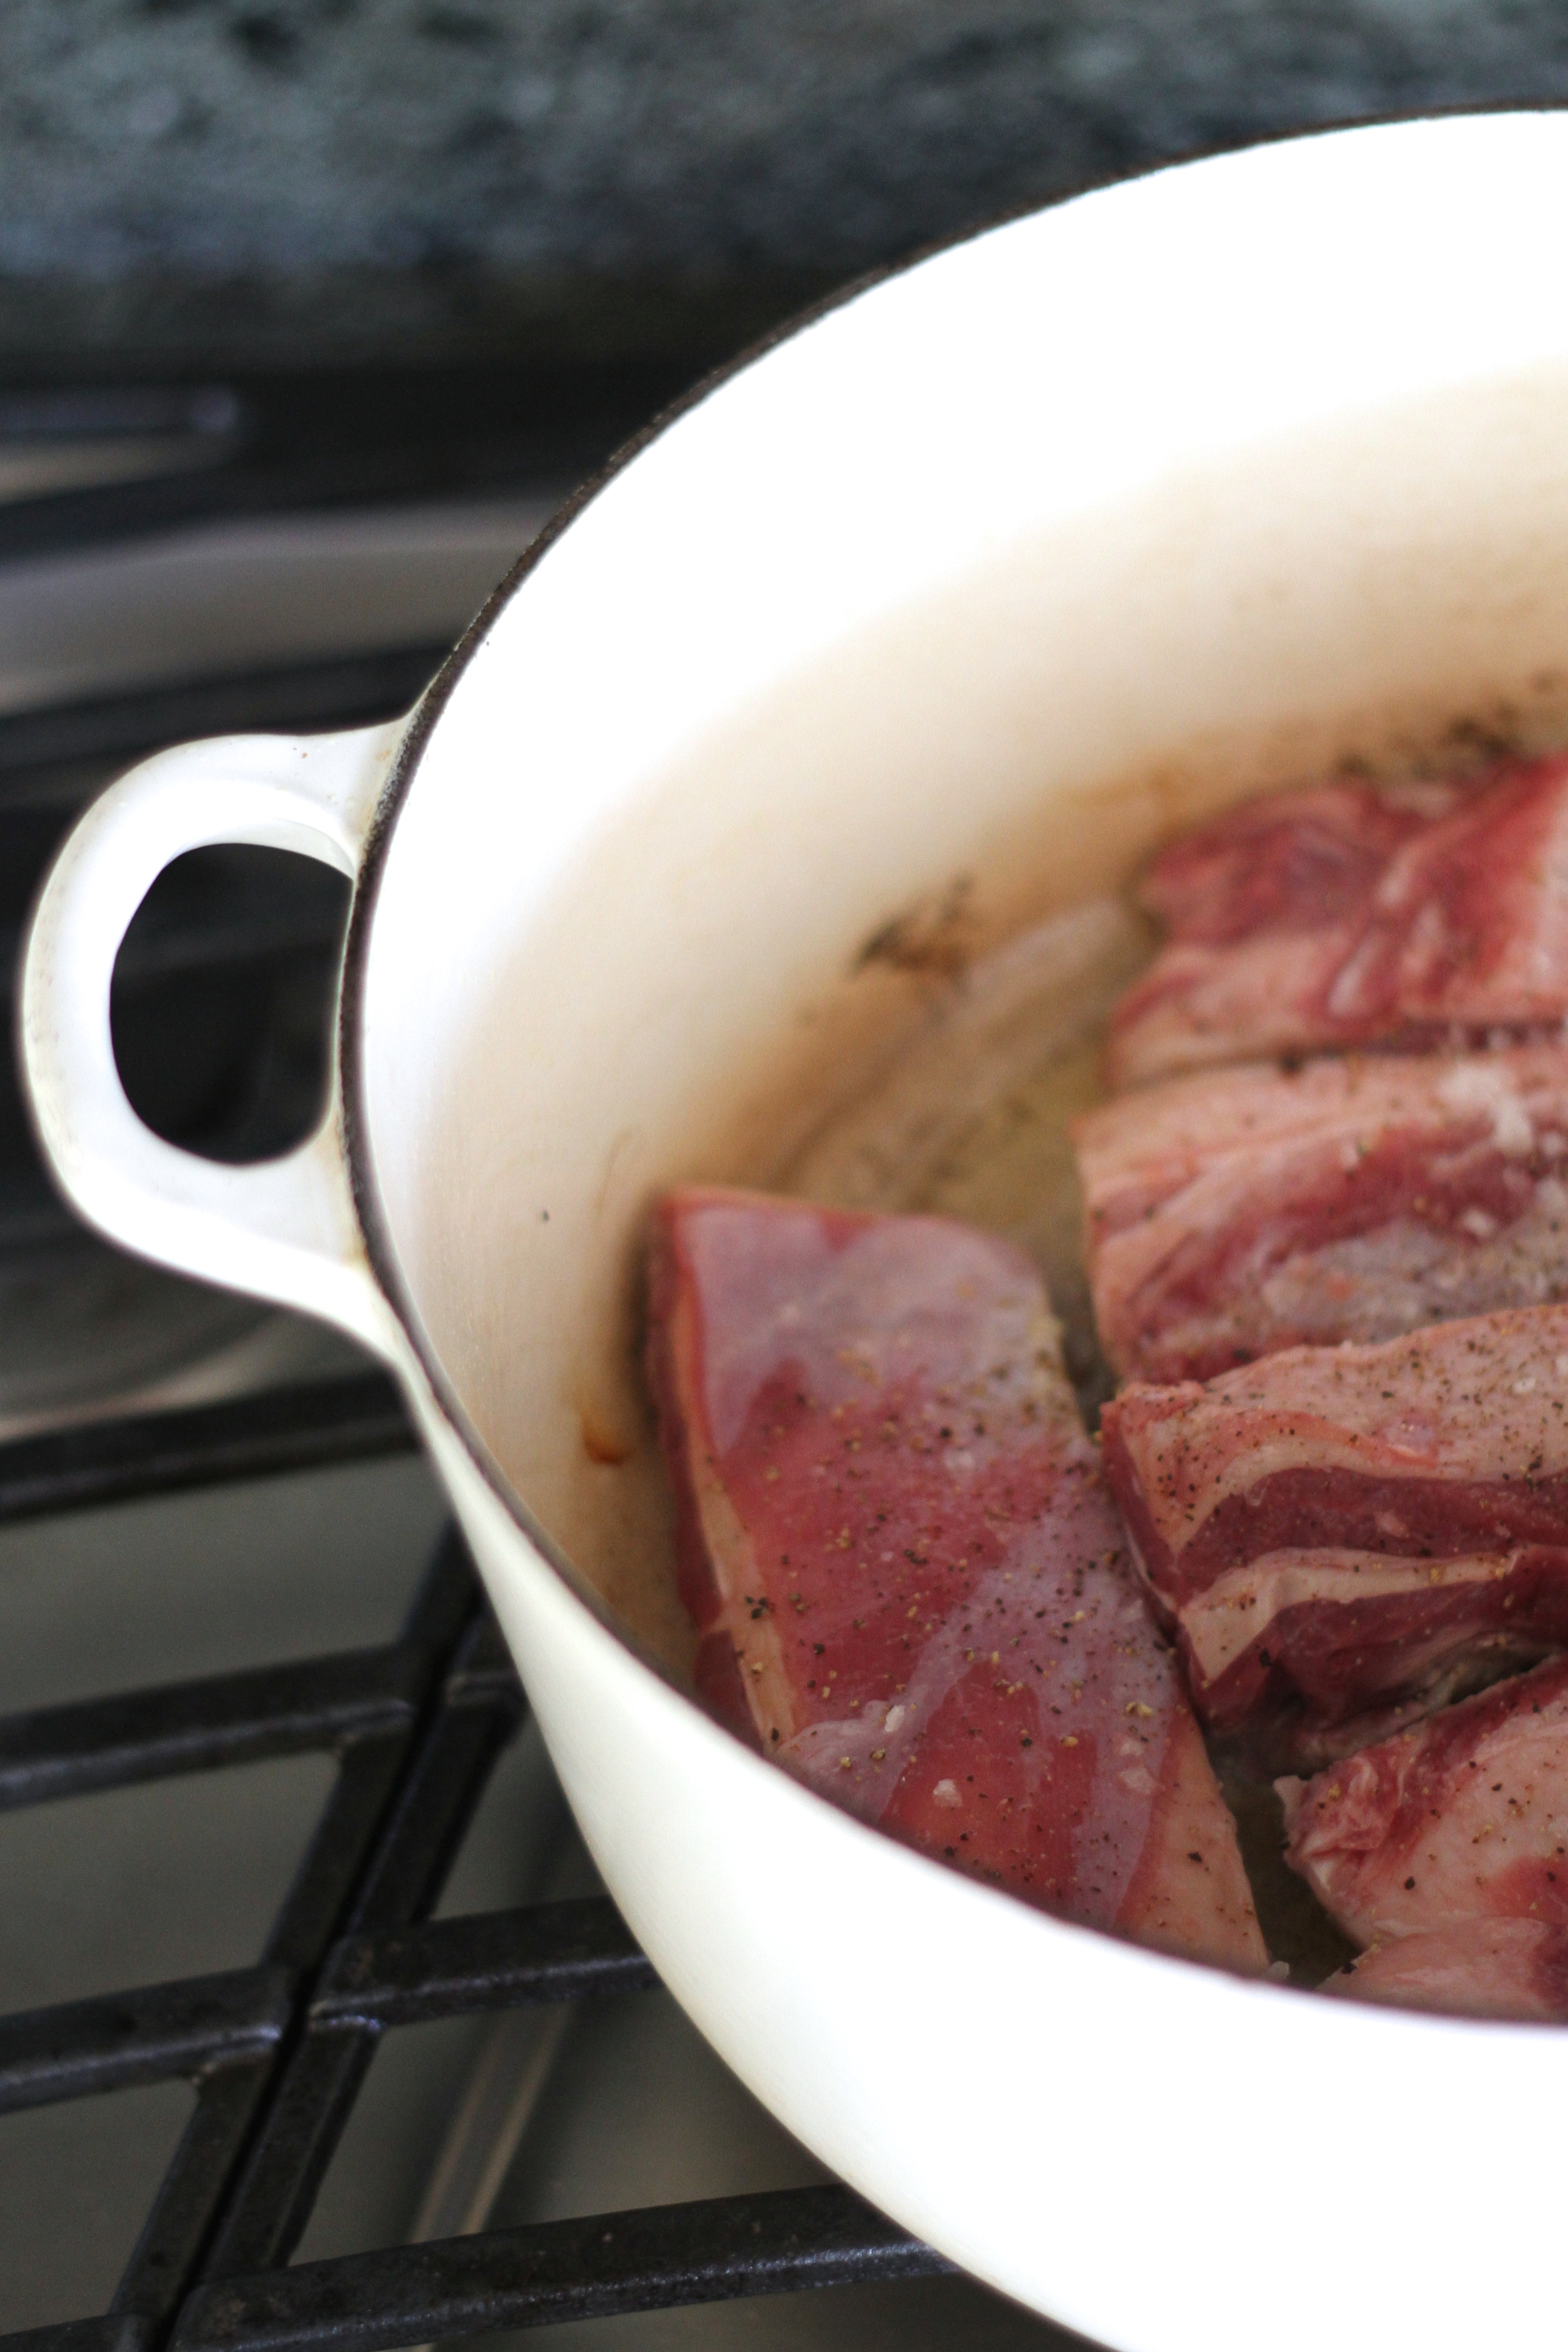
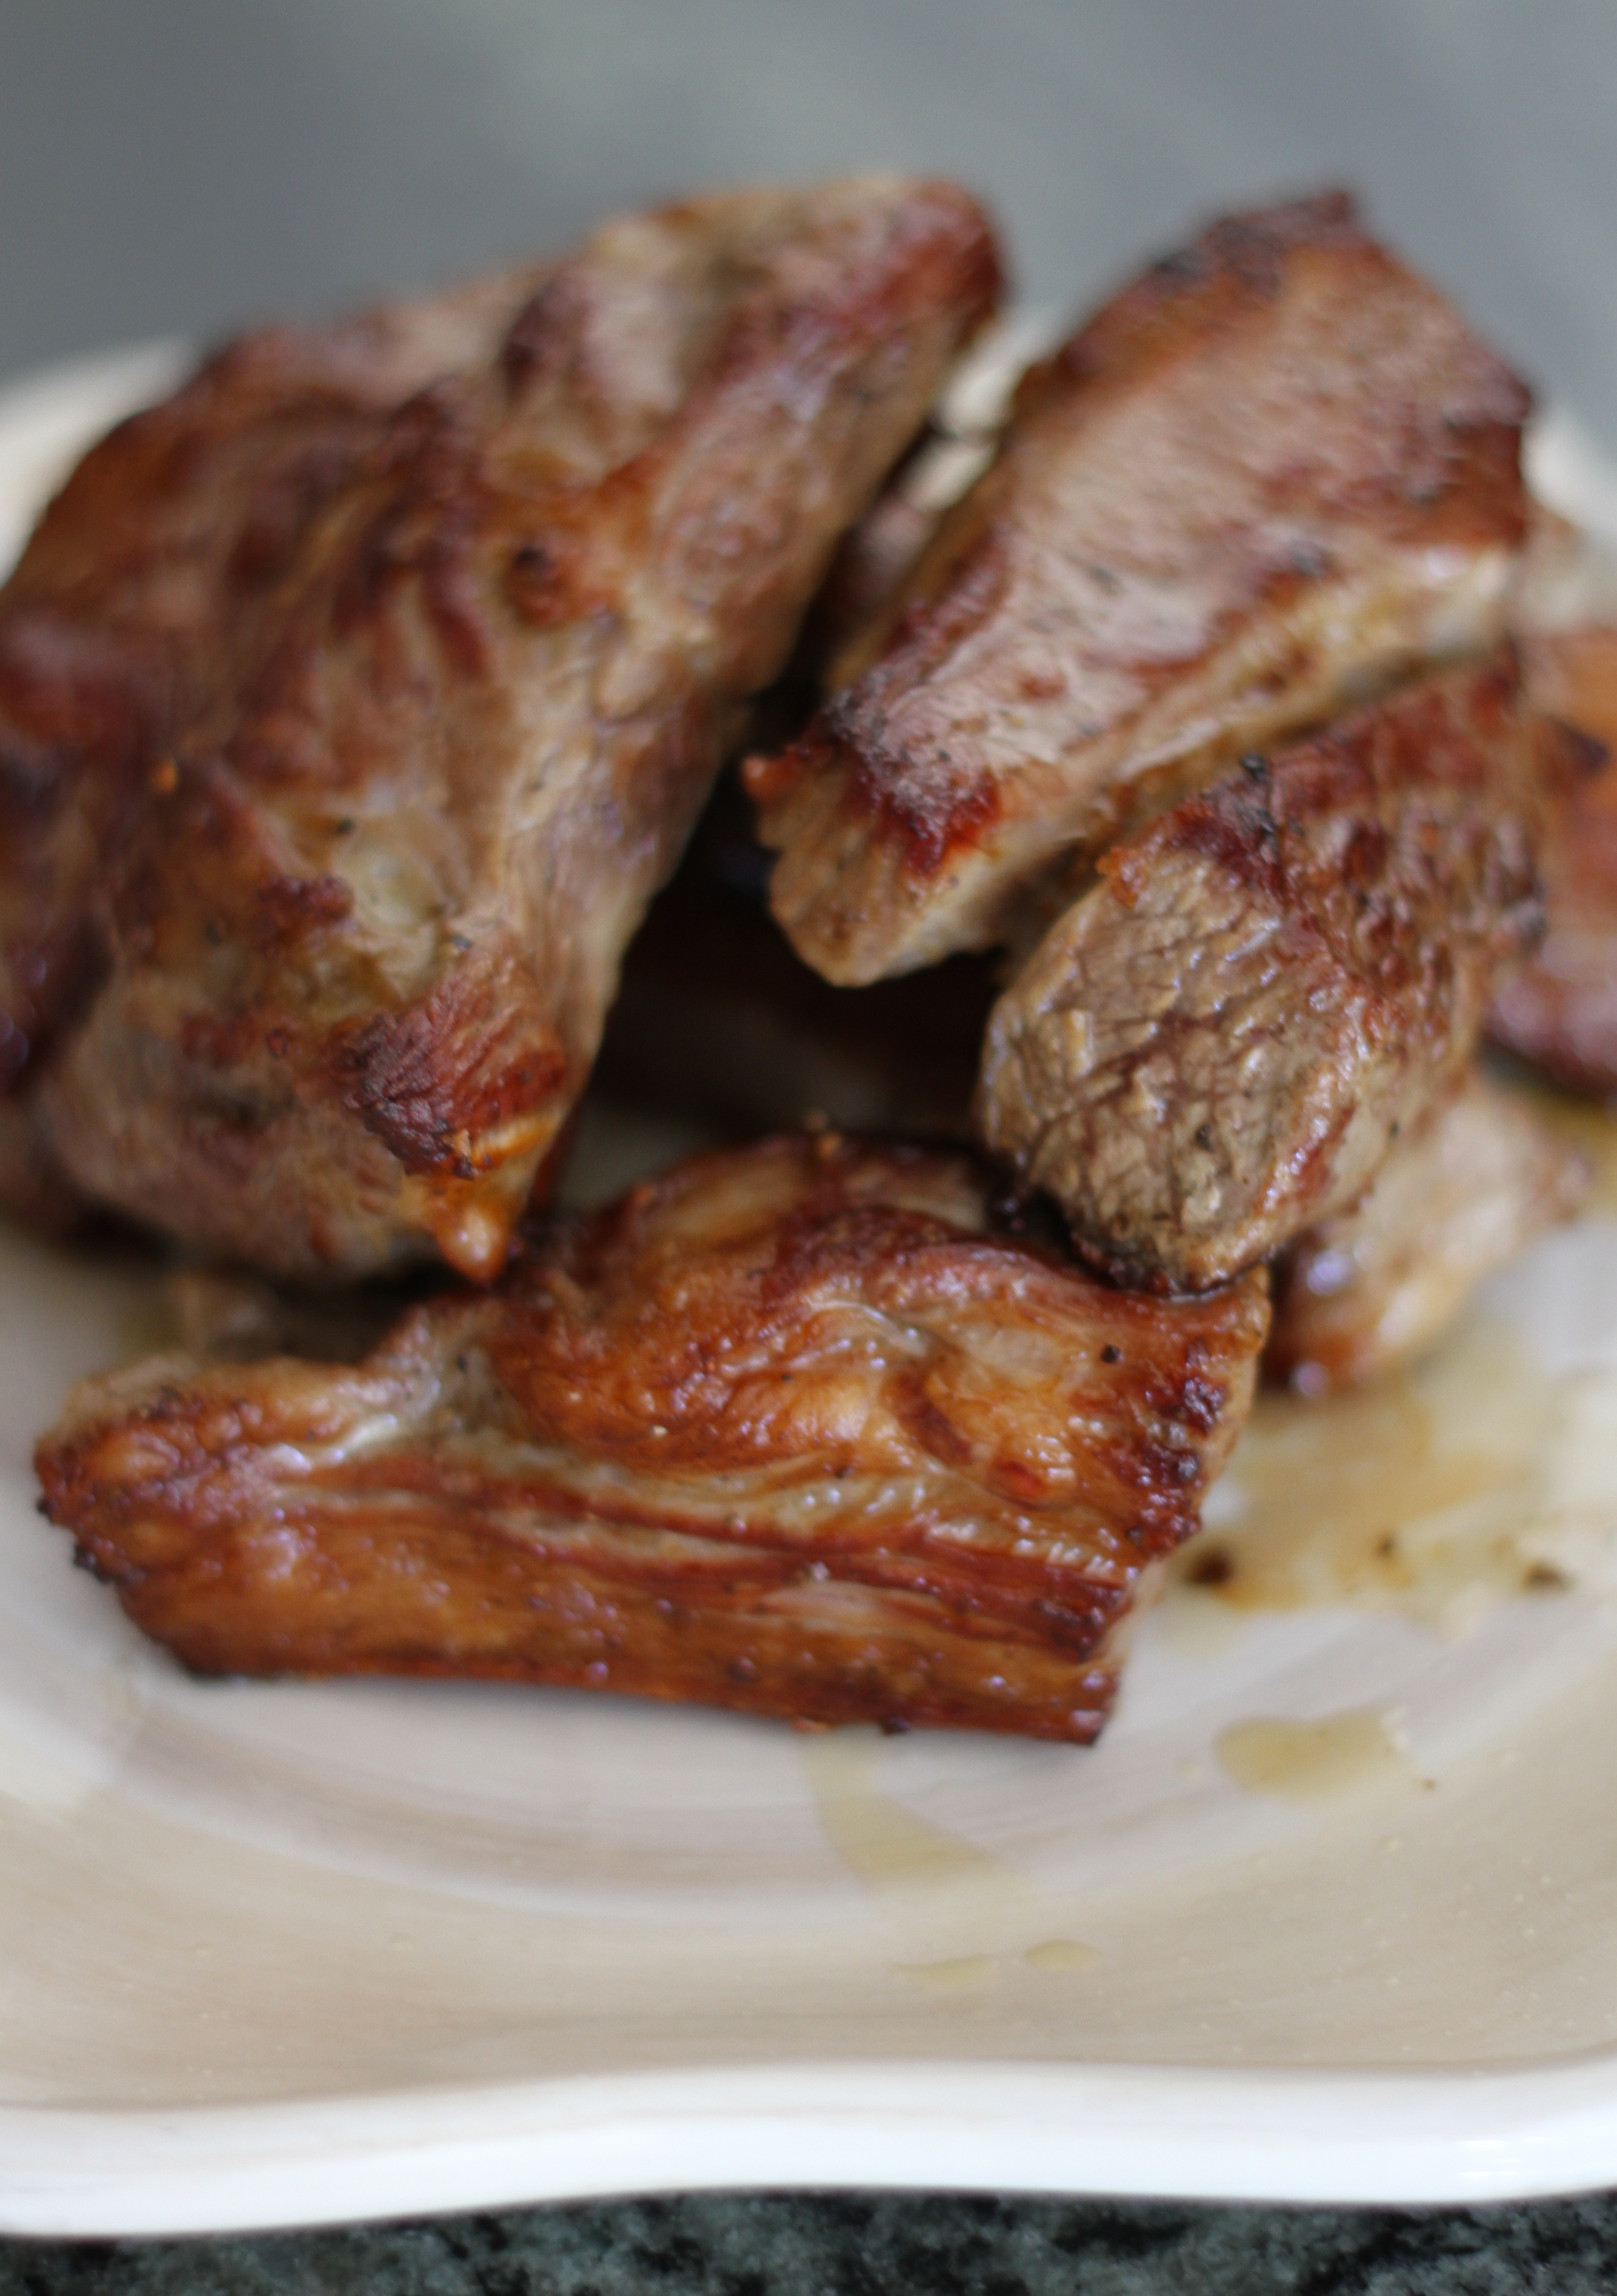
  1. Heat olive oil in a large heavy pot and brown short ribs (seasoned with salt and pepper) on all sides (for about 10 minutes).
  2. Remove short ribs and transfer to a plate.
  3. Brown sausages. Transfer to short rib plate.
  4. Drain all but 1 tablespoon of fat from the pot.
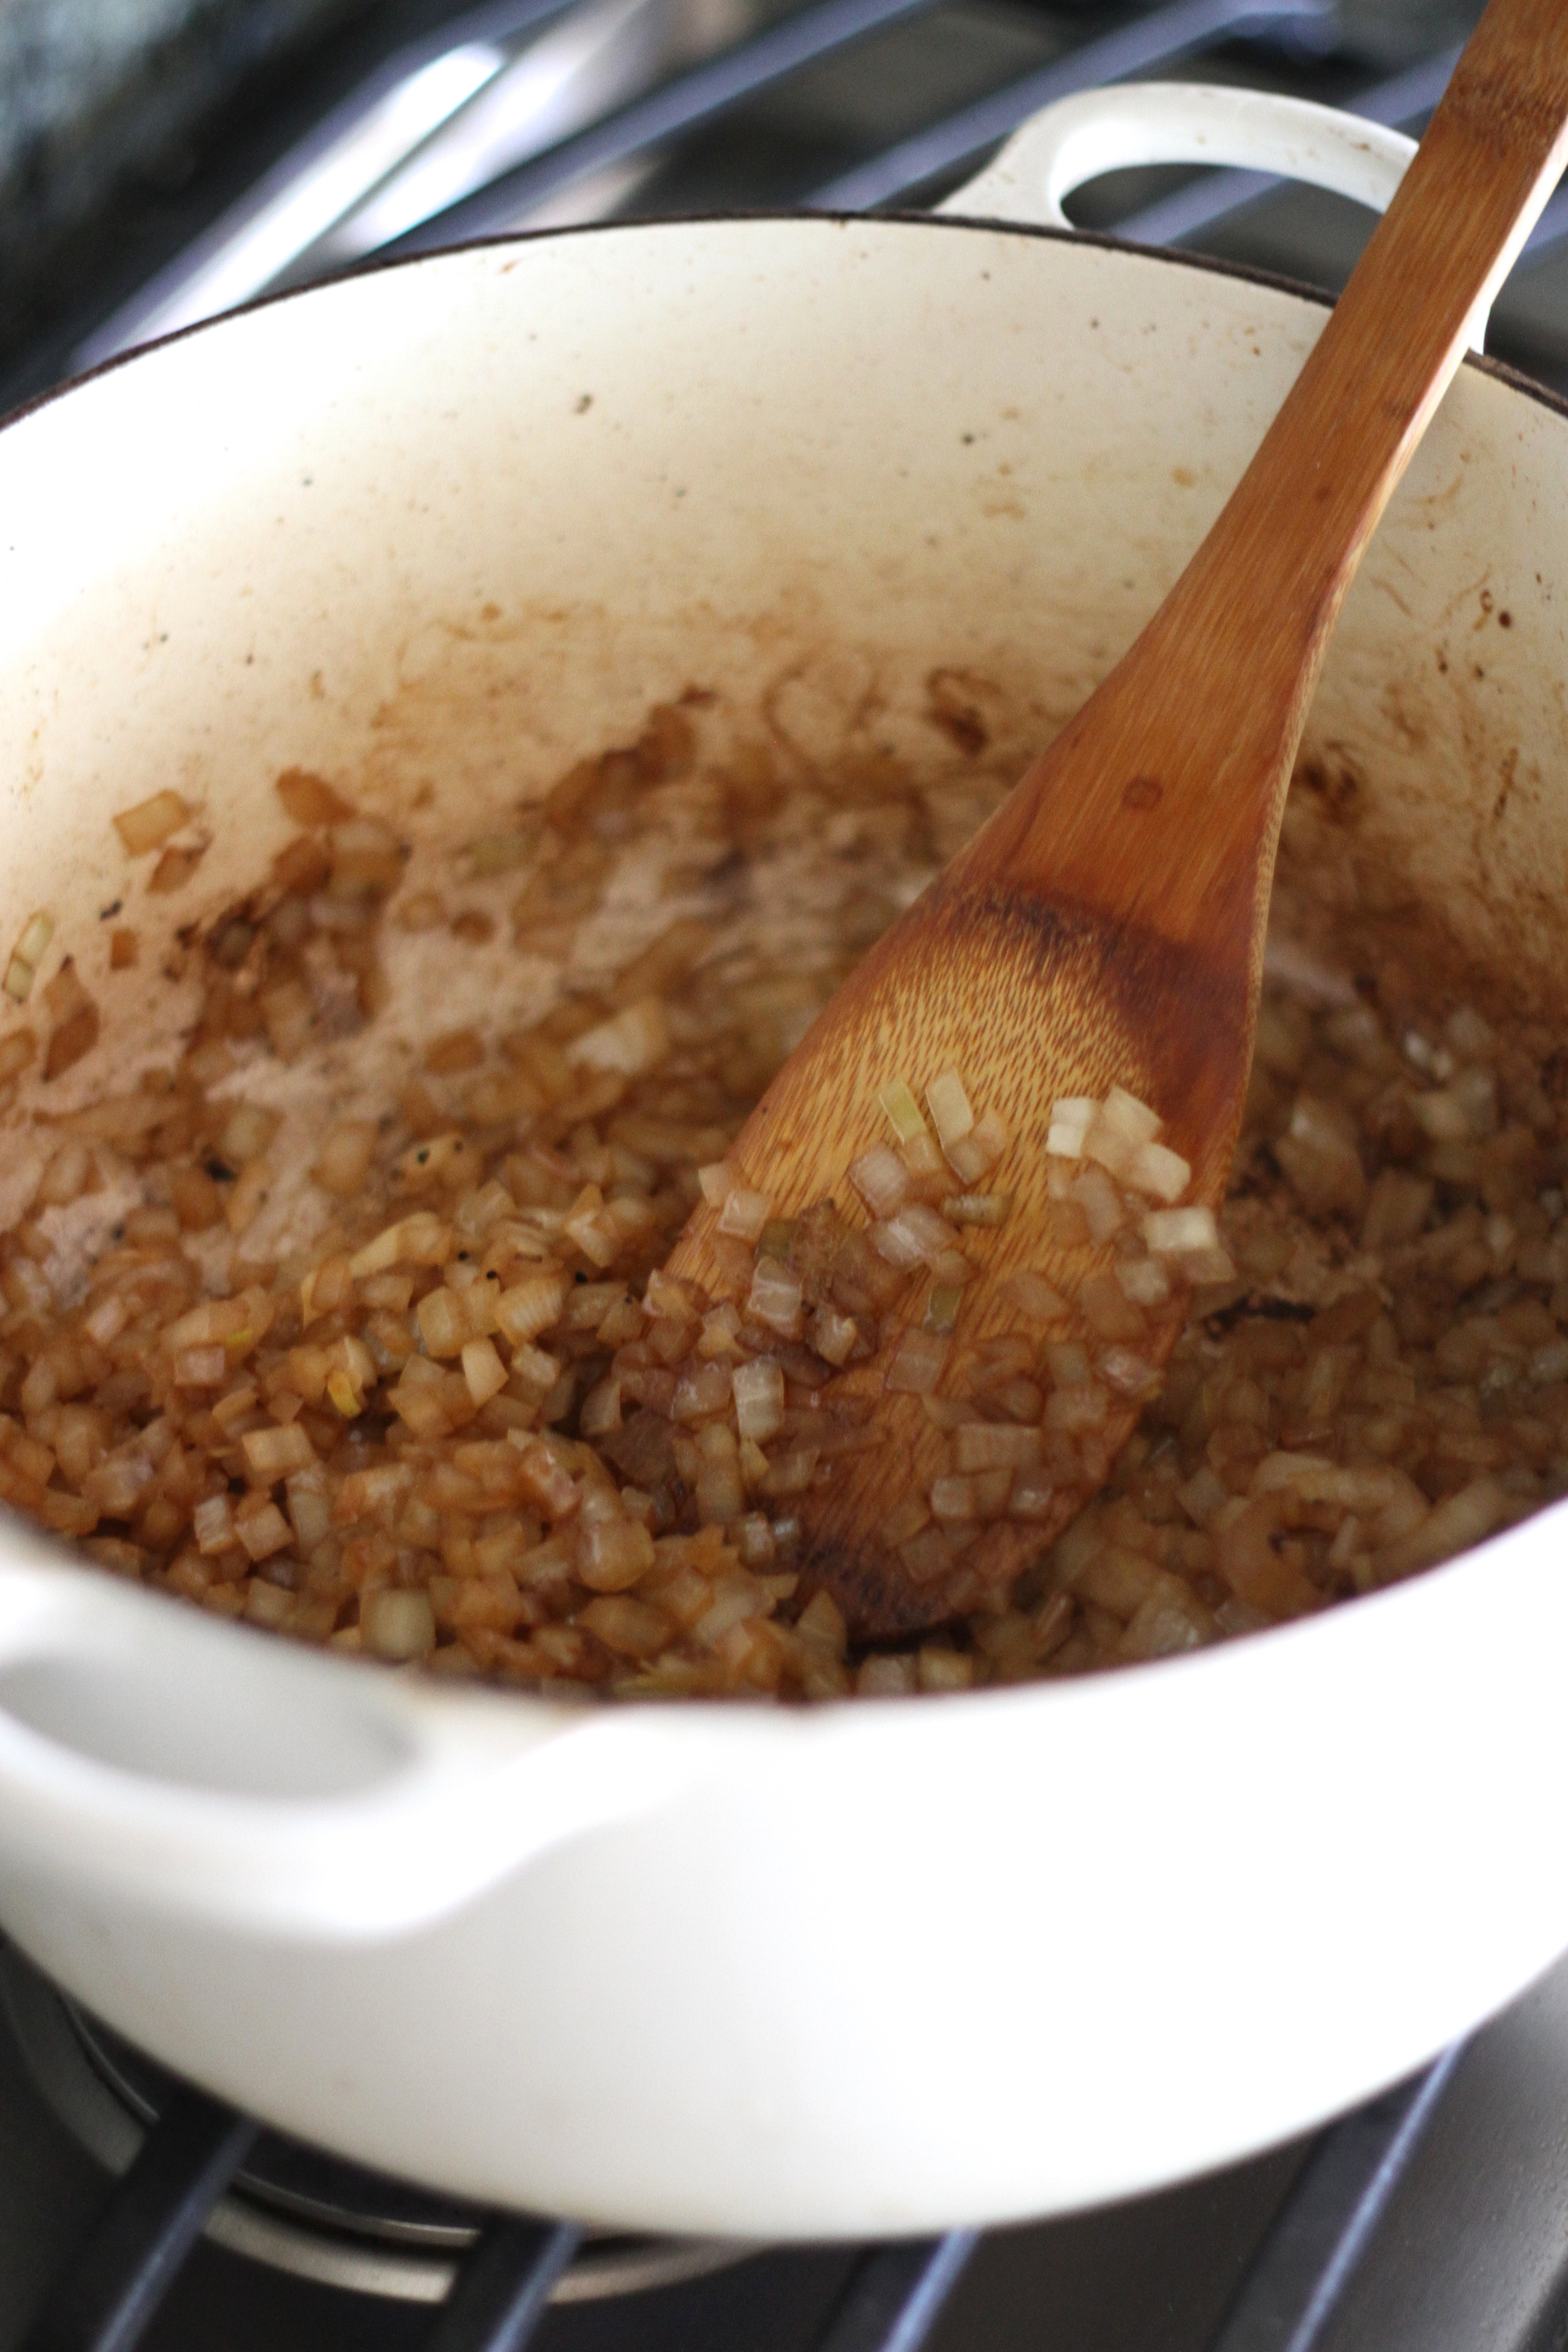
  5. Add chopped onions and a pinch of salt. Cook over medium heat stirring occasionally until onions have browned (12-15 minutes).
  6. Add tomato paste, garlic and oregano, and cook, stirring until fragrant (about 2 minutes).
  7. Add the crushed tomatoes (with their juices) and the carrot and bring to a boil.
  8. Add the short ribs, their juices and the italian sausage to the pot, cover partially and simmer over low heat until the meat is tender and the sauce is thick (about 4 hours).  Be sure to stir occasionally and turn the short ribs to ensure even cooking.
  9. Once meat has cooked through remove short ribs and sausage, and discard carrot.  Cut the short ribs into 1 inch chunks, slice the sausage and return meat to the sauce. Season with salt and pepper.
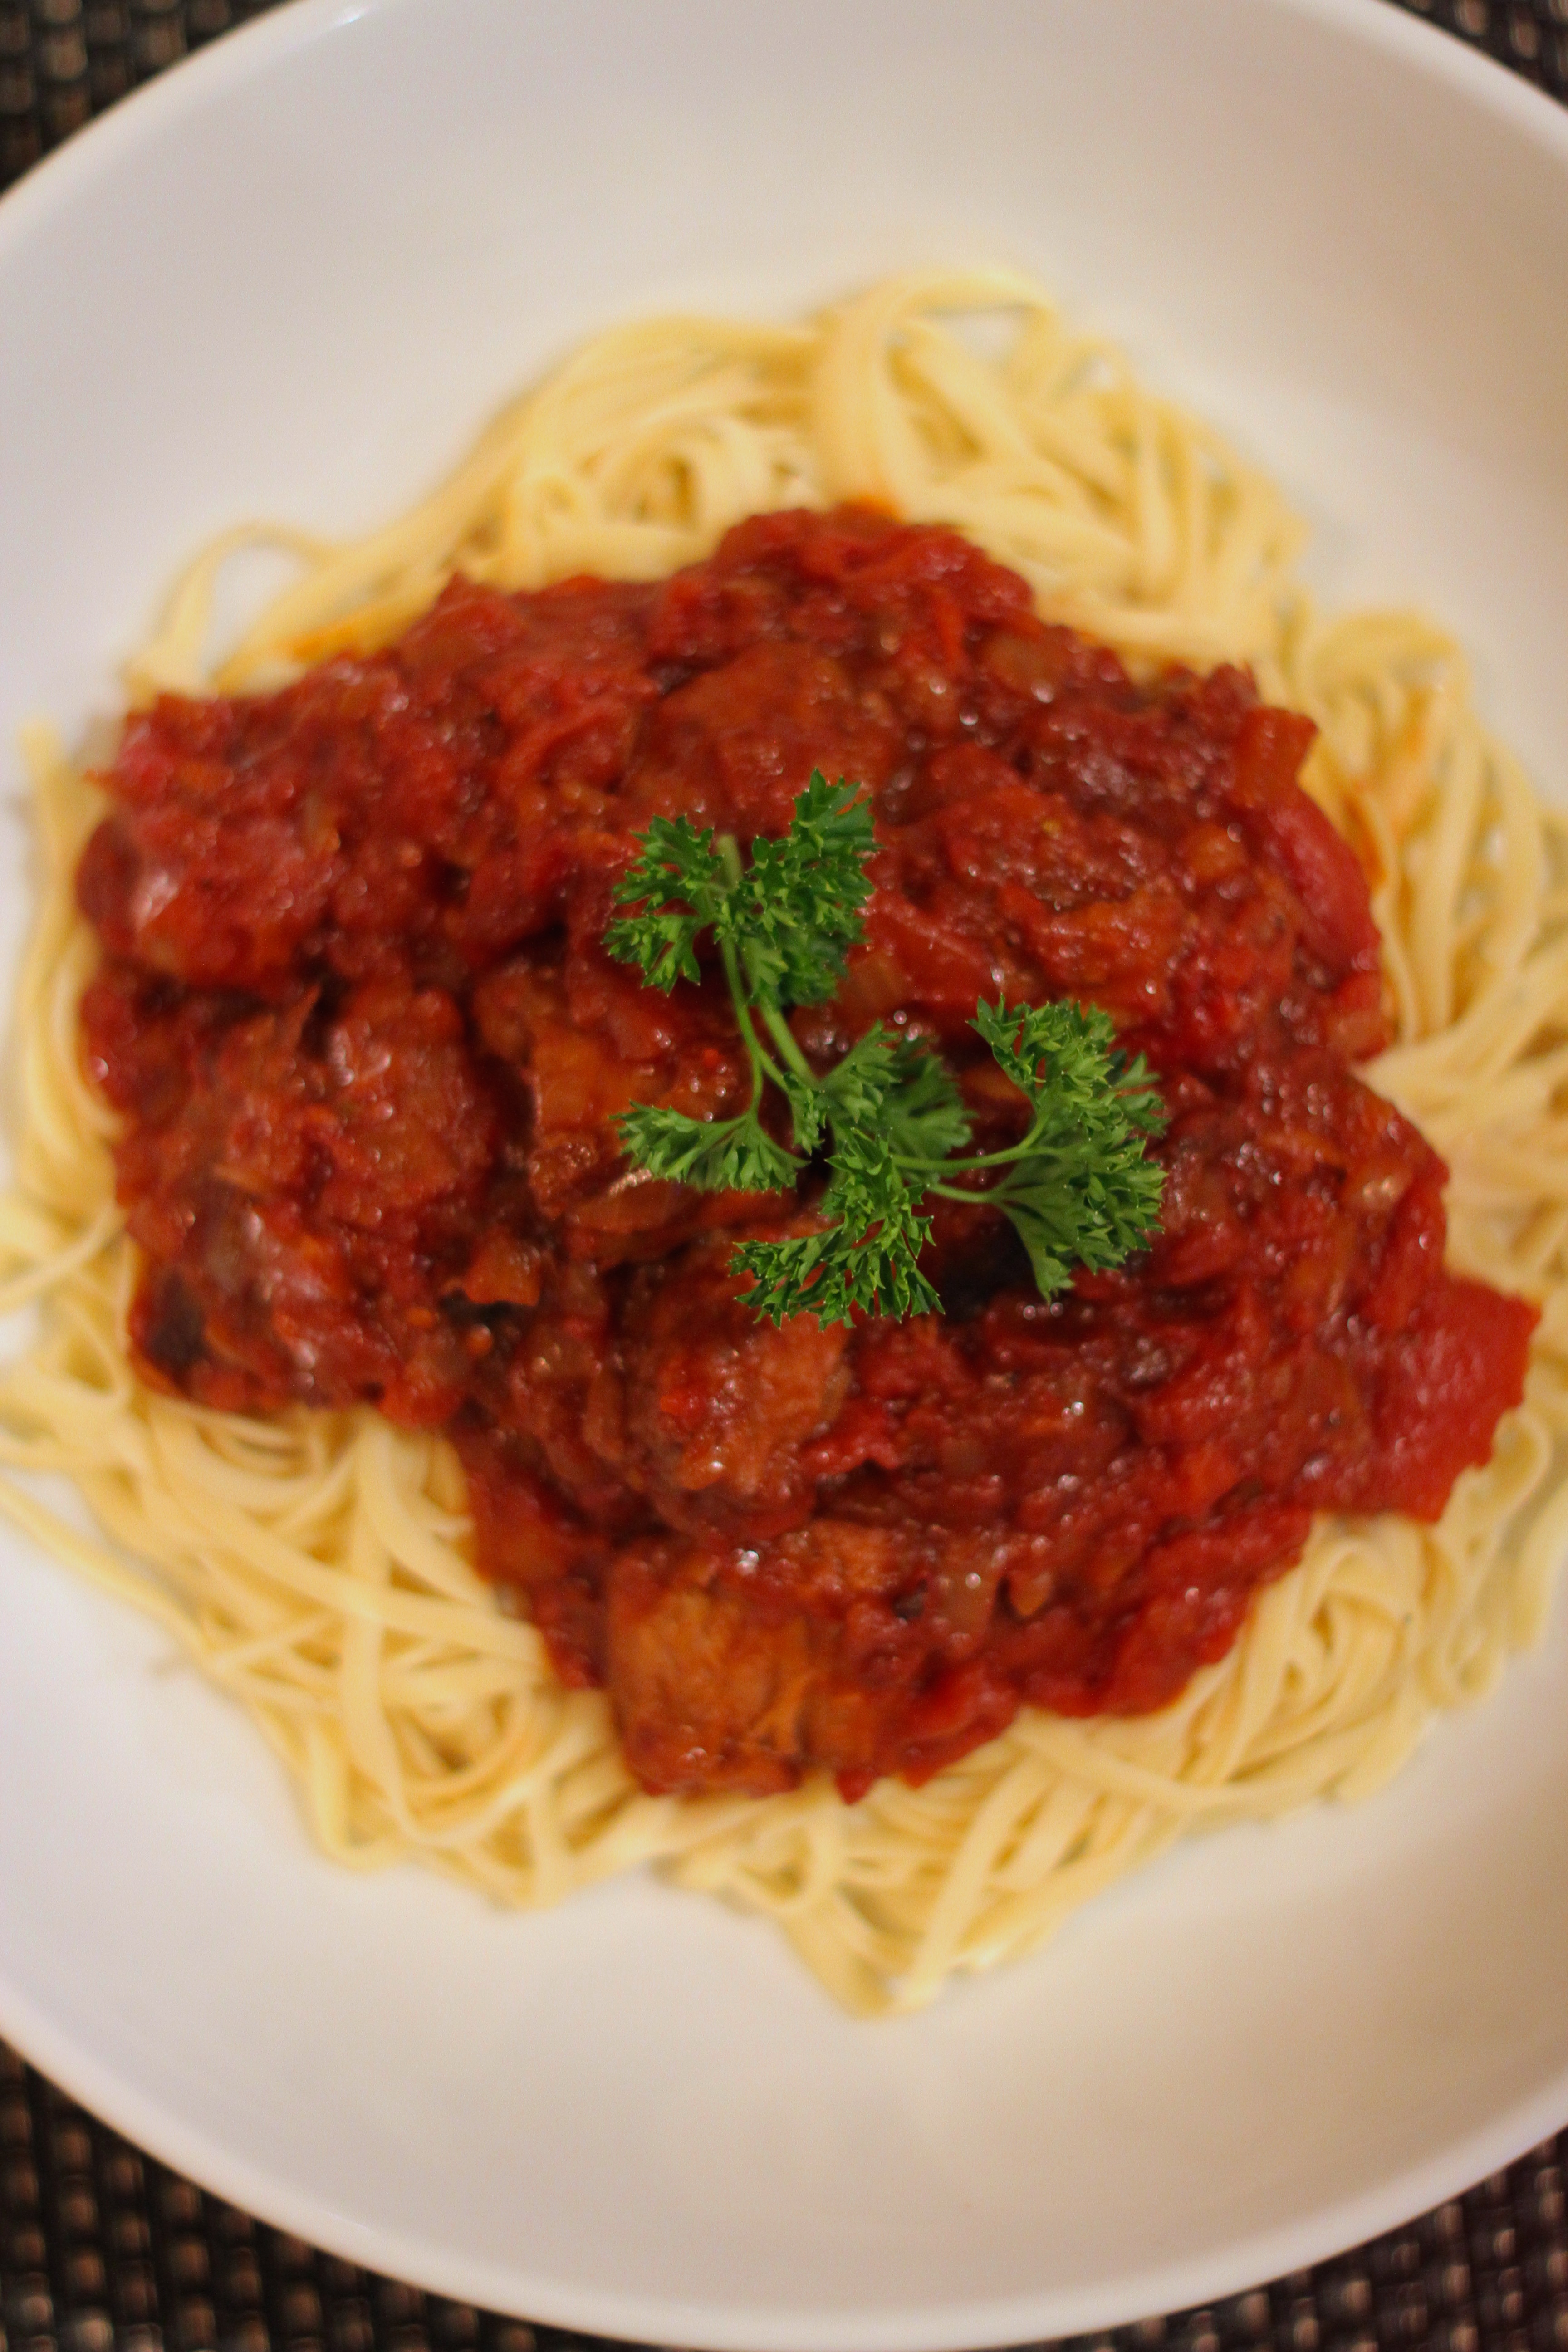
  10. Cook spaghetti (or whatever pasta you choose) until al dente and train (reserving 1/2 cup of the pasta water).  Transfer the pasta to the pot and toss well, adding additional pasta water if needed. Serve immediately.

Mangia Mangia!

IMG_0472

IMG_0482

IMG_0490

IMG_0507

IMG_0499

IMG_0505

IMG_0535

Be sure to check out AgLocal for the latest and greatest in responsibly raised meat!

IMG_0528

Tasty

Asian Raw Salad

March 4, 2015

IMG_9625

My sister surprised me with this amazing dish that she described as an “Everything But the Kitchen Sink” salad.  One of those “I need to clean out my fridge… what am I having for dinner meals” that you could easily serve at a dinner party it’s so good.  So do yourself a favor and whip this up… you won’t regret it.

IMG_9609

IMG_9566

Asian Raw Salad 

Salad

  • Cabbage (purple and/or green)
  • Assorted Veggies (we used cucumber, carrots, beets, avocado, and red pepper)
  • Cilantro
  • Buckwheat noodles

Dressing 

  • 4 tablespoons fresh lime juice
  • 1 tablespoon sesame oil
  • 1 tablespoon fresh ginger, grated
  • 1 tablespoon agave
  • 1.5 tablespoon soy sauce
  • 1 teaspoon chili sauce
  • 3 dashes of fish sauce
  1. Whisk dressing ingredients together and adjust according to taste. Set aside.
  2. Cook noodles, rinse and drain.
  3. Prep veggies (thinly slice cabbage – I recommend a mandolin and julienne other vegetables).
  4. Assemble salad with noodles and cabbage, and top with sliced veggies and cilantro.
  5. Drizzle with dressing and enjoy!

*Adding a fried egg or smoked salmon are a couple other yummy additions!

IMG_9570

IMG_9577

Pepperoni Pizza Pasta

IMG_9582

IMG_9598

IMG_9612

IMG_9638

IMG_9621


Tasty

Pepperoni Pizza Pasta

March 2, 2015

IMG_9775

My boss’s wife introduced me to Danielle Walker’s Against All Grain – an amazing paleo food blog with delicious recipes.  I snuck a few photos of her cookbook recipes but had forgotten about them until I had to clean out my phone last week…   I can’t believe it took me this long to whip up this tasty (and low maintenance) dish!

Pepperoni Pizza Pasta

Pepperoni Pizza Pasta

recipe via Against All Grain 

  • 4 ounces pepperoni, cut into wedges and sliced crosswise
  • ¾ pound mild Italian sausage, casings removed (I used chicken)
  • 1 head de-stemmed and coarsely chopped curly kale
  • ¾ teaspoon sea salt
  • 3 pounds yellow squash (about 3-5 squash), spiraled on the largest noodle setting
  • ¾ cup tomato paste
  • 1 to 3 tablespoons water
  • 2 teaspoons dried oregano leaves
  • 1 tablespoon nutritional yeast (or Parmesan cheese)
INSTRUCTIONS:
  1. Heat a large pot over medium-high heat and add the pepperoni. Brown for 2 minutes on each side, then remove with a slotted spoon to a paper towel lined dish.
  2. Add the sausage to the pot and cook for a minute or so, until it starts to crumble.
  3. Add in kale and salt and cook 4 minutes more or until sausage is cooked through.
  4. Add the squash noodles to the pot and sauté for 5 minutes (you want noodles to be crisp tender).
  5. Stir in tomato paste, 1 tablespoon water, oregano and nutritional yeast/Parmesan cheese.
  6. Cover and cook 5-7 minute until the sauce is simmering and noodles are soft (but not soggy!).
  7. Add the pepperoni and stir until combined and serve with crushed red pepper.

IMG_9757

The most entertaining part about this dish was how much it tasted like a pizza pocket! And to enjoy something with no guilt? I’m so in.

IMG_9760

IMG_9770

Tasty

Banh Mi Bowl

February 23, 2015

IMG_9741

Banh Mi is right up there with Mexican food and sushi in my book, but with my attempt to eat more gluten free, I needed to figure out a new way to enjoy this amazing dish without the amazing, crusty baguette (weh.).   The fact this bowl was so much easier to eat (and equally flavorful), almost had me forgetting my favorite part of a Banh Mi sandwich was missing 🙂

Banh Mi Bowl

Banh Mi Bowl 

recipe via Budget Bytes

Meatballs

  • 1 lb ground pork (I used turkey for a healthier substitute although it won’t be a juicy)
  • 1 large egg
  • 1/2 cup plain breadcrumbs
  • 2 cloves garlic, minced
  • 1 tablespoon fresh ginger, grated
  • 1/2 tablespoon soy sauce (or Tamari)
  • 2 green onions, thinly sliced

Pickled Veggies 

  • 2 medium carrots, julienned (I used my spiralizer)
  • 1/2 large watermelon radish, julienned (I used my spiralizer)
  • 1/2 cup rice vinegar
  • 1/8 cup sugar
  • 1/2 tsp salt
  • 1/2 cup water

Bowl

  1.  Make the pickled veggies by combining vinegar, sugar, salt and water in a small saucepan. Stir over medium heat until the sugar has dissolved, then pour over carrots and radishes in an airtight container. Refrigerate.  I stored them separately and poured half of the liquid into each container.  * This is a great step to make the night before… but you can do it as late as 30 minutes before serving.
  2. Make the meatballs by combining all ingredients listed above until thoroughly mixed. Preheat oven to 400 degrees and line baking sheet with foil and a thin layer of non-stick spray.  The mixture will yield about 30 tablespoon sized meatballs. Place them on the prepared baking sheet and bake for 25 minutes.
  3. While the meatballs are cooking you can start assembling your Banh Mi Bowls.  First warm rice/noodles if you prepared them ahead.  Then top with pickled veggies, cucumber rounds, jalapeño and cilantro. Once meatballs are ready add them to the bowl and drizzle with soy sauce and spicy mayo (mayo with srirarcha).

Meatballs

IMG_9719

IMG_9734

Tasty

Brown Butter Blondies

February 18, 2015

IMG_9290

Most of my friends are so surprised that despite my embarrassing long list of TV shows on my DVR, Top Chef (or any other cooking show) hasn’t made the cut.  I love watching cooking shows, but found that most of these competition shows are too cut throat – mean comments, sabotage, alliances – not my cup of tea… So when my little sister introduced me to the Kids Baking Championship, I had a change of heart.

Just imagine a bunch of 10 year olds running around a kitchen talking about ganache and polenta lemon cake, but being sure to share the paddle attachment for the KitchenAid mixer.  It honestly melts your heart and makes you feel pretty lame that a 10 year old would kick your butt in the kitchen… but I digress.

IMG_9287

Anyway, on the first episode one of the contests whipped up some blondies (that didn’t turn out so well) – but gave me a hankering to whip some up (I never have…).  I found this amazing recipe and wasn’t planning on sharing it on the blog until my sister came over and ate half the sheet (sorry Kendall!) and demanded I share the recipe.  So despite the lack of photos… here we go:

Brown Butter Blondies with Pecans

Recipe via Bon Appetit

Brown Butter Mixture

  • 1/2 cup unsalted butter
  • 1 large egg
  • 3/4 cup (packed) light brown sugar
  • 1 tsp vanilla extract
  • 1/2 tsp salt
  • 1/3 cup all-purpose flour

Blondie

  • 1 cup unsalted butter, room temperature
  • 2 1/4 cups all purpose flour
  • 1 1/2 cups pecans, coarsley chopped
  • 1 1/2 tsp baking powder
  • 1 1/2 tsp salt
  • 1 3/4 cups (packed) light brown sugar
  • 2 large eggs
  • 1 tsp vanilla extract

Brown Butter Mixture

  1. Cook butter in medium saucepan over medium heat, stirring often until butter foams then browns (about 5-8 minutes).
  2. Transfer brown butter to a KitchenAid bowl or medium bowl, and let cool slightly.
  3. Add egg, brown sugar, vanilla and salt and beat until mixture is light and dissolved (about 3 minutes).
  4. Fold in flour.

Blondie

  1. Preheat oven to 350 degrees.
  2. Butter and flour a 13 x 9 baking dish.
  3. Toast pecans for 8-10 minutes or until fragrant. Let cool.
  4. Whisk baking powder, salt and 2 1/4 cups flour in a medium bowl.
  5. Using your KitchenAid (or electric mixer), cream brown sugar and 1 cup butter in a large bowl until light and fluffy (about 5 minutes) on medium-high speed.
  6. Add eggs in one a time, stirring until mixture is pale and fluffy (about 2 minutes).
  7. Mix in vanilla.
  8. Reduce speed to low and mix in dry ingredients.
  9. Fold in half of the toasted pecans.
  10. Scoop 2/3 of the batter into your baking dish and smooth top (making sure to push batter to edges).
  11. Scatter alternating scoops of brown butter mixture and blondie batter on top of the existing layer of blondie batter and swirl until smooth on top (did that make sense?).
  12. Sprinkle remaining pecans on top.
  13. Bake until blondie is golden brown and firm (about 30-35 minutes). Beware that a tester will not come out clean… so just go with your gut.
  14. Let cool and enjoy! (I found these almost tasted better the next day, which I feel never happens with baked goods!)

IMG_9284