via Remains Simple
I came across this image on Pintrest and knew I needed to make this for Easter brunch. Sadly when I clicked the link to find it only an image – no recipe (gasp!), I knew I had to take matters into my own hands. Here is how I tried making this picture into a reality.
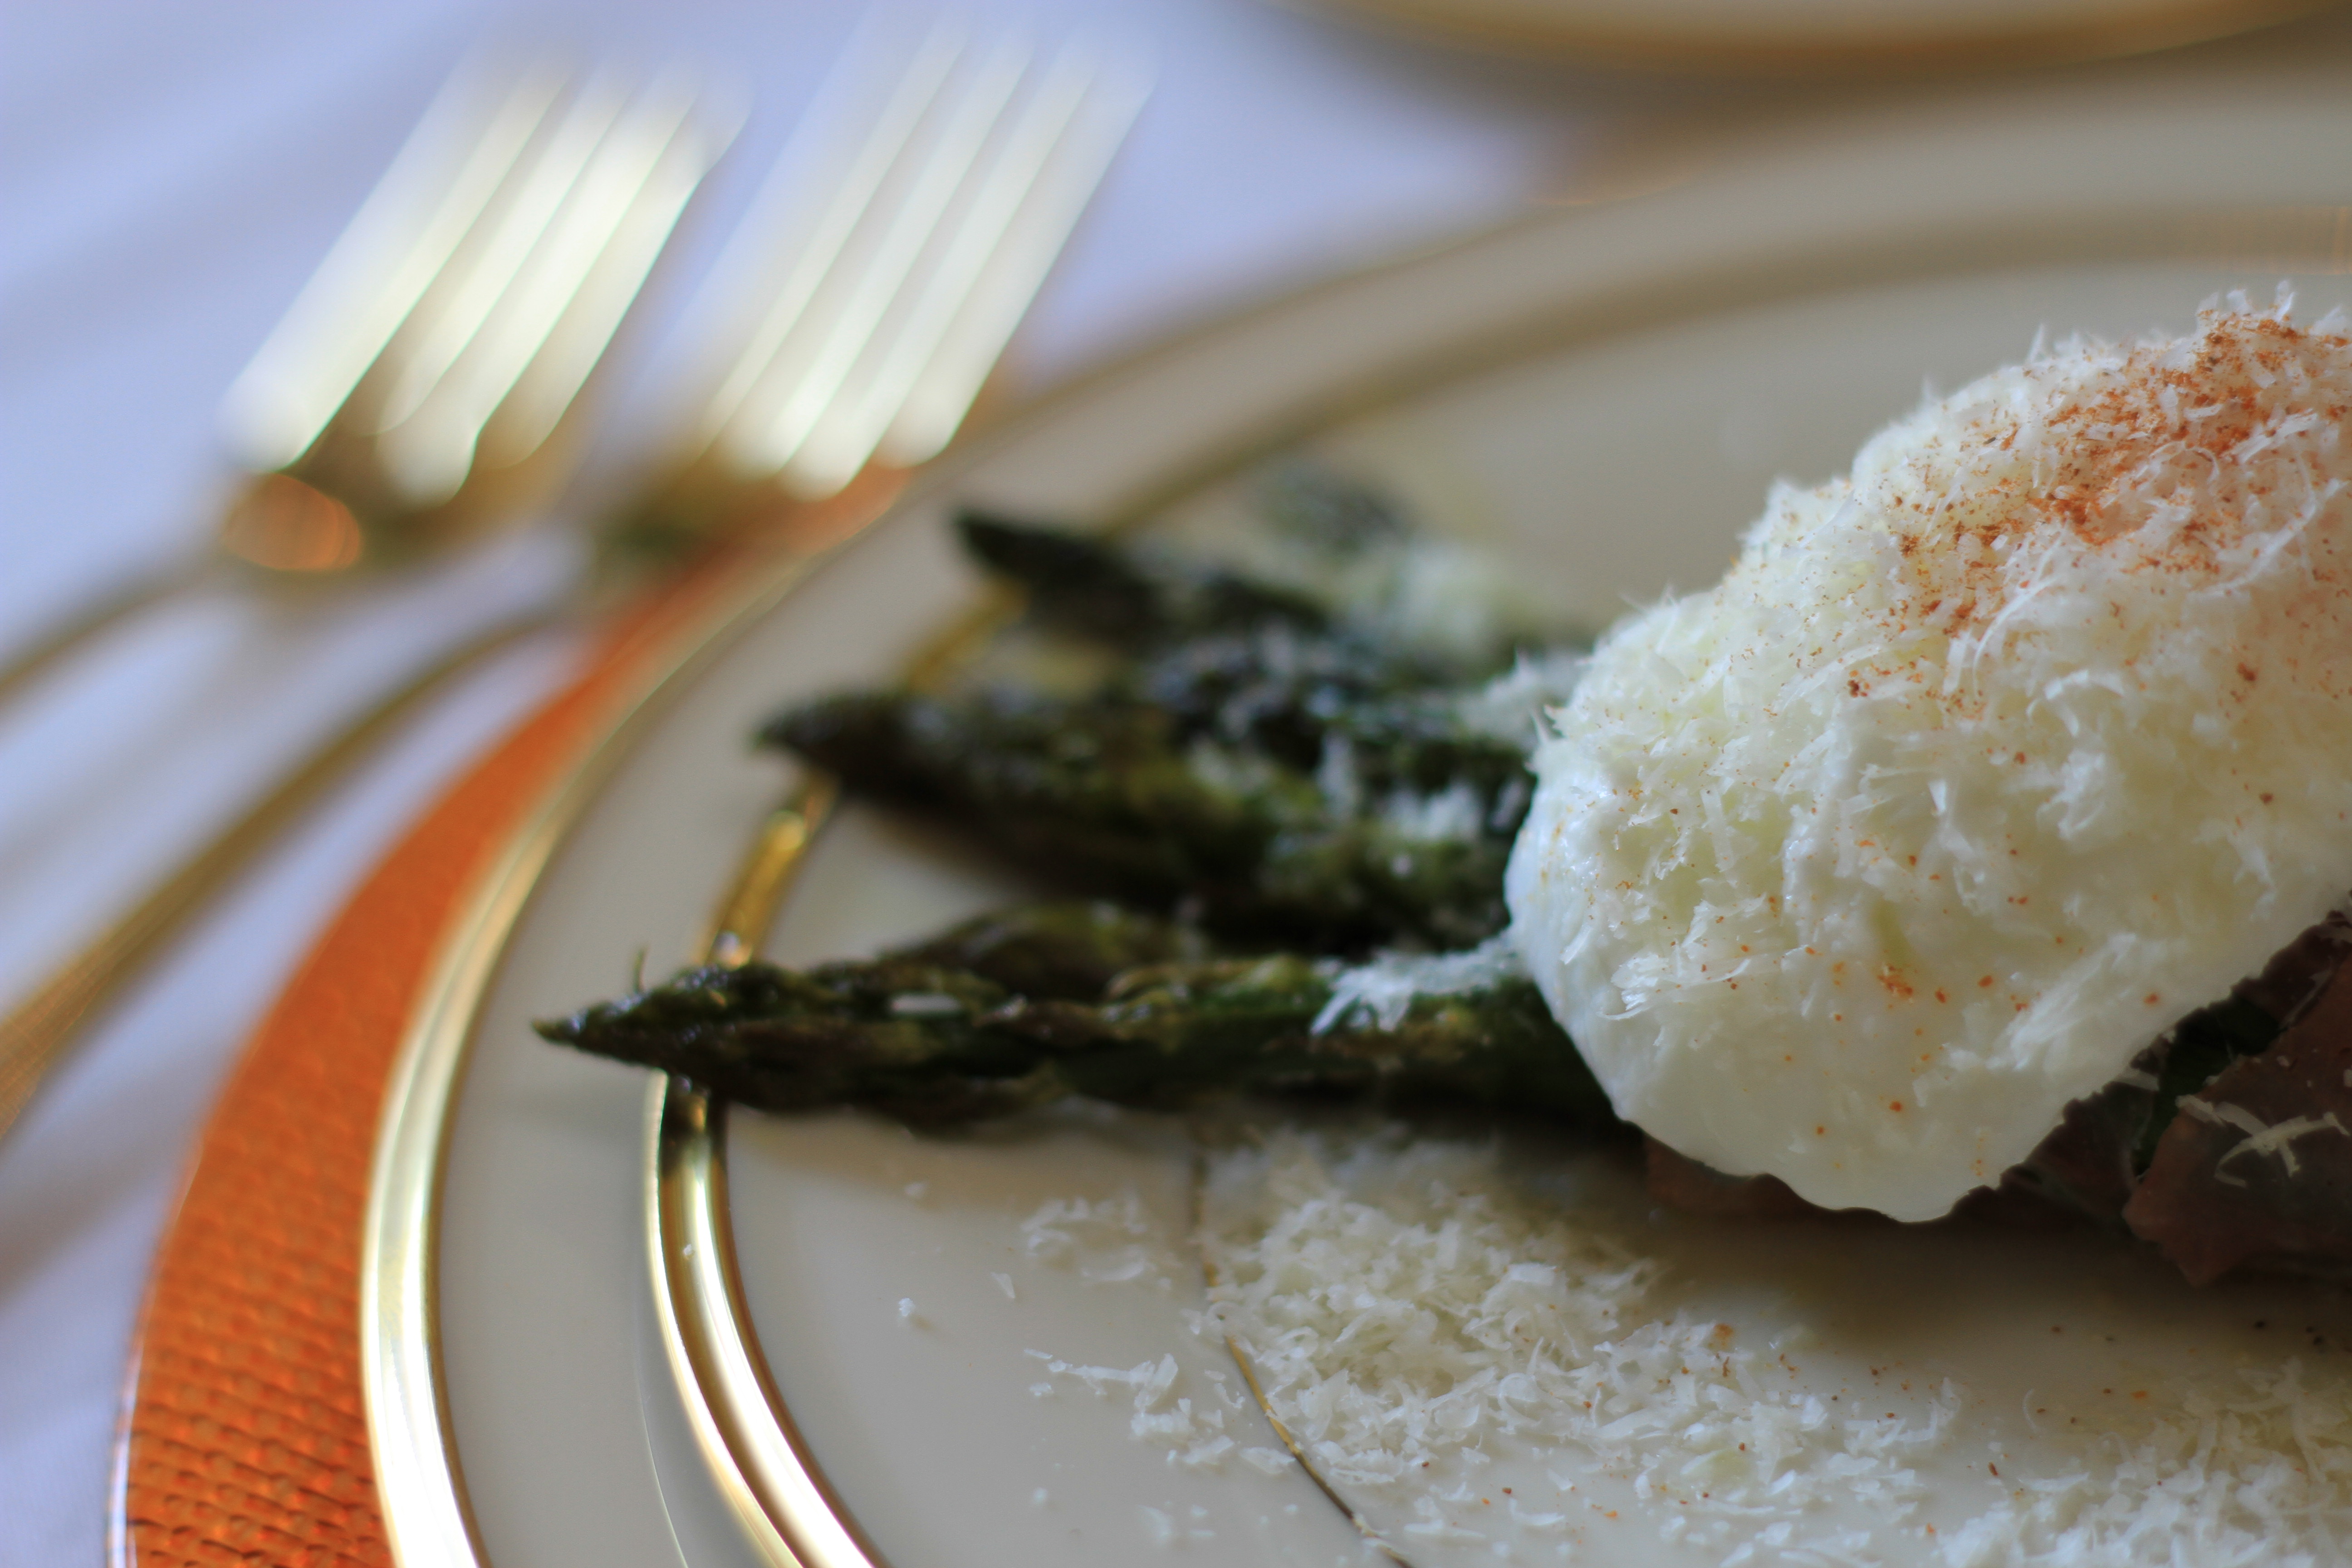
Prosciutto Wrapped Asparagus with Poached Eggs
Serves 6
- 2 bunches asparagus, ends trimmed
- 1 package prosciutto
- 6 eggs
- parmesan cheese
- olive oil
- freshly ground pepper
- Maldon sea salt
- optional: rustic bread, sliced
- Preheat oven to 425 degrees.
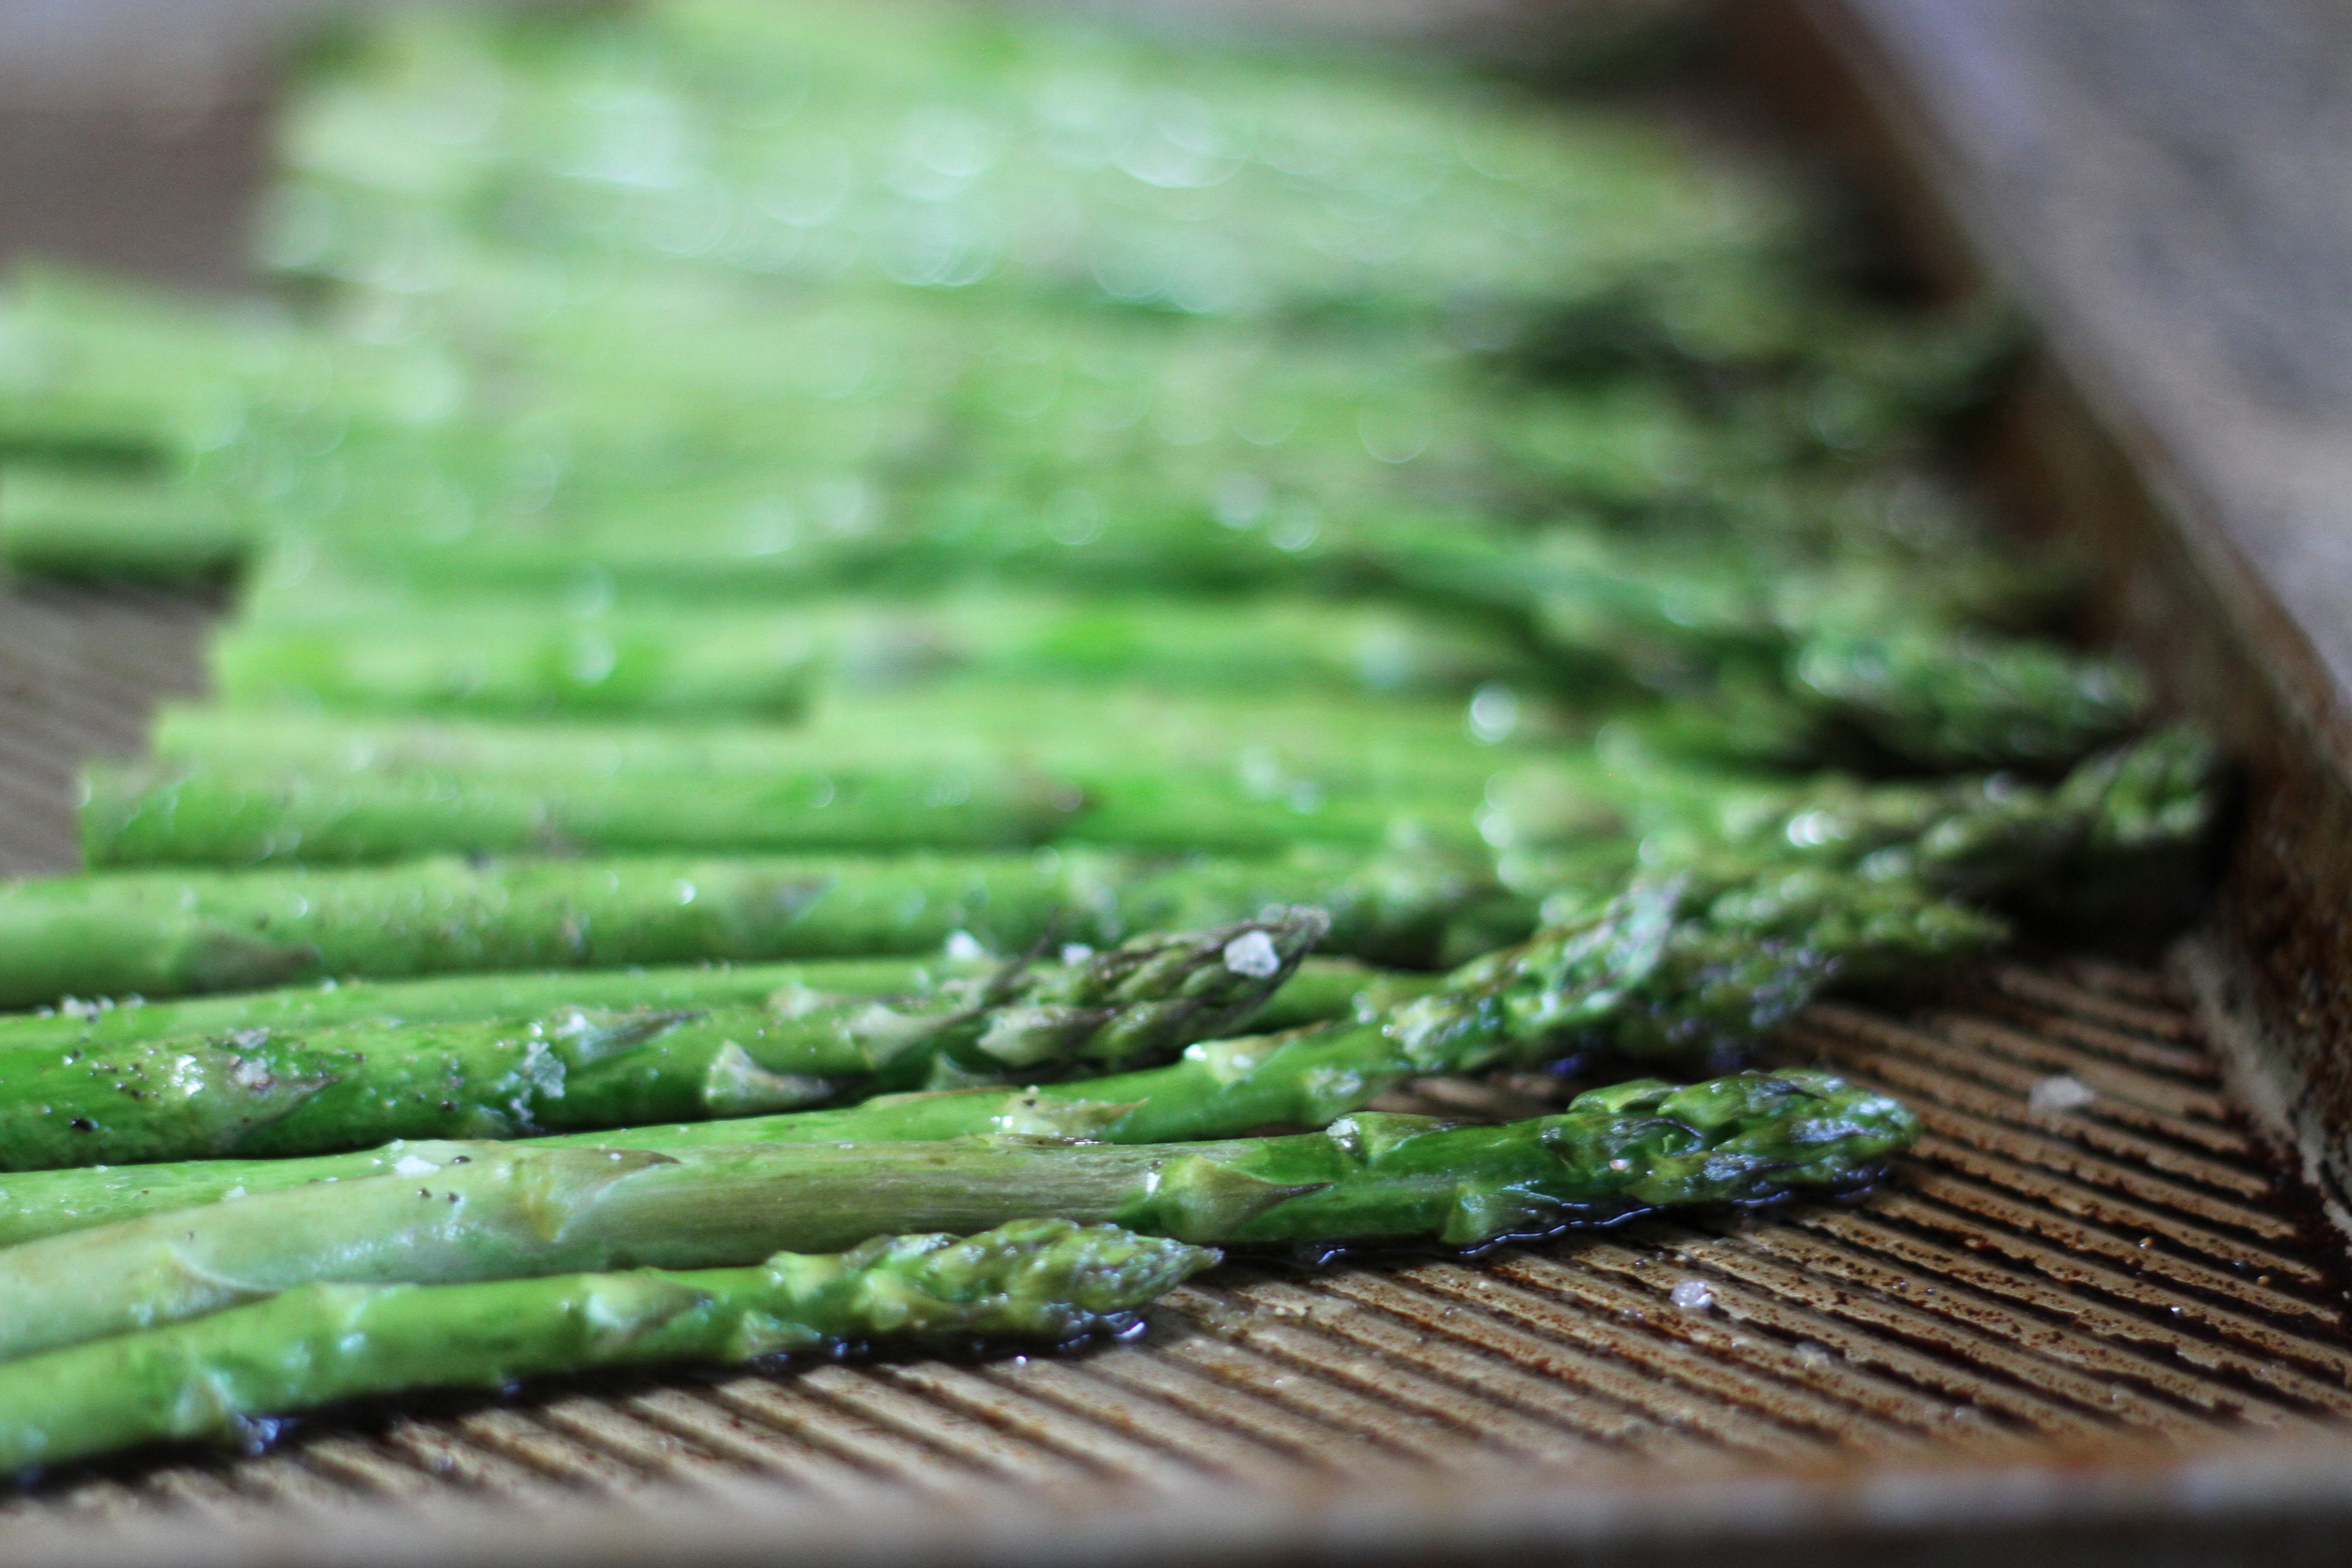
- Wash asparagus and let dry thoroughly (note: if there is any water on your asparagus it will steam not roast).
- Lay asparagus out on a rimmed cookie sheet (note: I recommend doing this in batches so there is some space between the veggies and they are not piled on top of one another) .
- Drizzle with olive oil (4-5 Tablespoons) and sprinkle generously with salt and pepper.
- Roast for 8 minutes in the oven.
- Remove and let cool (enough to handle).
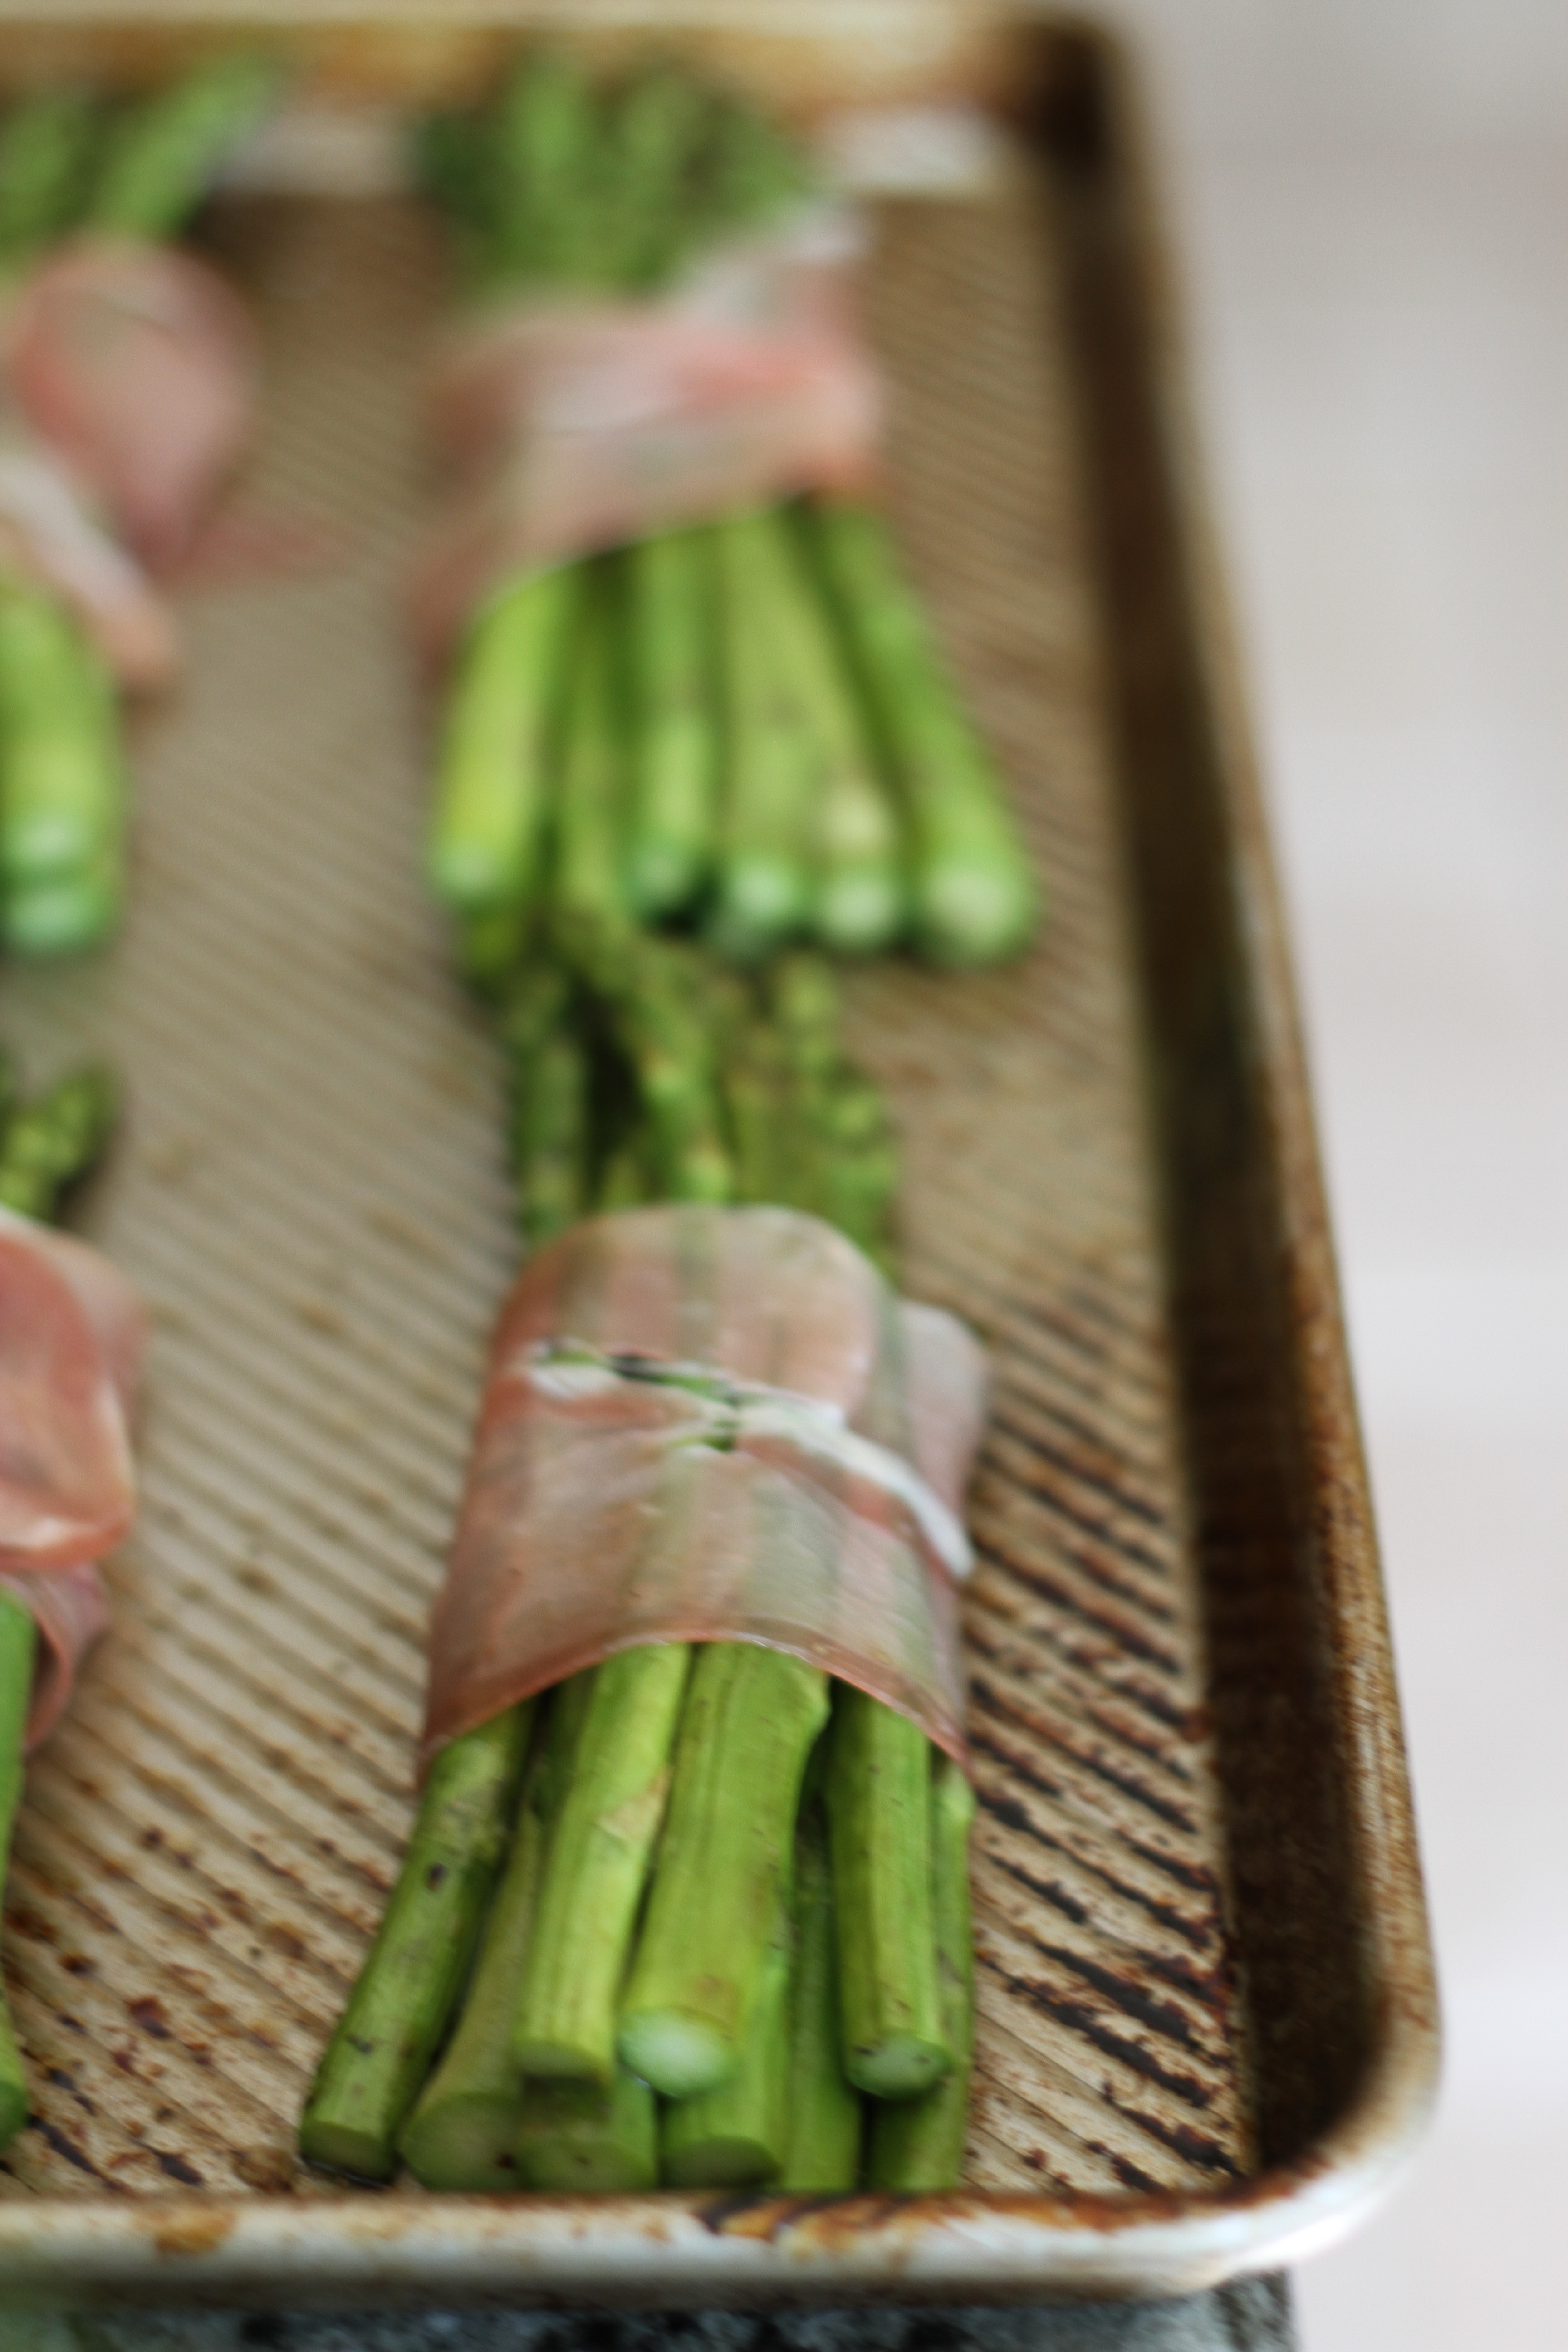
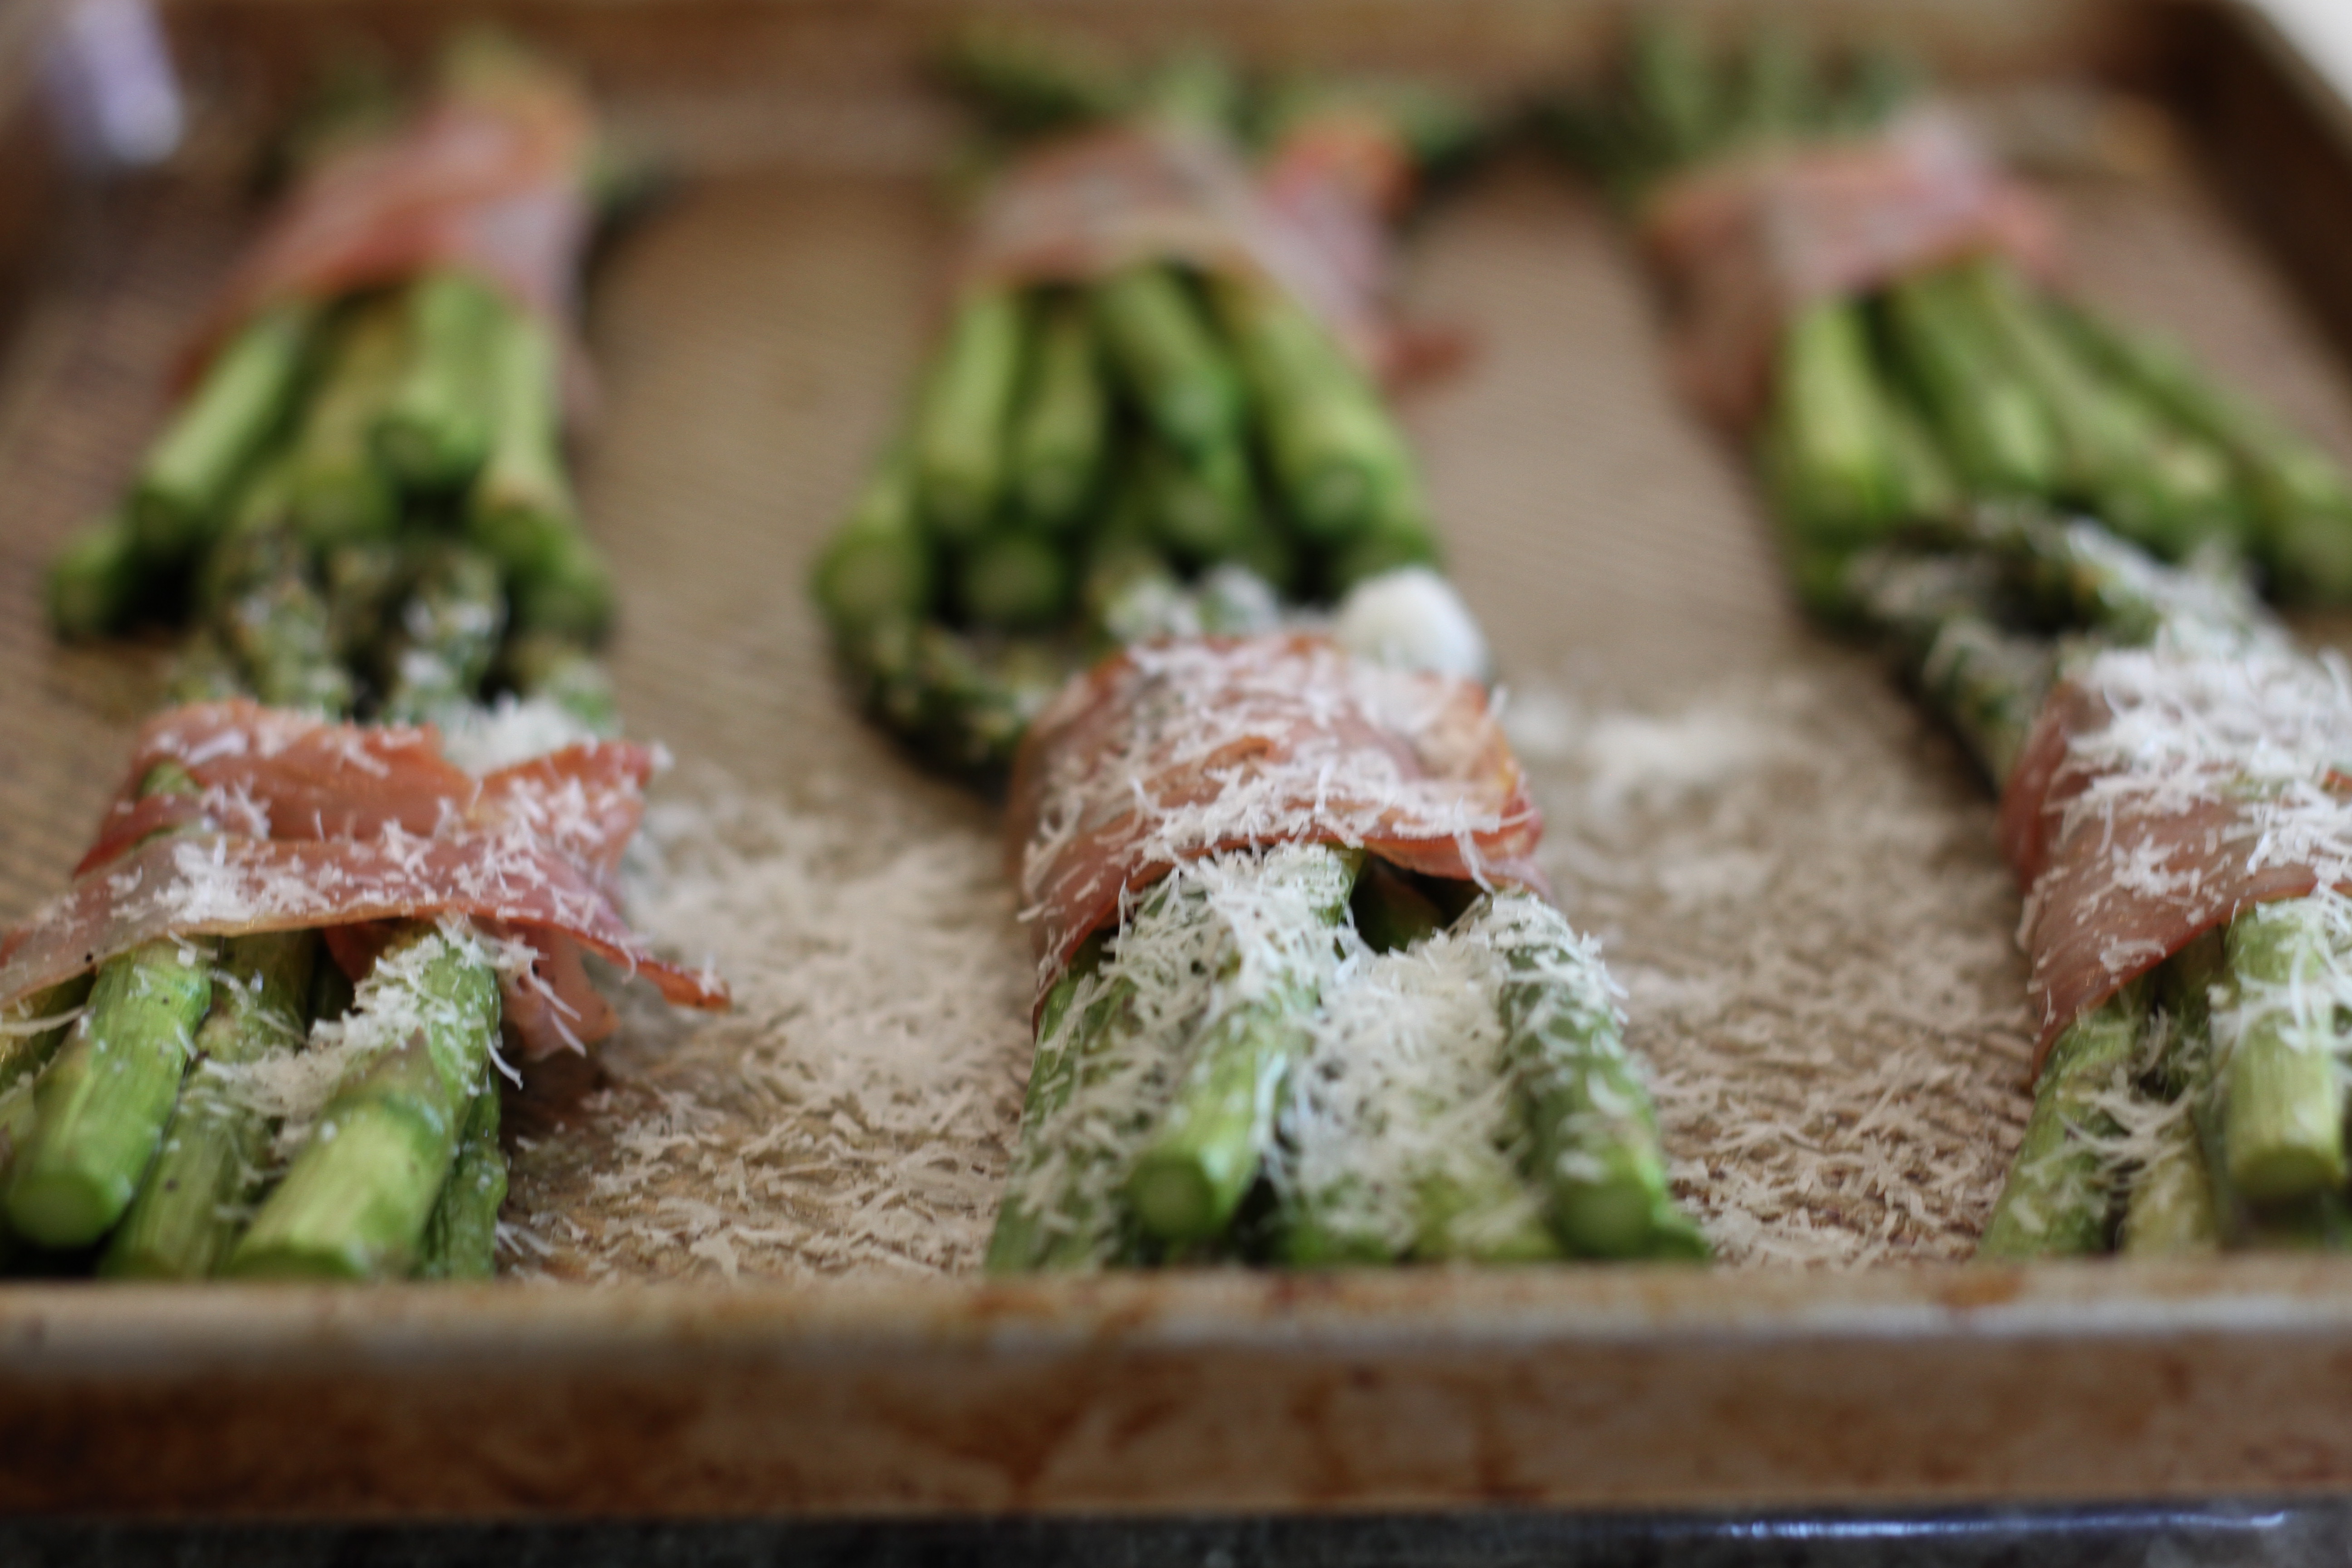
- Divide asparagus into 6 portions and wrap each “bunch” with a slice of prosciutto (note: try to not make it look “perfect” – a more rustic/organic approach will make it look more appetizing).
- Sprinkle with grated parmesan cheese.
- Roast for 3 more minutes.
- While the asparagus/prosciutto is roasting poach your eggs.
- Remove asparagus bunches from the oven and top with poached egg.
- Sprinkle with more grated parmesan and enjoy!
- The key to this dish is quality ingredients and timing so that everything can be enjoyed hot!
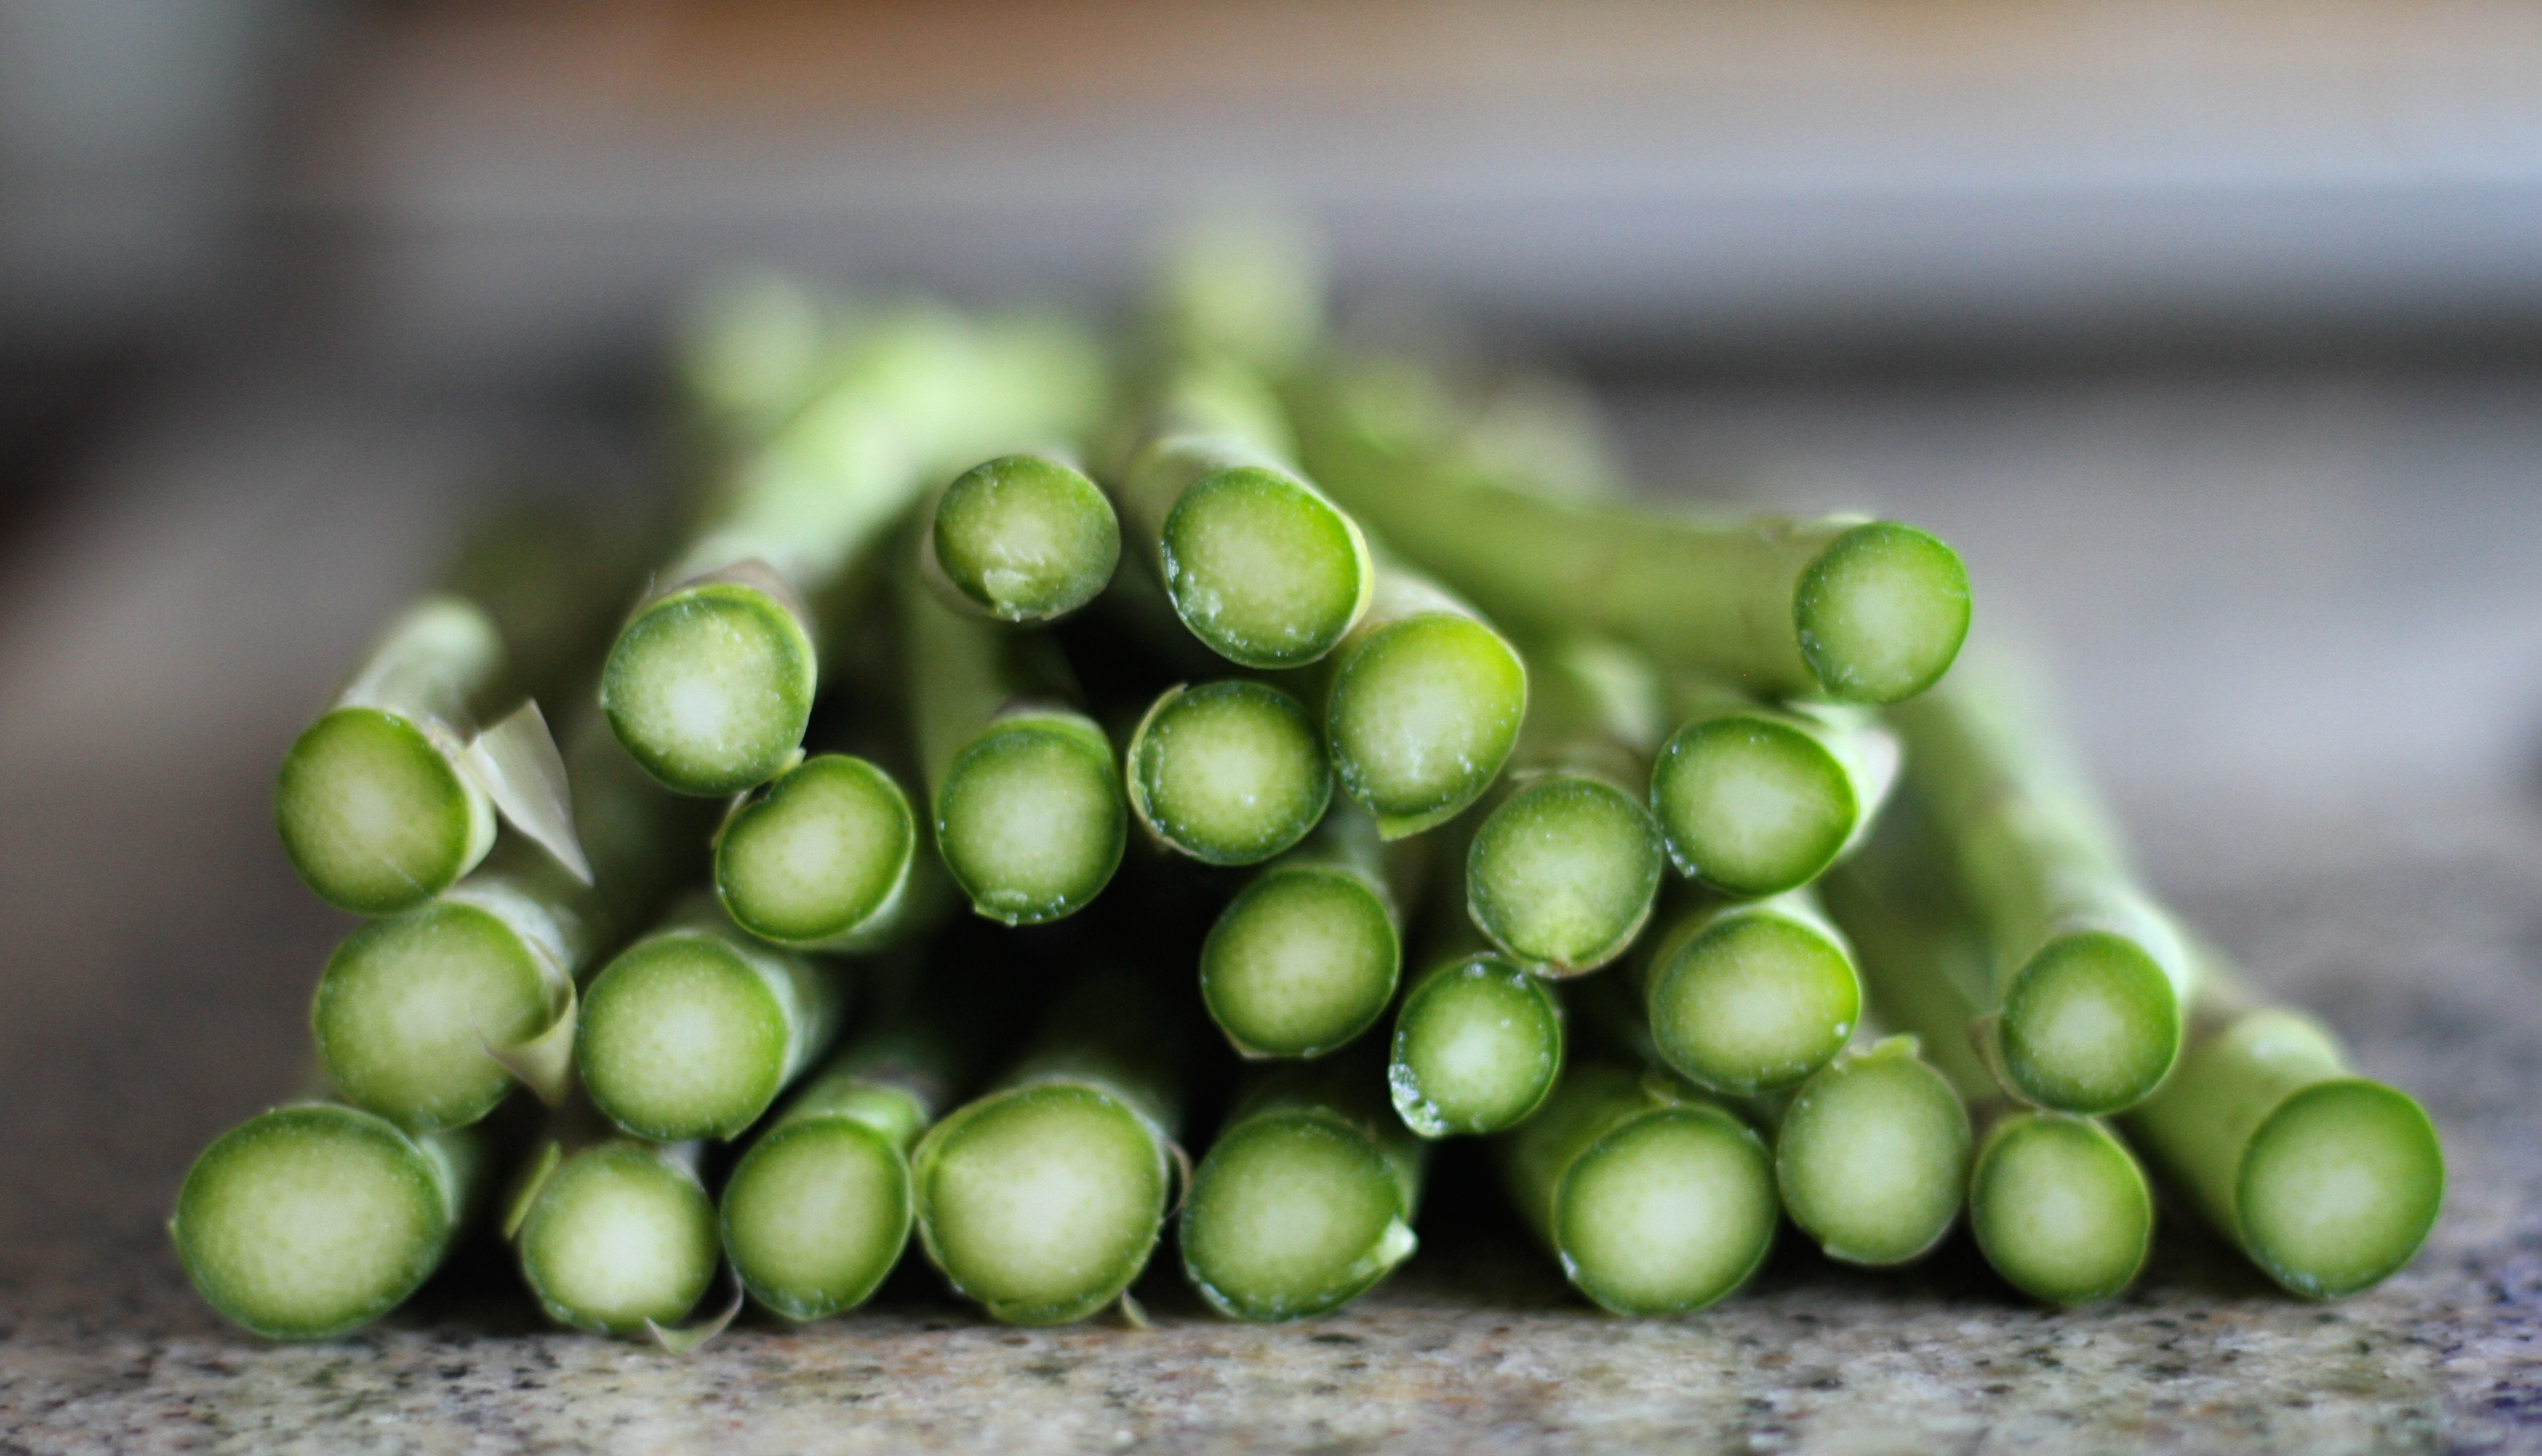
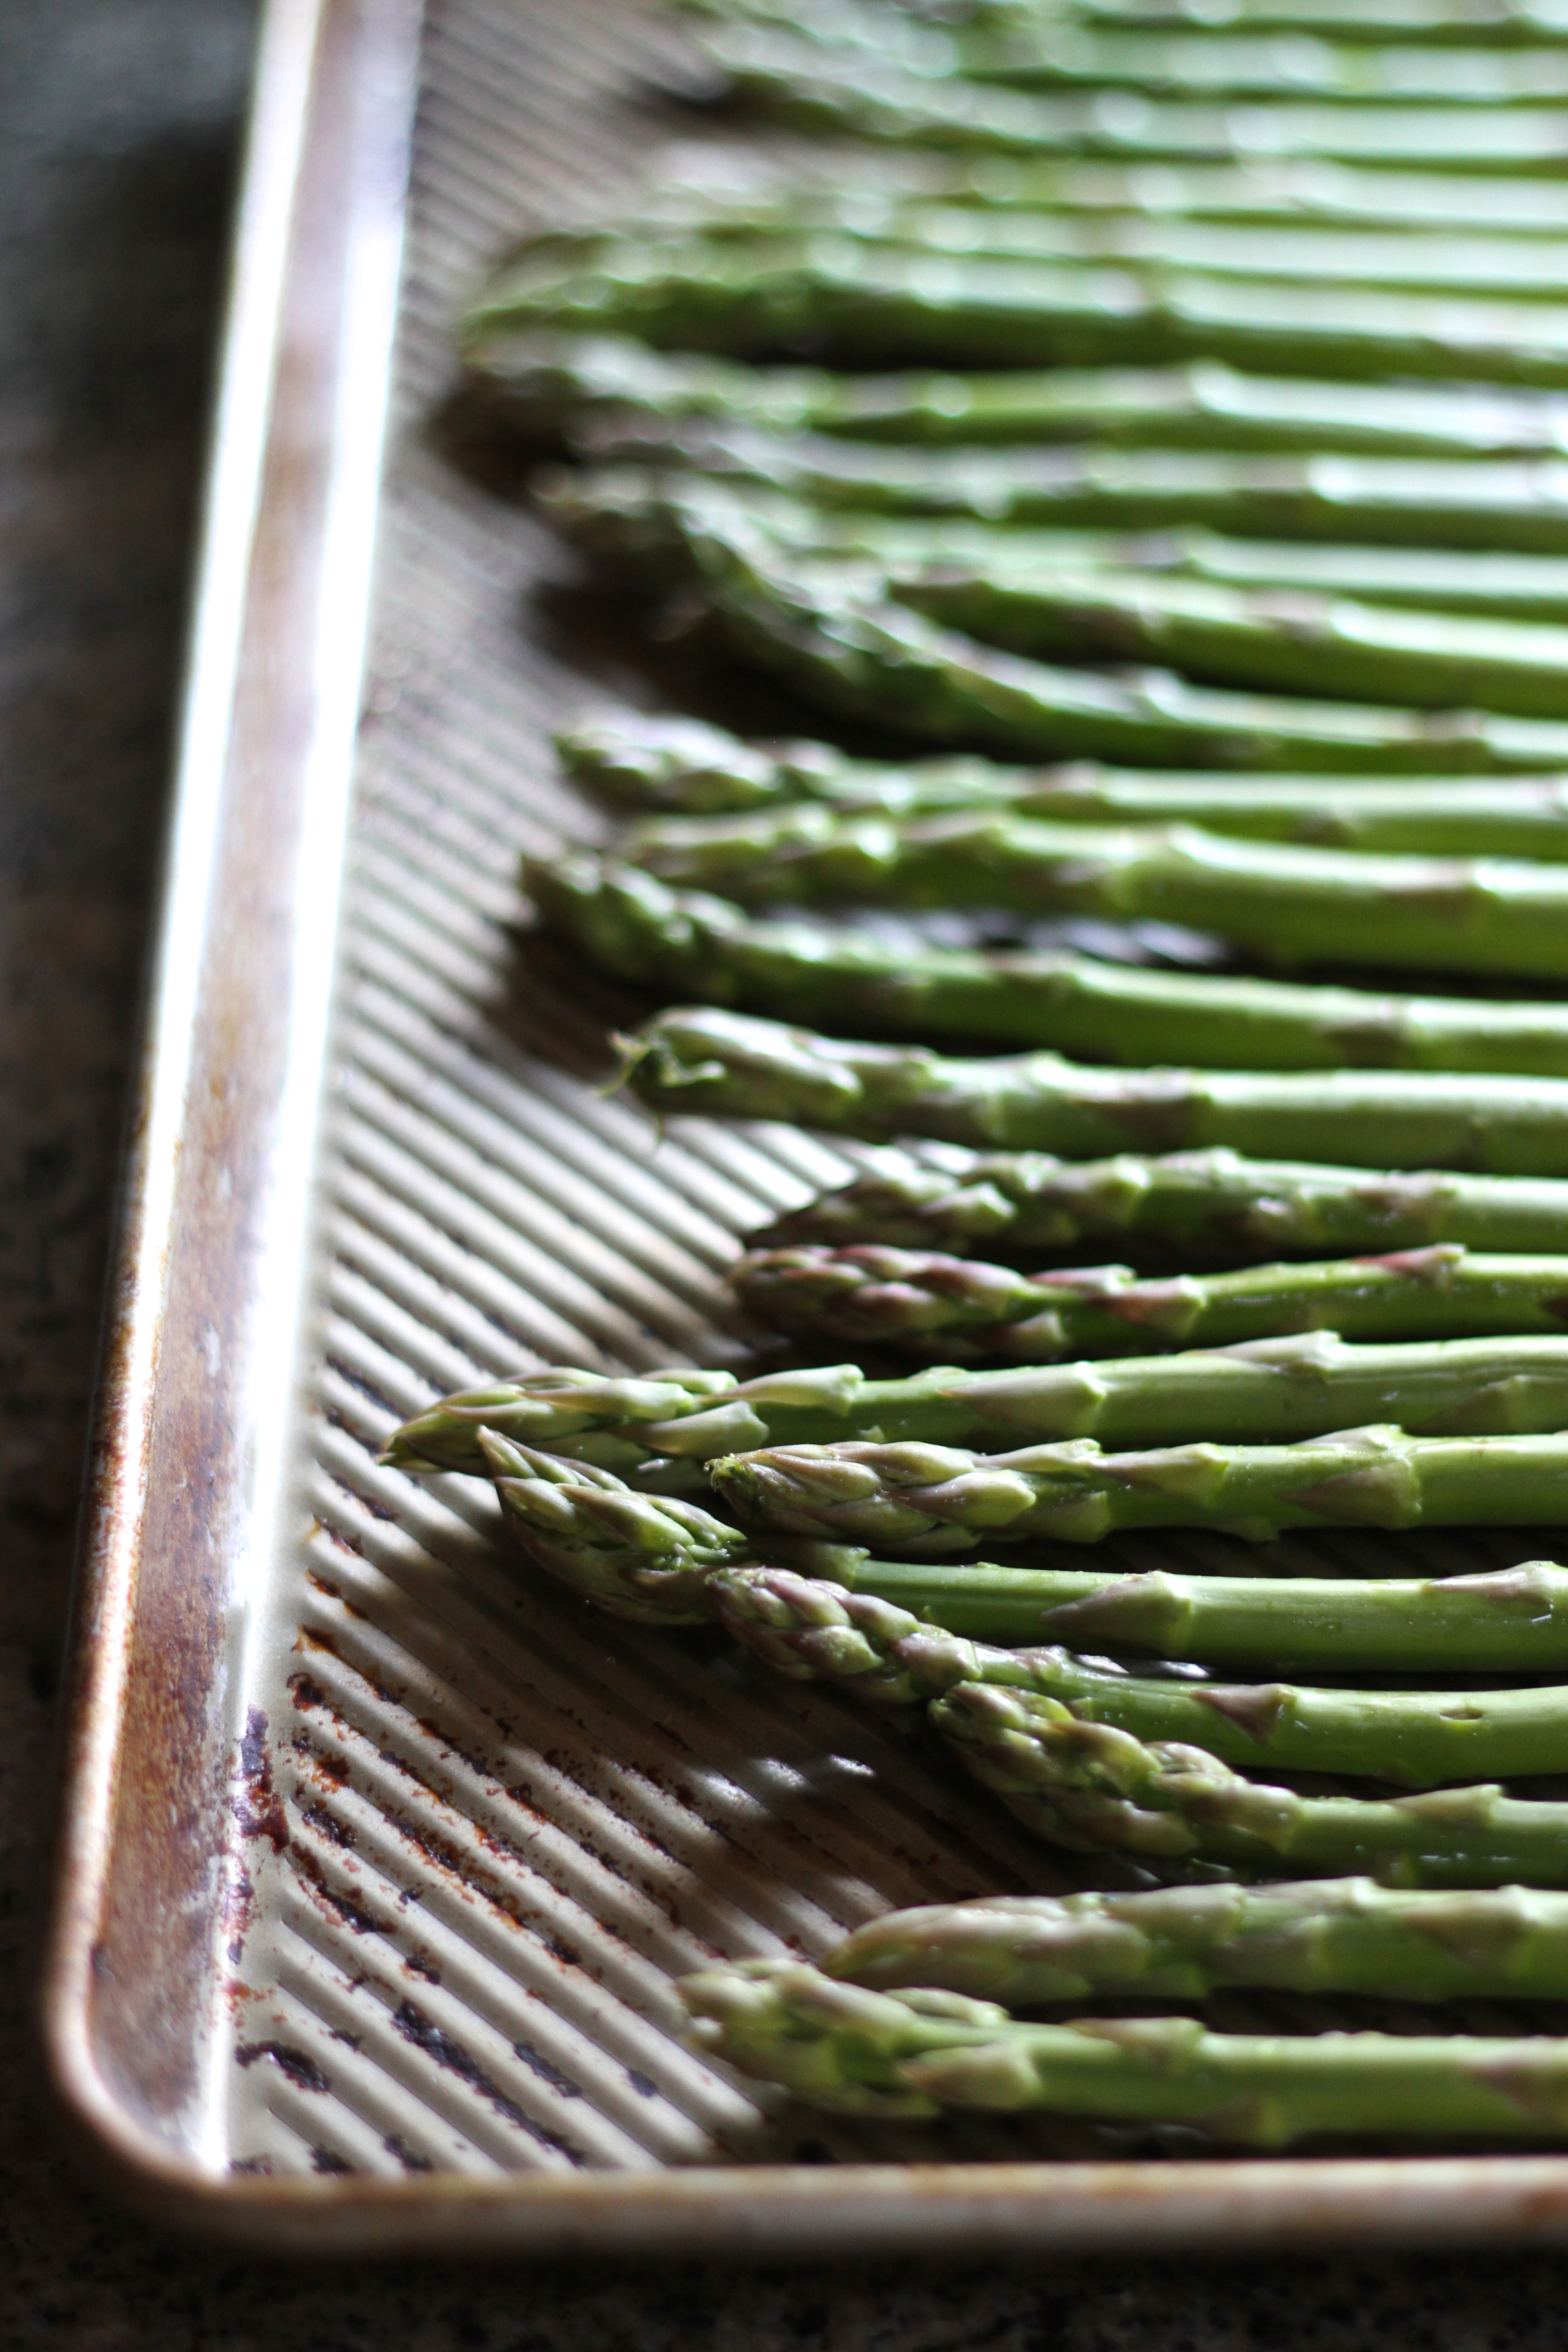

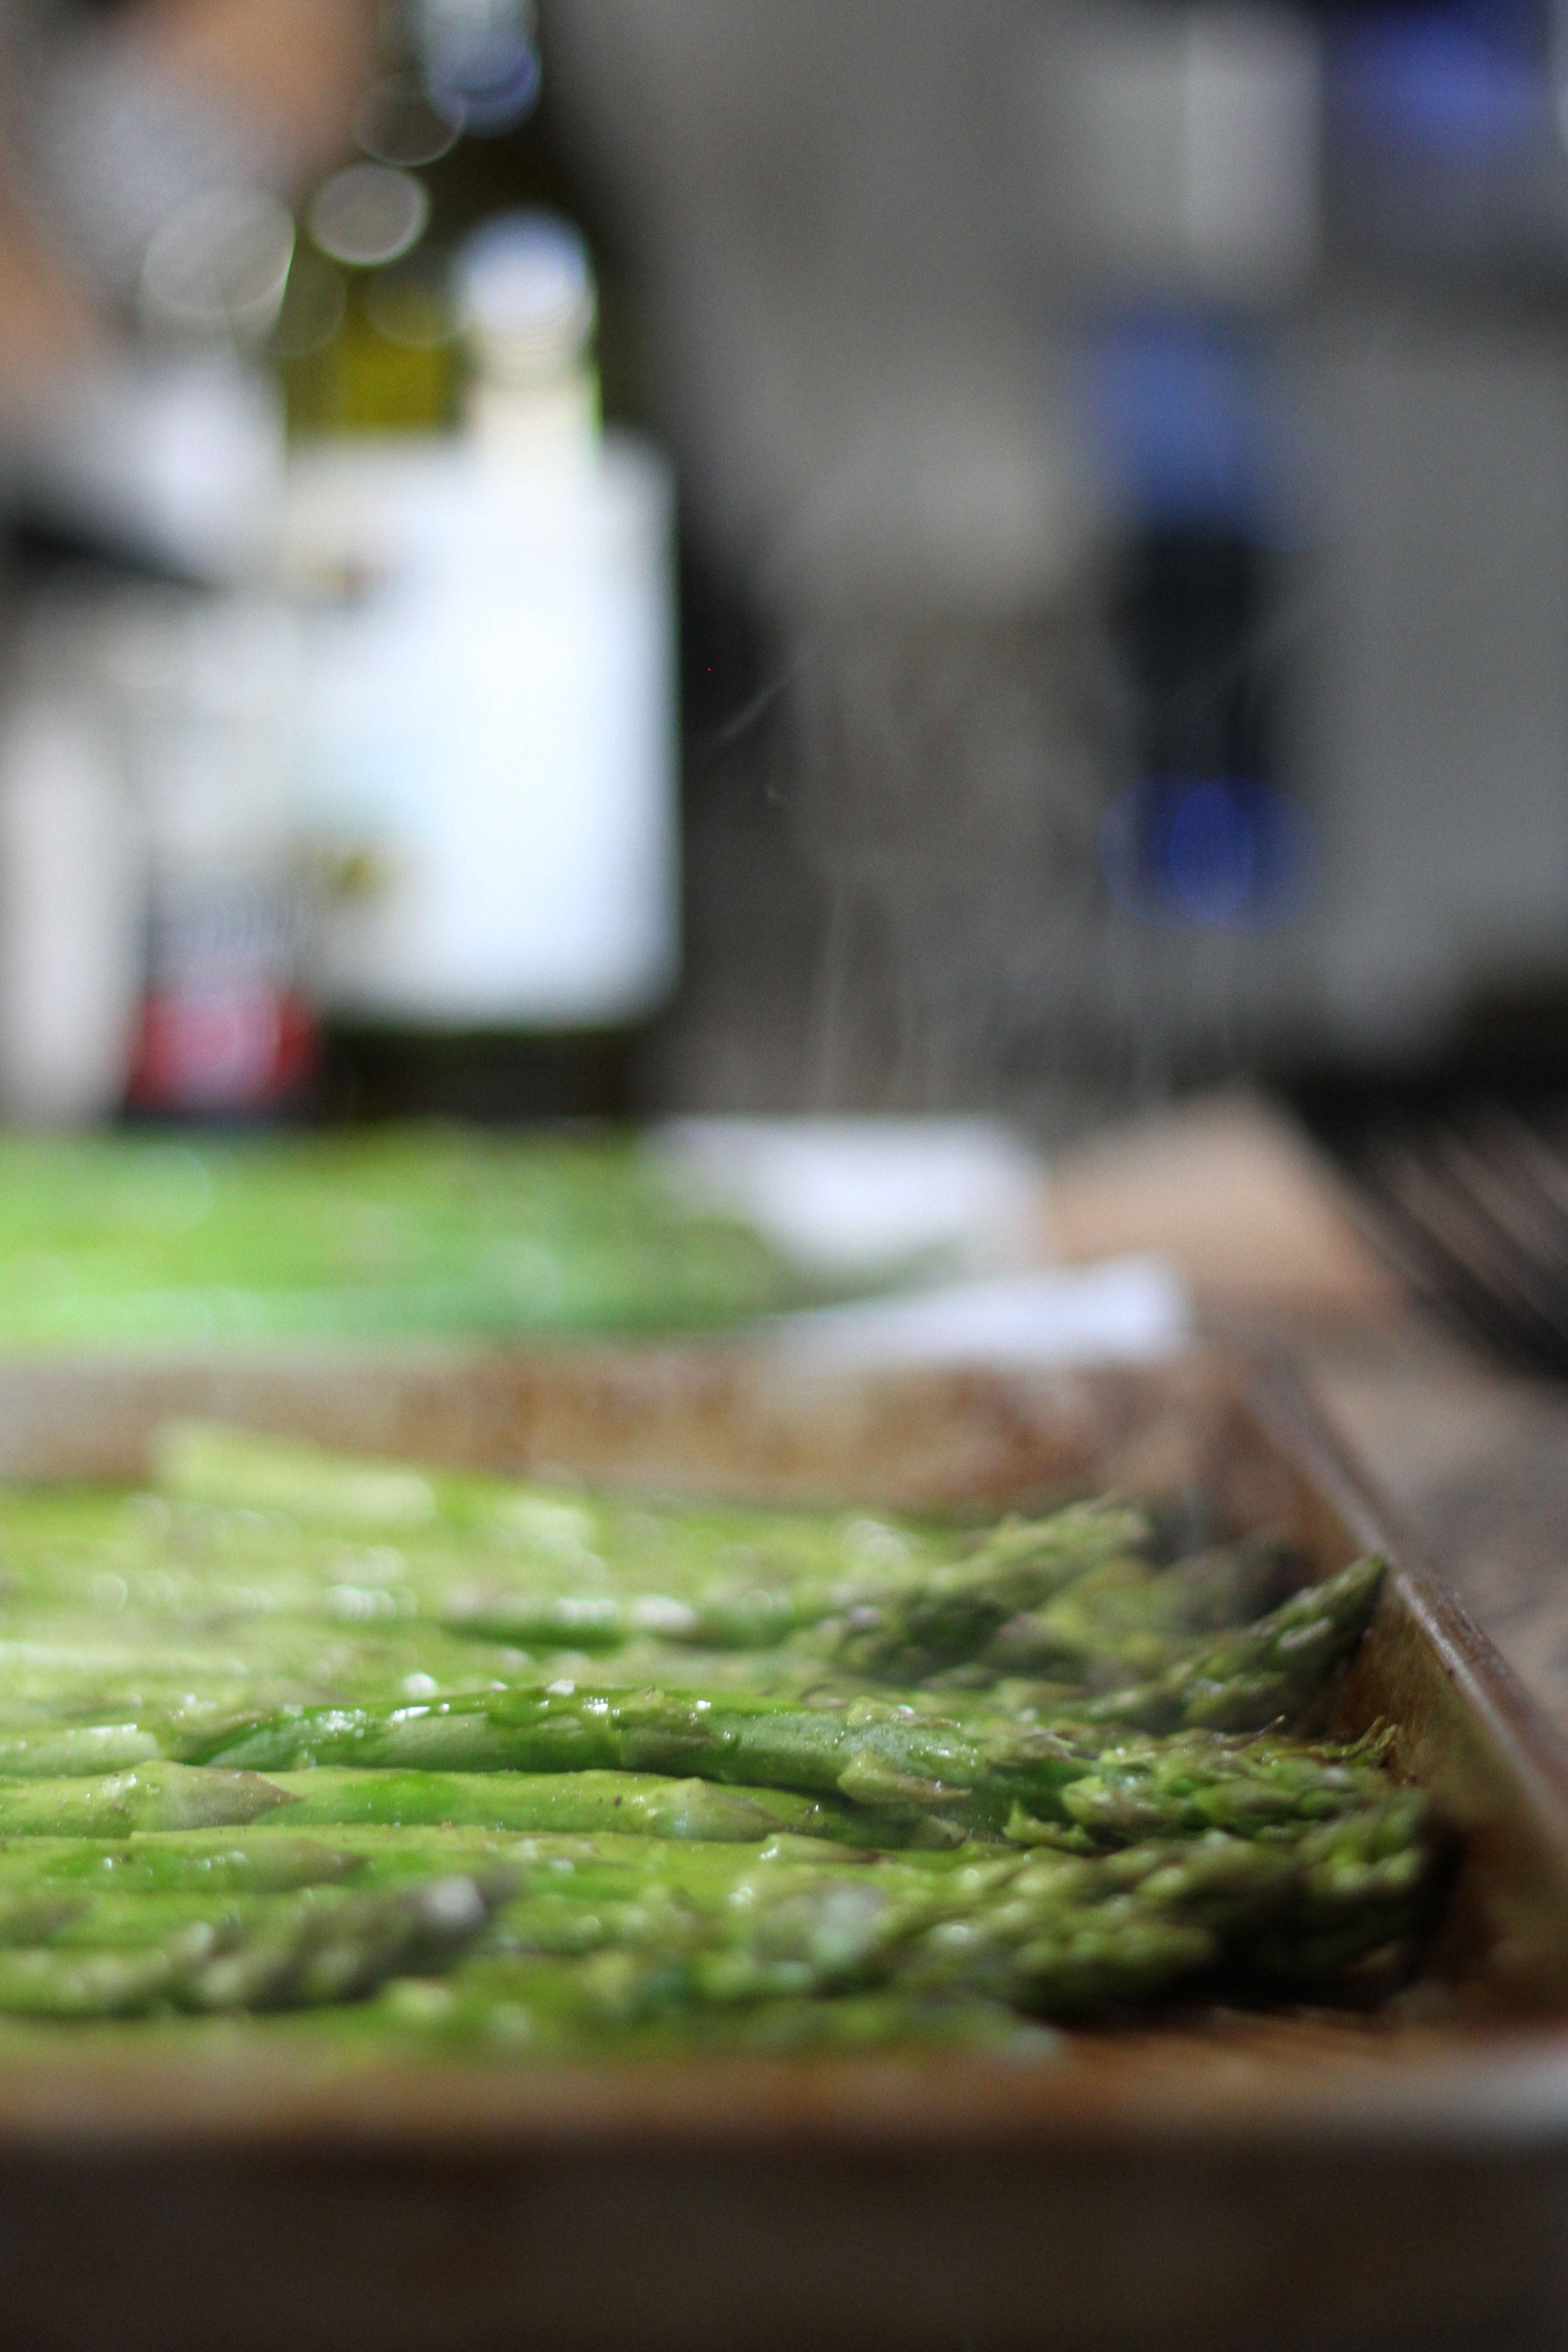
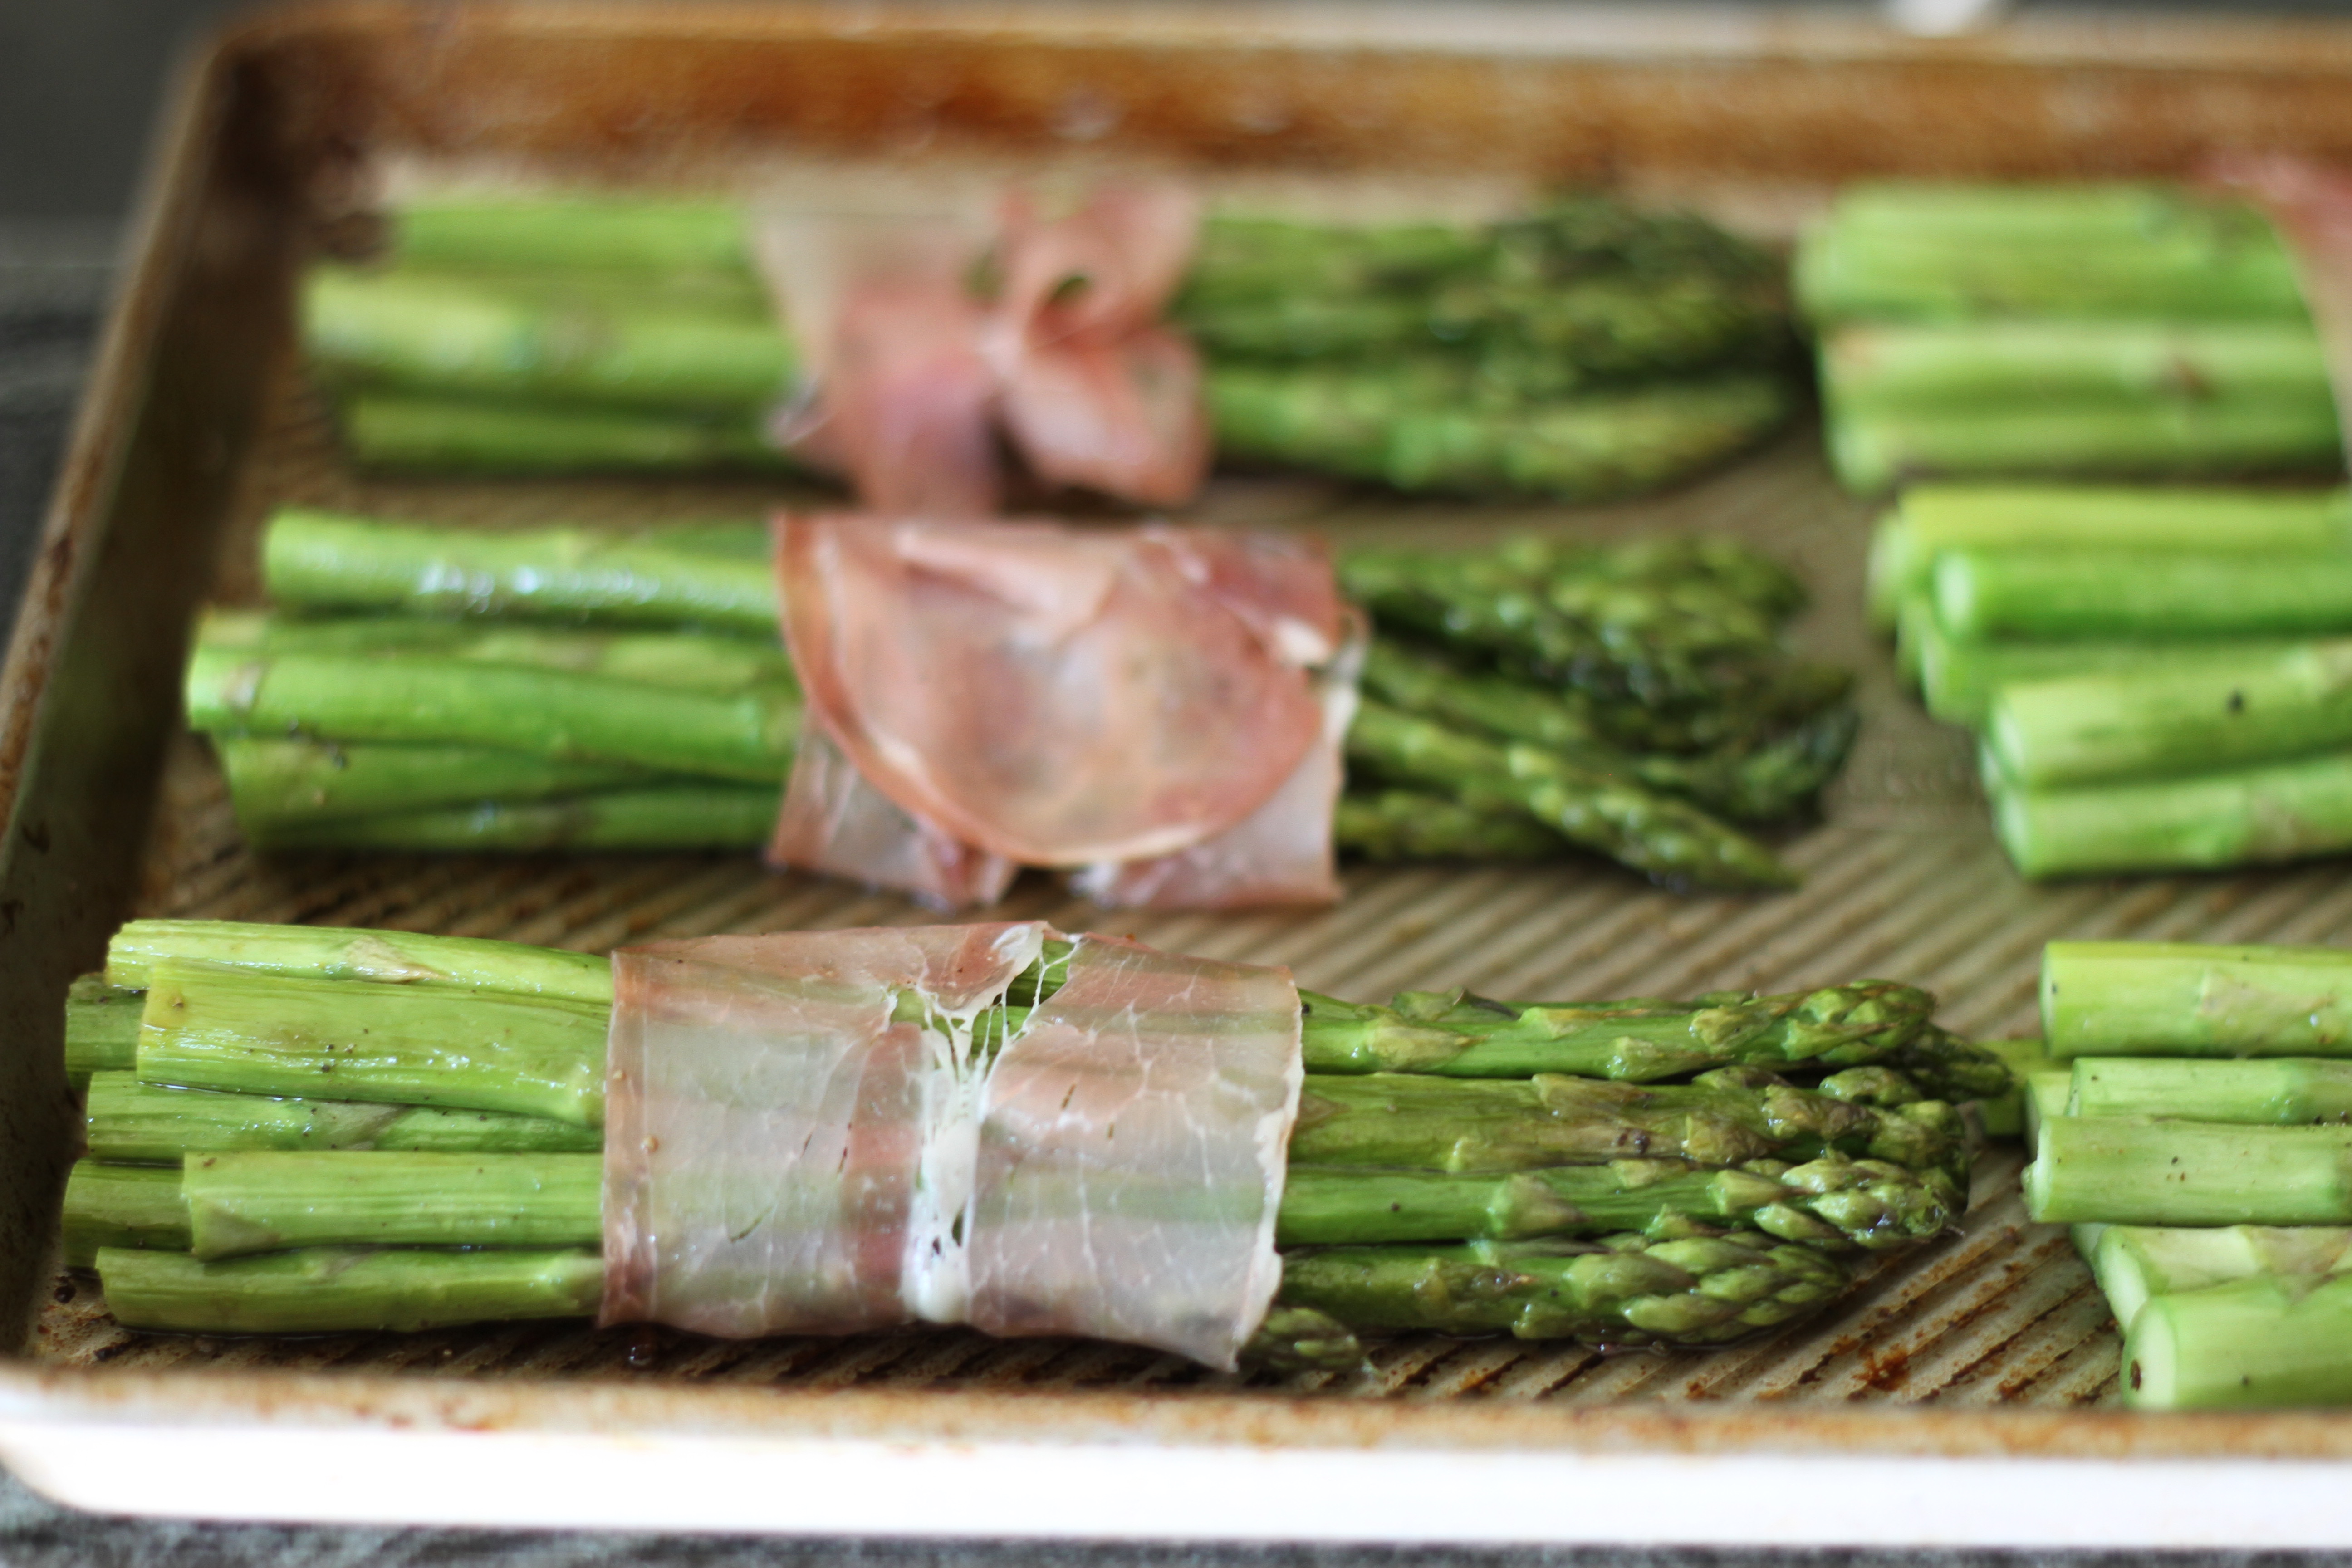

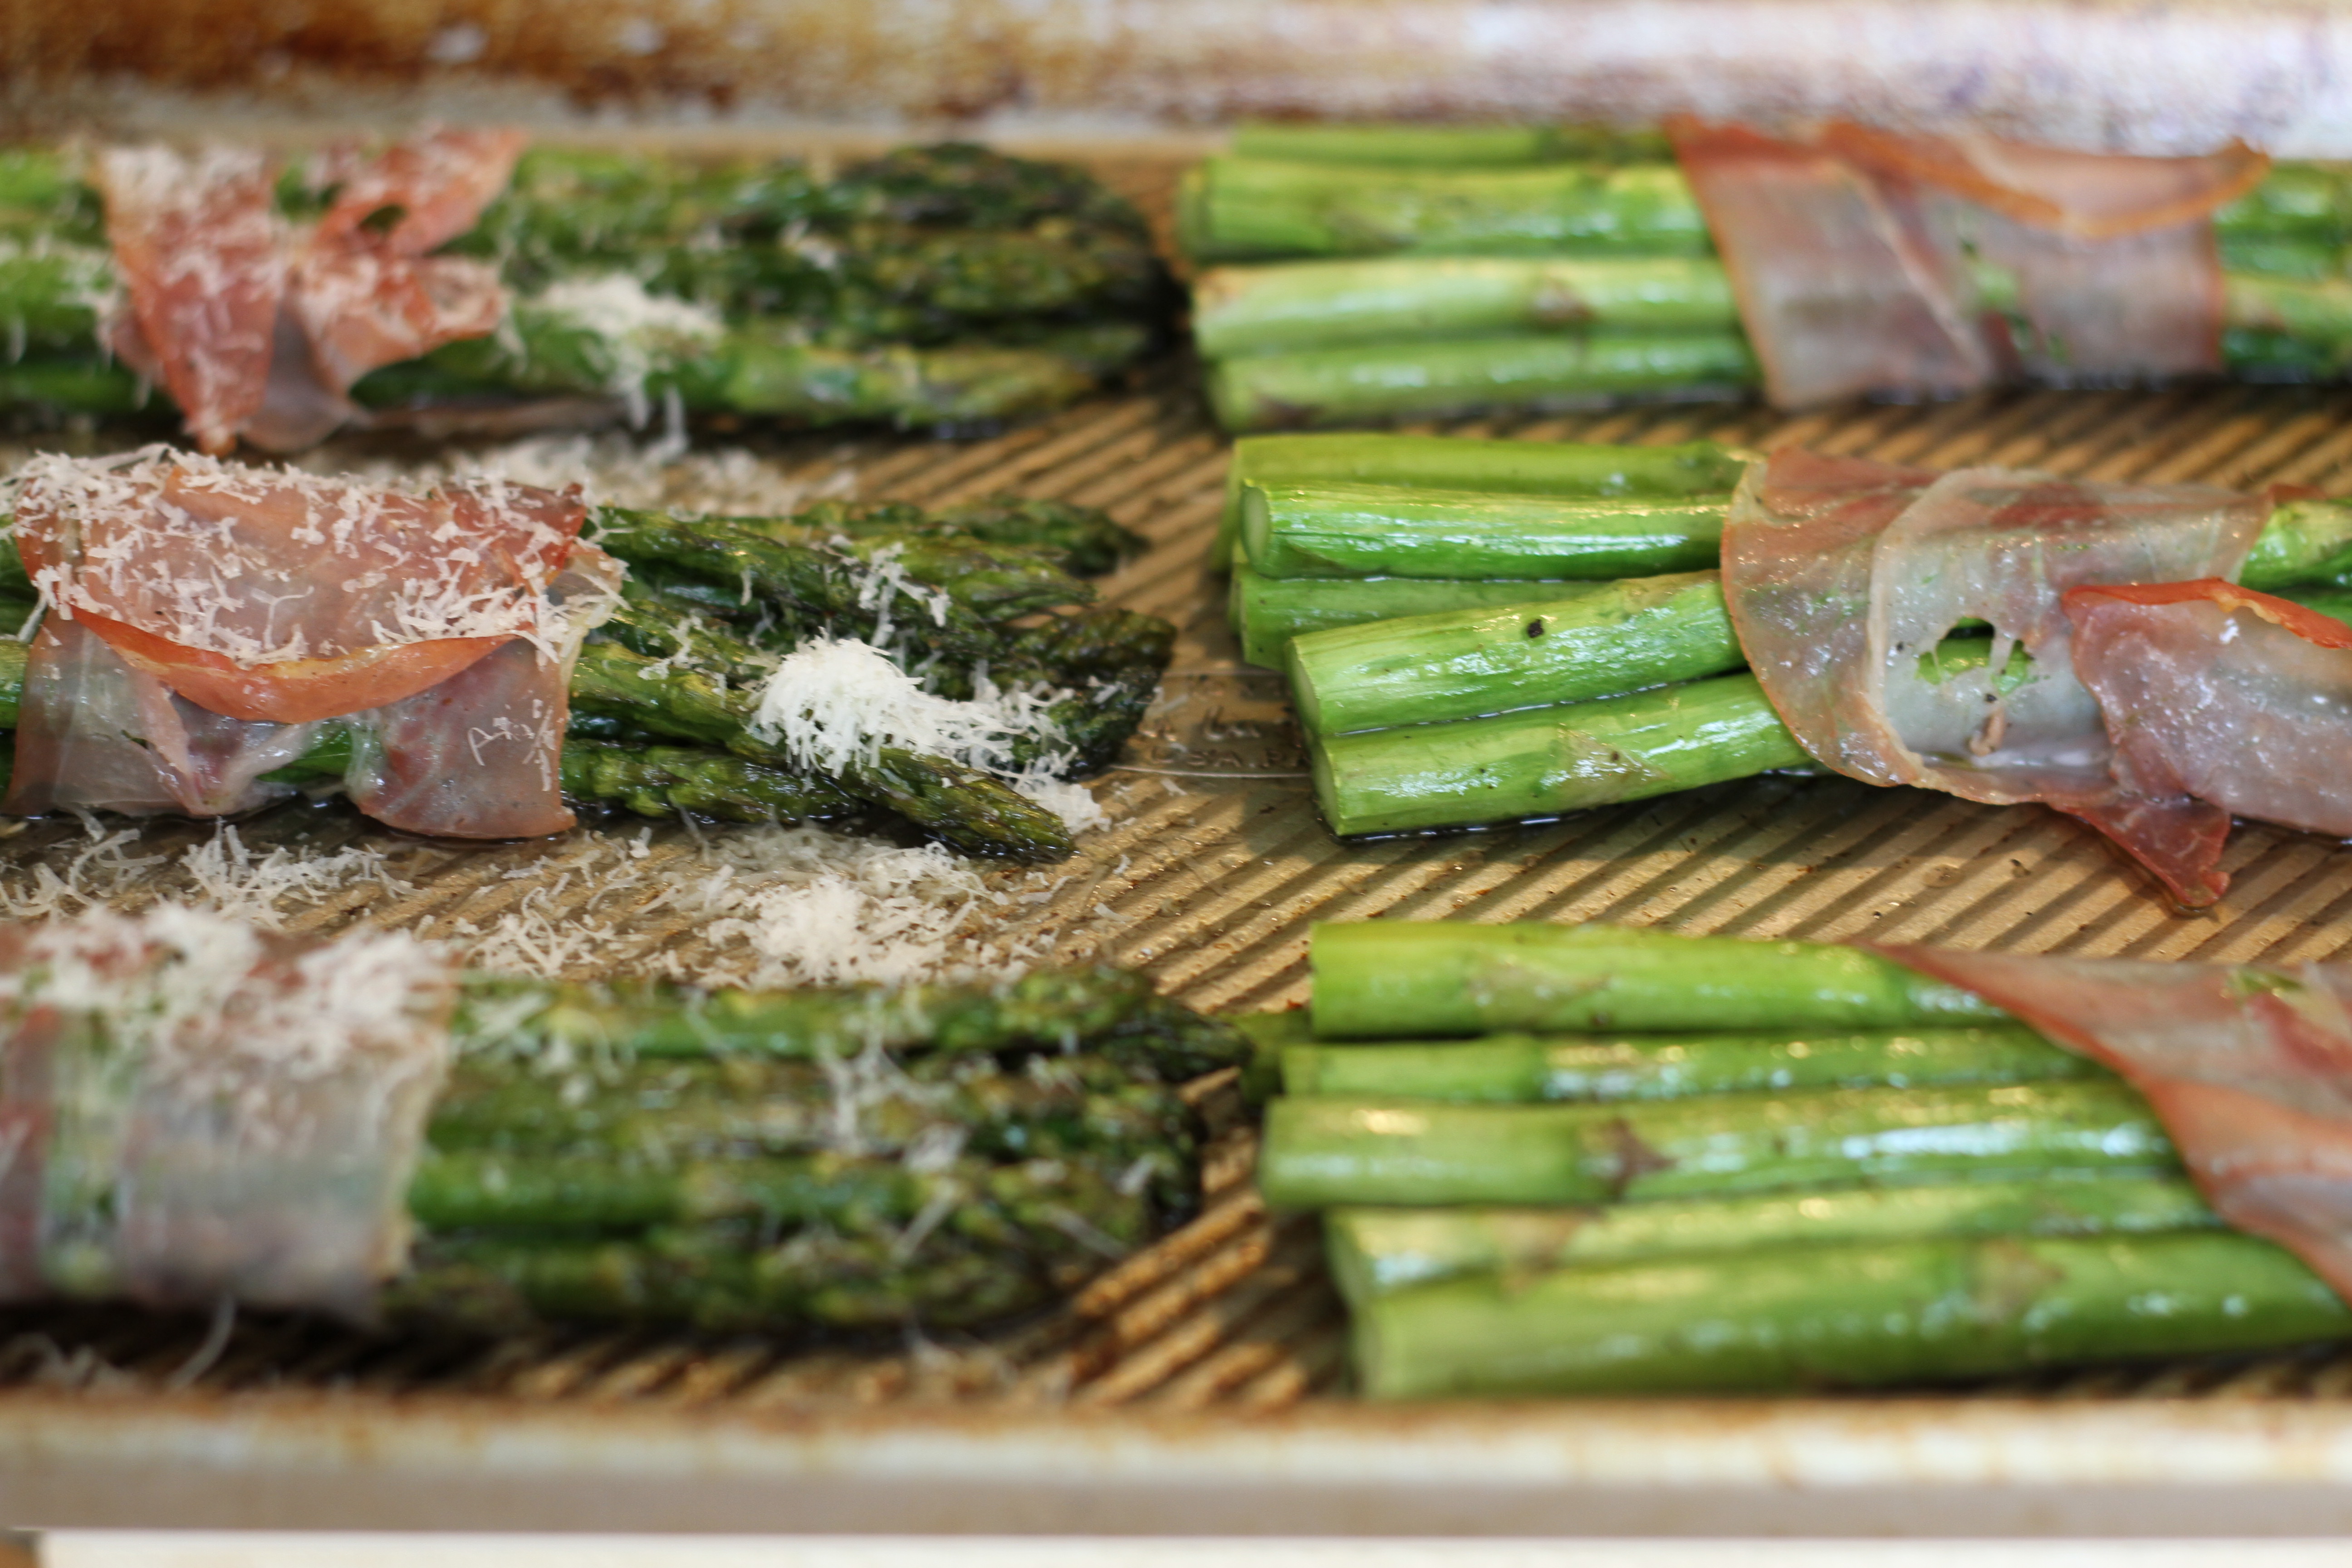

Photo to table… the new farm to table!