Archives

Tasty

Dinner with Munchery

January 26, 2015

IMG_8923_2

I love cooking (obviously), but sometimes (a lot of the time) you just need a break.  With the recent influx of delivery companies, curbside pick-up and impressive frozen food aisles, “get-quick dinners” are very easy to come by in Silicon Valley.  Jeremy and I have currently been loving DoorDash, but came to the realization last week that to-go food just isn’t that good.  You are expecting it to taste how it does in the restaurant, but after sitting in a delivery car and waiting to make its way to you, it could easily be sitting there for an hour – yuck.

IMG_8880

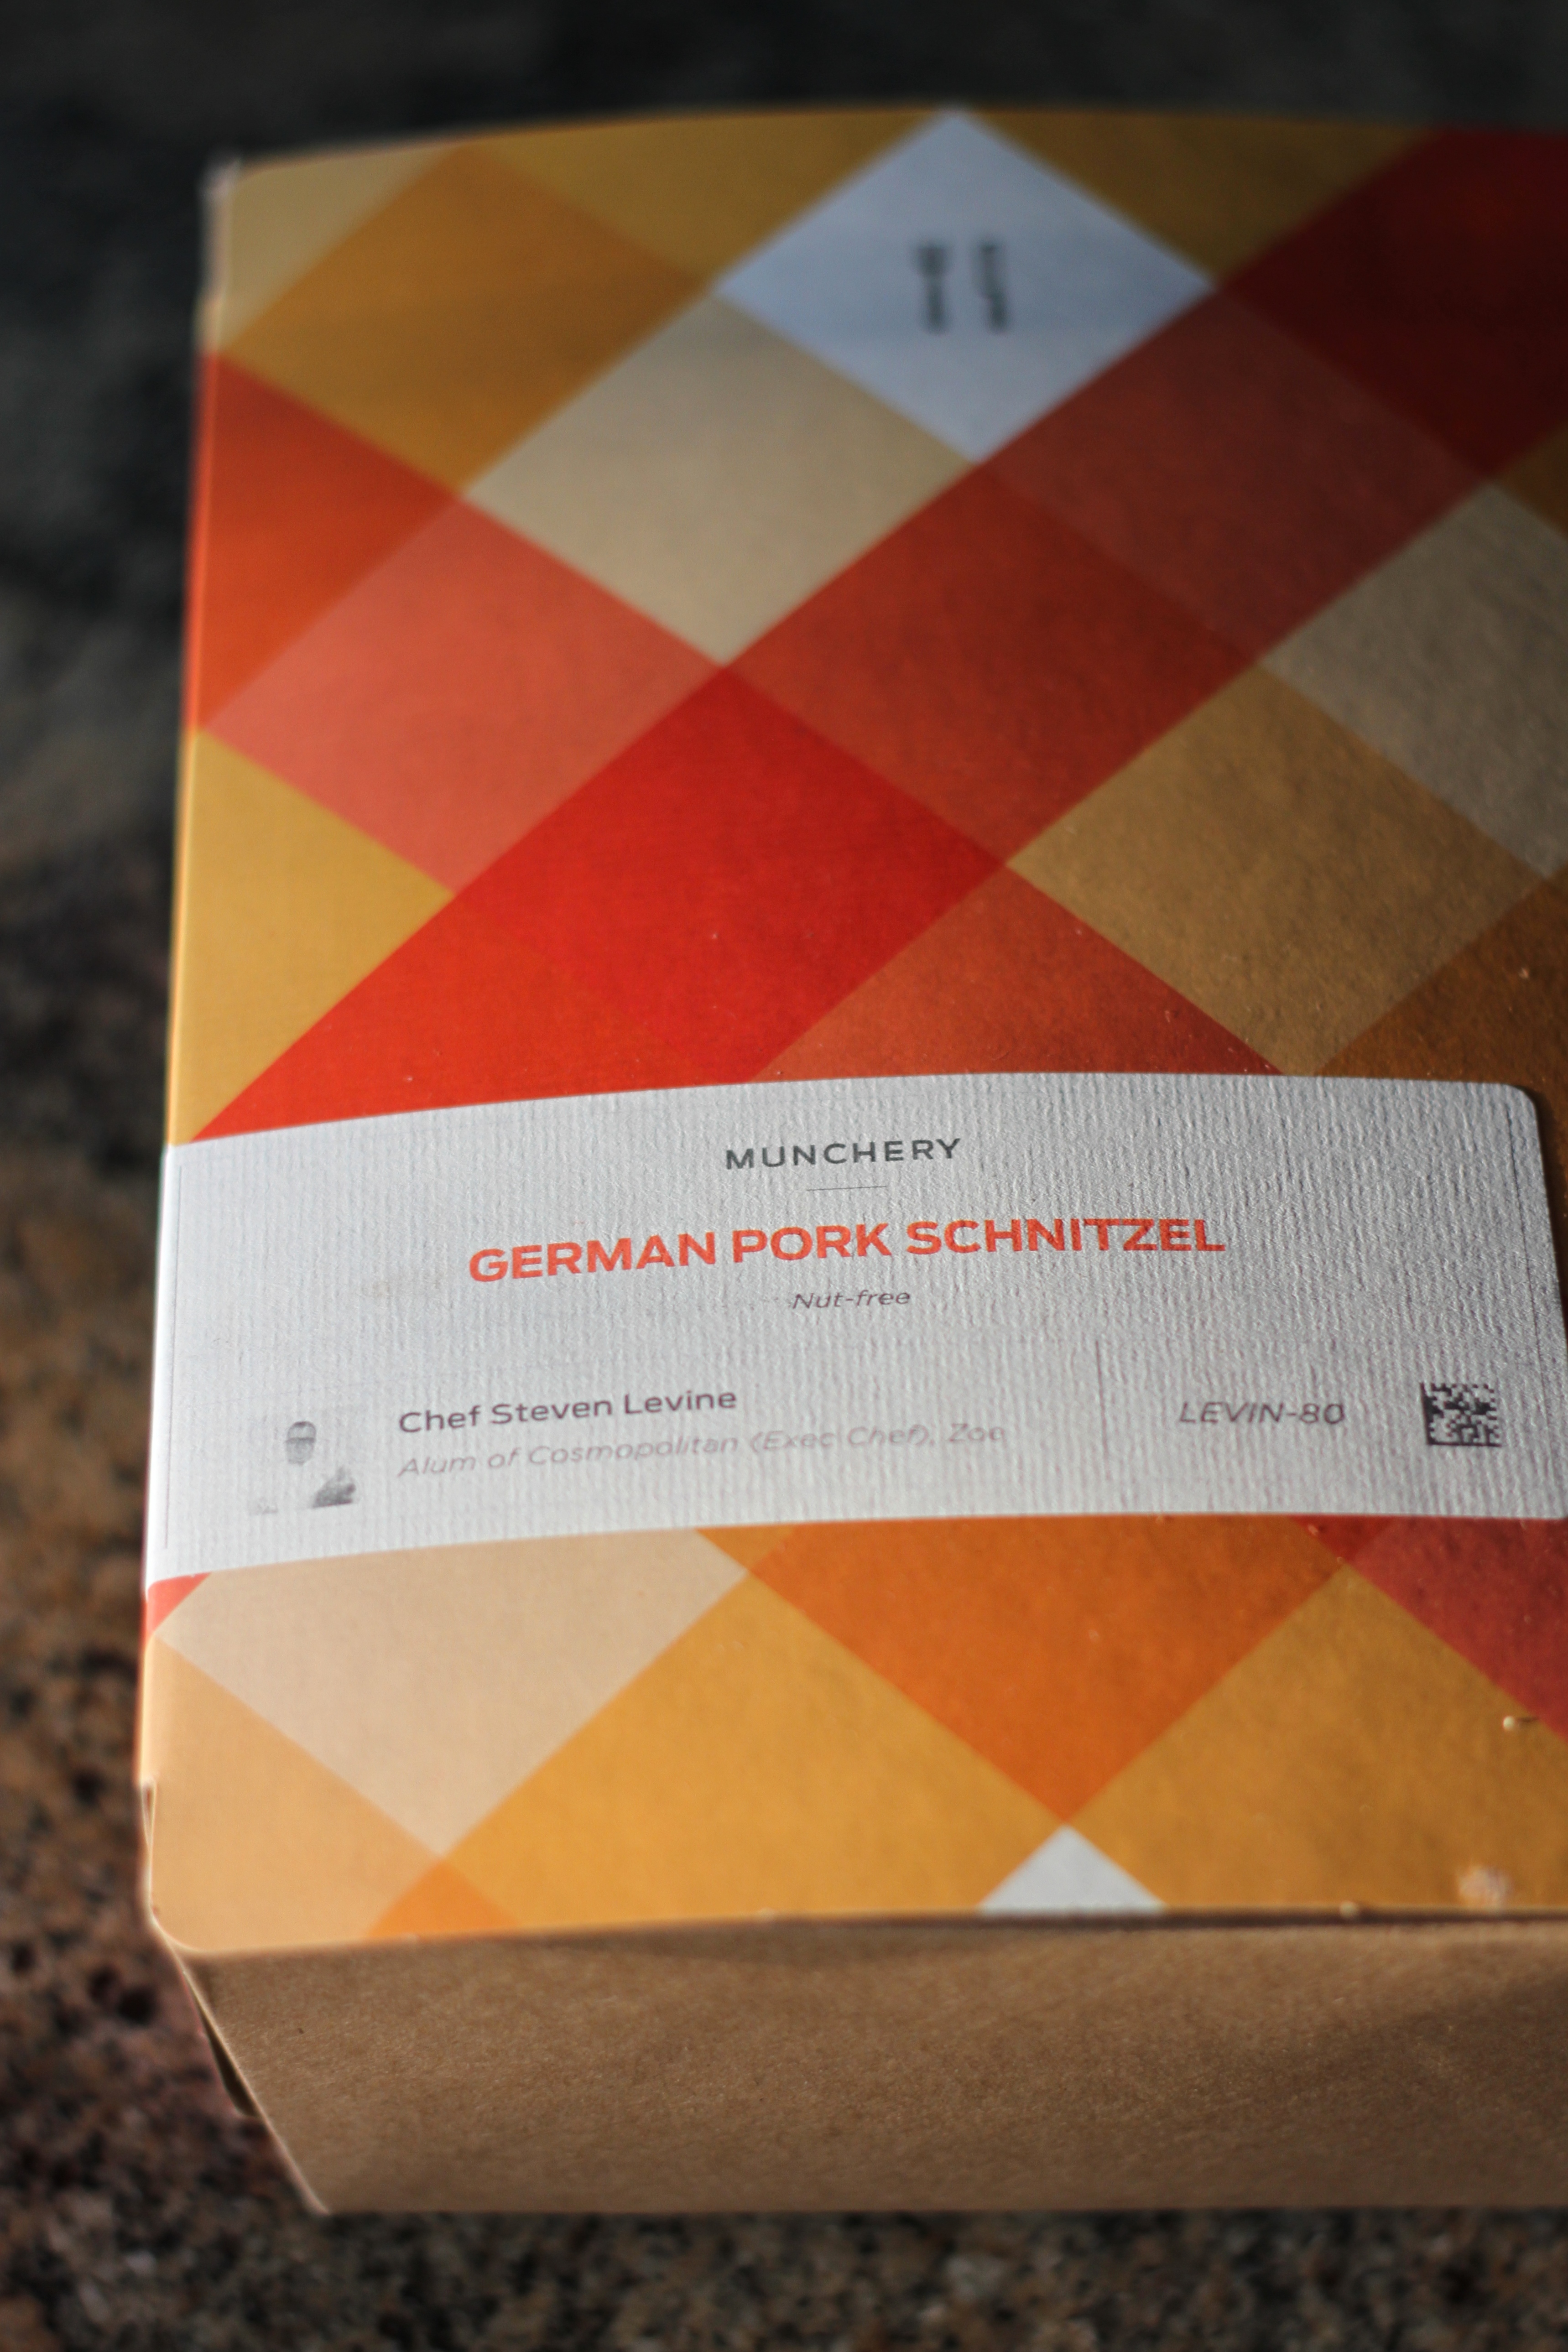
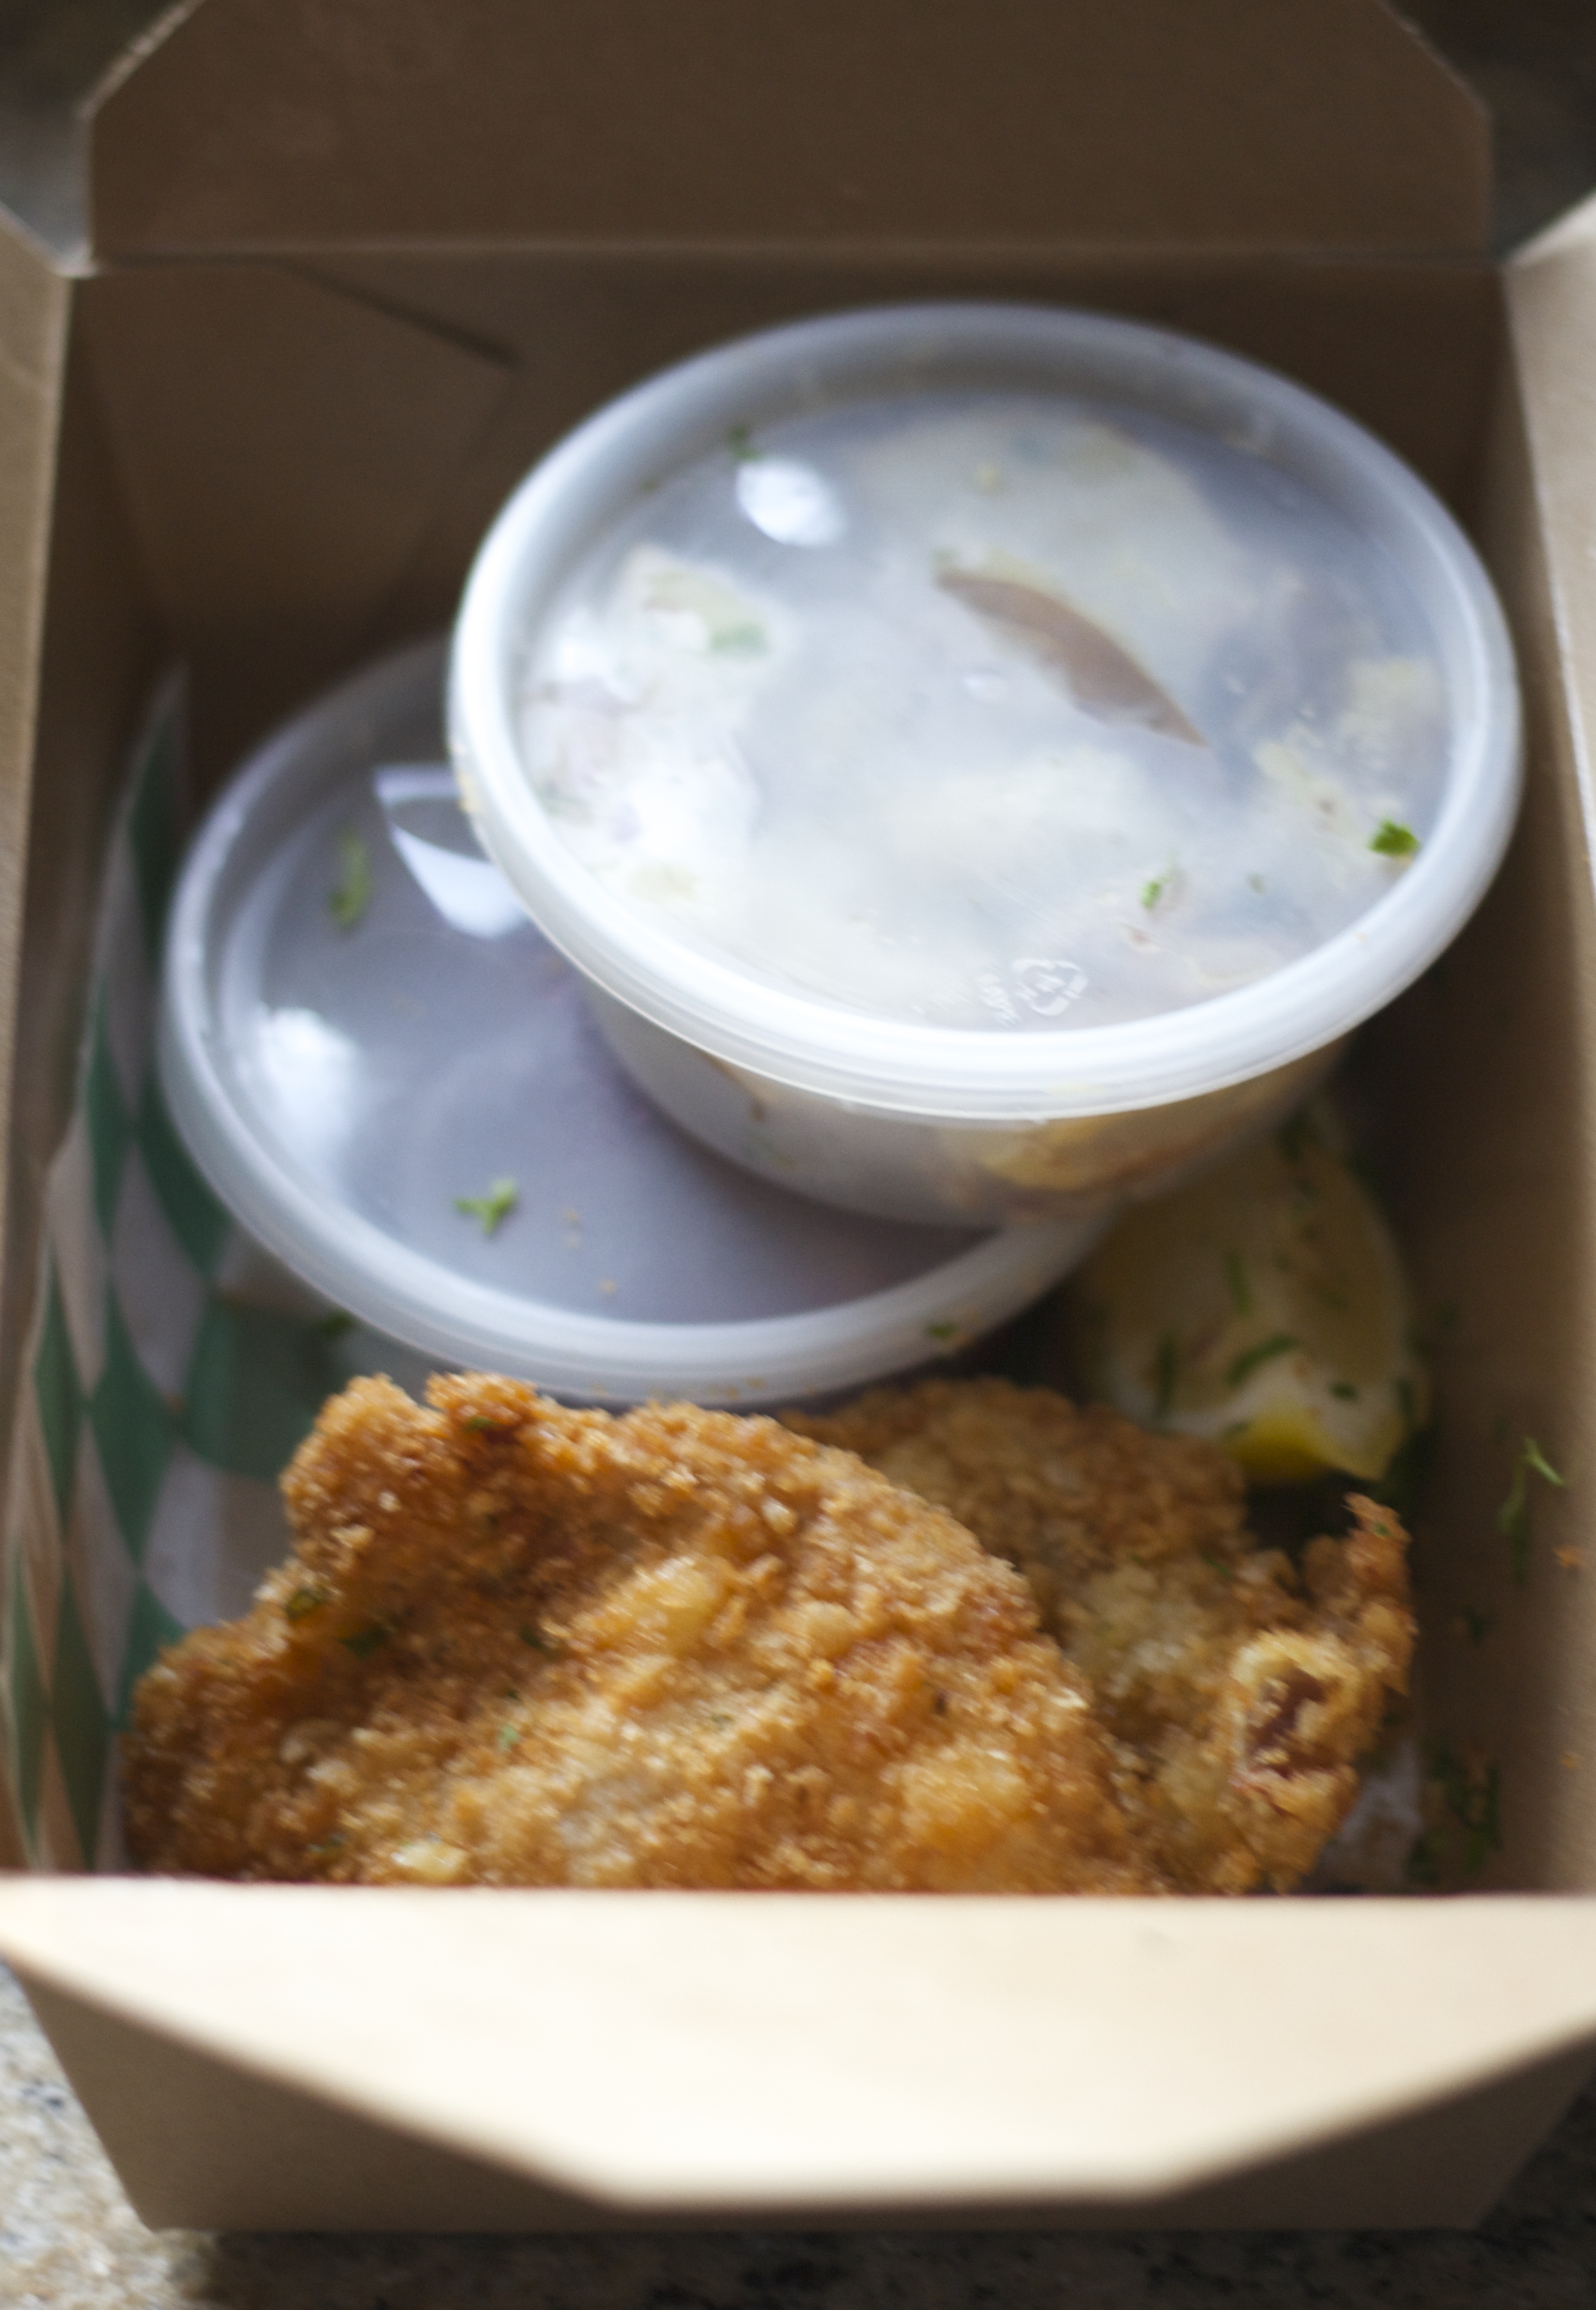
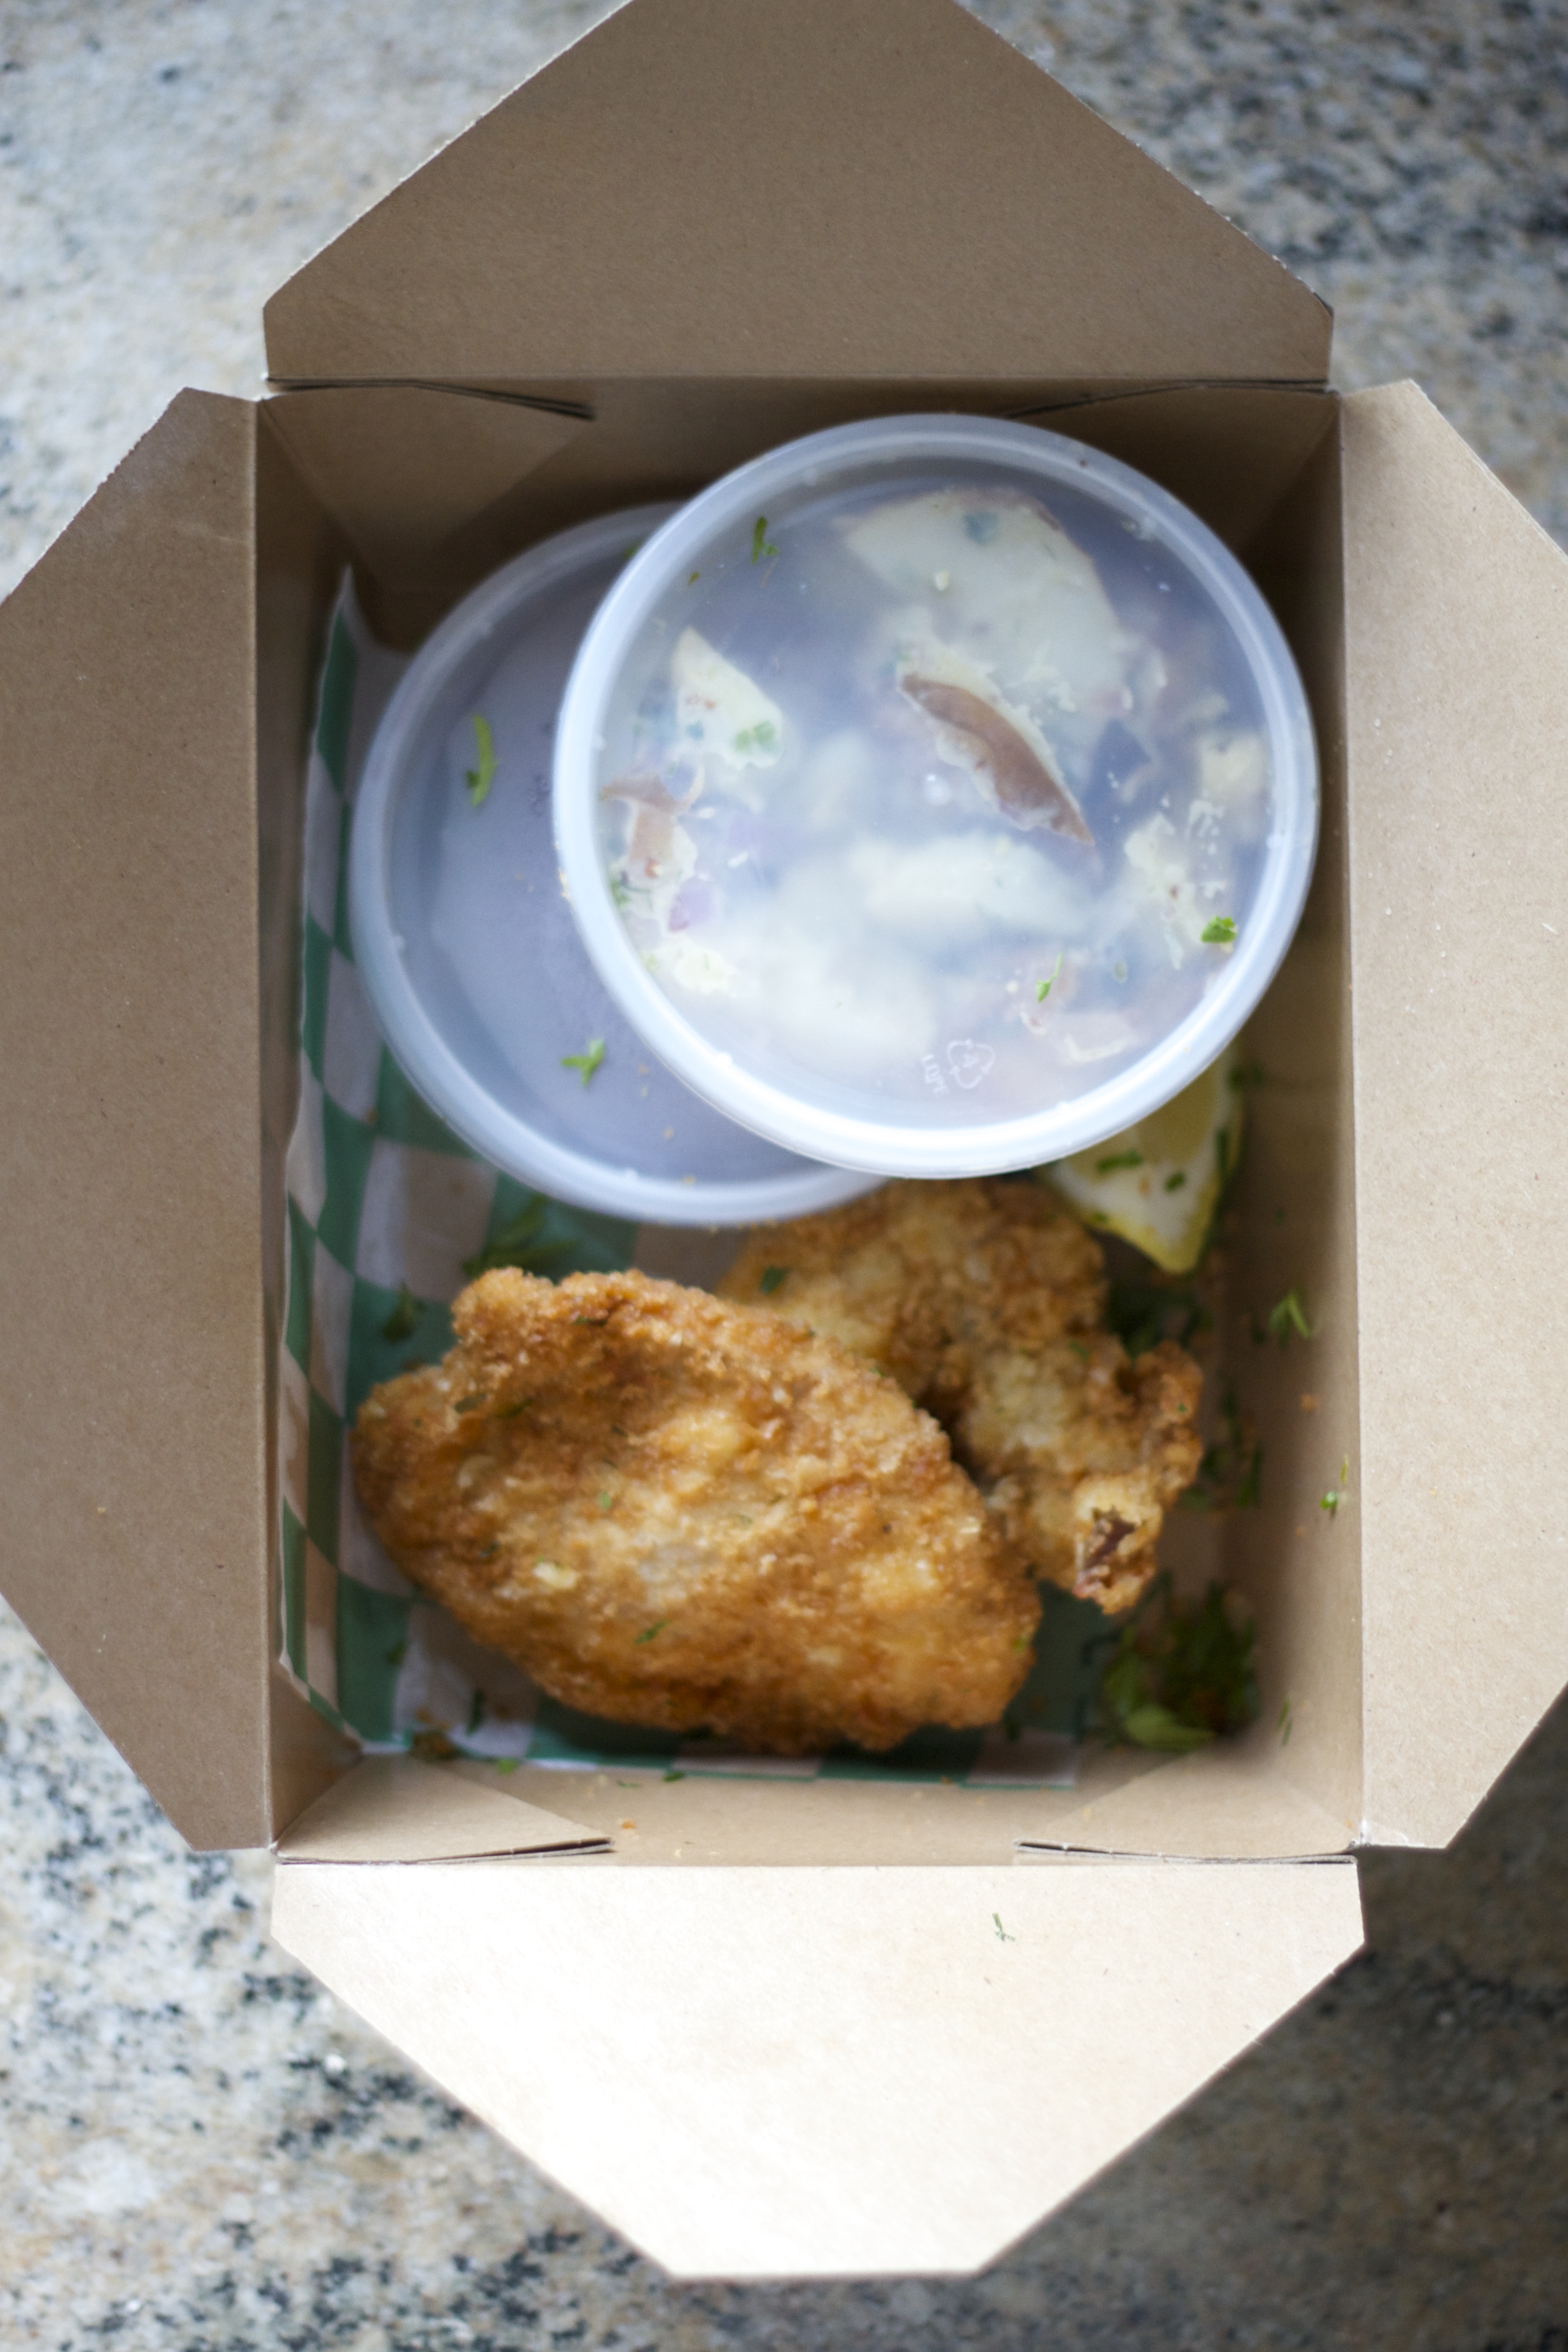
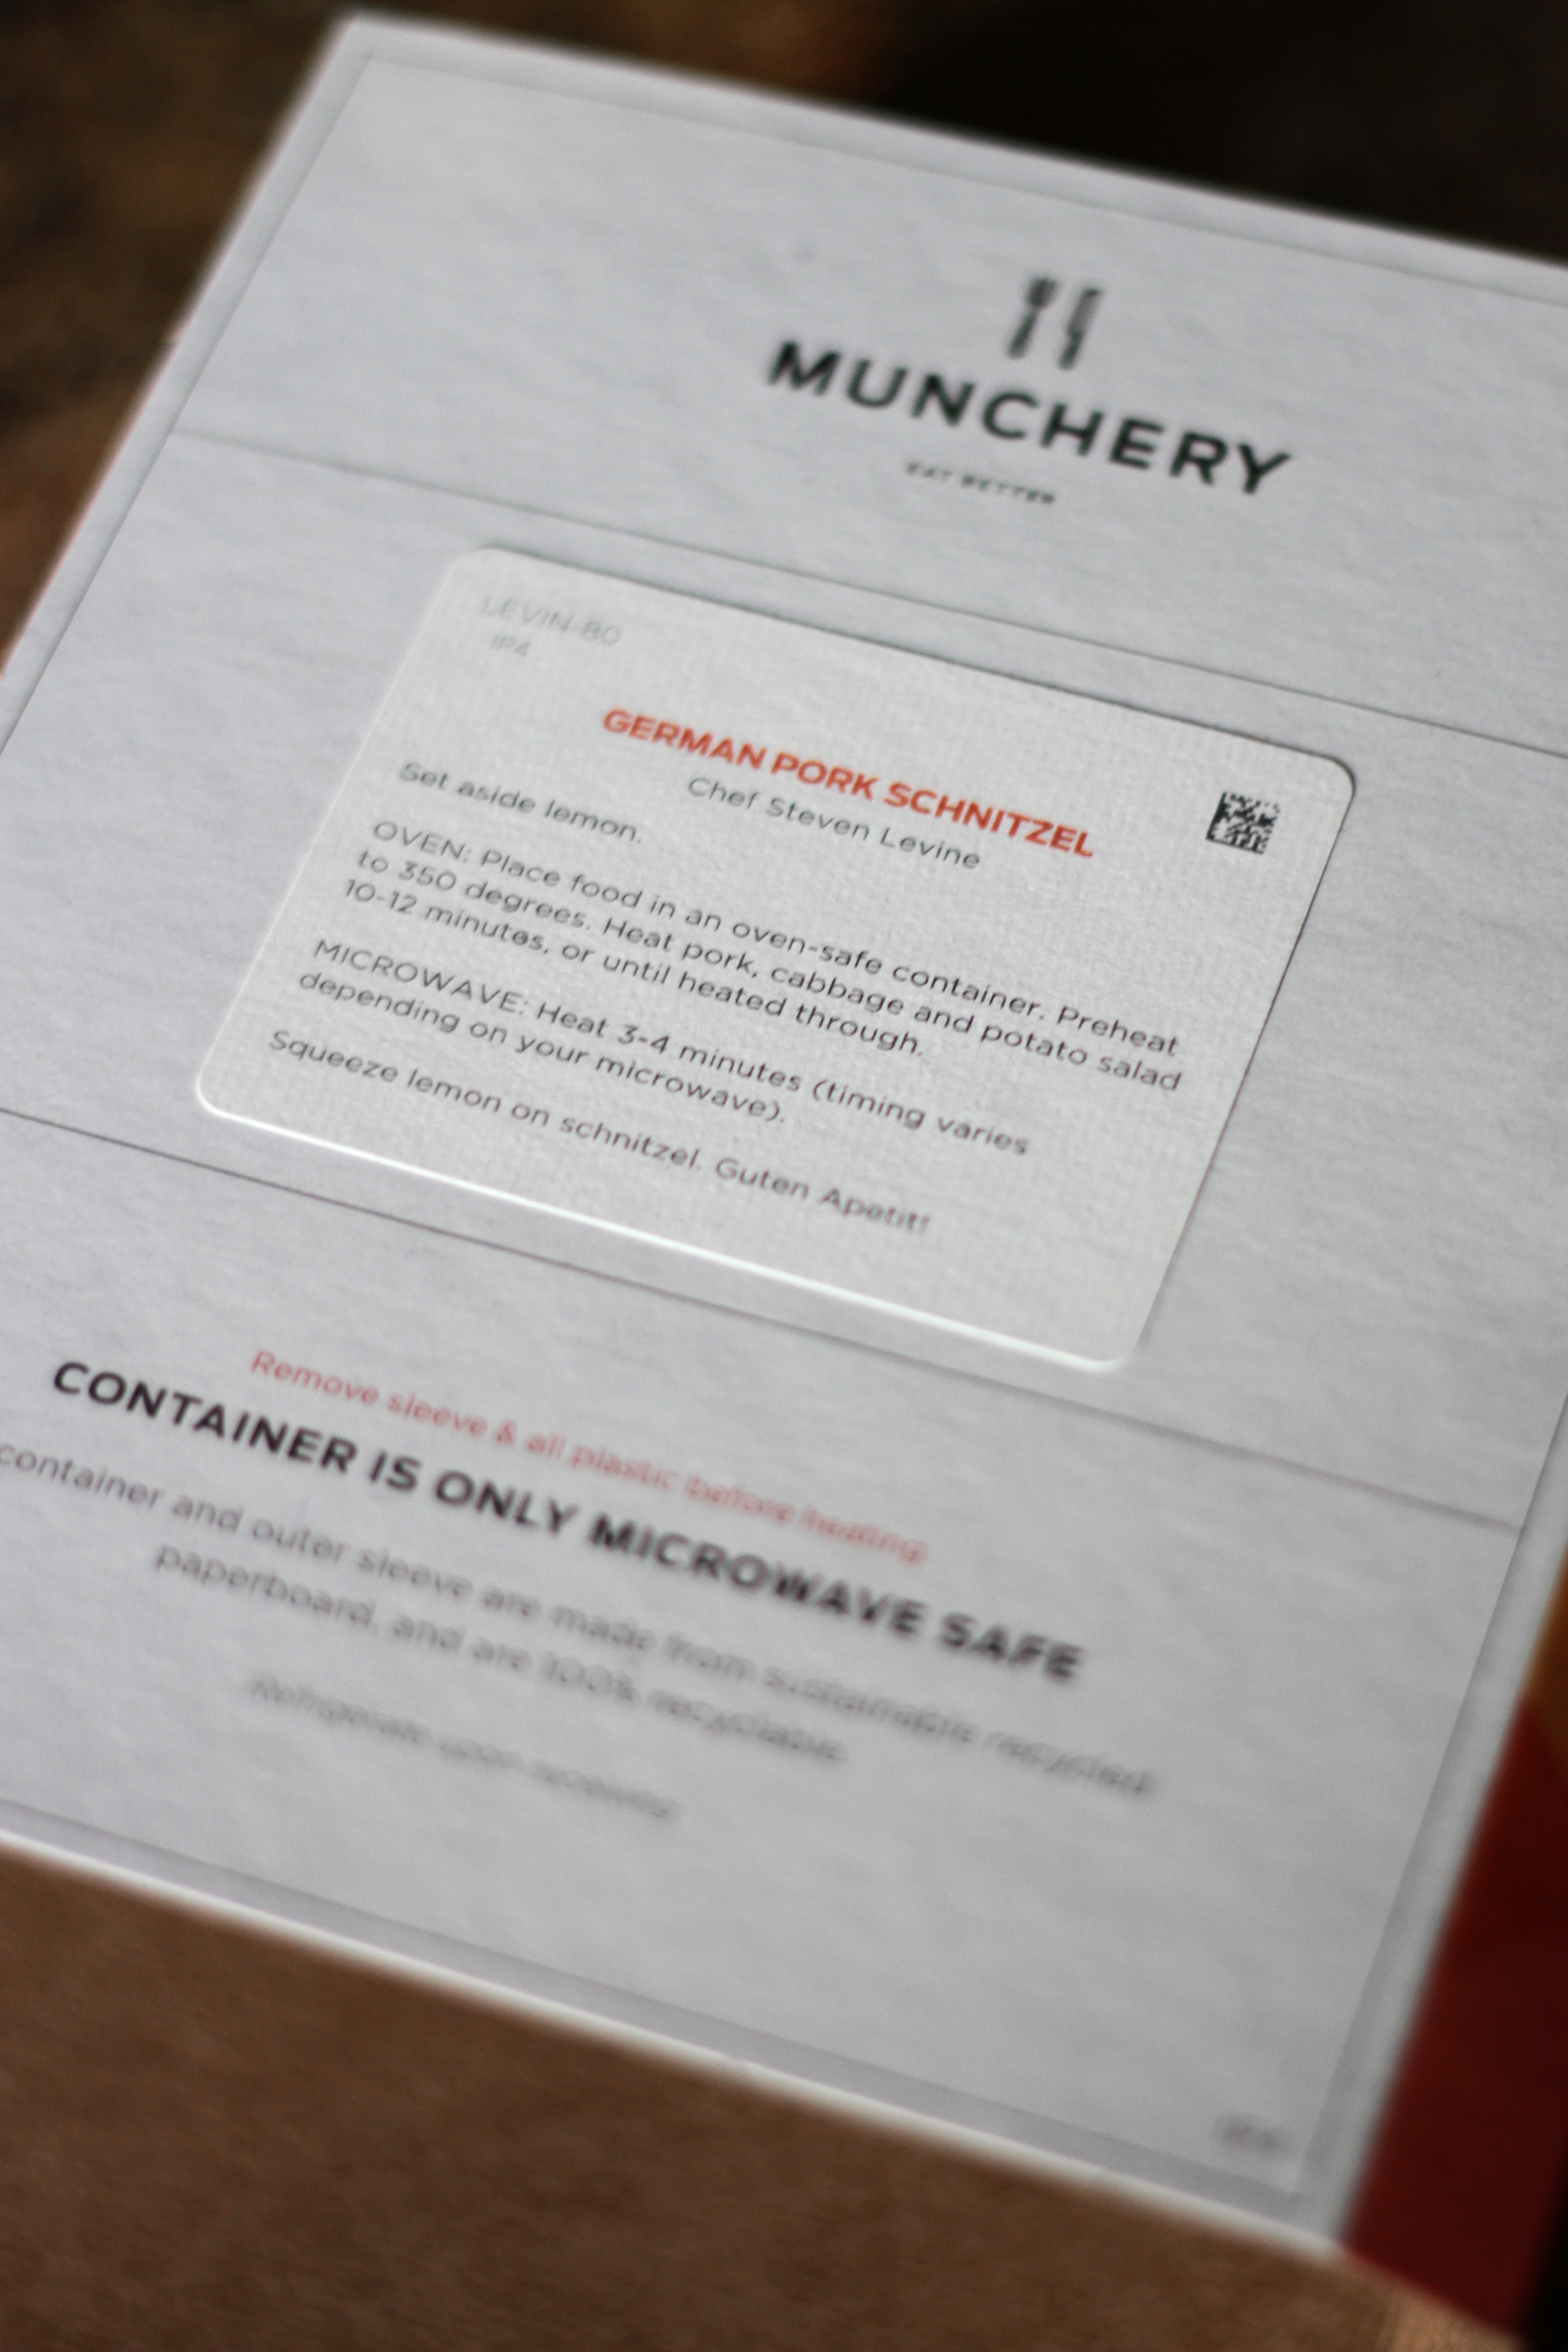
Then one day a girlfriend told me about a company – Munchery – that has been a big deal in the city for some time and has finally made its way to the South Bay.  Short story – local chefs prepare meals that are delivered straight to your home or office.  Longer story – you have until 2pm everyday to browse their extensive menu (that changes daily) and place your order.  You then pick 1-hour delivery time frames from 4-8pm. You get a text when your meal is on the way and once it arrives you have either microwave or oven/stove preparation directions that allow you to heat your meal and enjoy it within 10 minutes!

IMG_8892

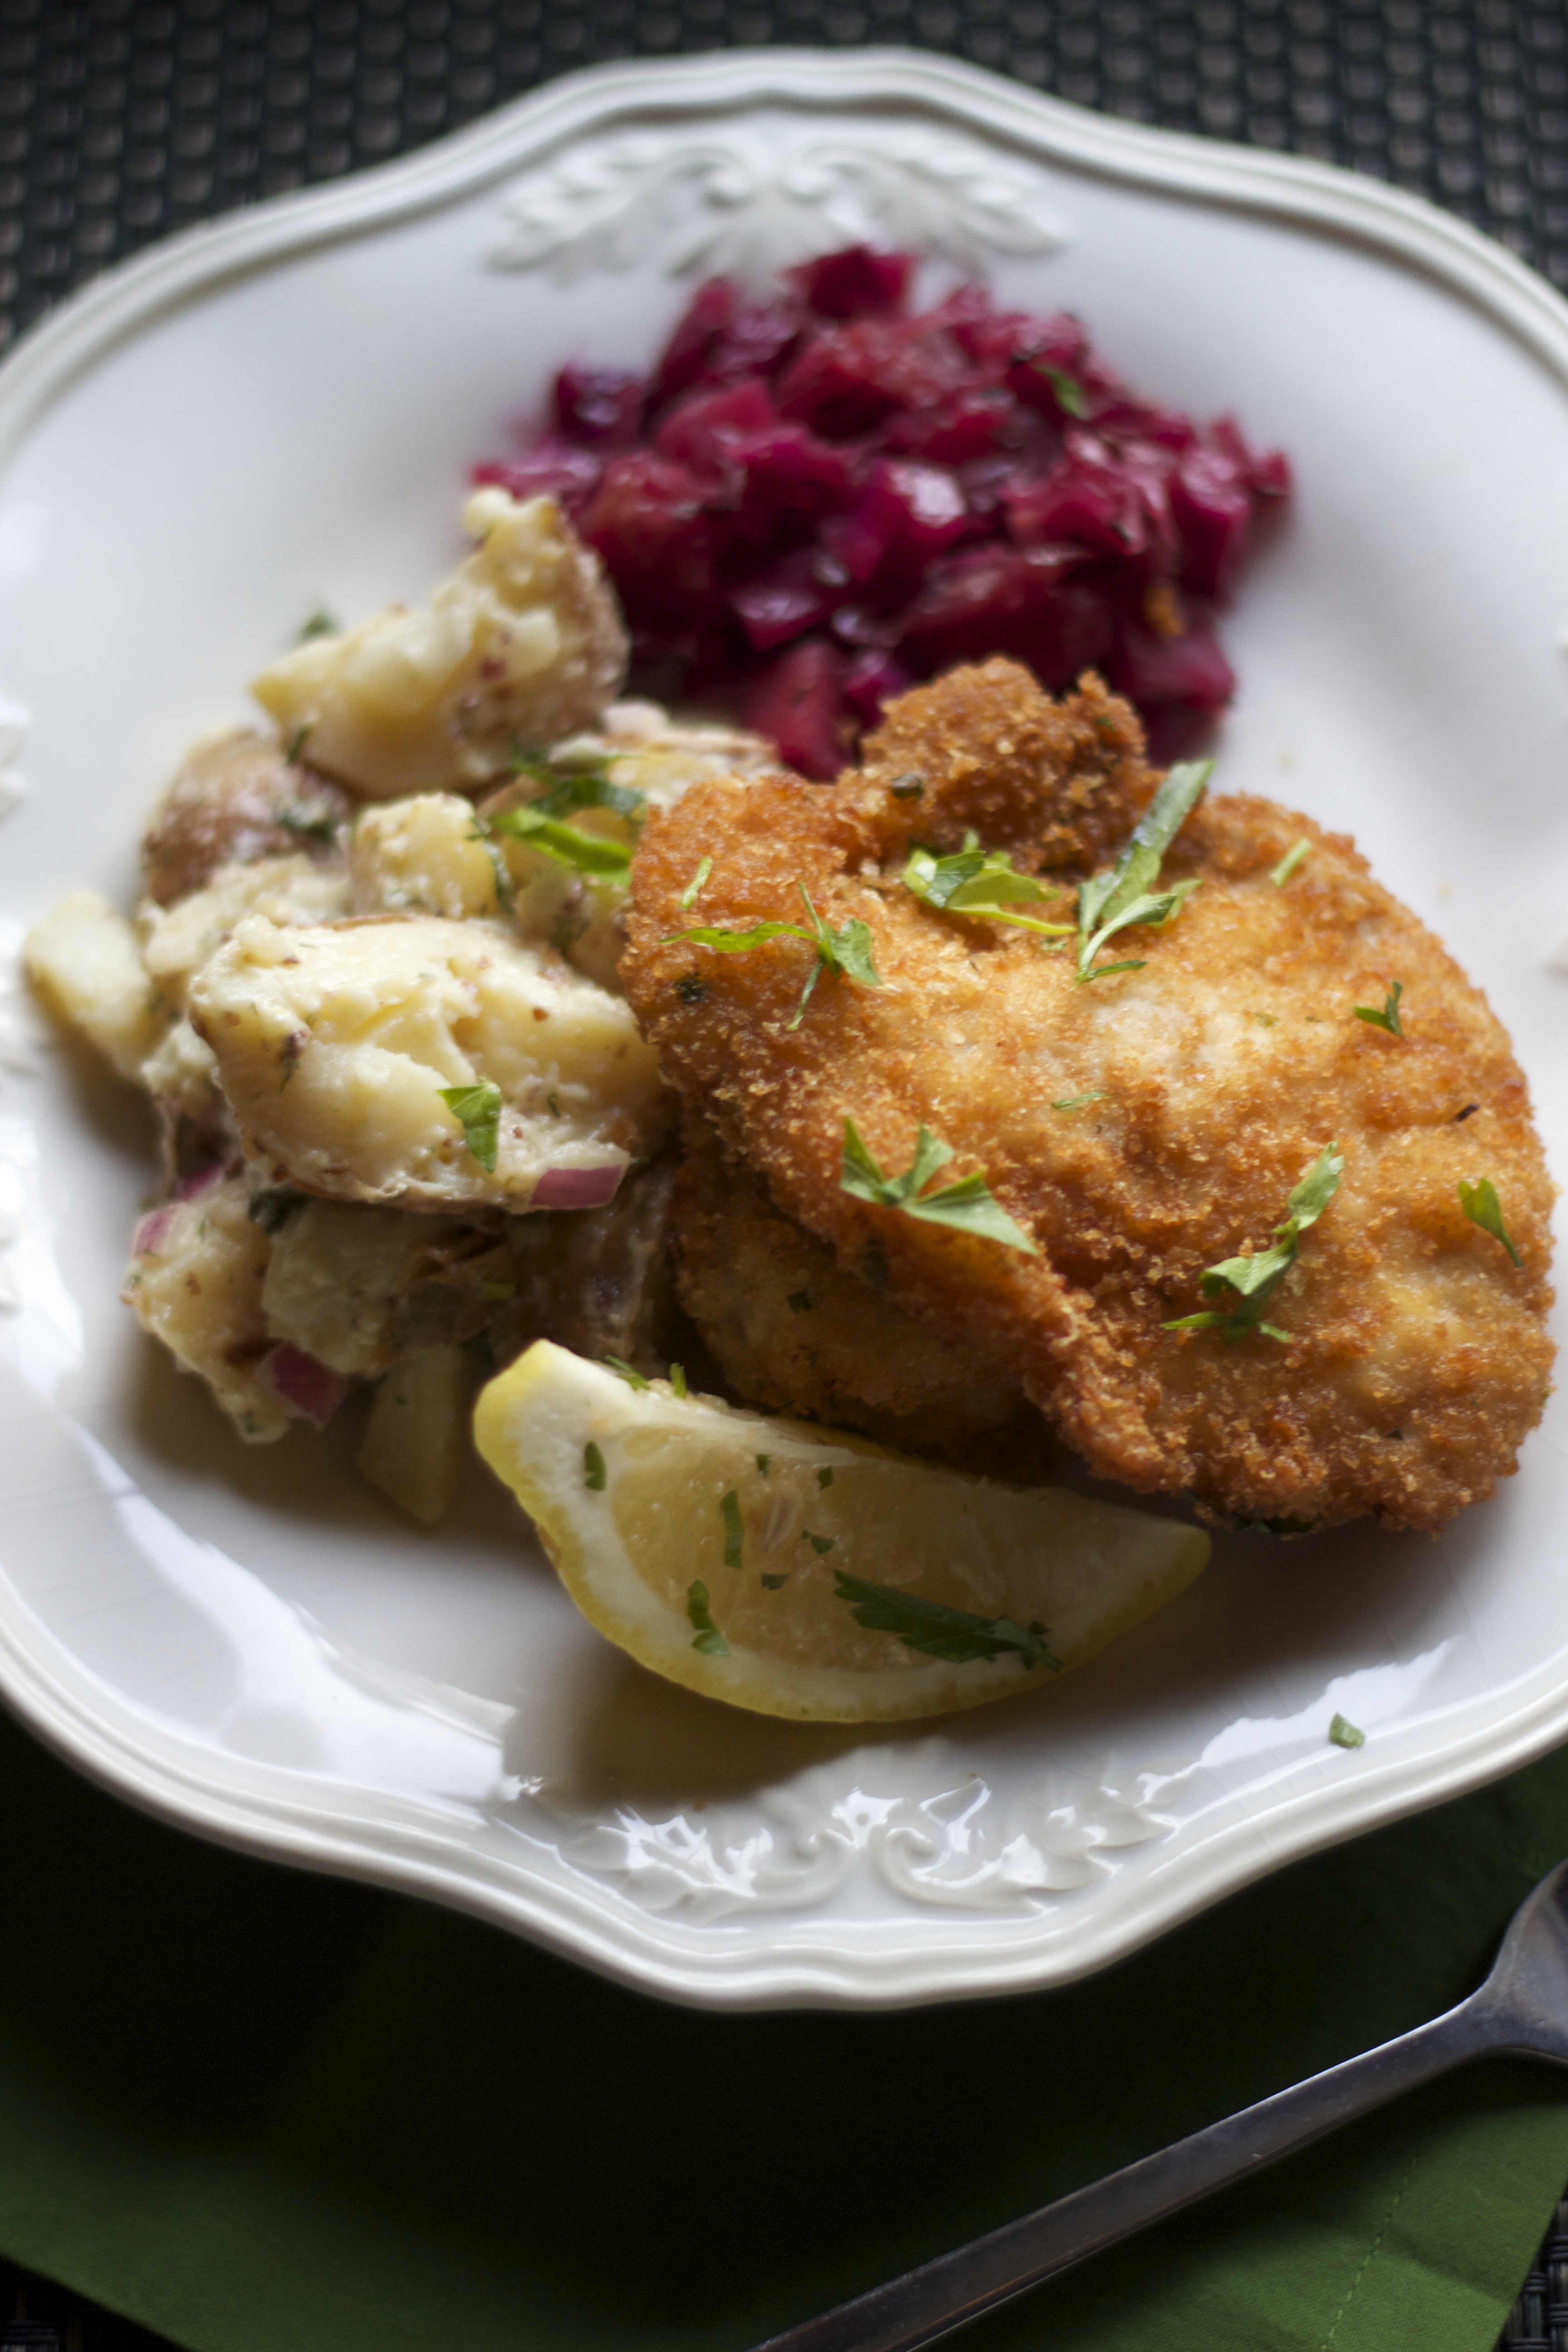
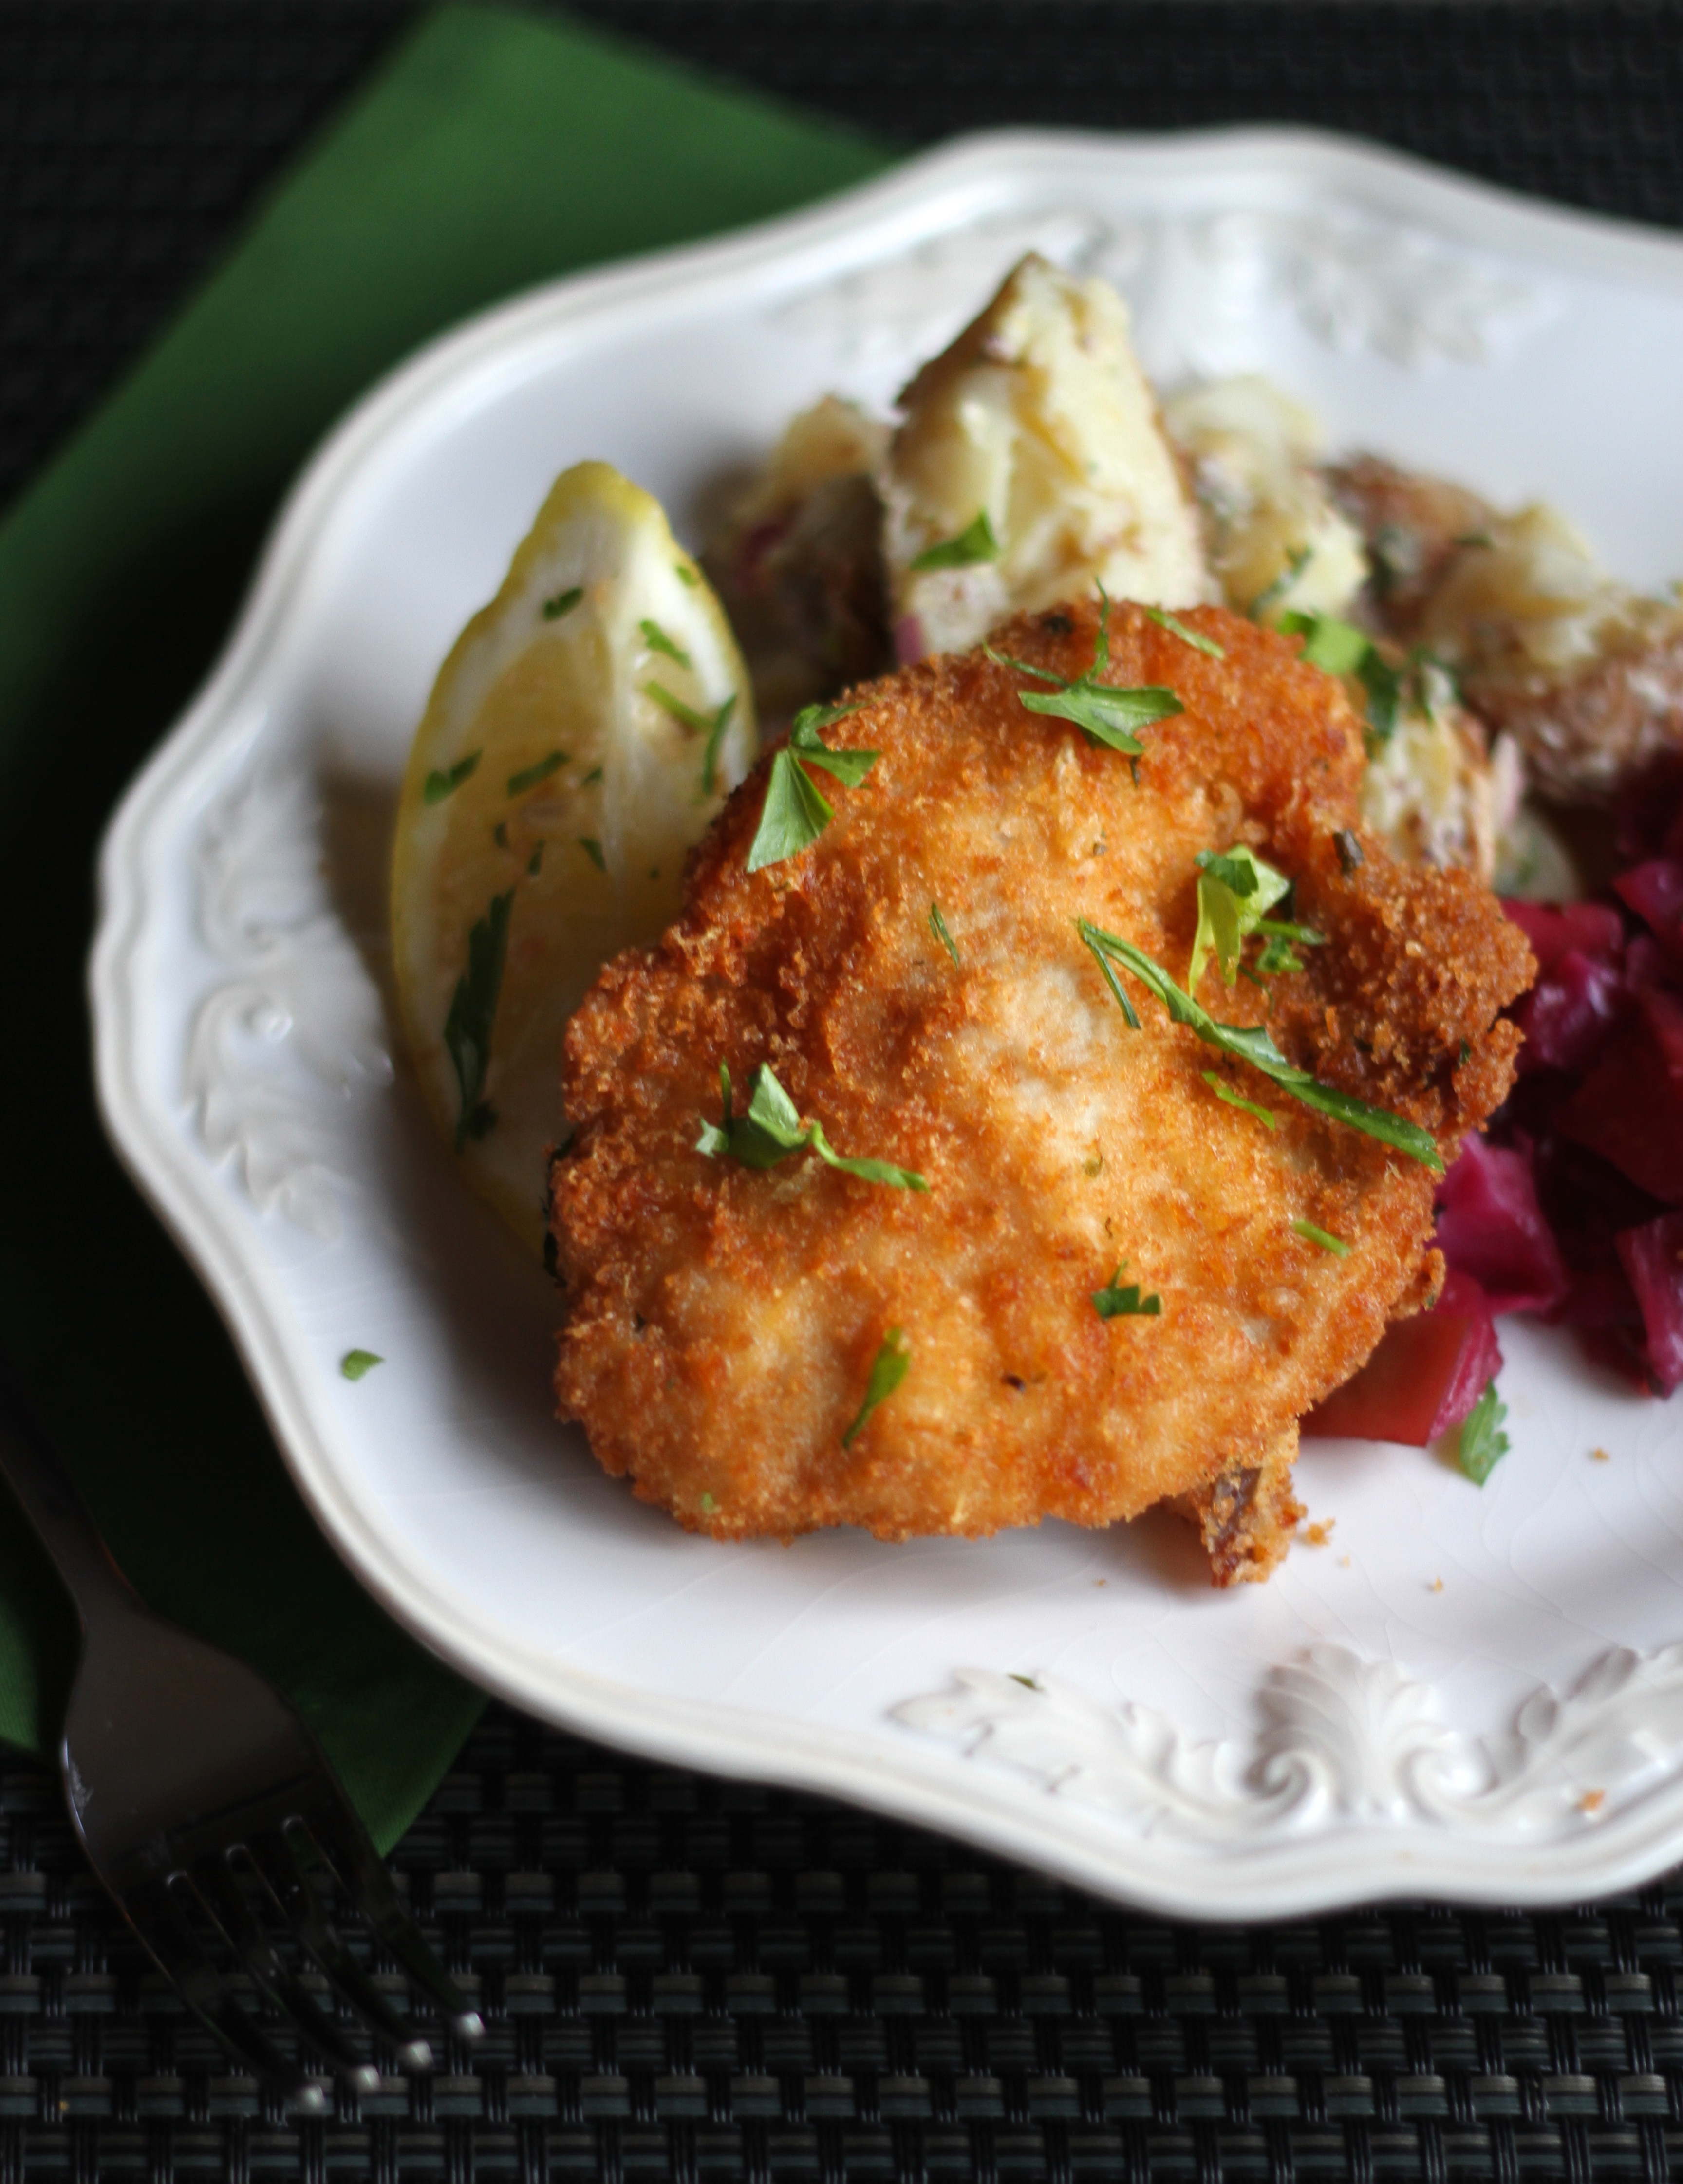
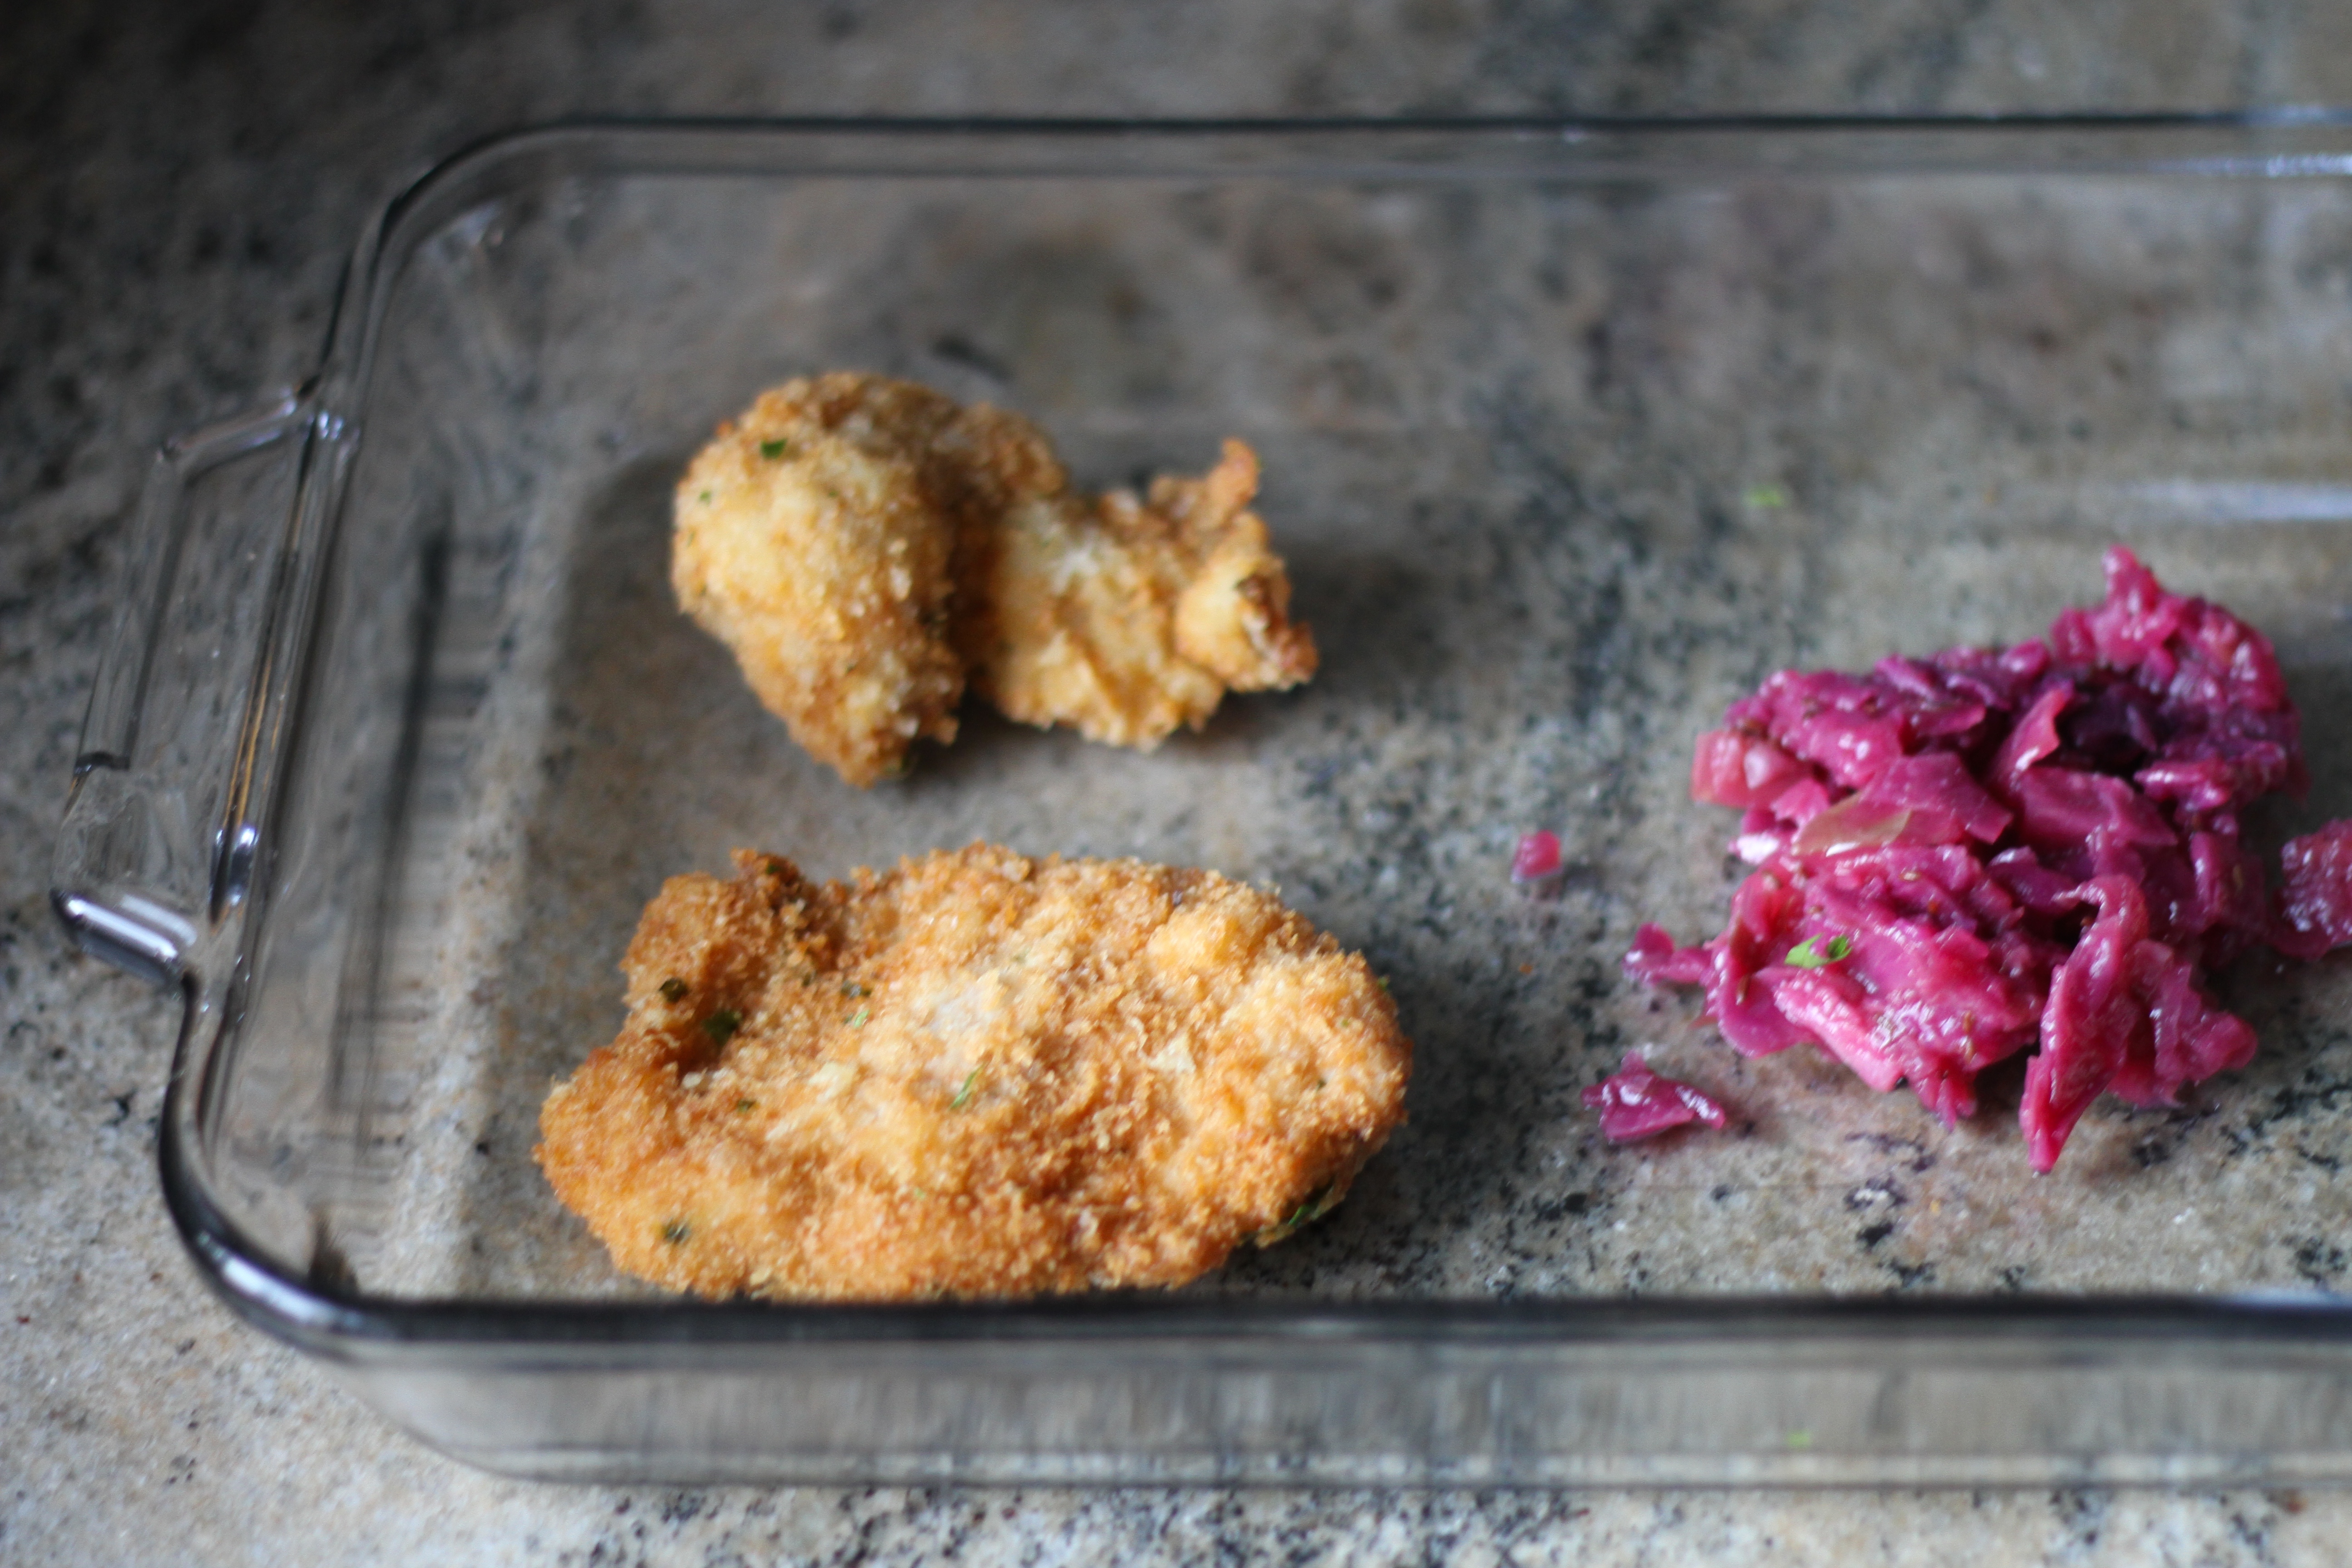
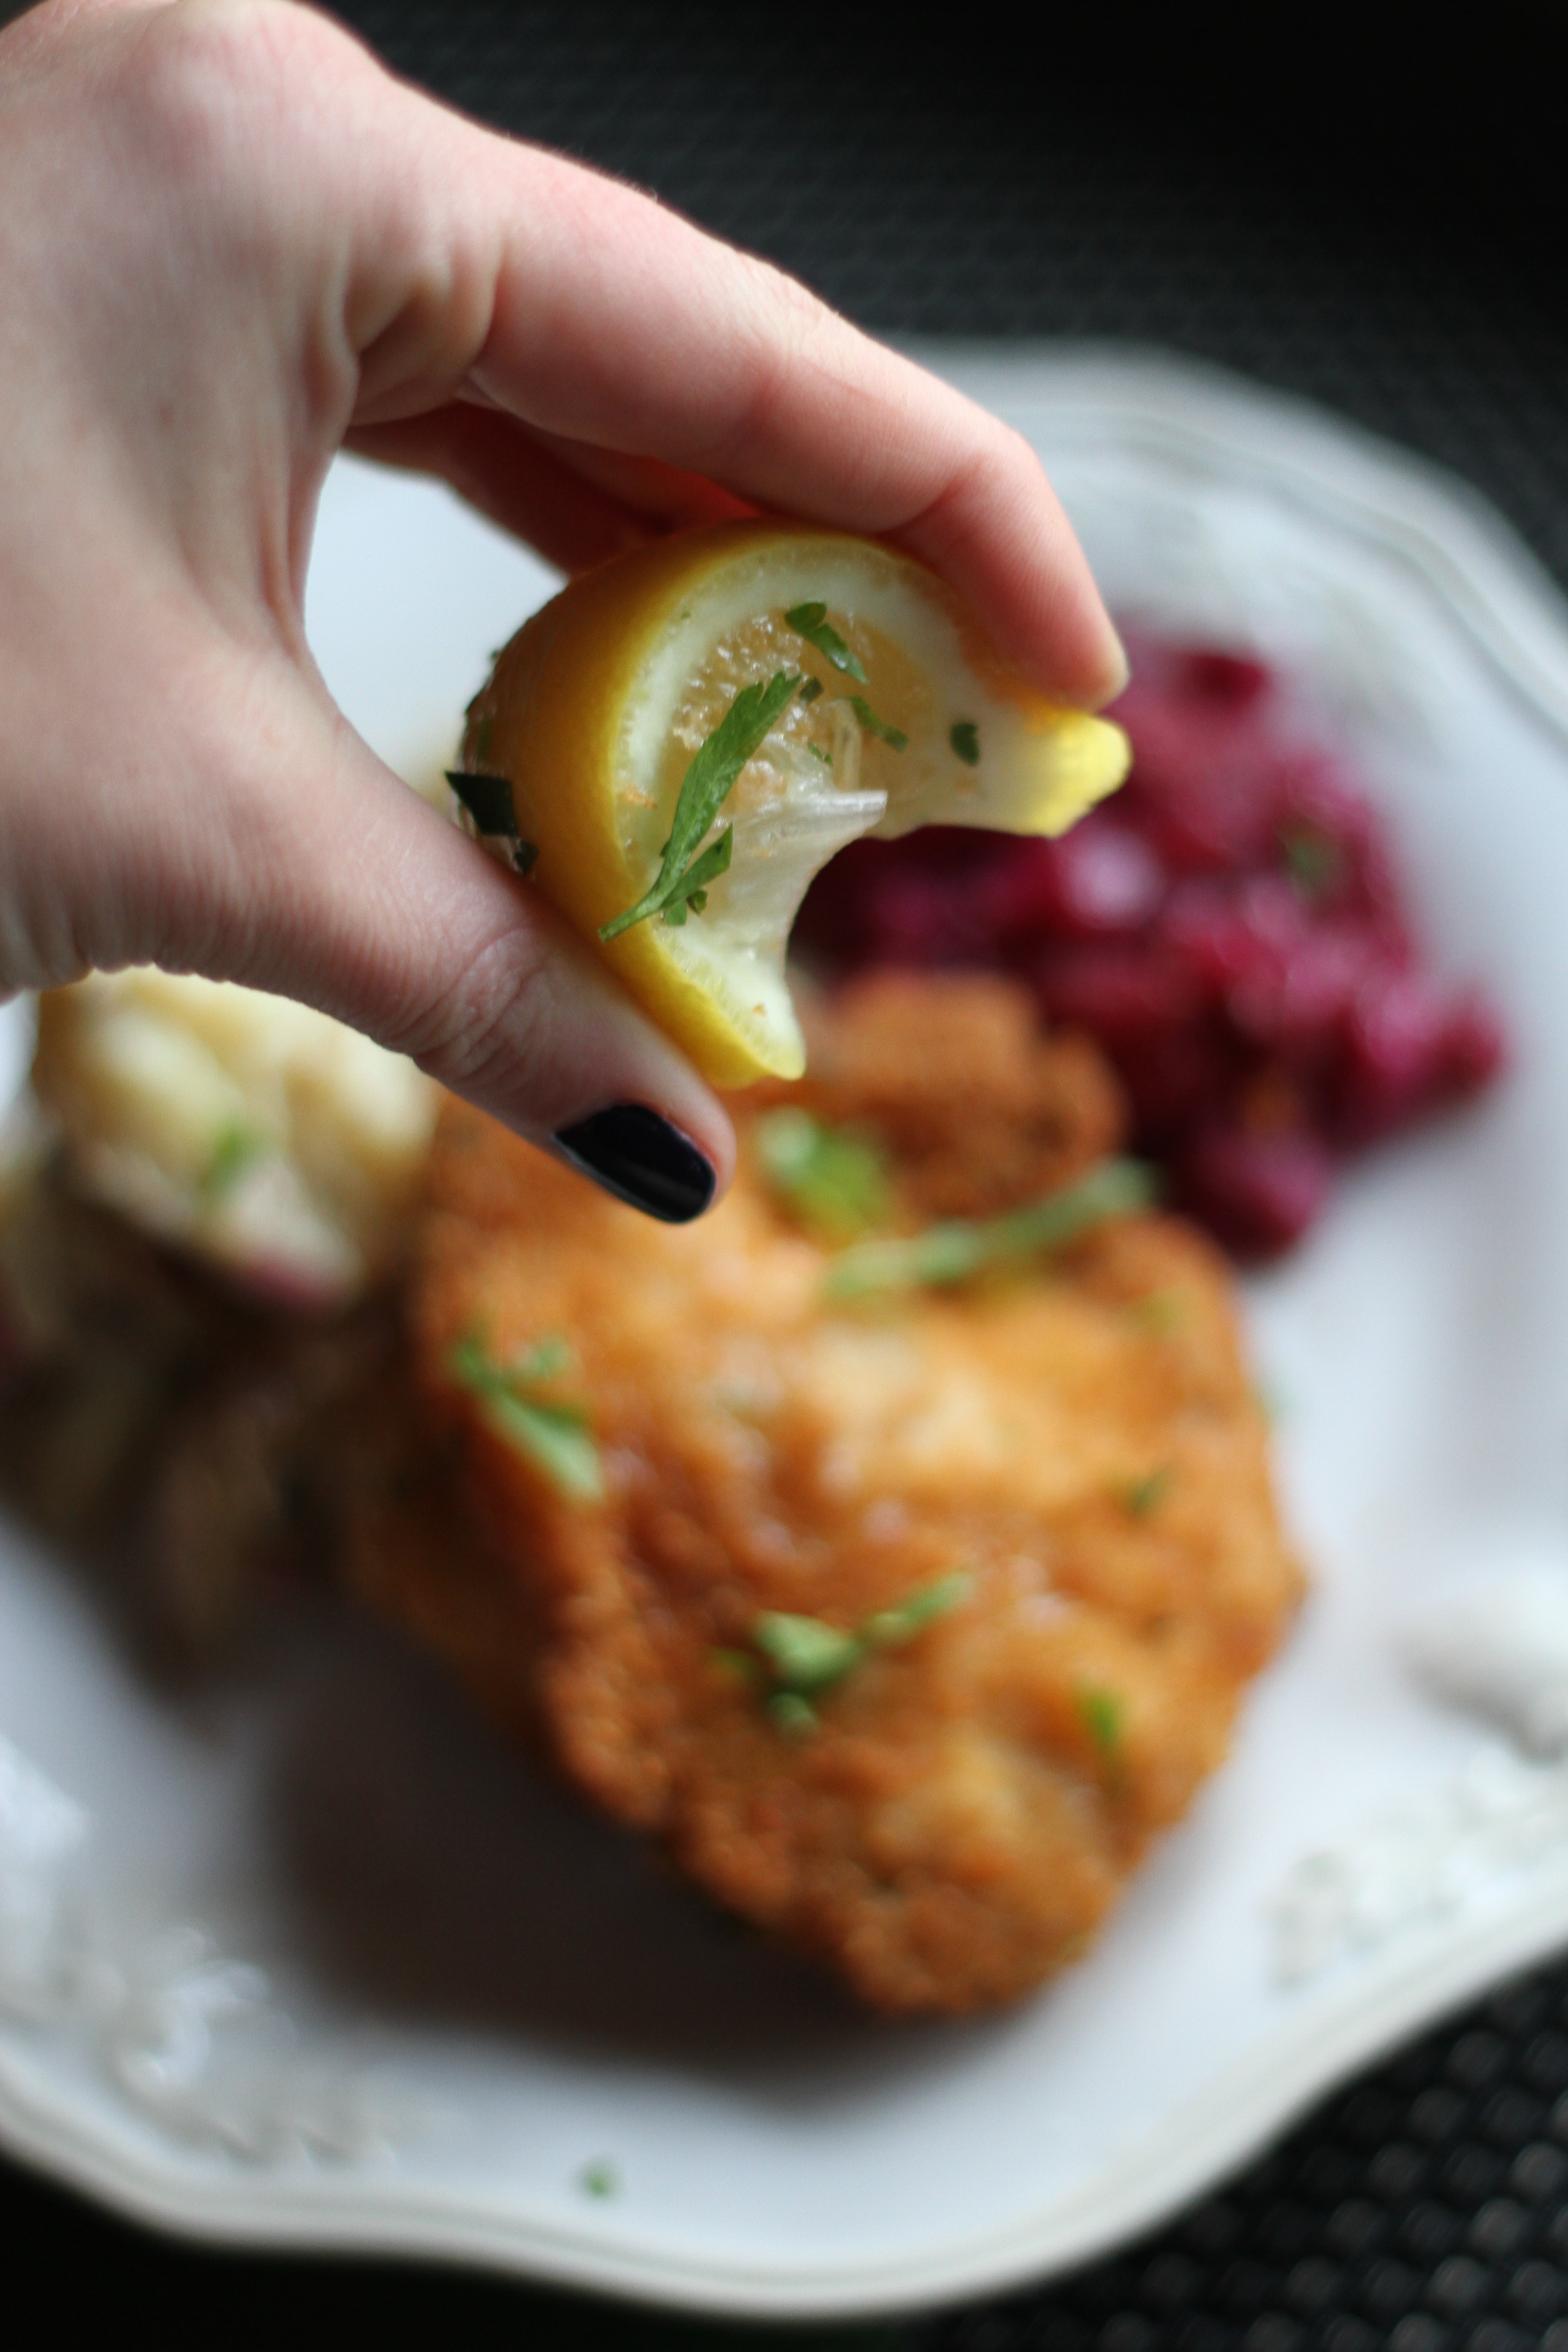
My favorite dish last week (yes I ordered multiple times) – was the German Pork Schnitzel with German Potato Salad and Braised Cabbage Apple Slaw.  It was super flavorful and I loved that the dish had 3 different components.  The portions are generous and each meal has extensive nutritional facts for the calorie conscience.

IMG_8895_2

IMG_8900

I usually have a hard time deciding what to order, so I’m super appreciative of the star rating and multitude of reviews they have available for each dish.  They also have mini-bios on each chef, and I found it interesting that some customers prefer to shop by chef vs. dishes and their ingredients.

IMG_8894_2

Munchery

Another silver lining of this service is the fact that each portion is a single serving – i.e. J can order what he wants, and I can order what I want.  It makes appeasing clashing palates an easy task, and I also love that there aren’t leftovers to deal with (don’t you hate ordering to much Thai takeout!?).

IMG_8934_2

So whether you are a busy professional, parent or person – do yourself a favor and give Munchery a try… you won’t be disappointed (unless they don’t deliver to your area yet… then you may be a little bummed – but sign up for their wait list, they may be coming to your area soon!).

Click this link to get $10 off your first order!

IMG_8928

Sip

Pomegranate Margaritas

January 23, 2015

IMG_8570

With store shelves already in full Valentine’s Day swing, I couldn’t help but join in!  Here is a cute cocktail to share with your sweetie, gal pals, or just enjoy by yourself 🙂

IMG_8554

Pomegranate Margaritas

  • 2 oz tequila
  • 1.5 oz Grand Marnier
  • 2 oz pomegranate juice
  • 2 oz lime juice
  • 1/2 oz agave
  1. Rim a cocktail glass in lime juice and salt.
  2. Combine above ingredients in an ice filled cocktail shaker for 30 seconds.
  3. Strain into an ice filled/salt rimmed glass and garnish with a lime wedge.
  4. Cheers to love!

IMG_8549

IMG_8573

Pomegranate Margarita

Domestic

How to Season a Cast Iron Skillet

January 22, 2015

Cast Iron Skillet

This past Christmas I asked for a cast-iron skillet, after years of having to pass on recipes that required one.  And guess what… it’s as awesome as I hoped it would be! You can cook, bake, sear, and saute with it – all while getting a massive arm workout (the weight of these things is no joke).  The only issue I have with it? Cleaning.

I had a friend in college that had a melt down after I used soap to scrub the skillet clean, so I’ve been scarred ever since.  Now that I am an owner of my own, I am trying to get it nice and seasoned, so that it can continue to work its way up my “favorite list.”

Apparently skillets are one of those things you want to buy at garage sales… the older and “more seasoned” (code to me for “grimy”) the better… but I opted for a new one that I could season myself and grow old together with.

For all of you new skillet owners, or those about to become one – here is Martha’s trick to seasoning your skillet (this also works for reseasoning old skillets):

  1. Cover the bottom of your pan with a thick layer of kosher salt.
  2. Add a half inch of oil or so and place over high heat.
  3. Once the oil starts to smoke, pour the salt and oil into a heatproof bowl to cool (then discard).
  4. Wipe out pan with a ball of paper towels, until smooth (ie no salt residue).

You’re good to go! Now some tips for cleaning your beloved pan:

  • Don’t use soap or a dishwasher
  • Scrub with a stiff brush (but not steel wool) and hot water
  • Wipe dry with a paper towel (or you can warm over low heat) – using your beloved dish towels is certain to ruin them
  • I use kosher salt to rub into any pesky food that’s hard to remove
Tasty

Barre3 Hazelnut Truffles

January 21, 2015

IMG_8510

For those of you that know me, my obsession for Barre3 is still going strong.  Today I am almost 3/4 of the way done with our Winter Challenge that embraces healthy eating, fitness and connection.  Each week we are sent a new Barre3 approved recipe to try, and I obviously was pretty thrilled when I saw “truffle” in the title.  Made with whole foods and no added sugar, these sweet treats do just the trick in curbing any sugar cravings.  I love keeping a batch in the freezer to prevent any possible slip ups 🙂

IMG_8521

Chocolate Hazelnut Truffles

Recipe via Barre3

  • 1 cup pitted Medjool dates
  • 1 cup roasted hazelnuts
  • 1/4 cup raw cacao powder
  • 2 tablespoons almond butter
  • 1 tablespoons coconut butter
  • 1/2 teaspoon almond extract
  • 1/2 teaspoon sea salt
  • 2 tablespoons finely shredded unsweetened coconut
  1. Soak dates in a bowl of hot water until soft.  This will take about 20 minutes… drain.
  2. Combine dates, hazelnuts, cacao powder, almond butter, coconut butter, almond extract, salt and coconut in a food processor for 2 minutes until finely processed.
  3. You want the mixture to hold together when pressed – feel free to add a little water if mixture is too dry.
  4. Sprinkle 2 tablespoons of cacao powder on a plate.
  5. Using a tablespoon, scoop a heaping spoonful of the mixture and roll into a ball.
  6. Roll each ball into cacao powder until fully coated.
  7. Store finished truffles in an airtight storage container and refrigerate for an hour before enjoying.

IMG_8493

Tips:

  • Lightly wetting your hands helps when creating balls of the dough (it gets pretty sticky).
  • Store remaining truffles in the freezer or fridge.

IMG_8504

IMG_8505

Click here for my other Barre3 favorite treat – Donut Holes!

IMG_8515


Tasty

Potato Scallion Feta Frittata

January 19, 2015

IMG_8047

Trying to come up with a gluten free brunch option can be a bit of a struggle, but thanks to my favorite Smitten Kitchen cookbook, I now have a top contender – a Potato Scallion Frittata.  The “crust” is made of crispy roasted potato slices (aka potato chips) and the mixture of scallion, feta and bacon (which you can also omit for a vegetarian option) is the PERFECT way to start your day!

IMG_7997

Potato Scallion Feta Frittata 

recipe via Smitten Kitchen

  • 3 tablespoons olive oil
  • 1 3/4 lbs Yukon Gold potatoes
  • 1/2 teaspoon salt
  • 1/4 lb bacon, cut into matchsticks
  • 3-4 scallions, thinly sliced
  • 2/3 cup crumbled feta
  • 6 large eggs
  • 2 tablespoons milk
  1. Preheat oven to 400 degrees.
  2. Coat roasting pan with olive oil.
  3. Peel potatoes and use a mandolin to cut them into 1/4-1/2 inch circles. Chop in half if you have larger potatoes.
  4. Transfer to oiled roasting pan and season with salt and pepper.  They don’t need to be evenly distributed and can overlap to allow for different cooking textures (steamy/softer and crispy/crunchy).
  5. Roast for 30 minutes until mostly cooked. You may want to toss them halfway through.
  6. Cook bacon in a well seasoned oven proof pan until crisp.
  7. Once cooked remove bacon and transfer to a paper towel lined plate to cool.
  8. Keep bacon drippings in pan and add an additional tablespoon of olive oil if you see fit (I didn’t add it).
  9. Arrange roasted potatoes to the bottom of the skillet (crispy side up).
  10. Sprinkle bacon, then scallions, then feta over the potatoes.
  11. Whisk eggs with milk, salt and a little pepper in a bowl an pour over potatoes.
  12. Cover skilled with foil and bake for 20 minutes.
  13. Remove foil and bake for another 10-15 minutes or until edges are puffed and the center is set.
  14. Serve immediately from skilled (serves 6-8 breakfast sized portions).

IMG_8002

Notes:

  • I cut my potatoes 1/4 inch.  They definitely were very crispy and more potato chip like, so I would recommend somewhere between 1/4 and 1/2 inch for the perfect thickness (until you would like a crunchier crust).
  • I bought the thick cut bacon from Prather Ranch, and boy does it make a difference.  Not that this wouldn’t be good with your run of the mill bacon, but it is GREAT with this stuff.
  • As far as I’m concerned, Valbreso feta is the only stuff that exists, but in case you haven’t jumped on this bandwagon, DO SO NOW.  It’s so amazing and helps to kick this frittata up a notch!

Potatoes

IMG_8017

IMG_8032

IMG_8035

IMG_8047

Whether you follow a gluten free diet or just love mixing up your breakfast line-up this is the perfect way to start your day!

IMG_8054