Browsing Tag

sweet

Tasty

GF Blondies with Sea Salt

June 4, 2014

IMG_1680

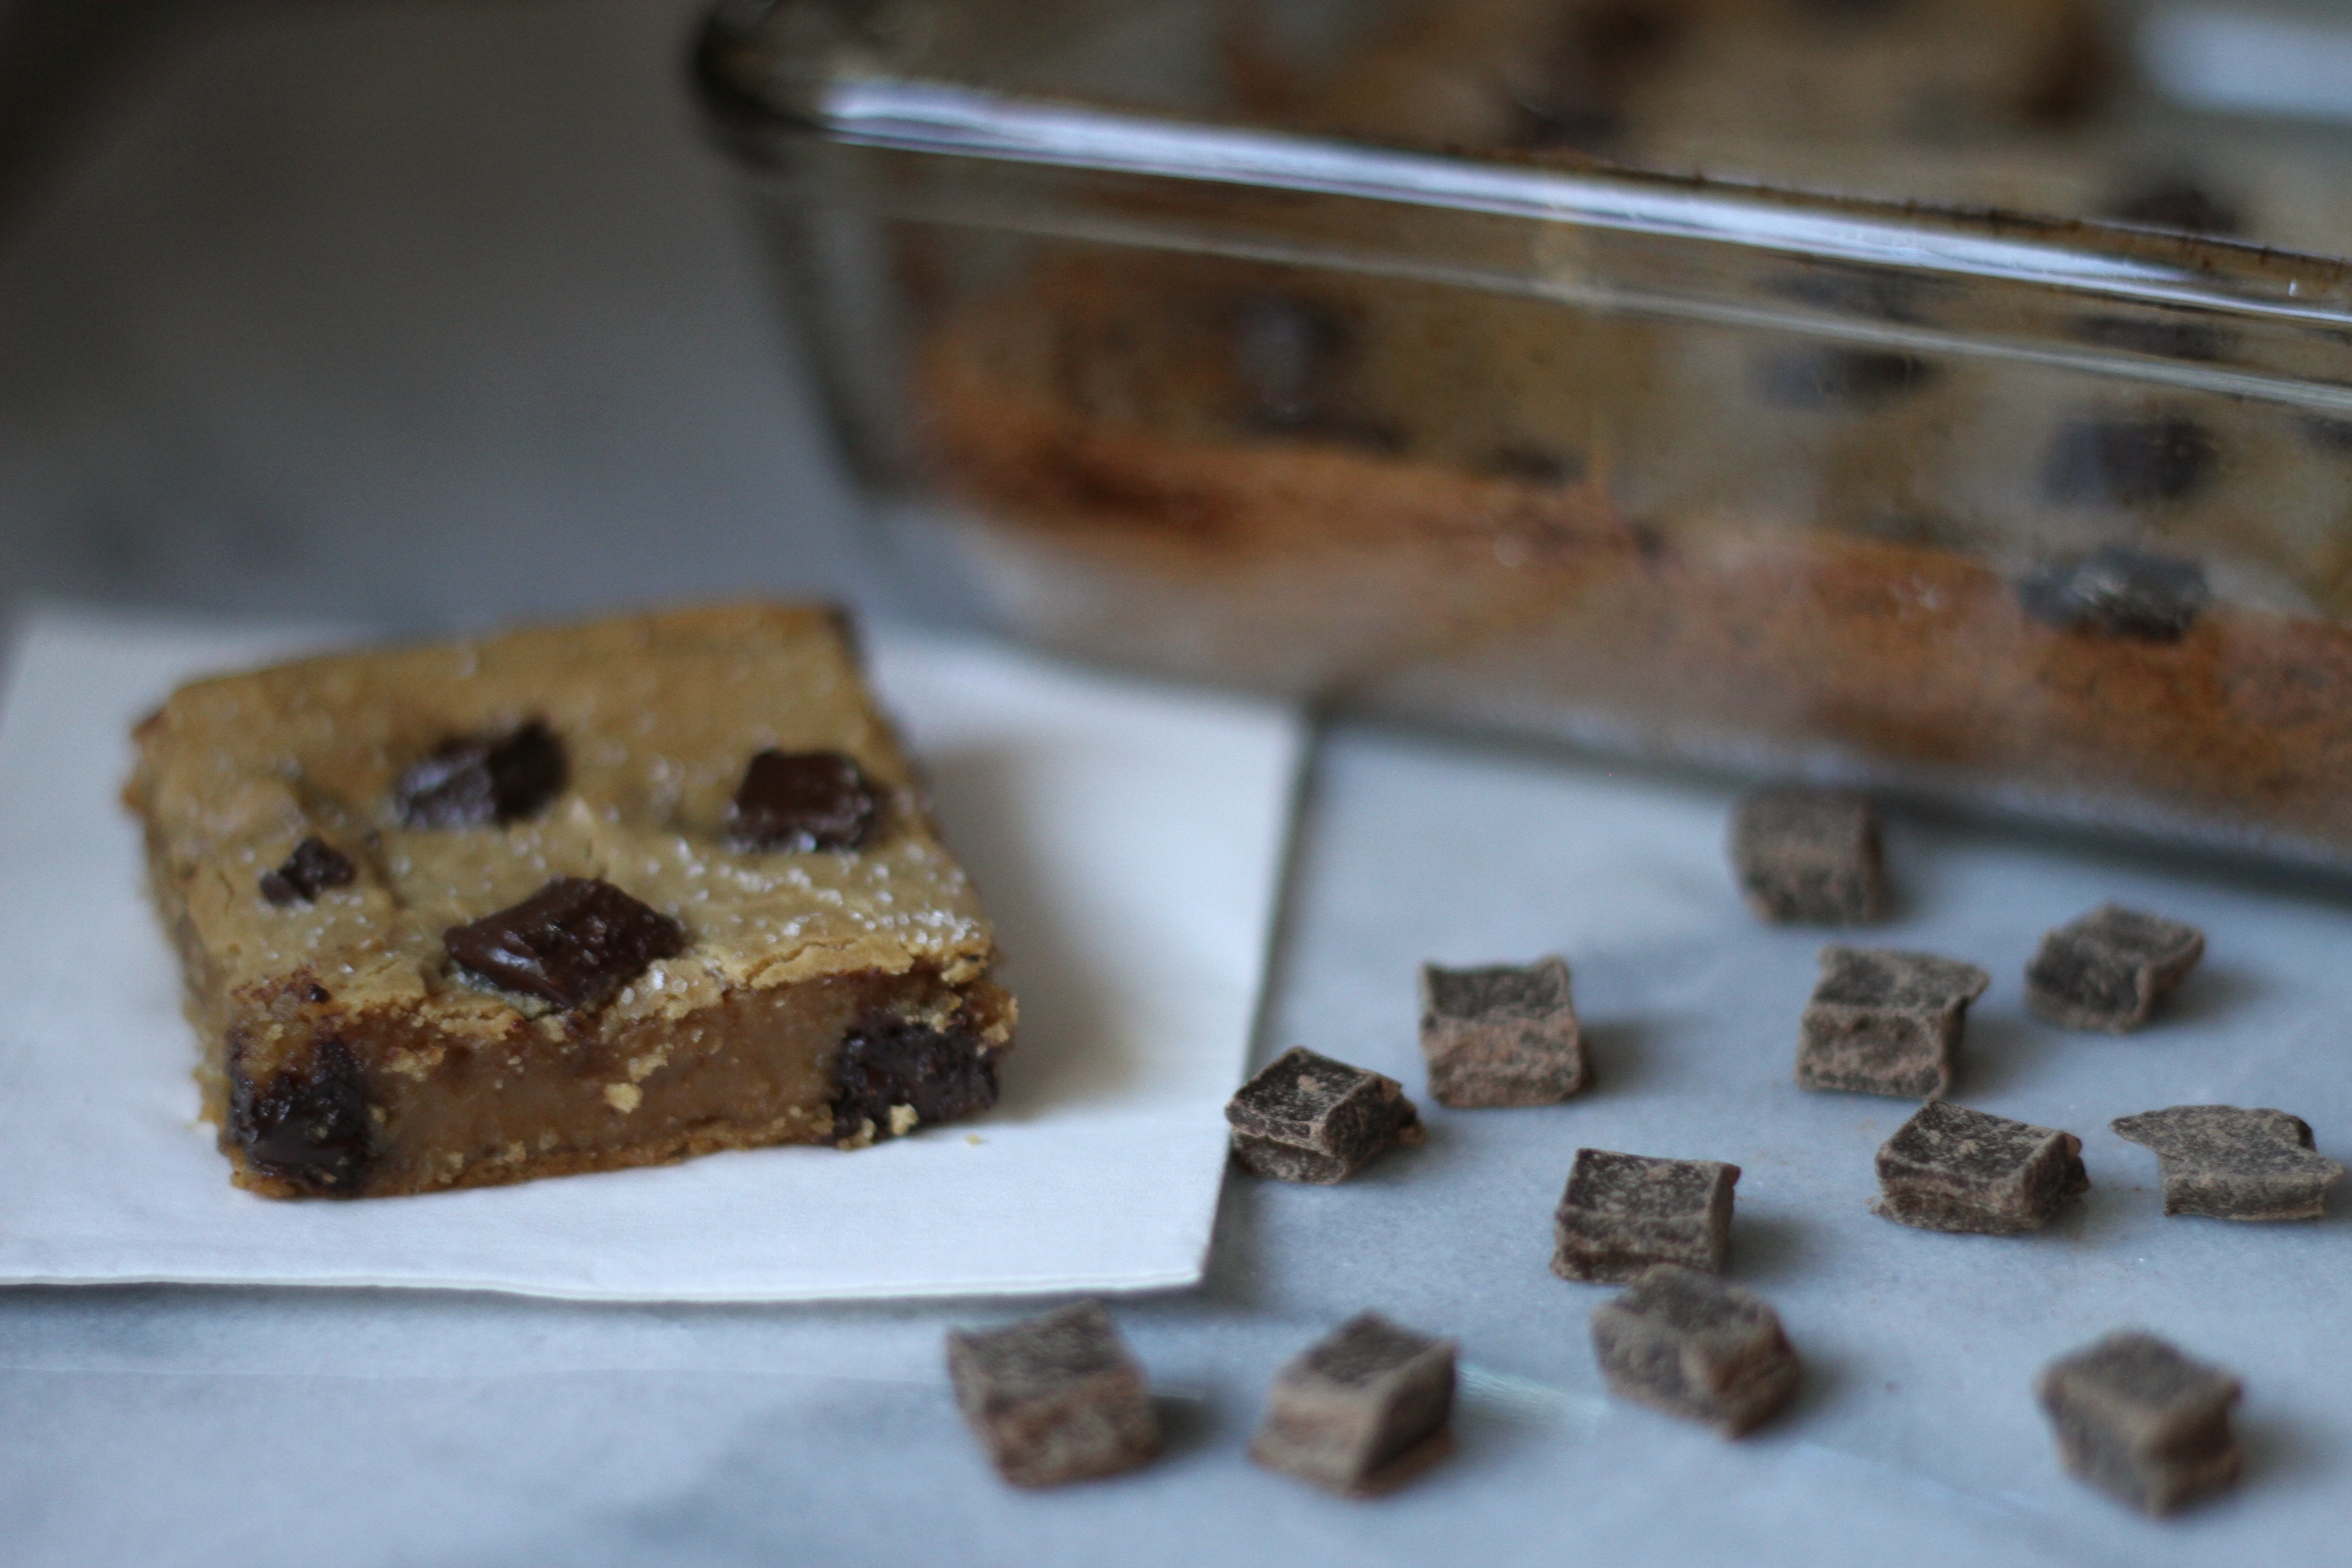
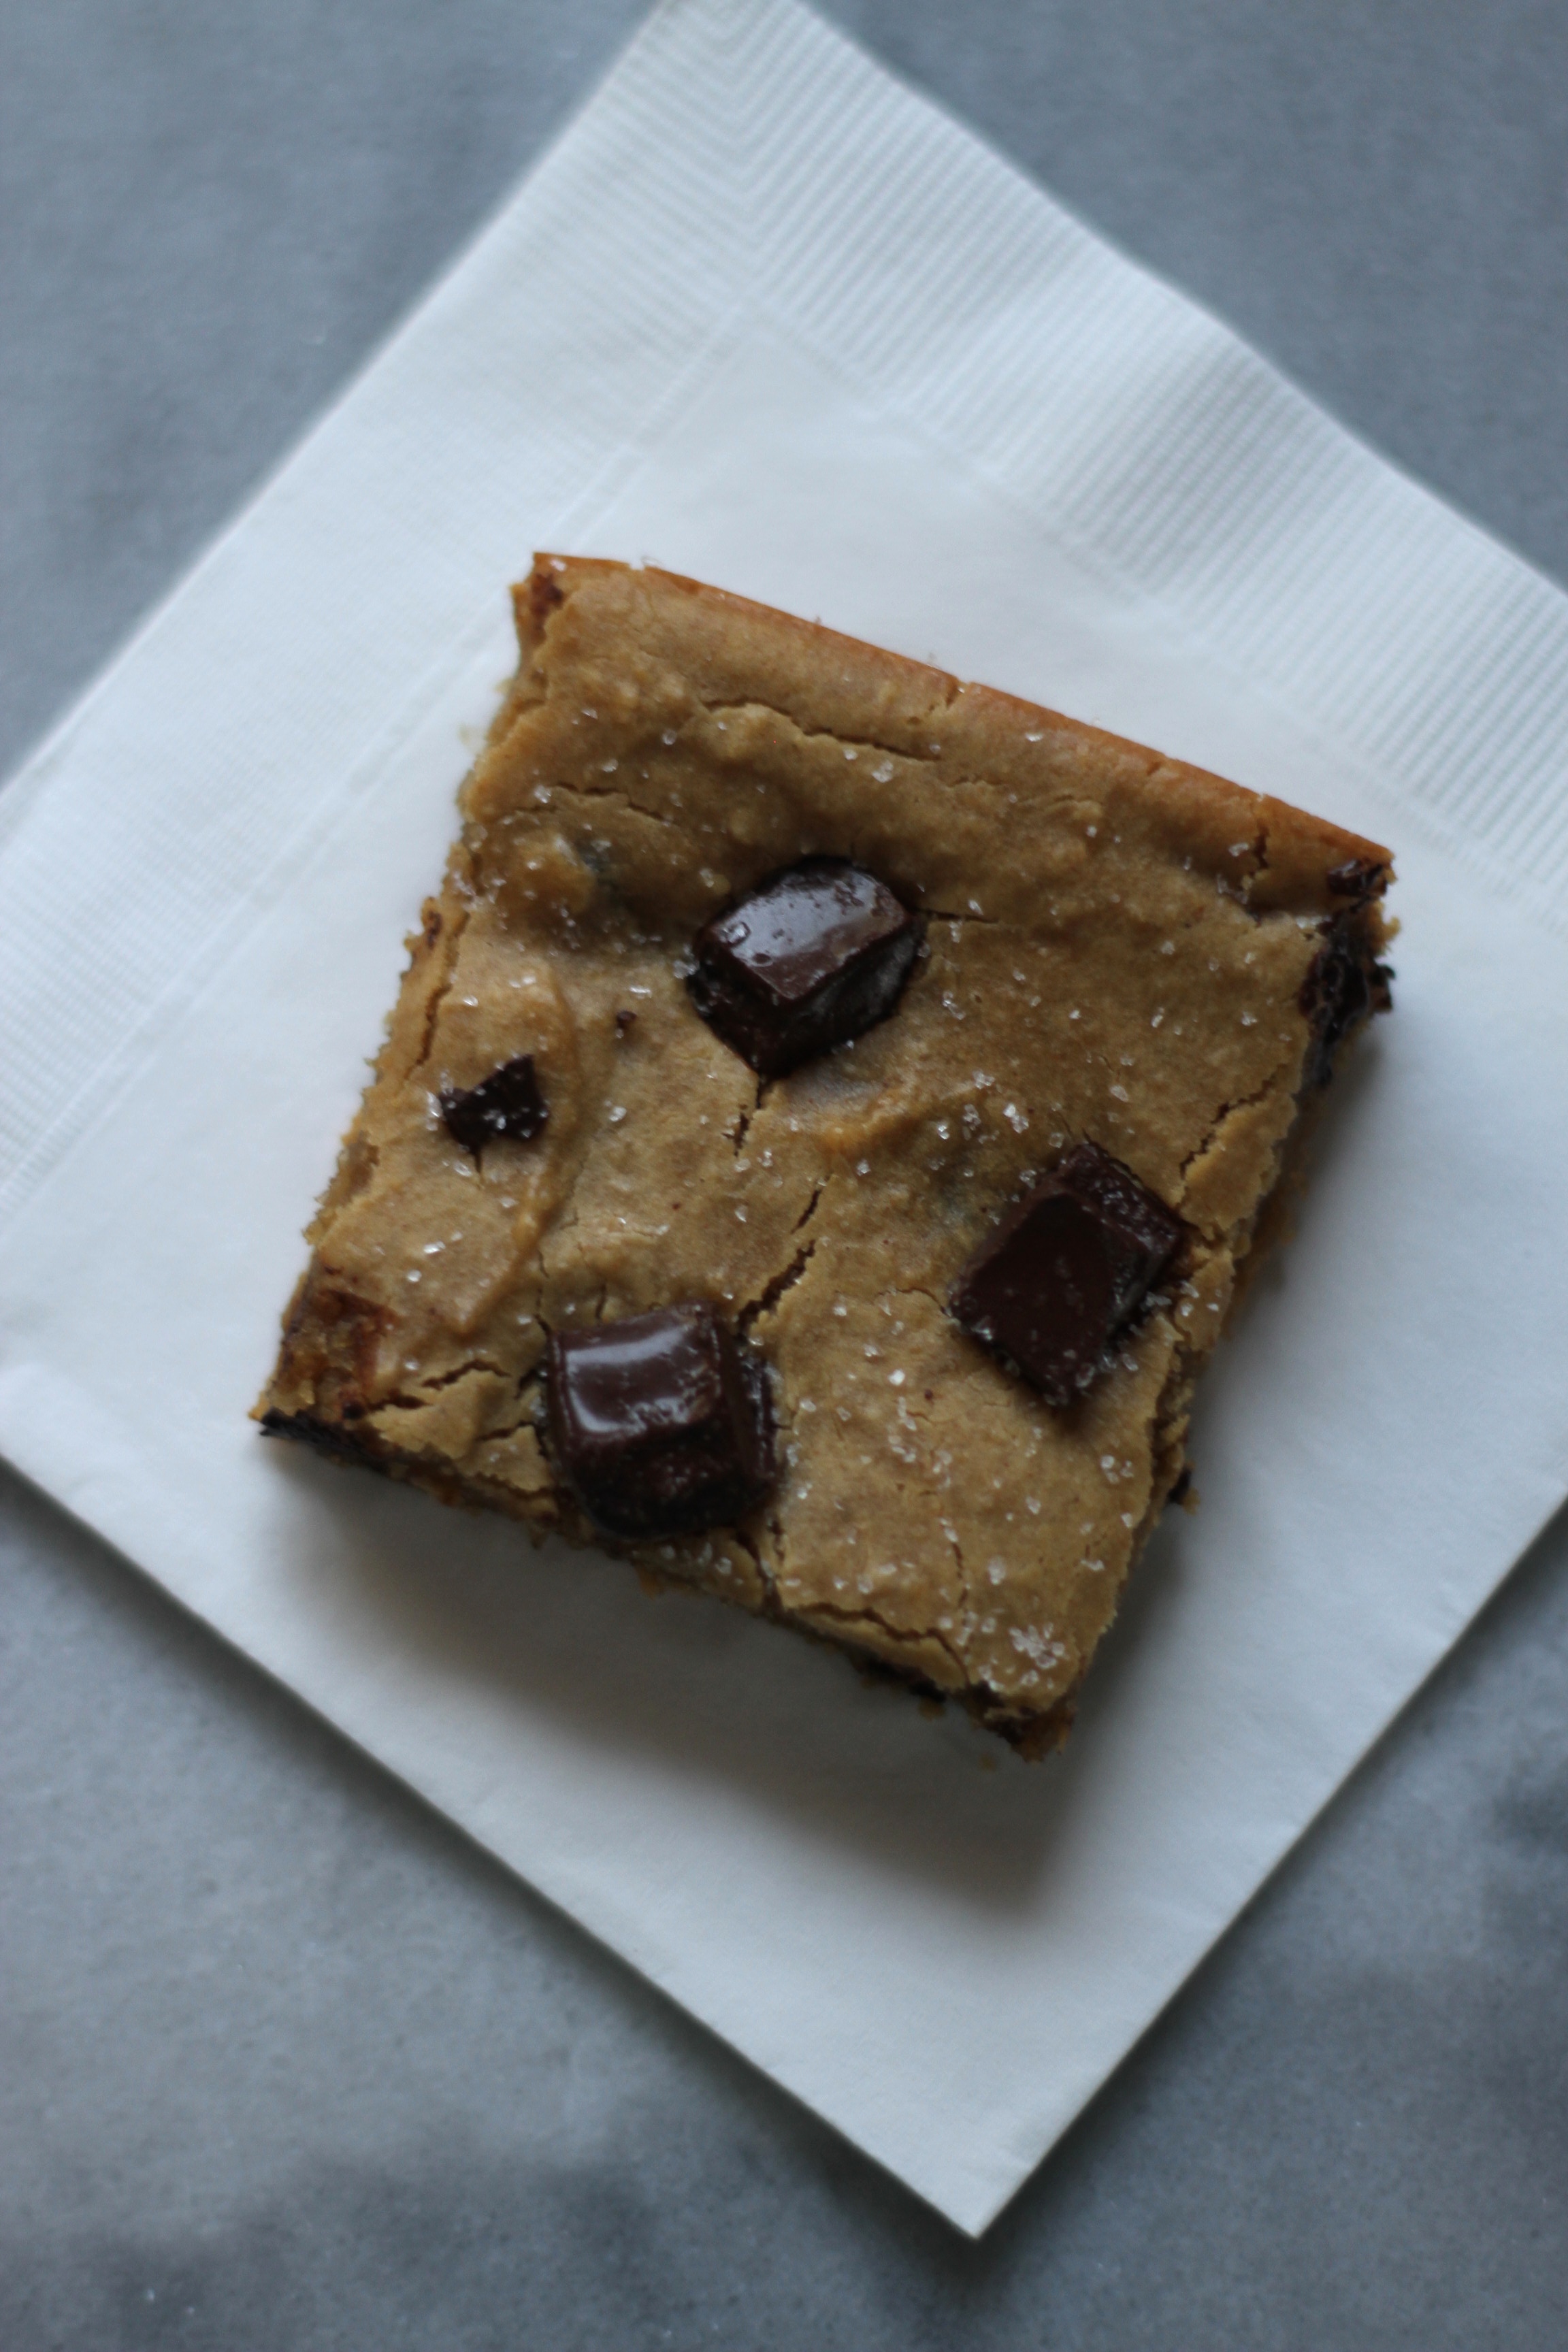
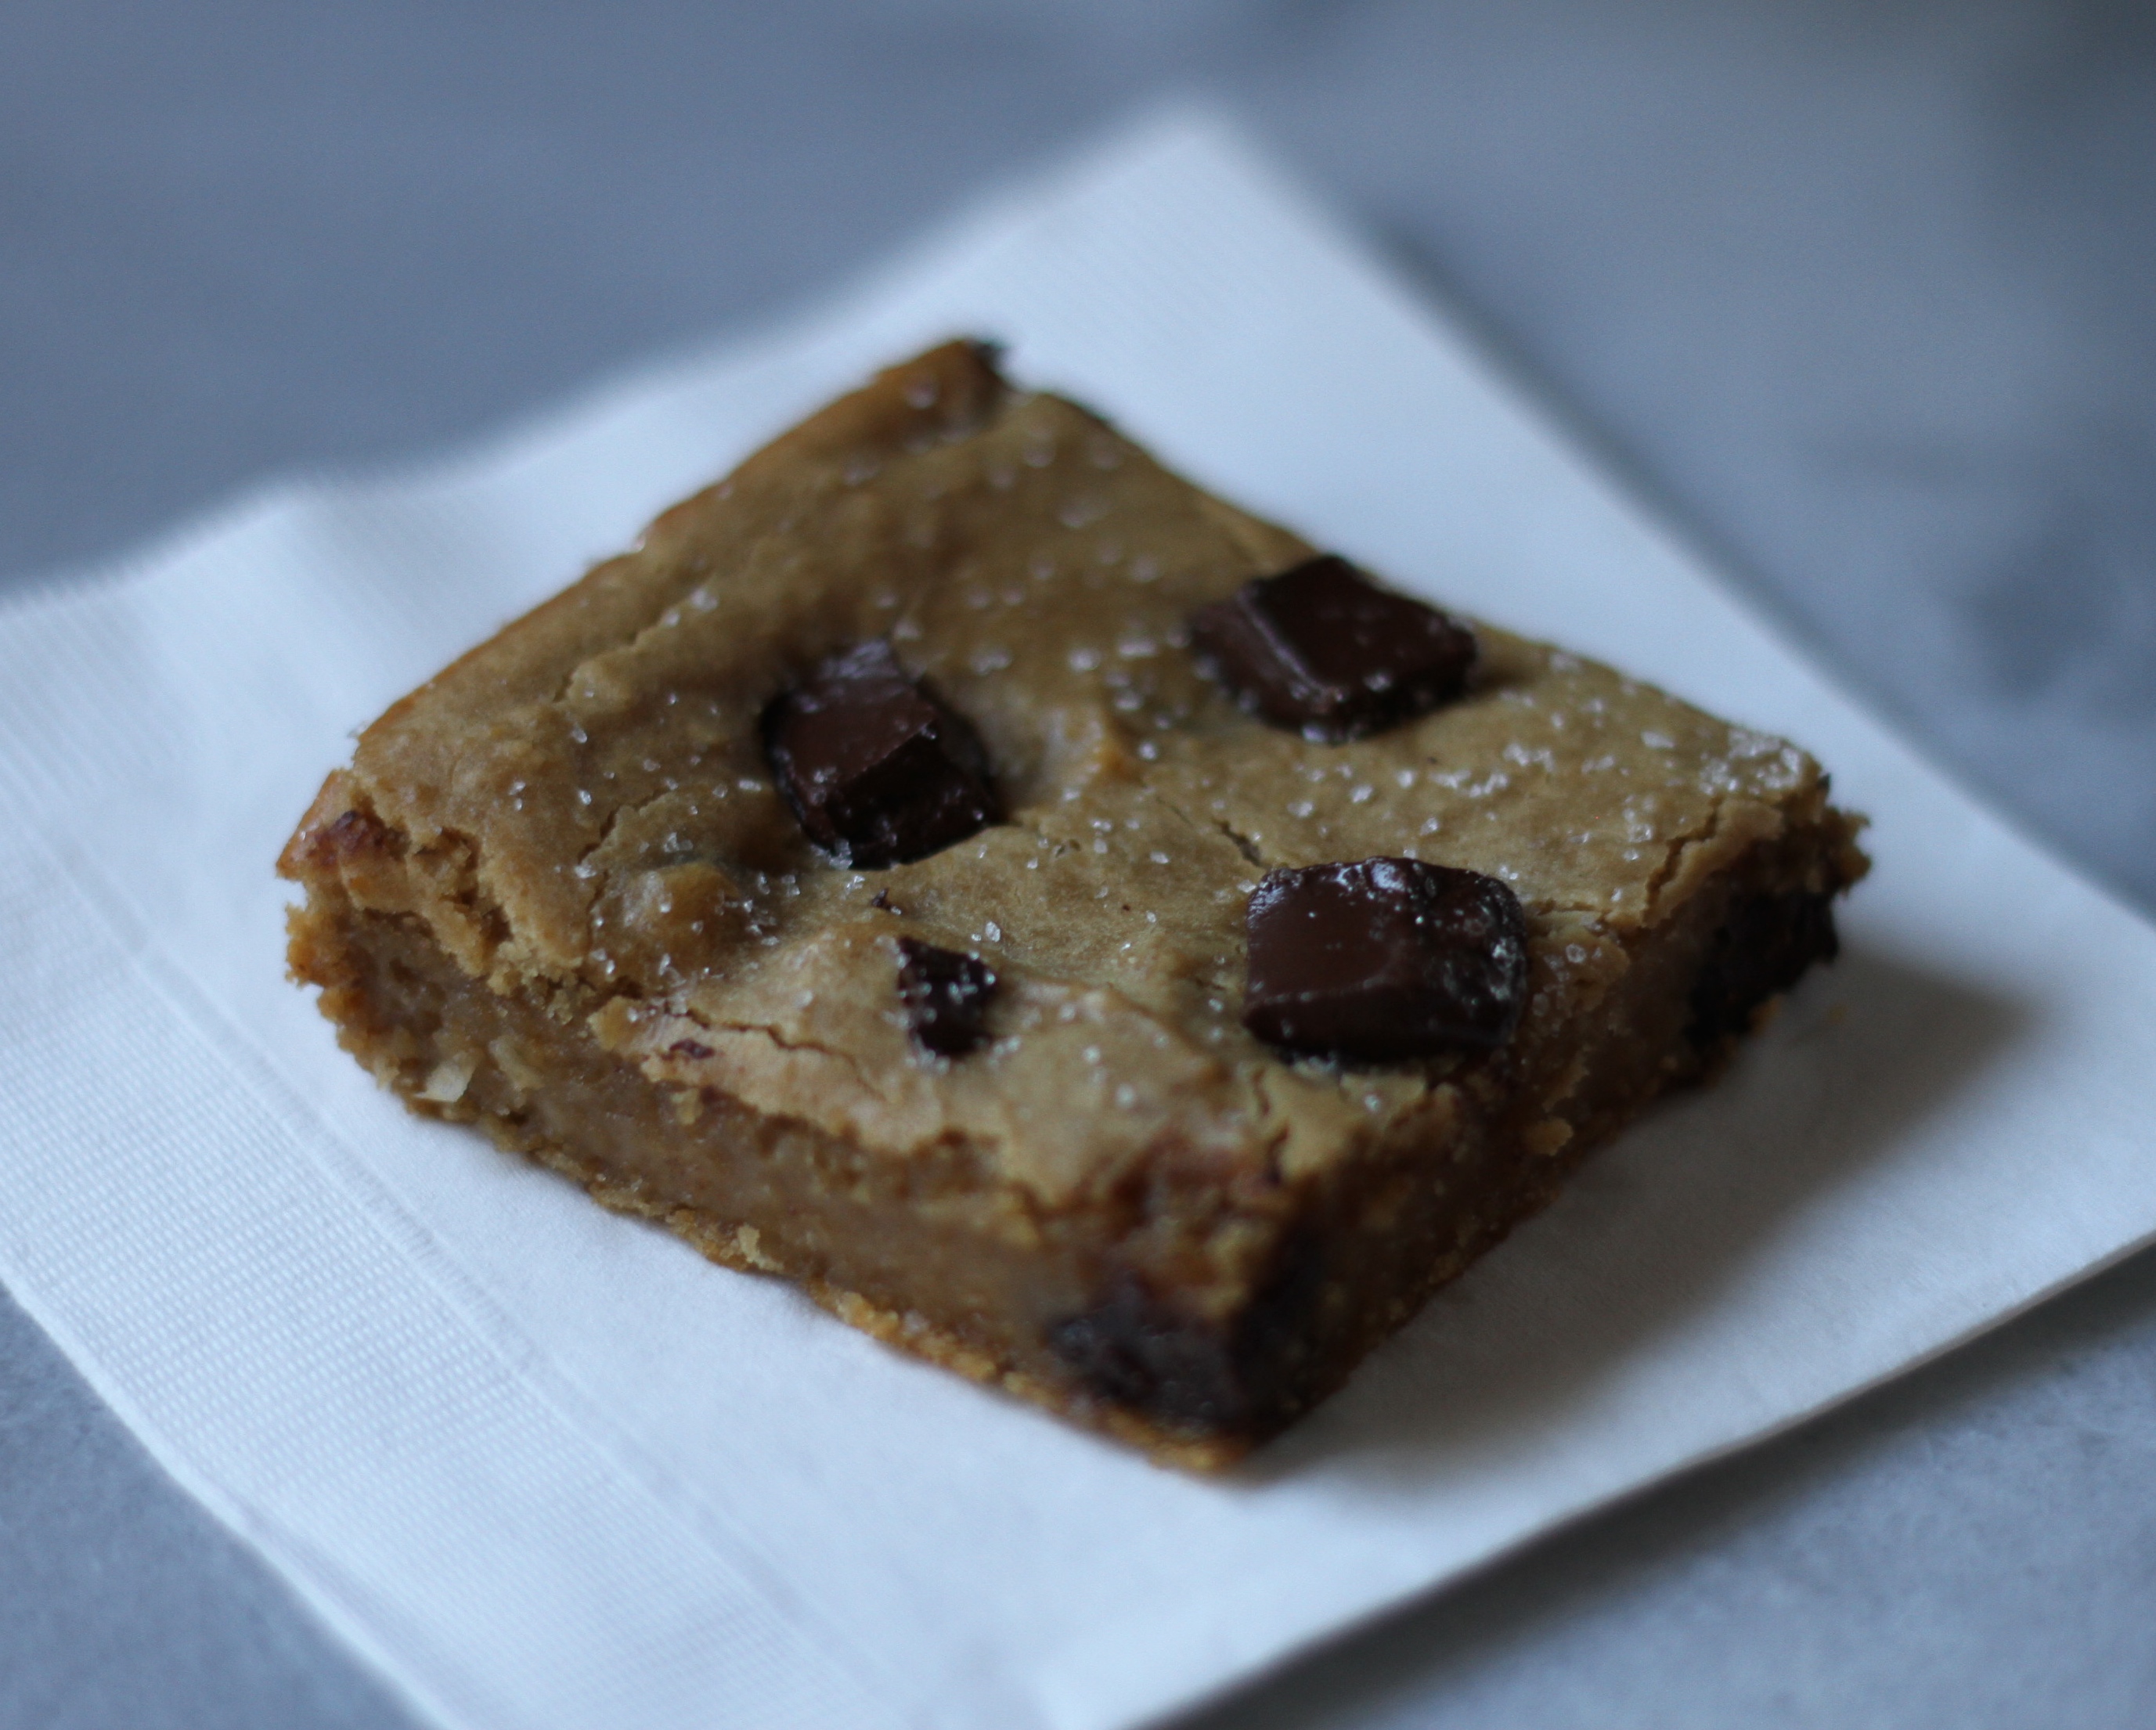
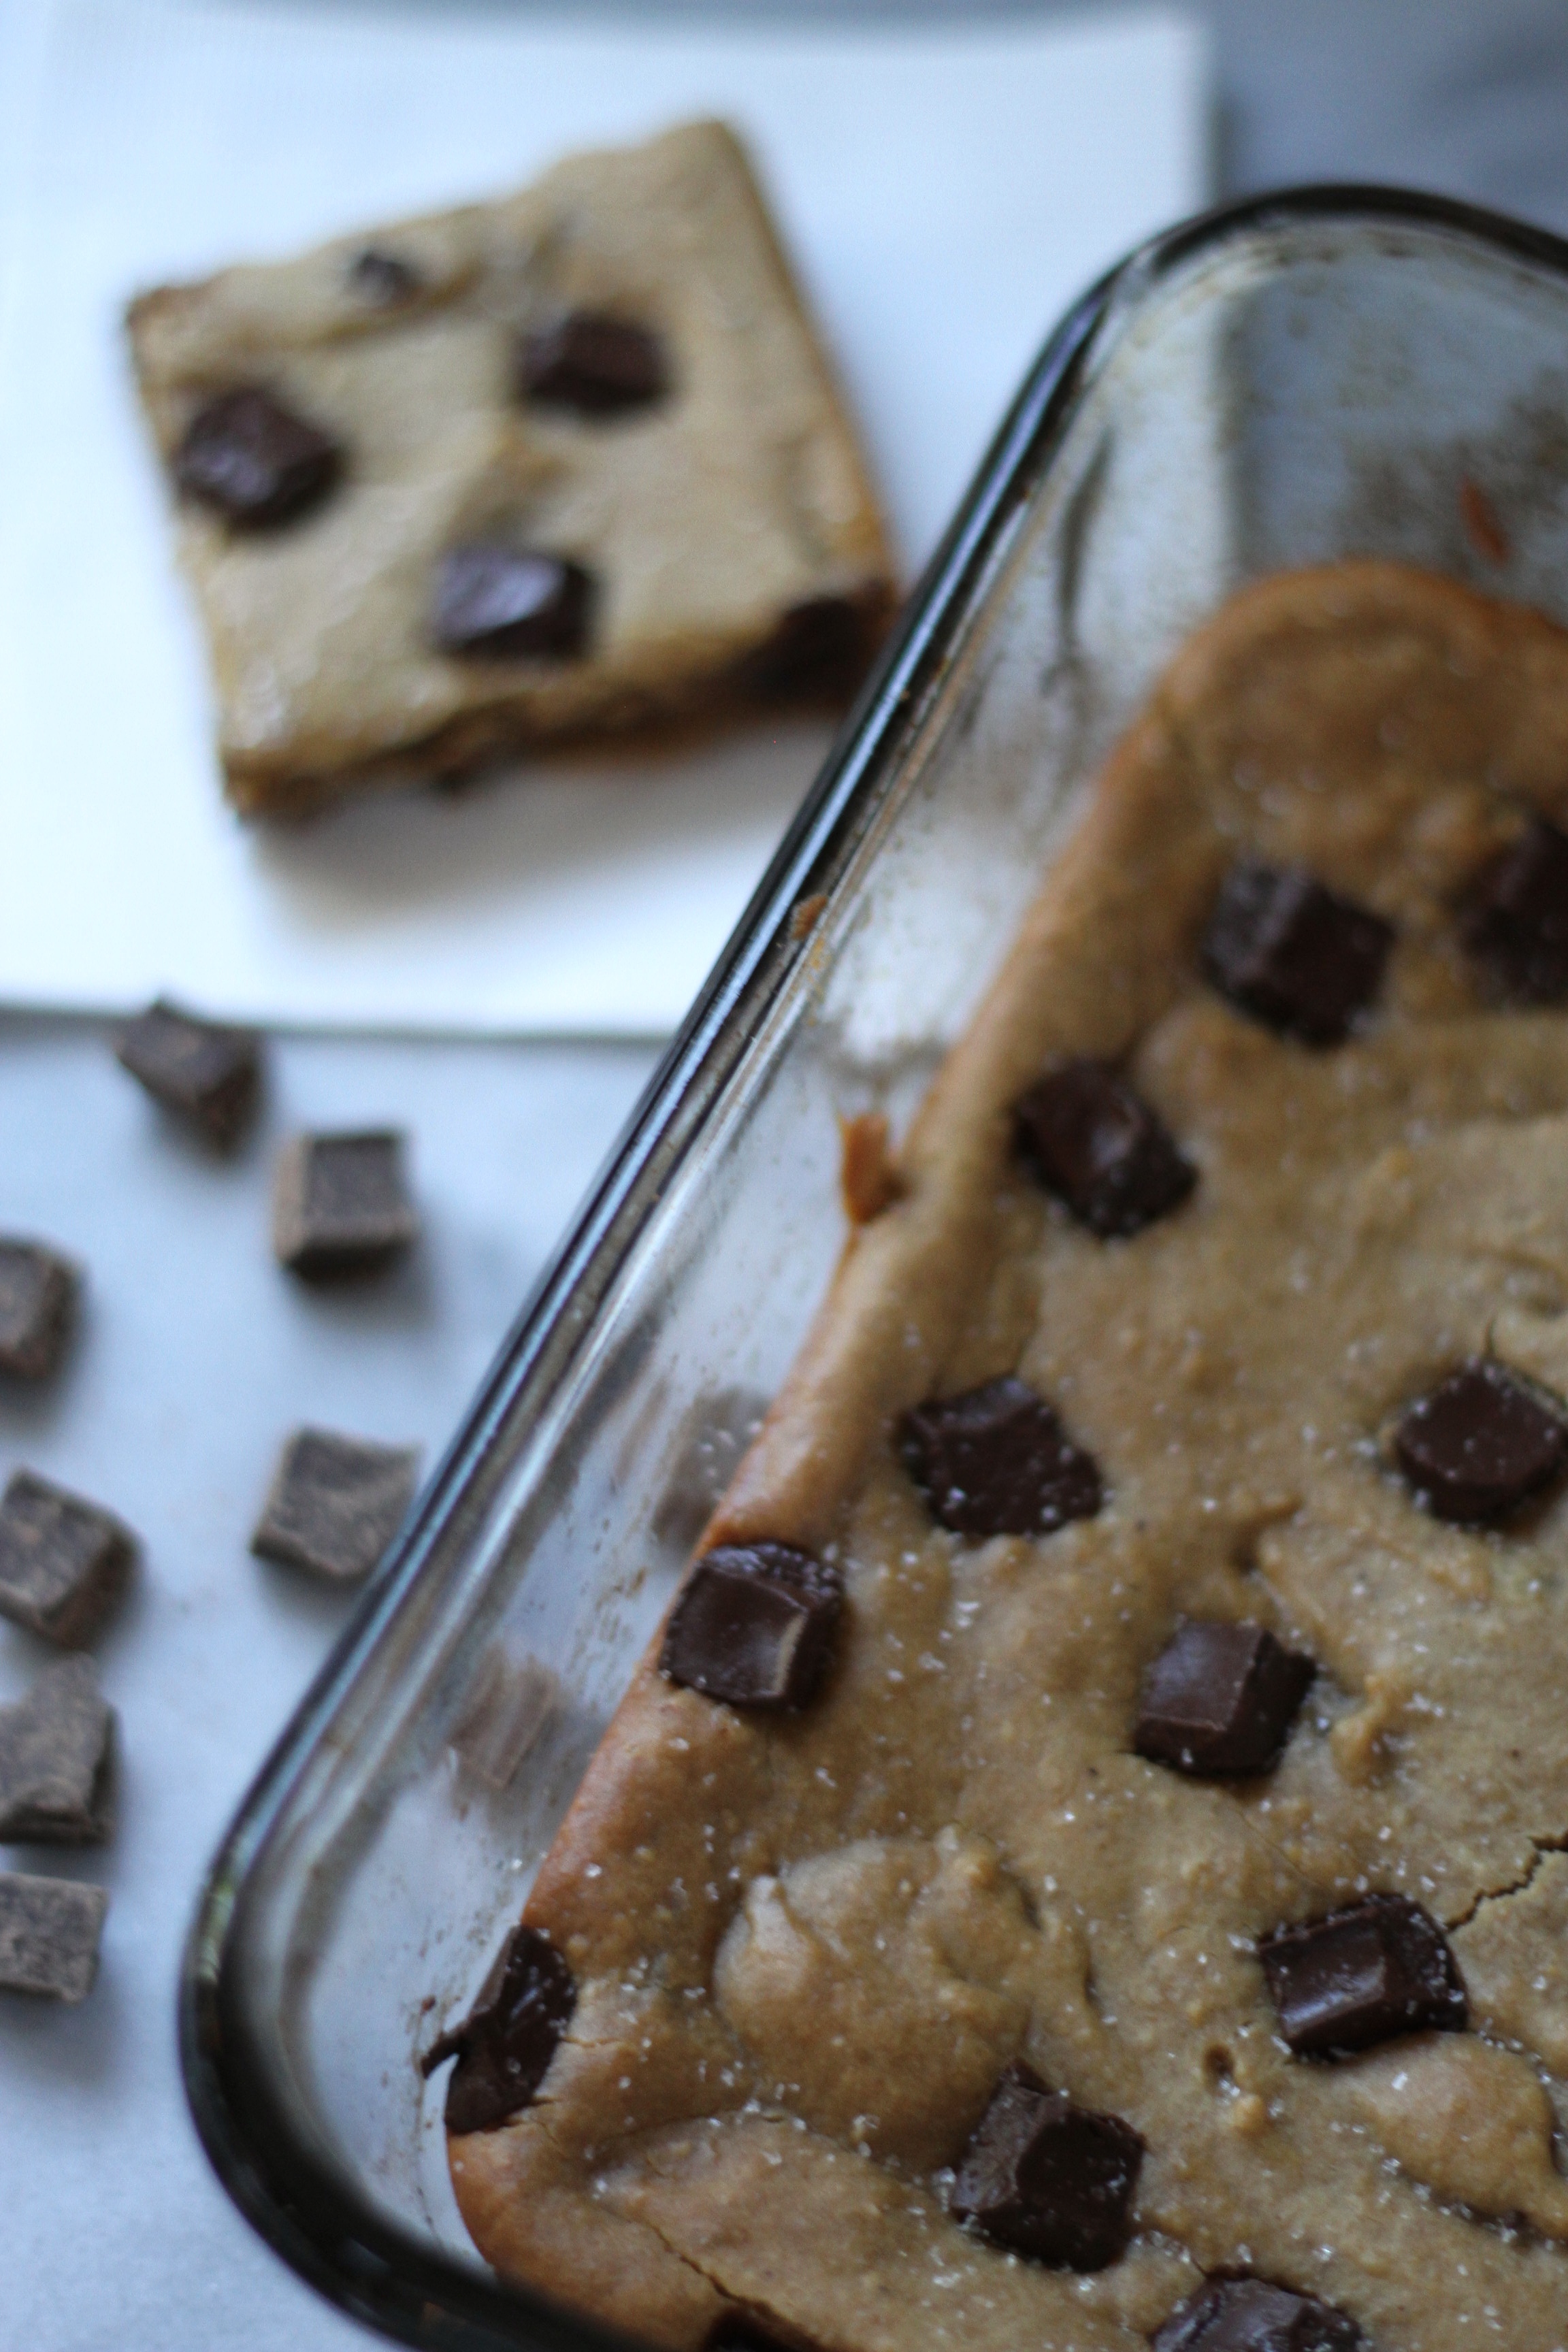
I am a big fan of Ambitious Kitchen and she constantly posts amazing baked goods with a “healthy” twist. Since completing the Barre3 Spring Challenge, I’ve wanted to continue healthy eating habits (low gluten, low sugar, etc.) but I still love an occasional sweet and wanted to find something that could accommodate my new spectrum. I’ve had these Blondies pinned for quite some time and finally made the plunge (no idea what took me so long… they took 5 minutes to whip up with only a 20 minute cook time) and couldn’t be happier I did!

IMG_1666

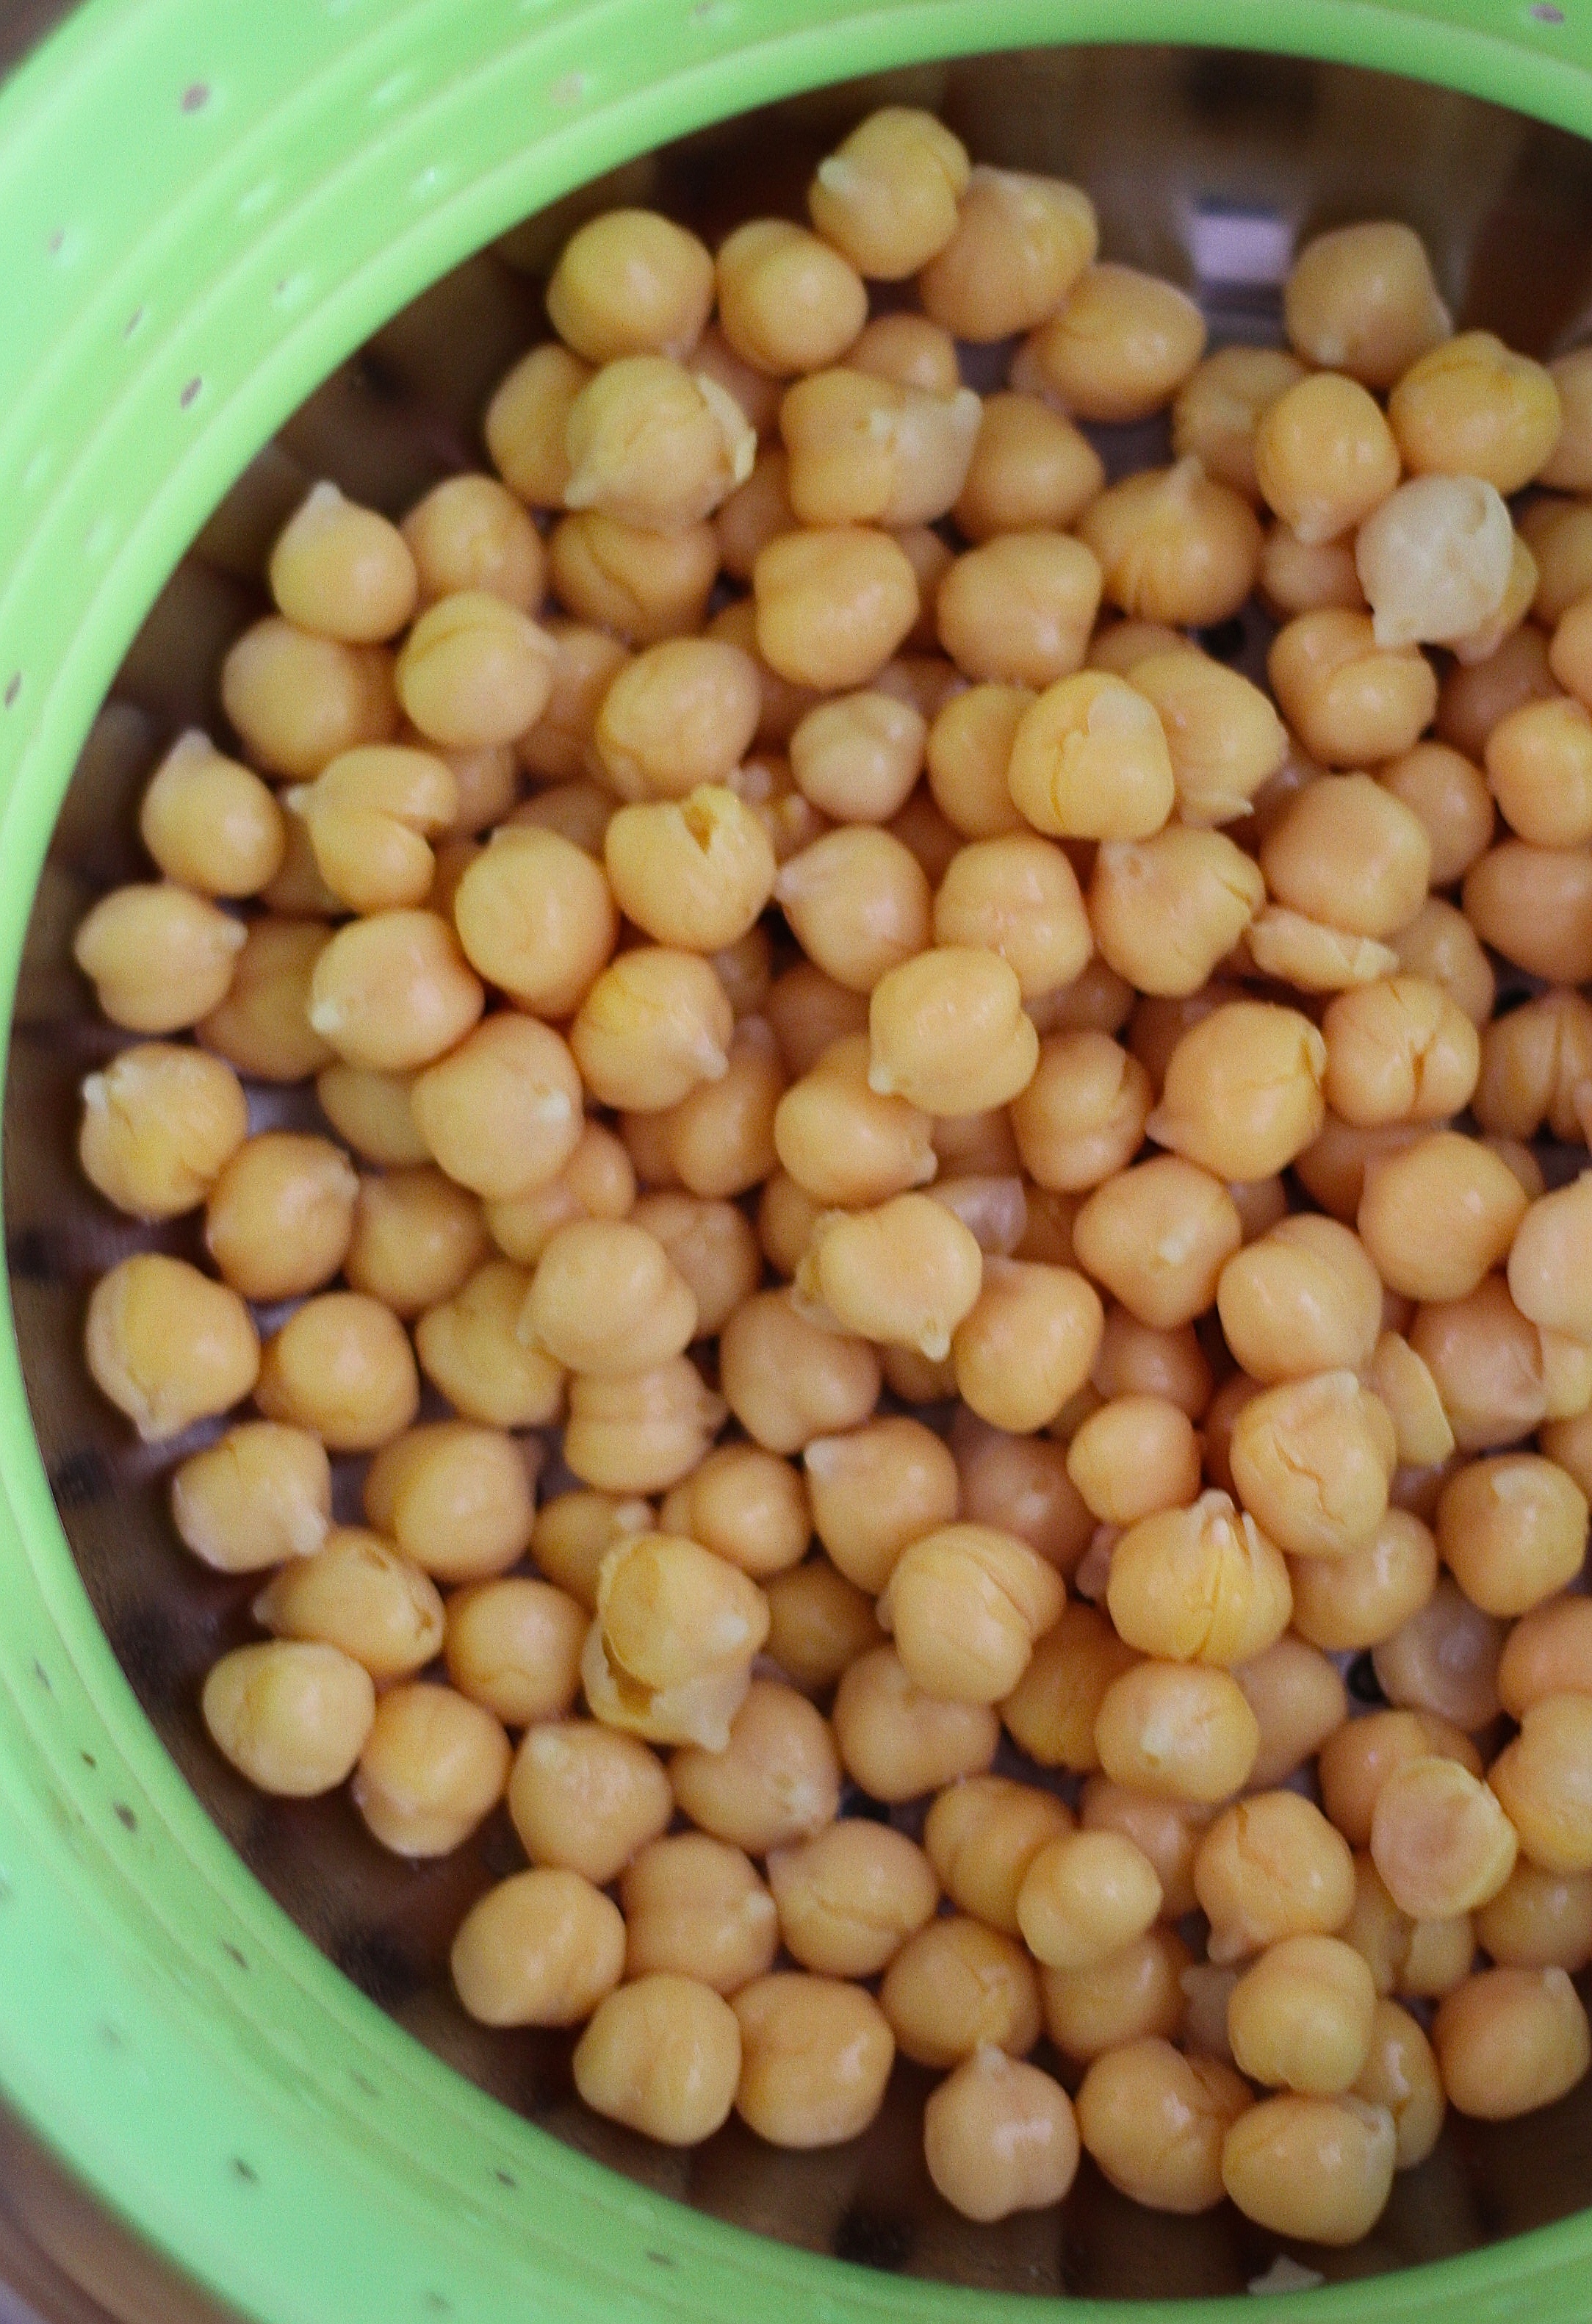
I love the idea of “sneaking in” veggies when I can… and this whole movement of incorporating healthy ingredients is RIGHT up my alley.  Avocados in brownies? Chickpeas in Blondies? Sign me up. Plus who doesn’t love a secret ingredient?!?

IMG_1661


Secret Ingredient Blondies
  • 1 can (15 oz) chickpeas, rinsed & drained
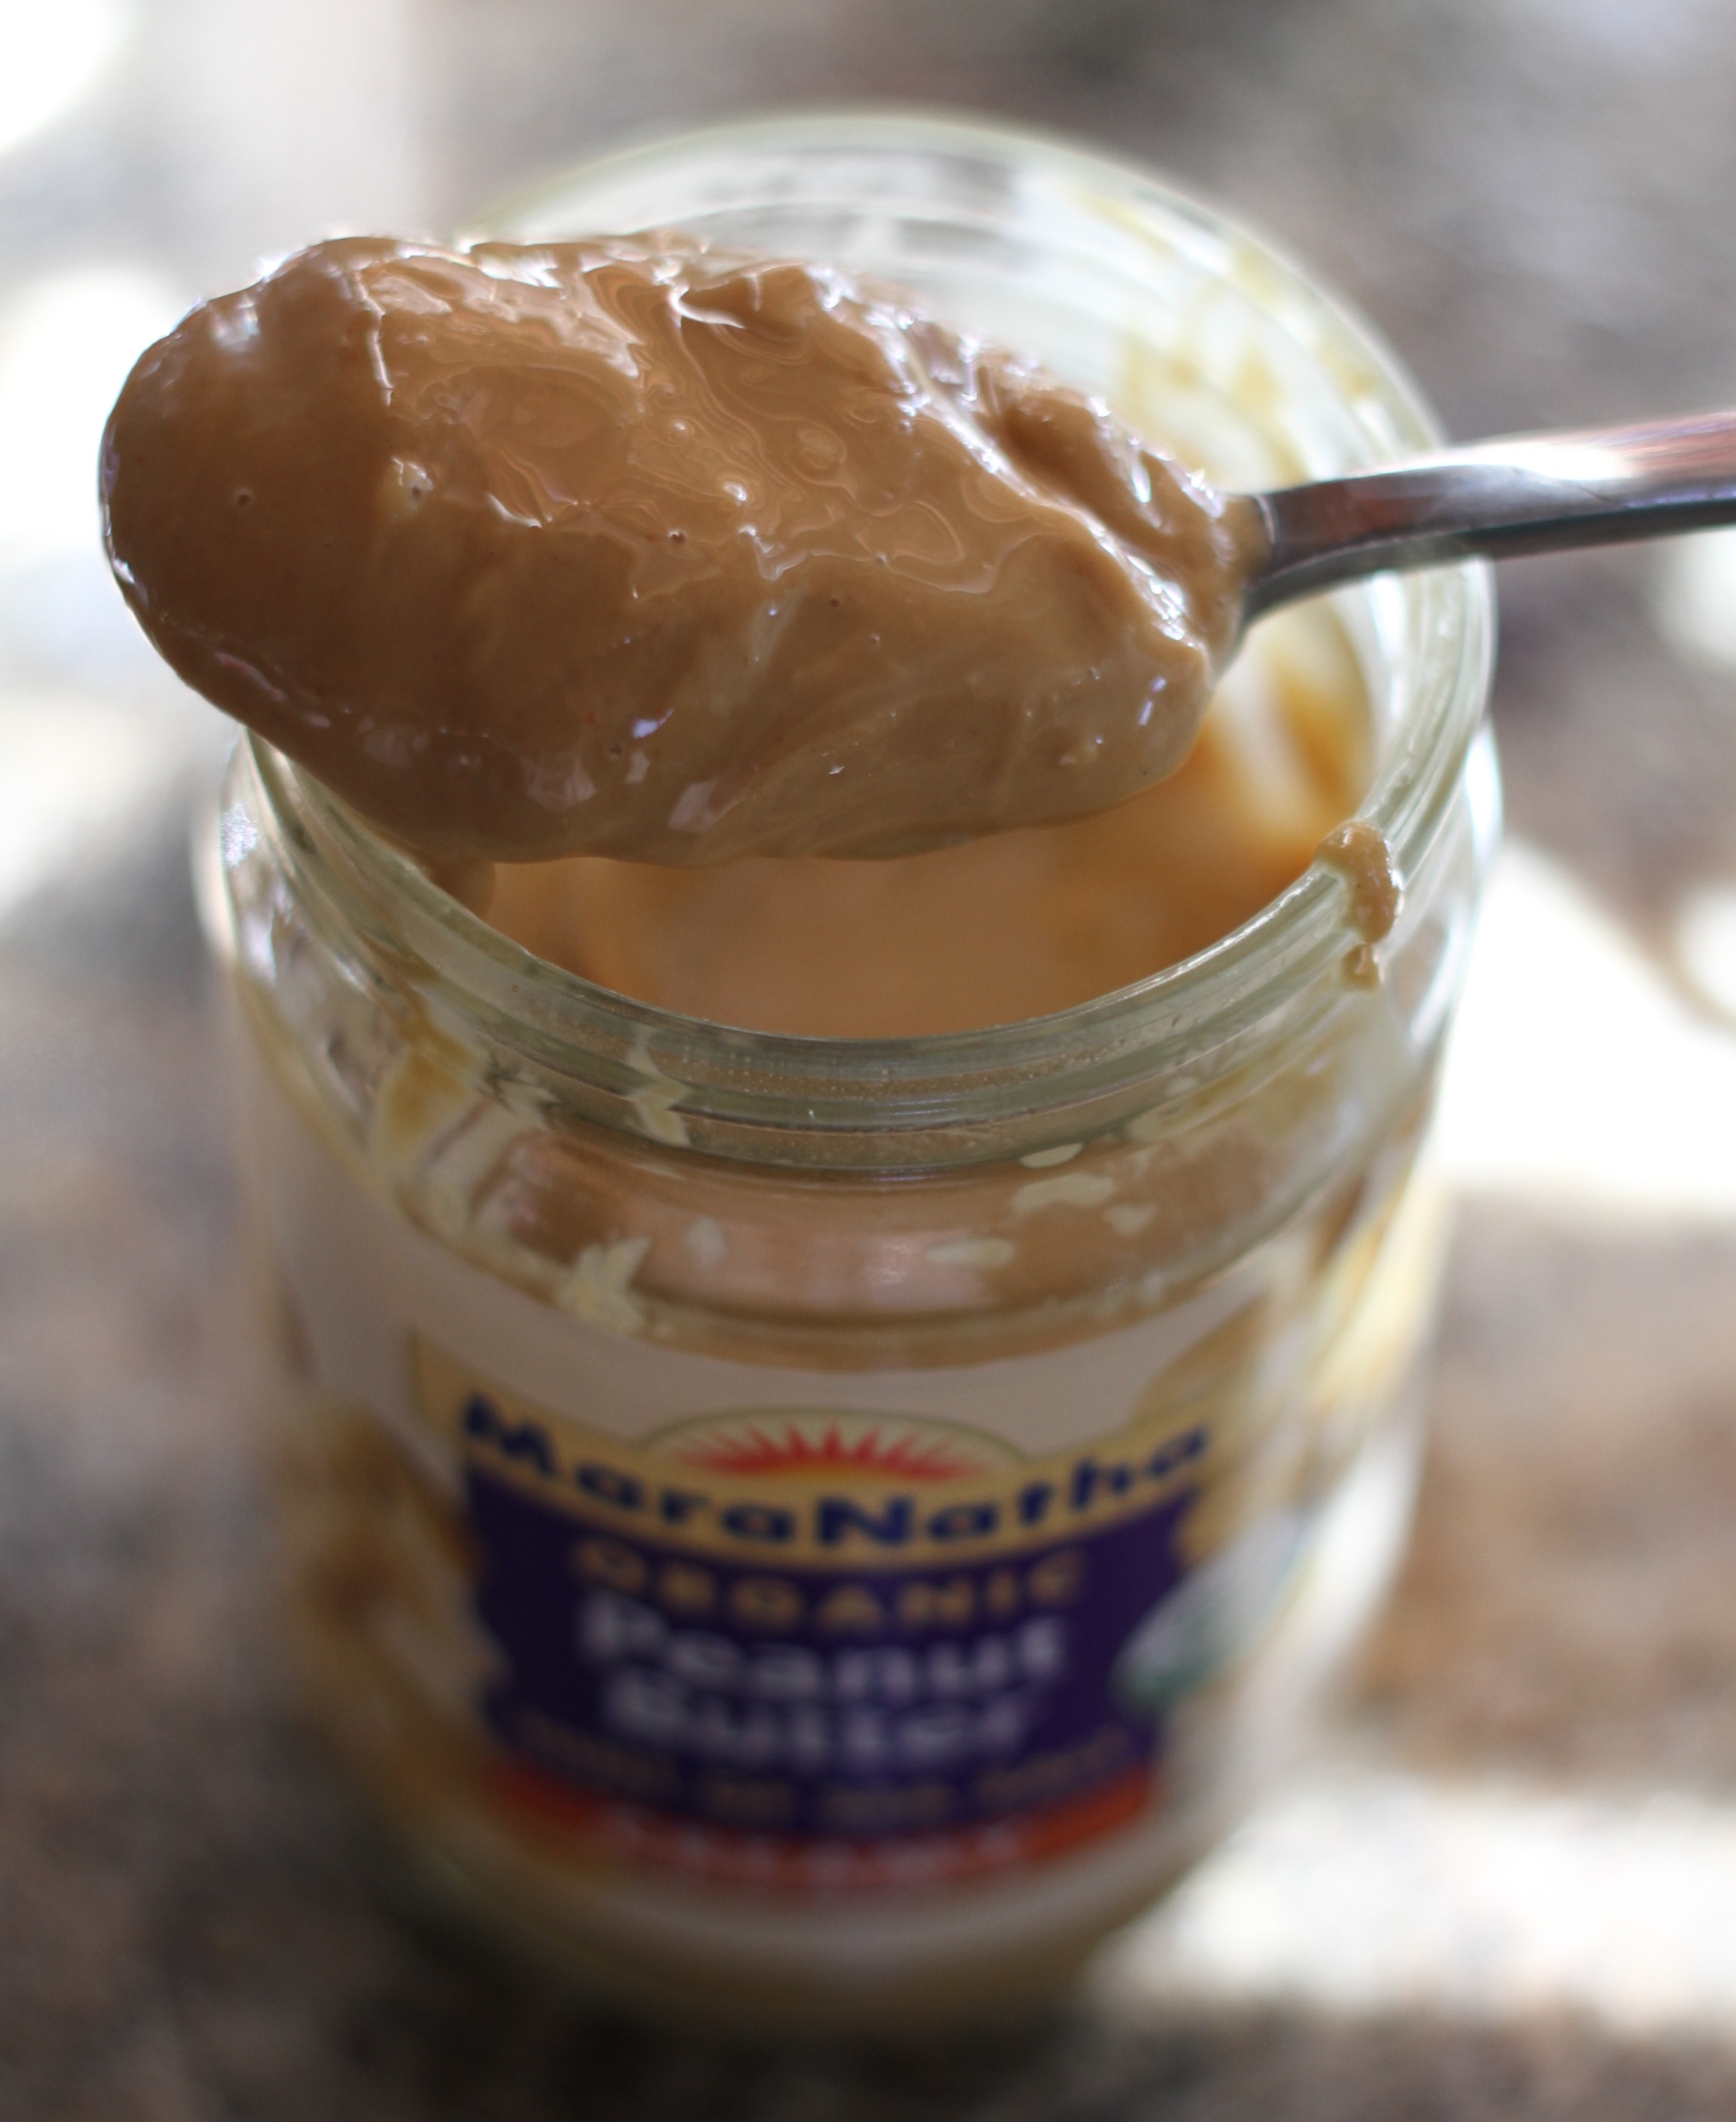
  • 1/2 cup all natural peanut butter (or nut butter of your choice)
  • 1/3 cup pure maple syrup (or agave or honey)
  • 2 teaspoons vanilla
  • 1/2 tsp salt
  • 1/4 teaspoon baking powder
  • 1/4 teaspoon baking soda
  • 1/3 cup dark chocolate chips
  1. Preheat oven to 350 degrees
  2. Mix all ingredients (except chocolate) in a blender or food processor until well combined.
  3. Fold in chocolate chips.
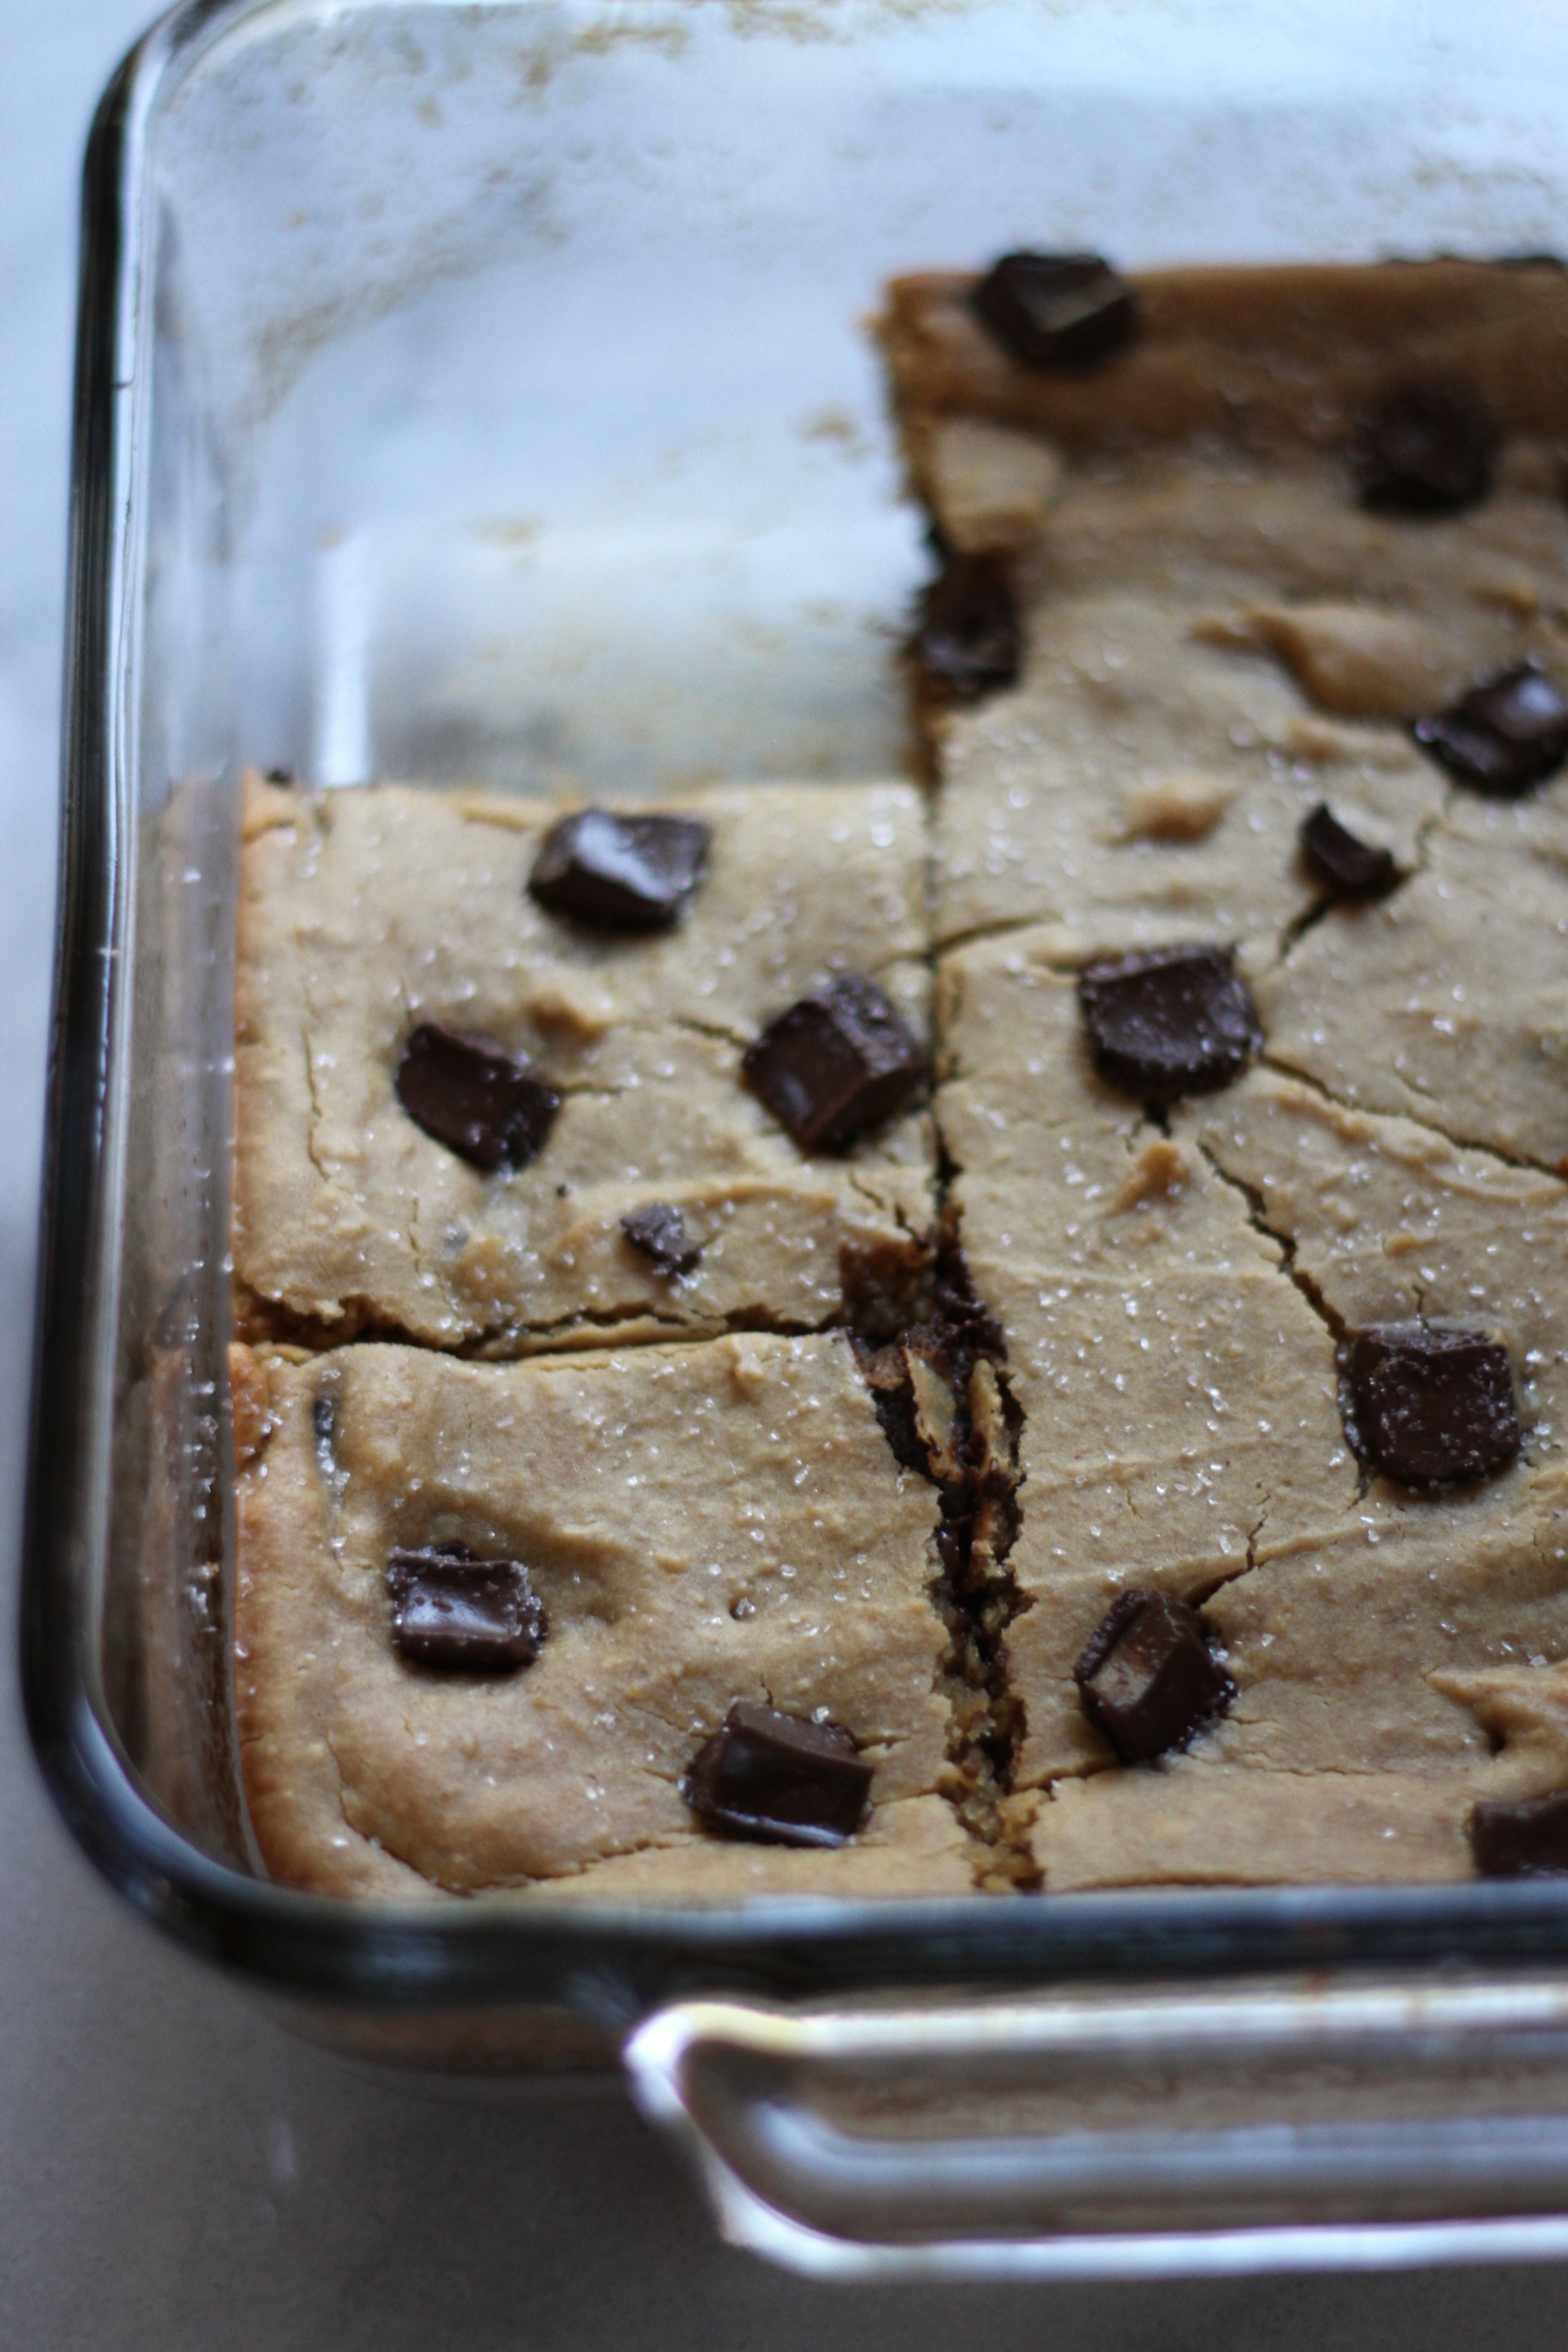
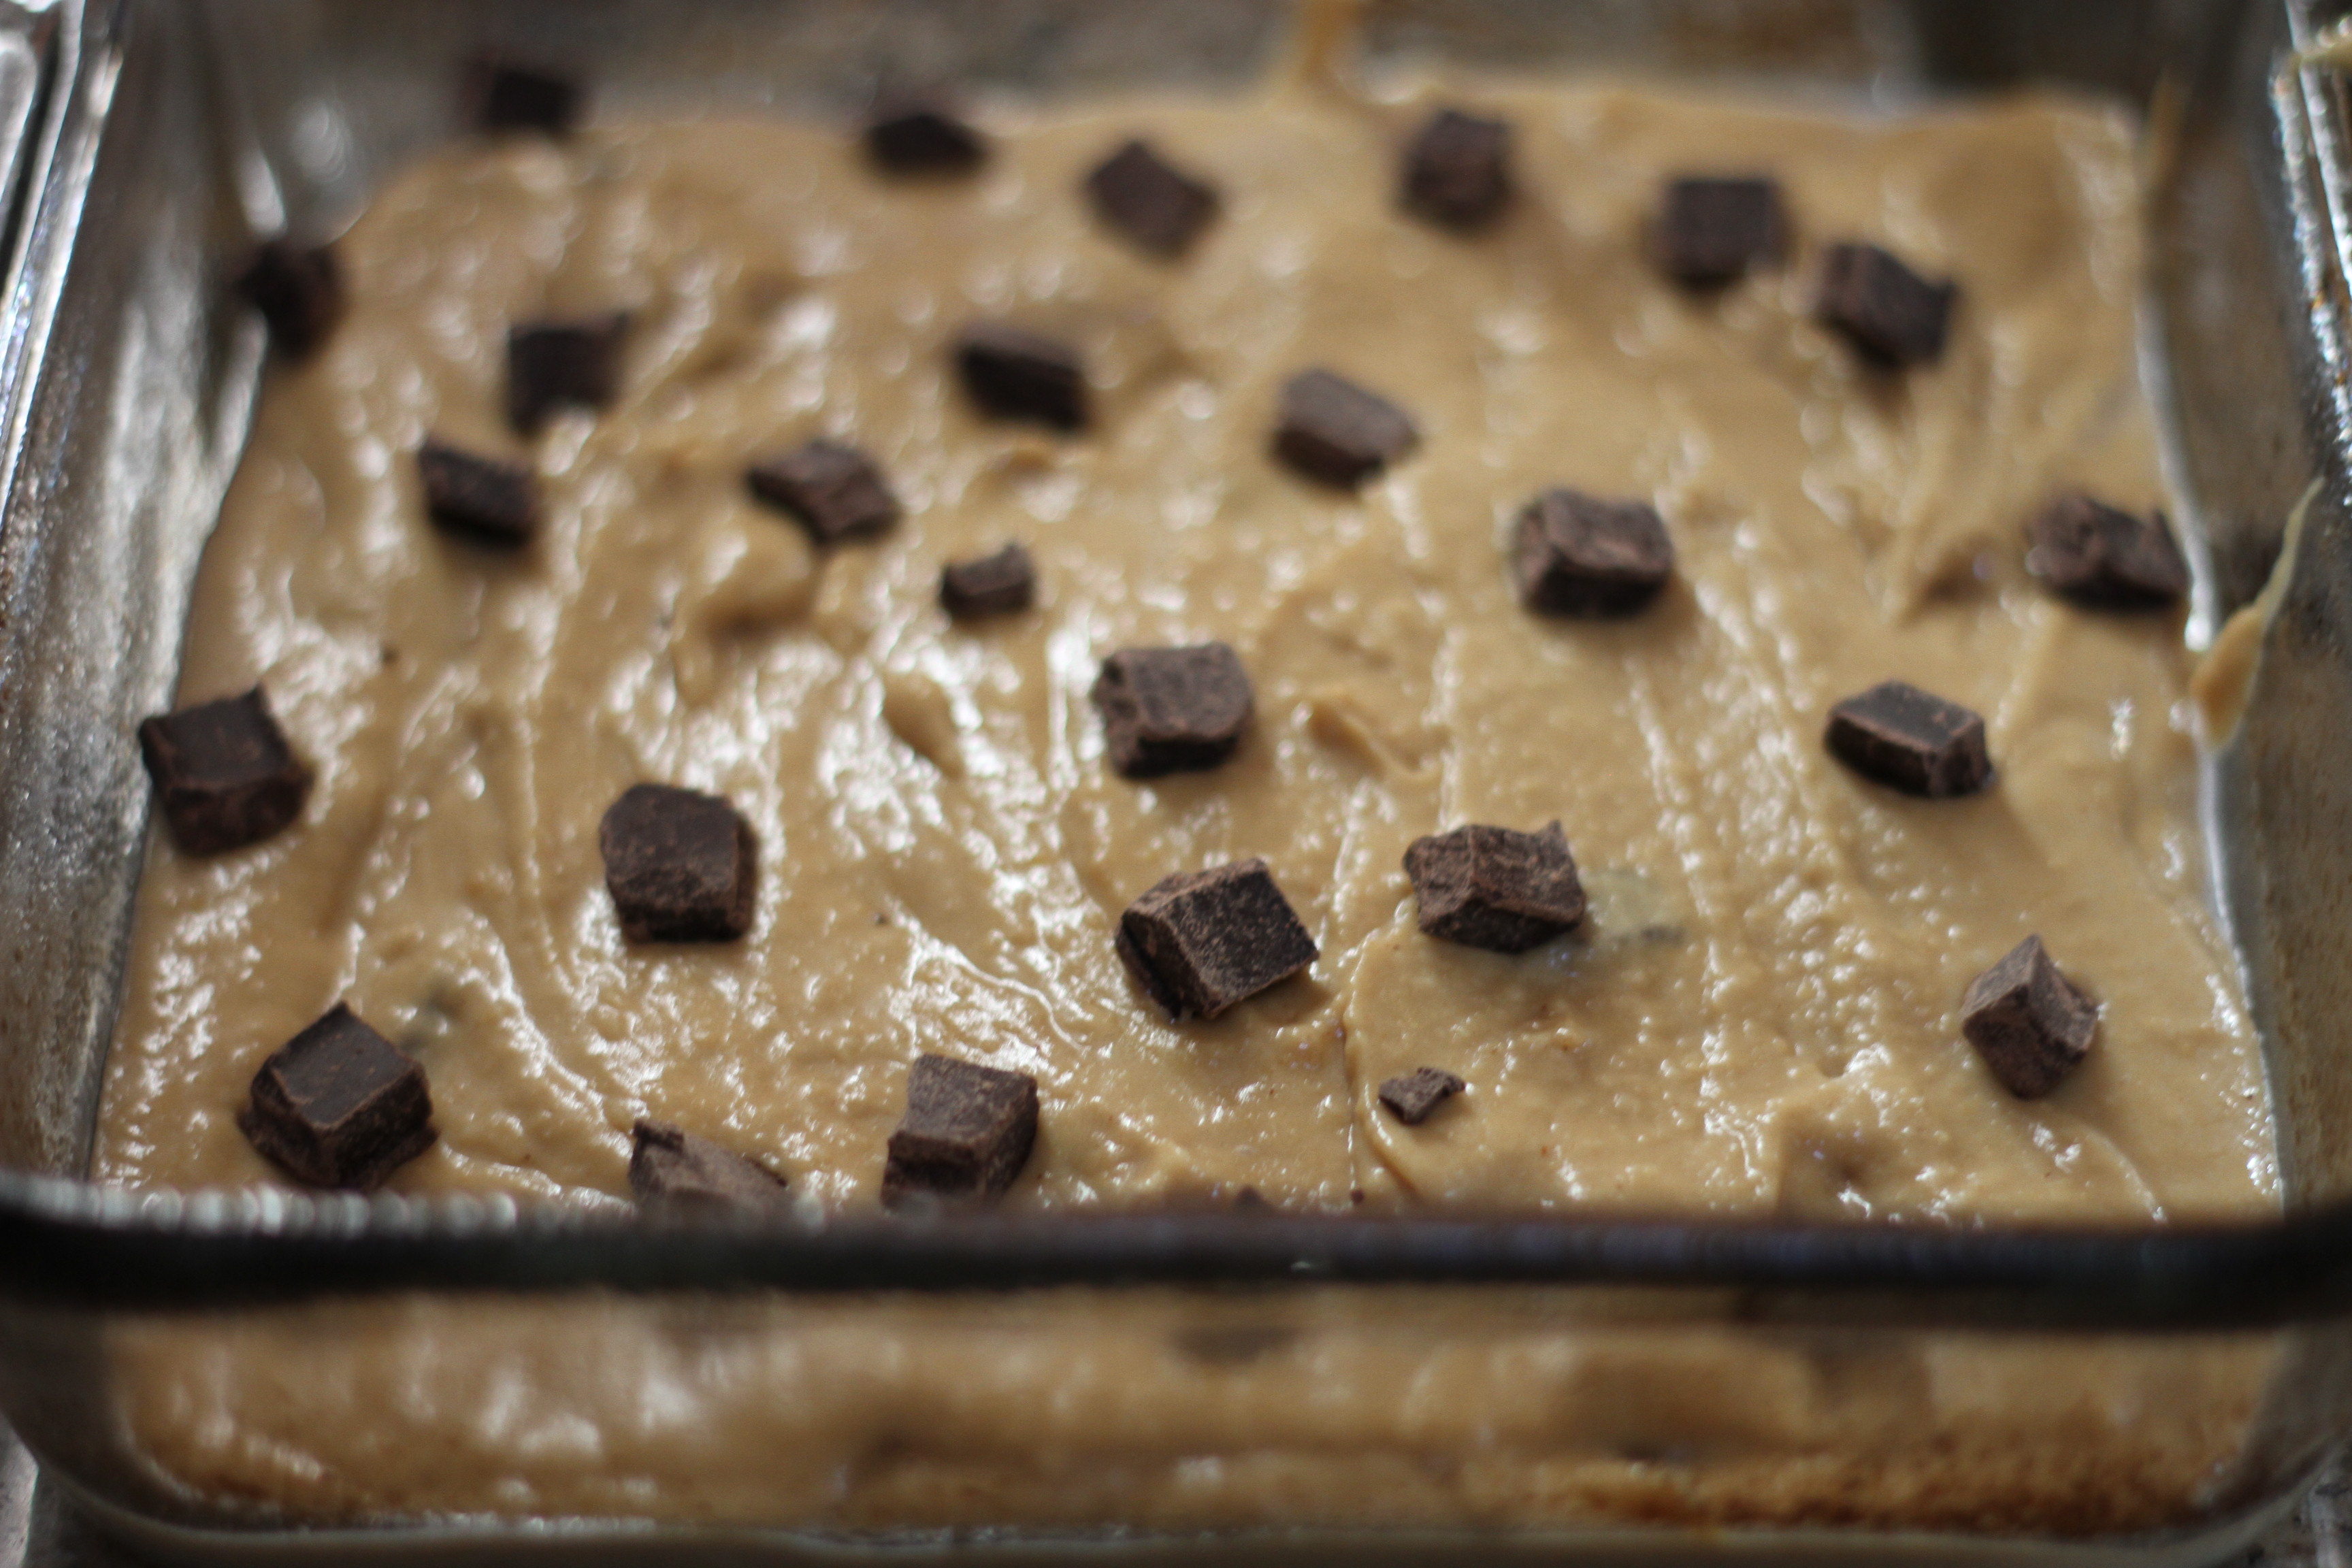
  4. Transfer  batter to a greased 8×8 baking dish.
  5. Sprinkle with a few more chocolate chips
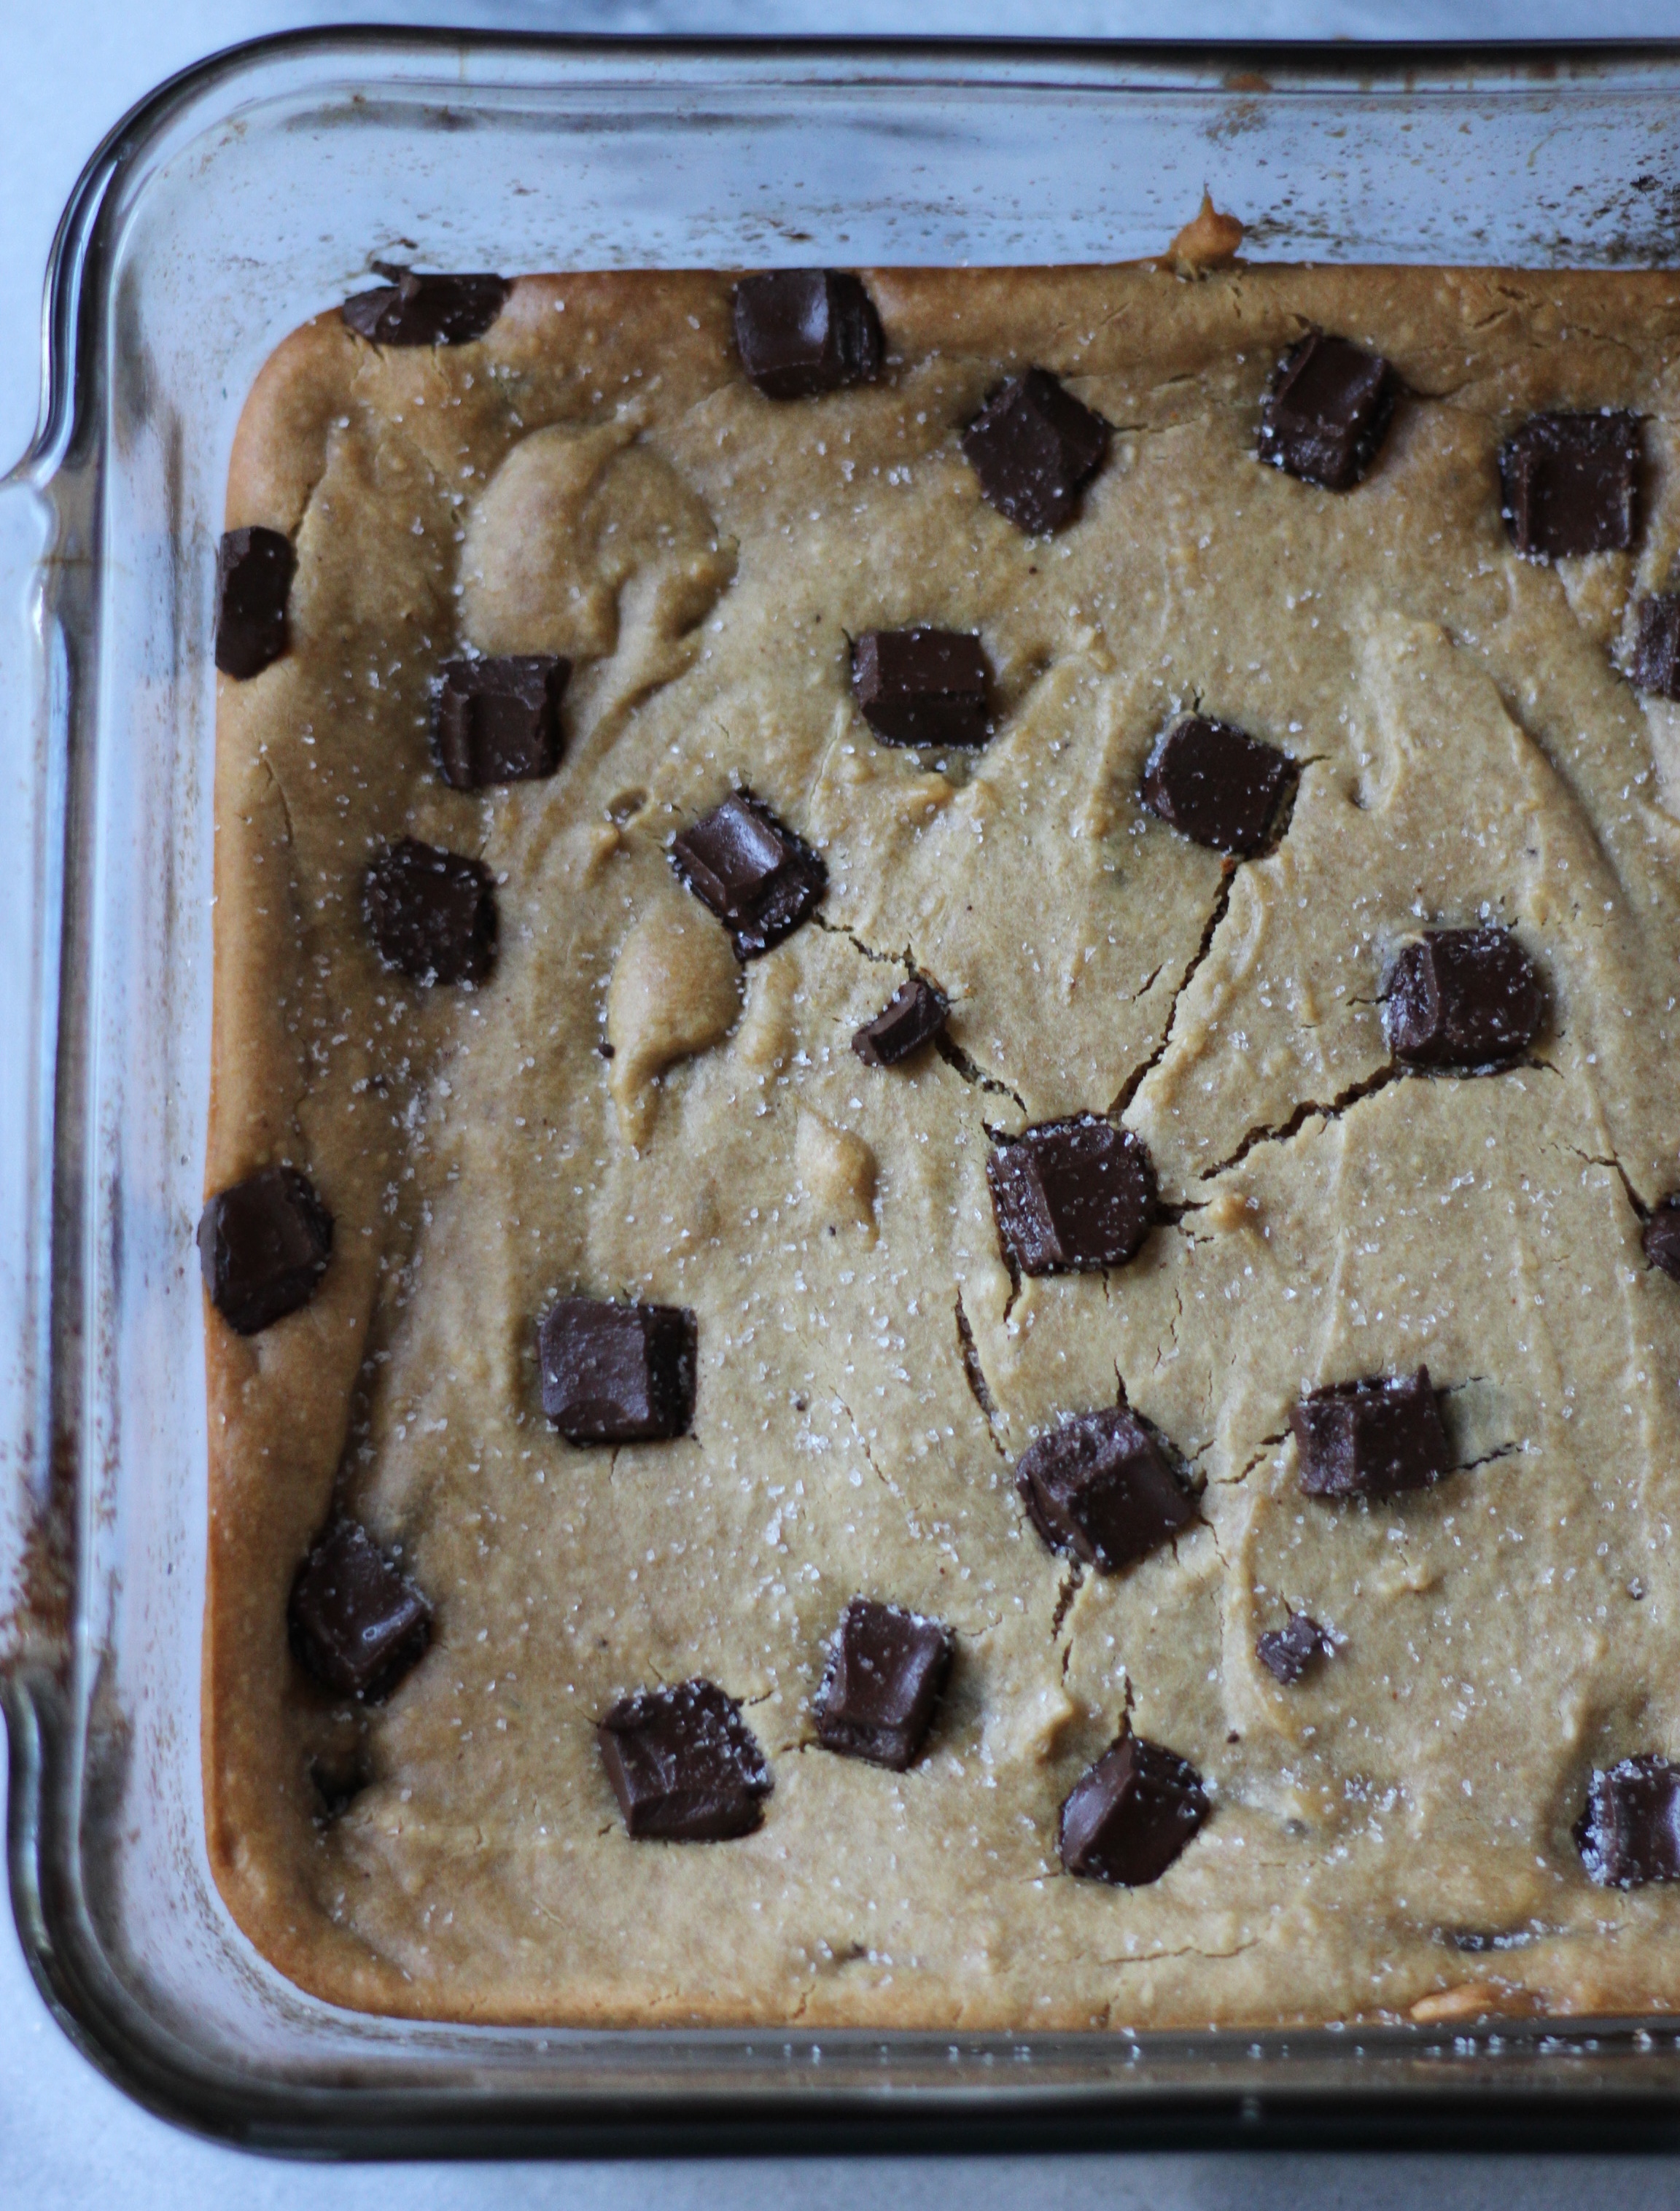
  6. Bake for 20-25 minutes (edges are golden, but it will still seem a little undercooked – you don’t want it to dry out!)
  7. Sprinkle with sea salt and let cool.

IMG_1622

IMG_1626

IMG_1637

IMG_1659

IMG_1664

IMG_1690


Tasty

Blood Orange Granita

May 28, 2014

IMG_0225

One of my family’s favorite restaurants is Evvia in Palo Alto (or their sister restaurant Kokkari in the city).  While we always over indulge with each course, we somehow always have room for dessert (don’t you hate how that happens!?)… and this is the PERFECT, most refreshing (and guilt free) dessert of them all.

IMG_5764

Blood Orange Granita

  • 4 cups juice of your choice (we used blood orange juice… watermelon and strawberry are other great options)
  • 1/4 cup simple syrup
  • a squeeze of lemon juice
  1. Combine mixture and pour into a metal rimmed baking sheet.
  2. Freeze for 3 hours.
  3. Once set, use a fork to scrape dessert into a slushie consistency.
  4. Top with frozen Greek Yogurt (I literally mean freeze a tub of full fat Greek yogurt and use an ice cream scoop to serve it atop your granita).

IMG_0226

Tasty

Gluten Free Peanut Butter Cookies

March 5, 2014

IMG_7747

In preparation for our annual family vacation, the Feezor females have kicked healthy eating into over drive – gotta get swimsuit ready!  That being said, I still have a major sweet tooth, and sometimes it just cannot be denied.

IMG_7724

I have been on the prowl to figure out a great dessert option that is quick, easy and has a little bit less guilt factor.  I introduce you to – the Gluten Free Peanut Butter Cookie – created by the very talented Shockingly Delicious!  I’m telling you, with 5 ingredients, and no usual gluten free baking ingredients (you know what I’m talking about – aarowroot starch, xanthan gum, tapioca flour – WHO HAS THIS IN THE PANTRY?!), this is a great way to fight a craving before you walk down to 7-11 to binge out on Snickers Bars and Skittles.

IMG_7742


GF Peanut Butter Cookie

via Shockingly Delicious

  • 1 egg
  • 1 cup sugar
  • 1 cup creamy peanut butter (I used organic TJ’s)
  • 1 teaspoon vanilla extract
  • 1/2 teaspoon baking soda
  1. Heat oven to 350 degrees.
  2. Blend above ingredients in a Kitchen Aid mixer until well mixed (about a minute or so).
  3. Use a cookie scoop to portion cookie dough to a Silpat or parchment lined cookie sheet.
  4. Using fork tines, press the usual “peanut butter cookie crosshatch” pattern into the tops of the dough balls.
  5. Sprinkle course sugar (I used raw brown sugar).
  6. Bake for 11 minutes and let cool on baking pan for 5 minutes or so (they are really fragile until they have cooled down).
  7. Let cool completely on a rack and store in airtight container.
  8. Allow yourself to eat one cookie… as to not completely botch your attempt at dieting.

IMG_7712

IMG_7715 IMG_7729

Now go make them and tell me that you would even know they are gluten free…

Tasty

Cookie Jar

July 3, 2013

An American (as well as Feezor) fan favorite will always be the chocolate chip cookie.

Chocolate Chip

Growing up I’ve tried and tested many recipes, but two of my favorite (and memorized) recipes are this one and the one below.

Chocolate Chip Cookies

  • 3 cups all purpose flour
  • 1 teaspoon baking soda
  • 1 teaspoon salt
  • 1 cup (2 sticks) unsalted butter, room temperature
  • 1 cup sugar
  • 1 cup (packed) golden brown sugar
  • 2 large eggs
  • 2 teaspoons vanilla extract
  • 1 12-oz package semisweet chocolate chips
  1. Preheat oven to 325 F. Grease a large baking sheet (or use a Silpat baking sheet). 
  2. Whisk flour, baking soda and salt in medium bowl to blend.  using electric mixer, beat butter in large bowl until light and fluffy.
  3. Add sugar and brown sugar and beat until well blended.
  4. Add eggs and vanilla and beat until mixture is creamy and well blended.
  5. Gradually add flour mixture, beating just until blended.
  6. Stir in chocolate chips.
  7. Working in batches (use an ice cream scoop or melon baller) to scoop mounded tablespoonfuls onto a prepared baking sheet.
  8. Bake cookies until pale brown, about 11-13 minutes.
  9. Cool slightly on sheet, then transfer to racks to cool.

Chocolate Chip Cookie021

Tips:

  1. Make sure to let butter sit out to room temperature (this is key in ALL baking… butter temperature can make or break any baked treats).  It needs to be soft to the touch but not melted.
  2. If you bake at all, you MUST invest in a Kitchen Aid.  It makes baking so much easier and makes for perfectly incorporated cookies that are chewy, crunchy and all around amazing!
  3. Silpat baking sheets are another great investment.  You don’t have to grease your baking sheets (which helps with cleaning up), and you’ll never have to worry about cookies burnt on the bottom!

016

024

029

Tasty

Homemade Snicker Bars

May 15, 2013

My mom’s most famous recipe is her homemade snicker bars.  I haven’t bought a Snicker bar… well pretty much ever. And here is the reason why…

snicker bar
Josee’s Famous Snicker Bars

  • 2 cups chocolate chips, divided use
  • 3/4 cup peanut butter, divided use
  • 1/2 cup butterscotch chips, divided use
  • 1 cup sugar
  • 1/4 cup milk
  • 1/4 cup butter
  • 1-7 oz jar marshmallow creme
  • 2 teaspoon vanilla
  • 1 1/4 cup salted peanuts
  • 1-14 oz package caramel squares
  • 1/4 cup evaporated milk

Directions:

  1. First Layer: Melt 1 cup of chocolate chips, 1/4 cup peanut butter, and 1/4 cup butterscotch chips in a saucepan over low heat. Spread mixture in 9×13″ pan. 
  2. Second Layer: Boil sugar, milk and butter in a saucepan for 5 minutes.  Add 1/4 cup peanut butter, marshmallow creme and vanilla.  Mix in salted peanuts. Spread over 1st layer.
  3. Third Layer: Melt caramels and evaporated milk together. Spread over second layer.
  4. Fourth Layer: Melt 1 cup chocolate chips, 1/4 cup of peanut butter, and 1/4 cup of butterscotch chips in saucepan and spread over third layer.
  5. Chill for 40 minutes then cut into squares (don’t let it get too hard, because it will crack when you try to cut squares).

Notes:

  • Put the pan in the fridge while making the next layer…  It helps to spread the next layer more easily. 
  • BUT don’t let the pan of candy sit out for long periods of time before returning it to the fridge… it will make it  sweat and turn your chocolate to a powdery spotted finish.

snicker bars snicker bar give thanks