Browsing Tag

diy

Domestic

How to Remove Labels Off of Bottles

November 18, 2014

IMG_6167

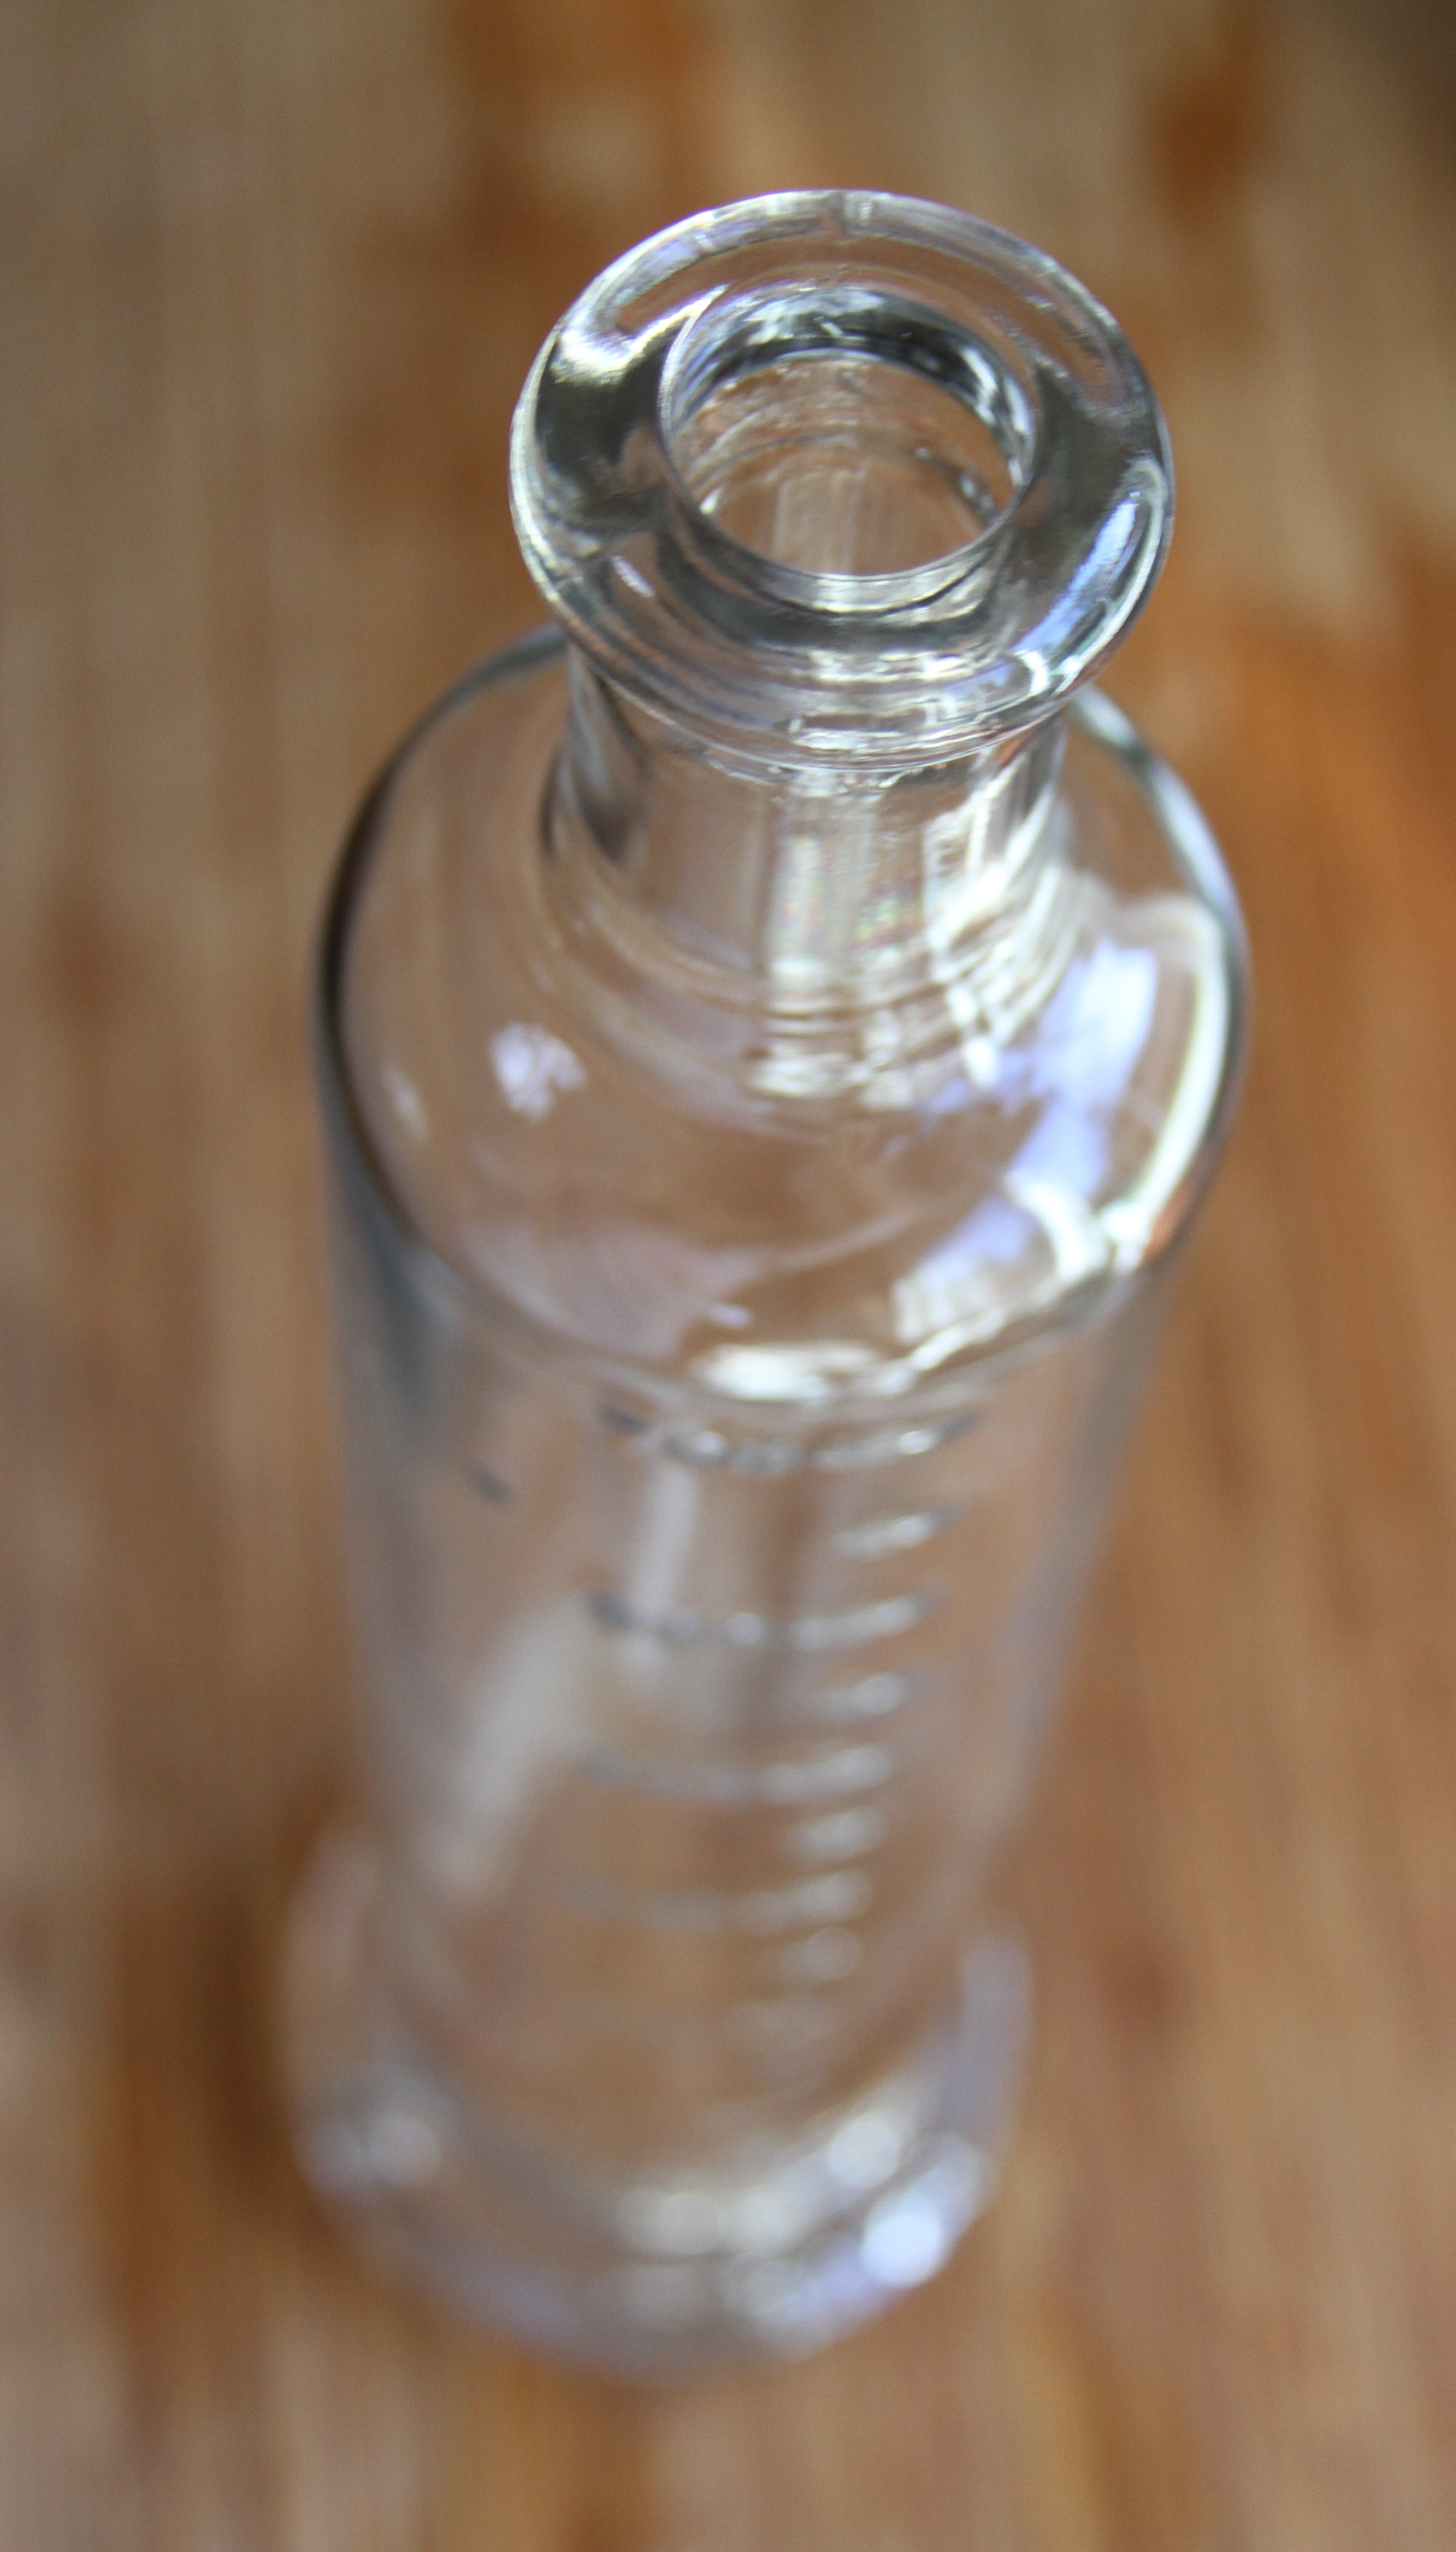
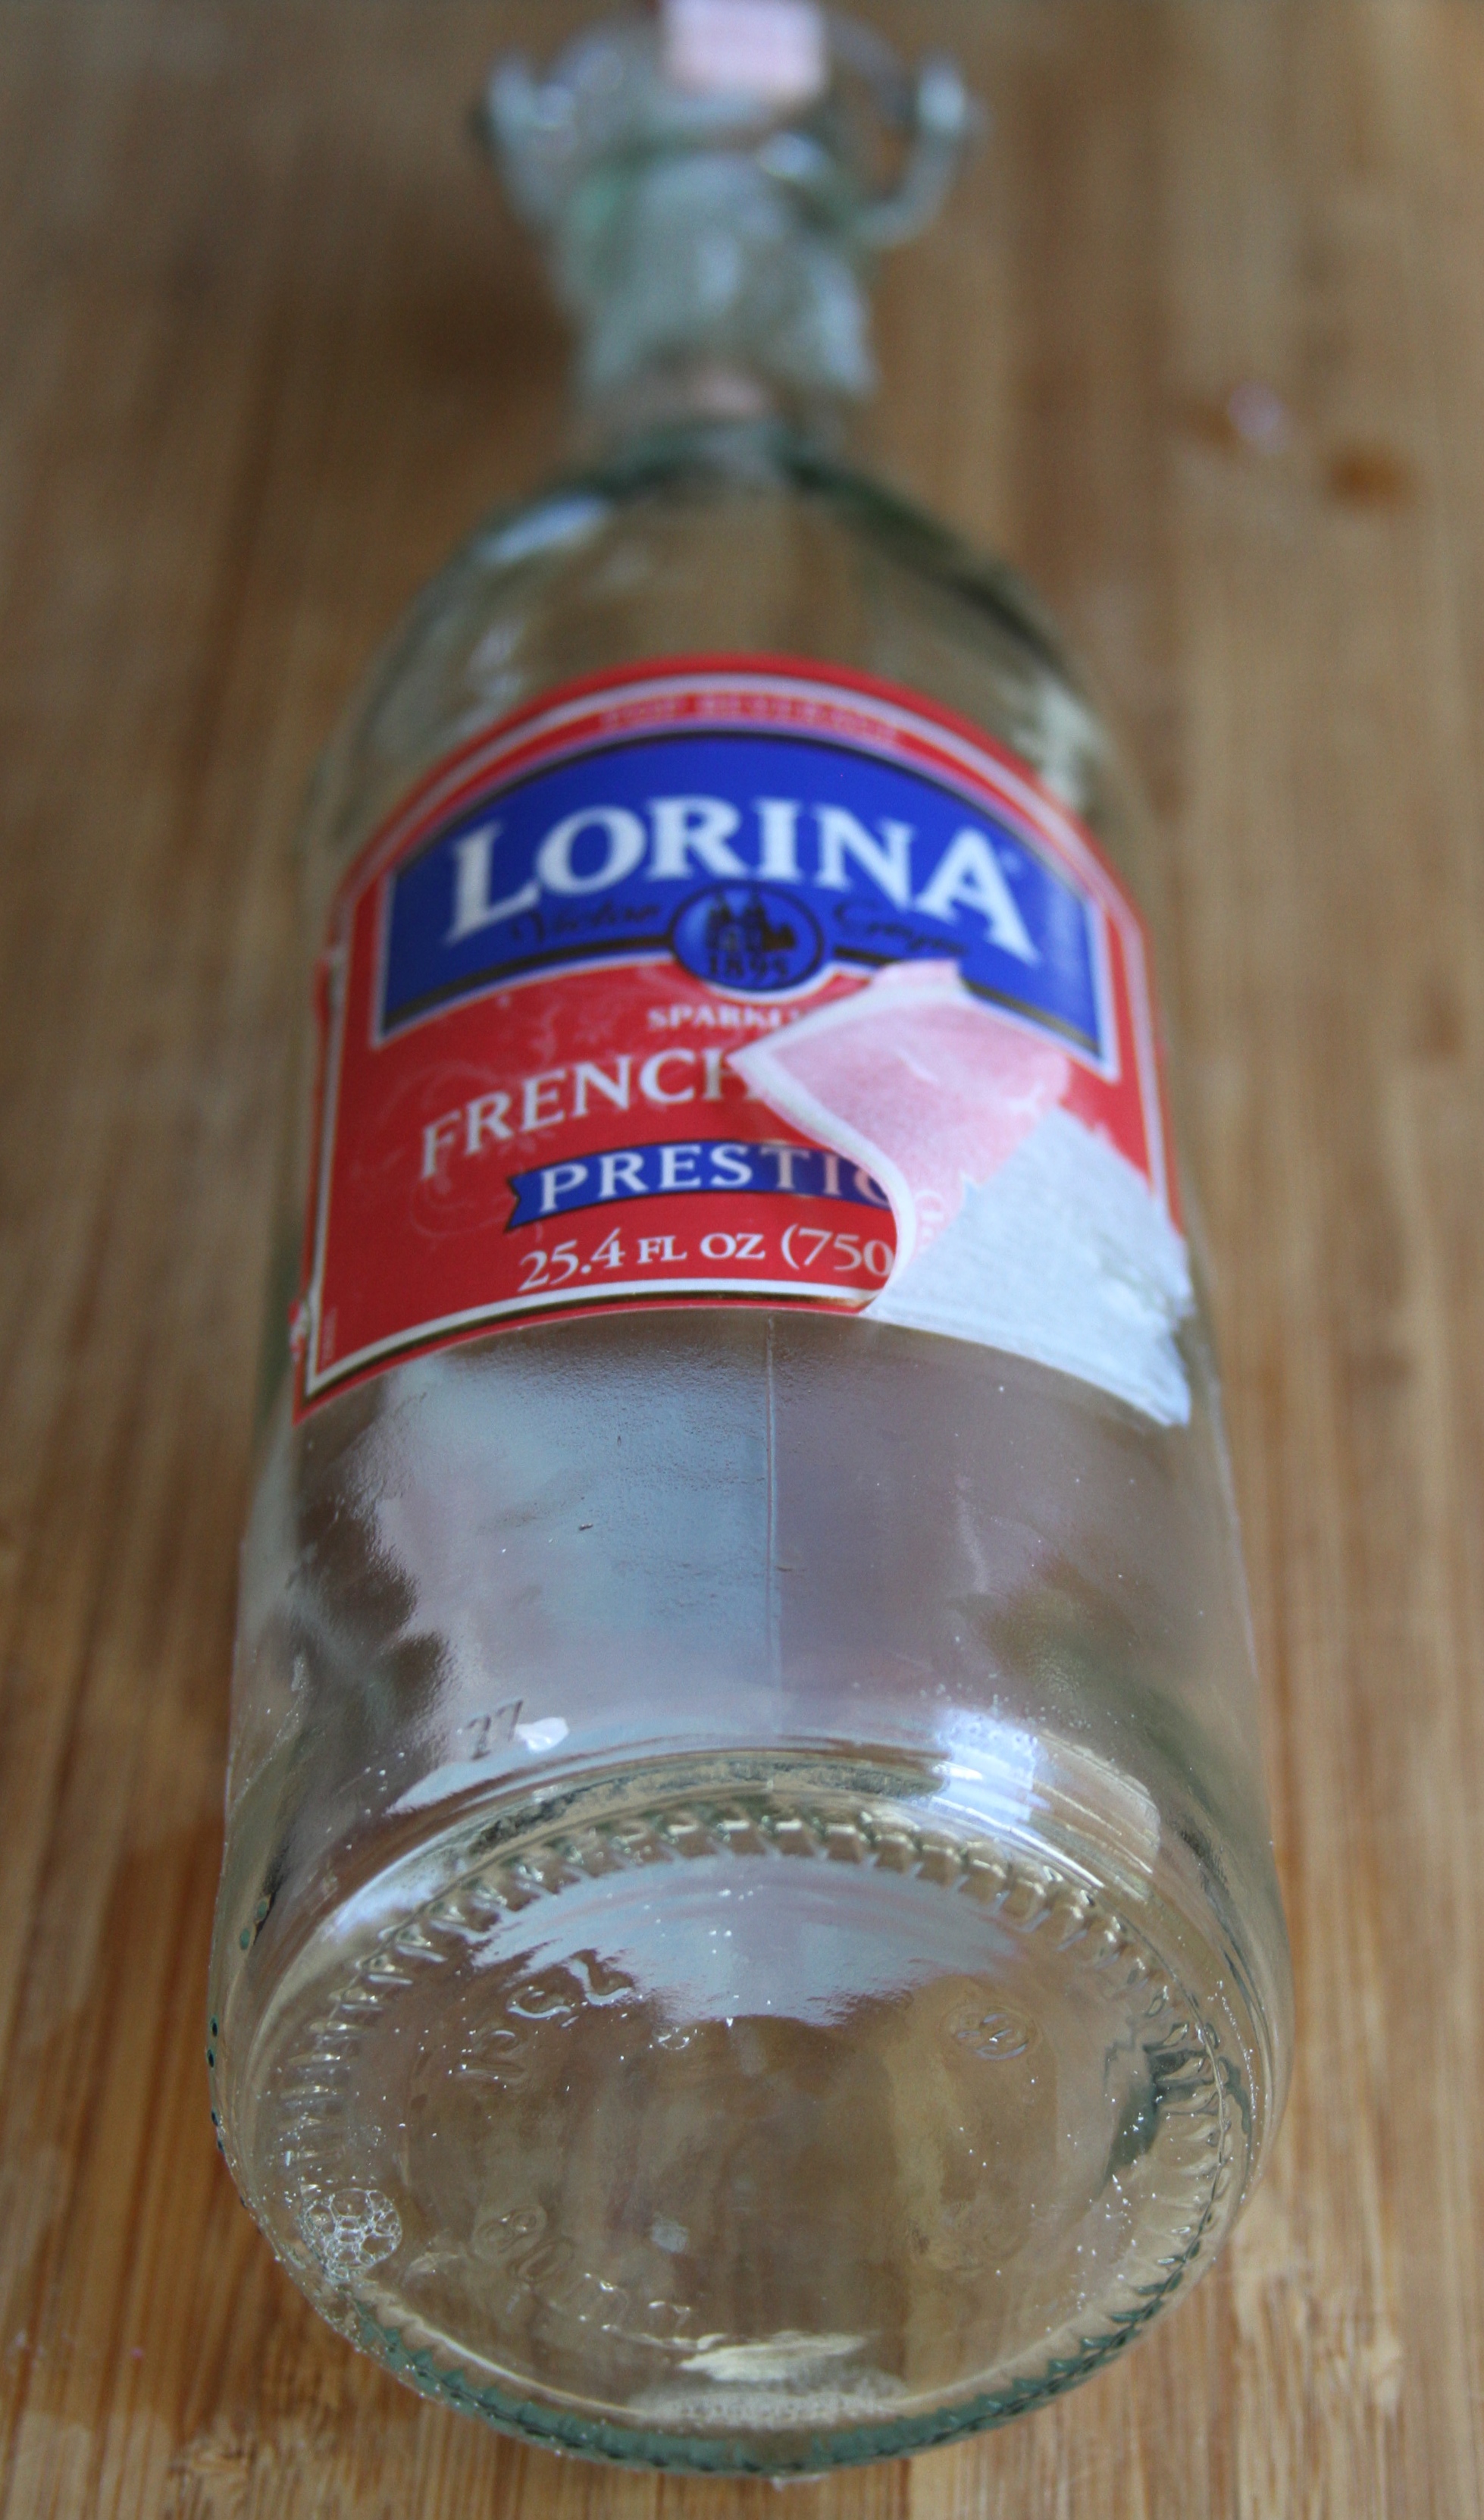
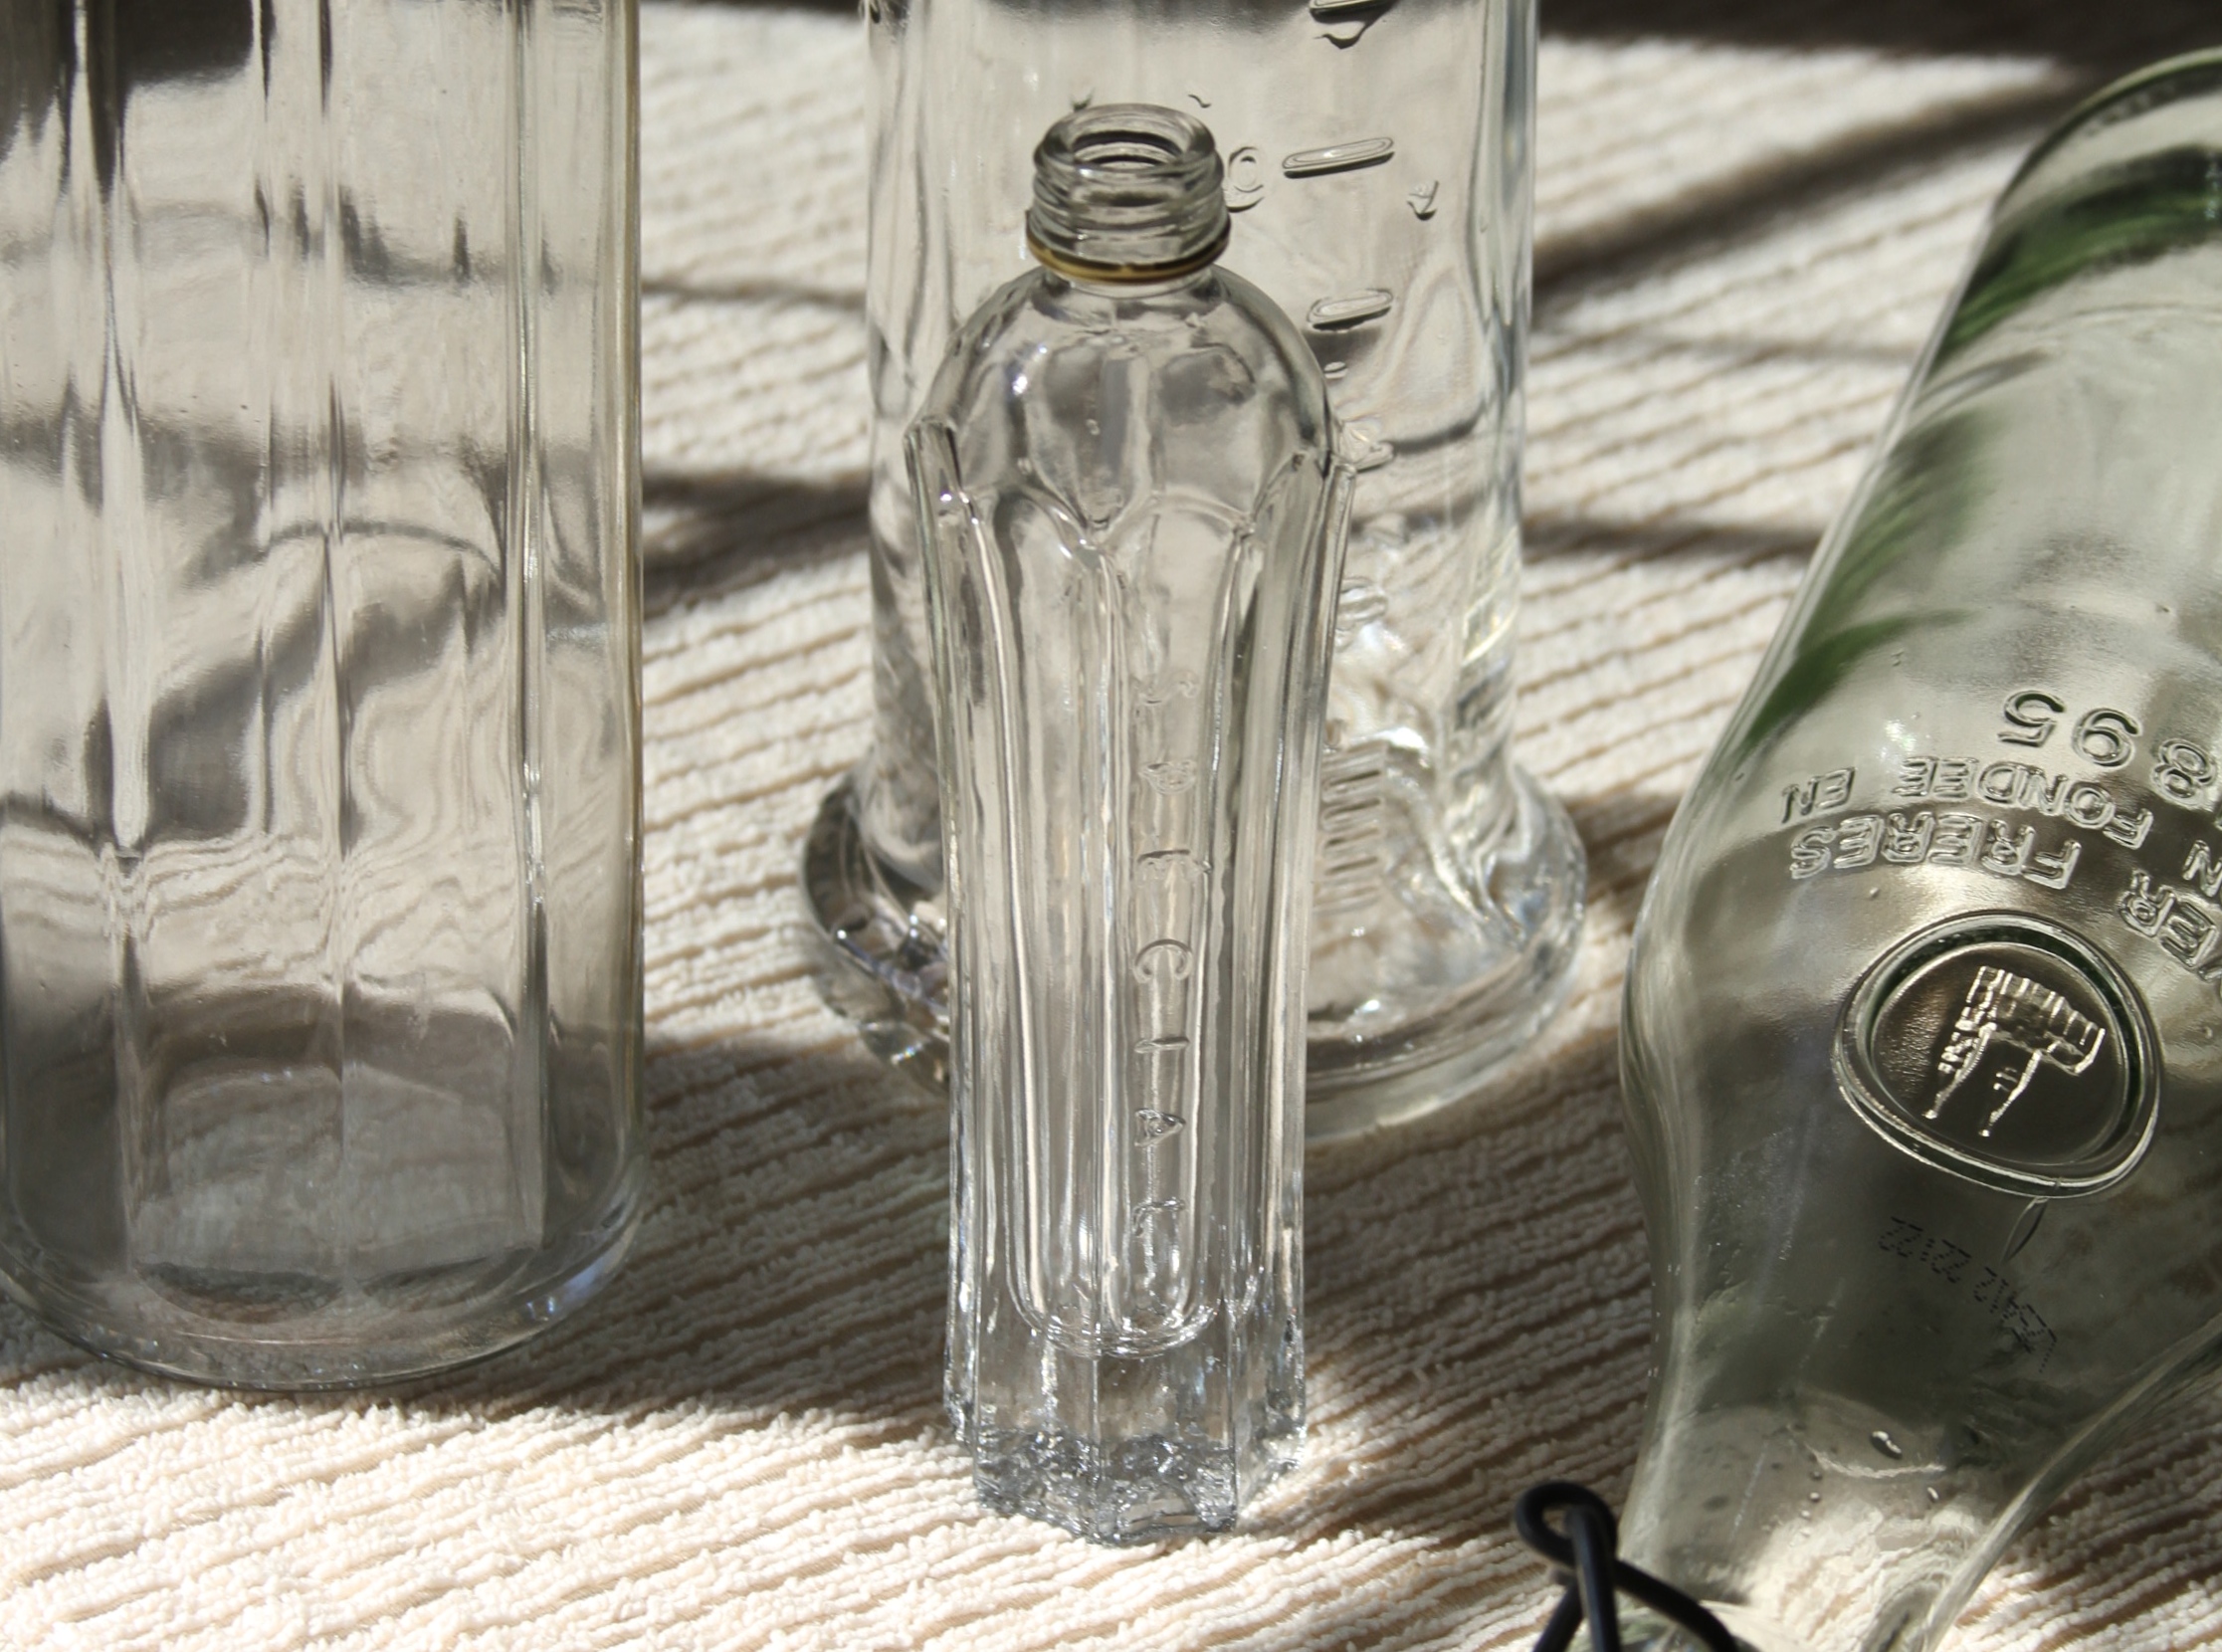
Between artisan olive oil, liquor and sparkling water, there are a lot of gorgeous bottles out there.  After a fun summer filled with lots of delicious meals, I have been left with a lot of empty bottles that I almost feel guilty throwing away.  Lucky for me, I came across a few restaurants that serve water out of recycled Bulleit bottles and Hangar One bottles, and figured what better way to repurpose my own!?

IMG_6144

The only thing that keeps from DIYing is the time and effort that goes into these projects.  Luckily this one requires very few of either and there are countless uses for these bottles afterwards!  Here a few easy steps to sparkling new bottles:

  1. Rinse out existing bottles
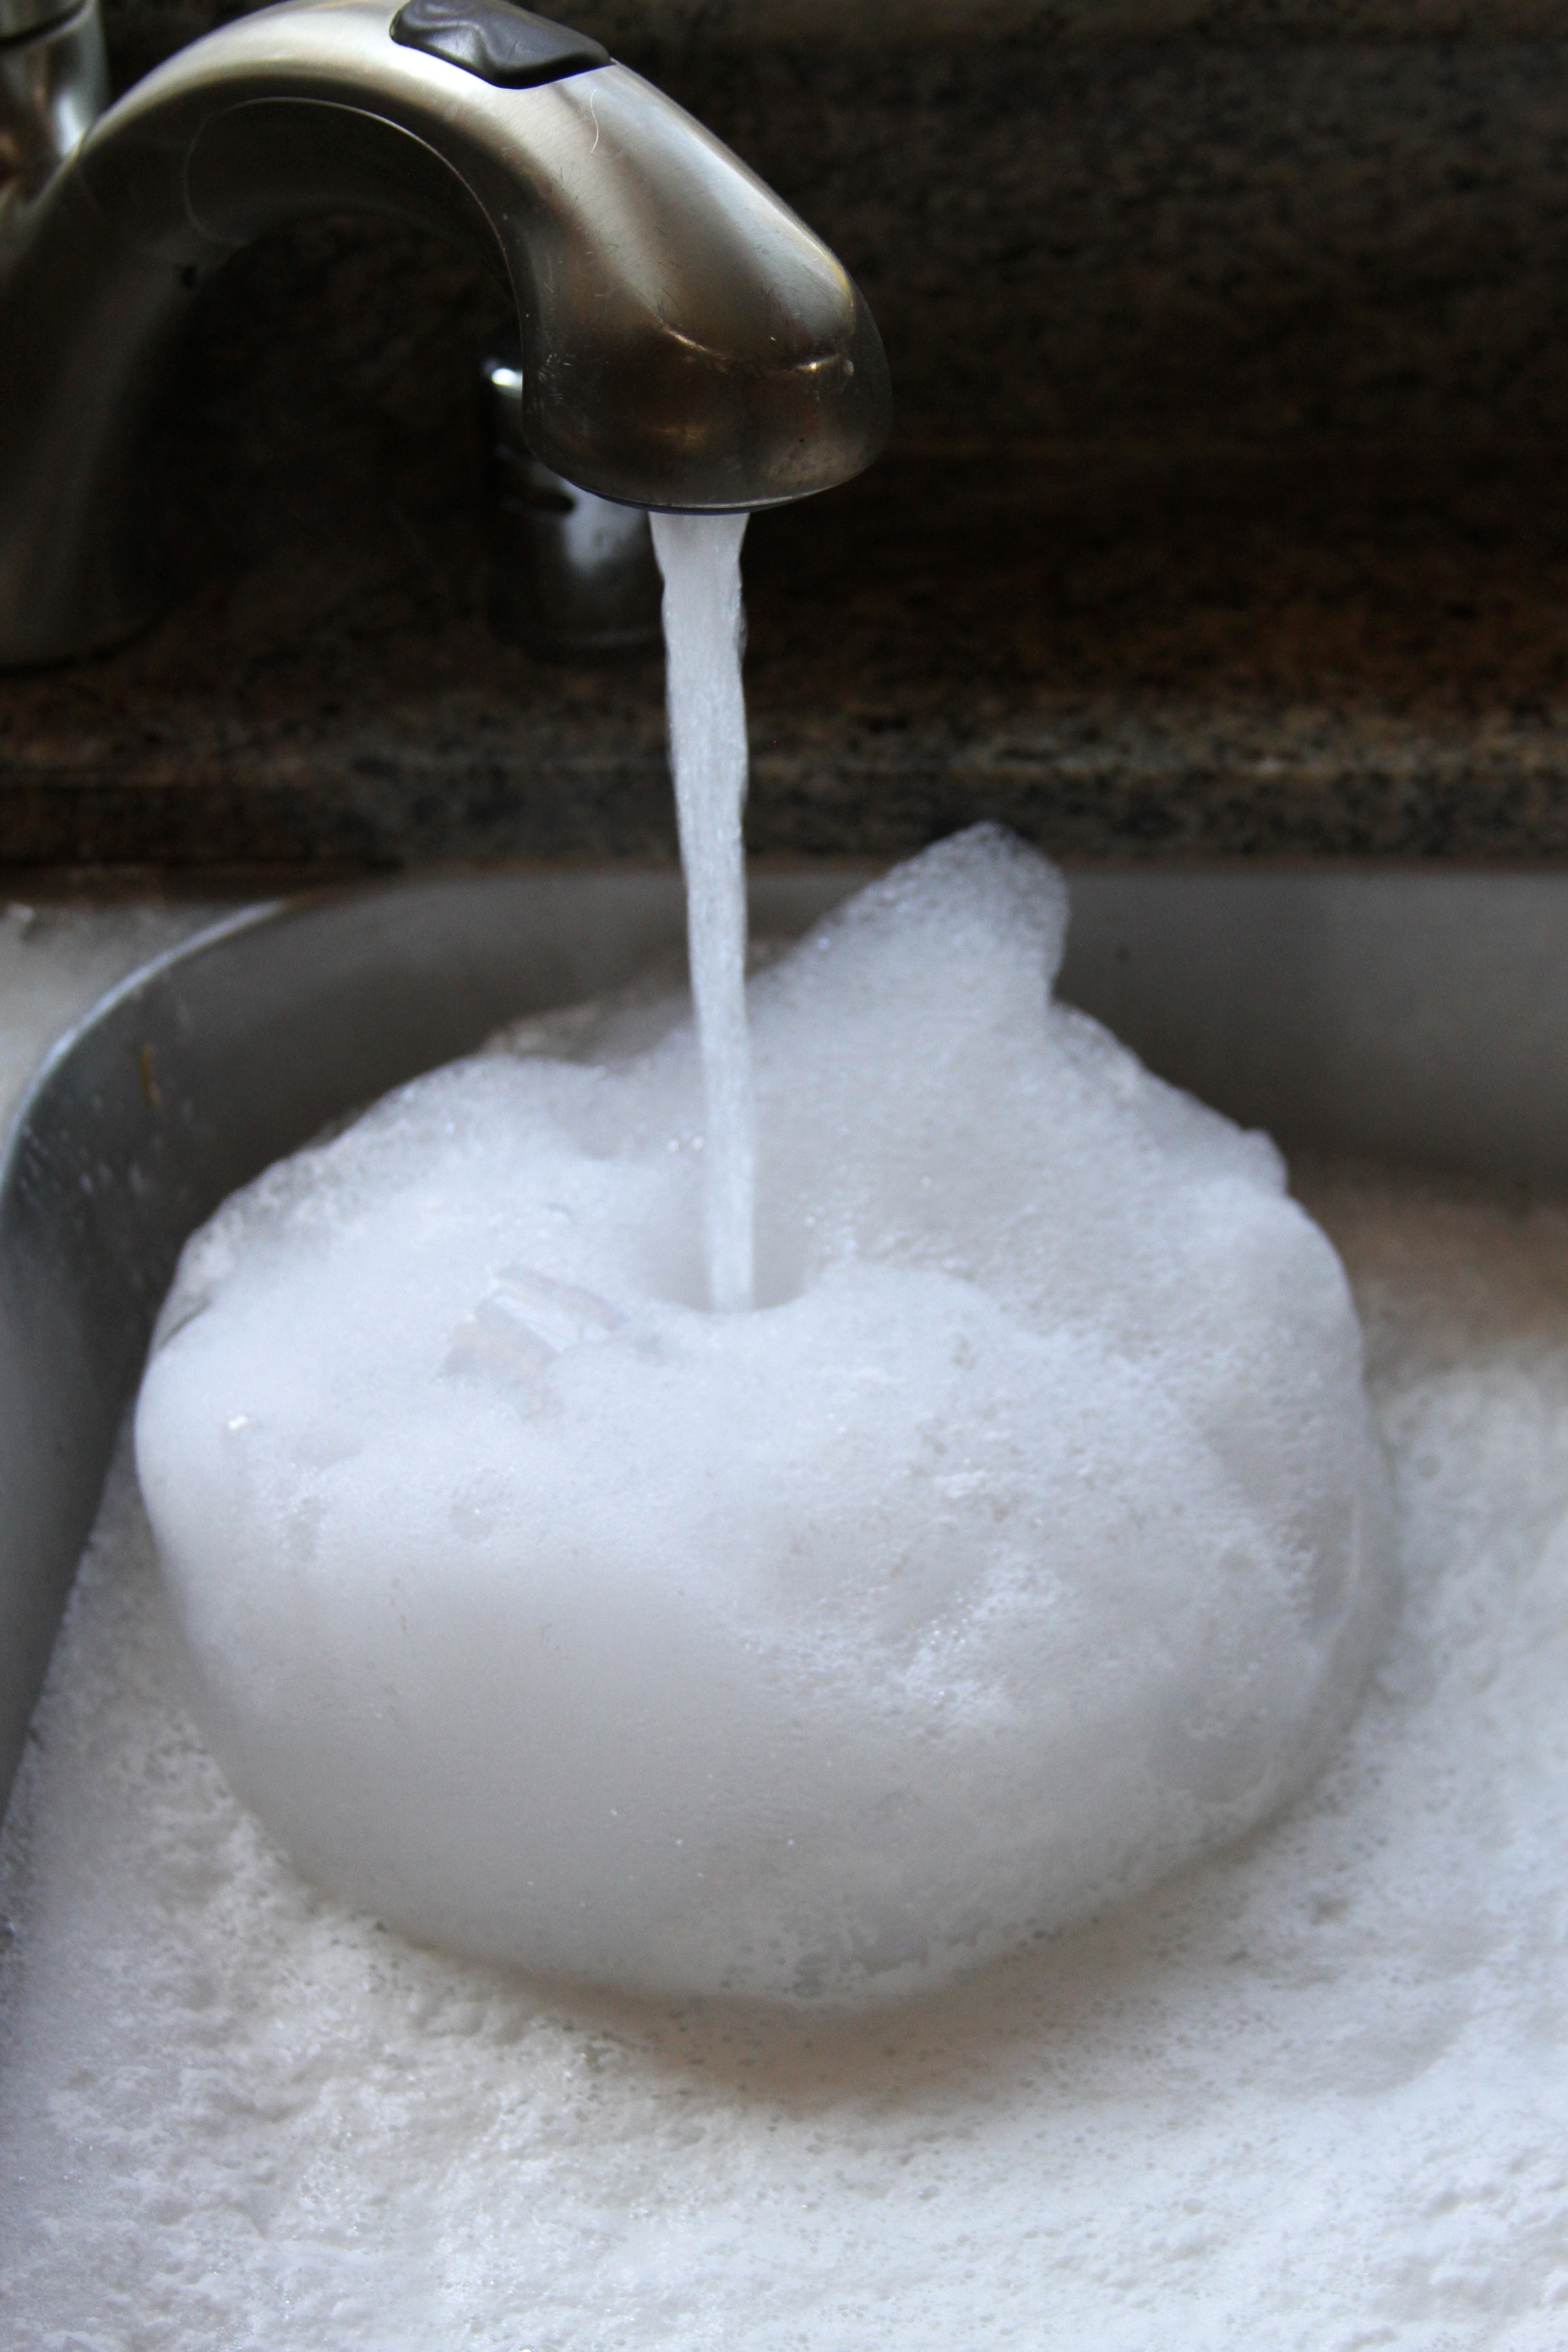
  2. Fill sink with VERY hot water.
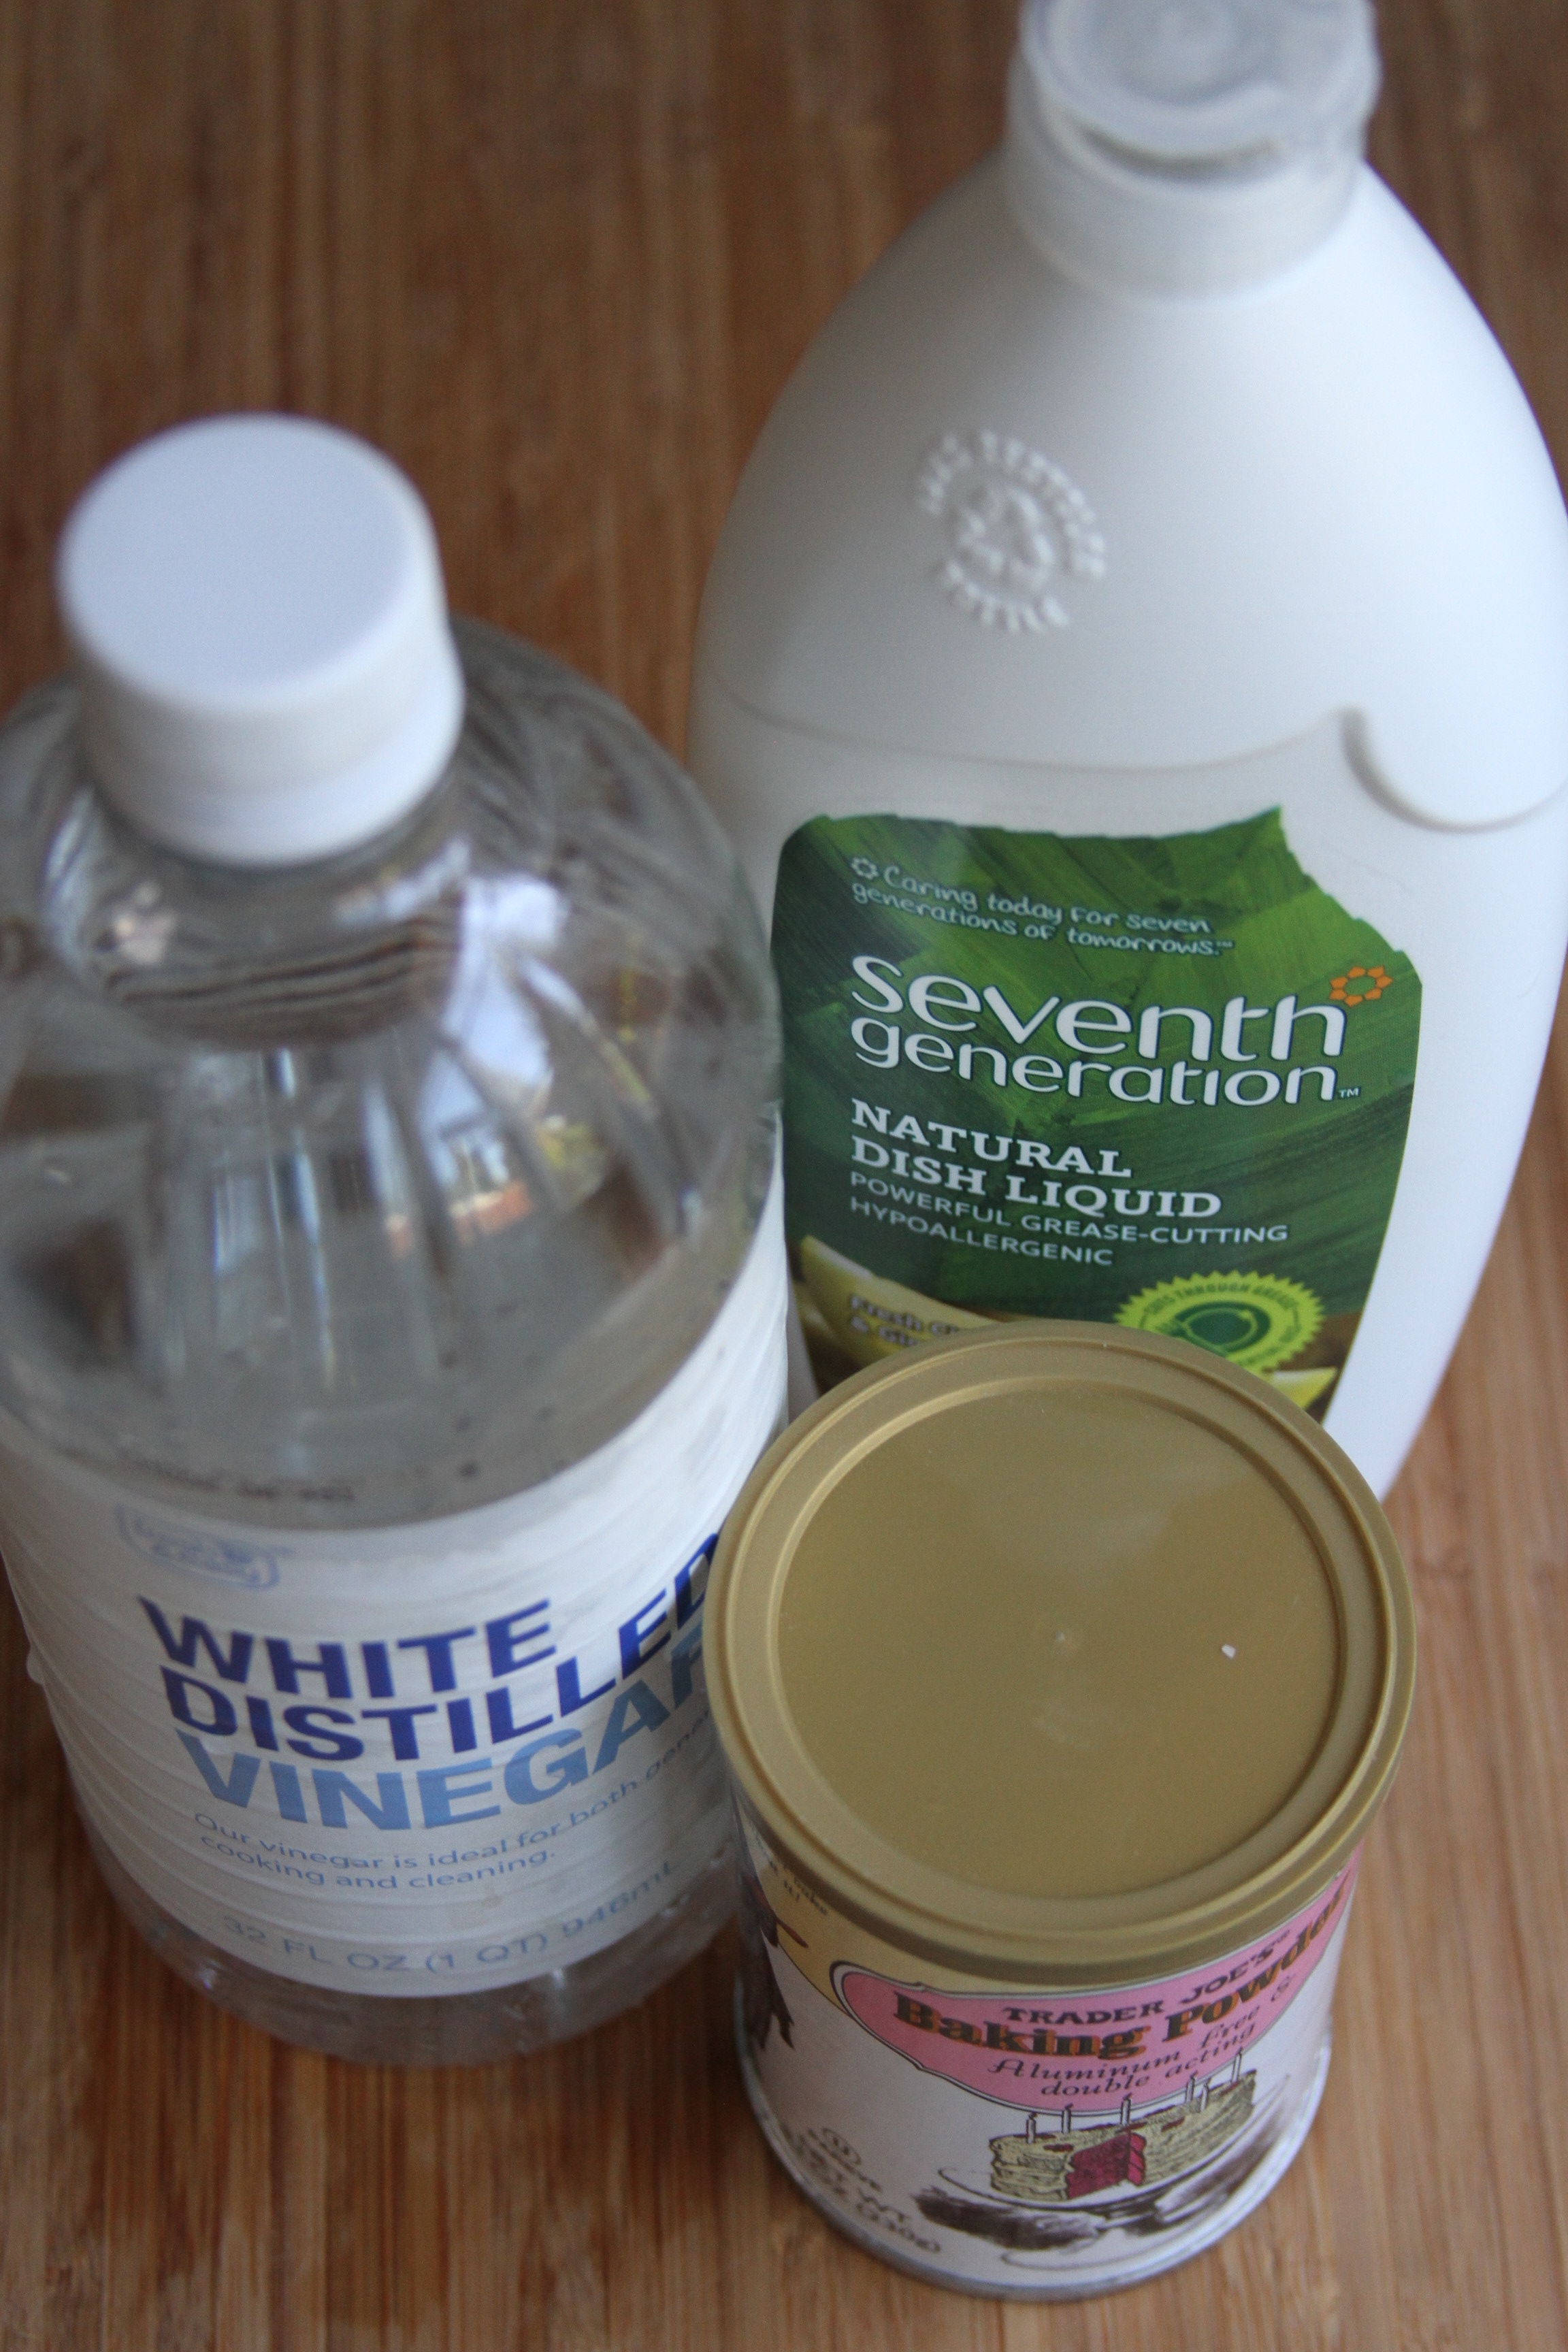
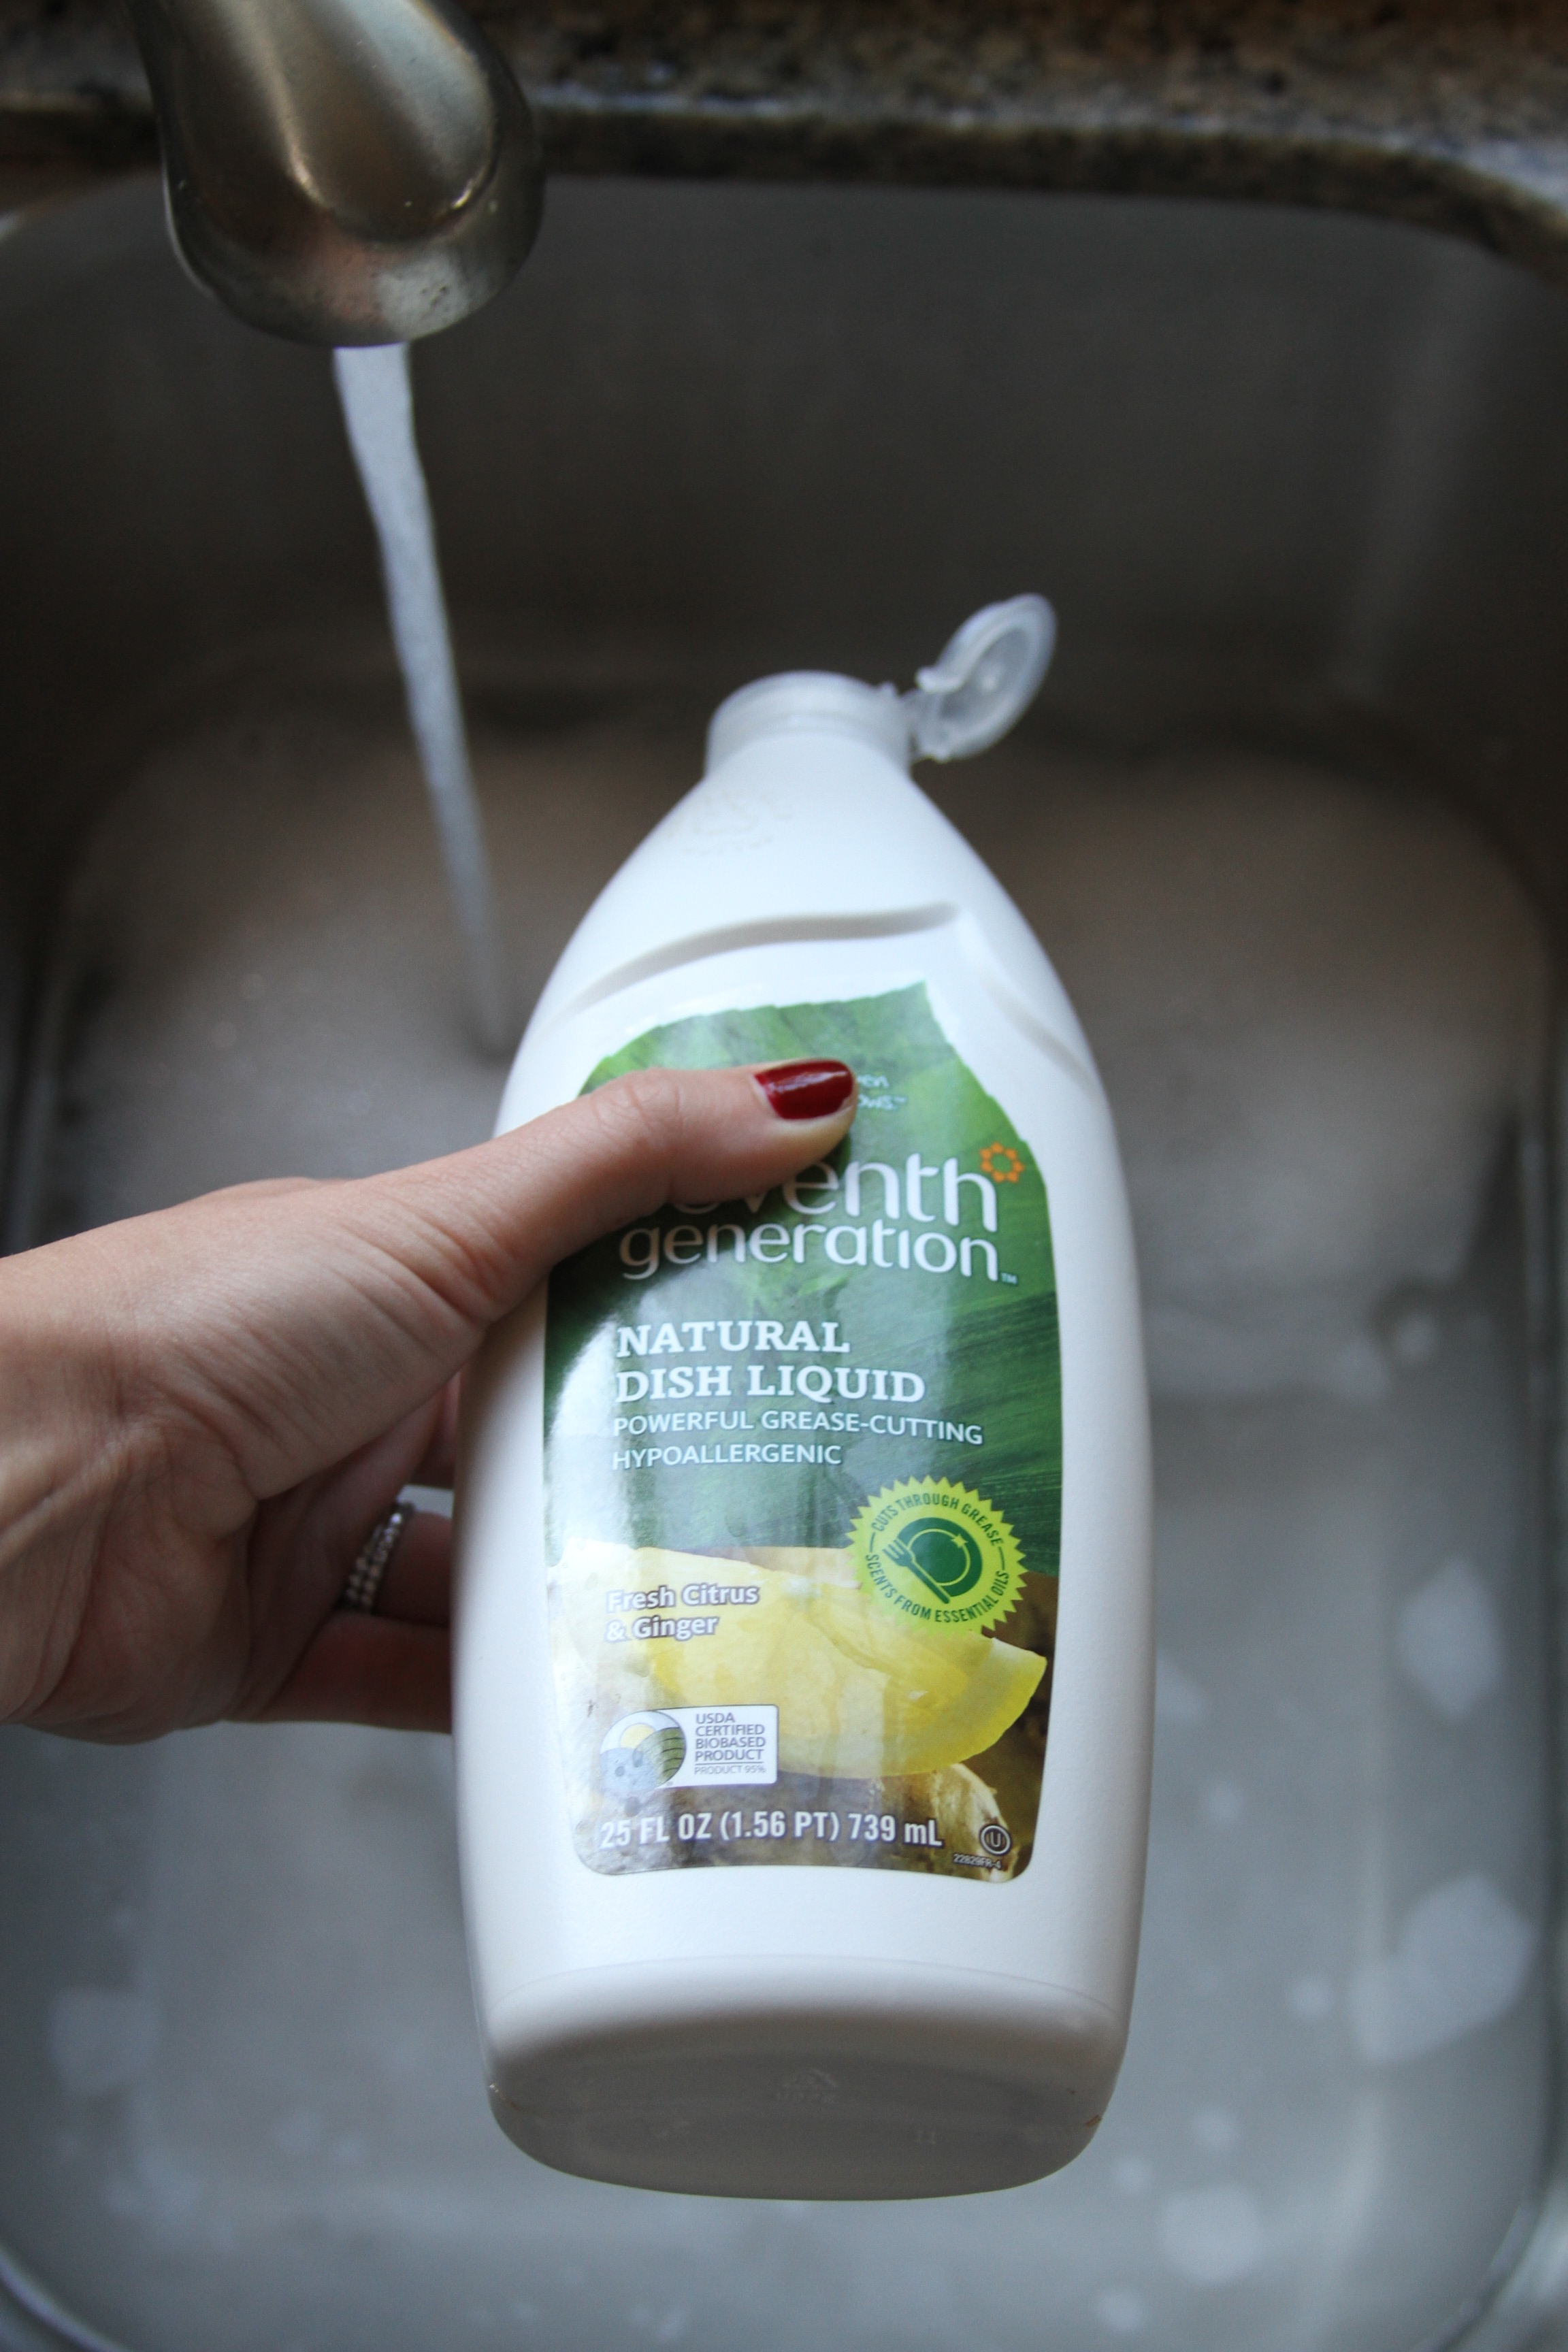
  3. Add 1/2 cup baking powder, 1 tablespoon dish washing liquid and 2 cups vinegar to the hot water.
  4. Swirl around to combine and add bottles.
  5. Let soak for an hour or so, or until labels are able to be removed relatively easily.
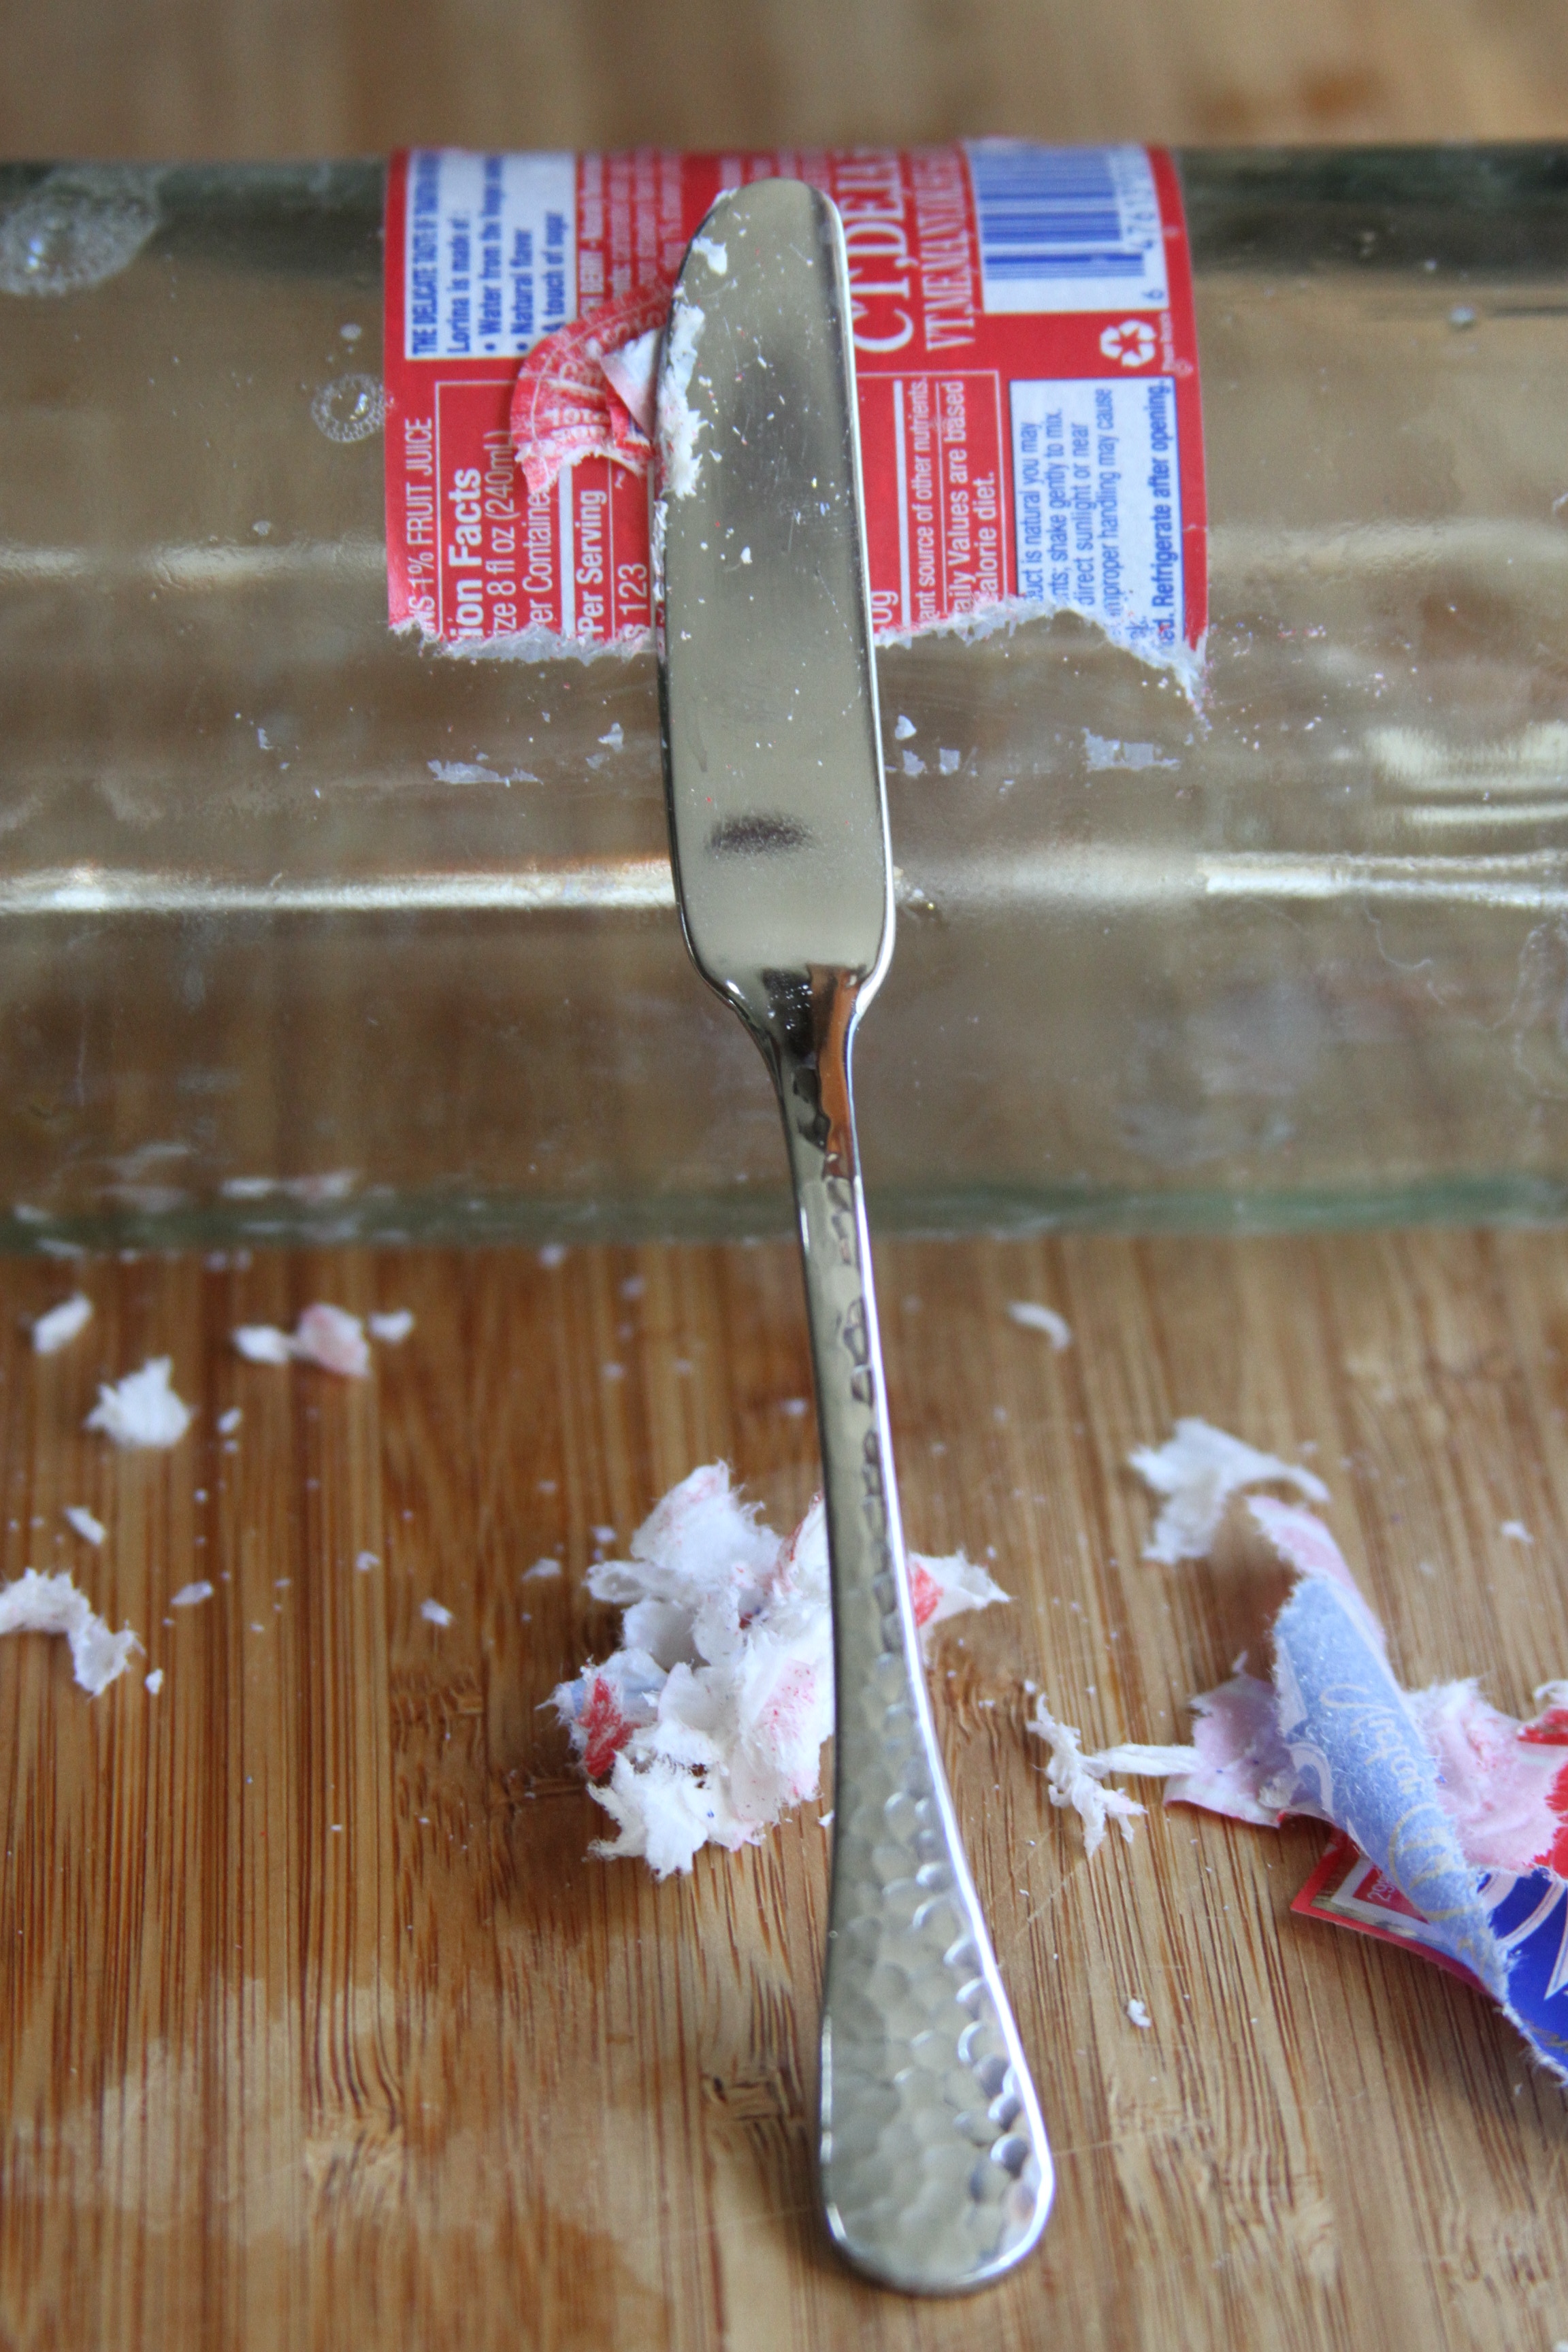
  6. Remove labels (you may need to use a butter knife for those that don’t peel off in one piece).
  7. Use rubbing alcohol or Go-Be-Gone to get rid of any remaining residue.
  8. Dry and store for later use.

IMG_6115

IMG_6134

IMG_6121

IMG_6136

IMG_6152

IMG_6154

IMG_6157

IMG_6162


IMG_6166

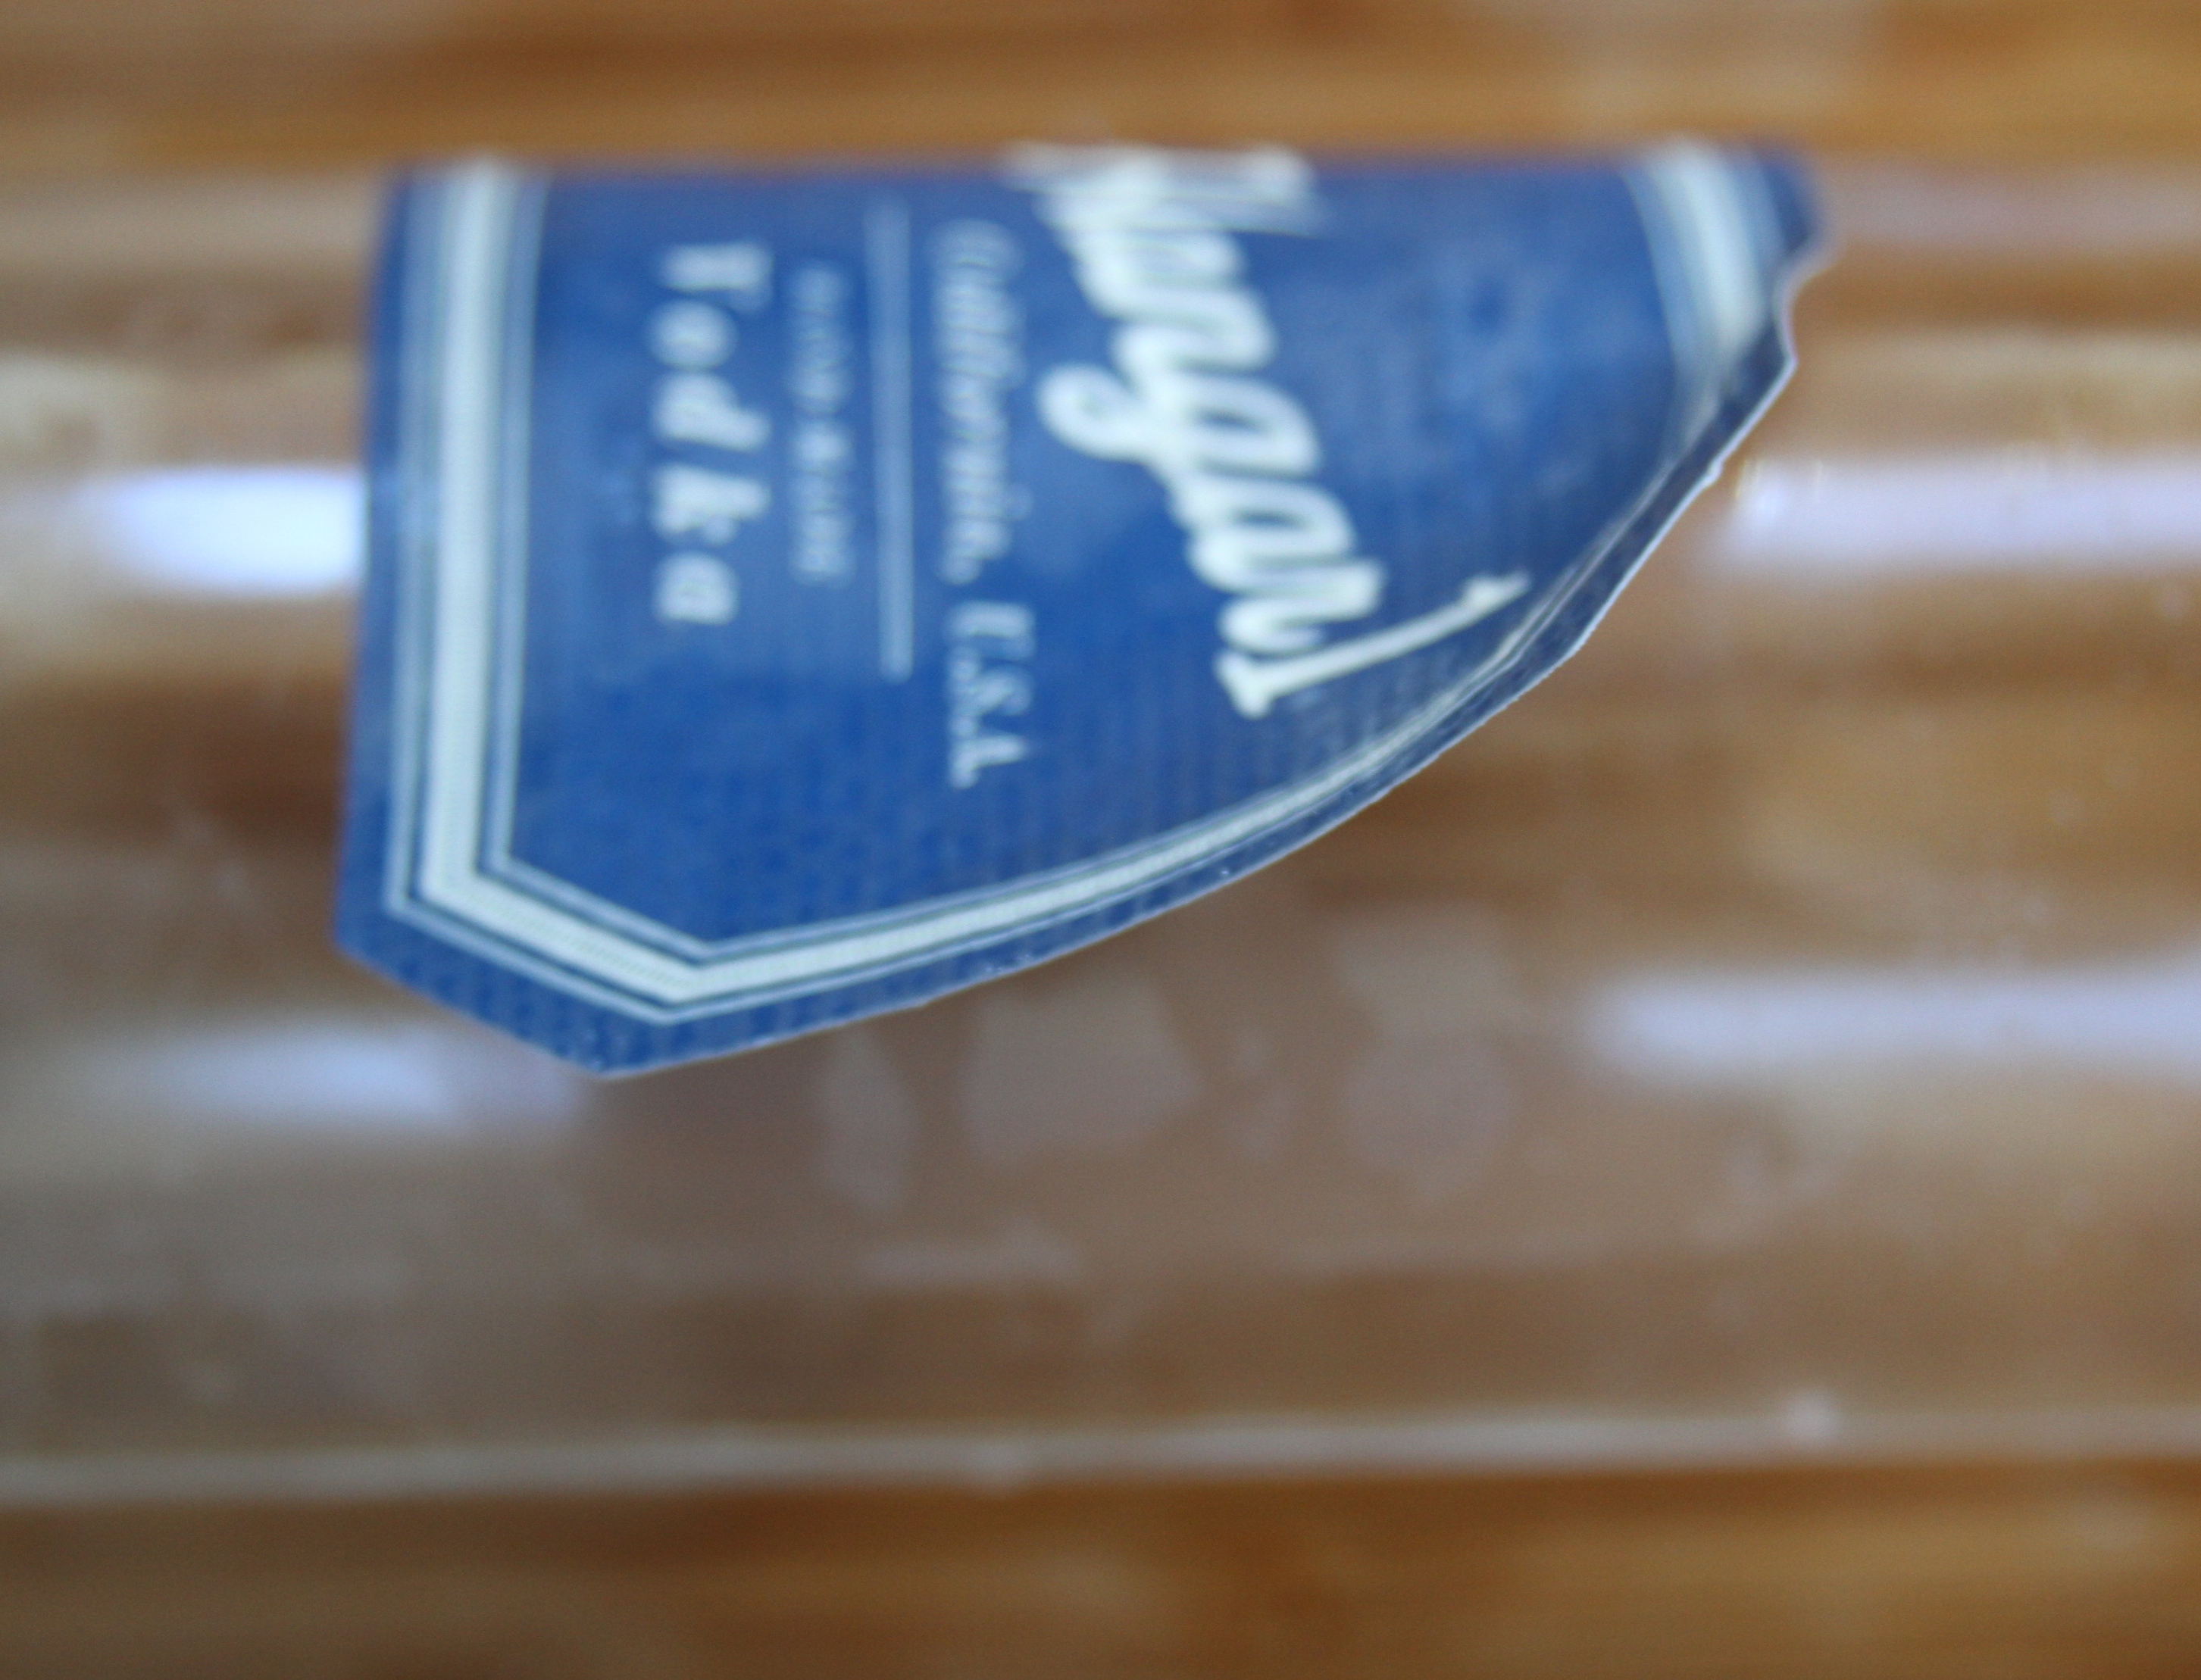
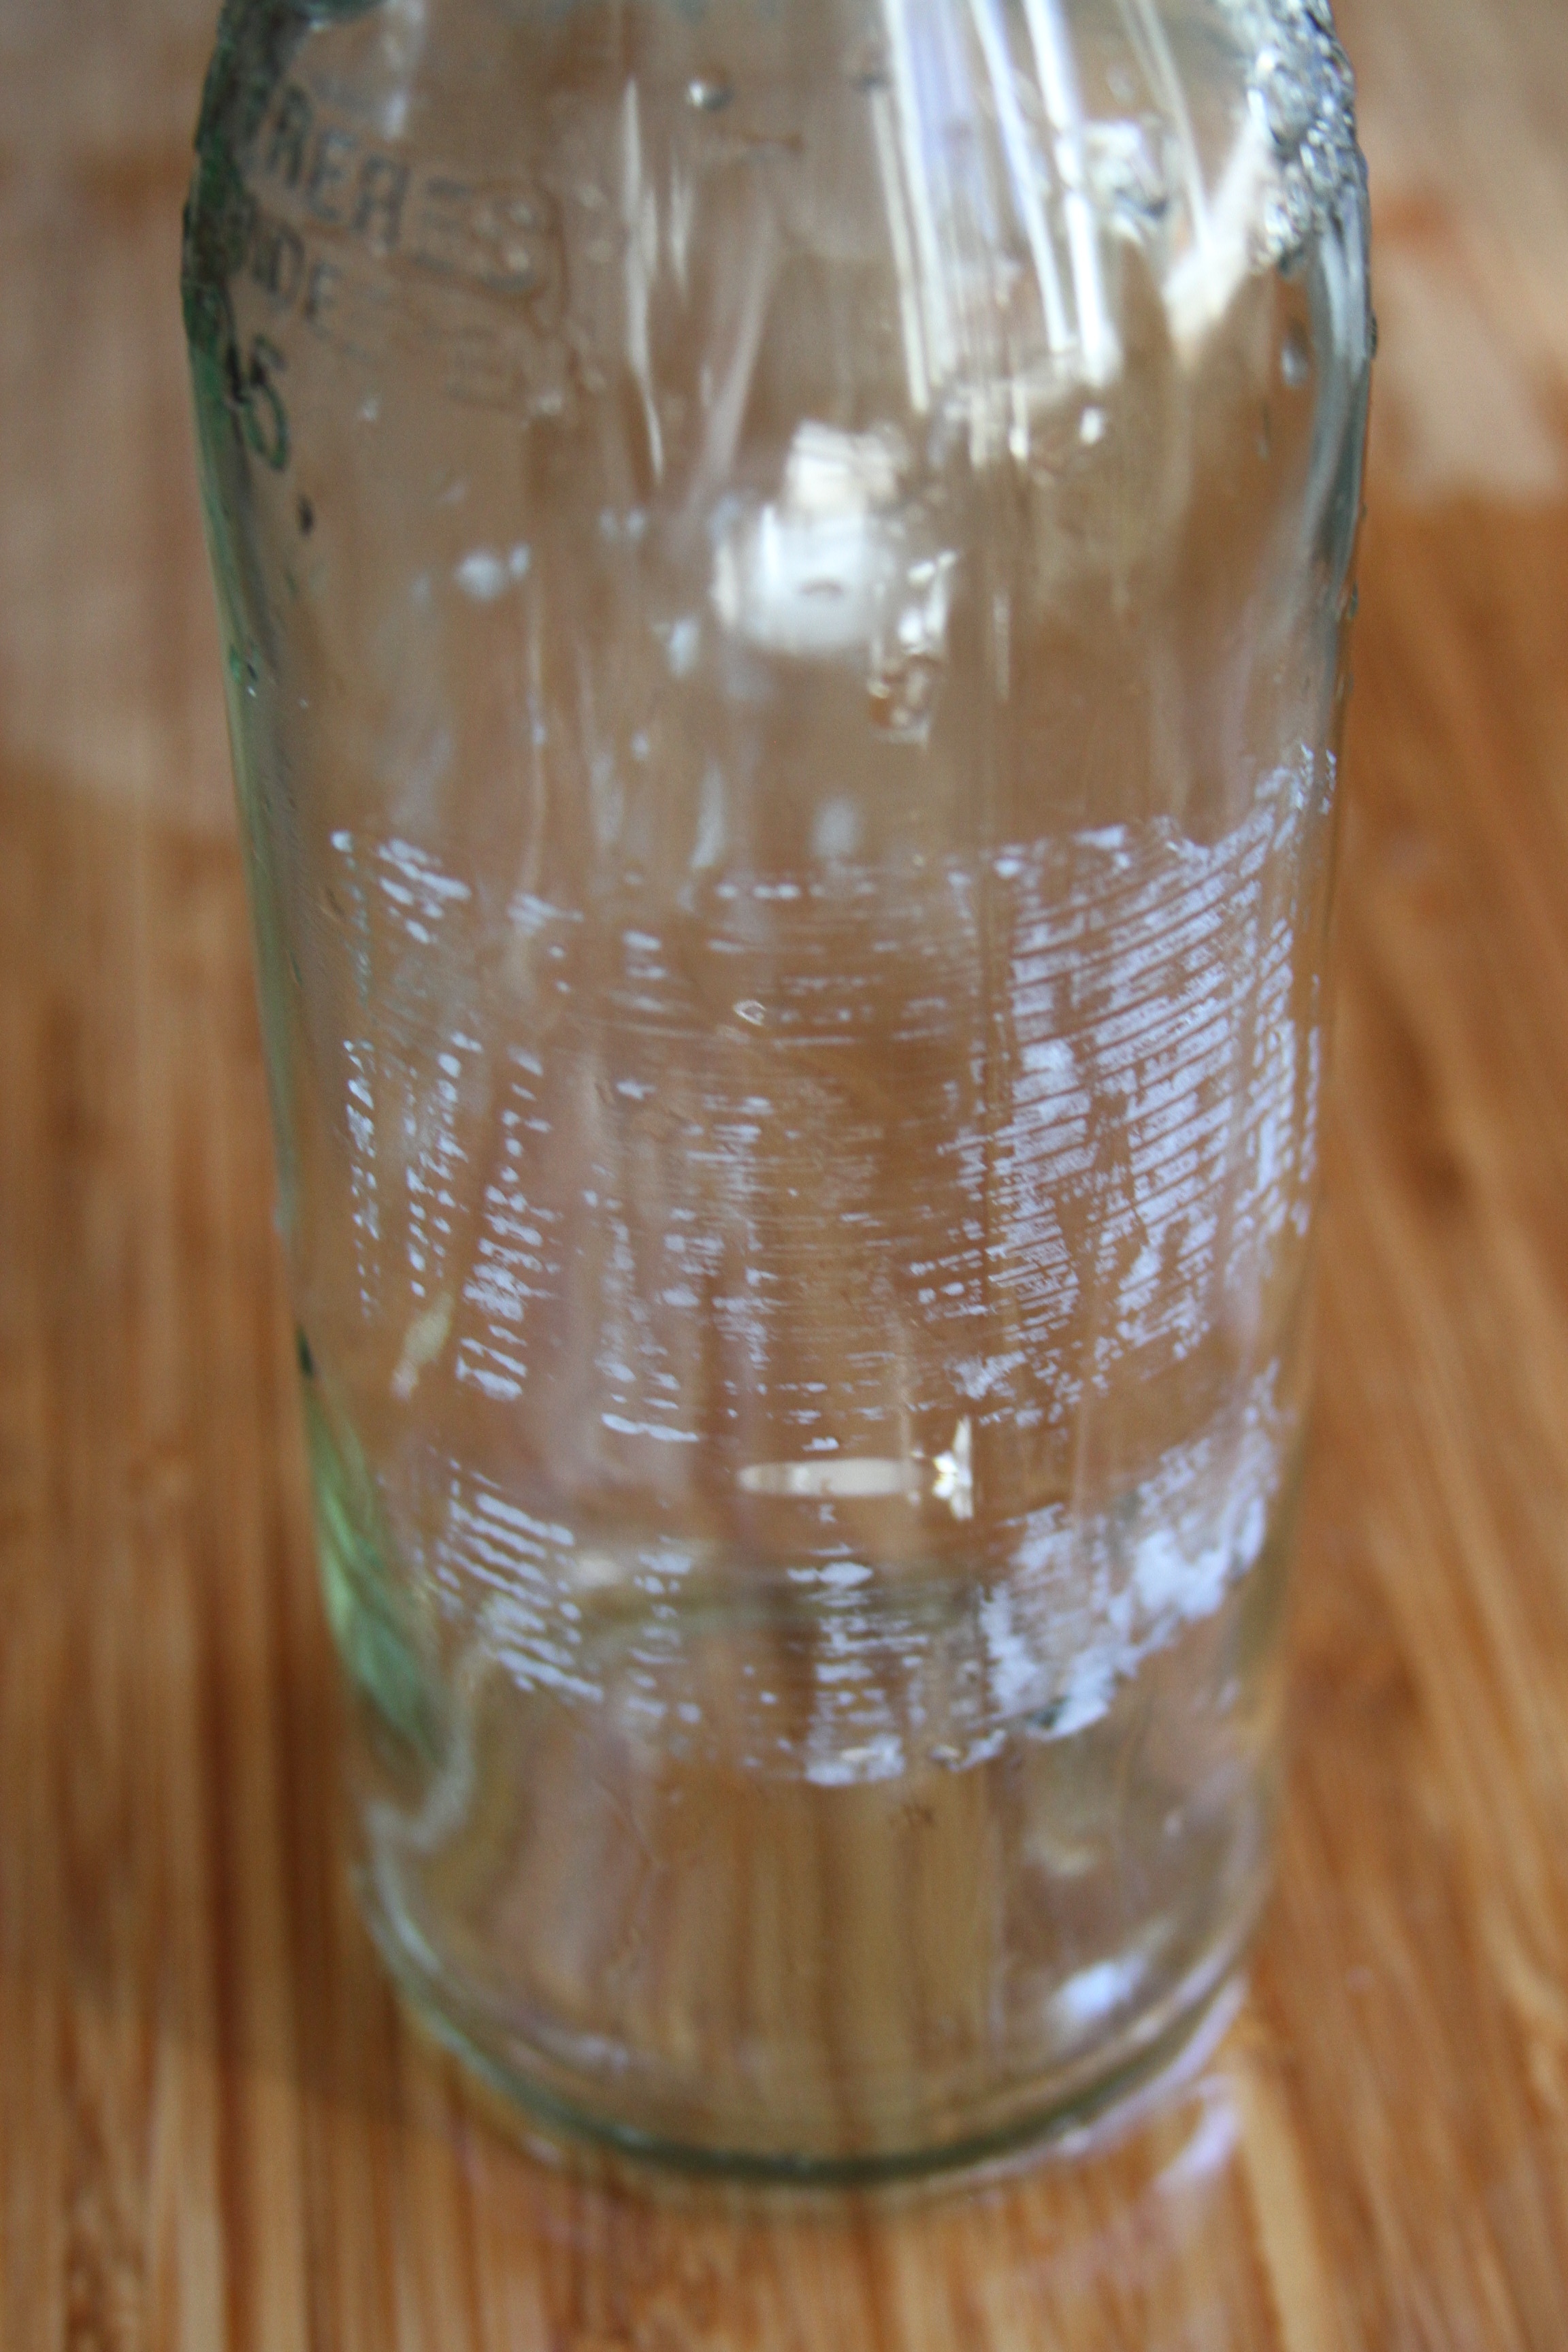
Note: I did this with 4 different bottles and each label was different.  The Hangar bottle removed in one piece with no residue left behind (definitely the easiest), while an olive oil bottle not only required a butter knife to remove the label, but the residue was SO sticky I had to allow the bottle to soak in the alcohol a bit (and use a LOT of elbow grease).

IMG_6165

Here are a some fun projects you can use with these re-purposed bottles: hanging flower arrangements, water bottle, or vases… just to name a few!

Looks

How to Fit Ray-Bans

April 2, 2014

IMG_8952

I love aviator glasses and Ray-Bans are no exception… but I found a few days into owning a pair that they wouldn’t stay on my head!  My Social Media feeds are filled of people running, hiking and playing in them – so how can this be?! Anytime I was reading on the beach, taking a walk with friends or even something as quick as picking up take out, they would be sliding down my face. Not ideal for a $100 pair of sunglasses that are supposed to be protecting your eyes, not your nose.

IMG_8962

Luckily my youngest sister swooped in to save the day! Here is her super easy tutorial on how to get those glasses to stay put, without making a trip for a special fitting at the Sunglass Hut.

*Sorry if you don’t own a pair, or do and don’t have this problem… 🙂

1. The gold aviators are the “Before” and the black aviators are the “After.” Notice how the black are tapered inward?

2. Begin by laying your glasses on a flat surface.

IMG_8959

3. Hold the arms of your sunglasses with your thumbs facing each other (as in the picture below). Gently push in the earpiece inward.

IMG_8964

4. The image below depicts the final product of Step 3. Note that you are bending it slightly in – you just want it to have some more pressure on your temples so it isn’t sliding off your face.

IMG_8972

5. Hold the arms of your sunglasses once again, but this time with your thumbs facing downward and parallel to each other (as in image below). Gently bend the earpiece down.

IMG_8975

6. This step allows you to bend the earpiece to wrap around your ear more as to prevent any movement.

IMG_8979

7. Tweak the arms according to your ear placement, face structure, etc., but you should be good to go in under 5 minutes!
IMG_8989

6. Now the “Before” and “After” match!

IMG_8987 Do you have any sunglass care tips?

IMG_0667 My favorite pairs in my closet right now are these, these and these.


Domestic

DIY Ombre Art

February 27, 2014

IMG_7039

I have grown to realize I have this obsession with artwork, or things that can be turned into artwork.  I love framing cards and magazine ads, browsing for emerging artists on ETSY is a favorite pastime, and one of my favorite gifts is this gorgeous columned ombre piece my sister made for me.   The issue with this little art obsession, is it can get a bit pricey (which is laughable to any one who is a real art collector), but at $30-50 a print, then $20-50 a frame, matting… you get the deal, these things add up!

IMG_6884

So when Aaron Brothers was having their half off canvas sale, I had to jump on it!  I bought this giant canvas, and finally wanted to give a little love to the giant blank space above my kitchen table… I have had this idea pinned for FOREVER, and felt it was finally time to pull the trigger!

Here was you need to make a (what I think is) beautiful piece of artwork… for under $50!

IMG_6851

  • Canvas (I did a larger size, but any size will do)
  • Paint Brush
  • Acrylic Paints (1 color,  1 black, 1 white)
  • Water Cup
  • Rag
  1. Using your colored paint, paint a stripe at the edge of your canvas (I went from left to right, you could also work your way out to in as they did here). I tried to make the brush stroke at the top relatively straight across, but preferred to leave the bottom of the stripe imperfect.  Rinse and dry your brush.
  2. Mix a drop of white into your color and add another stripe, slightly overlapping the first. Rinse and dry your brush again.
  3. Add a drop or so of white paint for each stripe.  The color will continue to get lighter as you move across the canvas.

IMG_6863 IMG_6873 IMG_6876 IMG_6879 IMG_6888 IMG_6893

Remember to space out your stripes so that you get to your desired lightened color at the end… You can always overlap a little more or less, depending on your spacing situation towards the end 🙂

IMG_7041

Domestic

DIY Coffee Body Scrub

February 20, 2014

DIY Coffee

I wanted to try out the St. Tropez tanning products, but I’ve been too scared to be a streaky, mess and have had it stored in my cabinet for months.  In typically “Whitney fashion” I researched a ton before making the tanning plunge and word on the street is exfoliating is critical.

IMG_6731

Of course I decided I was “ready” when I was fresh out of body scrub, so I took to my kitchen to figure out a home remedy… introduce, Whitney’s DIY Coffee Body Scrub:

  • 1/2 cup ground coffee
  • 1/2 cup coconut oil
  • 1/4 cup raw sugar
  1. Mix all ingredients together.
  2. Use scrub in the shower… it’s going to make a mess!
  3. Massage onto wet skin in circular motions.
  4. Rinse (you may need to use a little soap, because the coconut oil resulted in WAY too many coffee grounds being stuck to my skin).

IMG_6714

I then used the St. Tropez tanning lotion and couldn’t be happier! I can’t believe I’ve gone this long without trying it! No smell, no streaking (use their glove!), and a really nice, natural glow – February can’t get me down!

IMG_6708

Domestic

Secret Board

January 16, 2014

IMG_4868

So I recently did a little office makeover, and by makeover, I mean, I created one.  I cleaned out my garage and set up a little station for my blog “stuff” (pictures to come!).  When it came time to decorate, I wanted to have a little inspiration board front and center.  I have one in my current office at my “real job,” and while it isn’t a creative occupation, I find it nice to be surrounded by images that make me feel good!

The image board started in high school for me. The Secret had come out (if you aren’t familiar with it is basically a “law of attraction”/positive thinking movement), and one of their ideas was to create a vision board with things you wanted.  Not necessarily material, items but images and/or quotes that inspired you and represented things you wanted in your life.

My last updated “Secret Board” was my senior year of college.  I have had others since, but one with the actual intent of how I wanted my future to unveil itself was done 5 years ago.  Since then, it has been in a storage unit until a couple years ago, where I have placed it underneath my bed (where I sleep actually… which I feel is kind of fitting).

So now to the point of this whole backstory… Since I wanted to create an inspiration board for my office, I figured I would just use the board from my old Secret Board and replace the images, but when I started to remove the images I was blown away (and had to share with you all!)…

5 years later and here some board/reality connections (mind you my husband had never seen this board):

IMG_4872

  • Kapalua Resort ad – the ad is actually for a hotel that no longer exists, but my husband proposed to me at a restaurant that is now located where the hotel once was

IMG_4874

  • Lauren Santo Domingos wedding photo – Lauren is my current fashion icon (I wrote this in my phone like 5 months ago – and no offense to my 20 year old self, but that was definitly not the direction of my fashion sense).  I also have gotten married (which was what this photo represented, when I included it on the board).
  • Hawaii Images – tropical images are all over this board (I guess my college self was ready to leave the books behind and get my booty to a beach), but it is pretty funny that J and I LOVE Hawaii, and make an effort to go a few times a year…

IMG_4877

  • Louis Vuitton Speedy Bag – I love handbags and I feel like Louis Vuitton represents a lot about the designer handbag world.  I posted it on my board hoping maybe, just maybe I would get to carry one, one day – guess what?

IMG_4887

  • SLO Poke Wrapper – some of these are a stretch… I went to school in SLO and liked that the candy name is spelled the same way as my college town, but what are the odds that I will be going back next week (for the first time in two years!)

IMG_4882

  • John Varvatos ribbon – I must have gotten this off of perfume or something and liked the pink color, but I find it VERY interesting that the man I married is obsessed with Varvatos (a brand I knew nothing about 5 years ago).

IMG_4880

  • Leopard Artwork – this one cracked me up, because literally 2 hours prior, I had put this print in my shopping cart on One Kings Lane (which is a sample sale site, so that item wouldn’t normally be available is only up for a limited amount of time).  I knew I liked it, but didn’t know why… am I the ONLY PERSON WHO FINDS THIS ALL WEIRD!?!

Anyway, I could break down basically every quote, image, knick knack on that board, and relate it to my current life, but some things could definitely be a stretch, and this whole topic may be totally boring to anyone other than myself…

IMG_4888

Regardless, I feel like there may be a little something to these vision boards, and if it all is a hoax, there isn’t anything bad about surrounding yourself with nice, inspirational images!  So go grab a corkboard/bulliten board and get to posting!  Tweet me your boards at @LaundryinLoubs