Browsing Tag

cooking

Tasty

How to Cut an Onion

September 11, 2014

IMG_4812

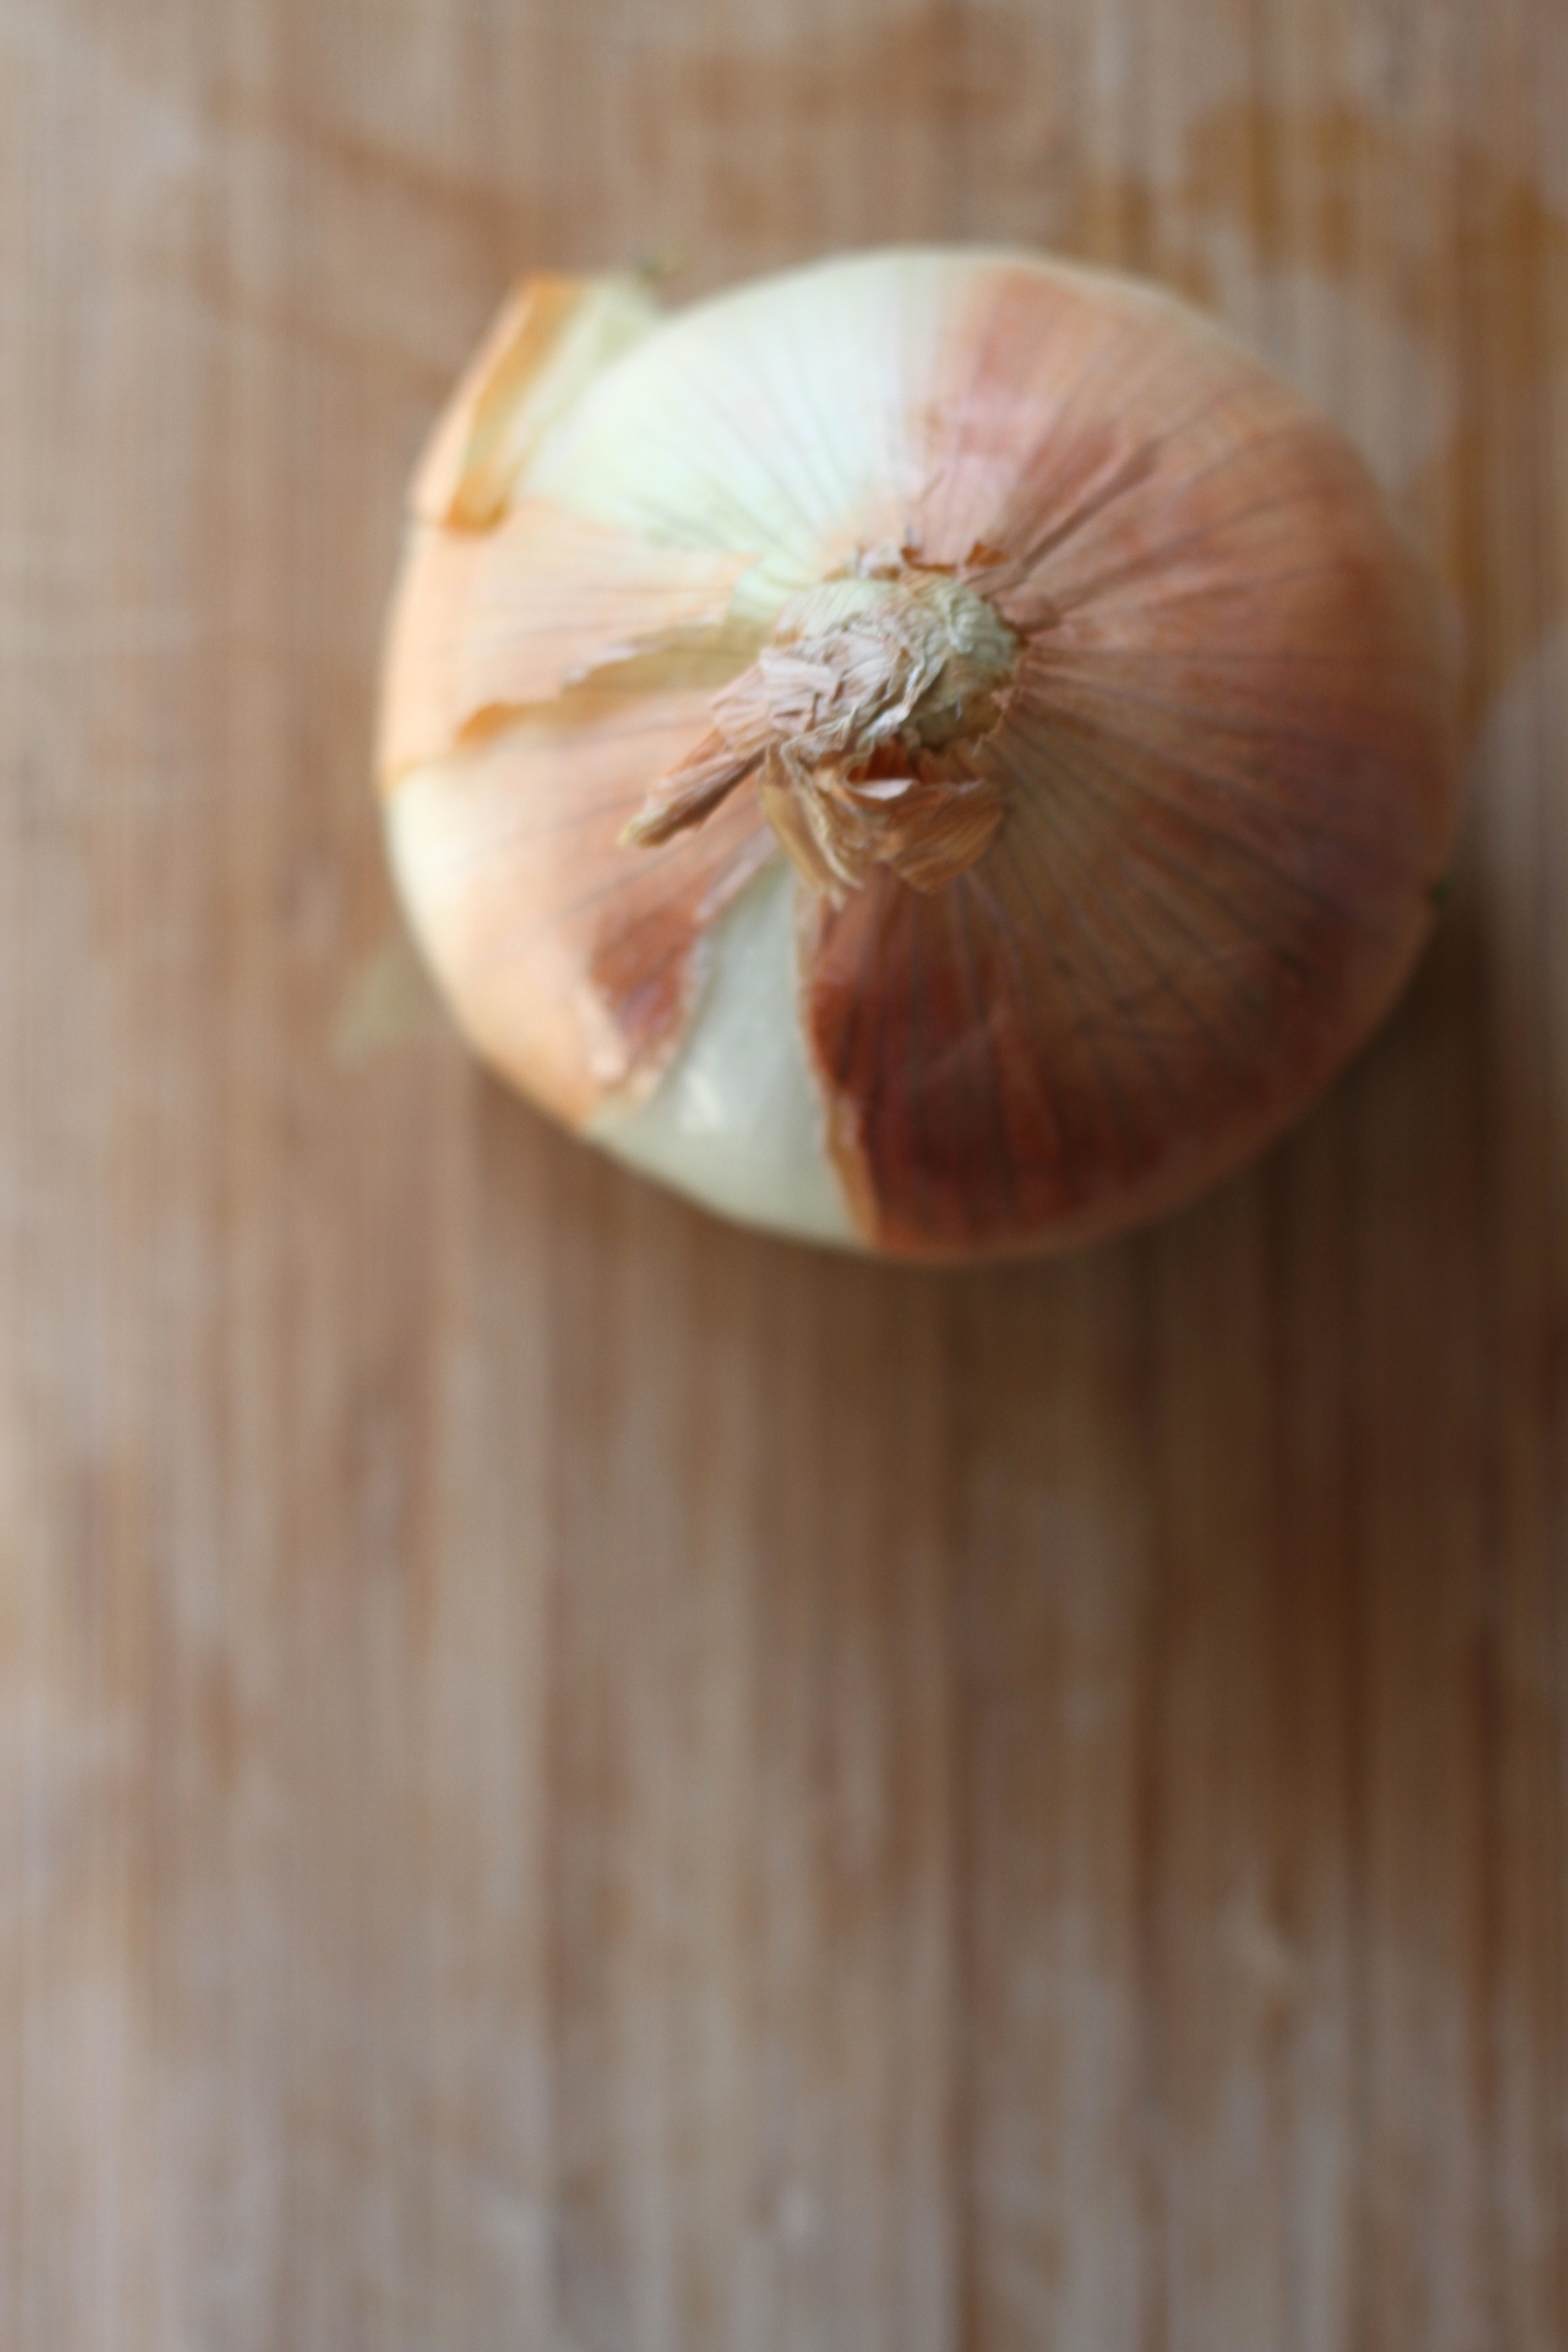
I hate cutting onions.  I’ve tried everything – put it in the freezer, wear googles, using the Slap Chop… but I honestly will avoid certain recipes if I have to dice an onion.  Luckily since my college roomie taught me how to easily chop an onion (thanks Erin!), I really don’t have any more excuses… but if you want to be sous chef – I definitely won’t turn you away.

IMG_4839

Here is how I chop an onion…

Step 1. Cut off the roots/both ends of the onion

IMG_4819

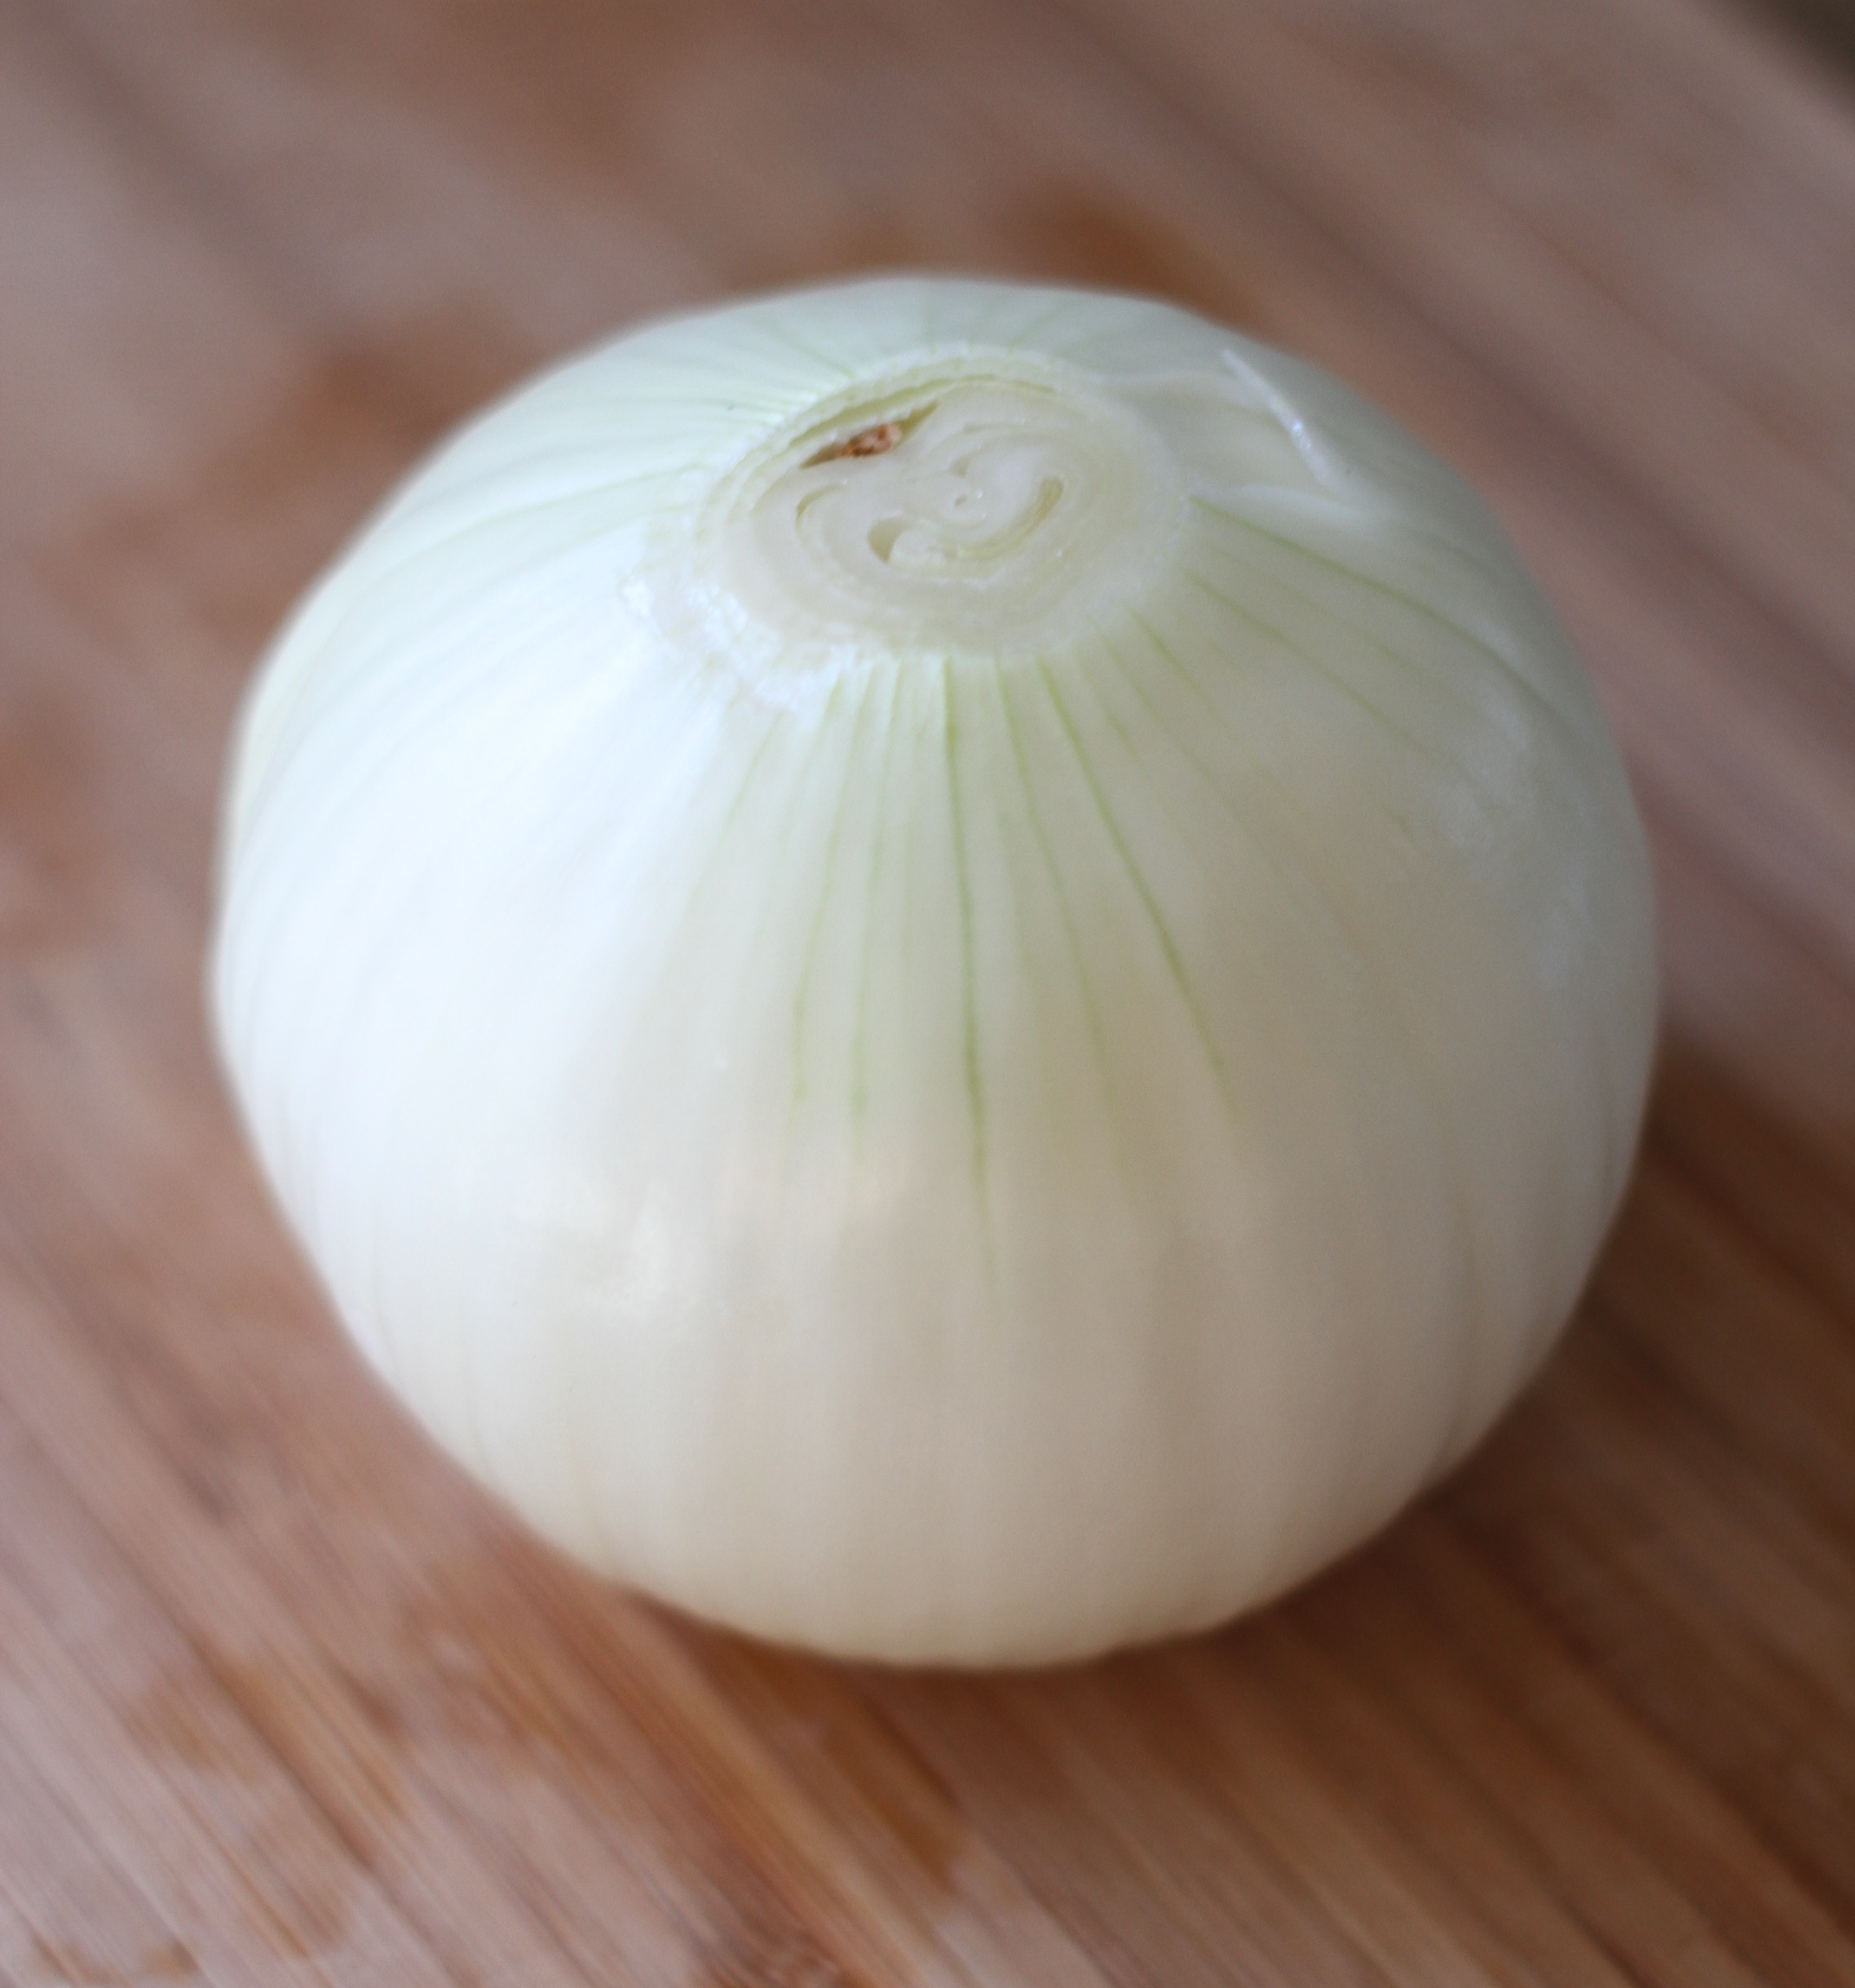
Step 2. Remove the skin

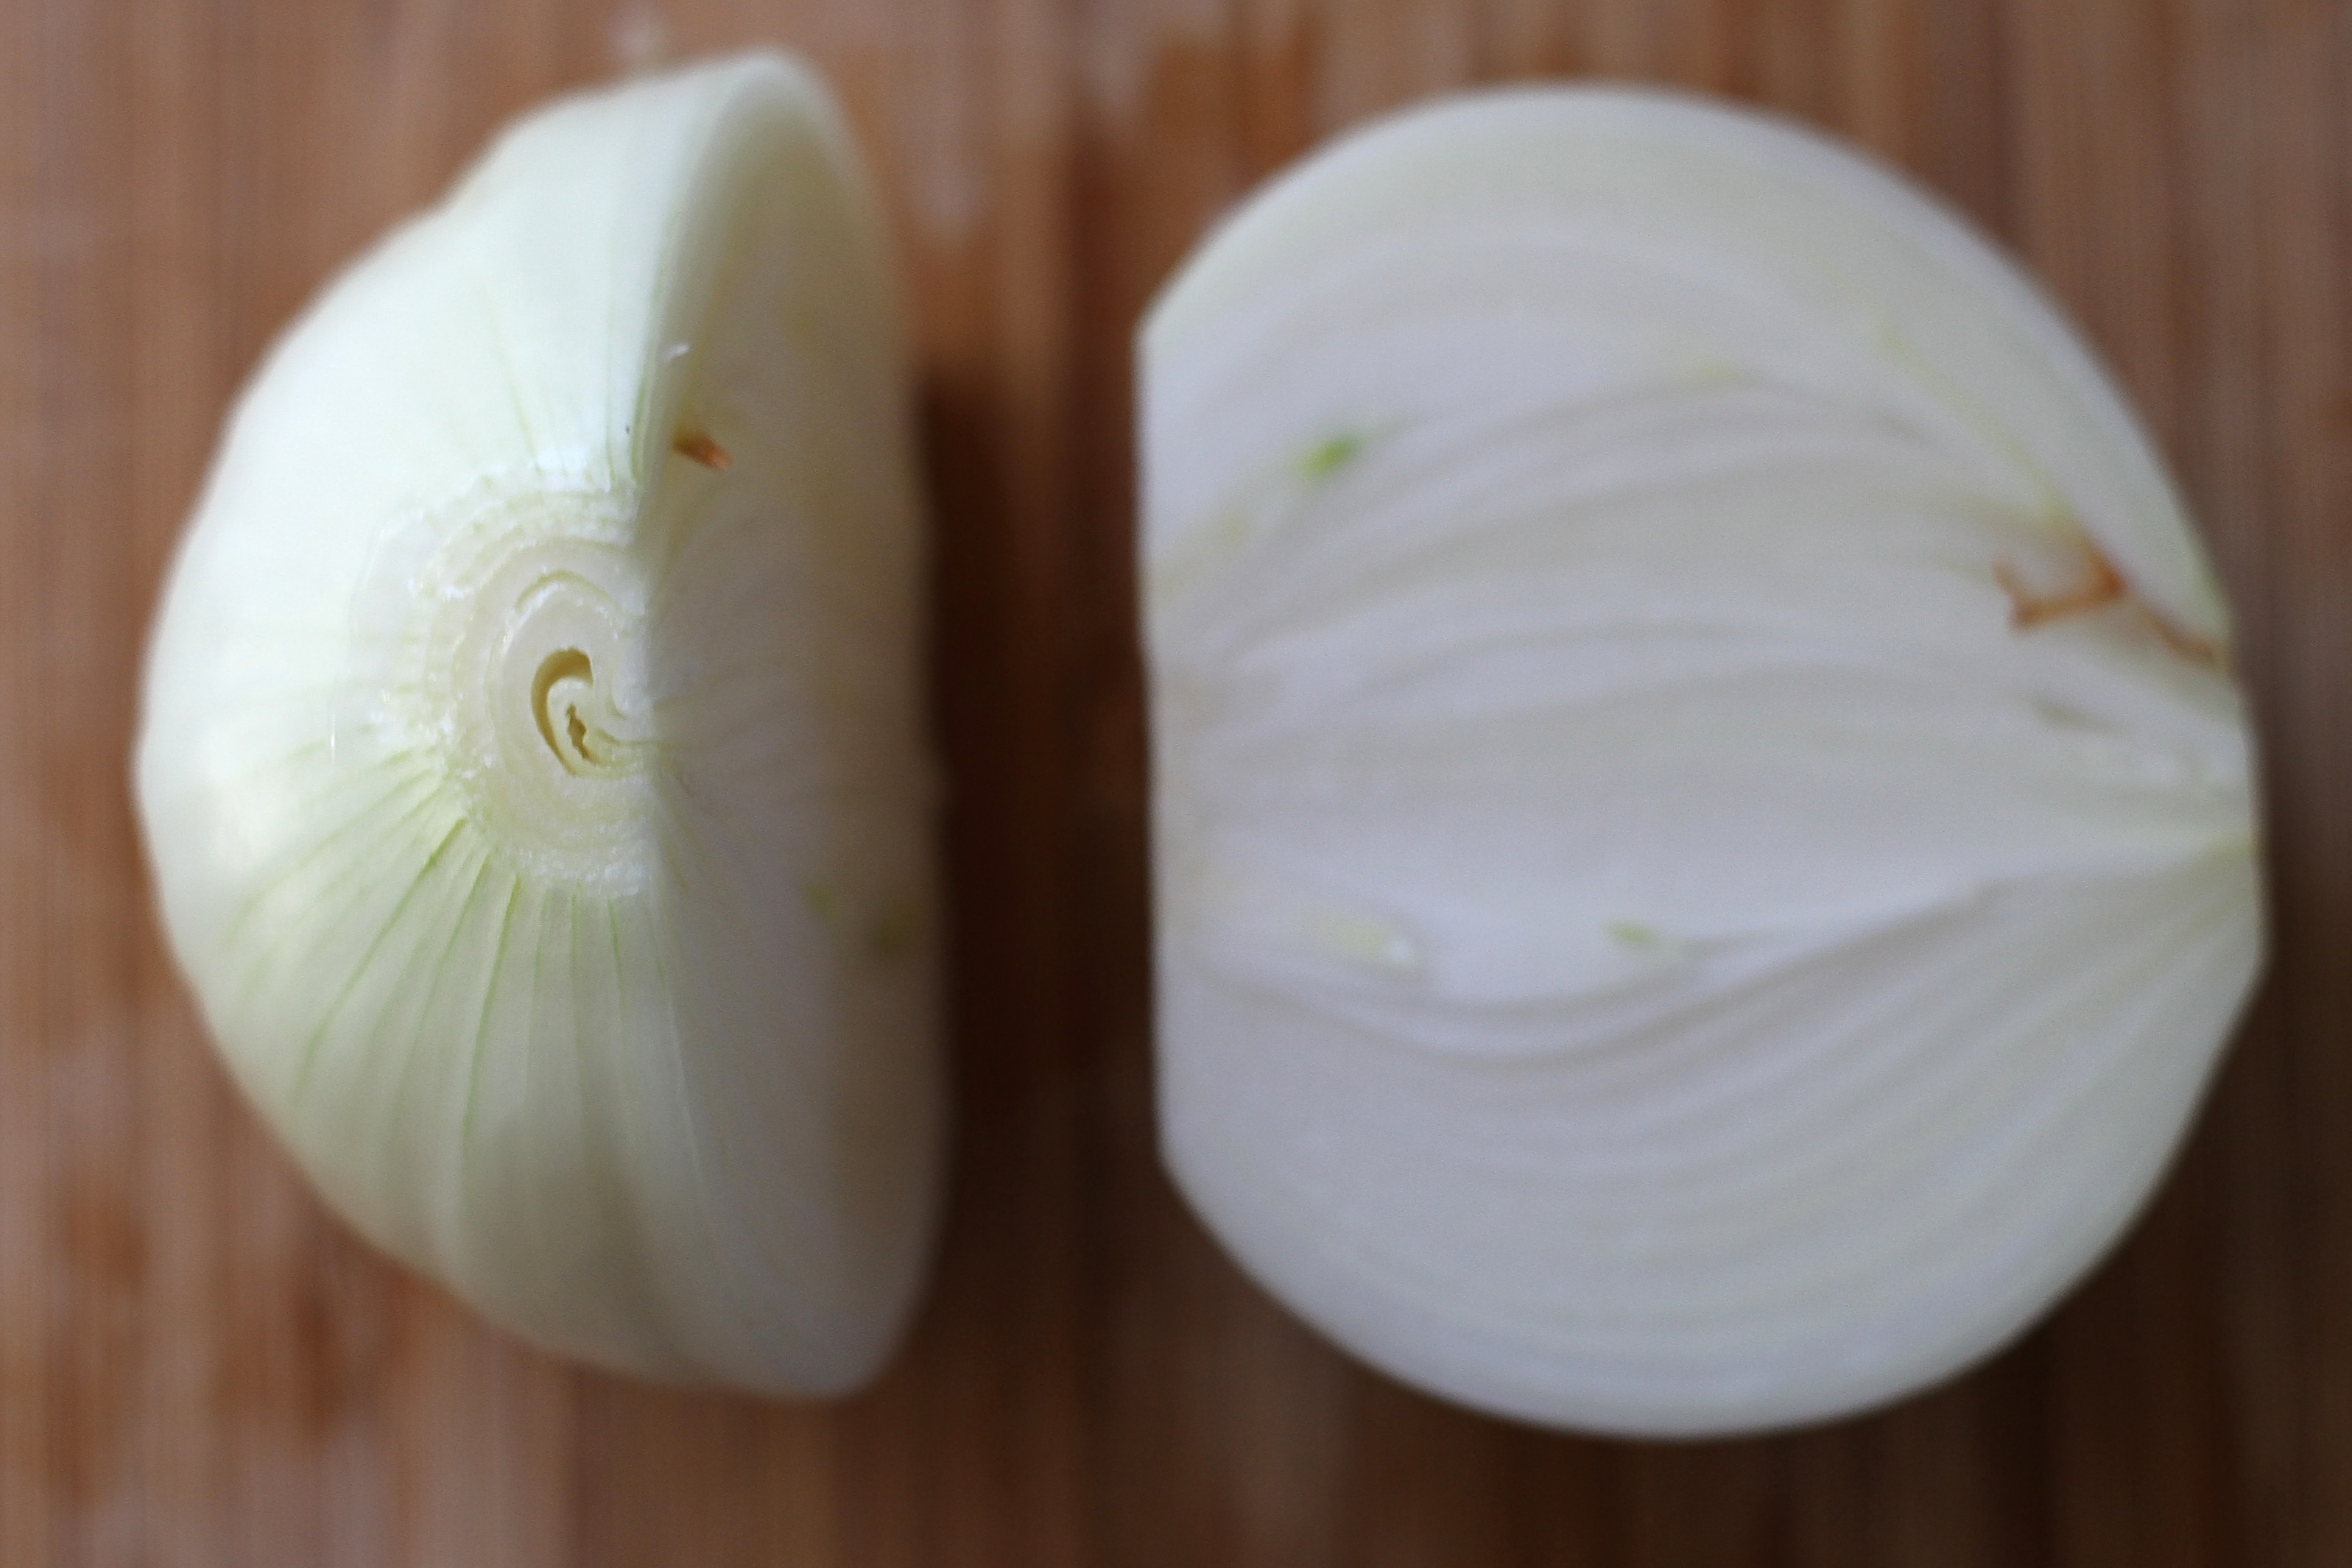
Step 3. Cut the onion in half (be sure to cut in the same direction of the lines on the onion)

IMG_4824

Step 4. Lay the onion cut side down and slice top to bottom stopping 1/4 inch of so from the bottom (you don’t want to cut all the way through)

IMG_4828

IMG_4830

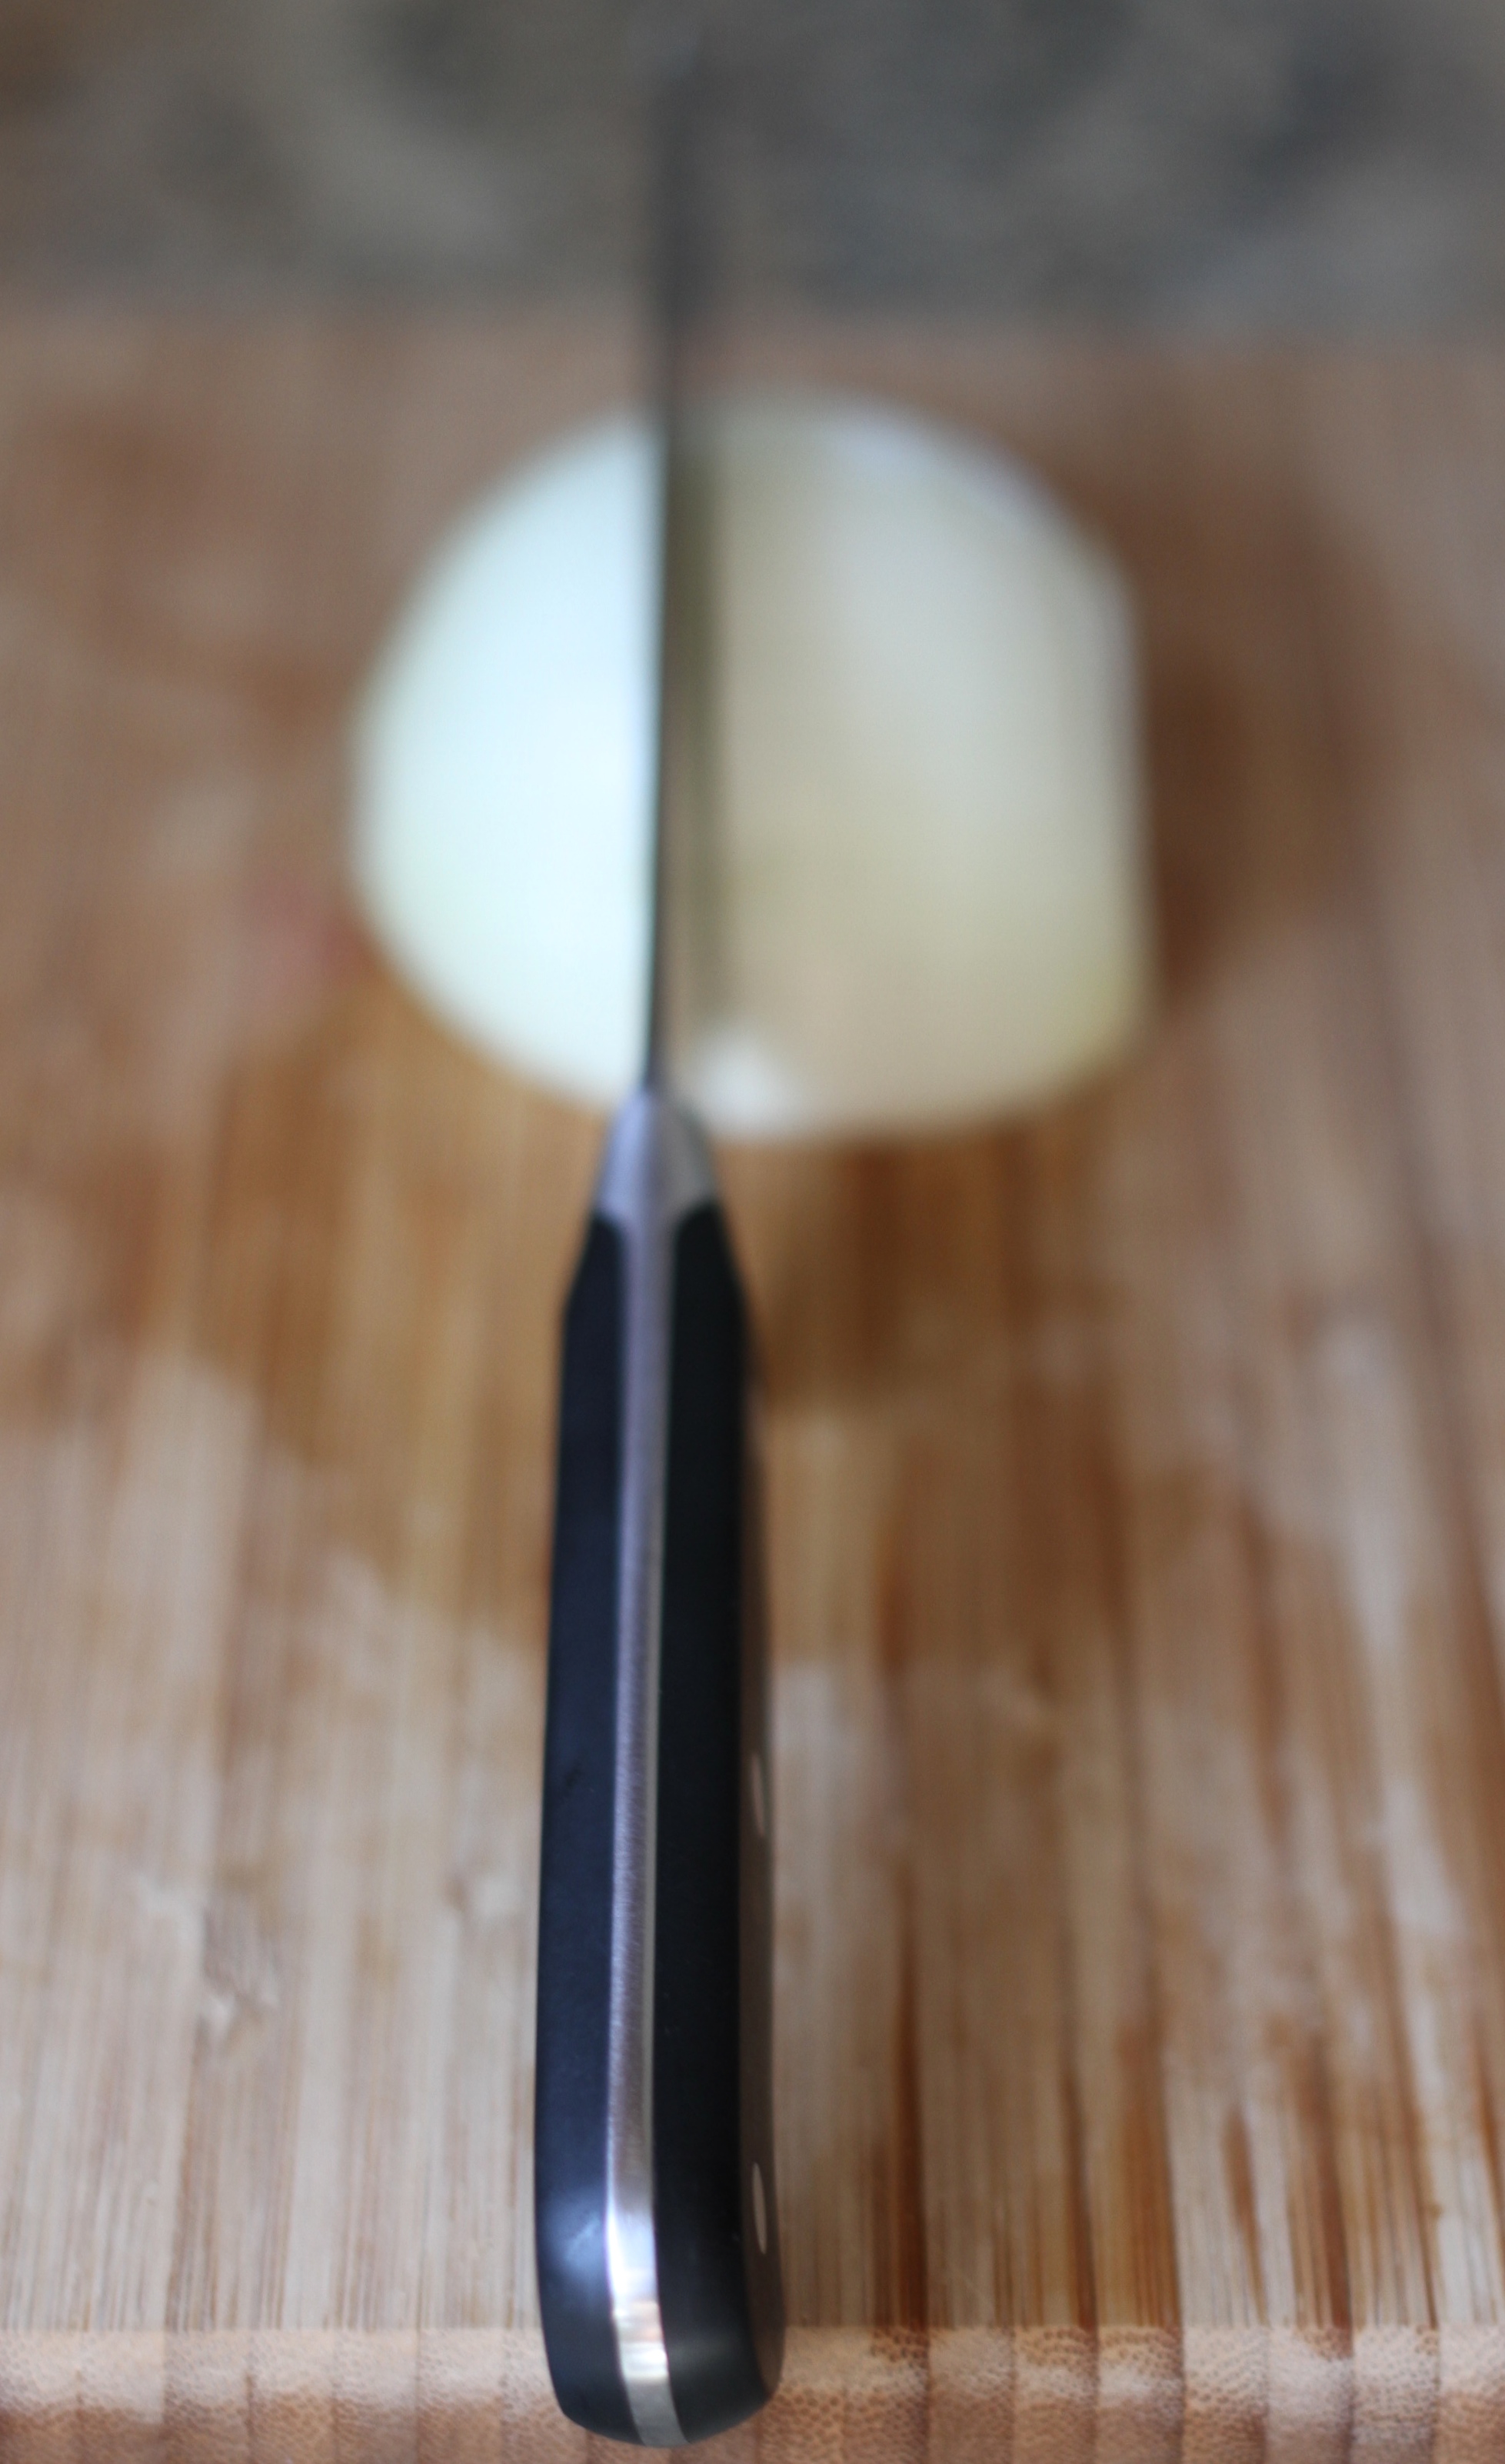
Step 5. Rotate the onion 90 degrees and slice completely through from top to bottom

IMG_4833

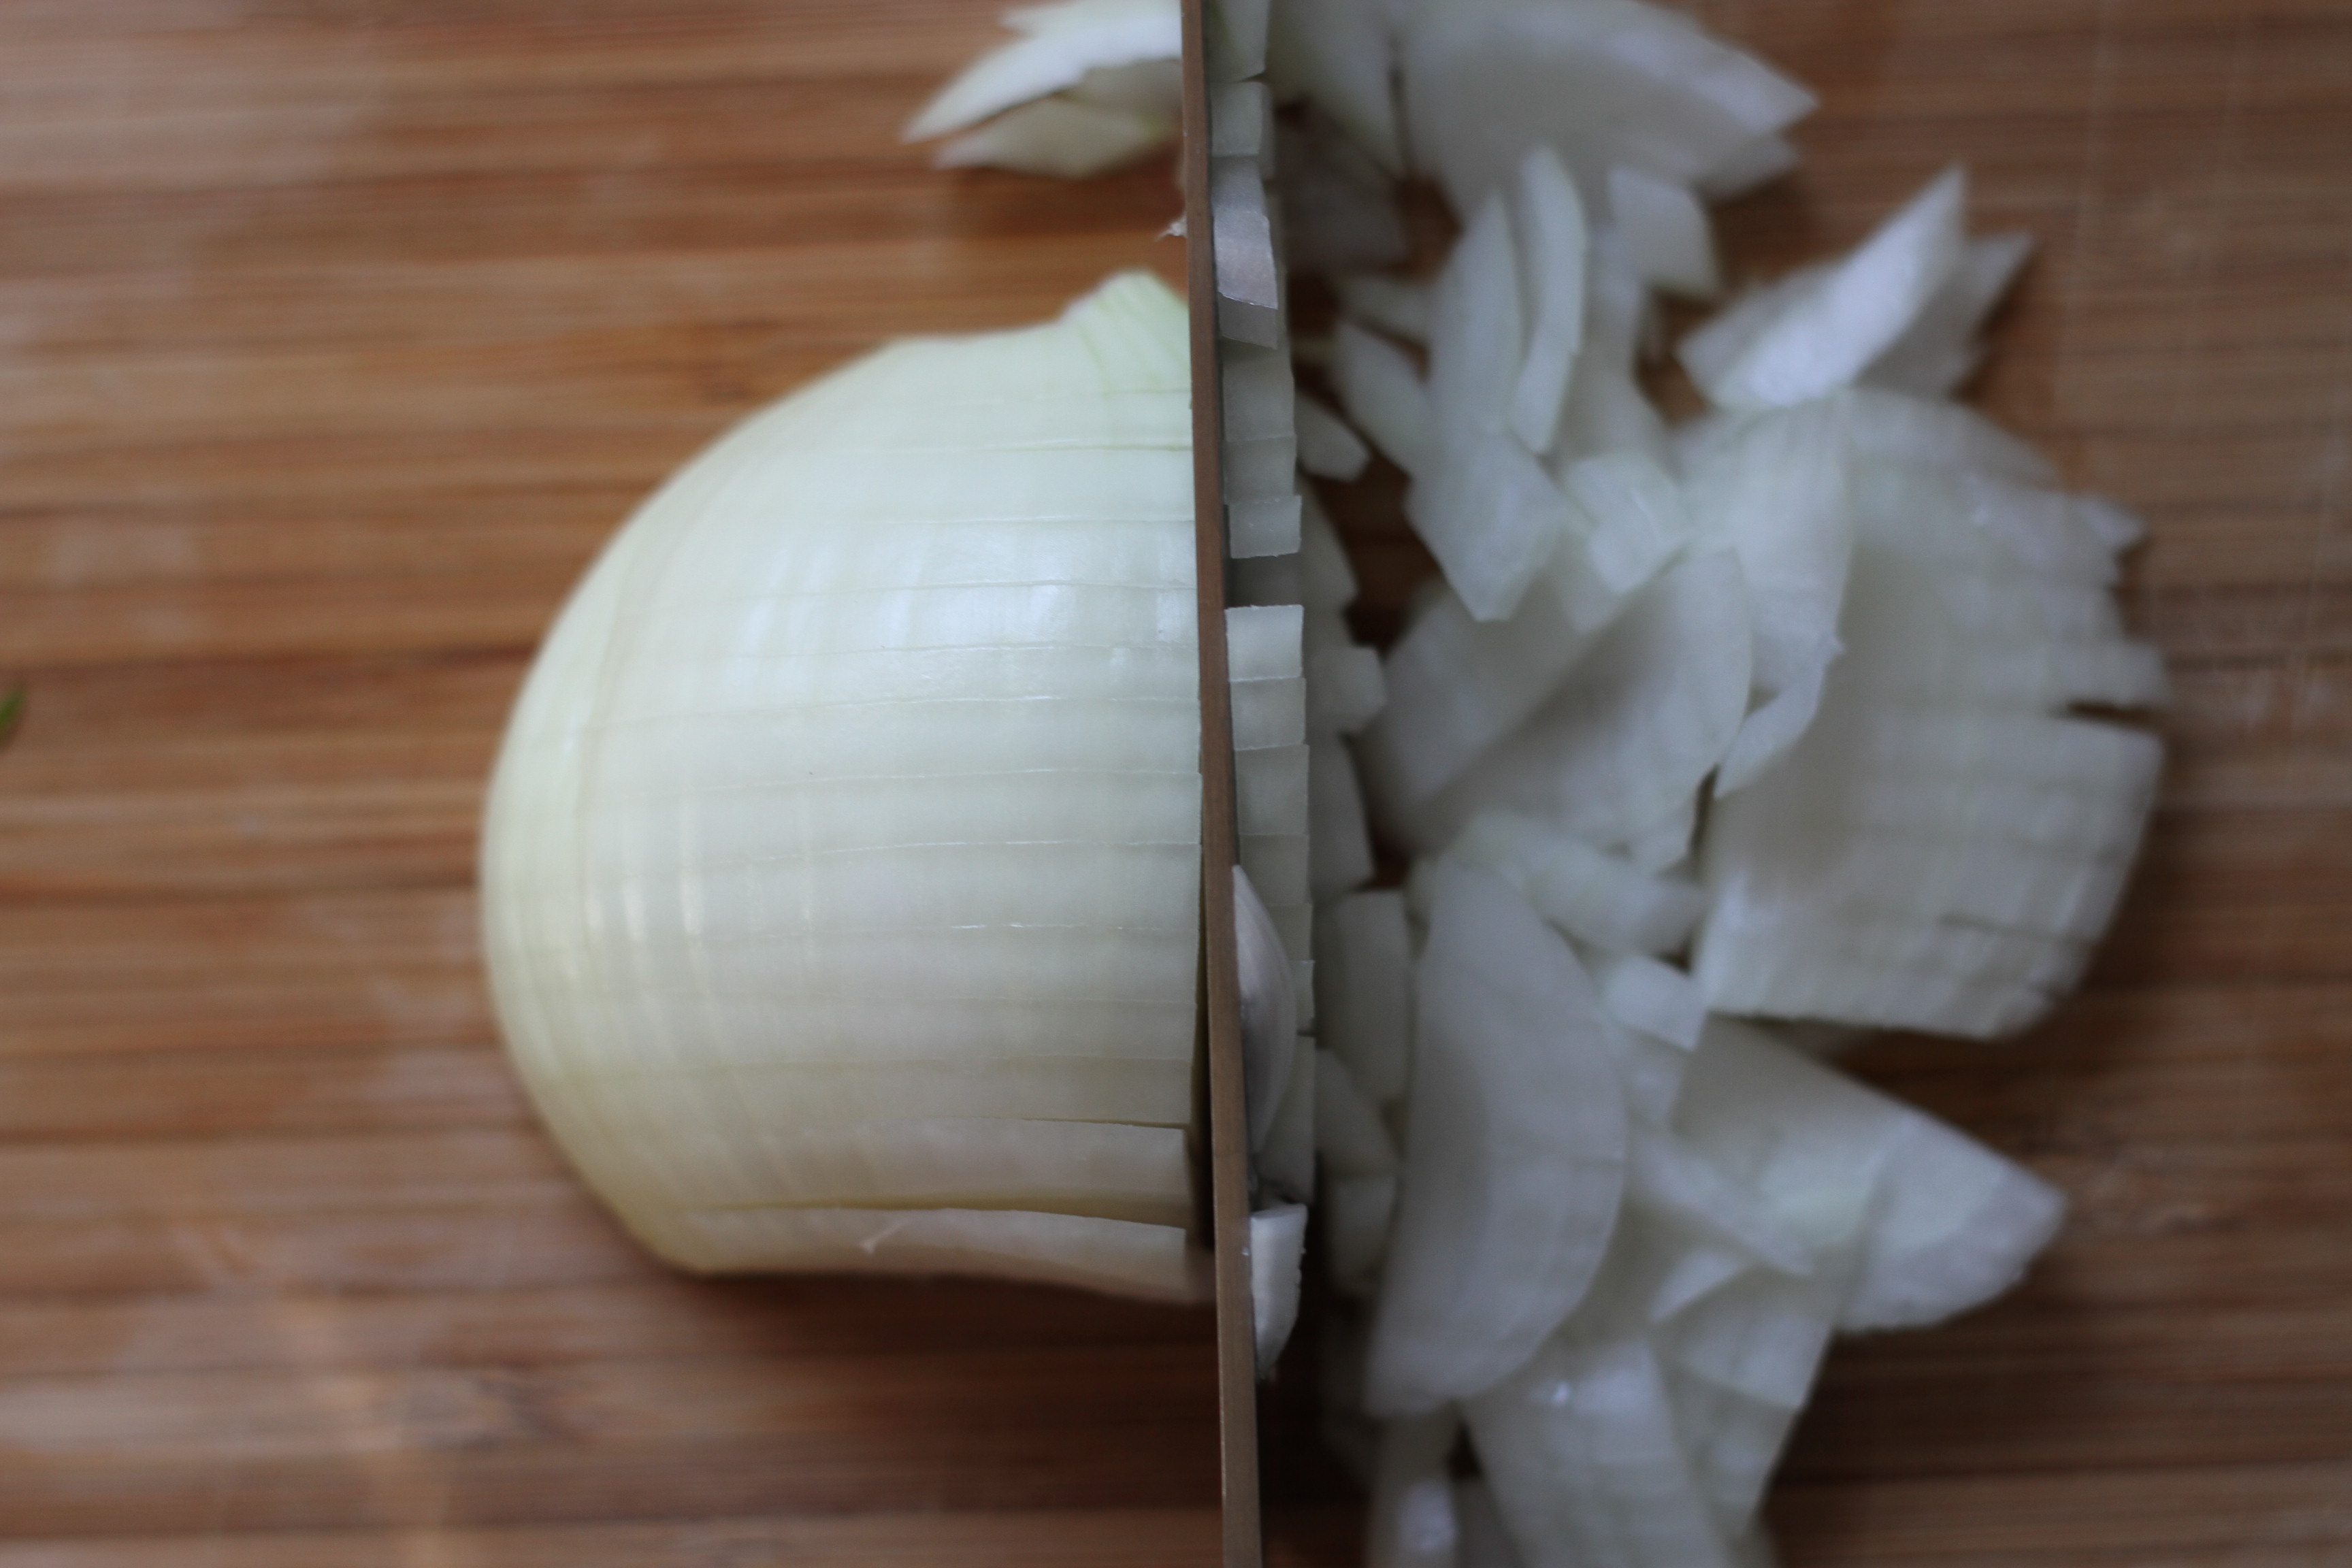
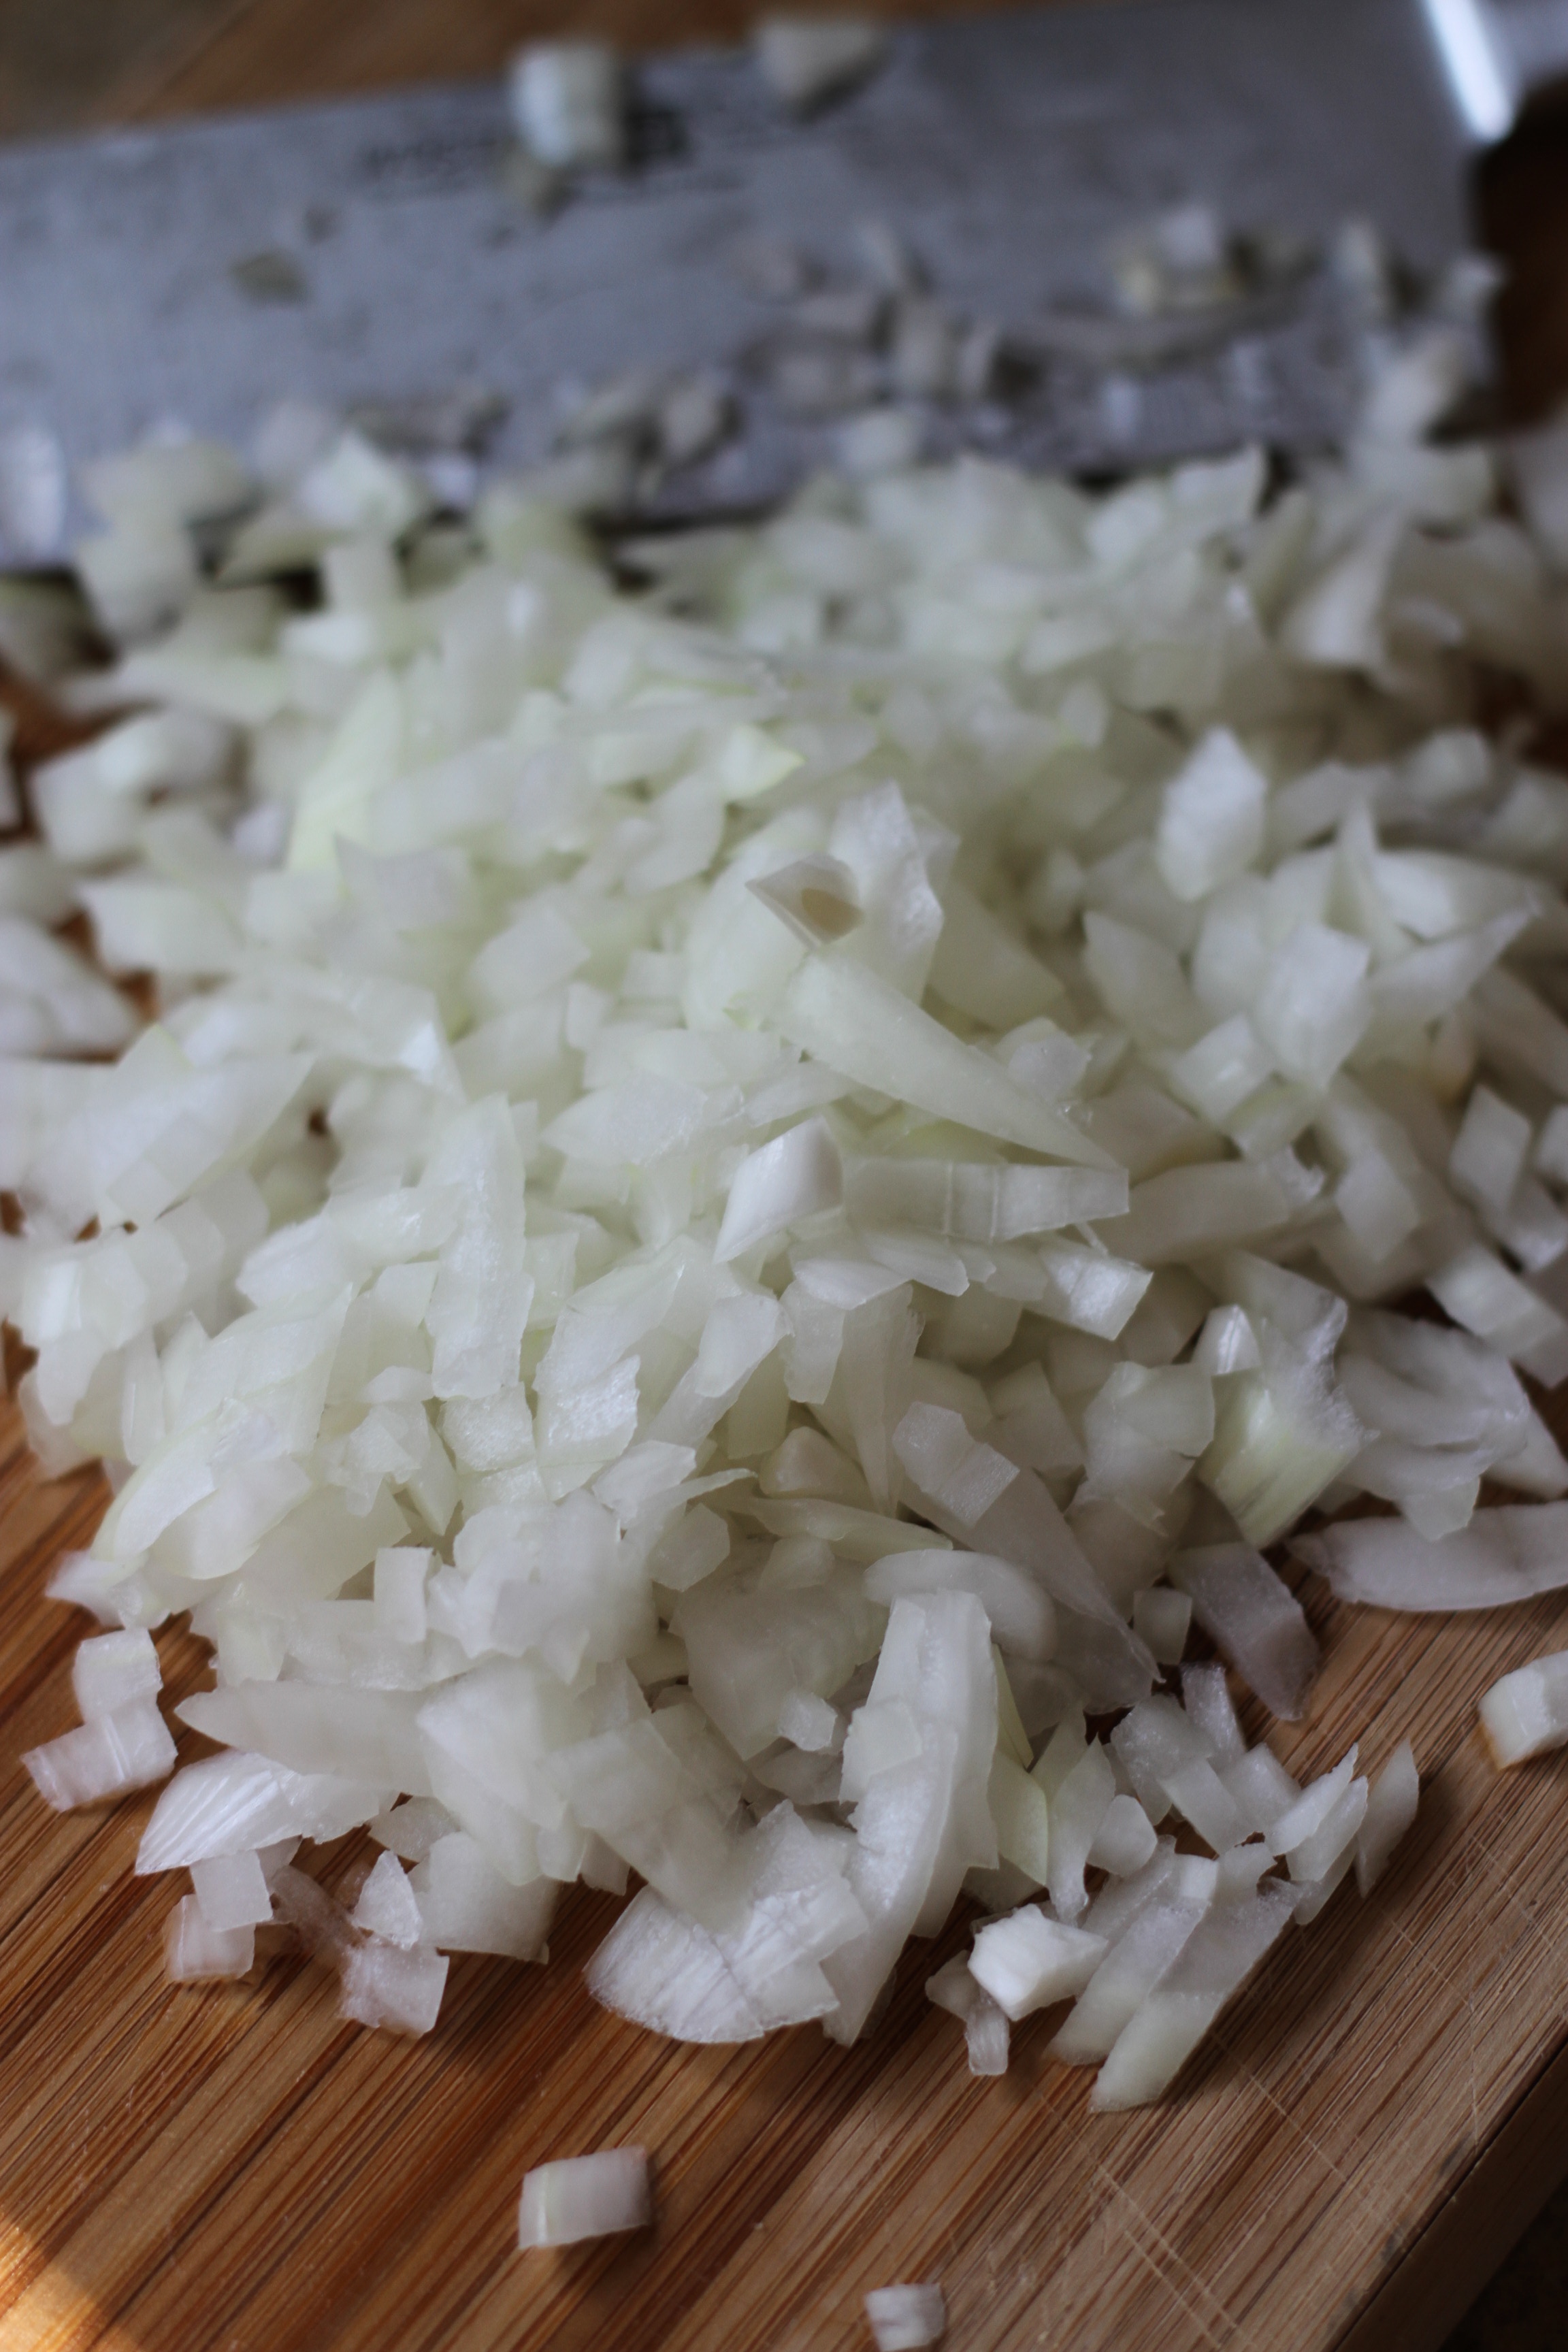
Step 6. You should be left with little squares (a few little chops here and there can help to break apart any pieces that snuck their way through any chopping.)
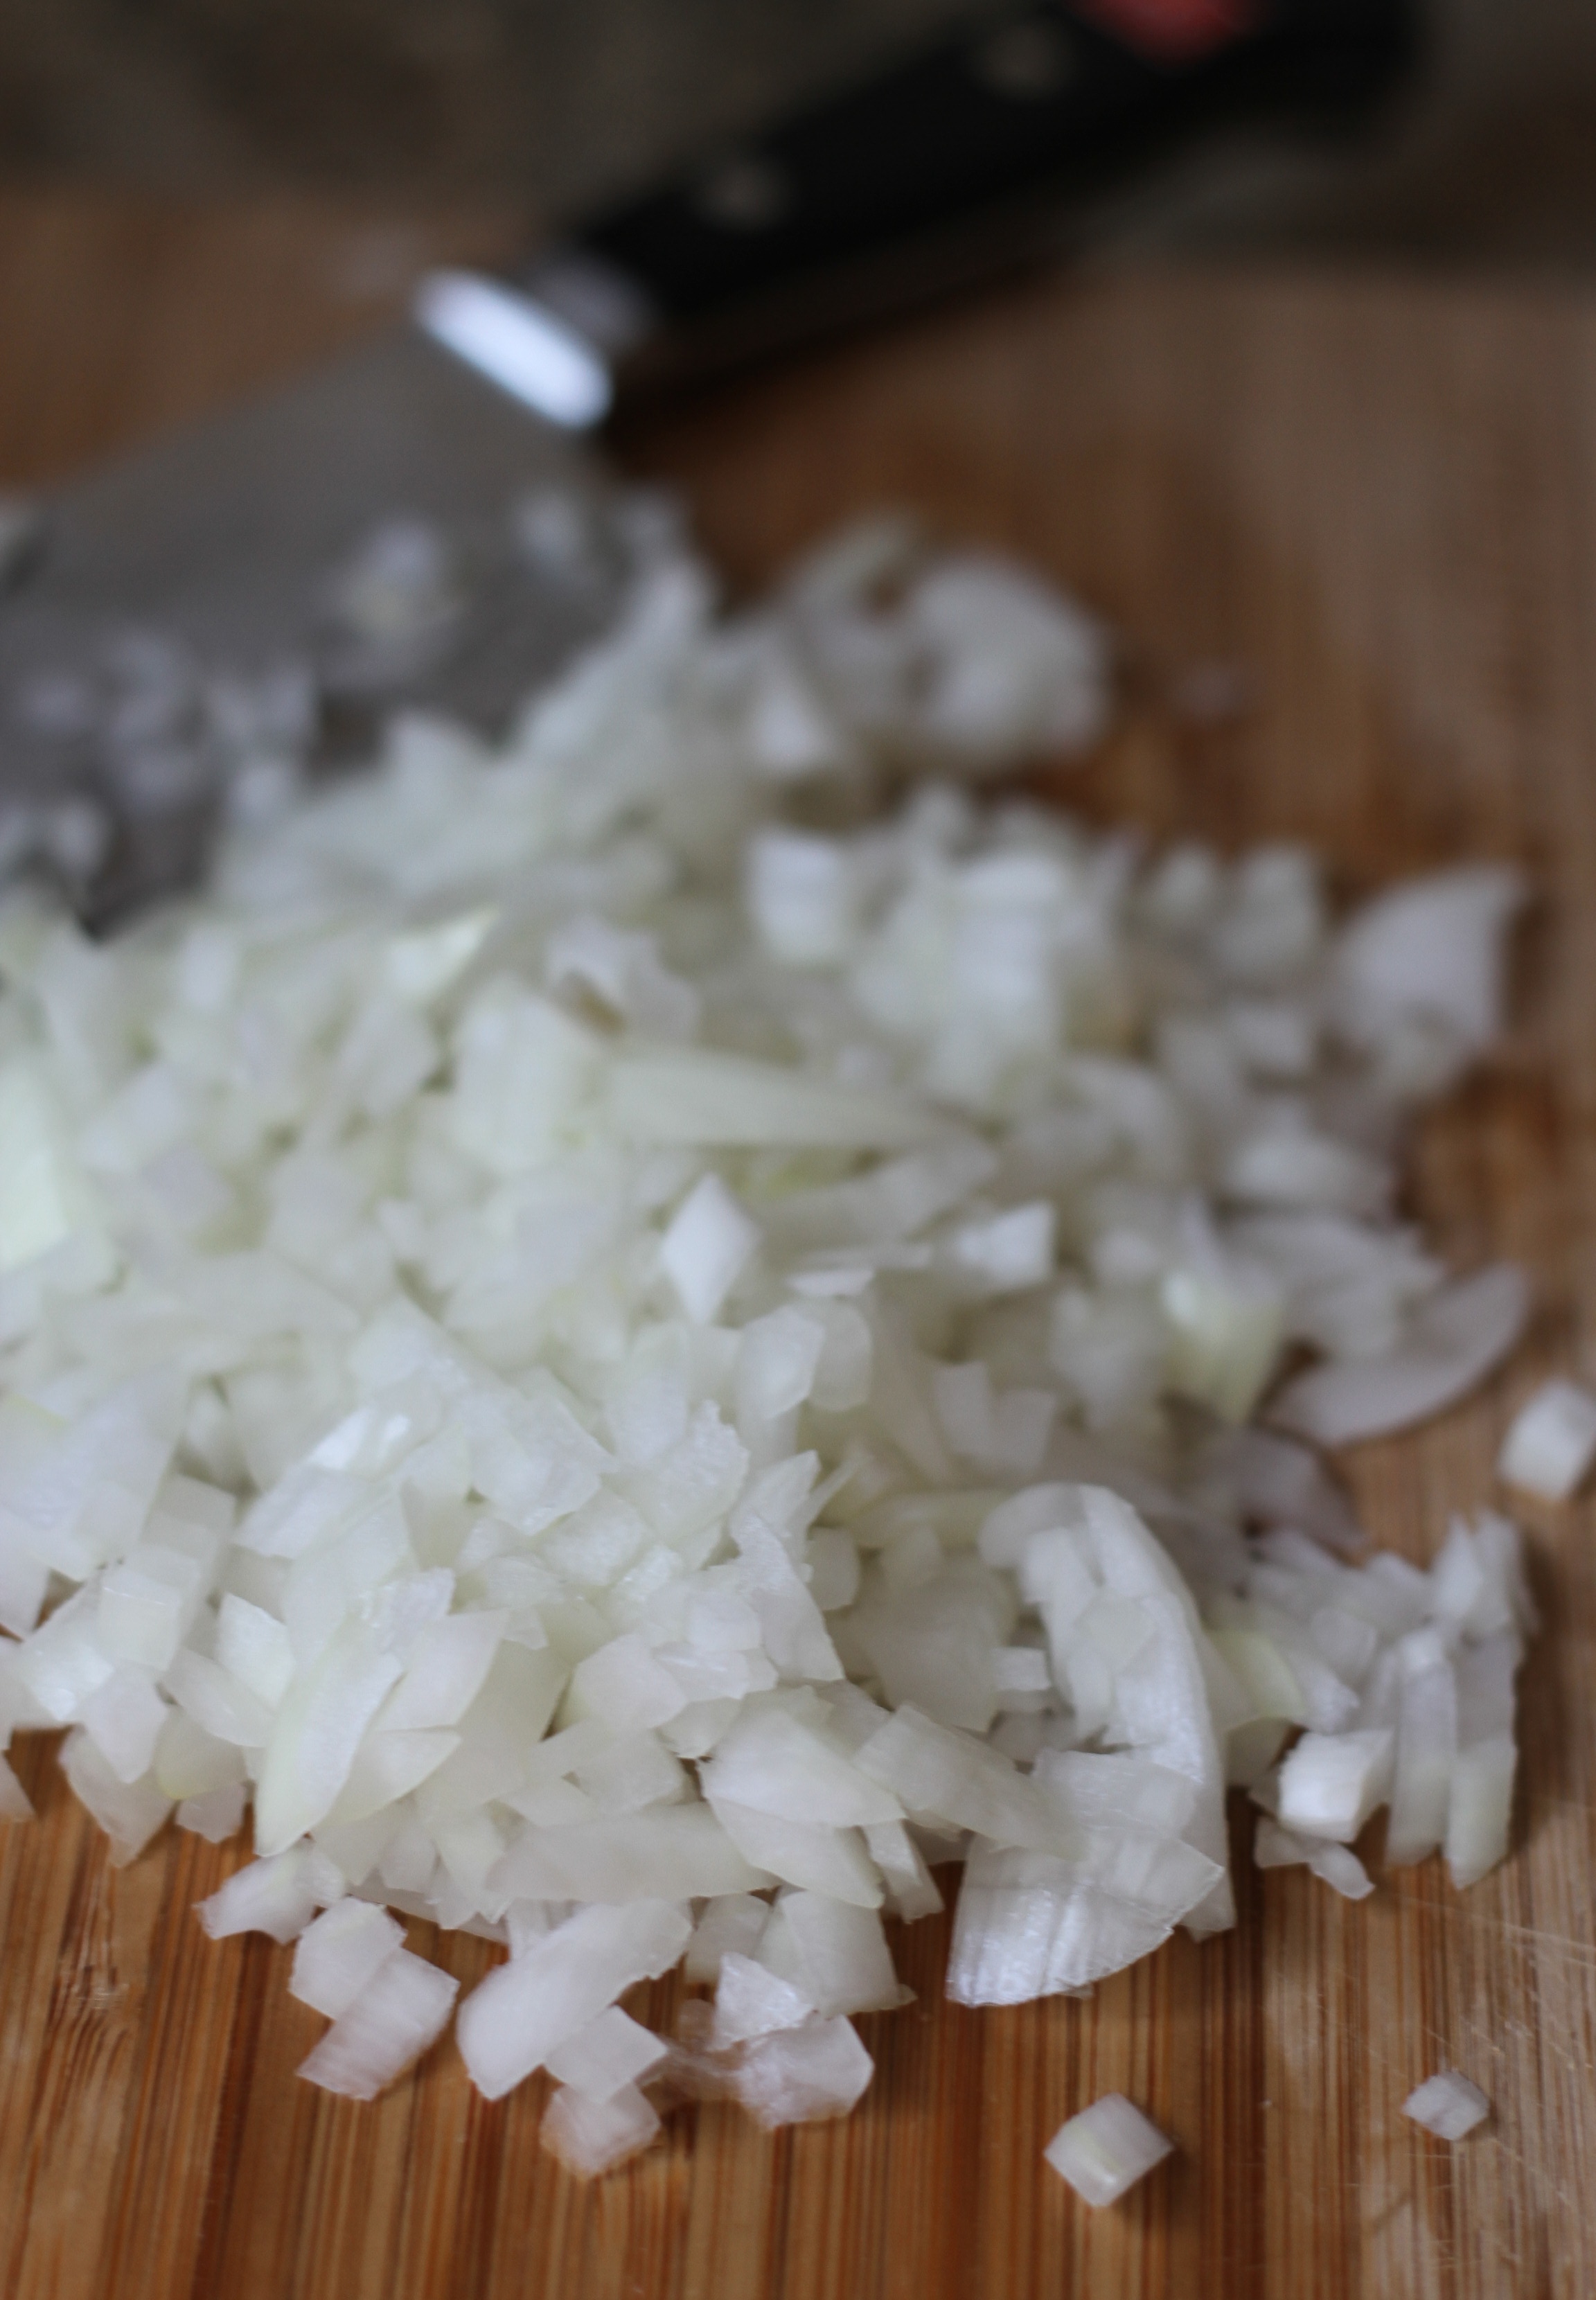
IMG_4837

Voila!

For “How to Slice a Watermelon” click here!

Today is the last day to enter the Elsie Green Giveaway!!! Tell me what item(s) you like best from the Elsie Green website by leaving a comment on THIS post! Make sure to follow up with the Rafflecopter widget below 🙂 Good luck!

a Rafflecopter giveaway

Tasty

Did Someone Say Burrata?

June 2, 2014

IMG_0907

Got your attention did I?

Sliced Tomatoes

Well I was craving some comfort food amongst this warm weather (why, I have no idea), and wanted to make a seasonally appropriate dish… here is what I put together:

Heirloom Tomtato and Burrata Pasta

  • 10-12 heirloom tomatoes
  • 3 garlic cloves, minced
  • 1/4 cup olive oil
  • 2 tablespoons balsamic vinegar
  • 1 lb. pasta (I used quinoa spaghetti that worked well)
  • course sea salt
  • freshly ground pepper
  • Burrata cheese (how much depends on you decadent you want it – I used 1/2 a ball
  1. Preheat oven to 450 degrees.
  2. Slice tomatoes in half and transfer to a mixing bowl.
  3. Top with mixture of olive oil, vinegar, garlic and heavy seasoning of salt and pepper (about 1/2 teaspoon of pepper and 1 1/2 teaspoons of salt). Mix until combined.
  4. Spread tomato mixture on a foil lined baking sheet and roast for 30 minutes (you want the tomatoes to be caramelized).
  5. While tomatoes are roasting, cook pasta in salted water until al dente and drain.
  6. Return noodles back to pot and once tomatoes are ready, add complete contents of baking sheet (tomatoes and their juices – not the foil) to the pot.
  7. Depending on how would like to present it, either add the burrata in now and give it a good stir, or individually plate the pasta and give each person their own portion of burrata atop their pasta.
  8. Garnish with herbs (basil works best, but chives, parsley, or whatever you can get your hands on should do the trick!)
  9. Mangia!

IMG_0856

IMG_0869

IMG_0874

IMG_0876

IMG_0891

IMG_0896

IMG_0902

IMG_0913


Party

La Rusticana d’Orsa Cooking Class

April 14, 2014

IMG_9450

I was so lucky to be invited to attend a cooking class at La Rusticana d’Orsa a couple of weeks ago (thank you Patti).  La Rusticana is a gorgeous estate in the heart of the Santa Cruz Mountains, which transports you to an Italian countryside. They have left no detail untouched – beautiful roses, Italian Cypresses, lily pounds, sculpture gardens… it is very hard to believe that this Tuscan inspired villa is a quick drive to Downtown San Jose.

IMG_9336

IMG_9343

IMG_9346

IMG_9355

The owners have opened up their property for art lessons, cooking classes, etc. and I was lucky enough to snag a coveted spot with Italian trained chef – Franca.  She is the sweetest lady and put together an amazing menu of Italian Easter dishes.

IMG_9371

IMG_9373

IMG_9349

IMG_9366

There were 21 of us, and each couple (and myself) picked a dish to be in charge of… I went with dessert, naturally. We spent the evening cooking, drinking wine, enjoying the grounds and making new friends.  It was an amazing group of people, and it was nice to go out of my comfort zone and try something new!

IMG_9382

IMG_9384

IMG_9392

IMG_9379

La Rusticana also bottles their own blend of Cabernet Sauvignon and Merlot grapes, and has some magnificent vineyards on the premise.

IMG_9402

IMG_9394

IMG_9412

IMG_9398

Here was our menu (didn’t realize this was ALL IN ITALIAN until just now…. sorry!):

  • Bocconcini al Caprino
  • Crespelle di Prosciutto Cotto e Funghi
  • Pizza Rustica
  • Arrosto di Agnello con Salsa all’Aglio
  • Farro Salad
  • Grilled Corn and String Bean Salad
  • Peperoni Arlecchino
  • Frittata di Carciofi e Patate
  • Ginger-Orange Strawberry Shortcake

IMG_9420

IMG_9431

IMG_9435

IMG_9437

IMG_9442

Not only were we able to use their beautiful kitchen but also cooked some of our meal on their massive outdoor grill (thank goodness I was not in charge of the lamb).

IMG_9472

IMG_9459

IMG_9465

IMG_9463

IMG_9488

IMG_9460

IMG_9470

IMG_9474

IMG_9477

Here was the recipe I was in charge of:

Ginger-Orange Strawberry Shortcakes

  • 4 cups flour
  • 4 Tblsp crystallized ginger, minced
  • 3 tsp fresh ginger, grated
  • 2 Tblsp baking powder
  • 2 Tblsp sugar
  • 2 Tblsp orange zest
  • 1 tsp salt
  • 1 stick unsalted butter, chilled, cubed
  • 1 2/3 cups whipping cream, chilled
  • 1 egg, beaten with 1 Tblsp water

Filling: 

  • 3 baskets strawberries, hulled and sliced
  • 4 Tblsp orange juice
  • 2/3 cup sugar
  • 2 cups whipping cream, well chilled
  • 2 Tblsp Grand Marnier
  • 2 Tblsp powdered sugar

For the shortcakes: 

  1. Mix first 7 ingredients in a bowl.
  2. Rub in the butter until mixture resembles course bread crumbs.
  3. Add in the cream, stir with a fork just until clumps form. (DO NOT overwork dough)
  4. Gather dough into a ball and wrap in plastic wrap. Chill 1 hour.
  5. Preheat oven to 350.
  6. Line baking sheet with parchment.
  7. Gently roll out dough on a floured surface and gently pat dough to about 1/4 inch thickness.
  8. Using a 3 inch cookie cutter, cut out rounds. Reroll scraps and cut additional rounds.
  9. Place on baking sheets and brush with beaten egg wash.
  10. Bake for 30 minutes until golden. Cool on rack.

For the filling: 

  1. In a large bowl, combine the strawberries, orange juice and sugar.
  2. Stir and refrigerate until ready to use.
  3. Whip the heavy cream with powdered sugar and Grand Marnier to soft peaks.

For serving: 

  1. Cut shortcakes in half.
  2. Top bottom half with sliced strawberries and some of their juice.
  3. Spoon whipped cream over the strawberries and cover with shortcake top.
  4. Dust with powdered sugar.

IMG_9427

IMG_9436

IMG_9510

IMG_9495

IMG_9513

IMG_9504

IMG_9492

I can’t wait to go back! For more information on La Rusticana d’Orsa – click here.


Tasty

How to De-Seed a Pomegranate

January 30, 2014

IMG_5027

One of my favorite recipes growing up was my mom’s Pomegranate Salad… so my family has been trying to figure out the best way to de-seed pomegranates WAY before it was a “trendy” fruit.

Our methods have changed over the years, but here is our current method (please excuse the “interpretive” pics – it’s a little challenging photographing a how-to that requires two hands):

Step 1. Use a small knife to score around the crown of the pomegranate.

IMG_5032

Step 2. Wiggle the crown until you feel it pop and remove it.

IMG_5034

Step 3.  This is where I just get a good grip on both sides and break it in half.  The safer route is probably to gently slice it into segments and pull, but I tend to cut to deep and damage most of the seeds, this finding the “grab and go” approach more effective.

IMG_5039

Step 4. Break halves, in half again and using the back of a wooden spoon hit the skin of the pomegranate (in my attempts for a pretty picture, it actually is depicting the OPPOSITE of what you should do – fail.) into a water filled sink or large bowl.

Step 5. Also feel free to pick some of the seeds with your fingers – I just recommend you do so under water, as to not splash whatever you are wearing in VERY staining pomegranate juice.

Pomegranate Jewels

Step 6. Swirl the pomegranate seeds in the water and remove any floating debris (white pith, discolored seeds, etc.)

Step 7. Drain seeds and store in a air tight container.

IMG_5057

Tasty

Huevos Rancheros

January 22, 2014

018 The Feezor family are Huevos Rancheros addicts, but sometimes it just seems like too much work to whip up at home (hence it being a staple on our brunch outings).

023

Luckily, I found a way to make a relatively quick and very tasty Huevos at home.  The biggest plus for me? Minimal clean up 🙂

015

Huevos Rancheros

  • Corn Tortillas
  • Monterey Jack cheese
  • Pico de Gallo
  • Salsa Verde (I use the TJ’s version)
  • Eggs
  • Avocado
  • Beans (Black or Pinto – drained, rinsed)
  1. Brush olive oil on the inside of a custard tin (XL muffin tin/pan).
  2. Warm corn tortillas in microwave for 30 seconds or until soft/pliable (wrap them in paper towel first!)
  3. Push them into muffin tin and brush with oil.
  4. Place a spoonful of beans into the bottom. You also could get creative with the step and add finely diced onion, cilantro, etc.
  5. Grate a little cheese over the beans (to your liking).
  6. Crack egg over bean/cheese mixture (make sure it is contained in corn tortilla shell.
  7. Grate more cheese a top the egg (I like the egg pretty much covered).
  8. Bake at 400 degrees for 20 minutes.
  9. Top with pico de gallo, salsa verde, chopped avocado and cilantro!

020 019 014