Browsing Category

Domestic

Domestic

Makeover Monday – Entry Way

December 21, 2015

Now that J and I are settling into our new digs, I wanted to share our progress with you! Every Monday I will share updates on a new room/space, and show how we’ve redone it and made it our own.  As a first time homeowner, I had no real idea of just what we had gotten ourselves into… but luckily my husband and mom are pros at knowing the right people and getting the job done, so I’m very thankful for everything we’ve accomplished in this short amount of time.  To kick off our first Makeover Monday, I figured I’d start with our entry way (seems fitting right?).

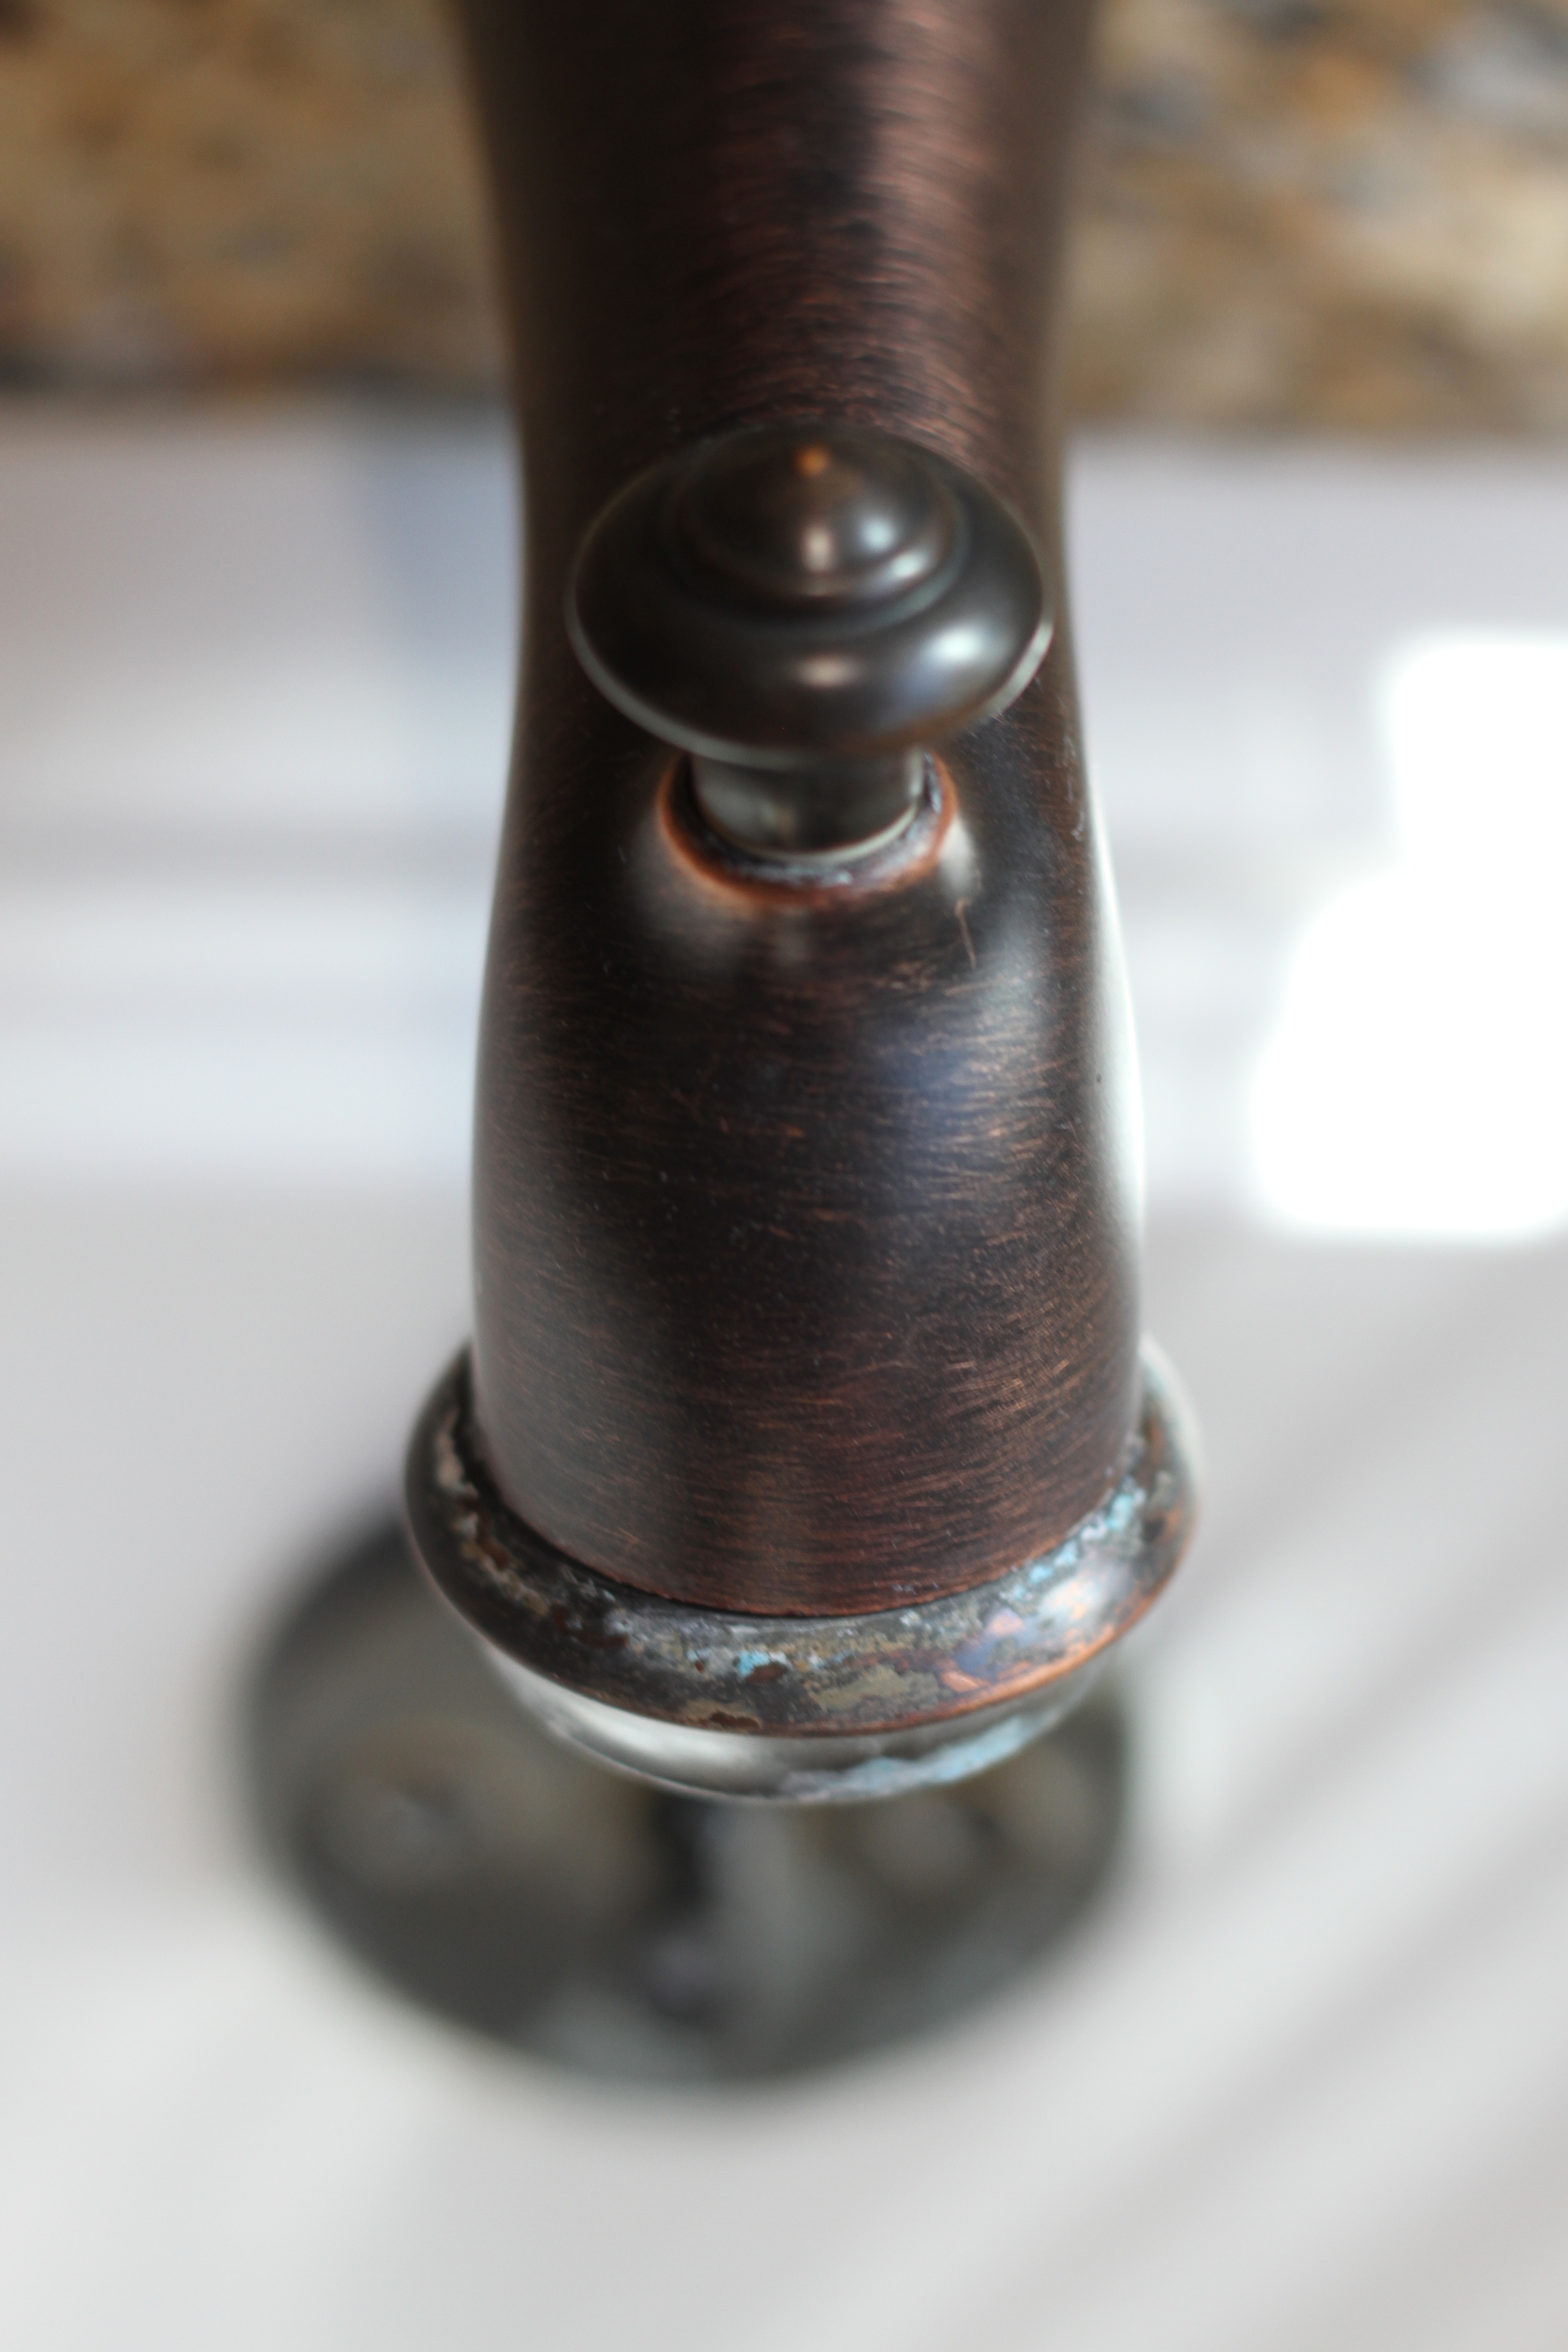
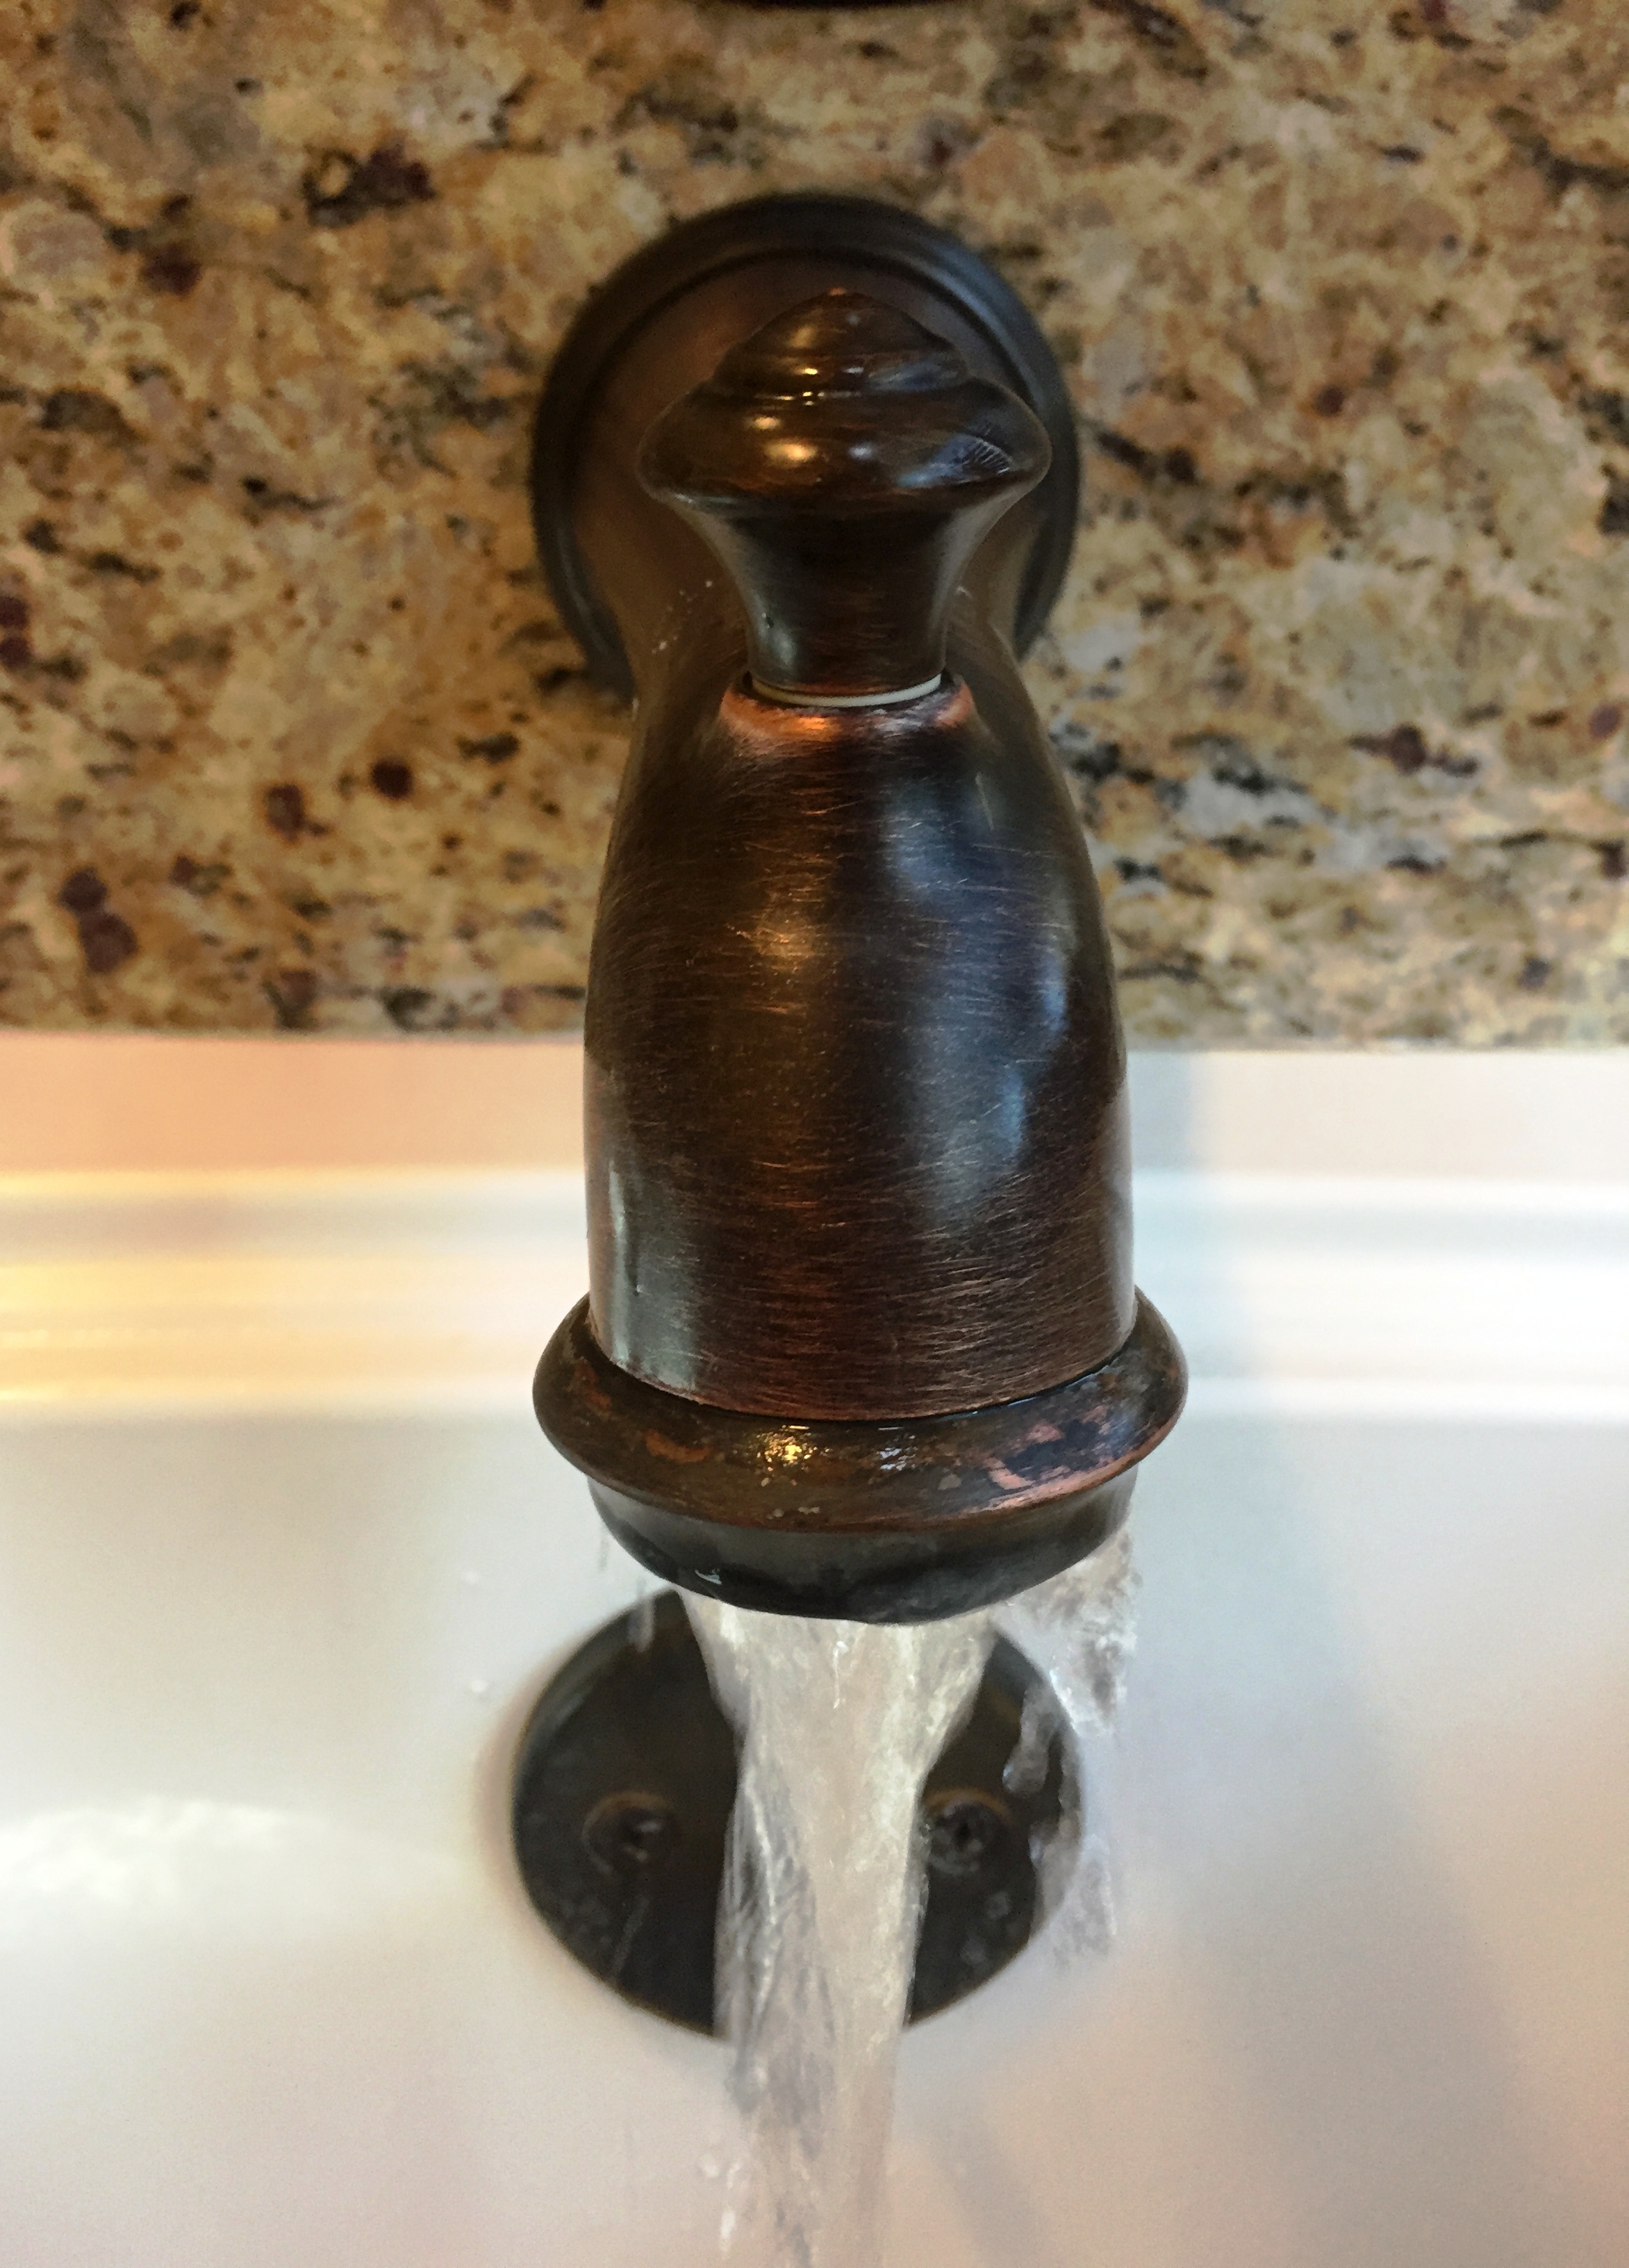
First and foremost, I knew I needed to swap out this guy:

IMG_4811

… to really set the tone of our home.

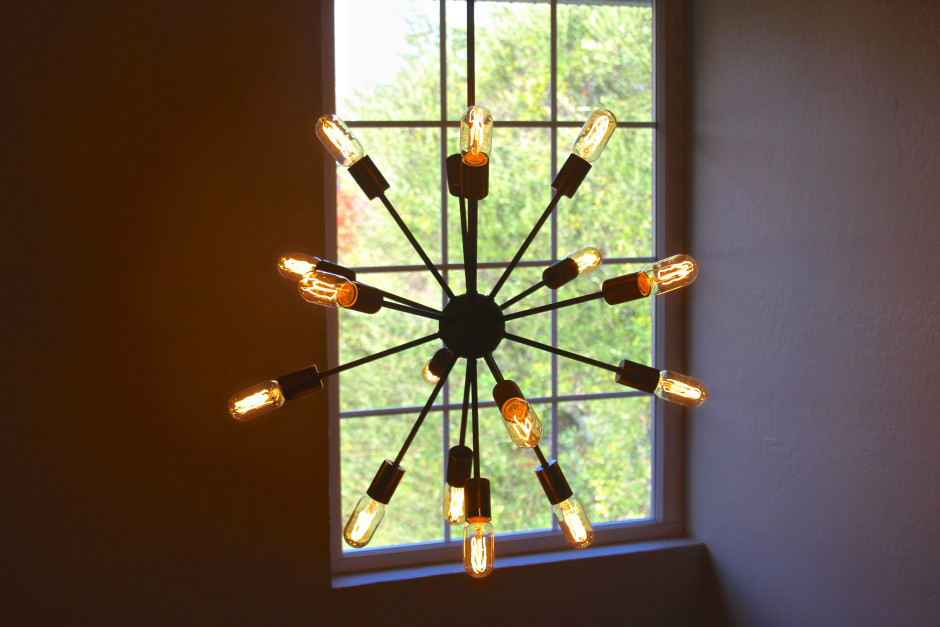
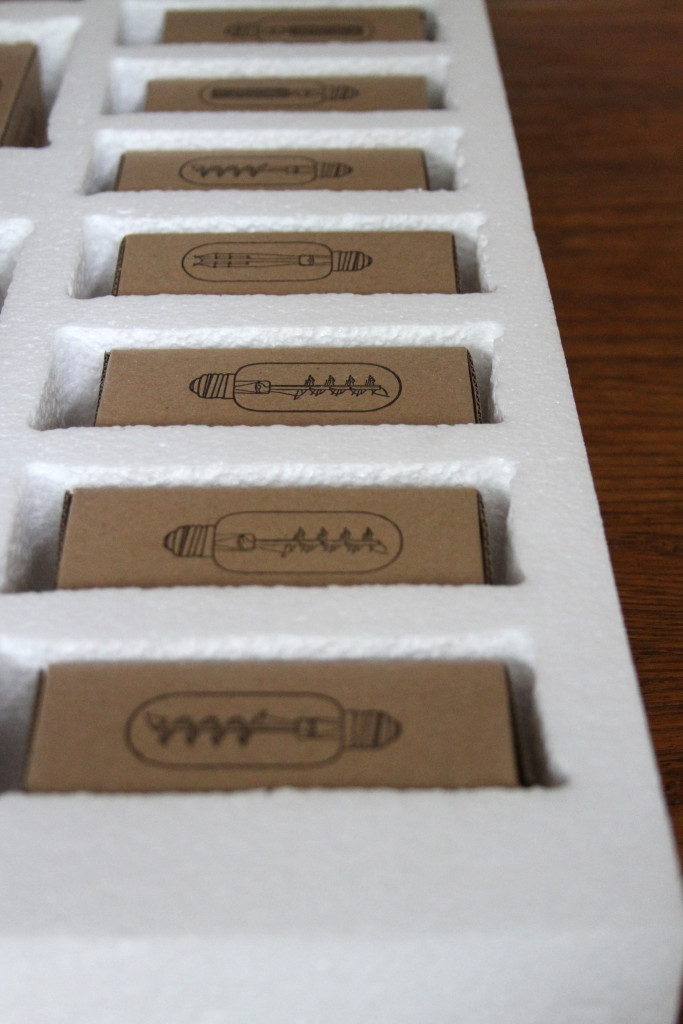
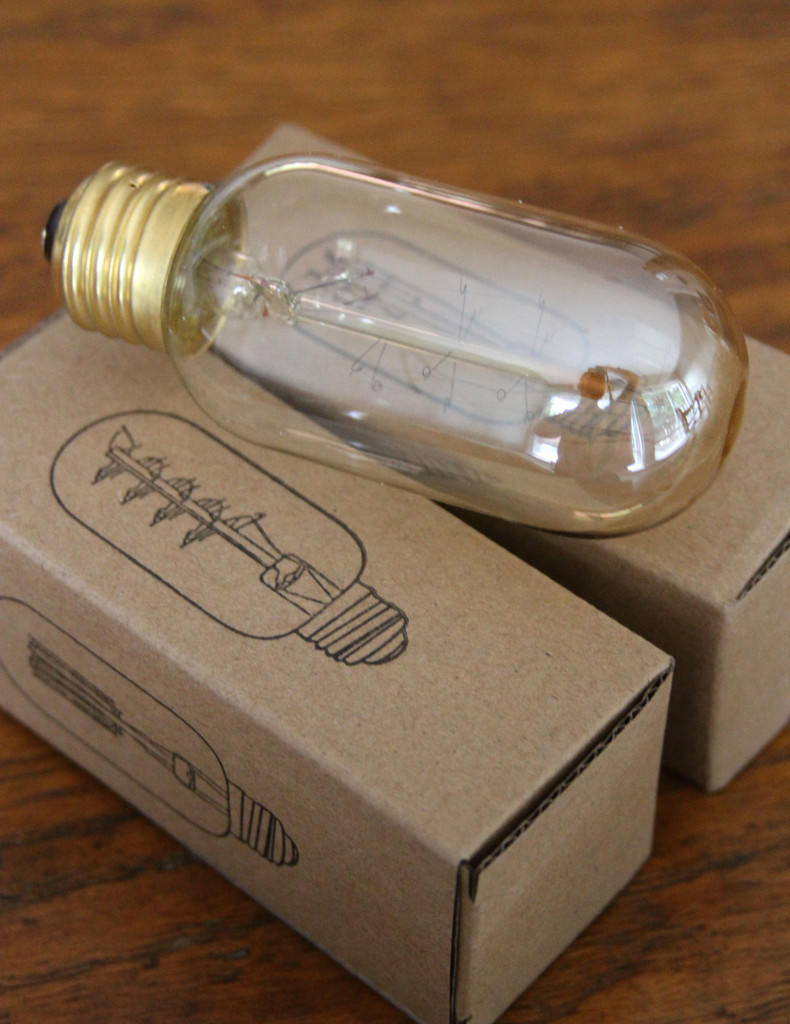
The hard part was figuring out what to replace him with.  Luckily, I came across 1-800Lighting and my prayers were answered! This family owned and operated company has been in the business for over 90 years (and it’s no wonder) – their selection was amazing, shipping was fast, and the product was so easy to assemble and install!

IMG_4826

IMG_4833

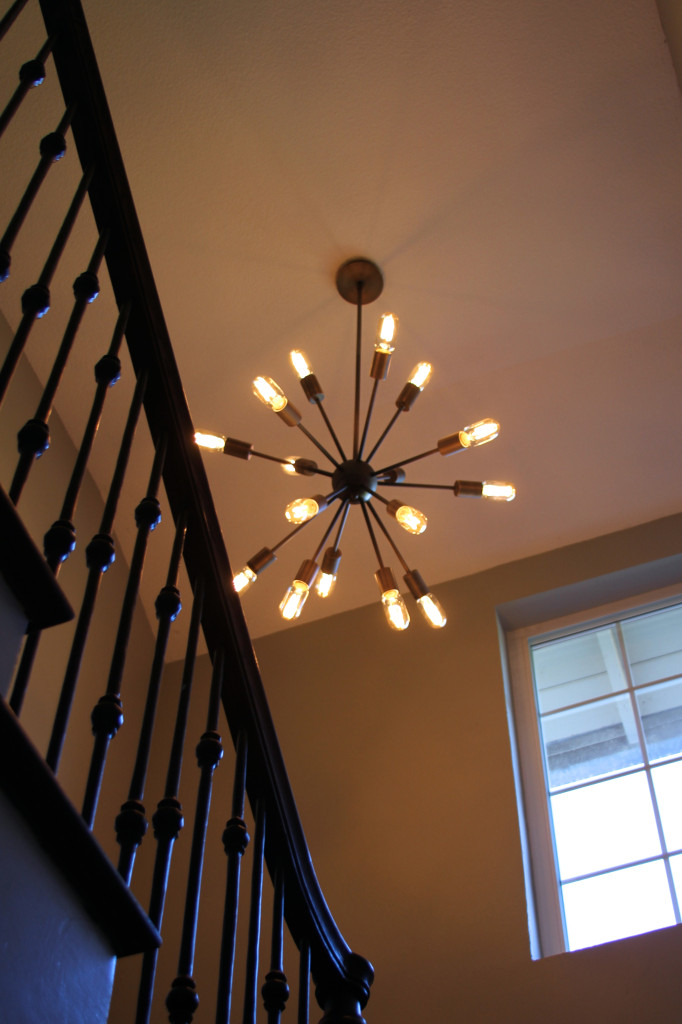
Our home has very traditional bones, so I wanted to spice up the space with this modern Flux 30 Chandelier from 1-800Lighting.  Every time I look at it, I can’t help but smile – it’s so fun and really updates our staircase.

IMG_4835

While we are still trying to track down the perfect mirror and entry way table, but in the meantime am using an old desk and extra mirror as the anchor for our entry space.  Throw a few framed photos and a beautiful orchid and you’re good to go!

IMG_4870

Photos
IMG_4882

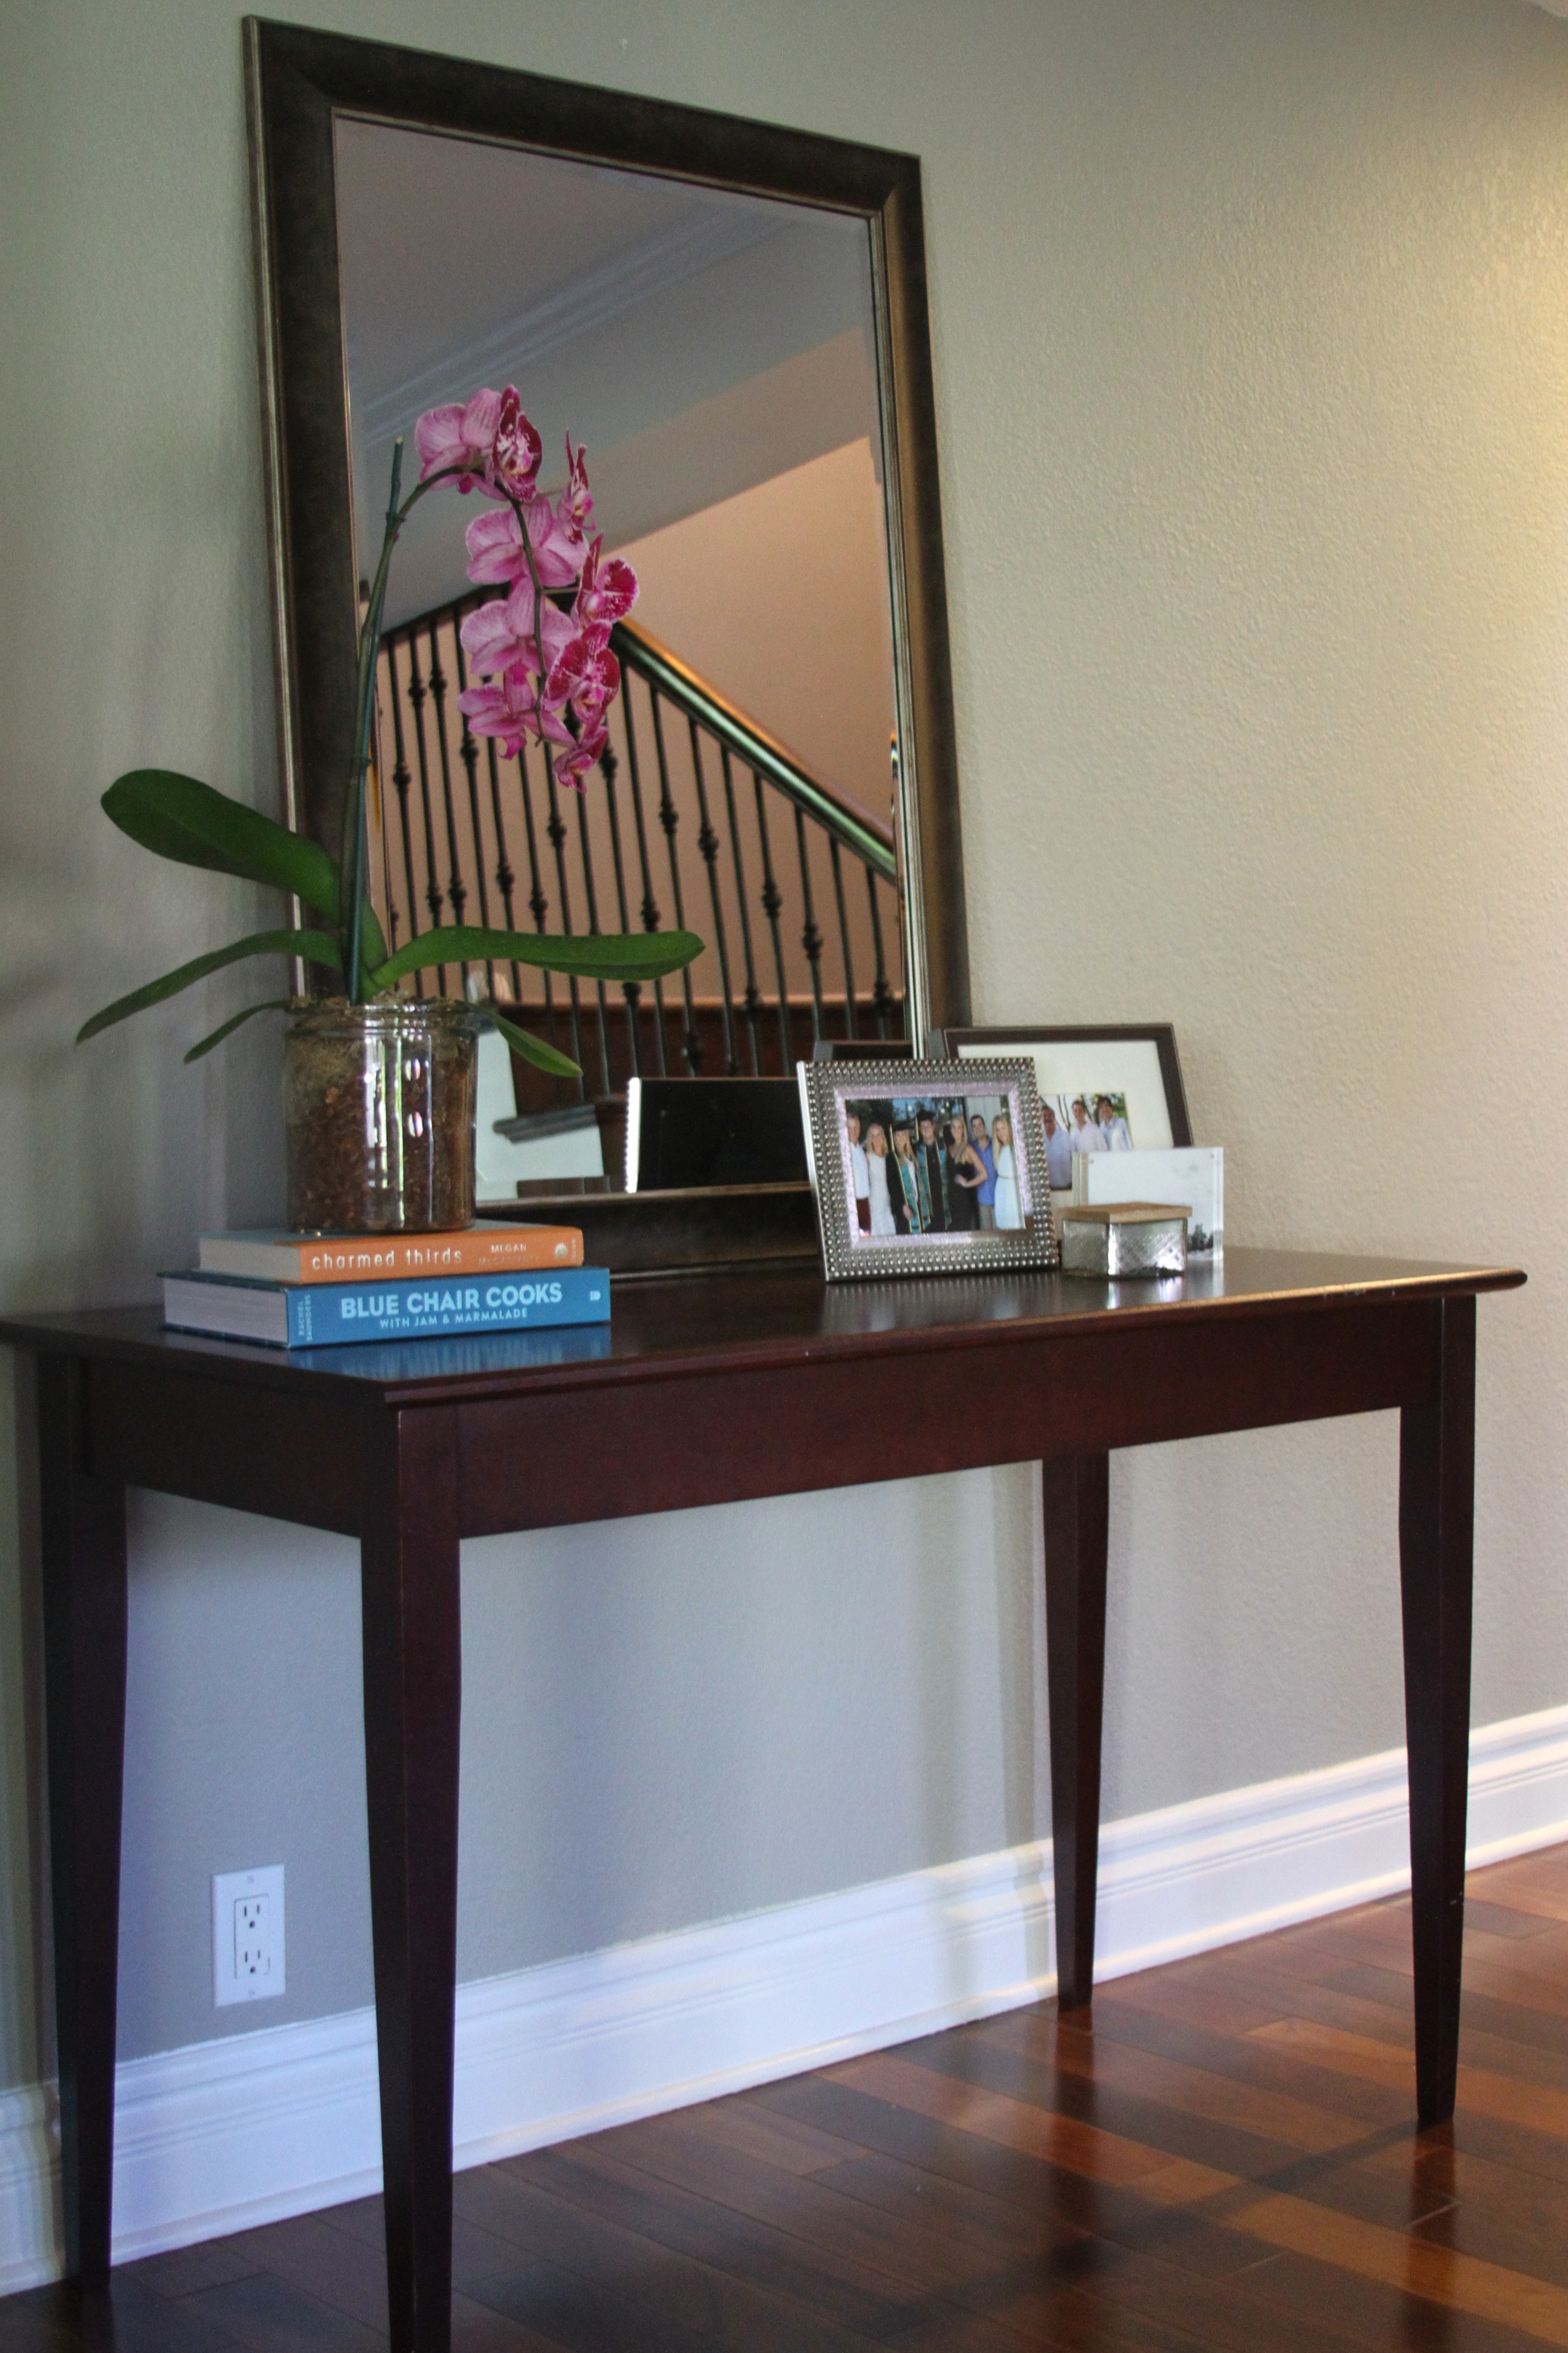
My next item on the entry way to-do list is to find a navy runner to cover the stairs in – has anyone installed one themselves or have any suggestions?

IMG_4863

 Financial compensation was not received for this post. While the Flux 30 Chandelier was gifted from 1-800Lighting, all opinions expressed here are my own.

Domestic

Coordinates Collection

September 29, 2015

IMG_2876

A few years ago my sister surprised my mom, sister and I with handmade silver bracelets with our initials carved into them.  It was such a thoughtful, beautiful gift and I love looking down at it knowing the other Feezor girls are wearing them too.

IMG_2873

When I came across the Coordinates Collection, I knew I had to add a gold piece to our jewelry boxes. The premise is really neat (and simple).  Pick a location that has special meaning to you – the place you went to college, where you met your boyfriend, your favorite vacation spot (the options are endless), and the longitude and latitude coordinates will be engraved on a piece of your choice.  They have everything from necklaces to rings, and ever metal imaginable (14k gold to pink to antiqued silver).  You can even add gemstones!

IMG_2881

IMG_2871

I used the coordinates of the house we grew up in and engraved “The Feezor Girls” inside.   Most recently I’ve added an addional member to my line-up with the coordinates of the exact spot I married J.  Kind of special right?

IMG_2879

With the holidays right around the corner, might as well start filling that gift closet now (you know you always plan on starting earlier than you do!).   Right now Coordinates Collection is having their Friends and Family sale through tomorrow 9/30, so you can get 25% off with the code WEAREFAMILY.


IMG_2882

What are you going to put on yours!?


Domestic

Spring Cleaning: How to Clean your Makeup Brushes

May 28, 2015

IMG_1970

While I would like to tell you that I religiously clean my brushes once a week, it usually comes down to me breaking out and not being able to figure out why… “well it MUST be my brushes” (and have nothing to do with sleeping with my make-up or eating junk food…).

I have tried half a dozen of Pintrest’s cleaning methods, and while I am not sure which help your brushes to be scientifically “cleaner,” each have their pros and cons (brushes smelling of vinegar, oily residue, etc.).   Today I want to share one of my new favorite methods!

IMG_1964

My mom gifted me this rose scented Dr. Bronner’s Pure Castile Soap a couple of months ago, and I’ve loved using it for everything from household cleaning to body wash.  Just when I thought it couldn’t get any more versatile, I came across a brush cleaning tutorial featuring the product and had to jump on it!

IMG_1958

Wash:
  1. Wet the bristles of your brush (facing downward) – trying your best to avoid the “ferrule” aka metal part (as to not loosen the glue and have the bristles fall out) by gentling dipping into a bowl of warm water.
  2. Drop a dot of soap into your hand.
  3. Swirl the brush in the palm of your hand to help release some of the makeup.
  4. Rinse the brush, and repeat swirling brush on your soap-covered hand, until the water runs clean during the rinse “cycle.”
  5. Lay brush flat on a towel to dry in a warm, sunny area (a window sill is a great spot).
*Don’t forget to wipe down the handle and metal portion of your brushes as well!

IMG_1978

IMG_1986

I love being able to use organic and natural options when available, and this is an easy (and cost effective) option!  You can pick up your own bottle here!

IMG_1990


Domestic

Spring Cleaning: How to Clean a Shower Head

May 20, 2015

In honor of Spring and the deep cleaning associated with it, I want to host a simple tip every week to help you (slowly but surely) get your home into tip top shape for the warmer months!

IMG_1944

Before

First up? How to clean the grime from your shower head.

IMG_1934

Combine the following in a plastic baggie:

  • 1/3 cup baking soda
  • 1 cup white vinegar

IMG_1941

Then using a twist tie/rubber band or simply tying a knot with the bag itself, secure the baggie (and its liquid) around the shower or faucet head.

IMG_1947

Let sit overnight and remove to a squeaky clean fixture!

Water

After

Domestic

DIY Valentine’s Day Cards

February 12, 2015

IMG_8624

While Papyrus is one of my favorite shops on the planet (aside from Nordstrom, J.Crew and Costco), people will always give you secret kudos for making (good) homemade cards.  My sister Taylor really knocks it out of the park in this department.  I was cleaning out my attic last week and came across a handful of cards she’s sent me through the years – paintings, collages, drawings, you name it.  And while I not only would feel guilty throwing them away, I don’t want to.  They are mini works of art!

IMG_8617

Sadly, I am not as artistically inclined as my sister, so I had to work the system as to not have the sad looking card on my parents counter.  What system is that? Workin’ with what ya got.  In the midst of that attic clean out I came across some confetti I had bought to use at my wedding 3 years ago.  I grabbed a little glue, some blank cards and got to crafting… here is my easy DIY Valentine’s Day tutorial.

IMG_8585

1. Grab a cookie cutter or something you can trace – in this case a heart. (Don’t mind the chunk missing out of it).

IMG_8588

2. Use a pencil to lightly trace the object in the center of your blank card. Or you could get crazy and place it where ever you’d like!

  IMG_8595

3. This next step can be done with numerous items – confetti, sparkles, gems, shapes you cut out yourself (or bought) – get creative!

IMG_8598

4. Also grab some craft glue (I prefer a gel or clear adhesive… but whatever you have is probably fine).

IMG_8602

5. Lightly dab some glue on the back of your flower (or whatever you are using).

IMG_8605

6. Apply pressure for a few seconds to let it dry.

IMG_8606

7. Keep gluing flowers along the traced outline.

IMG_8615

8. Feel free to add multiple layers, and overlap as needed.

IMG_8619

9. You can just do the outline of a heart, or fill in the whole shape… the option is up to you!

 What do you think!?