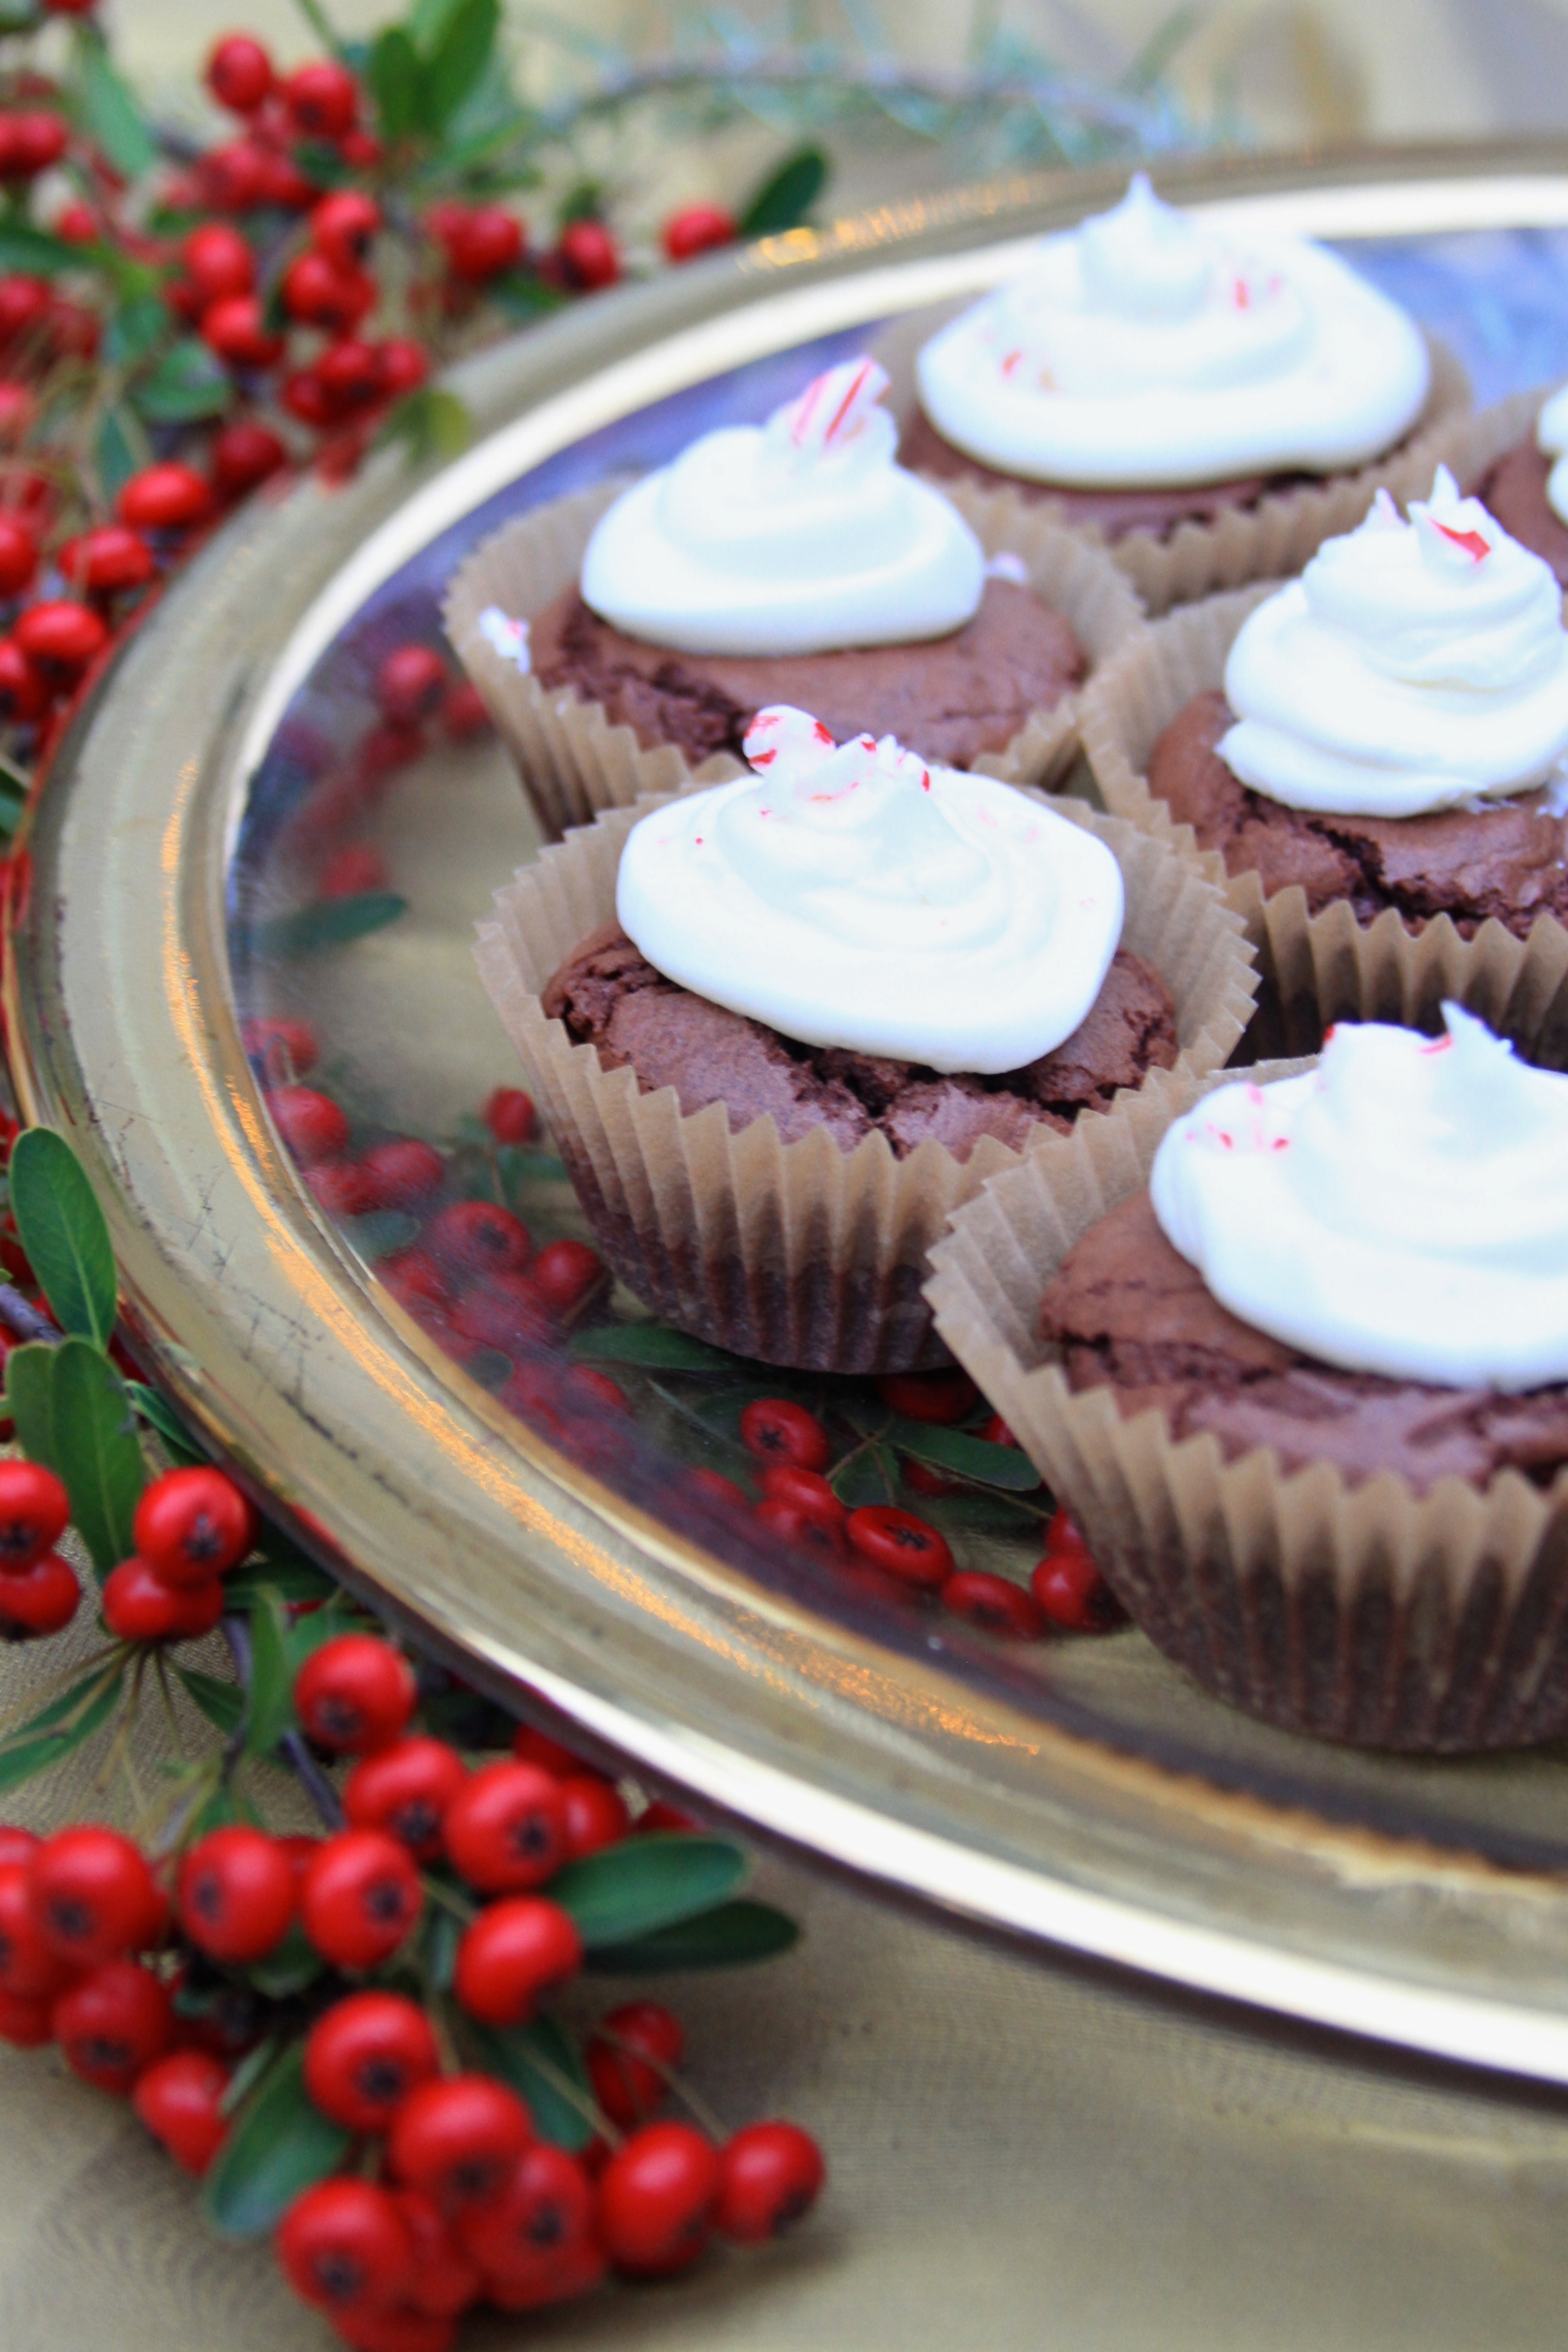
It’s been awhile since I’ve been able to enjoy an afternoon of baking, and this weekend I got to do just that! I made these a few years ago and my mom (who doesn’t even eat sweets) loved them, so I thought it would be a fun little cheat treat for us to enjoy this week. The mixture of fudgy chocolate with refreshing peppermint (and butter… and sugar…) is truly the best combination!

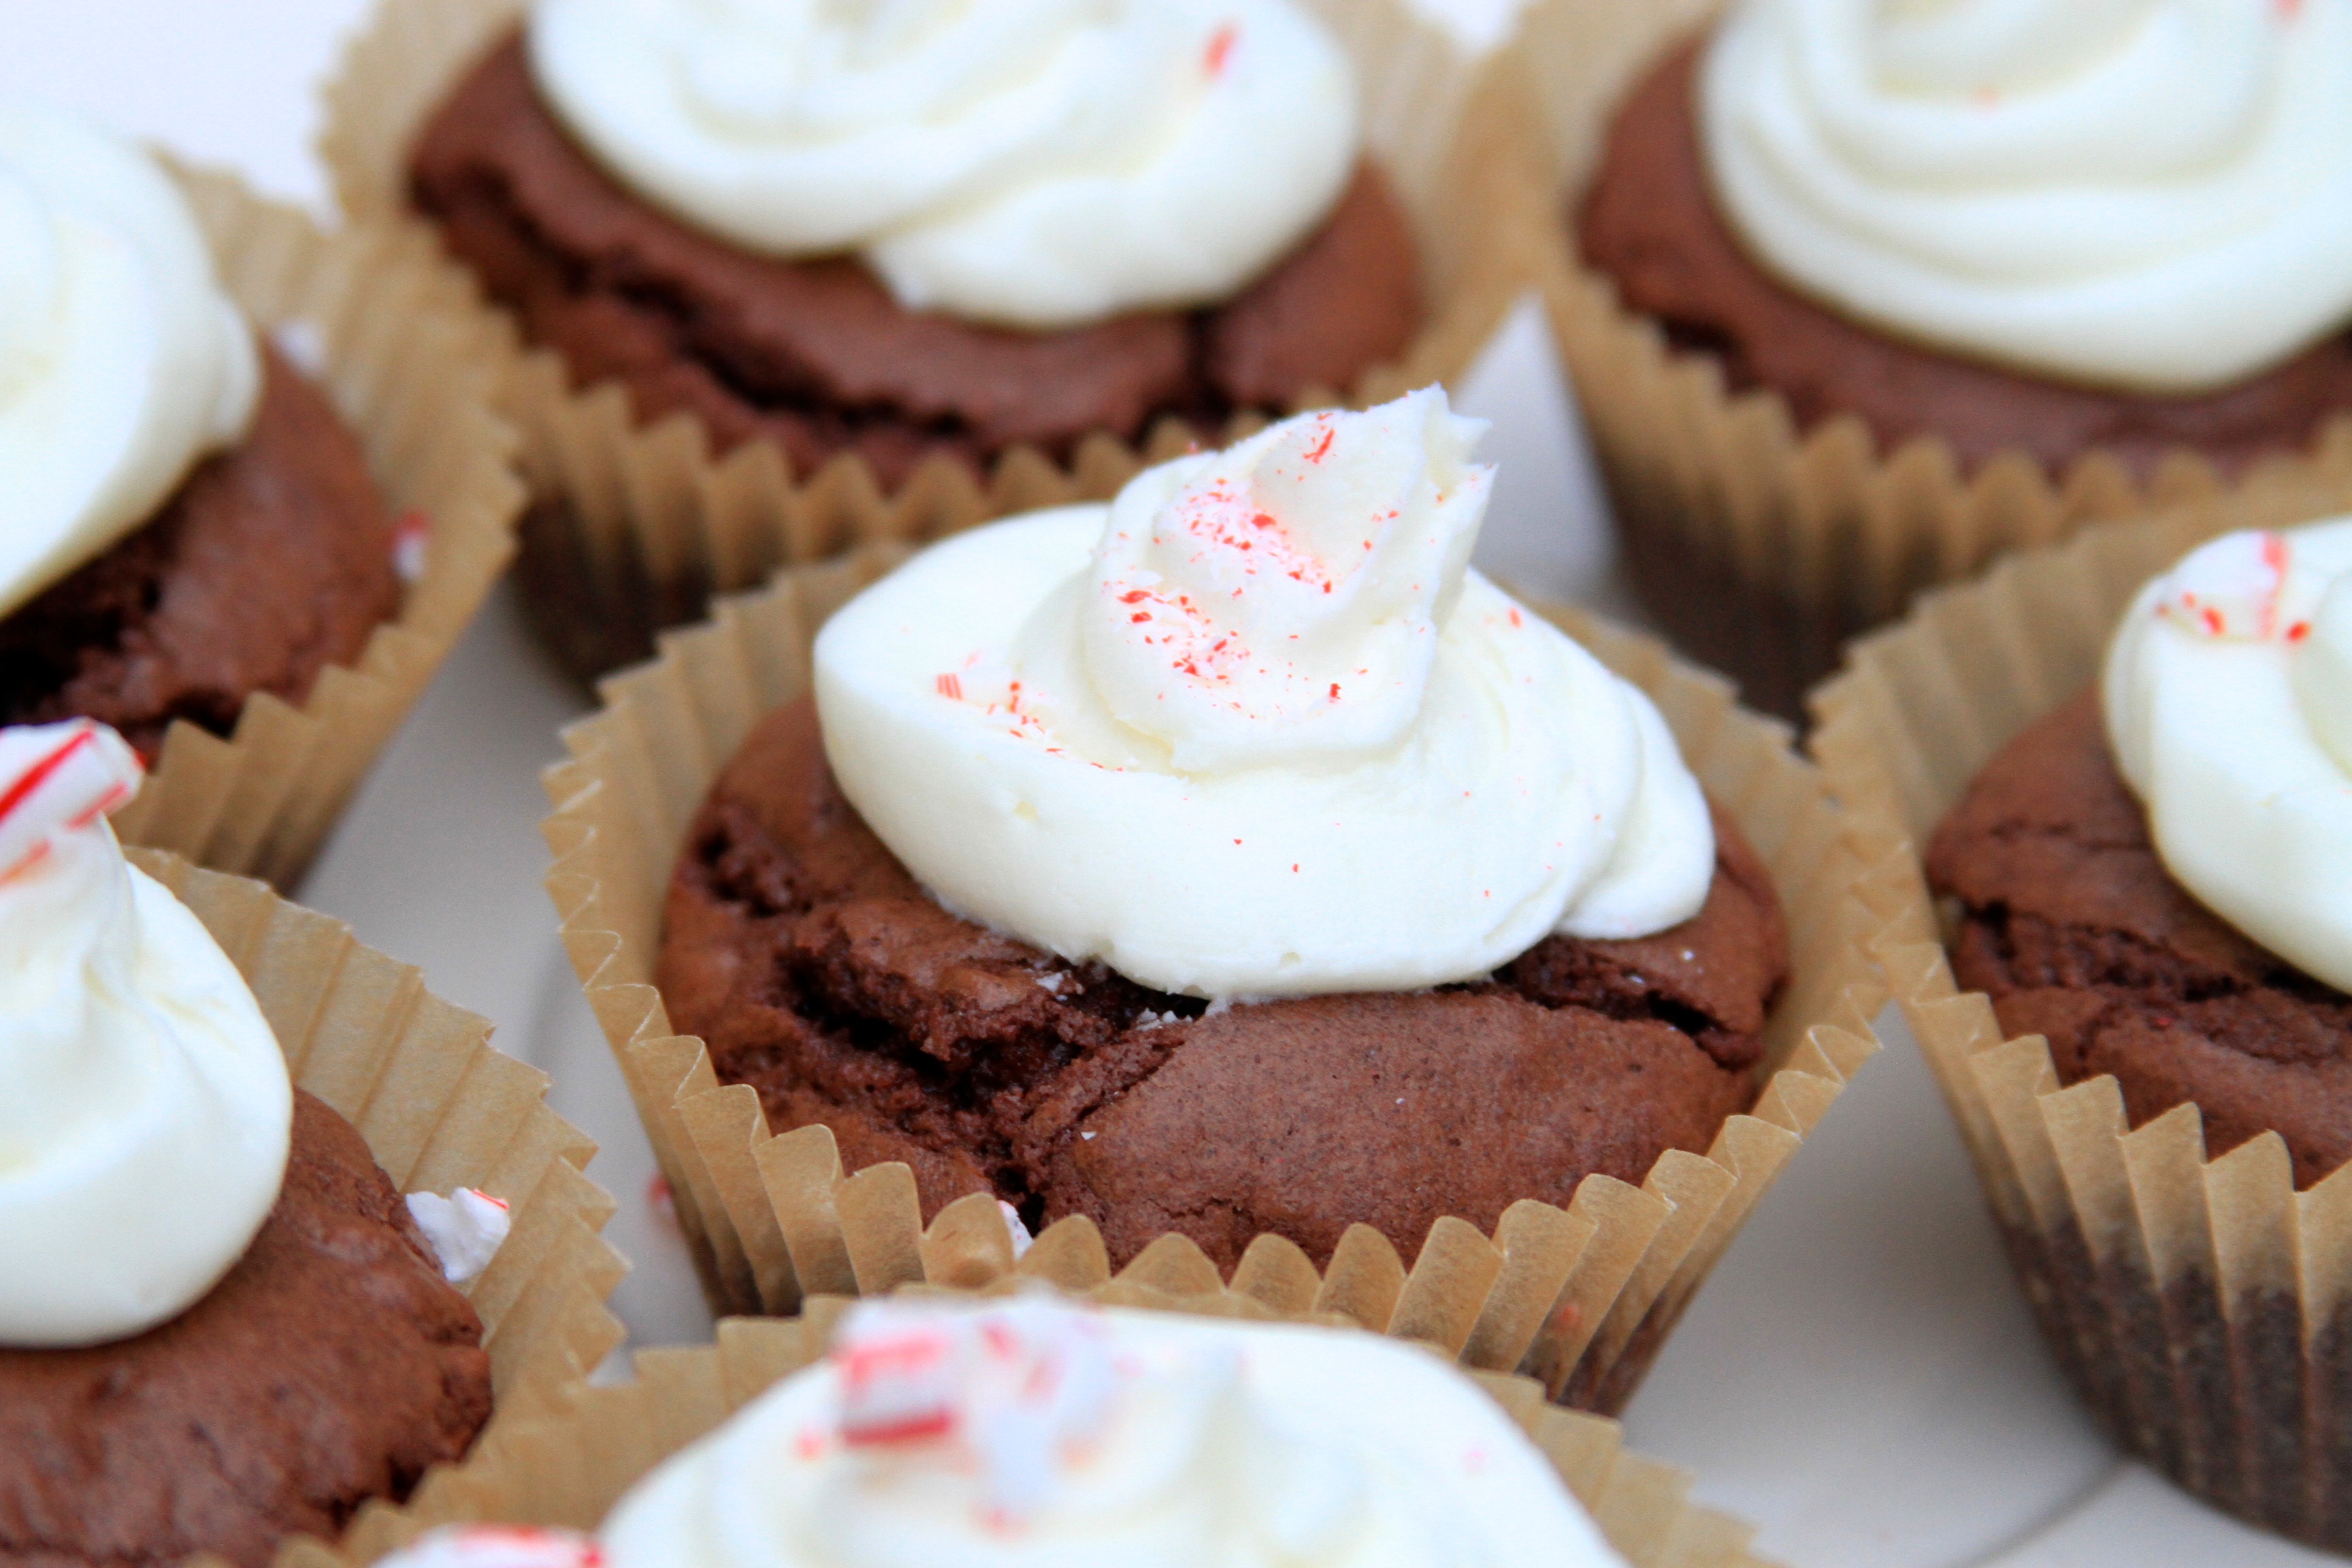
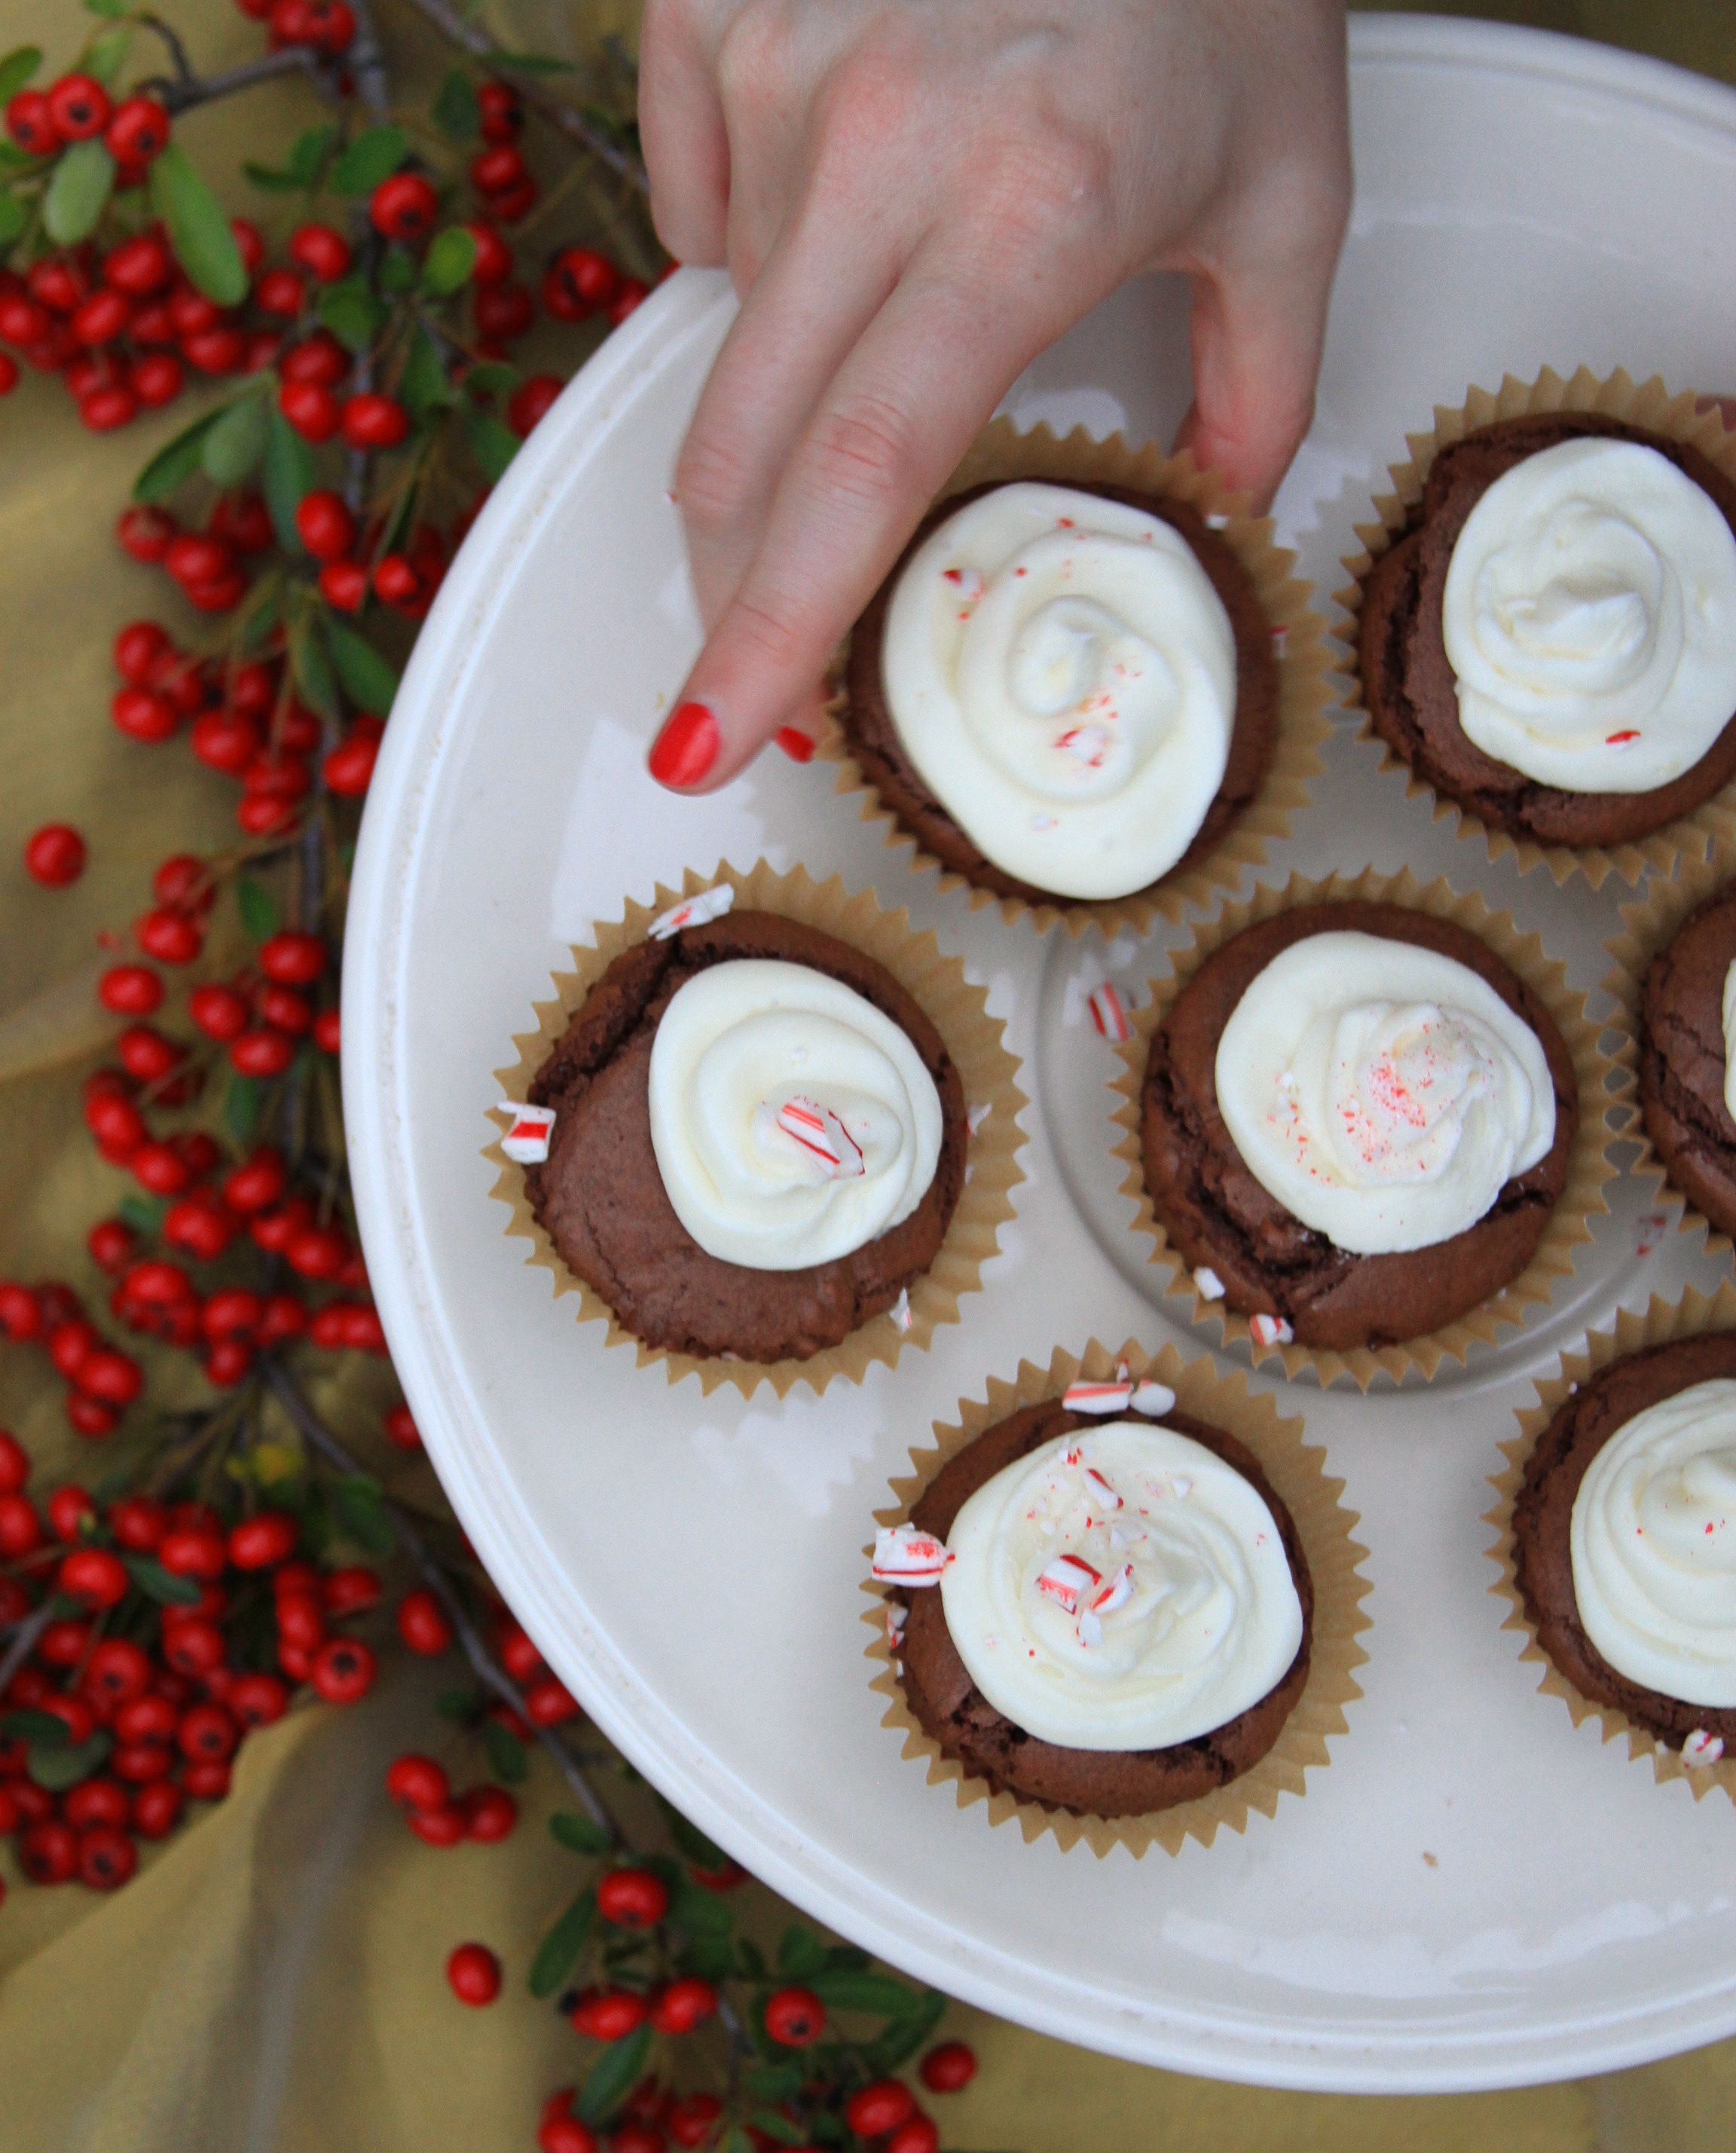
Brownie Cupcakes with Candy Cane Buttercream
For the cupcakes:
- 10 oz butter
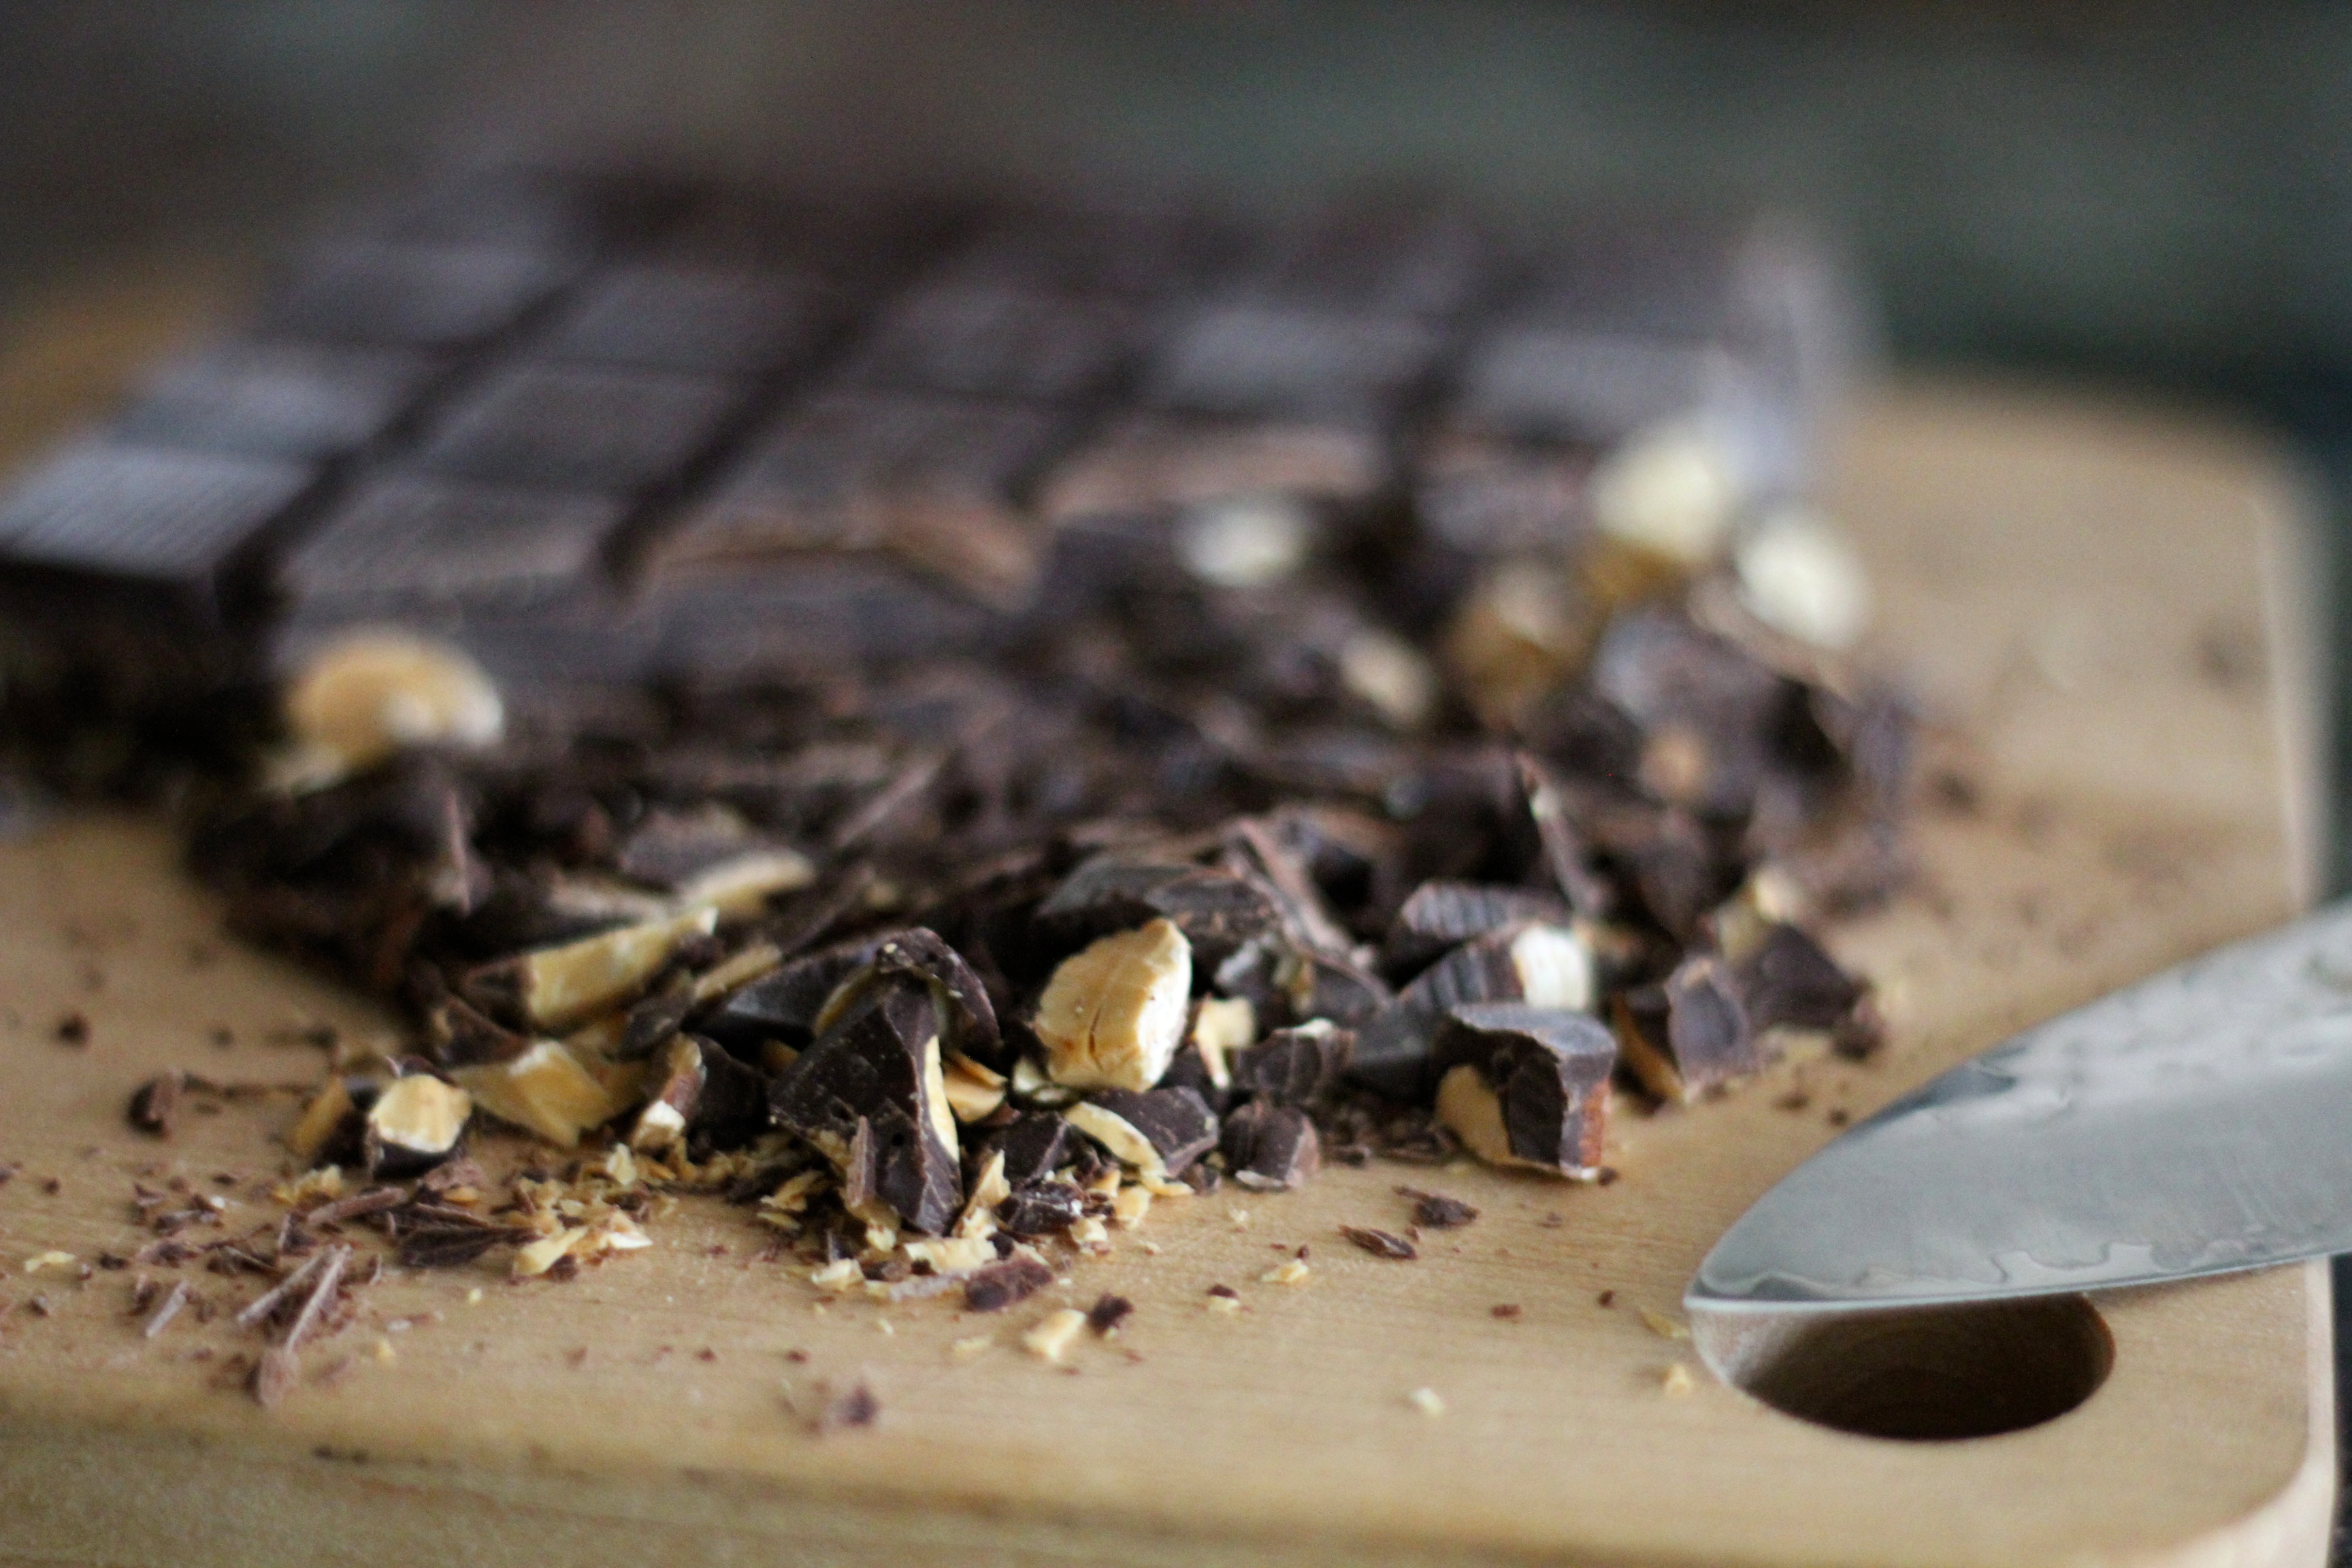
- 12 oz bittersweet chocolate, chopped
- 6 large eggs
- 3 cups sugar
- 1 teaspoon vanilla extract
- 1 1/2 cups cake flour (I’ve used all purpose and they are still delicious)
- 1 cup cocoa powder
- 1 teaspoon baking powder
- 1/2 teaspoon salt
- a few heavy dashes of ground cinnamon
For the Candy Cane Buttercream:
- 12 oz butter, softened
- 4 1/2 cups confectioner’s sugar
- 1/4 teaspoon salt
- 8 ounces white chocolate, melted and cooled to lukewarm
- 3-4 tablespoons heavy cream
- 1-2 teaspoons peppermint extract
- peppermint candies
* I accidentally burnt the chocolate (opps!) and made the recipe without the chocolate and heavy cream and it was still delicious!
- Preheat oven to 350 degrees.
- Line two 12-cup cupcake tins with liners.
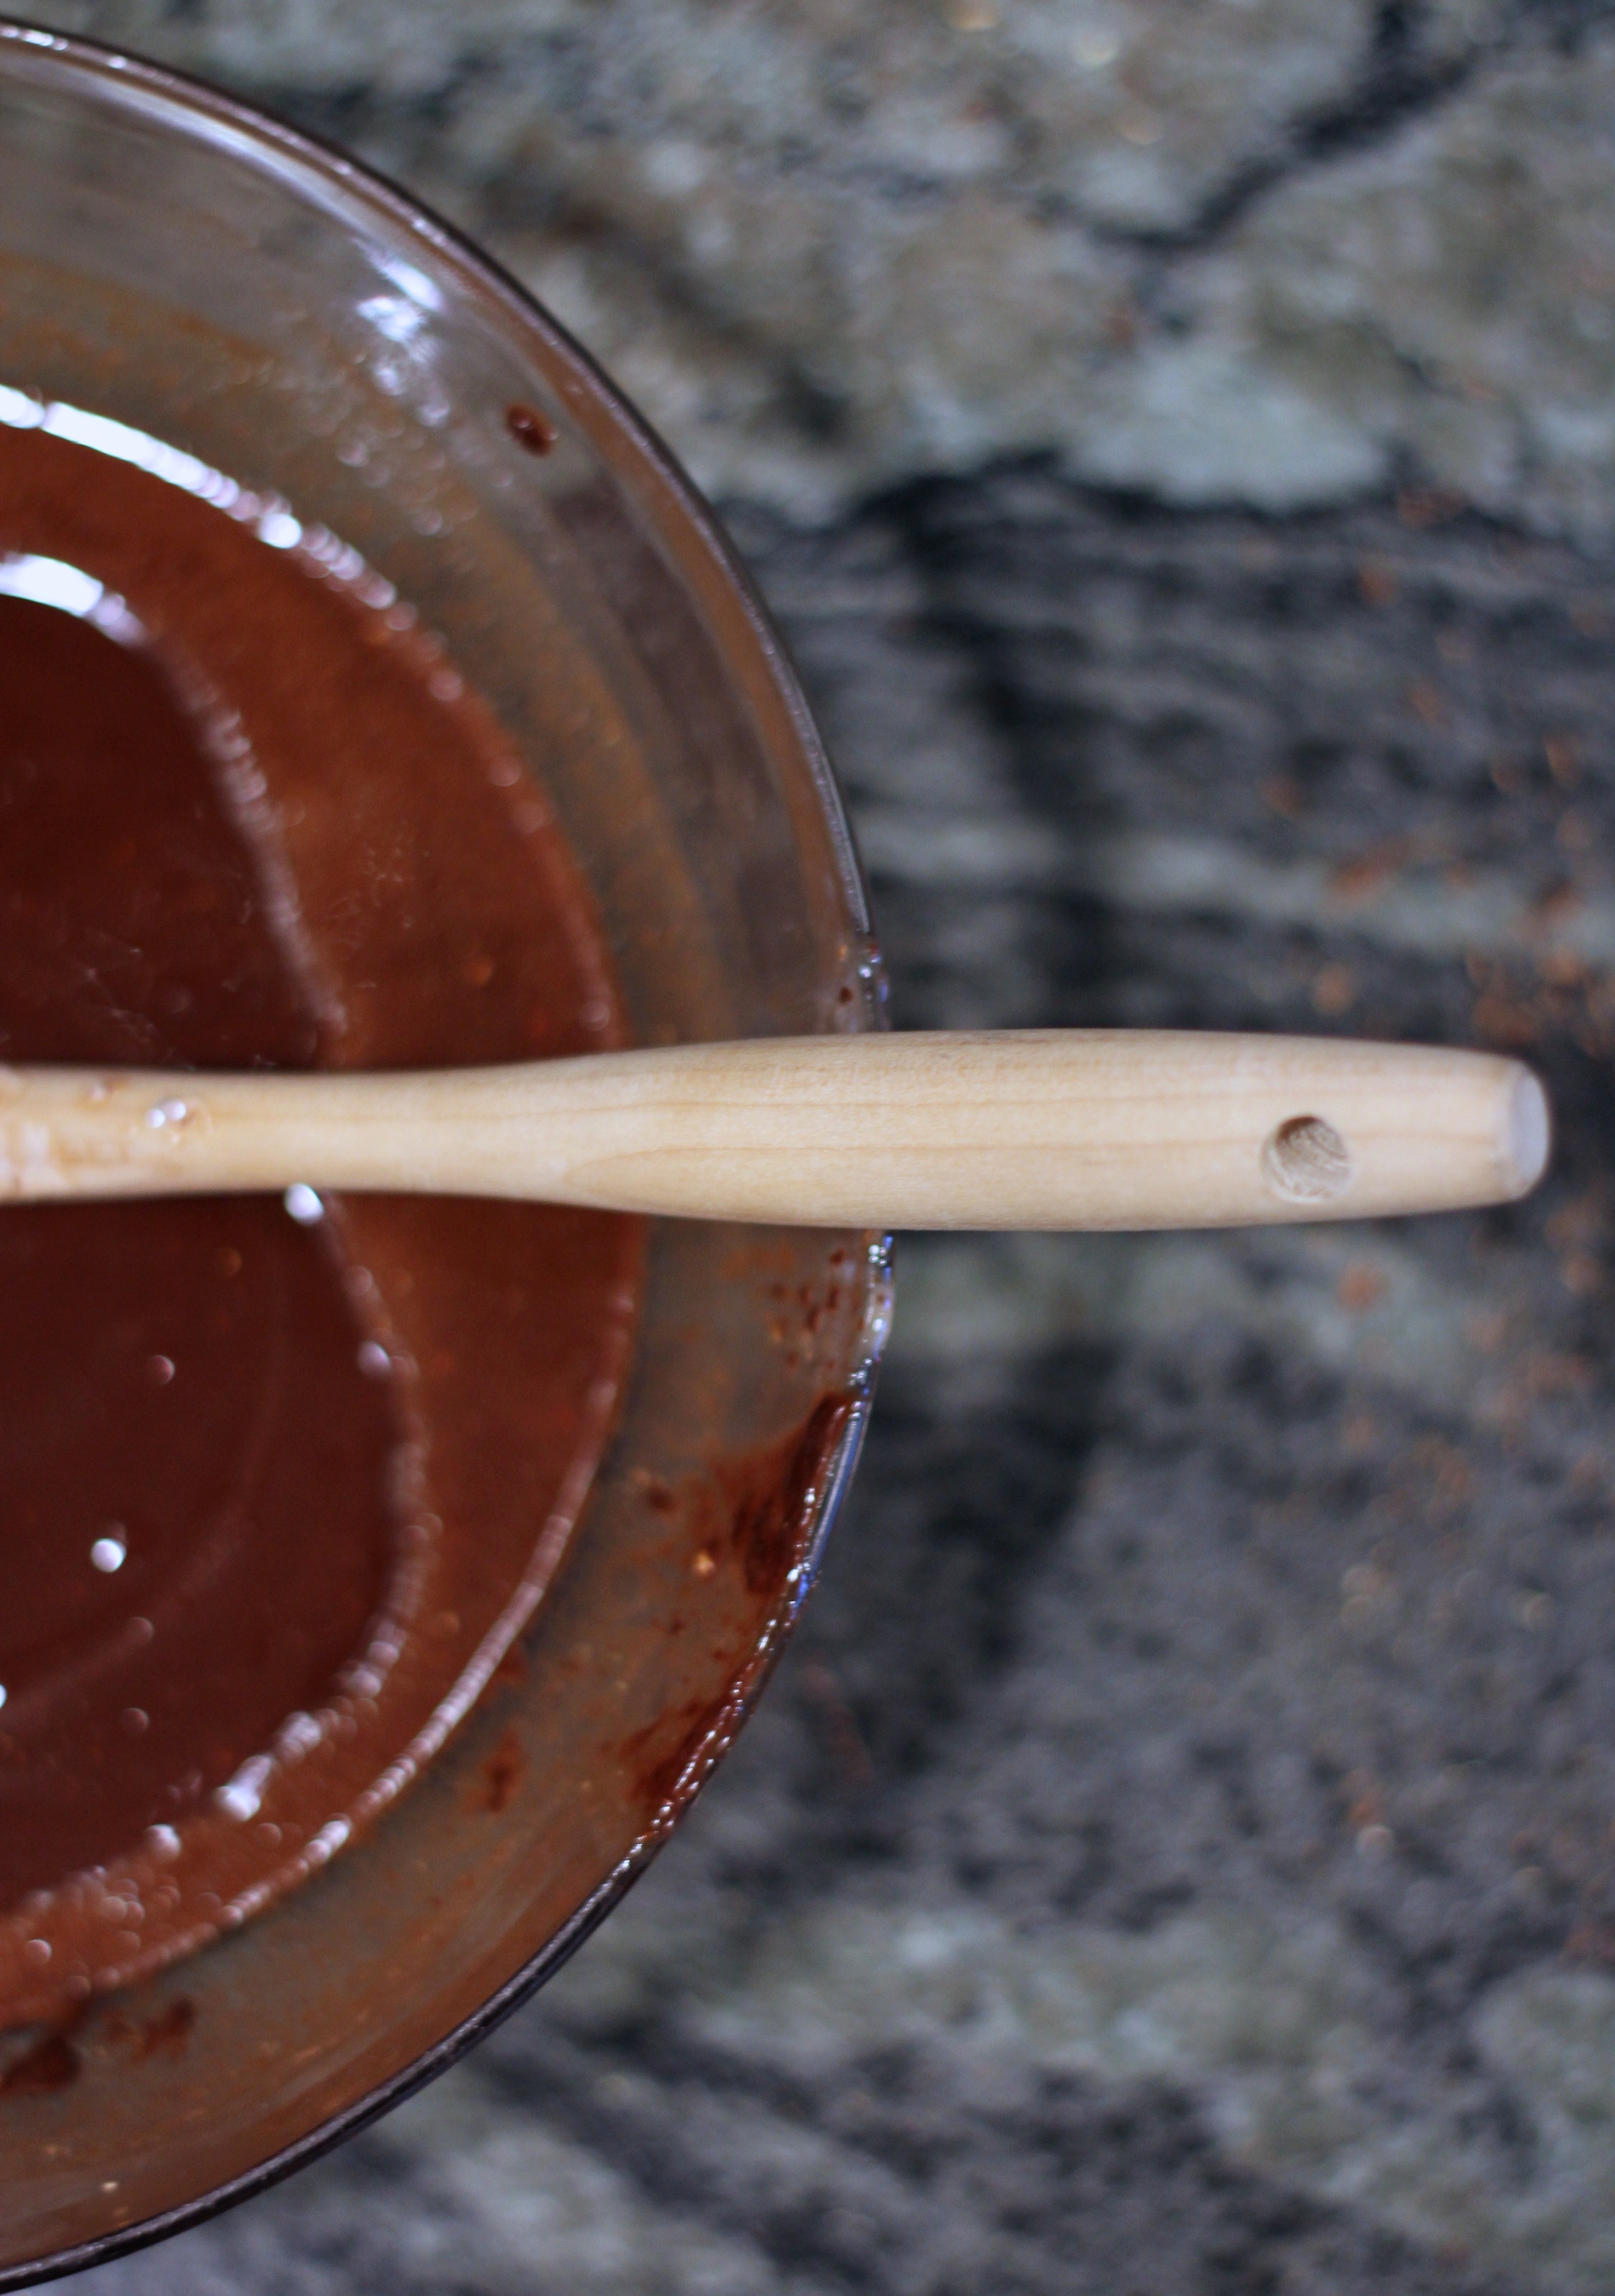
- Melt butter and chocolate in a medium saucepan over medium low heat. Transfer chocolate to a bowl of an electric mixer fitted with the paddle attachment.
- While the mixer is on medium speed, add the eggs (one at a time) and beat well after each addition (be sure to scrape down the sides of the bowl as needed).
- Beat in the sugar until mixture is smooth, then add vanilla.
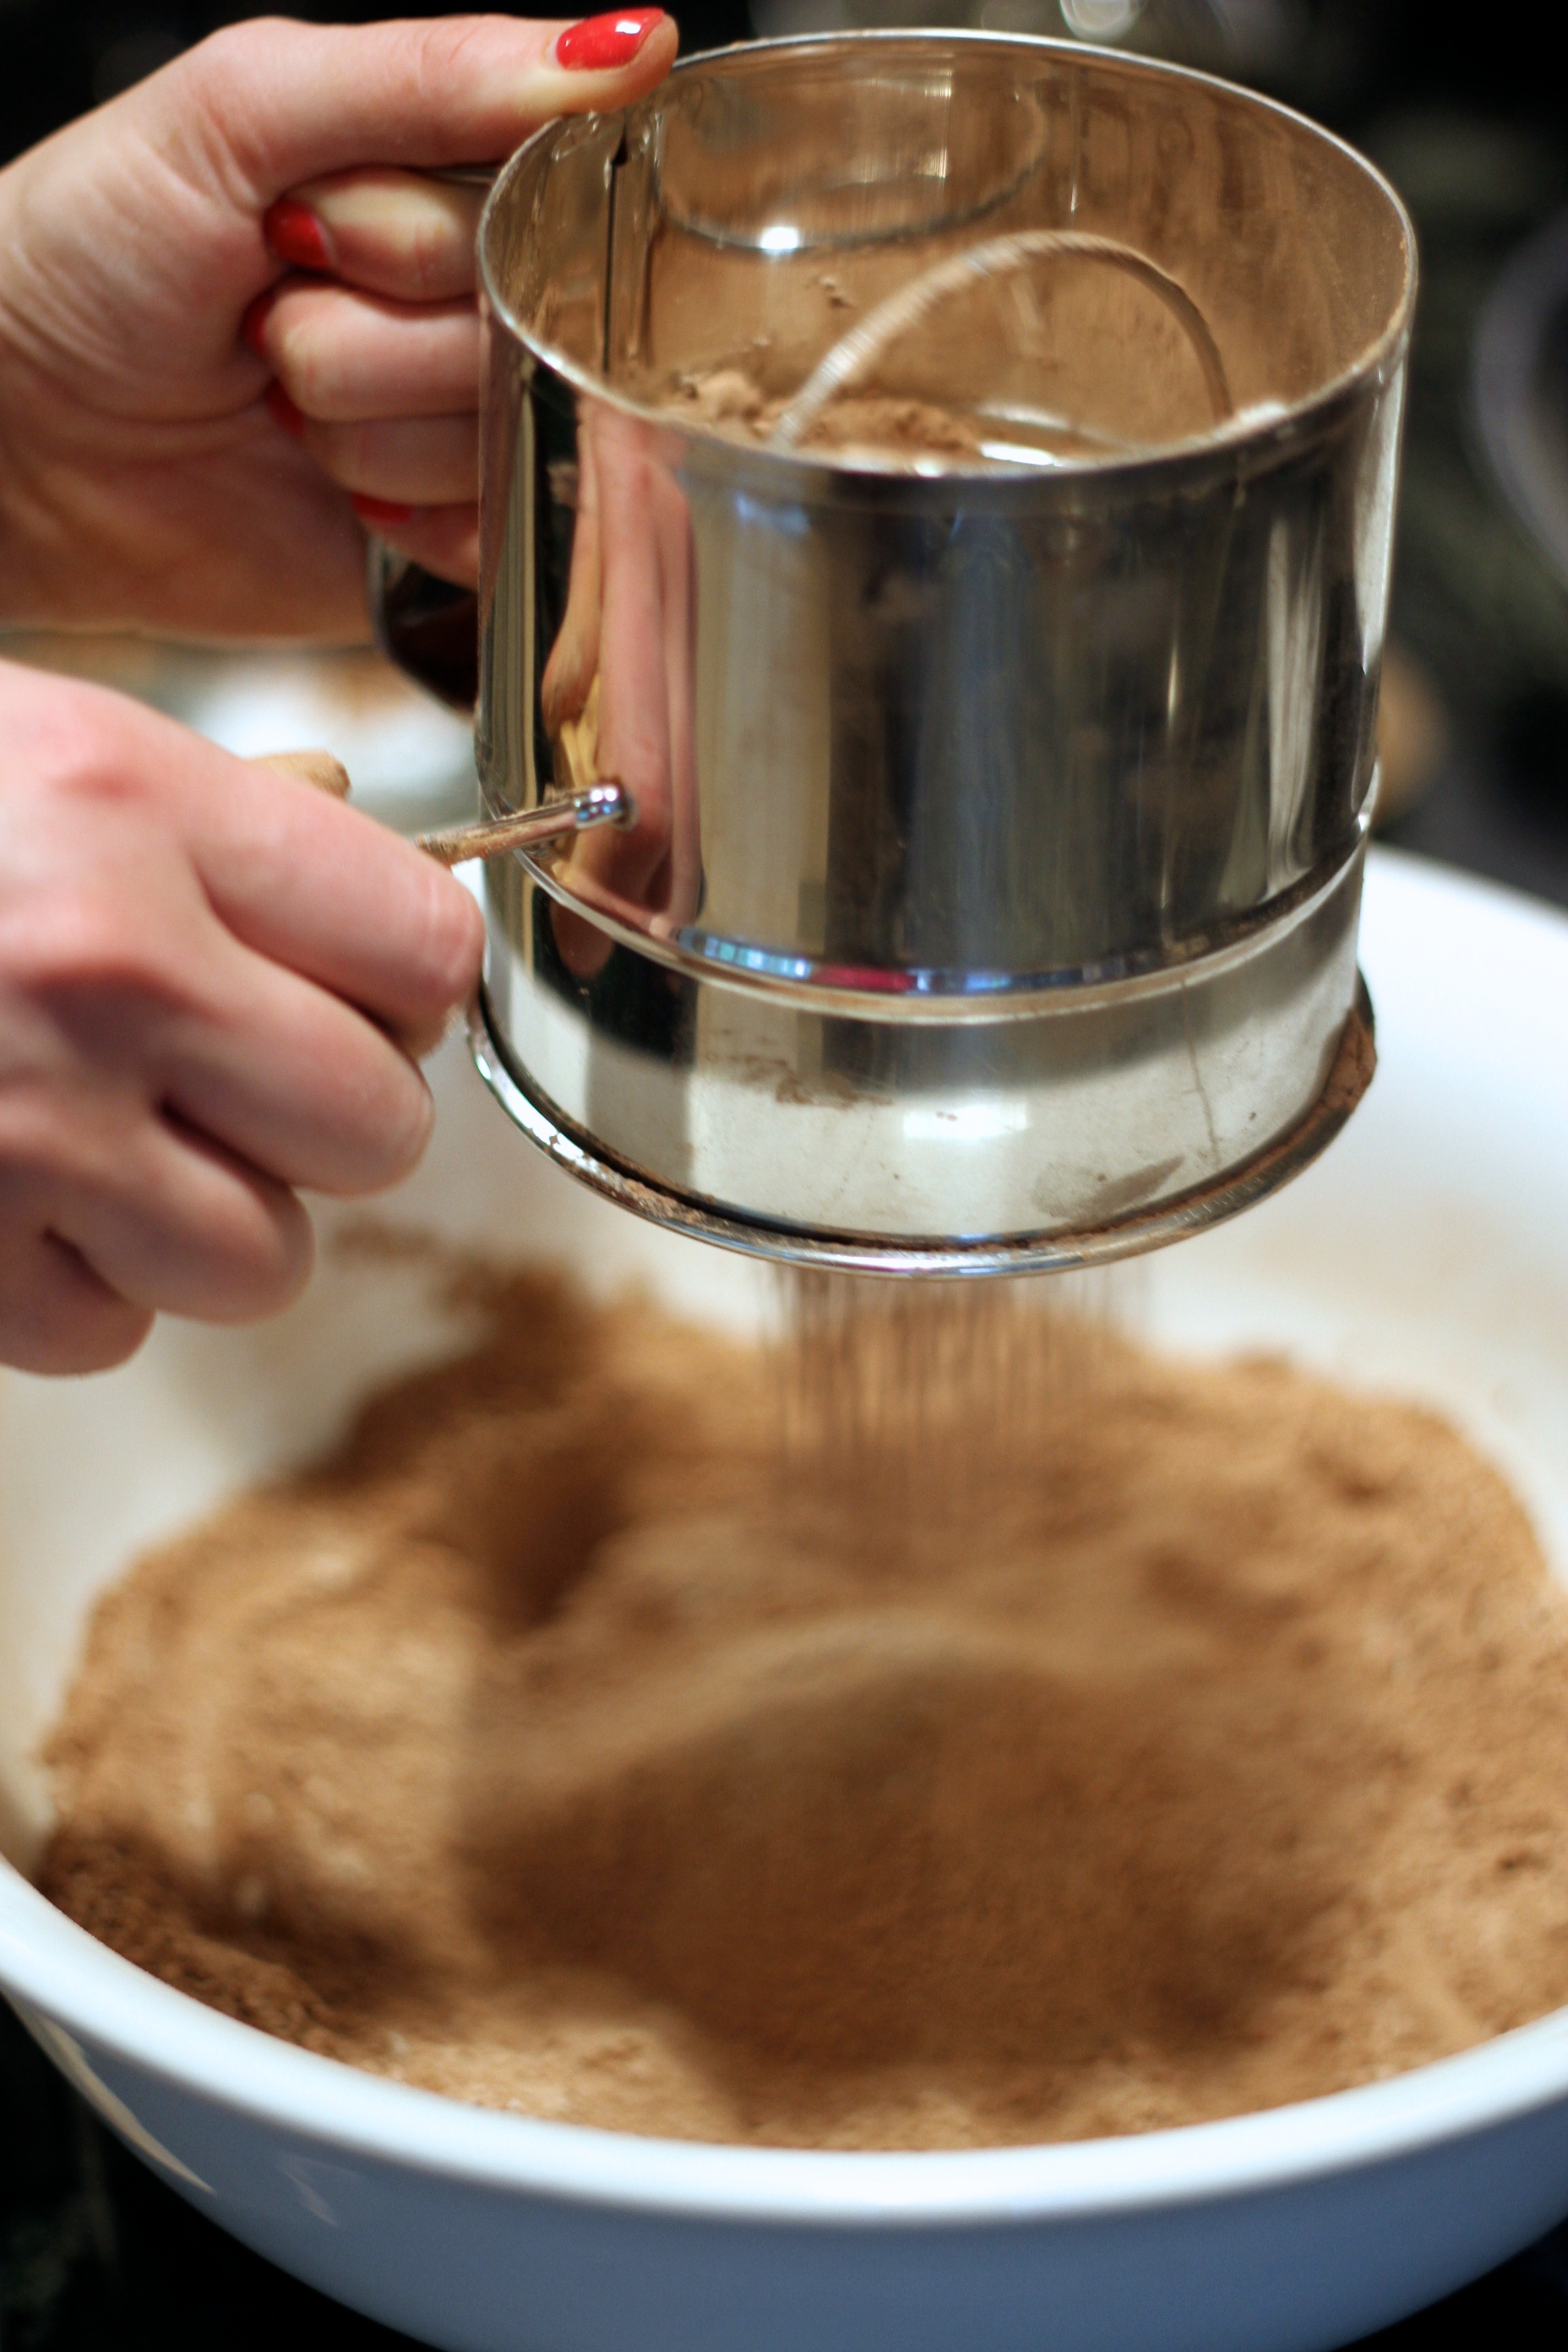
- Sift together flour, cocoa, baking powder, salt and cinnamon in a medium bowl.
- Add the dry ingredient mixture to the batter and beat on low until well combined.
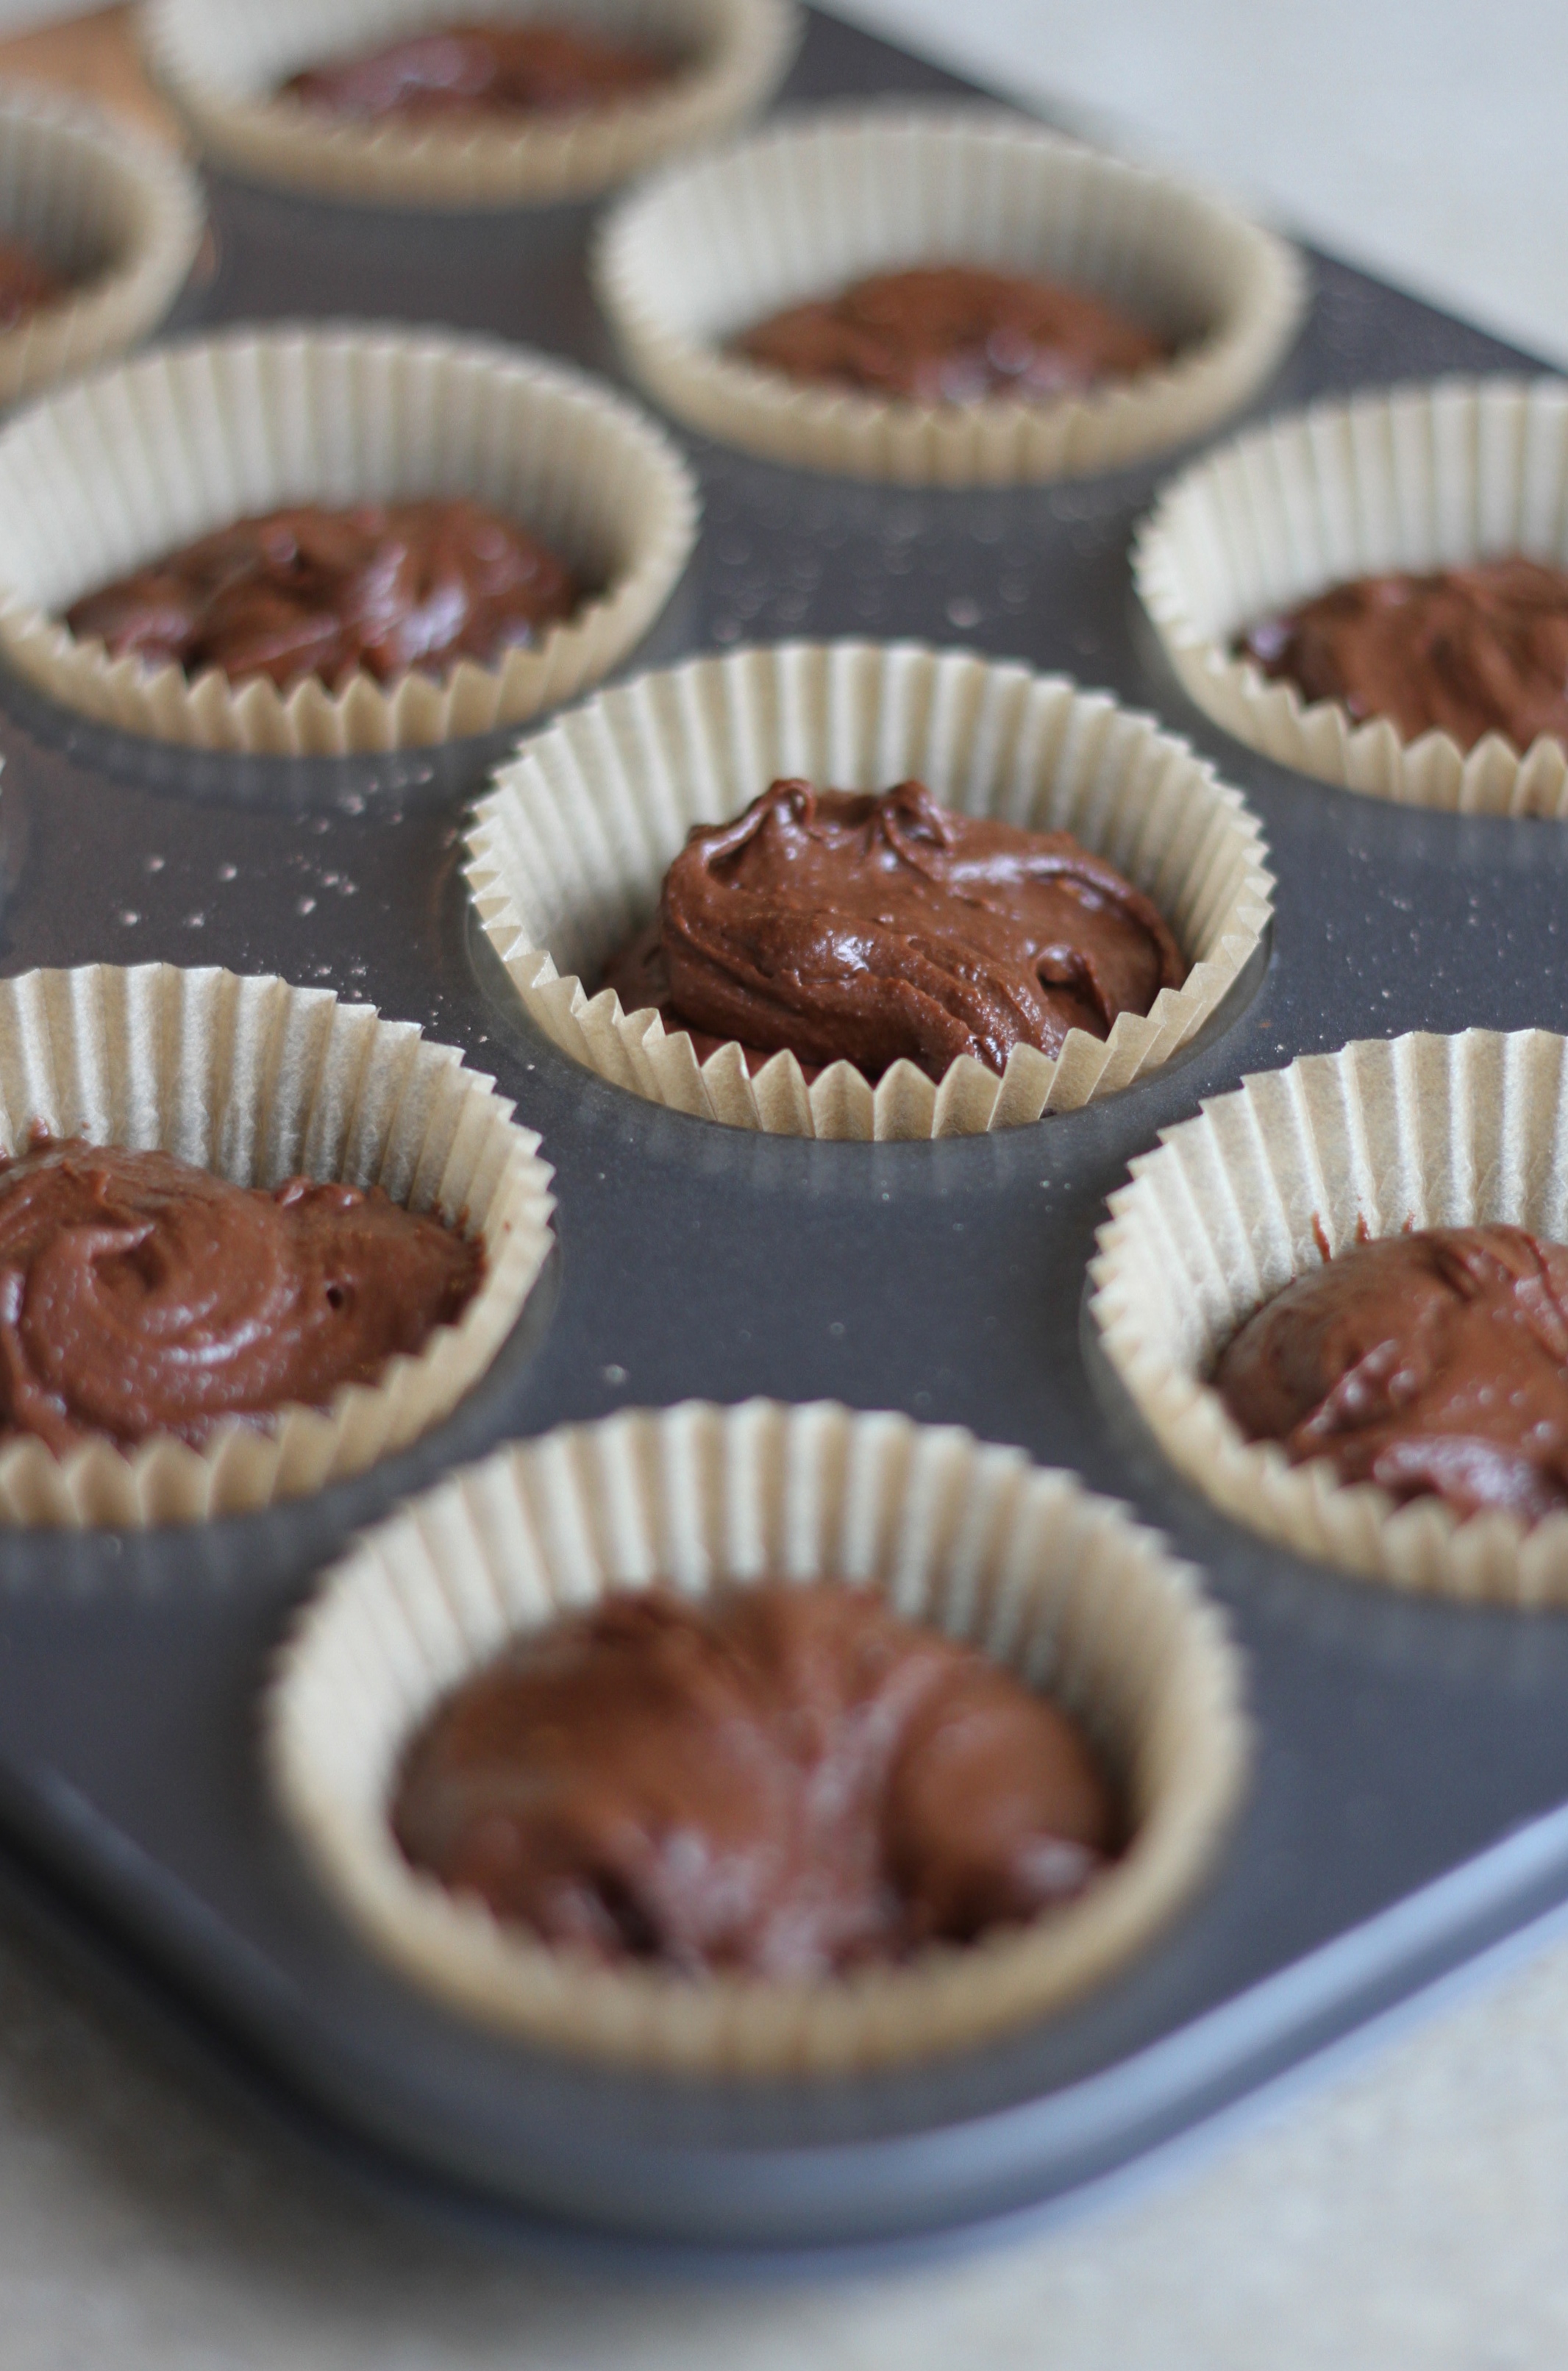
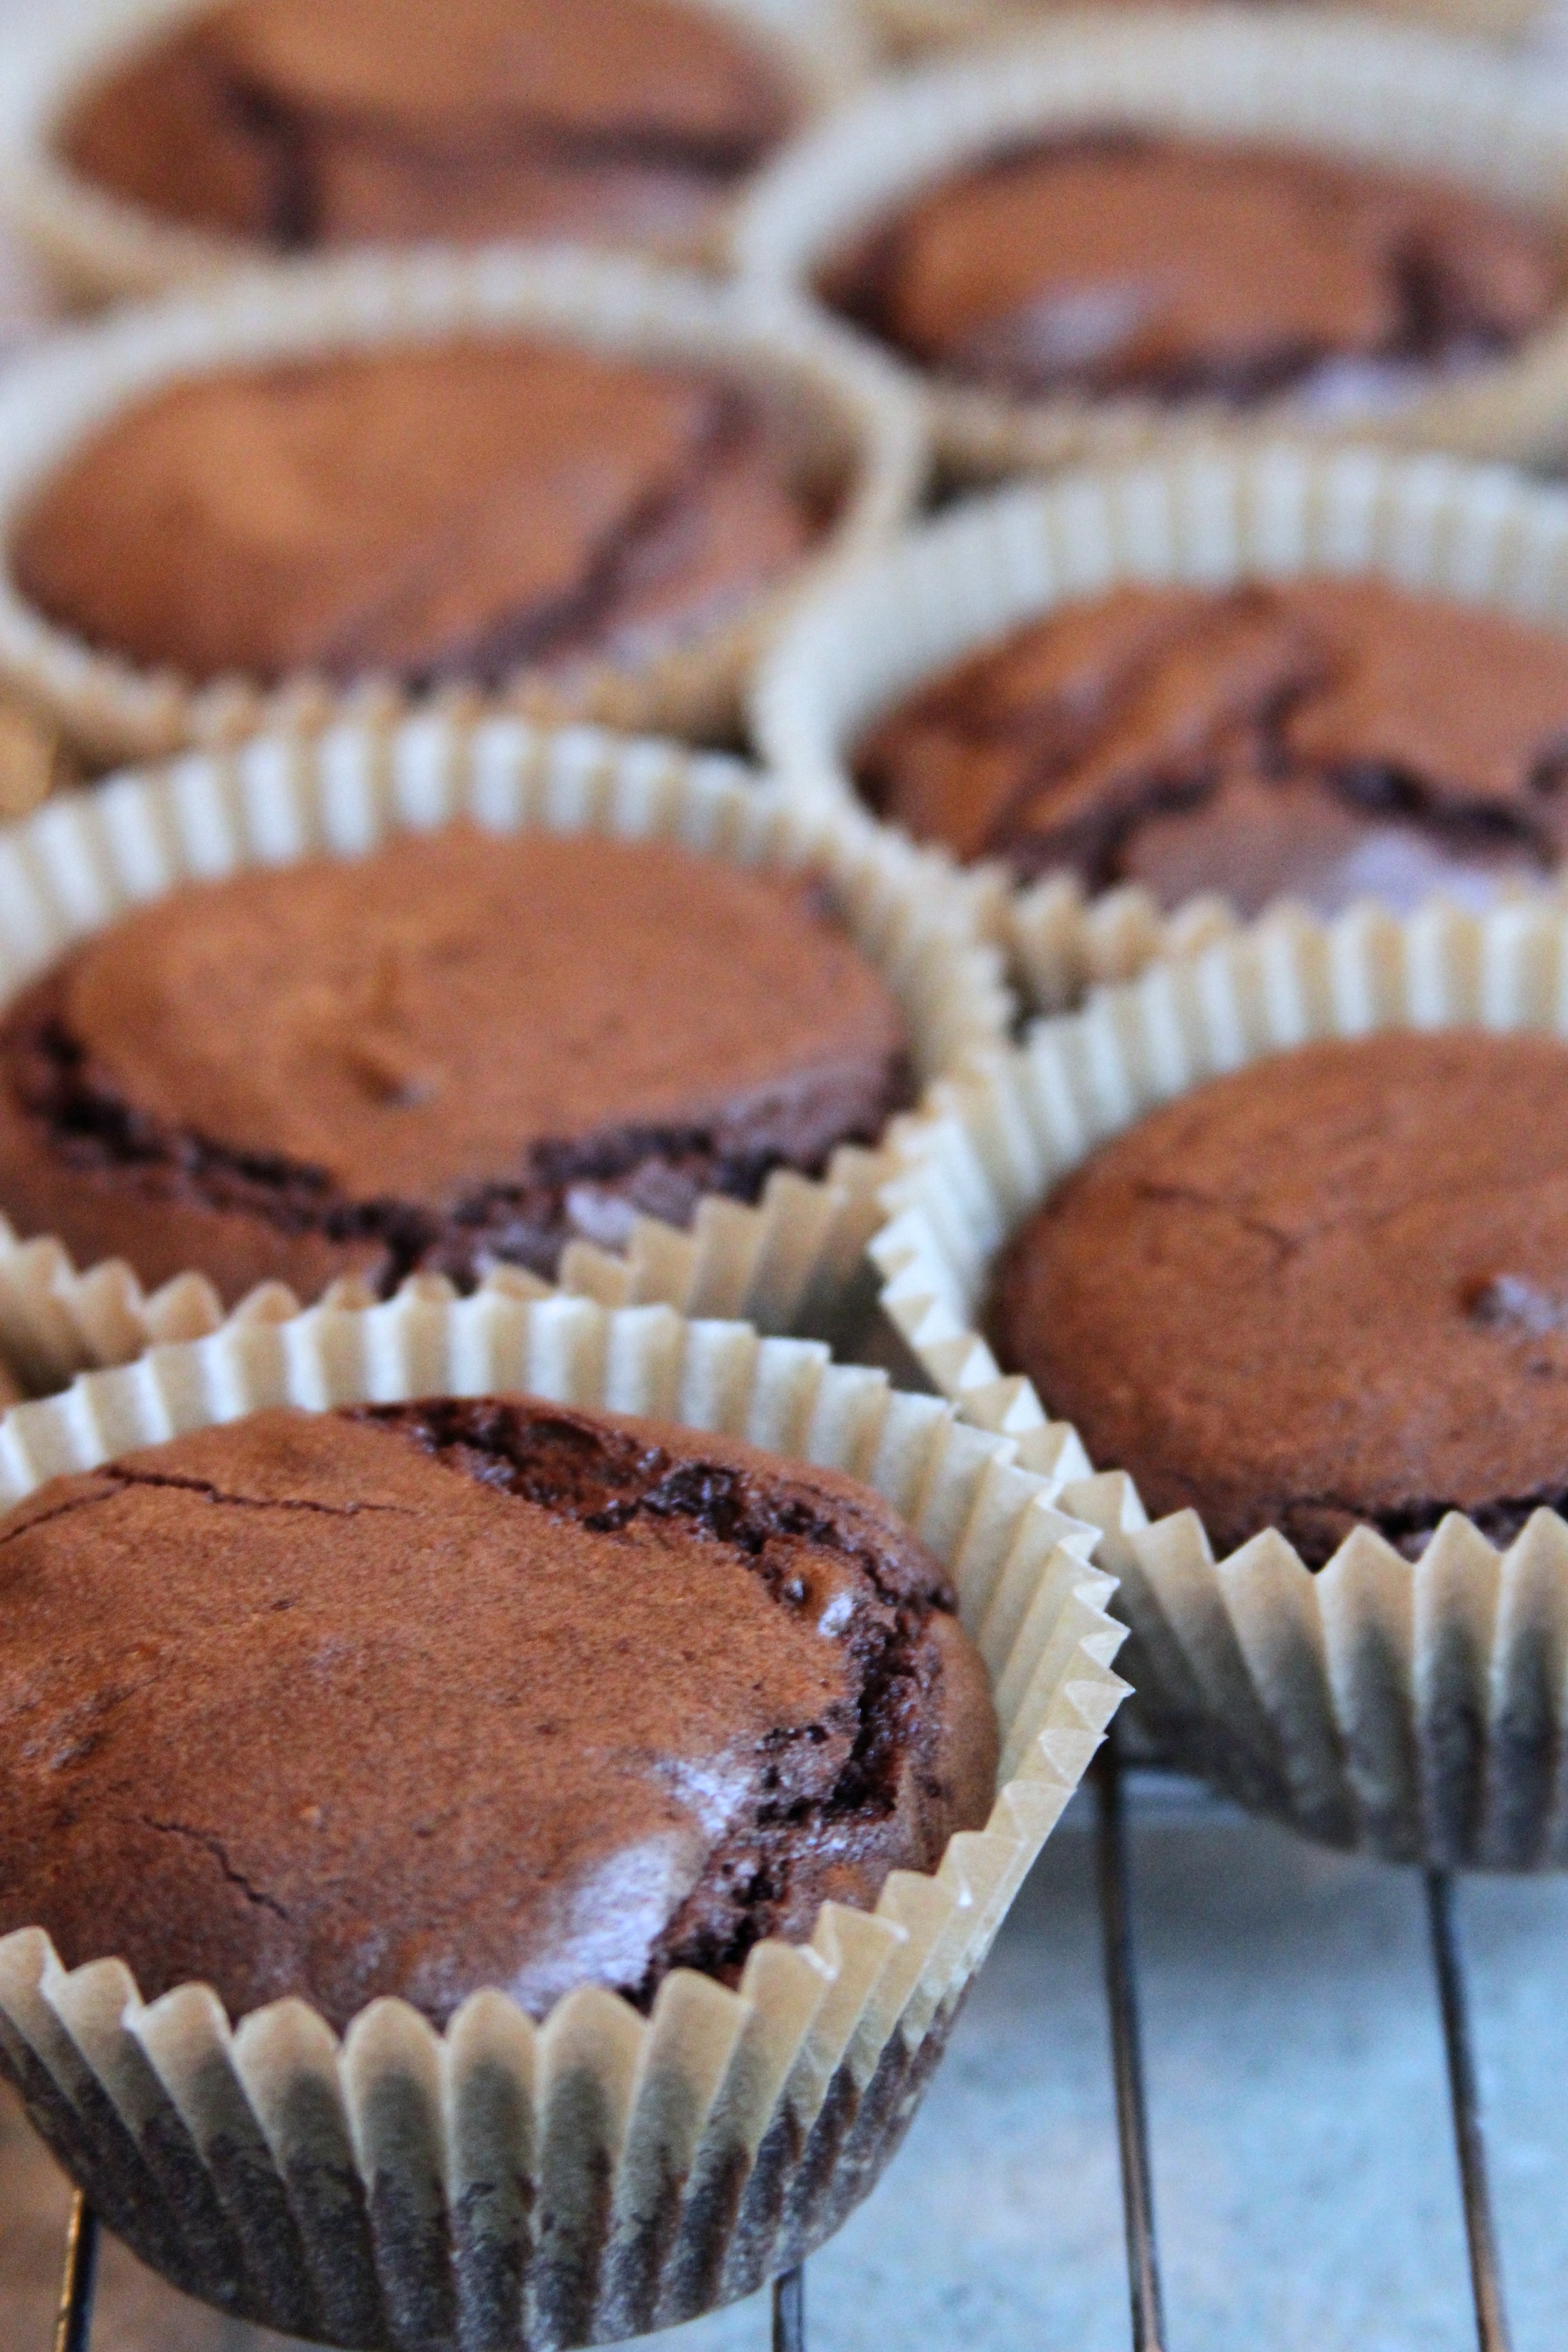
- Scoop the batter into the lined cupcake tins, filling them about 2/3 full.
- Bake the cupcakes for 22-26 minutes. You want to check for moist crumbs with a toothpick but it shouldn’t be completely clean – the cupcakes are meant to be fudgy.
- Let the cupcakes cool for 10 minutes and then remove them and let cool completely on a wire rack.
- While the cupcakes are cooling, you’ll want to make the buttercream.
- In the bowl of an electic mixer (fitted with the paddle attachment), beat the butter with confectioner’s sugar and salt until light and fluffy.
- Beat in cooled white chocolate (if you haven’t burnt it).
- Add enough heavy cream until the buttercream reached desired consistency and beat on high for 1 minute more.
- Beat in 1-2 teaspoons peppermint extract.
- Pipe buttercream onto cupcakes and top with crushed peppermint candy.
Note: these are more like brownies meets molton chocolate cake in cupcake form. Basically they are delicious. I under cook mine a bit for a more molton chocolate effect. But either way – they are DELICIOUS.