Travels

Happy Memorial Day

May 27, 2013

*There have been some issues with my website transition, so please click here for the full post!

Happy Memorial Day

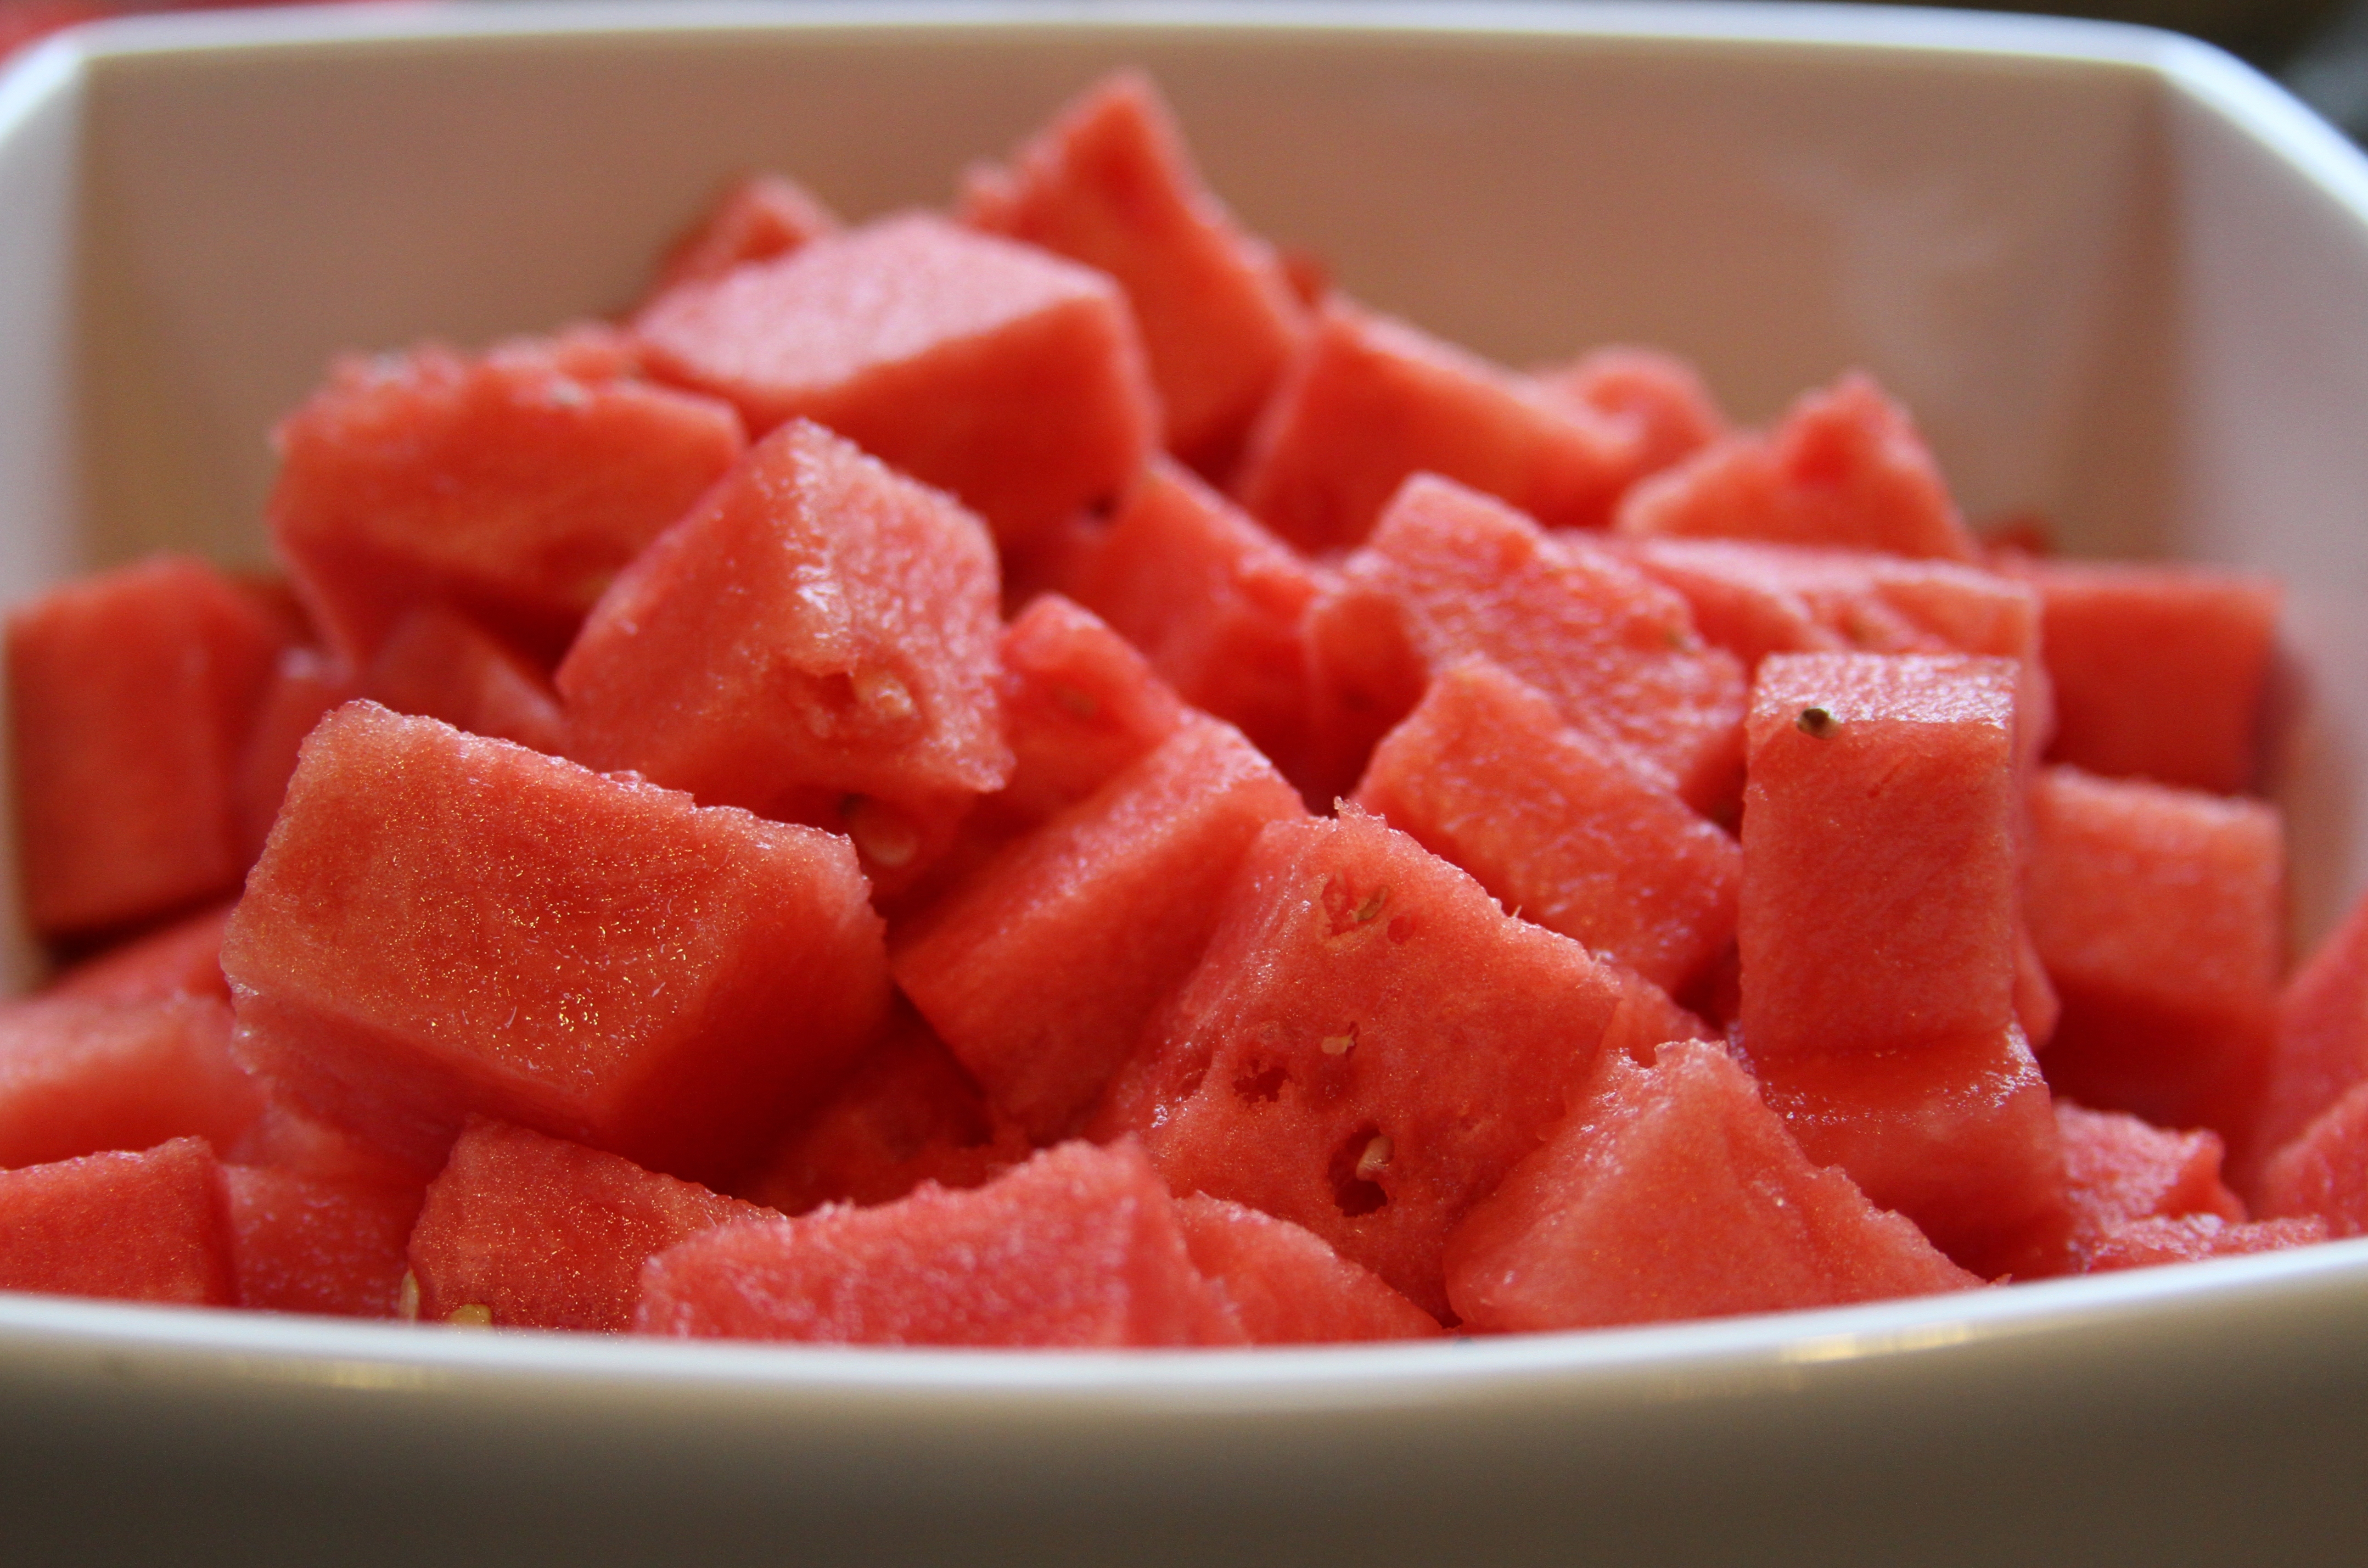
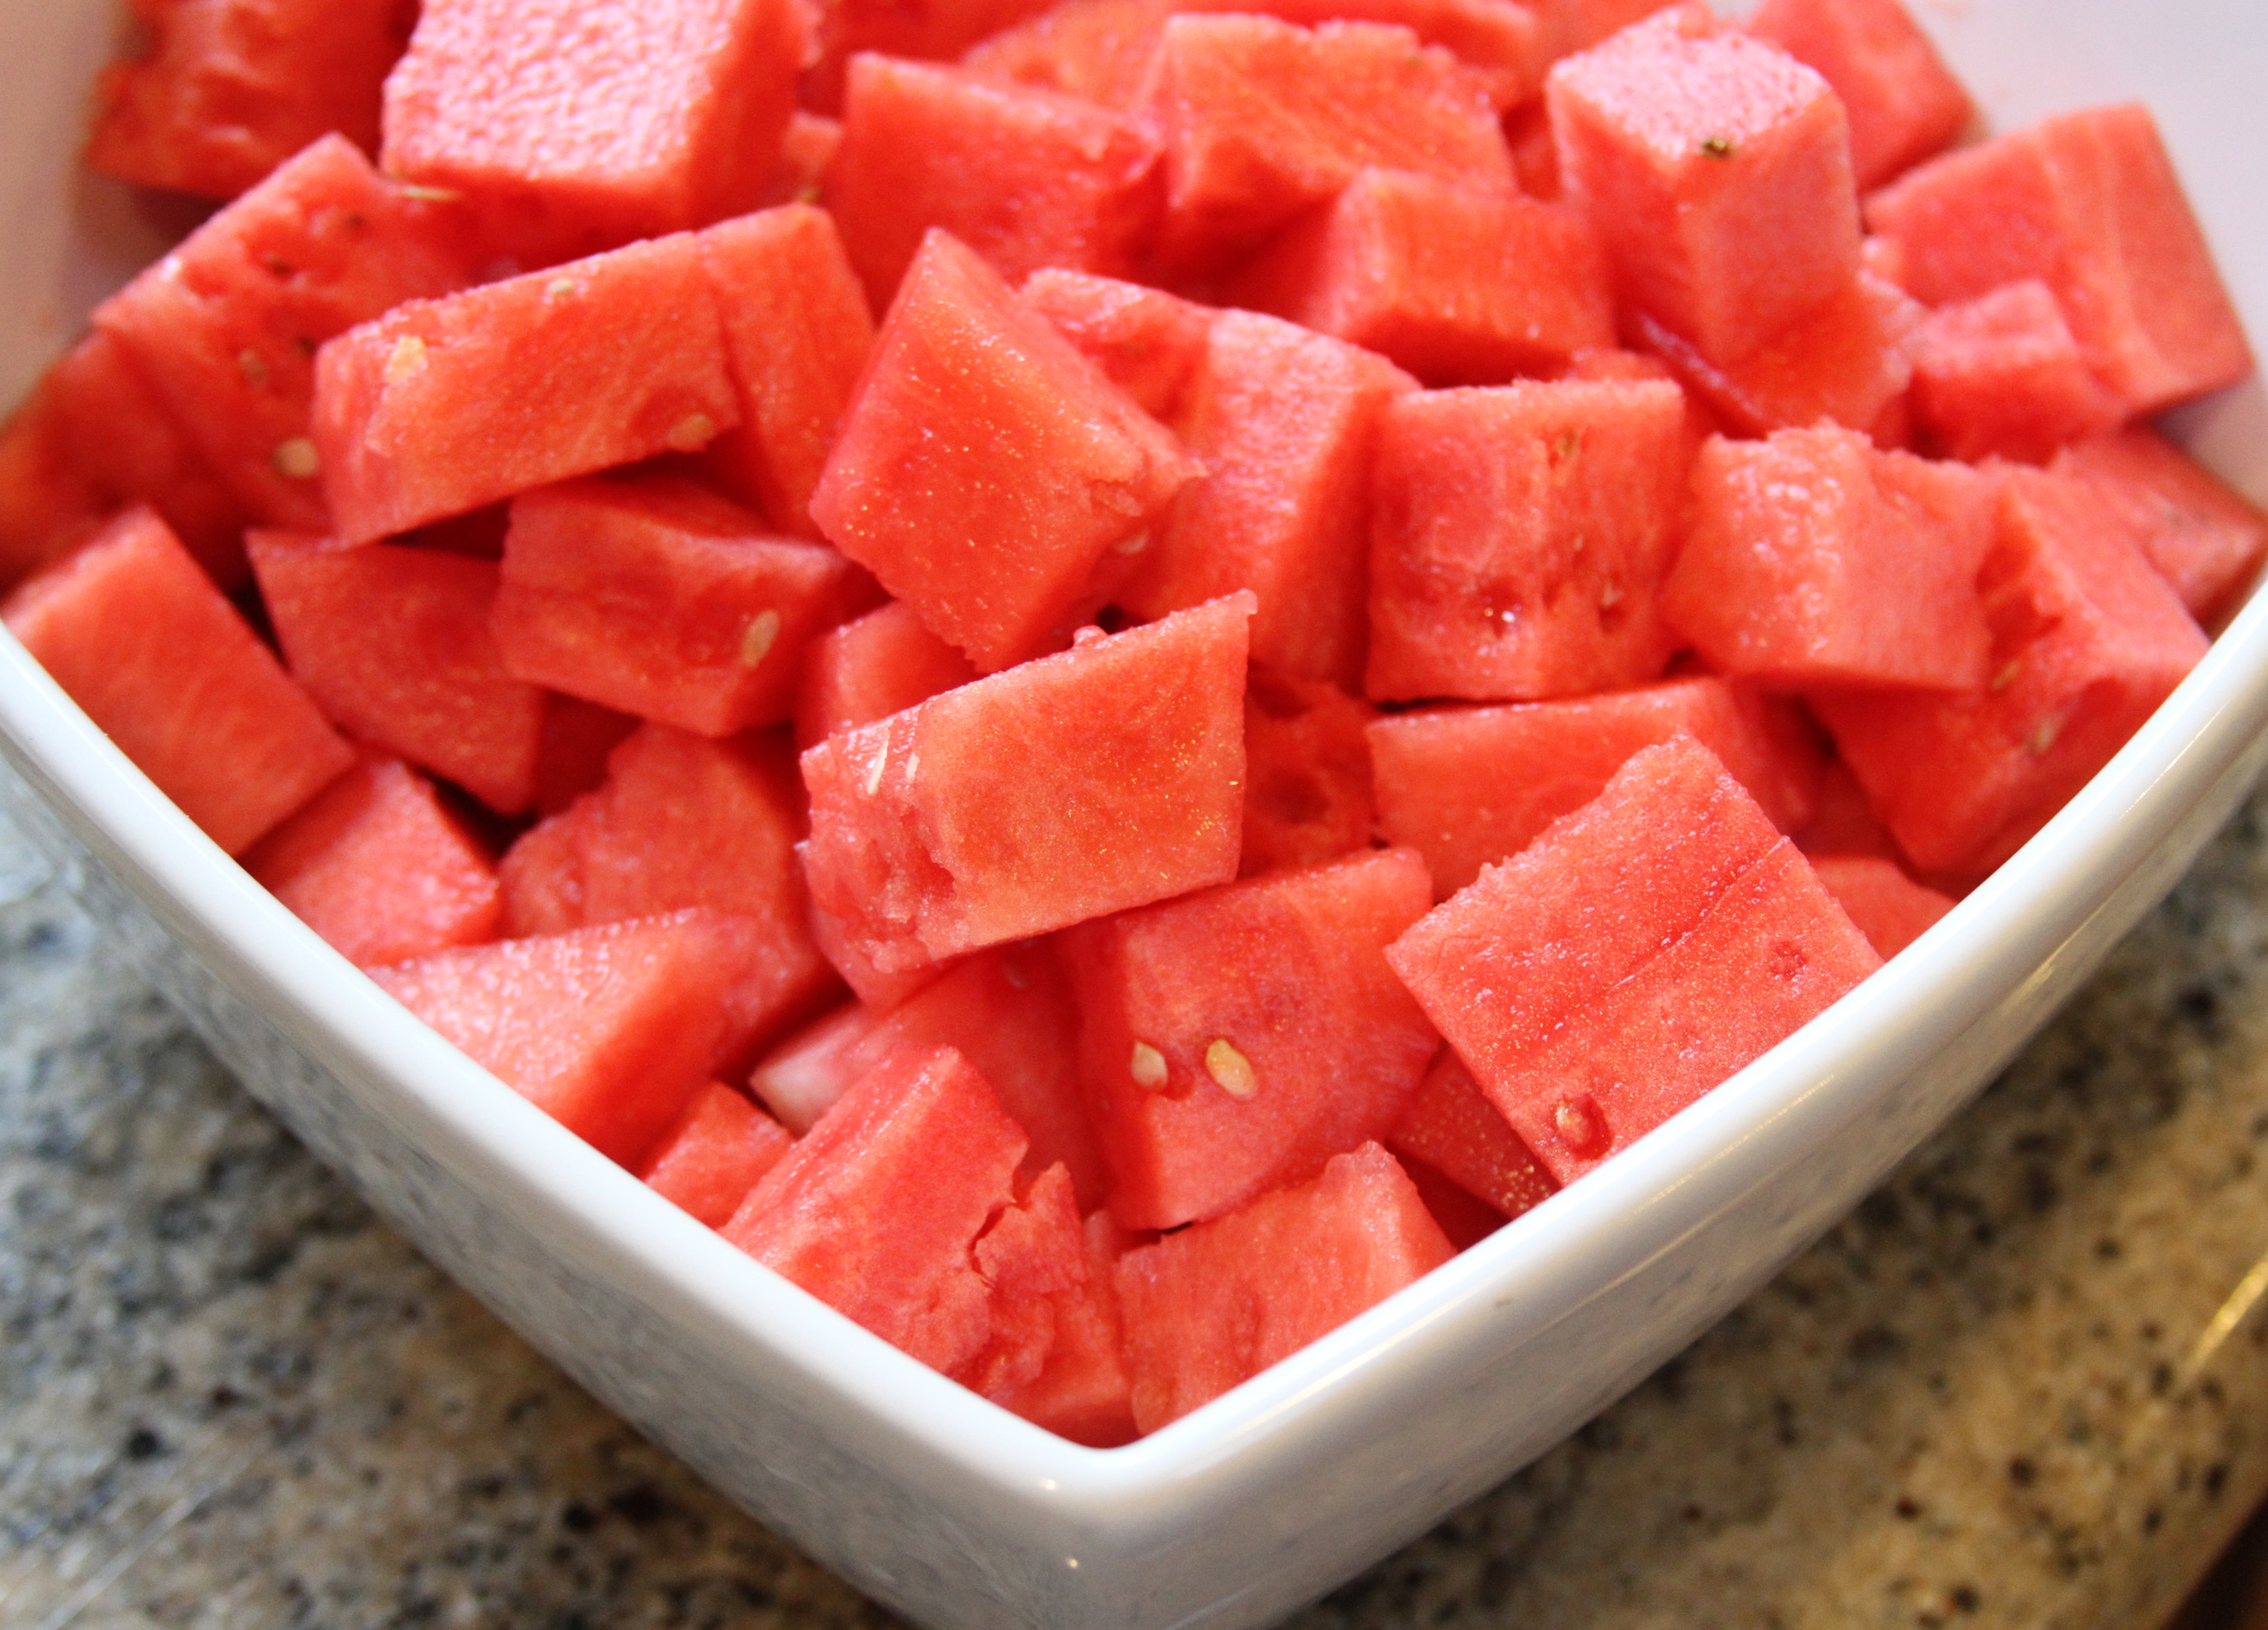
J and I celebrated the long weekend at our favorite place with some of our favorite people – Carmel.  It was a great weekend of champagne, hot tubing and yummy food.  I hope everyone has a wonderful Memorial Day and takes a moment to remember the fallen men and women of our country.
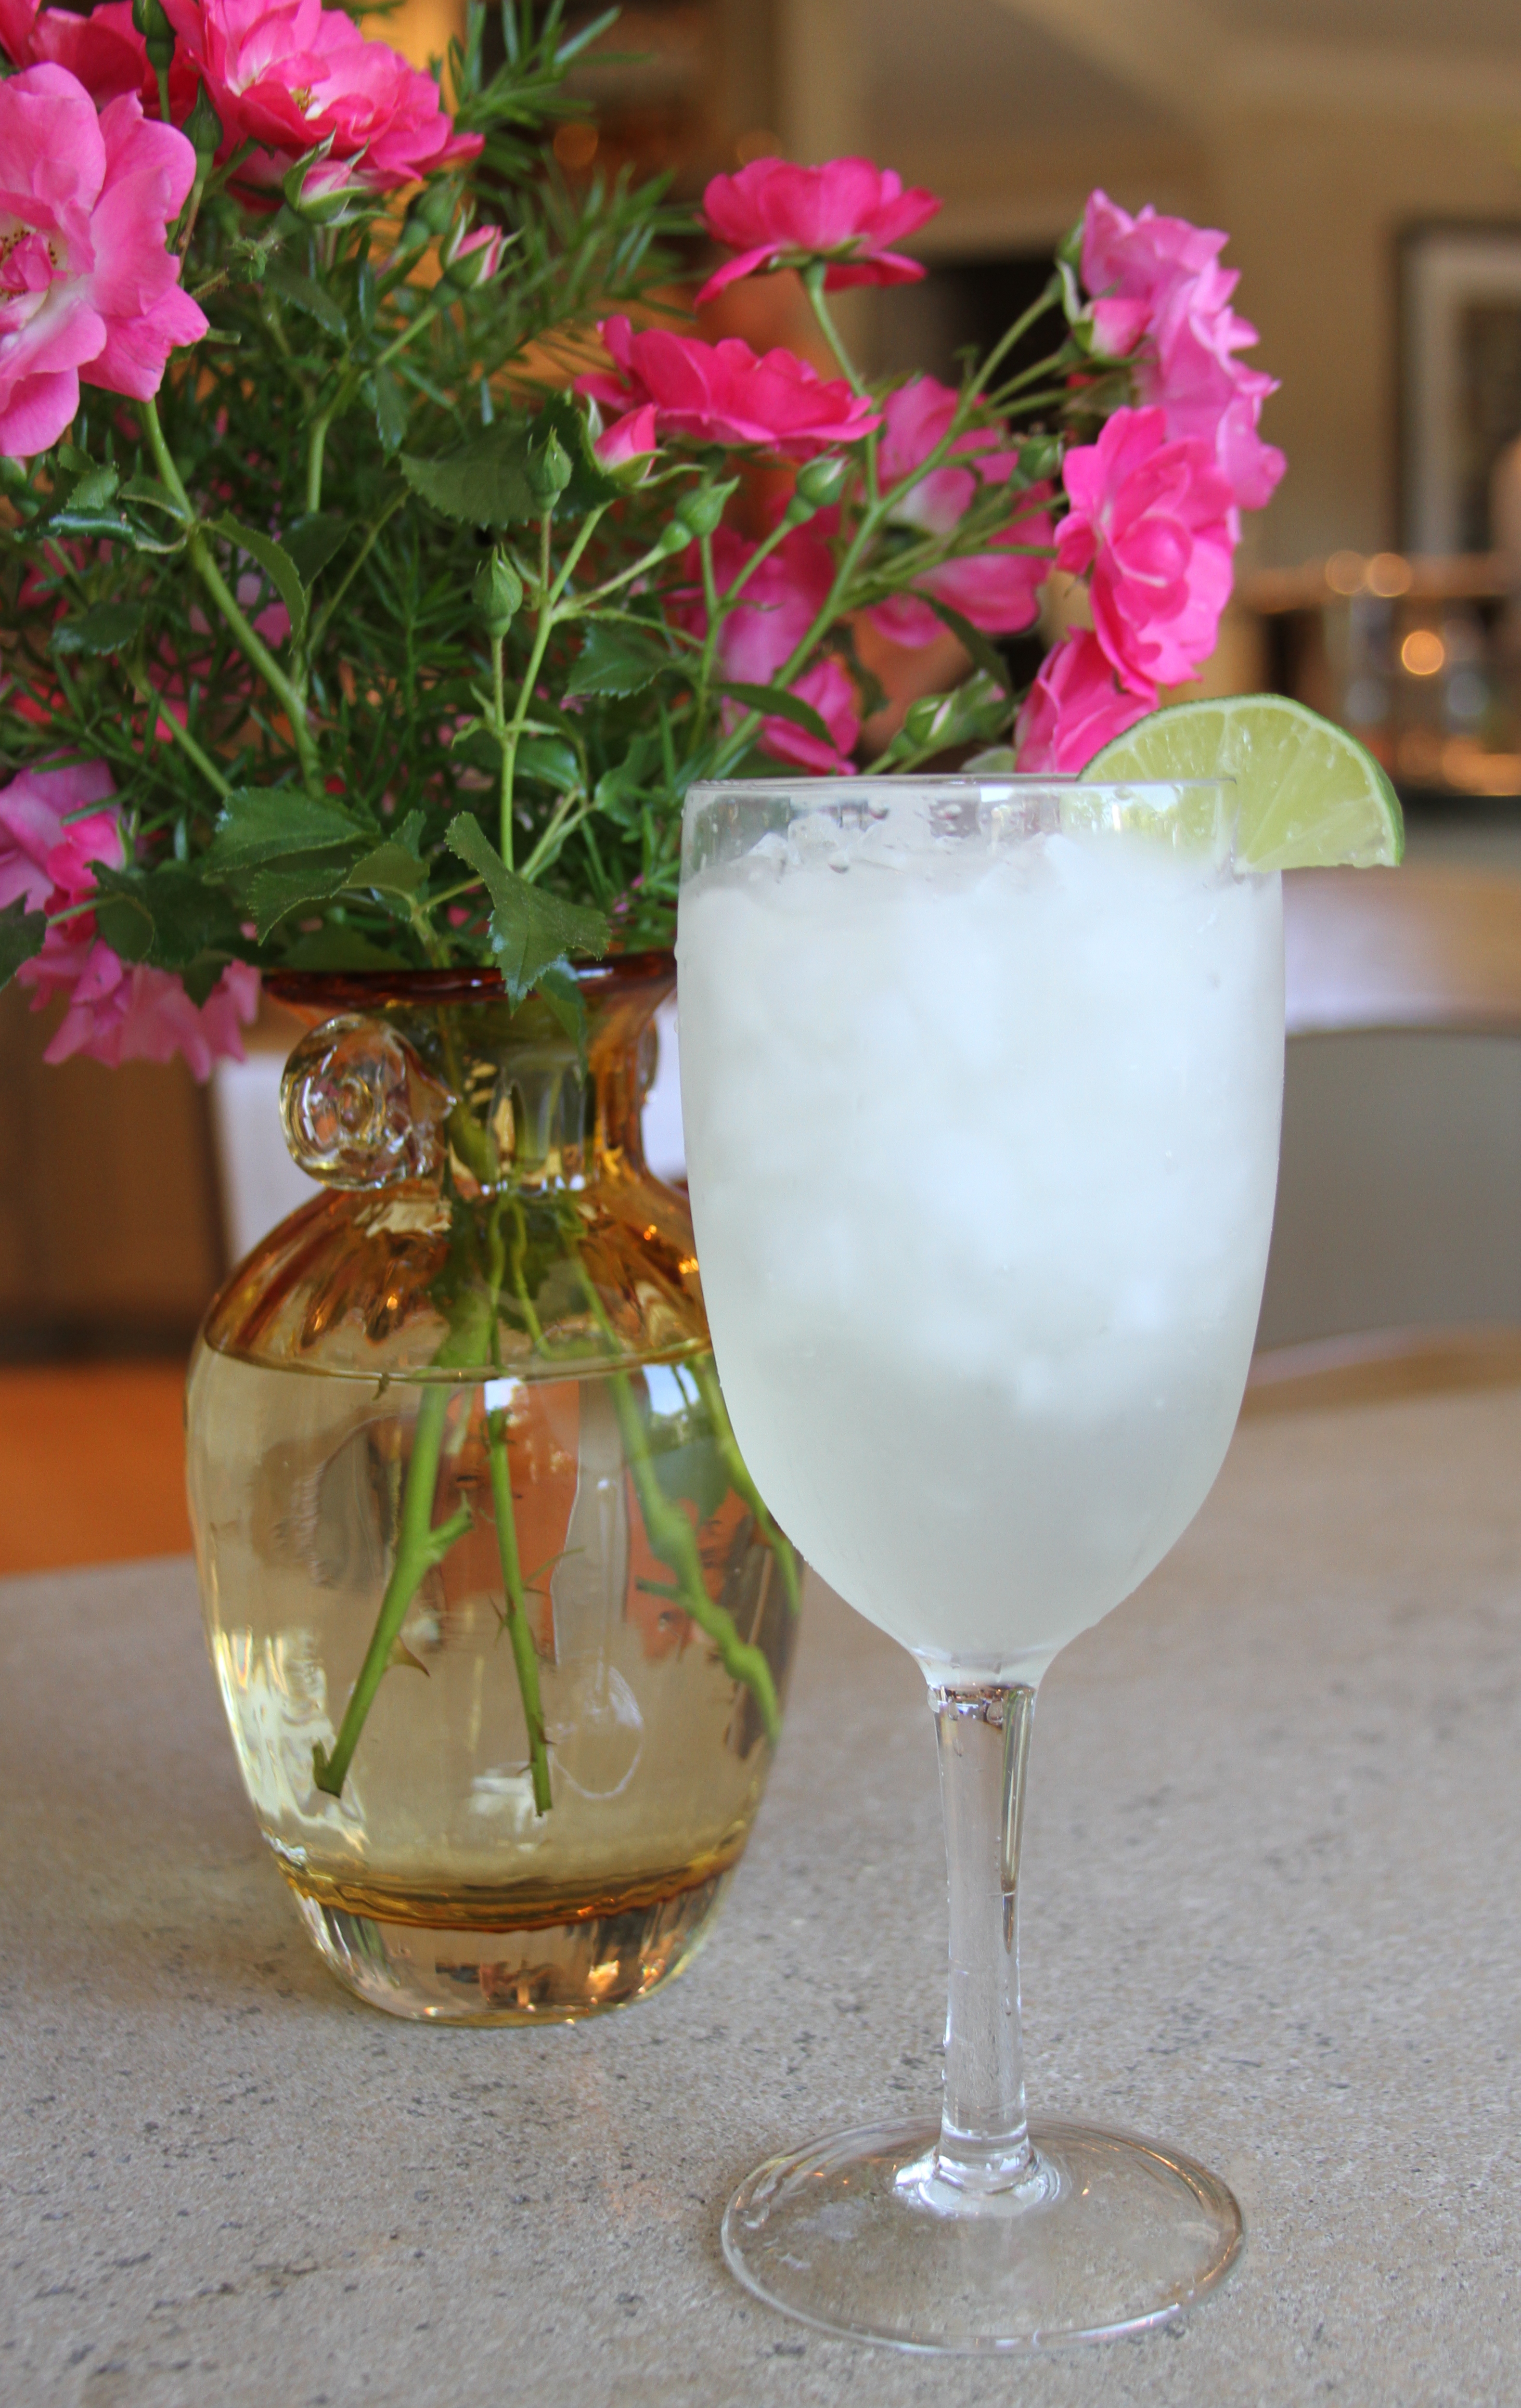
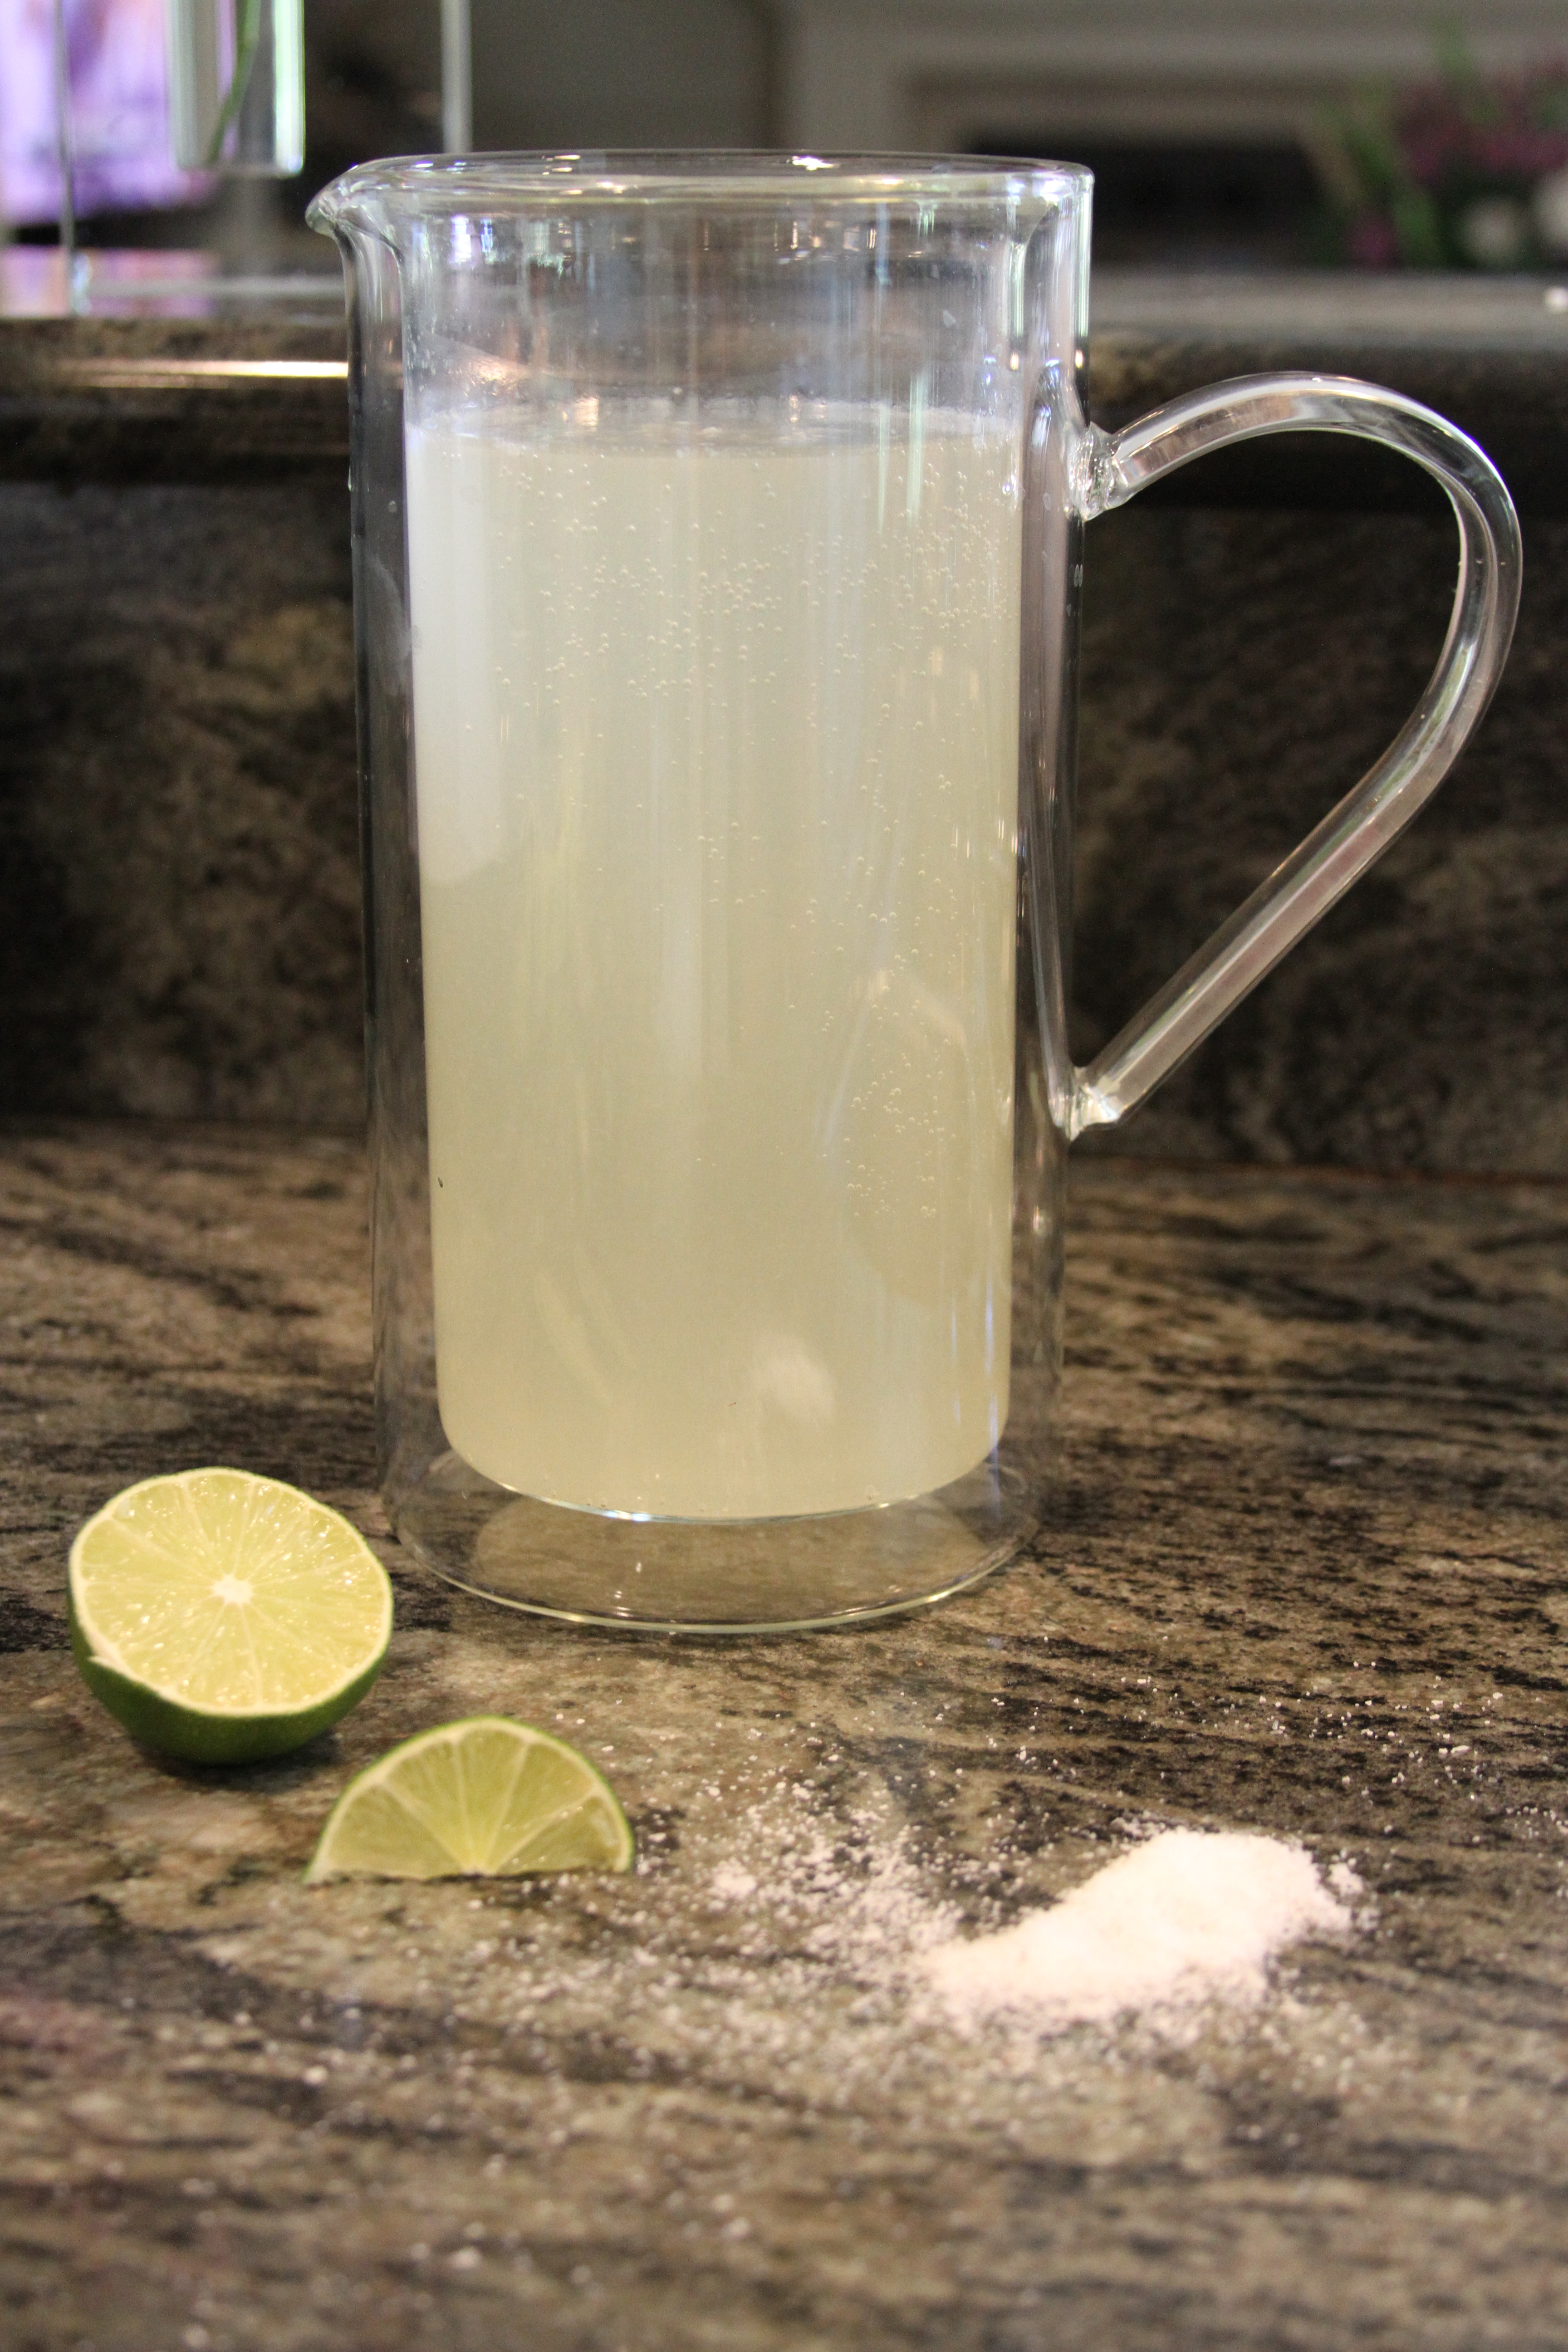
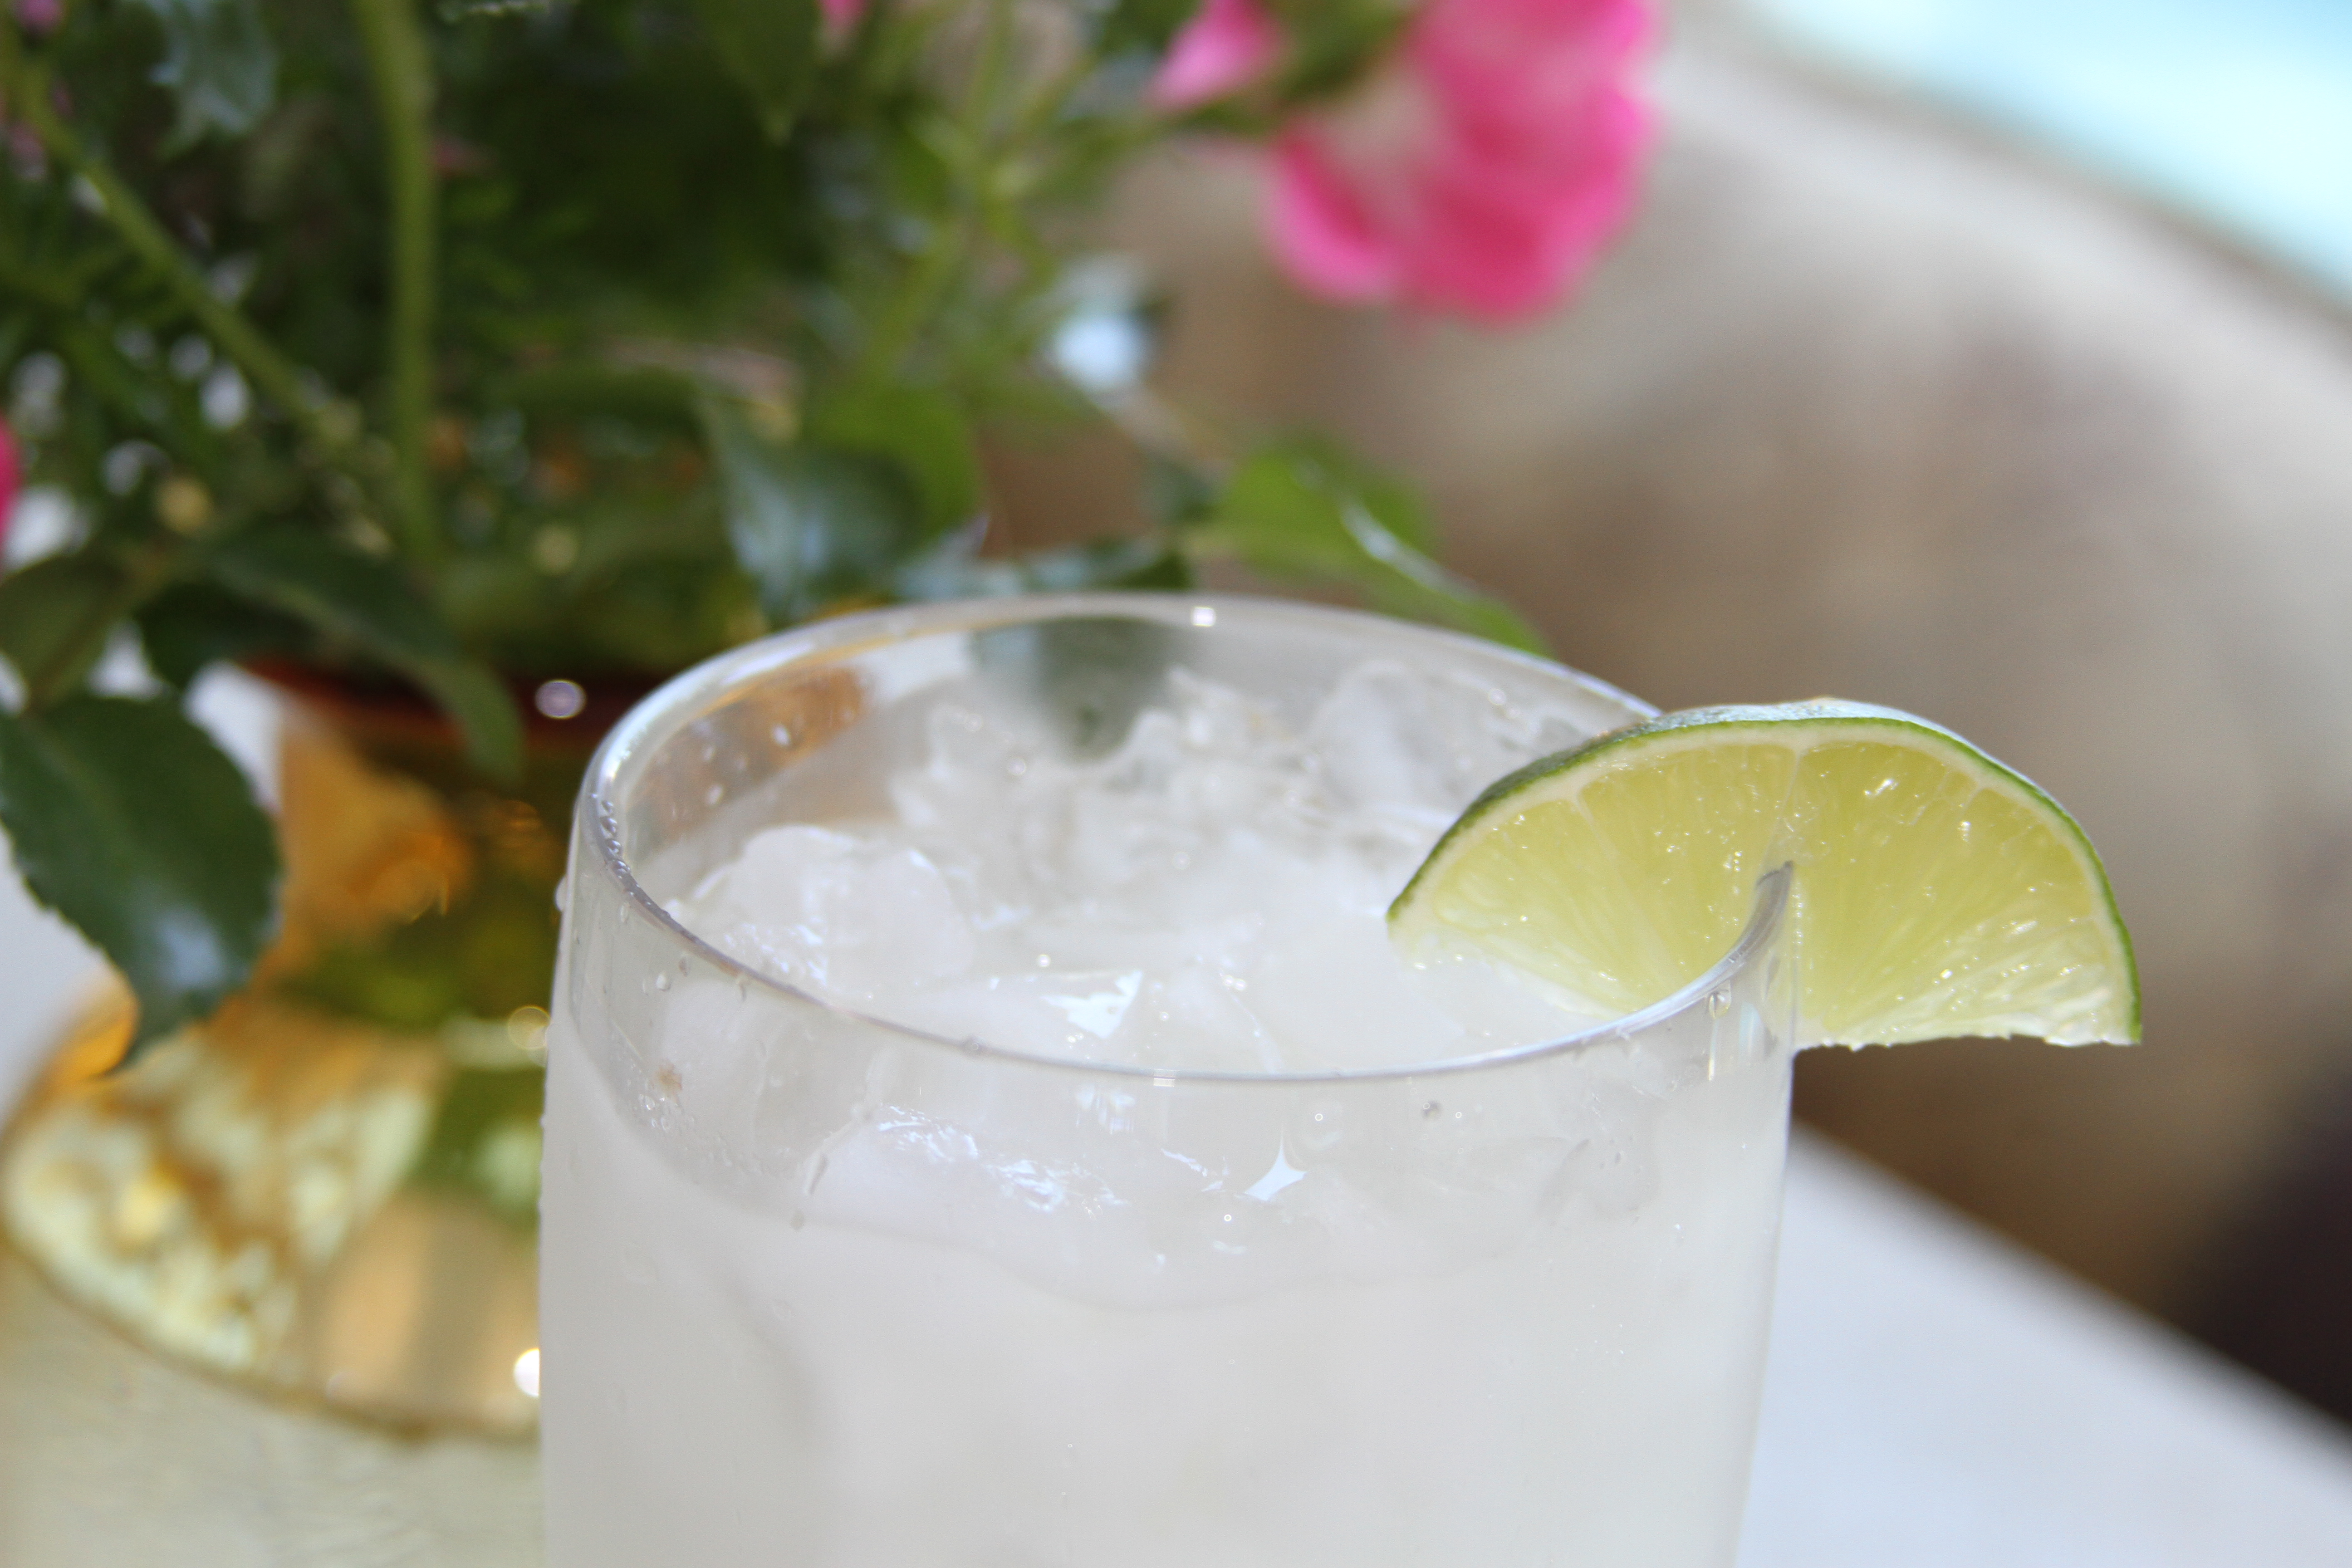
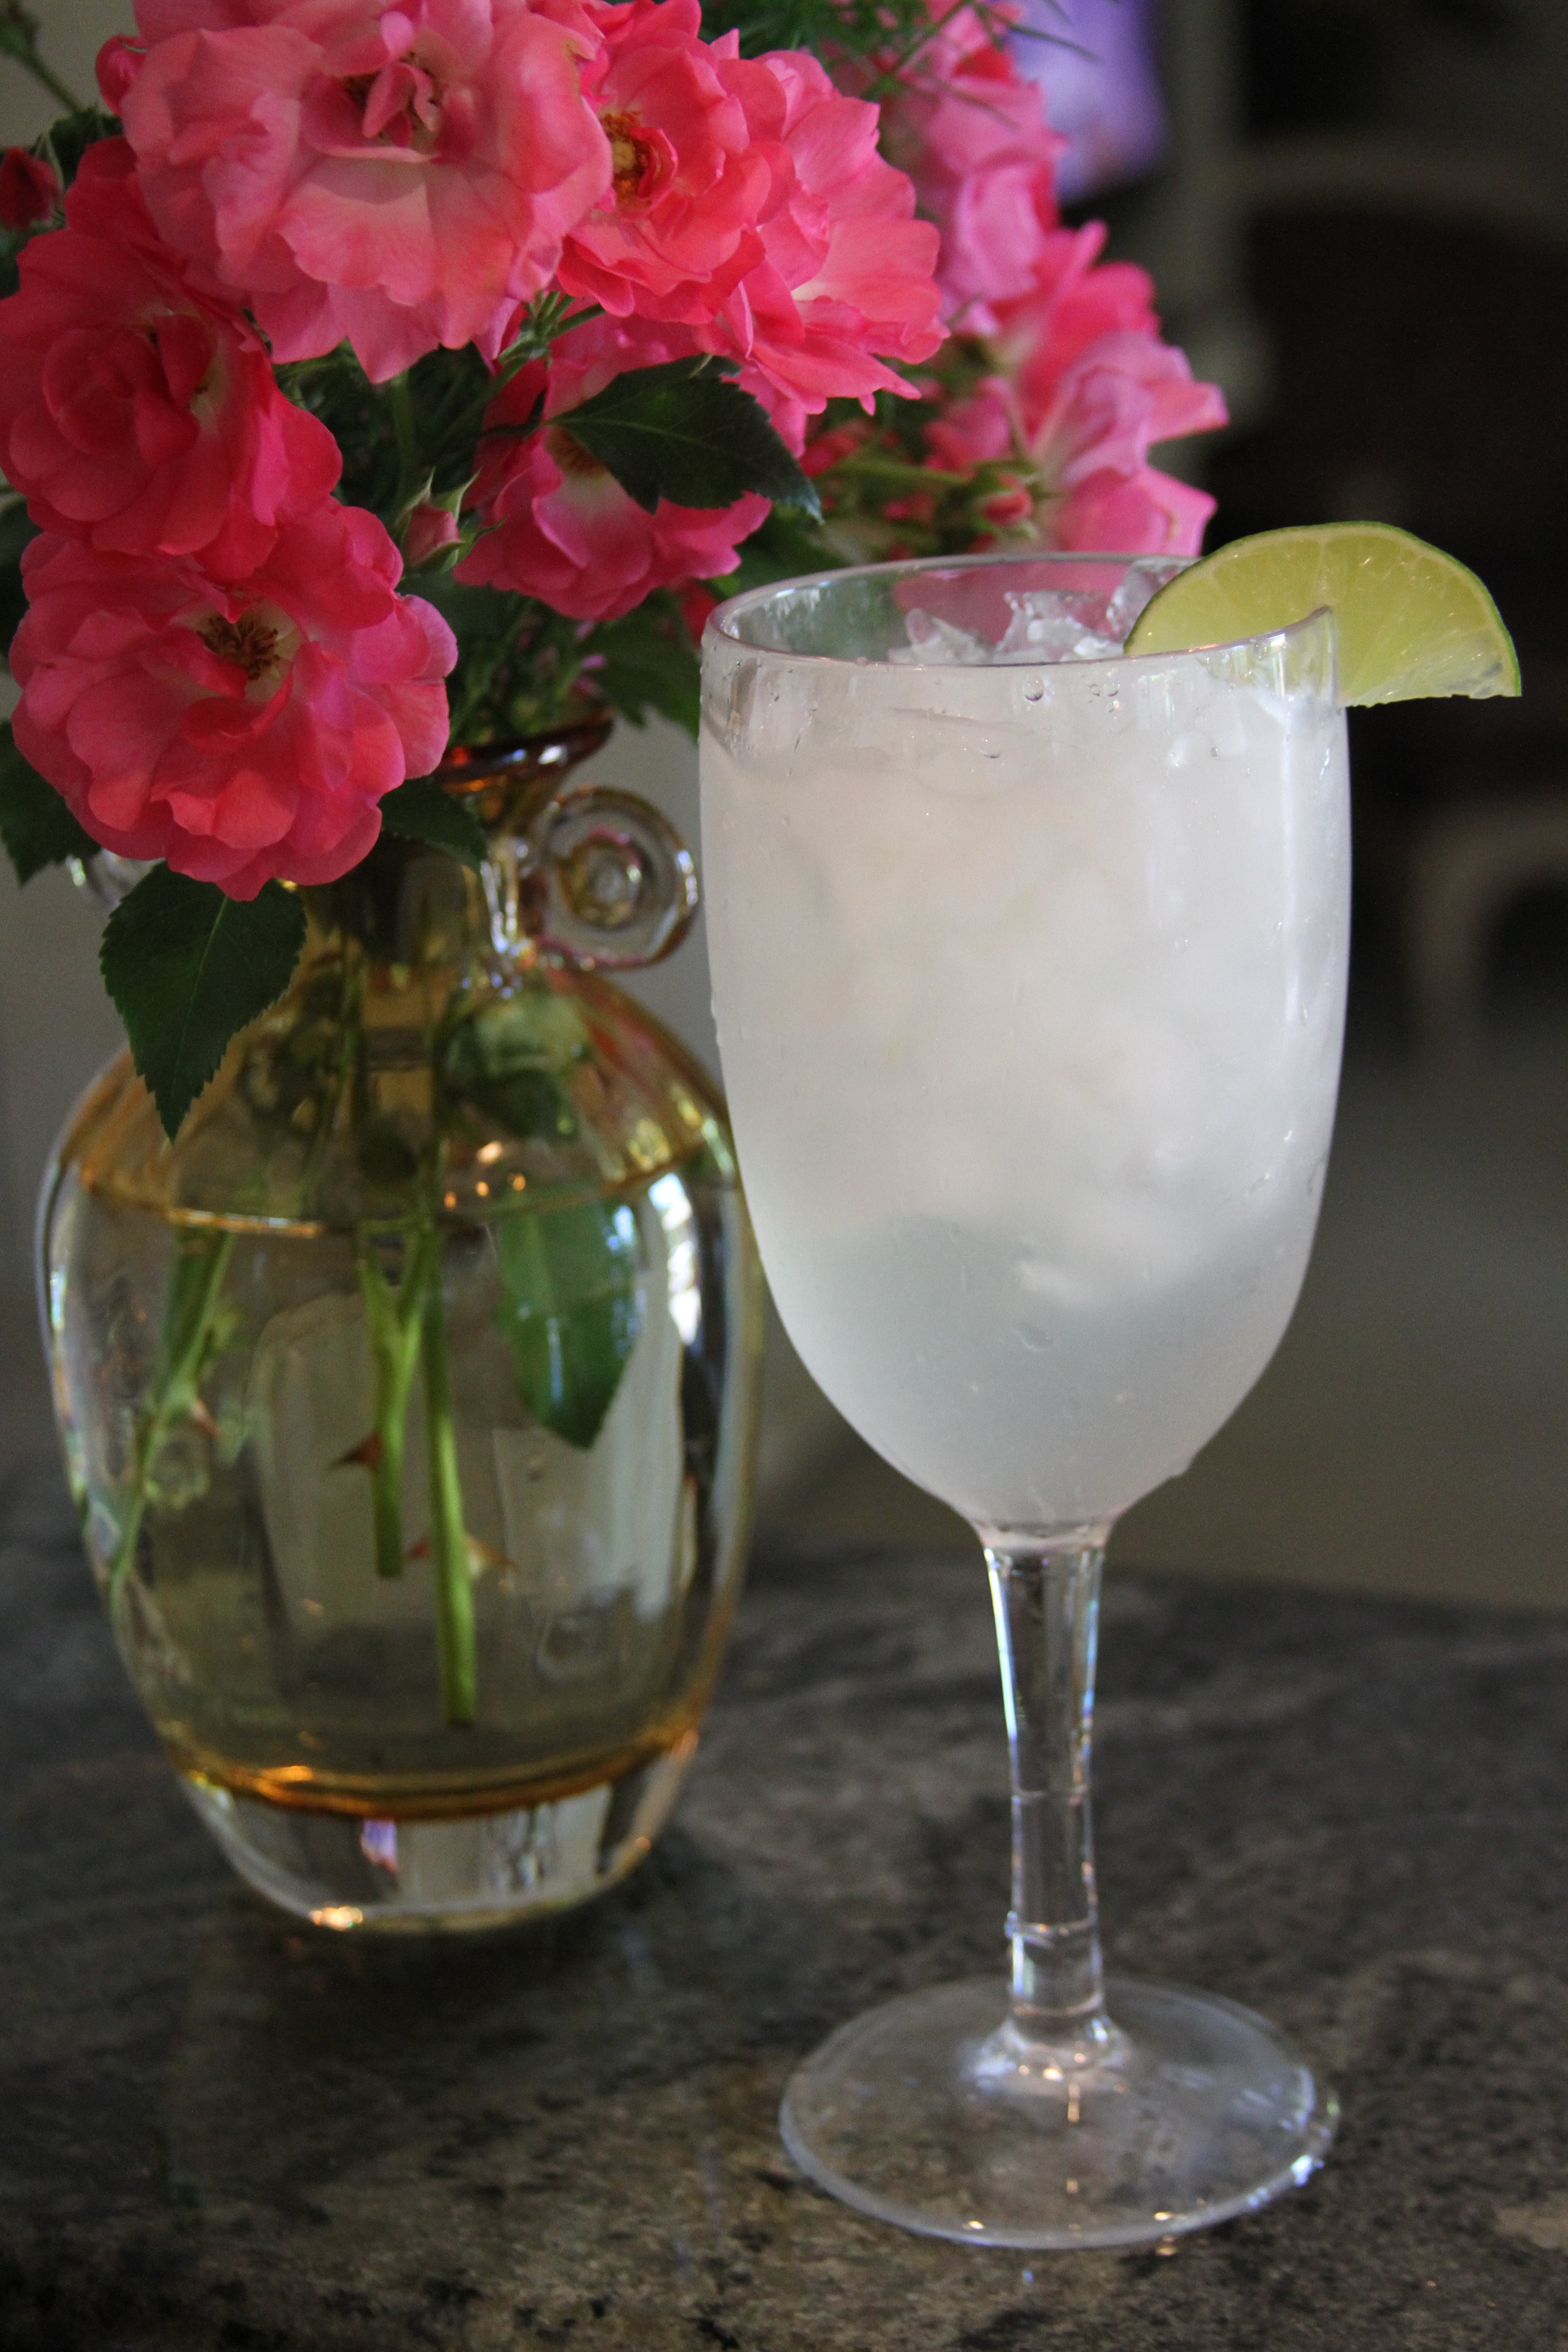
Sip

Cilantro (Pineapple) Lime Spritzer

May 24, 2013

081

  • 1 oz Cilantro Simple Syrup (see directions here)
  • 4 ounces Club Soda
  • 1.5 oz Lime Juice
  • 2 oz Tequila (I used Pineapple-Jalapeno infused tequila)

Combine ingredients above (adjust to taste) and stir. Serve over ice.

tequila spritzertequila spritzer tequila spritzer 090 077

The perfect pool side sipper for pool season! Super light and refreshing!

Sip

It’s Simple…Syrup!

May 23, 2013

Simple syrup is the easiest and cheapest homemade condiment you can keep on hand.  Instead of buying it for $5 at the store, grab some sugar and water and make your own!

148

Simply simmer equal parts sugar and water until sugar dissolves and… voila! You’re good to go!

simple syrup

I always keep a bottle on hand in my fridge for easy additions to cocktails, coffee, tea… anything that needs a sweet little kick!

simple syrup

Cilantro-Infused

simple syrup

Strawberry-Infused

Now HERE is the fun part… INFUSED simple syrups.  As you may now I am OBSESSED with infused alcohol as of late (I just discovered pineapple infused rum with lime juice – it’s like a low-cal Pina Colada!) but simply add a handful of herbs, fruit, zest, etc.  and simmer until the item is infused in the syrup (anywhere from 10-30 minutes).

Strain the syrup and store in a sealed container.  Syrups will last up to 6 months in the fridge!
148

I made Strawberry, Cilantro and Mint-infused simple syrups (respectively) and am using them over fruit salads, in cocktails and over shaved ice! 161

Looks

How to Do a Gel Manicure

May 23, 2013

I’m addicted to doing my nails.  I love painted nails and chipped polish makes me cringe.  Therefore when my mom introduced me to Shellac (aka Gel Manicure), I was pretty certain Christmas came early.

Shellac Nails

Long story short, the polish is a little more expensive, it takes a little bit more time to apply, but 2-3 weeks with chip free and shiny polish!? It’s a no-brainer in my book.

So how to do it… well 1st you need a UV nail lamp, nail polishes (including base and top coat), 99% alcohol (remover) and manicure accessories (file, buffer, etc.). Here we go…

1. Remove your old Shellac nail polish with Pure Acetone (there are multiple ways but the acetone must remain on your nails for 10 minutes – a. you can dip it in cotton pads and securing them on your finger with foil or b. soak your nails in a shallow dish filled with acetone).

Acetone Remover

2. Make sure your nail bed is CLEAN – I file/shape my nails, then buff to “rough” up the service.  I then spray with this nail cleaner and (once dry) brush BondAid on each nail to dry it out, so that it really holds the polish.

BondAid

Nail Clean

3. Next… the fun begins! Brush a THIN layer of Shellac Base Coat onto each nail.

Base Coat

4. Put under lamp for 10 seconds.

Heat Lamp

5. Apply color coat. Then dry under lamp for 120 seconds.

Polish

6. Repeat color coat if needed. Followed by 120 more seconds under the lamp.*

Nail Polish

7. Finish with top coat.

Top Coat8. Finish with 120 seconds under the lamp.

UV Lamp

9. Saturate a cotton pad with 99% Alcohol and swipe over each nail.  This will remove the “gooey” residue left behind by the top coat and result in shiny, gorgeous nails!

10. Go wash the dishes/take a shower/go swimming… whatever you couldn’t do if you had wet nails for 20 more hours! You’re good to go!

Nails

Tips:

  • Make sure to apply thin coats, otherwise the polish could bubble or when your manicure grows out the polish will stick out (see the first image – my middle finger = not going to be good in a week)
  • Try to brush the edge of your nails to create a sort of protective barrier to keep the polish “contained” (see image*)
  • Experiment! Layer different colors to create your own!  I have done up to 3 layers and if they are thin enough I’ve never had a problem.
  • Practice makes perfect! My polish used to bubble, crack, polish would be missing on parts of my nail, but after a few tries I am proud to say I am now consistently problem free!
  • Favorite colors: Romantique (Nude/Pink), Negligee (White/Nude), Dark Lava (Cranberry/Purple), Fedora (like “Lincoln Park After Dark”), Midnight Swim (Navy)
Tasty

How to Slice a Watermelon

May 22, 2013

With summer approaching what better time for a refresher course on how to slice up a watermelon! Here is how I do it…

Watermelon

1. Slice it in half (horizontally).

074

2. Slice the bottom rind off (how fun is that heart!).

075

3. Working around each half of the watermelon, slice off the rind working from top to bottom.

079

4. Remove any remaining pith/rind.

081

5. Make 1-inch slices working from top to bottom.

082

6. Cube each slice.

083

7. Repeat with the other watermelon half.

088

8. I’m a big fan of serving with lime slices and a little salt. Enjoy!

085