Archives

Tasty

Sweet Potato Casserole

November 24, 2014

IMG_6380

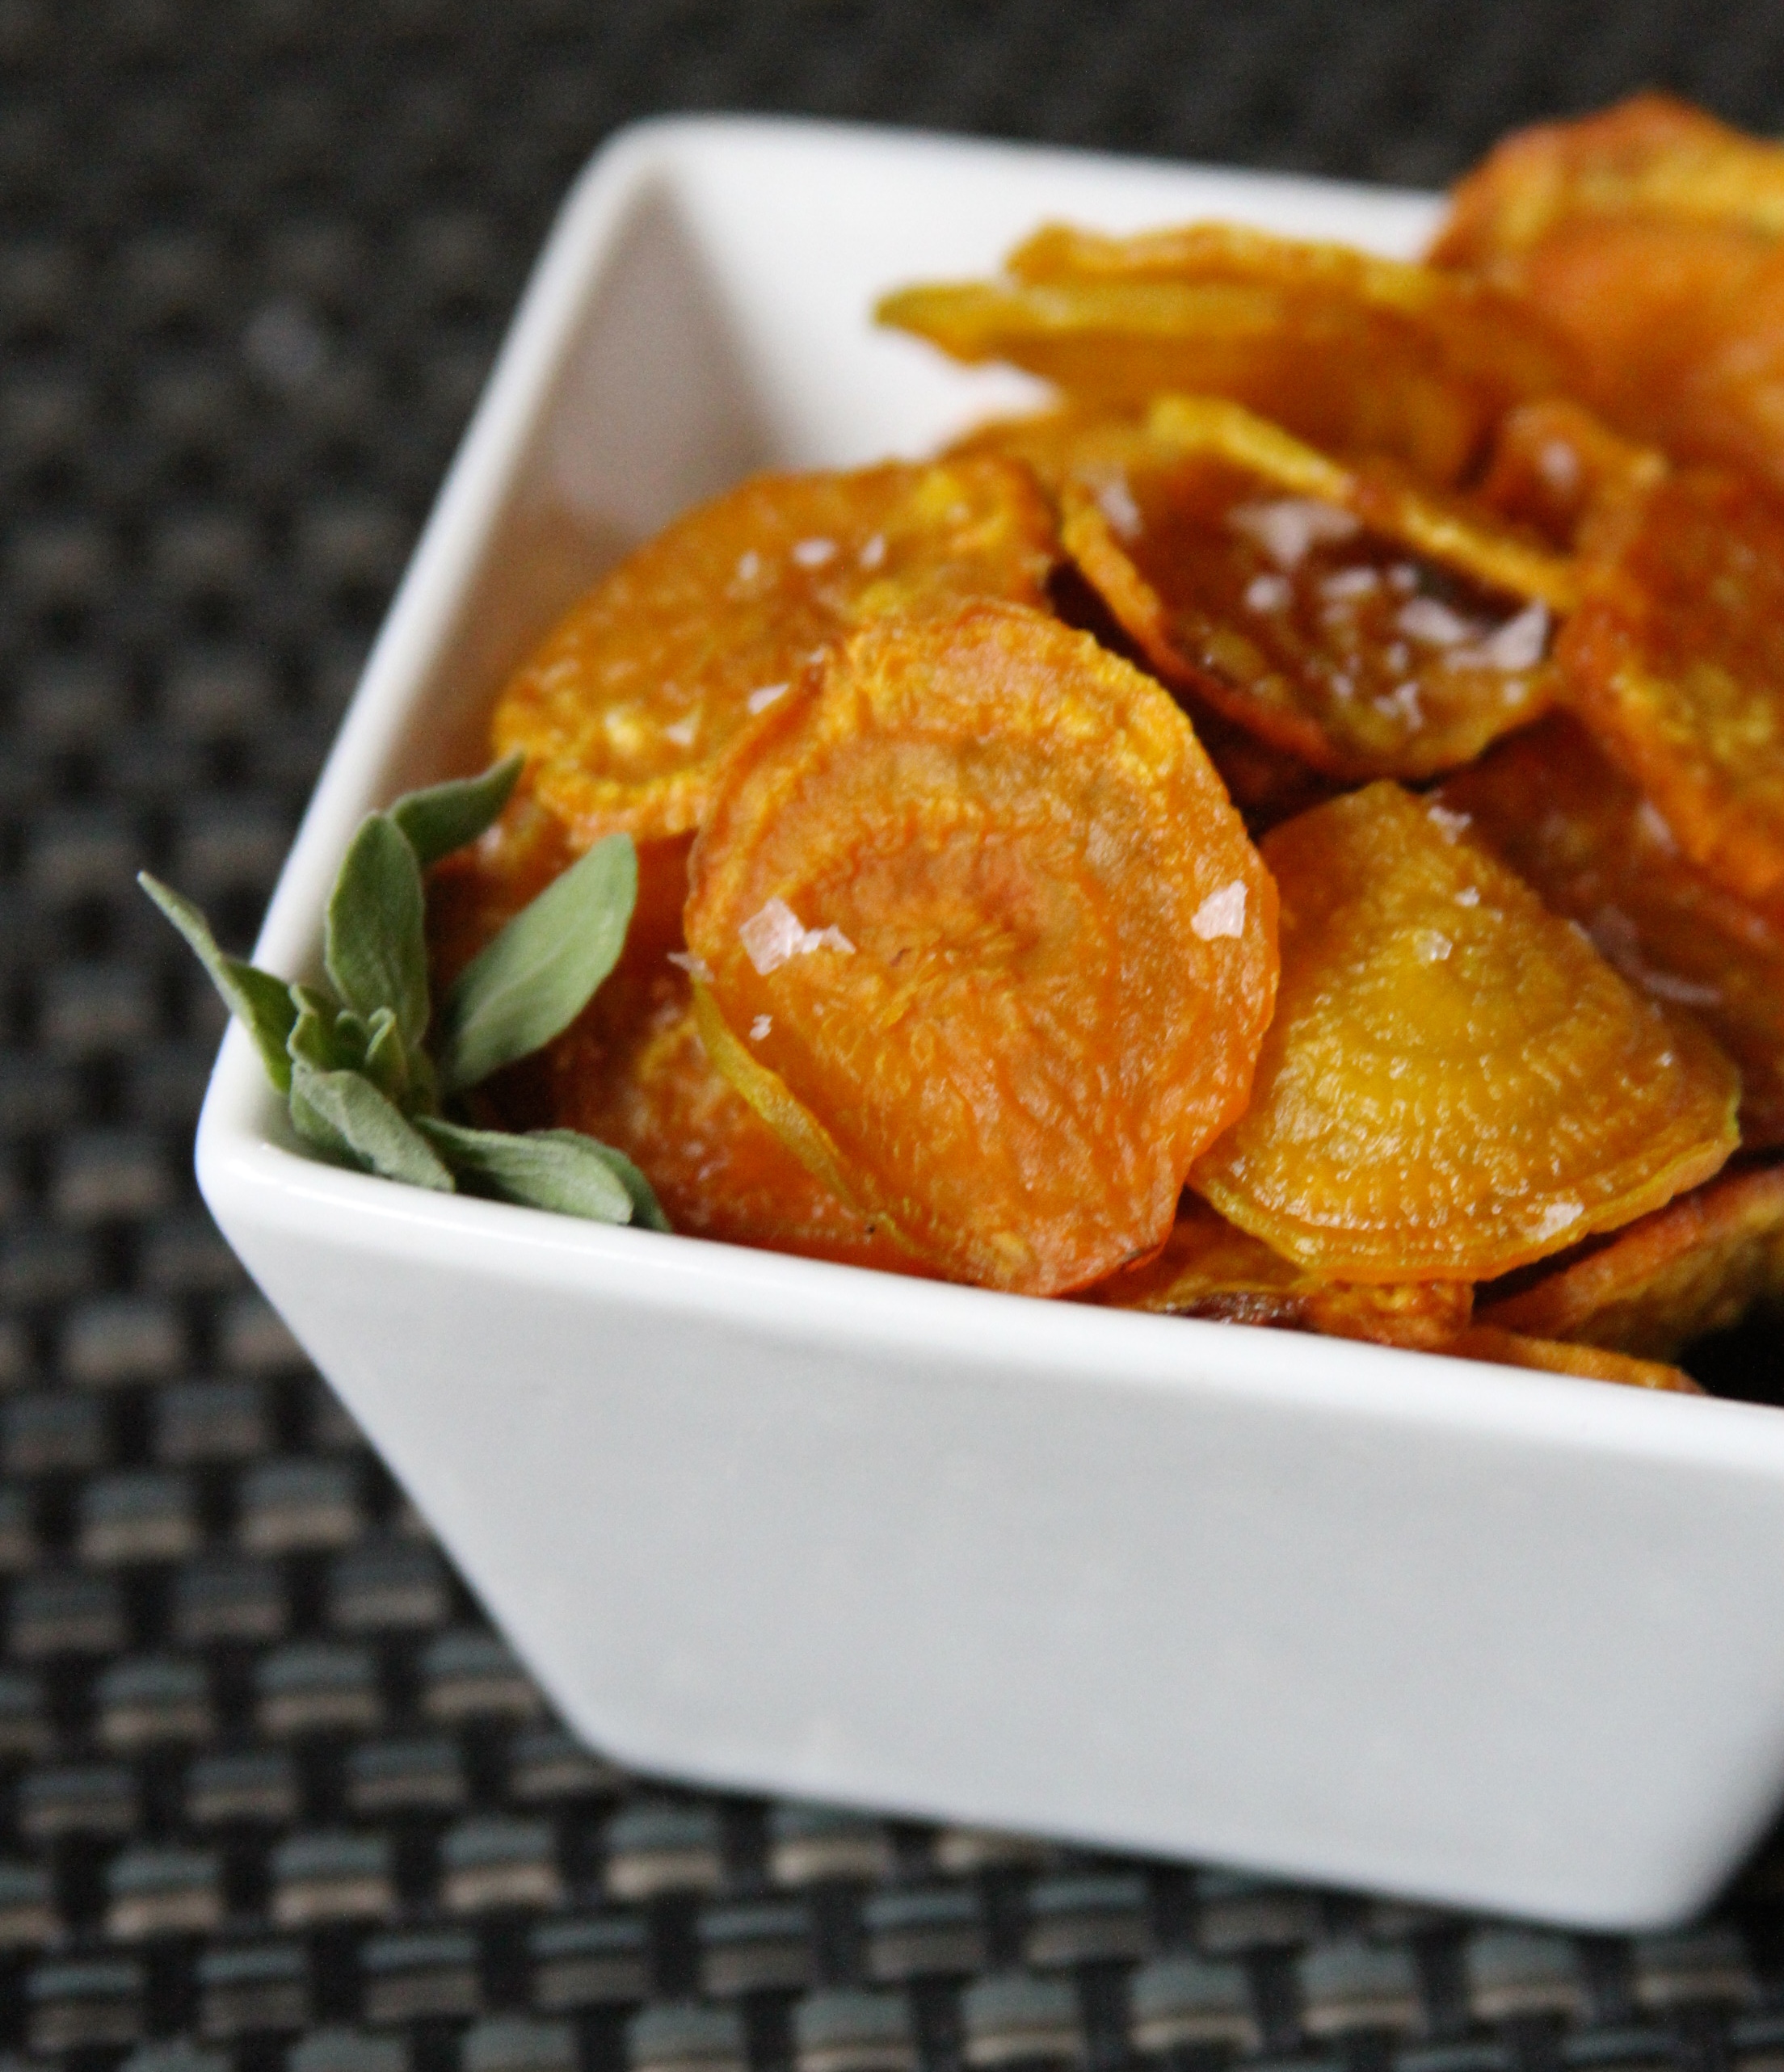
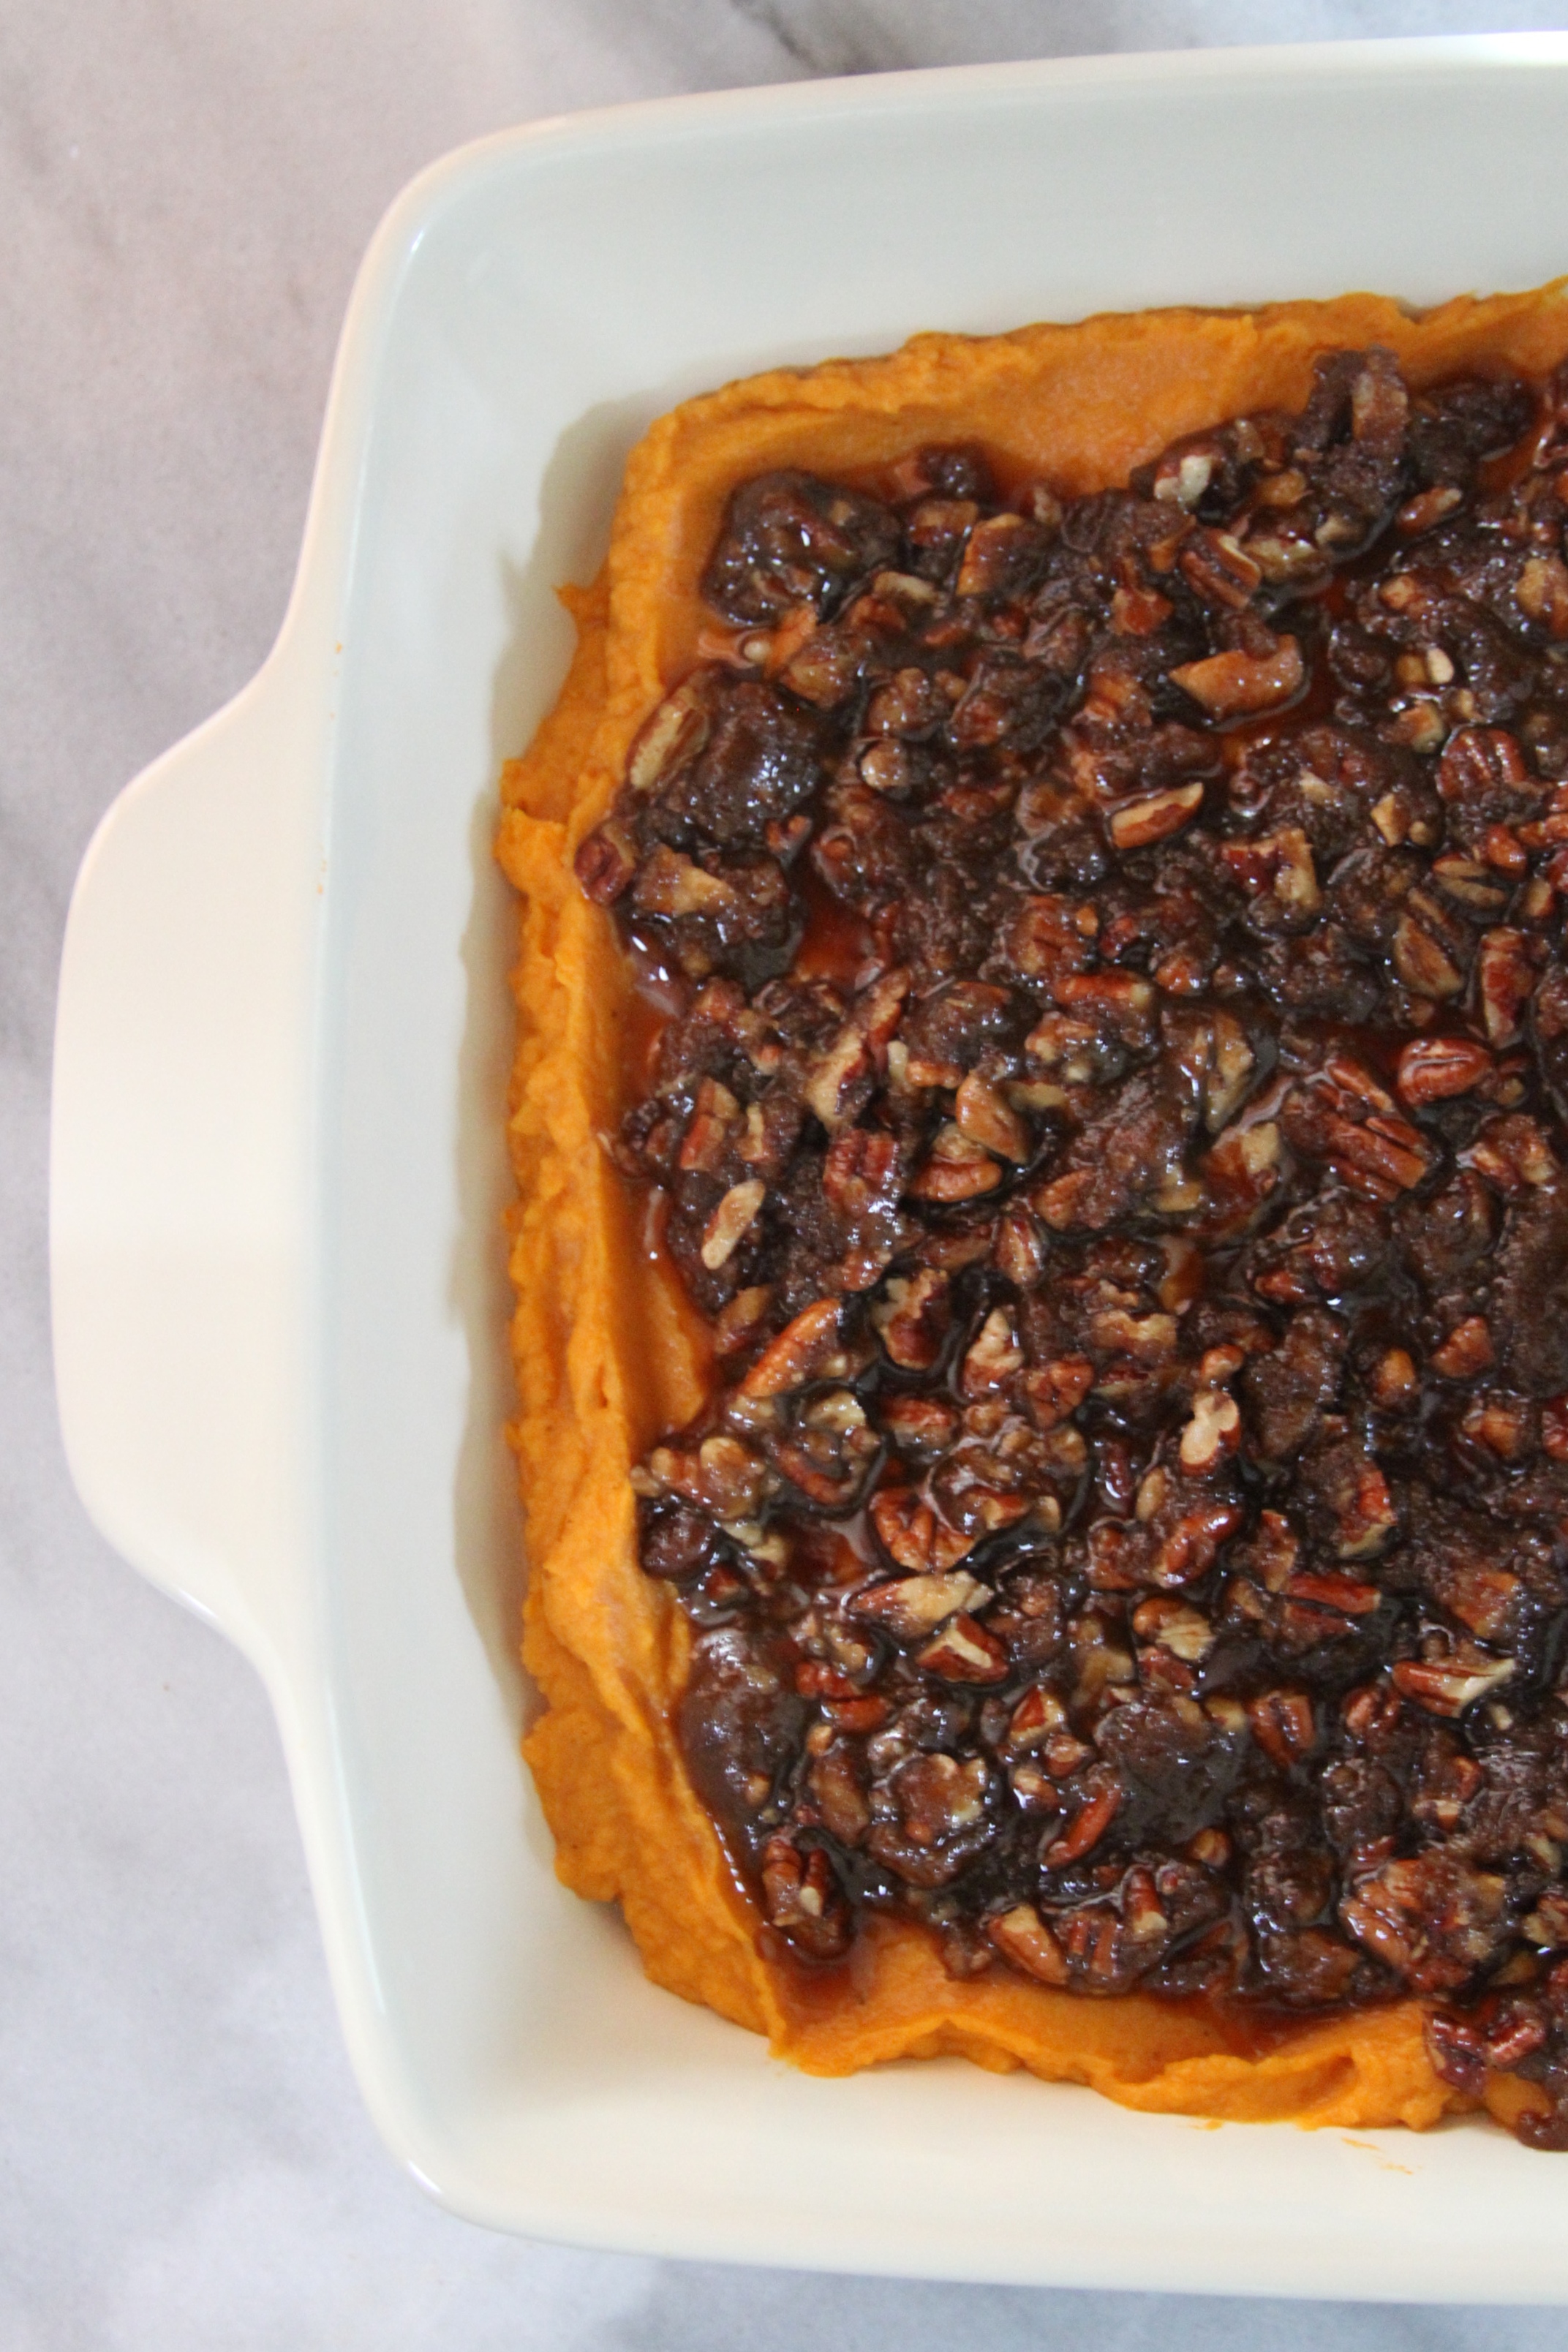
In honor of Thanksgiving, I wanted to share the dish I most look forward to – my mom’s Praline Sweet Potato Casserole.   It basically is a dessert, disguised as a side dish, and isn’t that what holiday eating is all about!?

IMG_6311

IMG_6373

Potato Mixture:

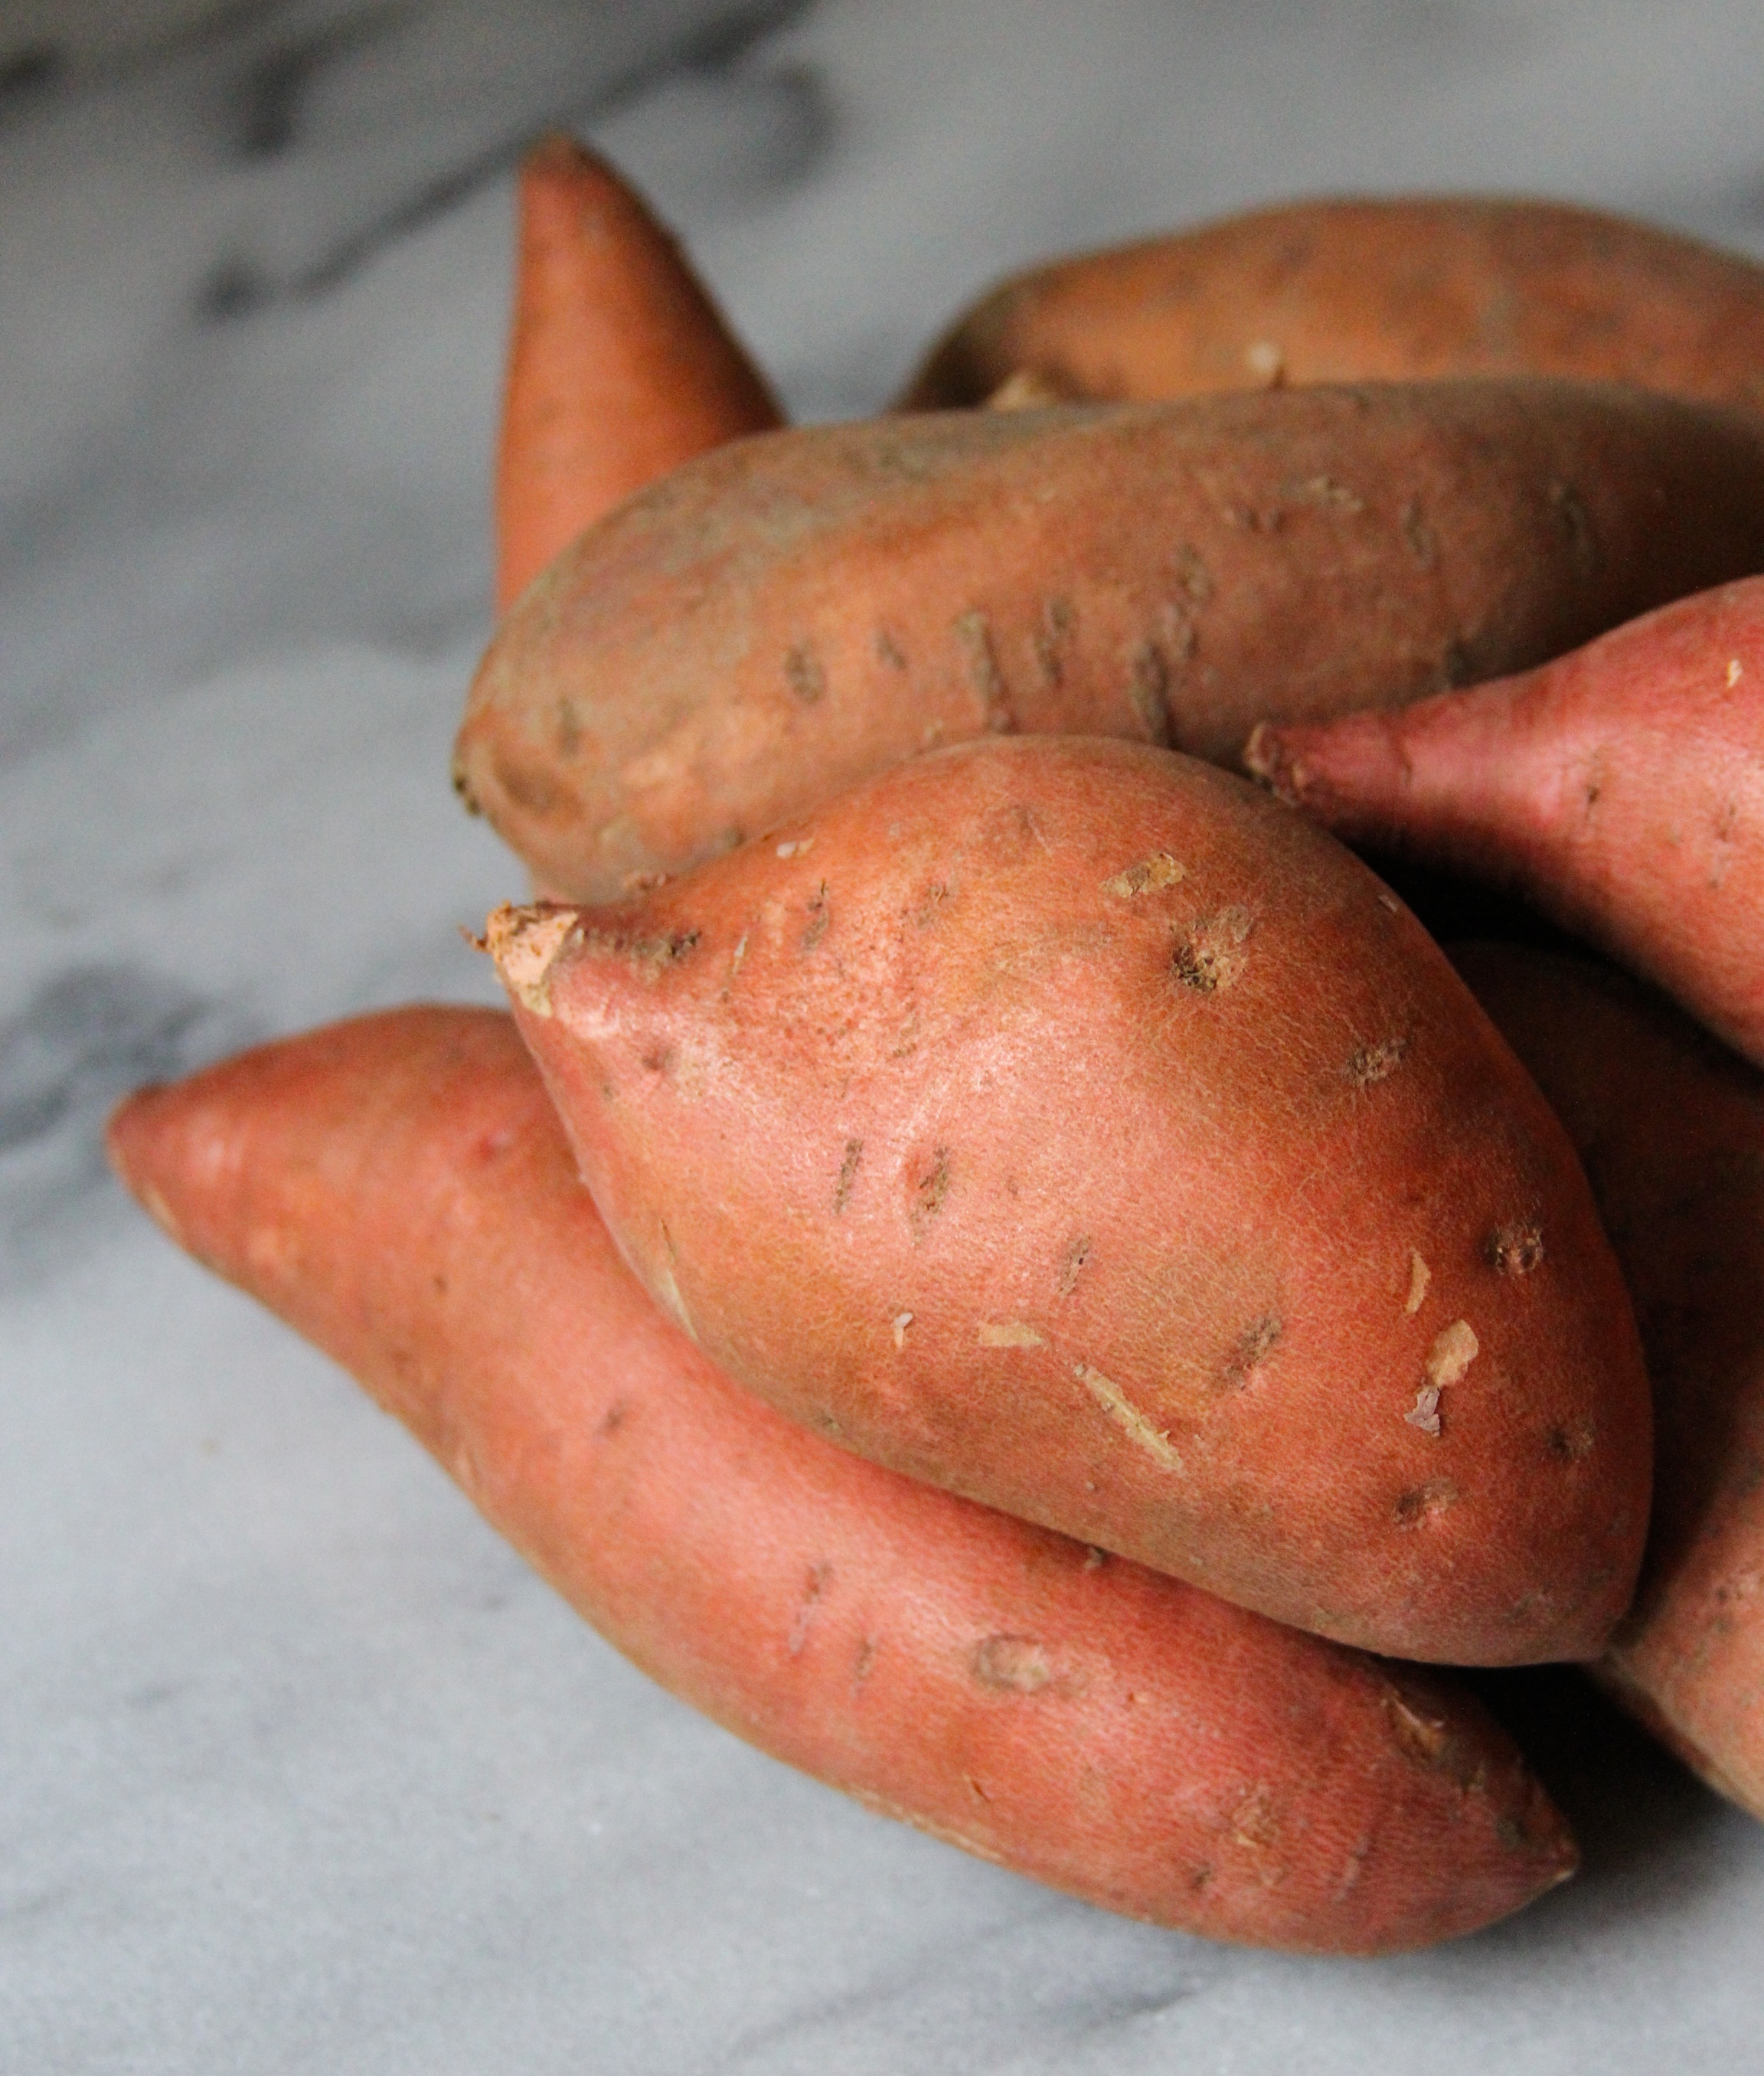
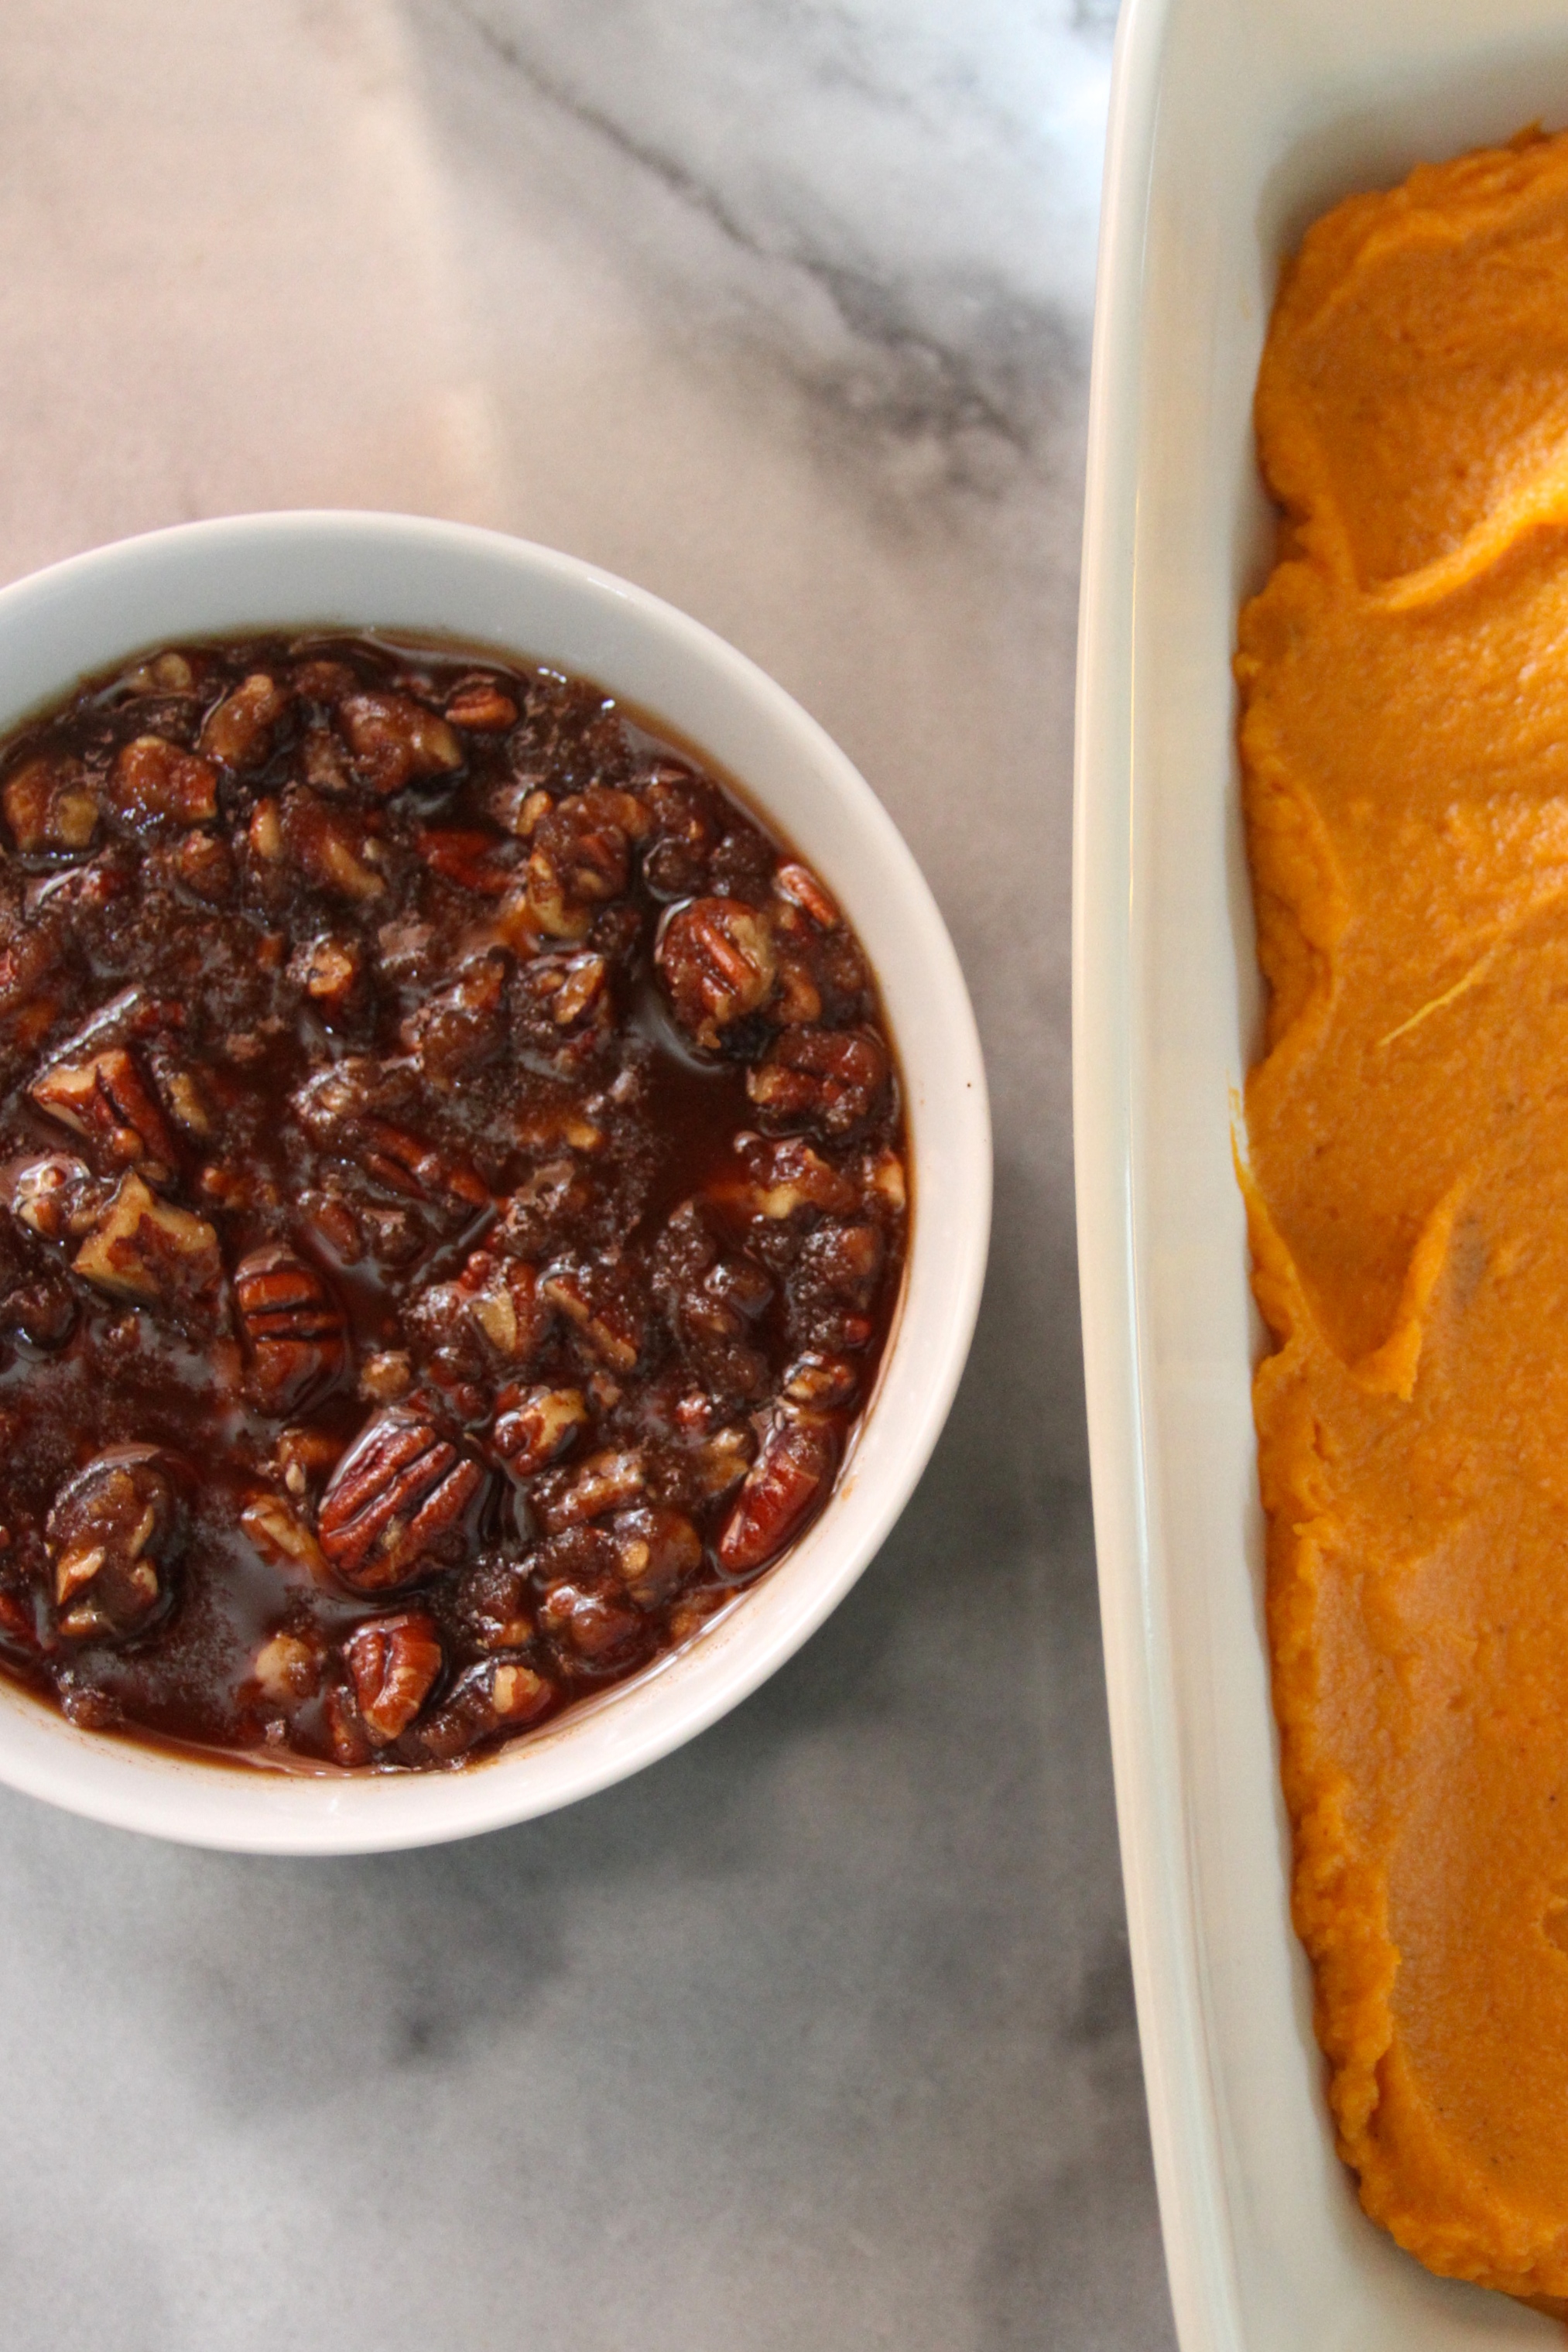
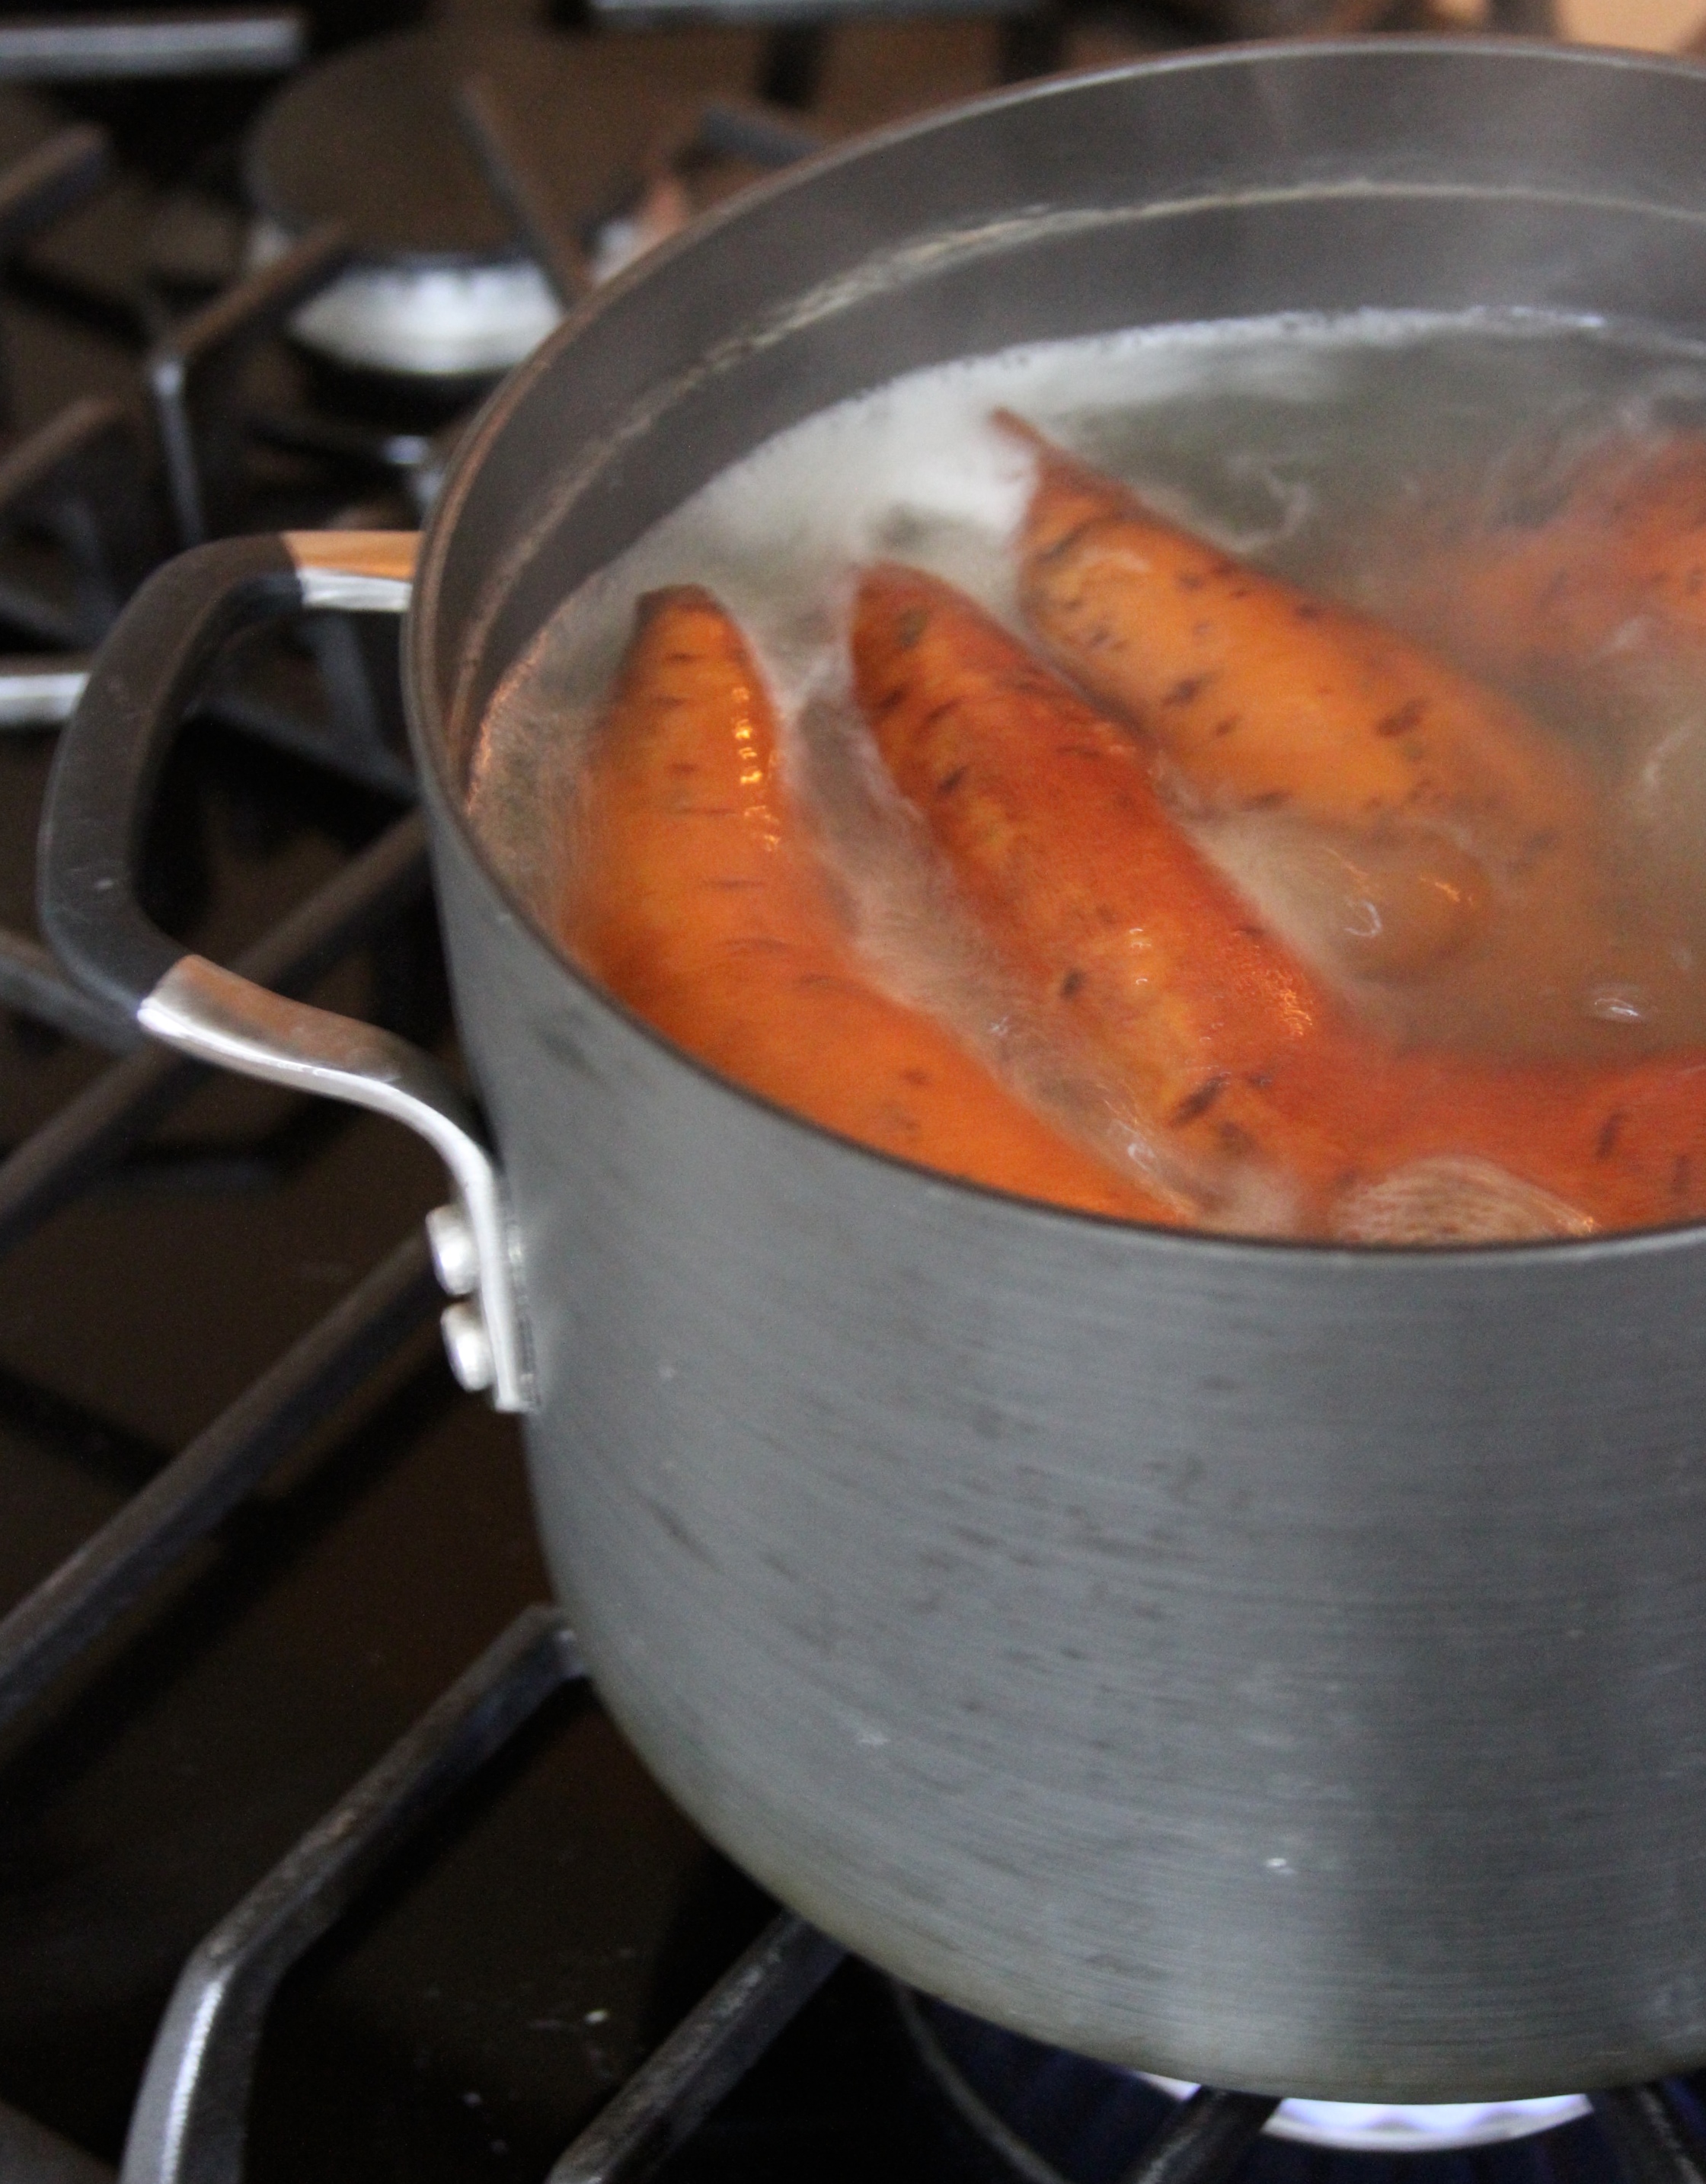
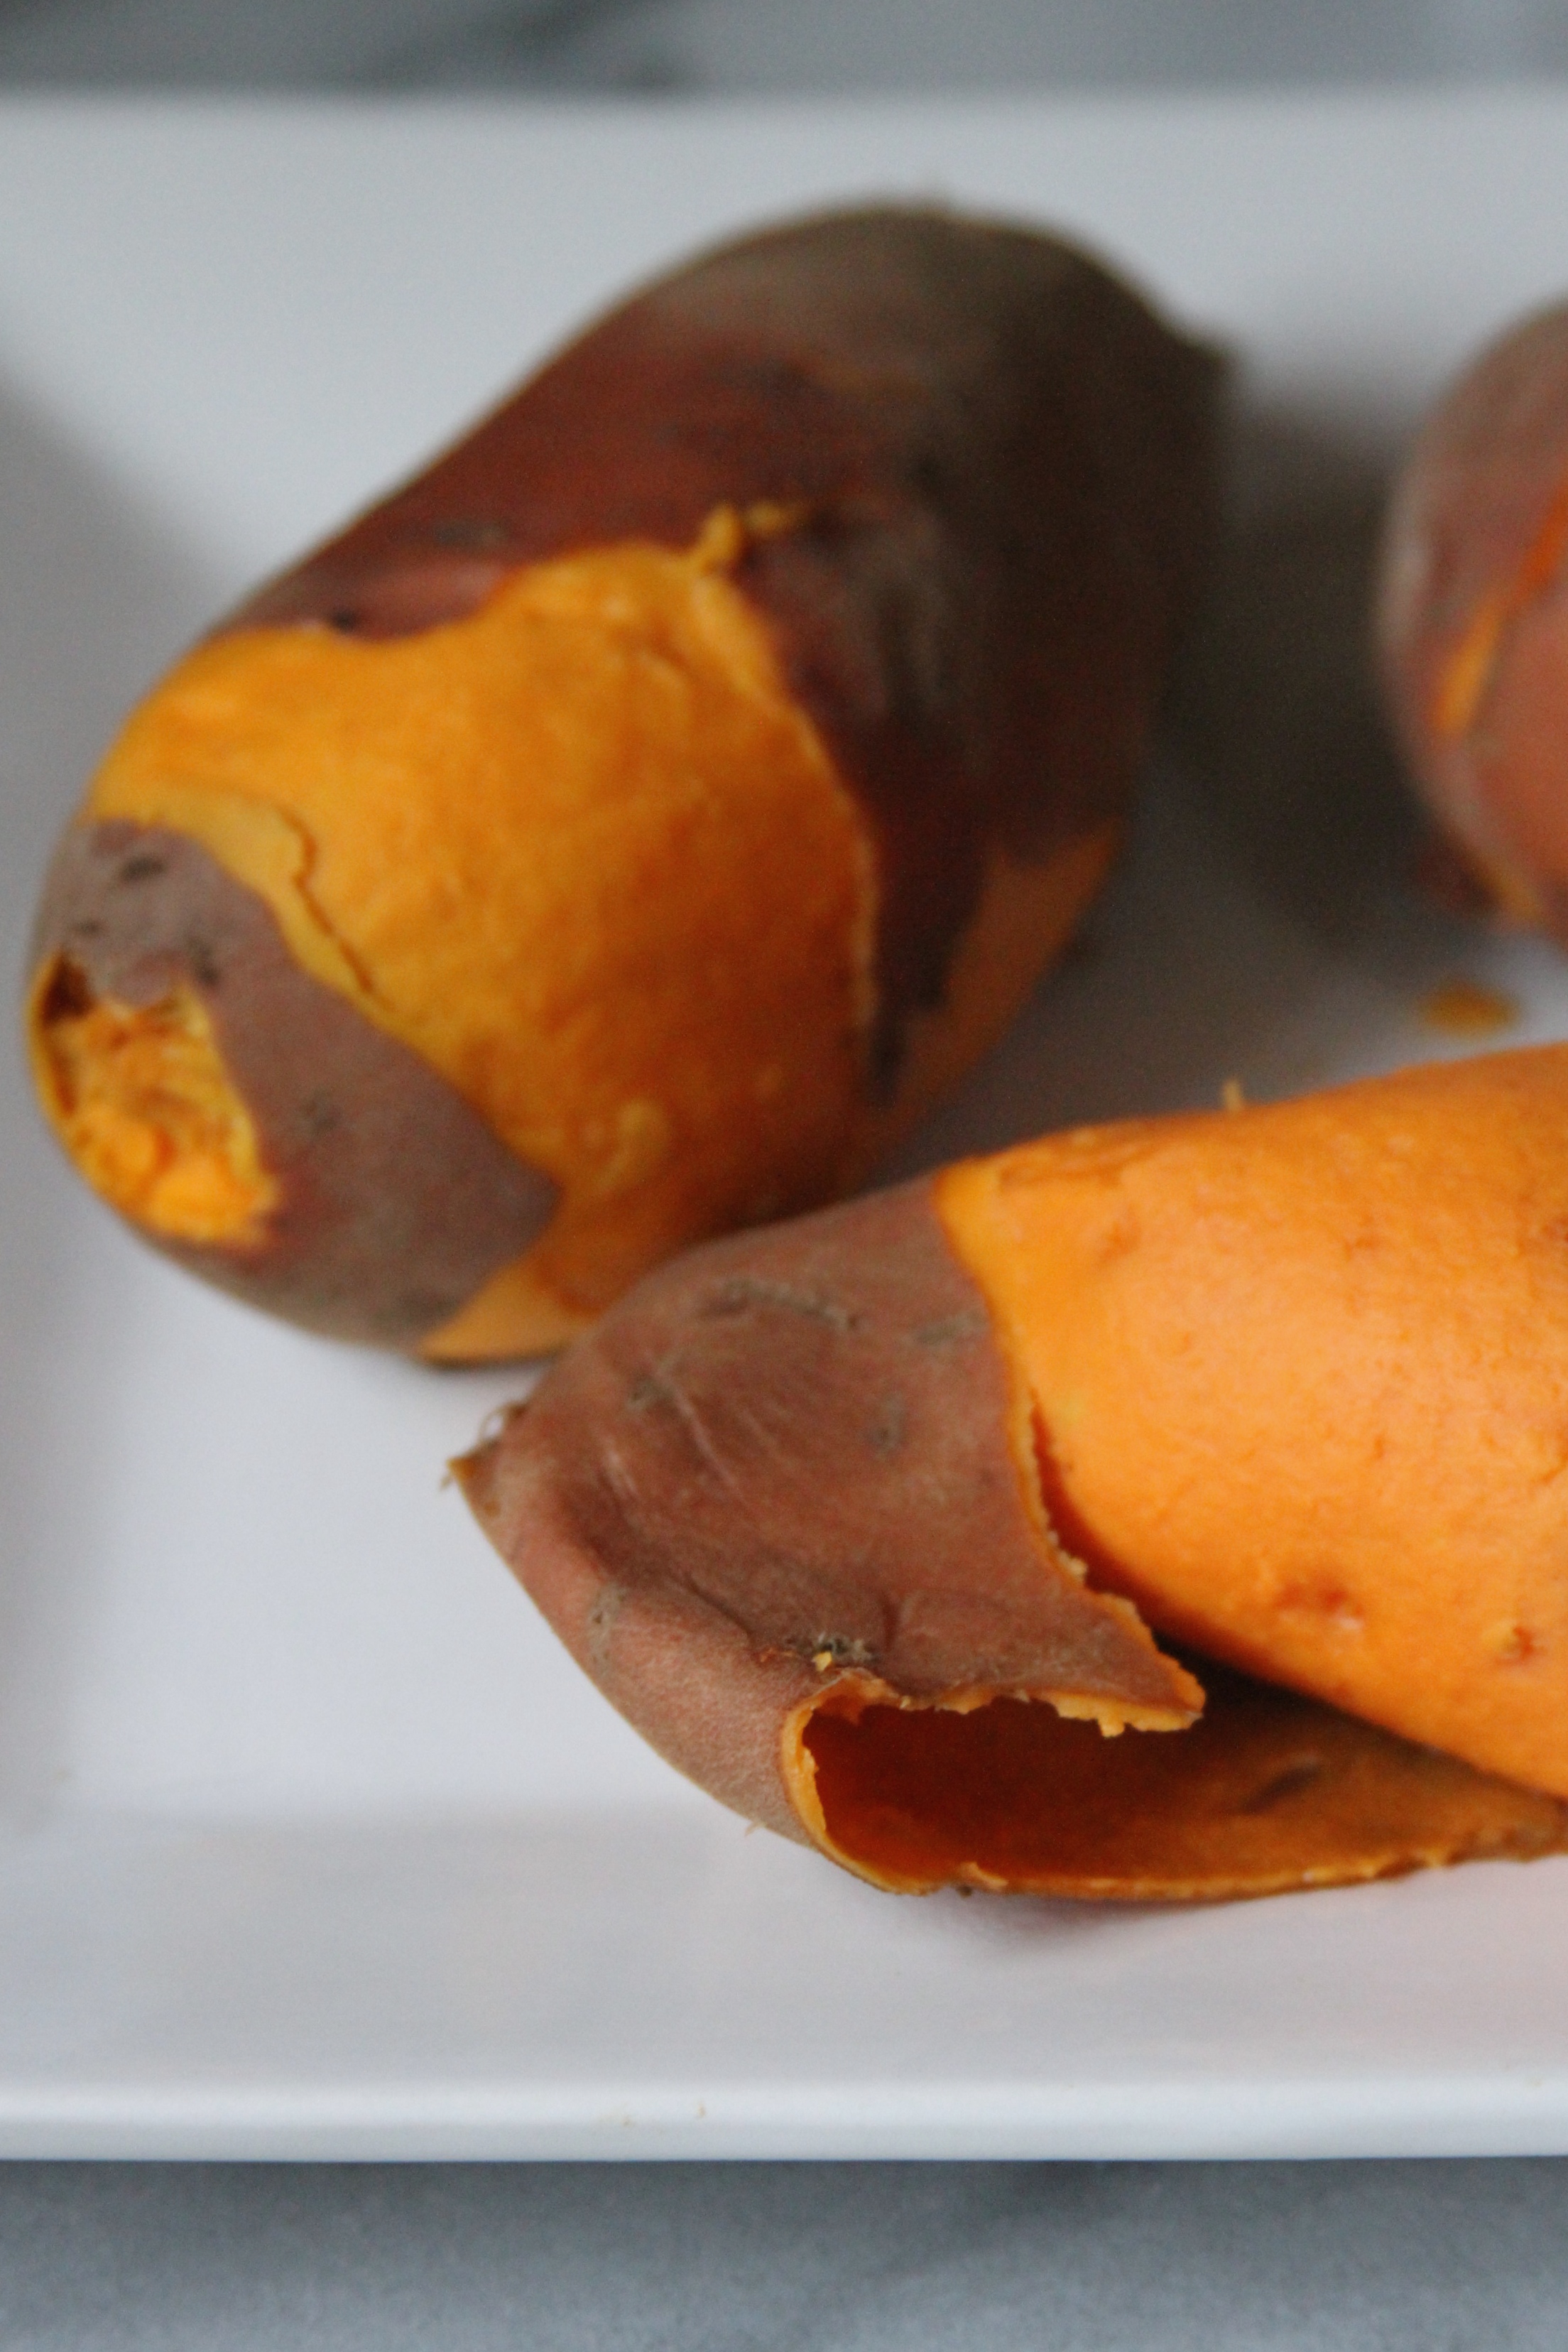
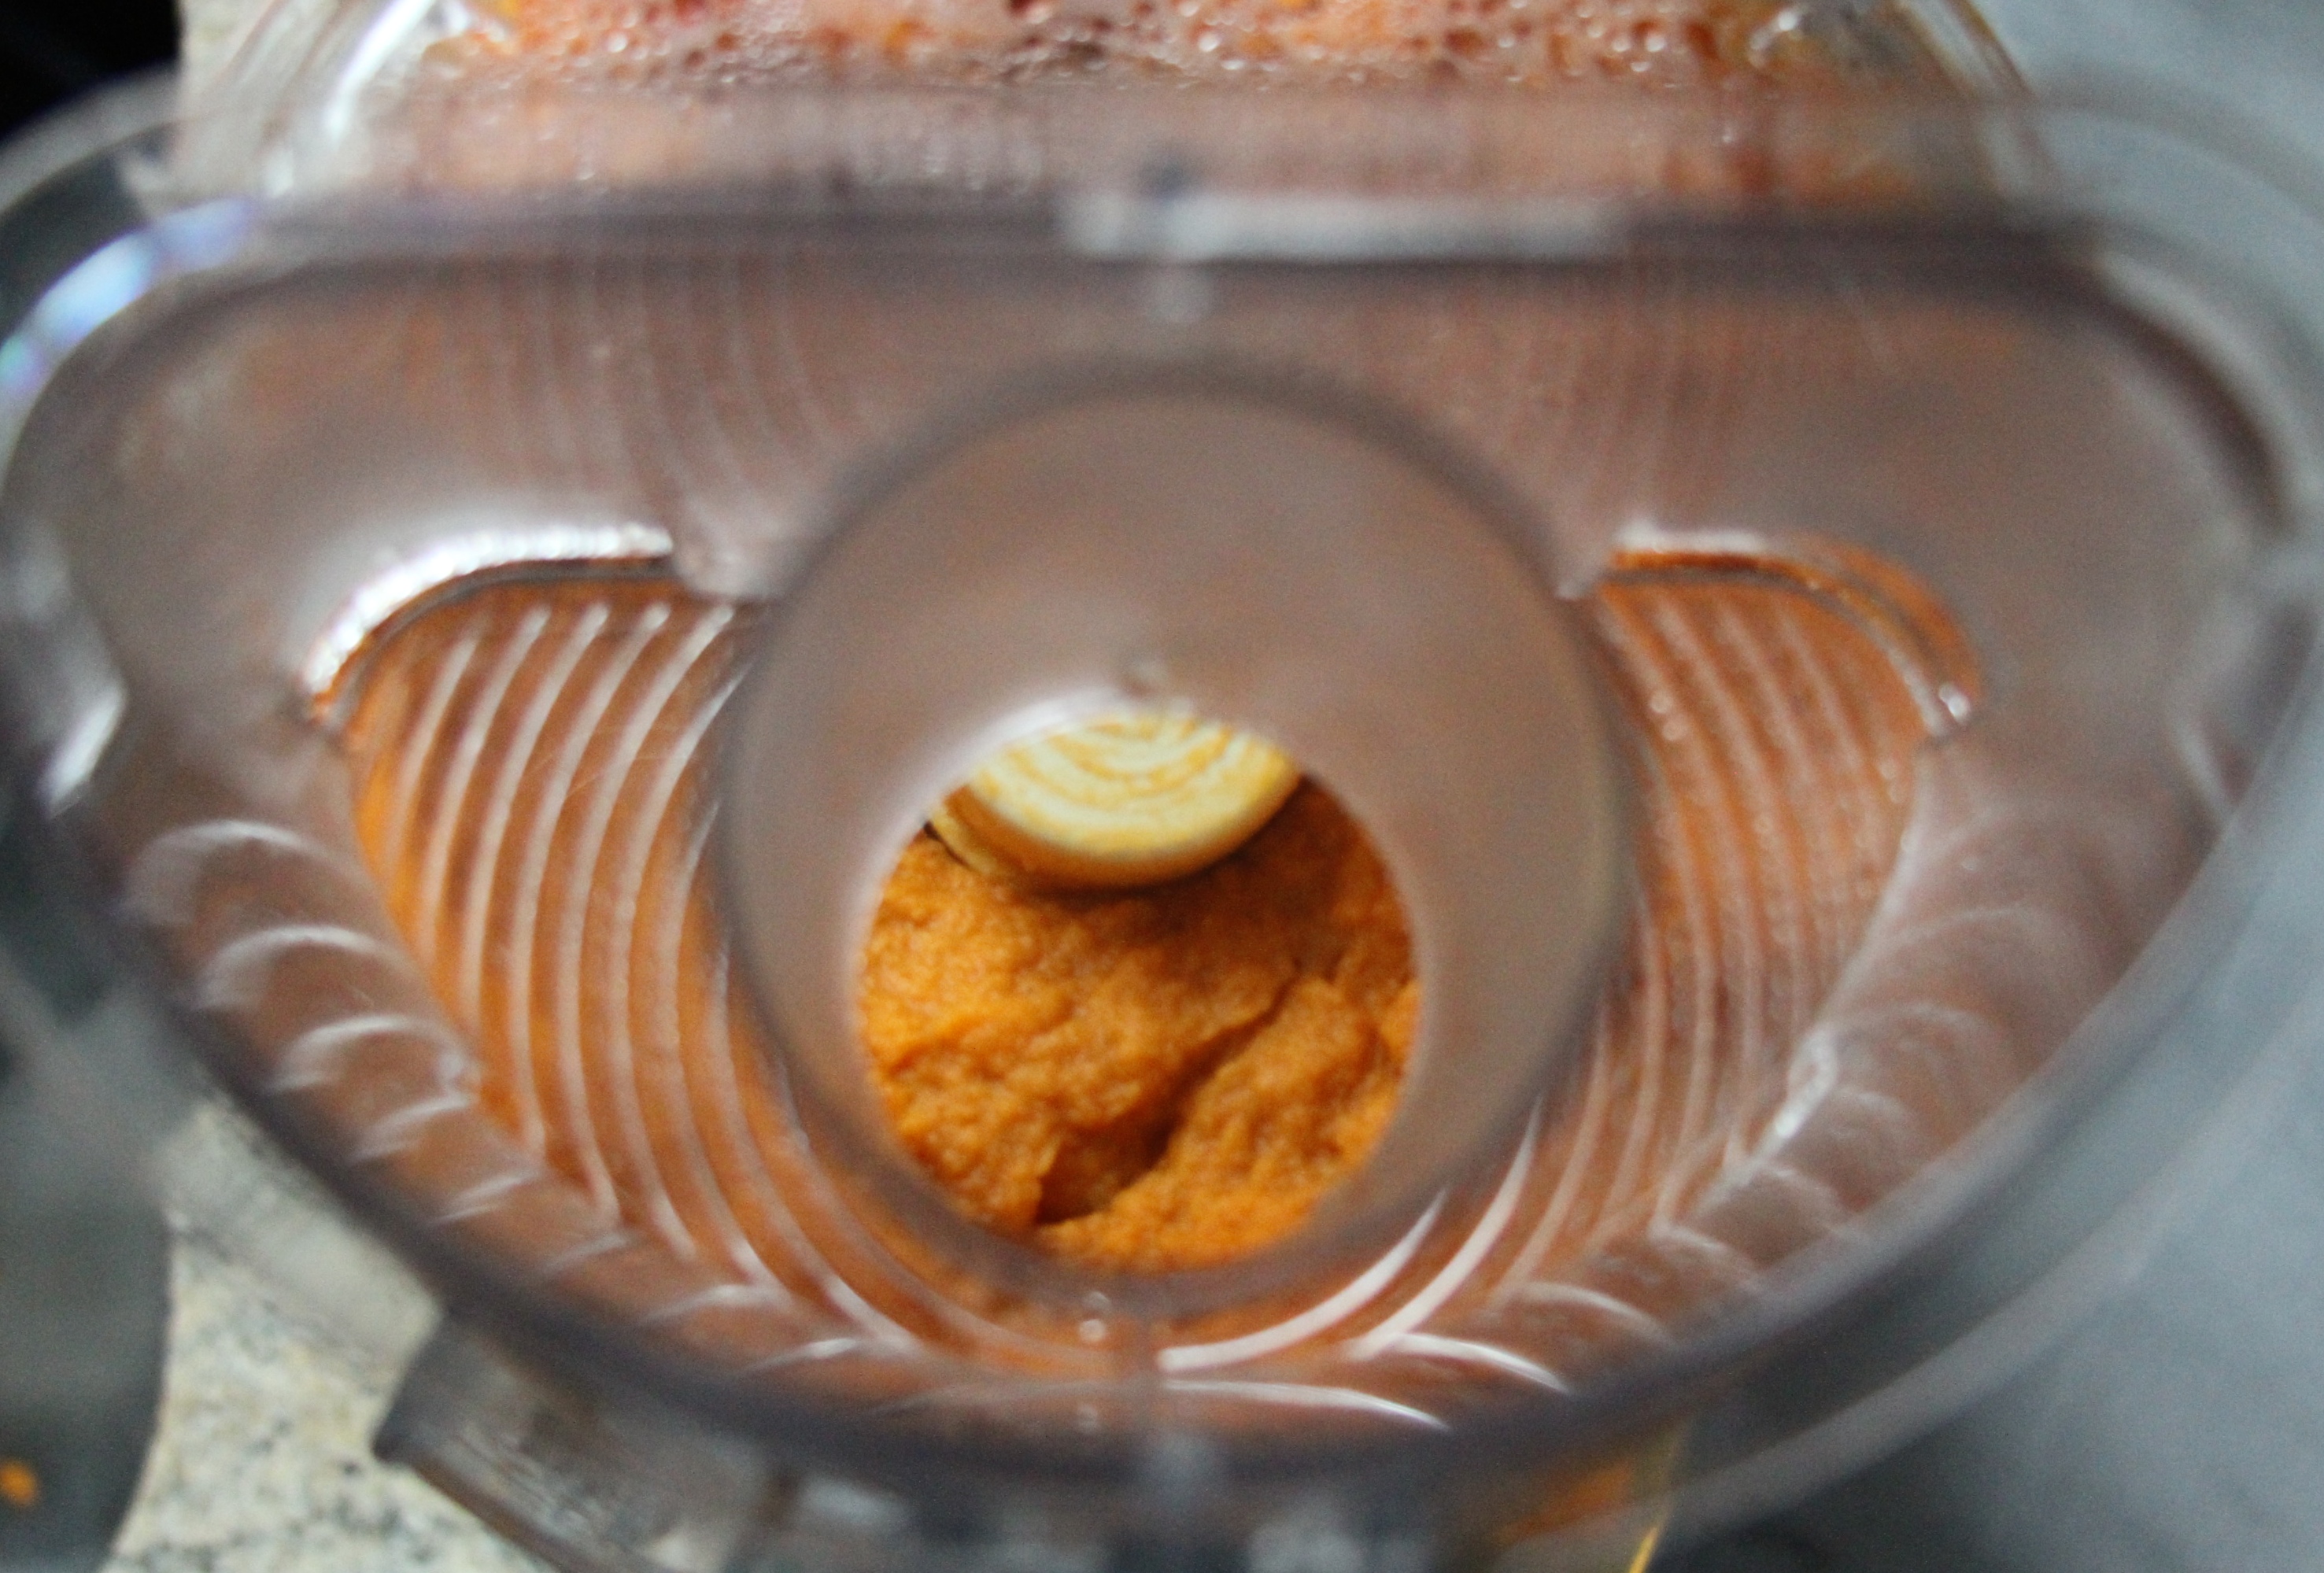
  • 4 cups of mashed sweet potatoes (I actually use yams)
  • 3 Tablespoons melted butter
  • 1/4 cup packed brown sugar
  • 1/3 cup of light cream or orange juice
  • 2 teaspoons of brandy extract
  • 1 teaspoon salt
  • 1/8 teaspoon pepper
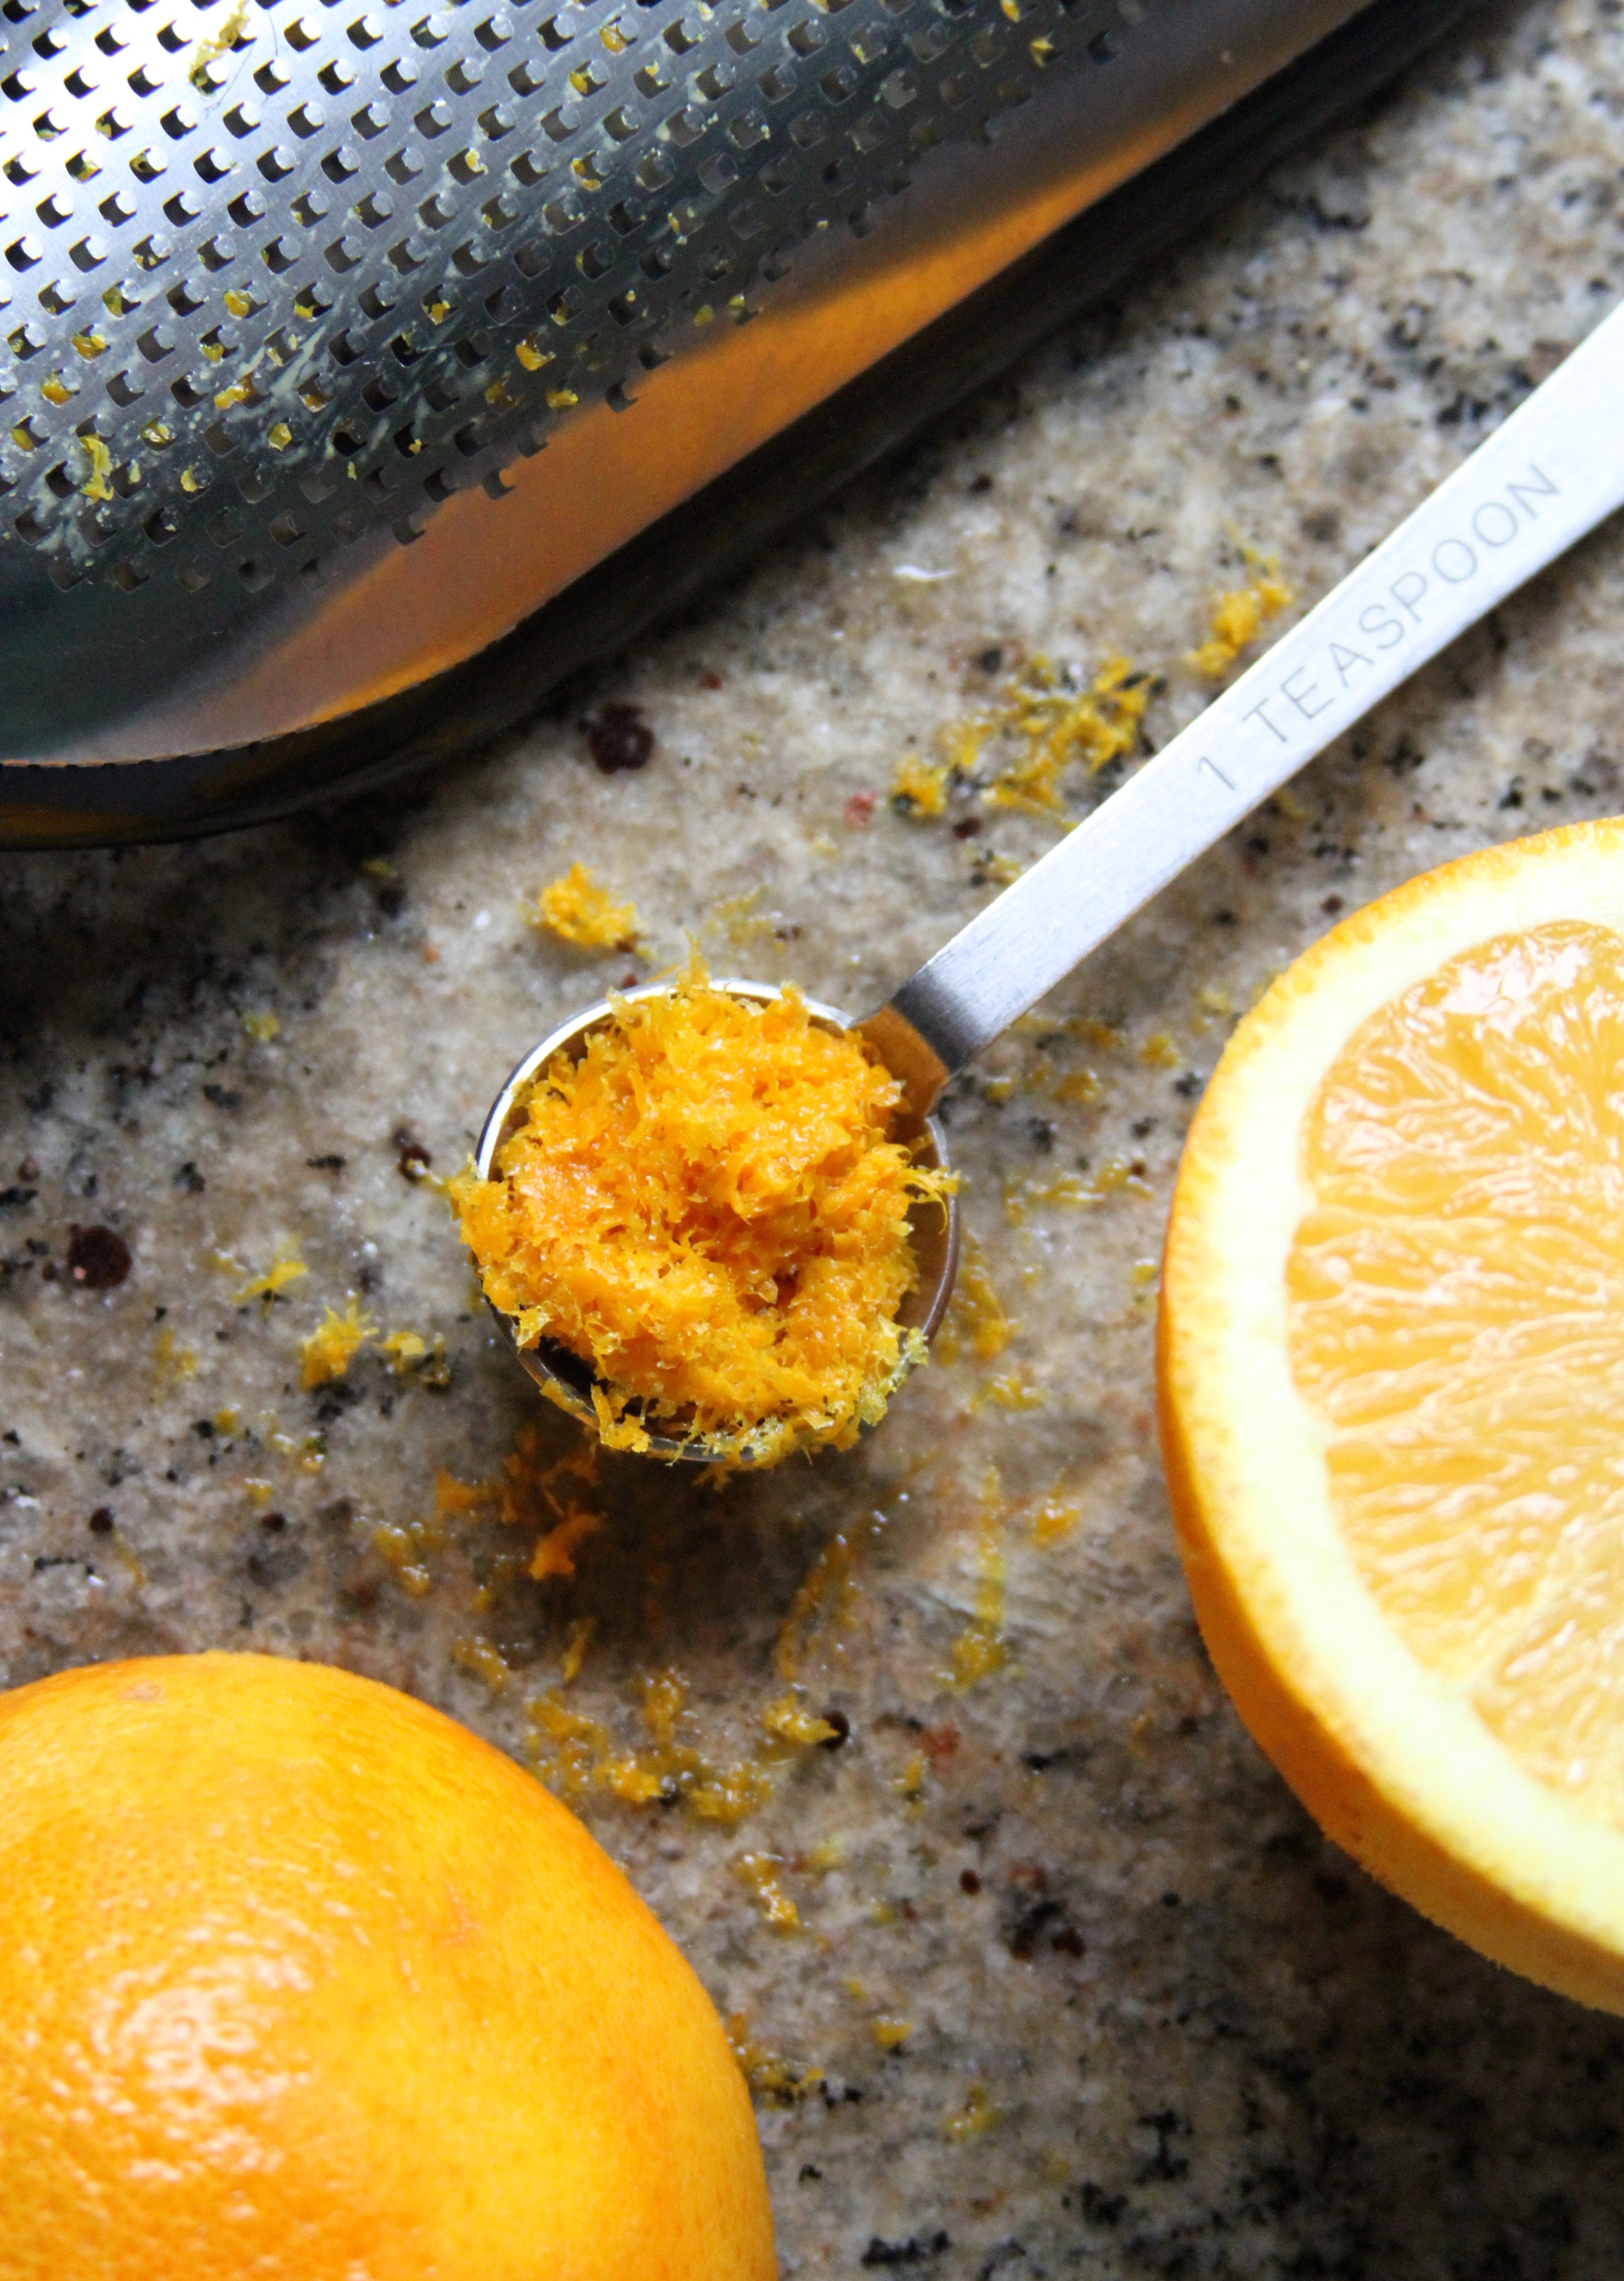
  • 1 teaspoon grated orange peel
  • 1/2 teaspoon ginger
  • 1/2 teaspoon cinnamon
  • 1/4 teaspoon allspice

Praline Topping:

  • 1 cup firmly packed brown sugar
  • 1 cup chopped pecans
  • 1/2 cup melted butter
  • 1e teaspoon cinnamon
  1. Combine all potato mixture ingredients.
  2. Spread in a 2 quart baking dish.
  3. Combine all praline topping ingredients in a separate bowl.
  4. Spread praline topping over potato.
  5. Bake at 350* for 30 minutes.

Sweet Potatoes

IMG_6323

IMG_6333

IMG_6334

IMG_6353

Sweet Potatoes


IMG_6375


So if you are looking for a dish to bring to your thanksgiving festivities, look no further – THIS IS IT.

IMG_6394


Sip

Gin and (Pomegranate) Juice

November 21, 2014

IMG_6306

No food is prettier to me than a pomegranate, so when the season presents itself, I like to use them on EVERYTHING. Salads, main dishes, on crostinis, and of course… in cocktails.  Here is one of my favorite concoctions right now.

IMG_6295

IMG_6283

Gin and (Pomegranate) Juice

  • 1.5 oz Pomegranate Juice
  • 1.5 oz Gin
  • Grapefruit Soda
  • Wedge of Lemon or Lime
  1. Add juice and gin to an ice filled low-ball glass.
  2. Stir and top with grapefruit soda.
  3. Add a squeeze of lime juice and stir until combined.
  4. Garnish with pomegranate seeds and enjoy!

IMG_6299

IMG_6294

IMG_6289

While I do love a cocktail that requires infused simple syrups, muddled herbs and super fun takes on classics – this easy (low mess) cocktail is great for entertaining this holiday season!

IMG_6299


Travels

Happiness Files: SLO

November 20, 2014

IMG_0069

A couple of weekends ago my family was able to pack up and make the trip to San Luis Obispo to watch my sister’s boyfriend play in a Cal Poly football game.  Despite an eventful Halloween night (thanks to our awesome neighbors), we were able get on the road early Saturday for an eventful 48 hours.

IMG_9998

Here were some of the highlights:

IMG_0011

 Brunch at Sidecar – complete with a green juice Bloody Mary and tater tots.

IMG_0017

 Exploring the cutest home decor stores downtown SLO.

IMG_0028

duh.

IMG_0050

The gorgeous view from our room at Dolphin Bay.

IMG_0042

My new favorite coffee shop – Scout (they even have milkshakes – what isn’t to like!?)

IMG_0052

IMG_0075

IMG_0067

IMG_0089

Tailgating at the Cal Poly Football game.

Brandon

IMG_0082

 oh when the saints…. go marching in…

IMG_0094

Brandon3

IMG_0157

IMG_0134

Cal Poly Mustangs

Brandon2

IMG_0163

TOUCHDOWN by our favorite #31! GO BRANDON!!

IMG_0195

IMG_0204

Thanks for such a great weekend… Go Brandon… and GO Mustangs!!!

Tasty

Beet Chips

November 19, 2014

IMG_6272

Sometimes I get a little over zealous on my produce shopping and am left with tons of left over veggies at the end of the week. My latest solution!? Chips!

IMG_6231

While this obviously works well with all kinda of potatoes (russet, sweet, purple, etc.) – I love experimenting with other types of baked chips. My latest favorite? Beet.

IMG_6252

I used some leftover golden beets, and while they were a little on the small size, the flavor made up for it in a big way.  Here is my easy recipe for baked beet chips:

  • Beets
  • Olive Oil
  • Maldon Sea Salt
  1. Use a mandolin to slice beets to 1/16 inch thickness (or thinness I guess I should say)
  2. Toss with a thin layer of olive oil (about 2 tablespoons for 2 large beets)
  3. Disperse on 1 or 2 baking sheets (make sure to leave room between each “chip”) and sprinkle with salt.
  4. If using a rimmed baking sheet, top with another rimmed baking sheet (or if your kitchen doesn’t have a ton to choose from – like mine, top a rimless baking sheet with a rimmed one). The goal is to have the beets be flattened initially, so they don’t curl up.
  5. Bake at 350 degrees for 20 minutes or until the edges start to dry out.
  6. Remove top baking sheet and rotate beet covered baking sheet 180 degrees.
  7. Bake 10-20 minutes more.
  8. Transfer to a wire rack and they will become crunchy as they cool.
  9. Enjoy!

*Note: Wrap baking sheets in foil to cut down on clean up time!

IMG_6224

IMG_6237

IMG_6241

IMG_6253

IMG_6259

IMG_6269


Domestic

How to Remove Labels Off of Bottles

November 18, 2014

IMG_6167

Between artisan olive oil, liquor and sparkling water, there are a lot of gorgeous bottles out there.  After a fun summer filled with lots of delicious meals, I have been left with a lot of empty bottles that I almost feel guilty throwing away.  Lucky for me, I came across a few restaurants that serve water out of recycled Bulleit bottles and Hangar One bottles, and figured what better way to repurpose my own!?

IMG_6144

The only thing that keeps from DIYing is the time and effort that goes into these projects.  Luckily this one requires very few of either and there are countless uses for these bottles afterwards!  Here a few easy steps to sparkling new bottles:

  1. Rinse out existing bottles
  2. Fill sink with VERY hot water.
  3. Add 1/2 cup baking powder, 1 tablespoon dish washing liquid and 2 cups vinegar to the hot water.
  4. Swirl around to combine and add bottles.
  5. Let soak for an hour or so, or until labels are able to be removed relatively easily.
  6. Remove labels (you may need to use a butter knife for those that don’t peel off in one piece).
  7. Use rubbing alcohol or Go-Be-Gone to get rid of any remaining residue.
  8. Dry and store for later use.

IMG_6115

IMG_6134

IMG_6121

IMG_6136

IMG_6152

IMG_6154

IMG_6157

IMG_6162


IMG_6166

Note: I did this with 4 different bottles and each label was different.  The Hangar bottle removed in one piece with no residue left behind (definitely the easiest), while an olive oil bottle not only required a butter knife to remove the label, but the residue was SO sticky I had to allow the bottle to soak in the alcohol a bit (and use a LOT of elbow grease).

IMG_6165

Here are a some fun projects you can use with these re-purposed bottles: hanging flower arrangements, water bottle, or vases… just to name a few!