Browsing Tag

project

Domestic

How to Remove Labels Off of Bottles

November 18, 2014

IMG_6167

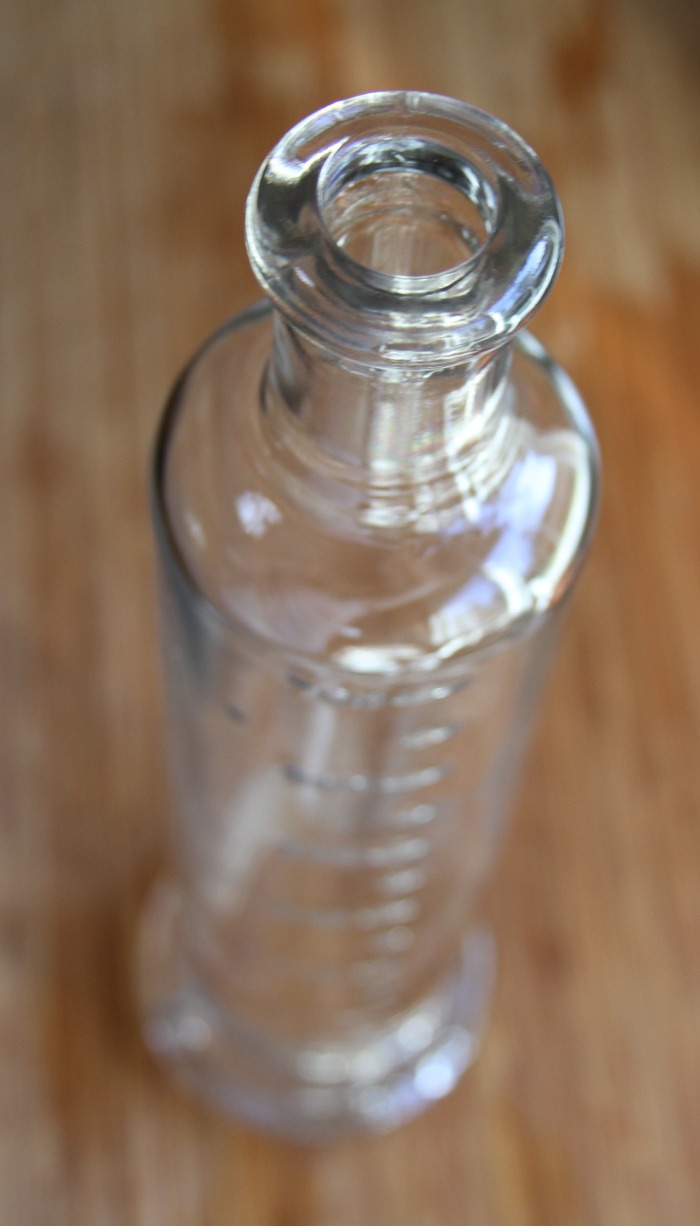
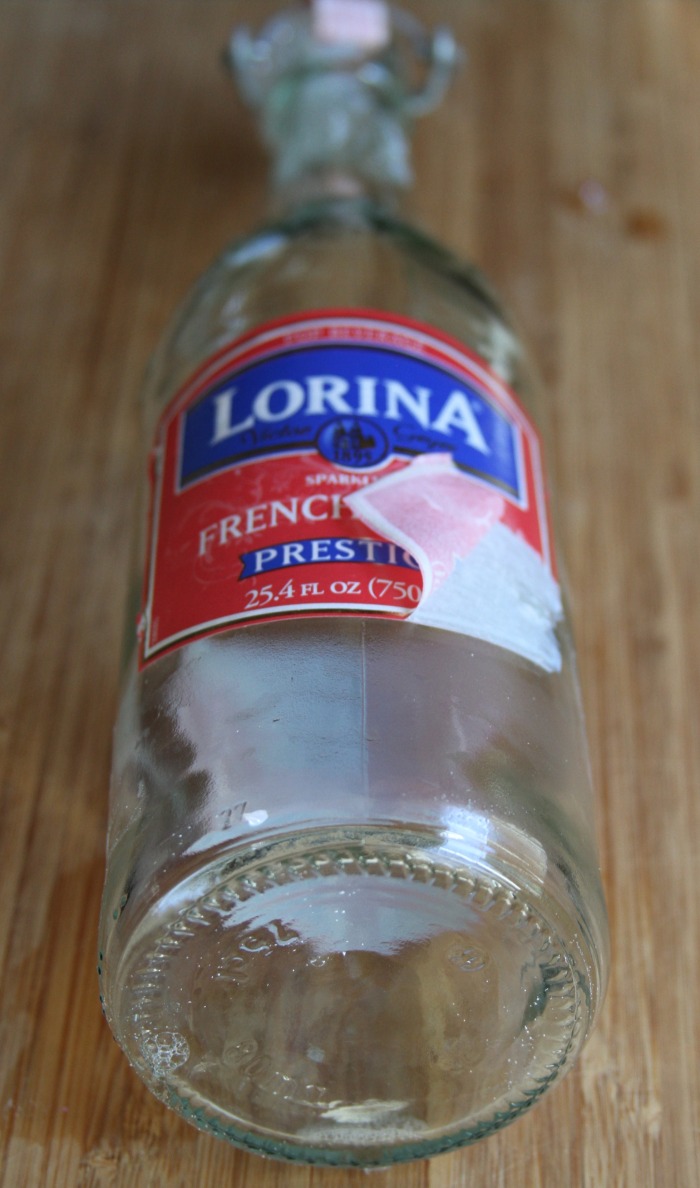
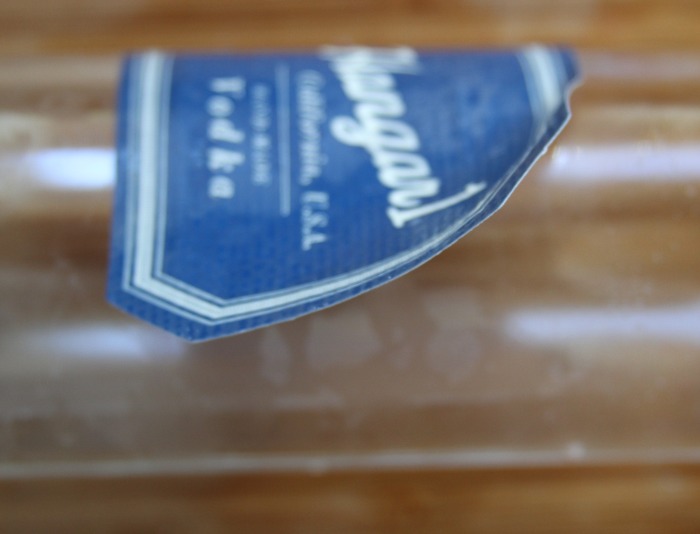
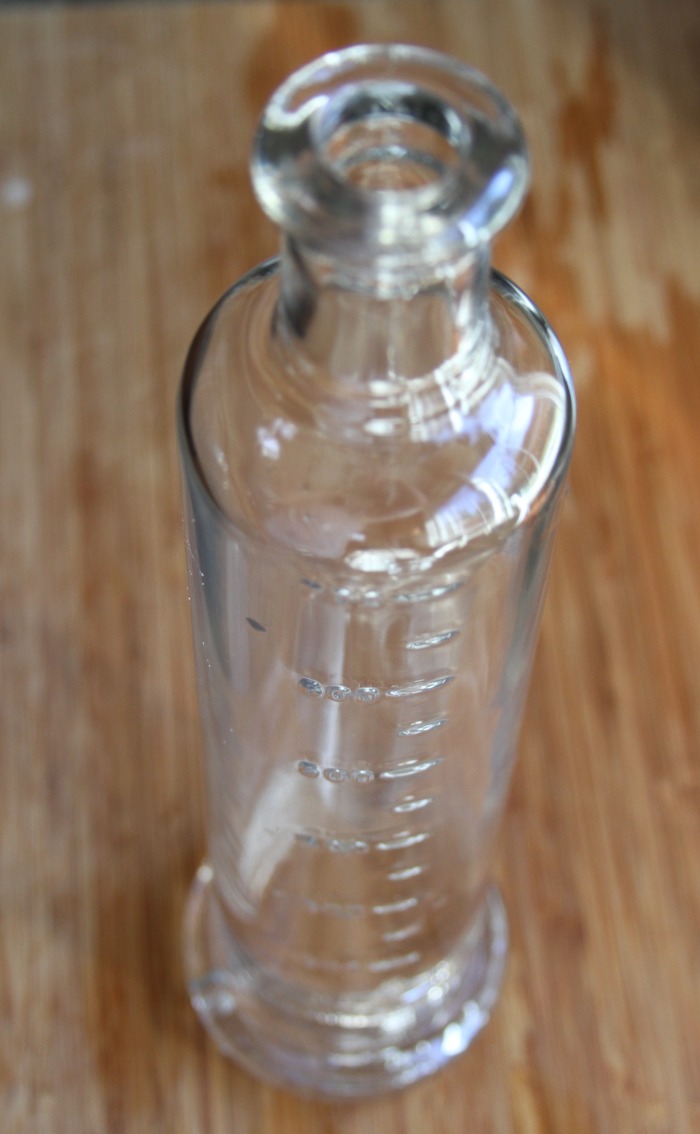
Between artisan olive oil, liquor and sparkling water, there are a lot of gorgeous bottles out there.  After a fun summer filled with lots of delicious meals, I have been left with a lot of empty bottles that I almost feel guilty throwing away.  Lucky for me, I came across a few restaurants that serve water out of recycled Bulleit bottles and Hangar One bottles, and figured what better way to repurpose my own!?

IMG_6144

The only thing that keeps from DIYing is the time and effort that goes into these projects.  Luckily this one requires very few of either and there are countless uses for these bottles afterwards!  Here a few easy steps to sparkling new bottles:

  1. Rinse out existing bottles
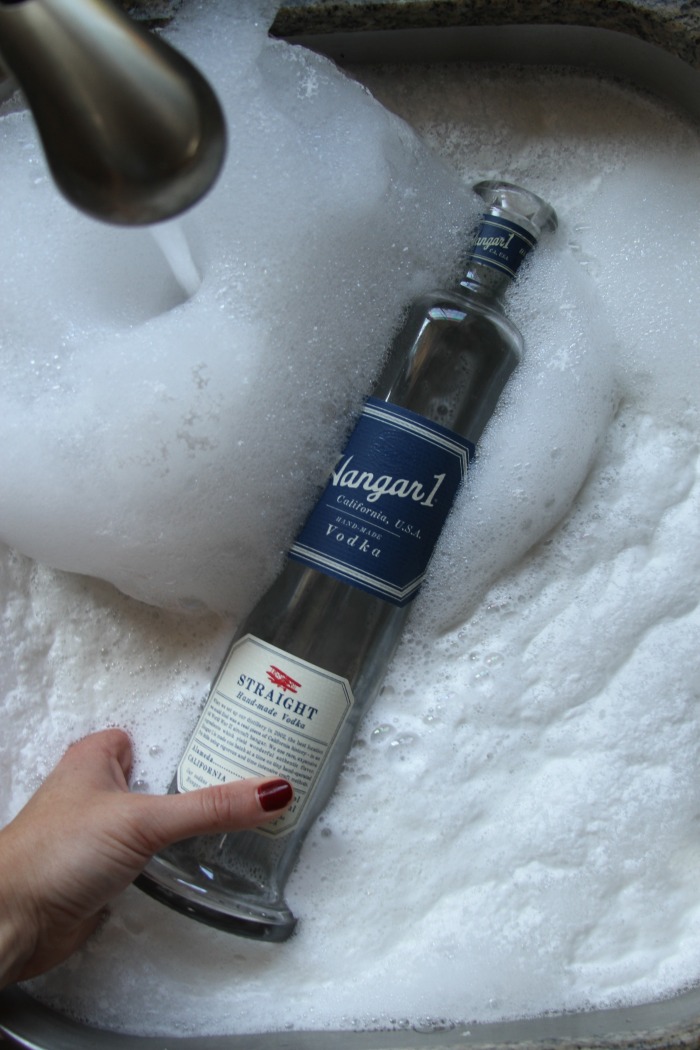
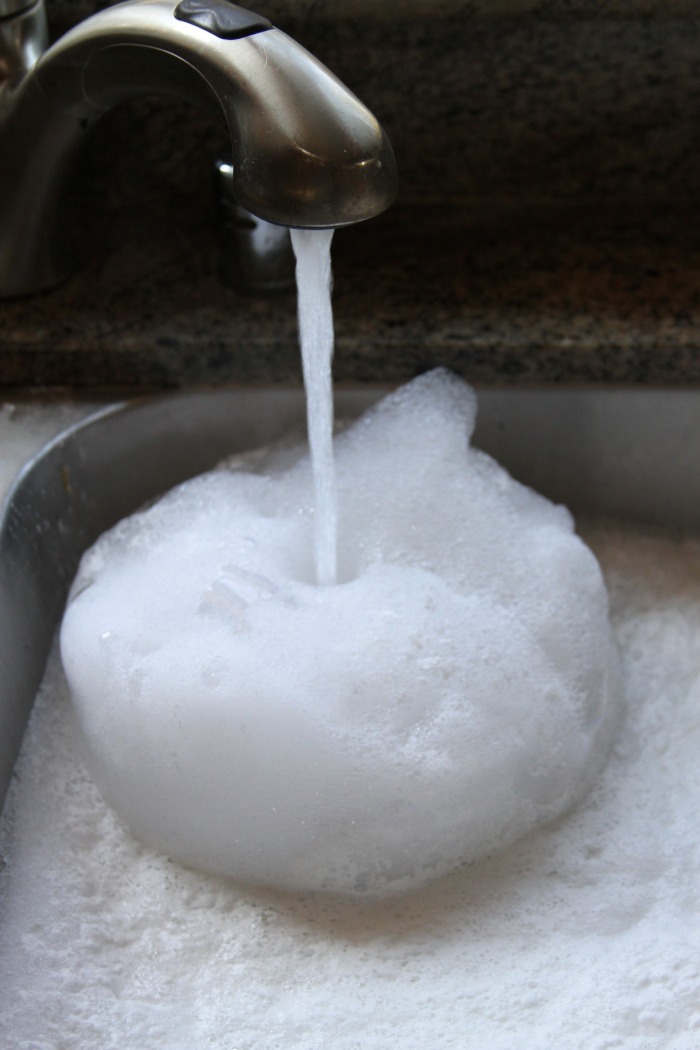
  2. Fill sink with VERY hot water.
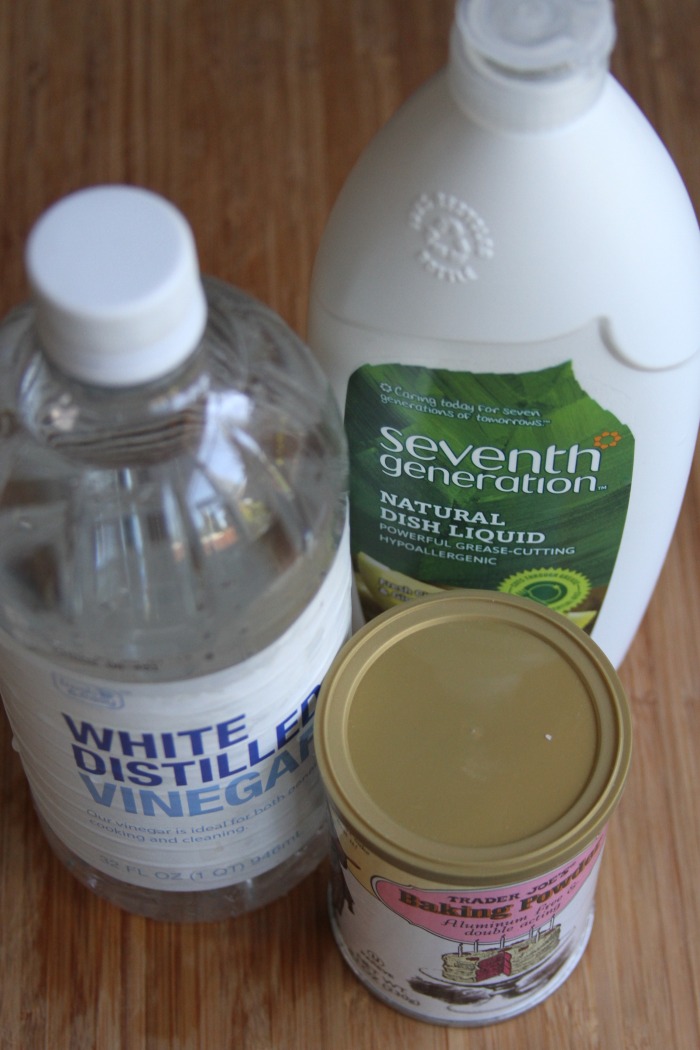
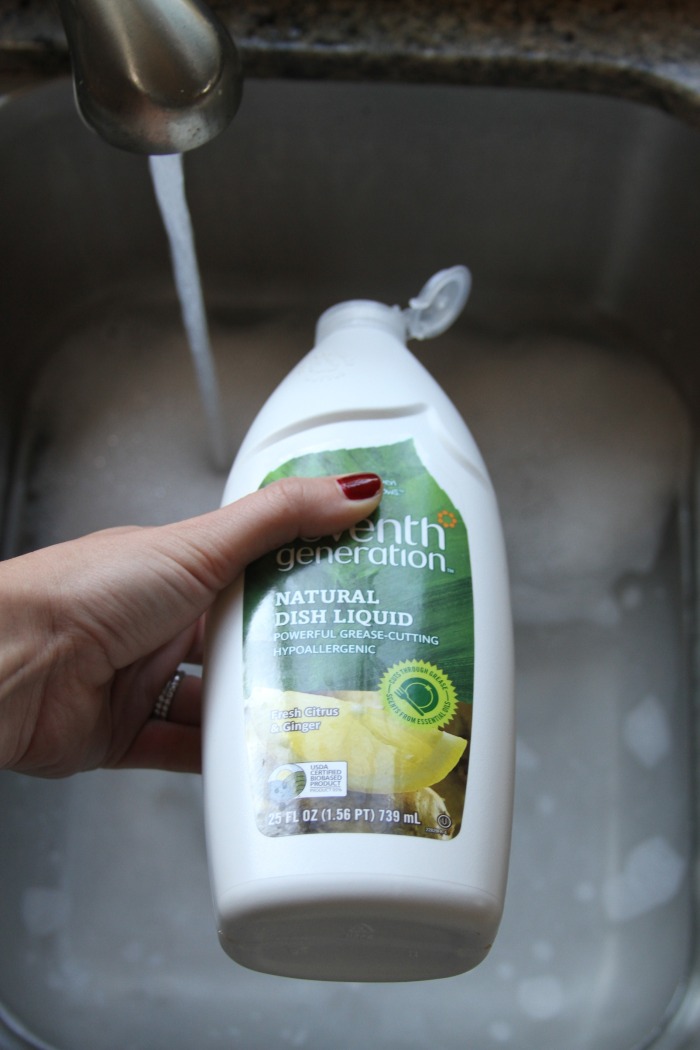
  3. Add 1/2 cup baking powder, 1 tablespoon dish washing liquid and 2 cups vinegar to the hot water.
  4. Swirl around to combine and add bottles.
  5. Let soak for an hour or so, or until labels are able to be removed relatively easily.
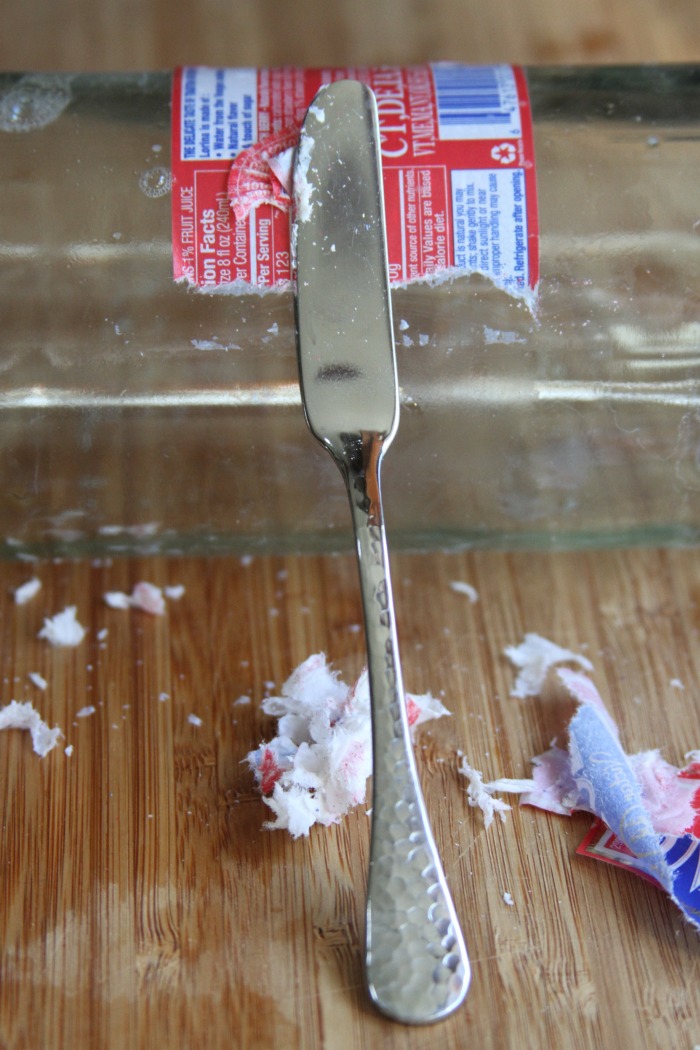
  6. Remove labels (you may need to use a butter knife for those that don’t peel off in one piece).
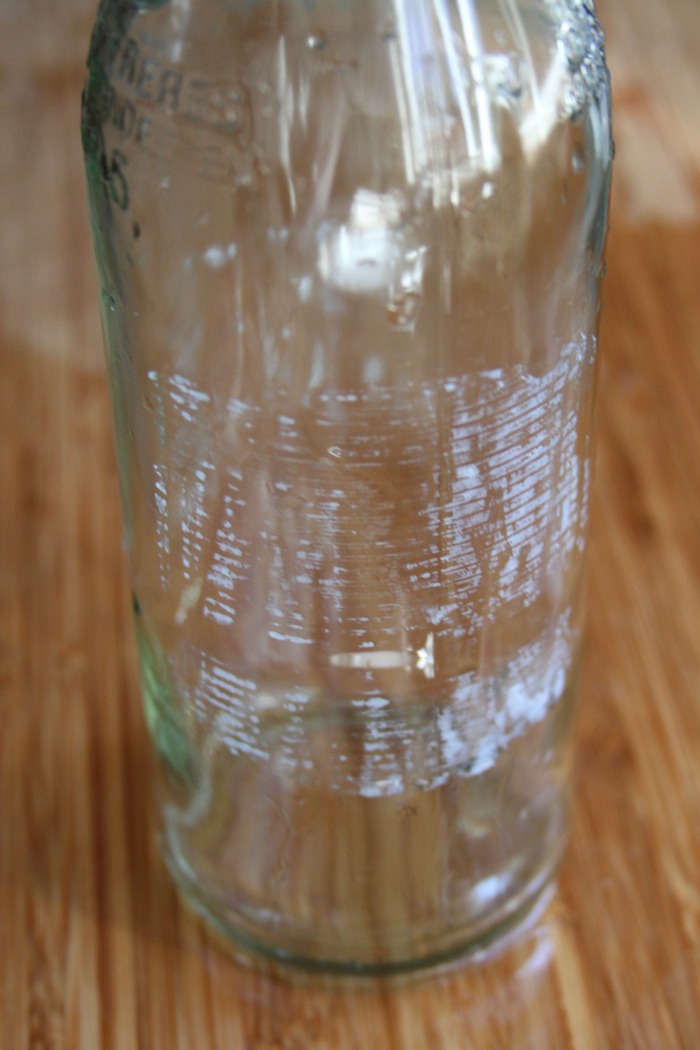
  7. Use rubbing alcohol or Go-Be-Gone to get rid of any remaining residue.
  8. Dry and store for later use.

IMG_6115

IMG_6134

IMG_6121

IMG_6136

IMG_6152

IMG_6154

IMG_6157

IMG_6162


IMG_6166

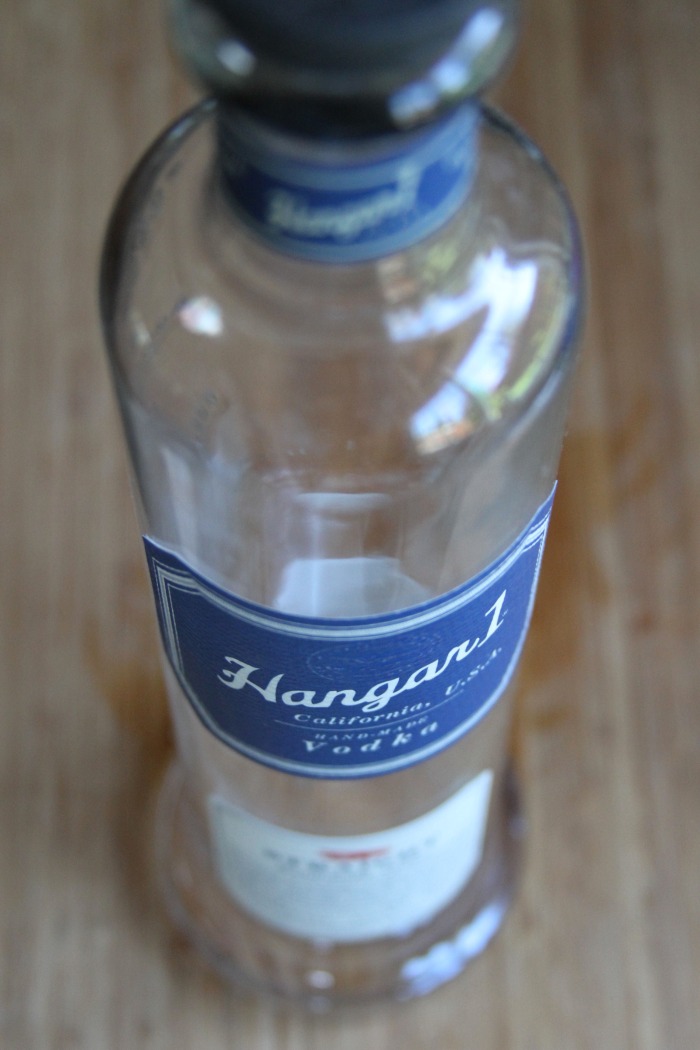
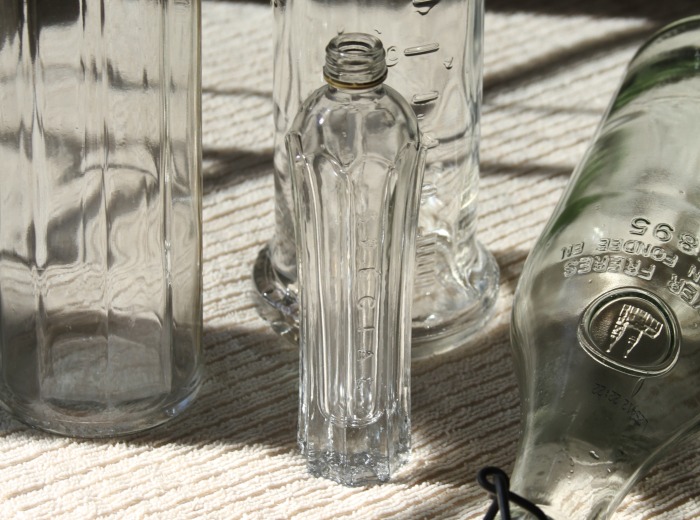
Note: I did this with 4 different bottles and each label was different.  The Hangar bottle removed in one piece with no residue left behind (definitely the easiest), while an olive oil bottle not only required a butter knife to remove the label, but the residue was SO sticky I had to allow the bottle to soak in the alcohol a bit (and use a LOT of elbow grease).

IMG_6165

Here are a some fun projects you can use with these re-purposed bottles: hanging flower arrangements, water bottle, or vases… just to name a few!

Domestic

DIY Ombre Art

February 27, 2014

IMG_7039

I have grown to realize I have this obsession with artwork, or things that can be turned into artwork.  I love framing cards and magazine ads, browsing for emerging artists on ETSY is a favorite pastime, and one of my favorite gifts is this gorgeous columned ombre piece my sister made for me.   The issue with this little art obsession, is it can get a bit pricey (which is laughable to any one who is a real art collector), but at $30-50 a print, then $20-50 a frame, matting… you get the deal, these things add up!

IMG_6884

So when Aaron Brothers was having their half off canvas sale, I had to jump on it!  I bought this giant canvas, and finally wanted to give a little love to the giant blank space above my kitchen table… I have had this idea pinned for FOREVER, and felt it was finally time to pull the trigger!

Here was you need to make a (what I think is) beautiful piece of artwork… for under $50!

IMG_6851

  • Canvas (I did a larger size, but any size will do)
  • Paint Brush
  • Acrylic Paints (1 color,  1 black, 1 white)
  • Water Cup
  • Rag
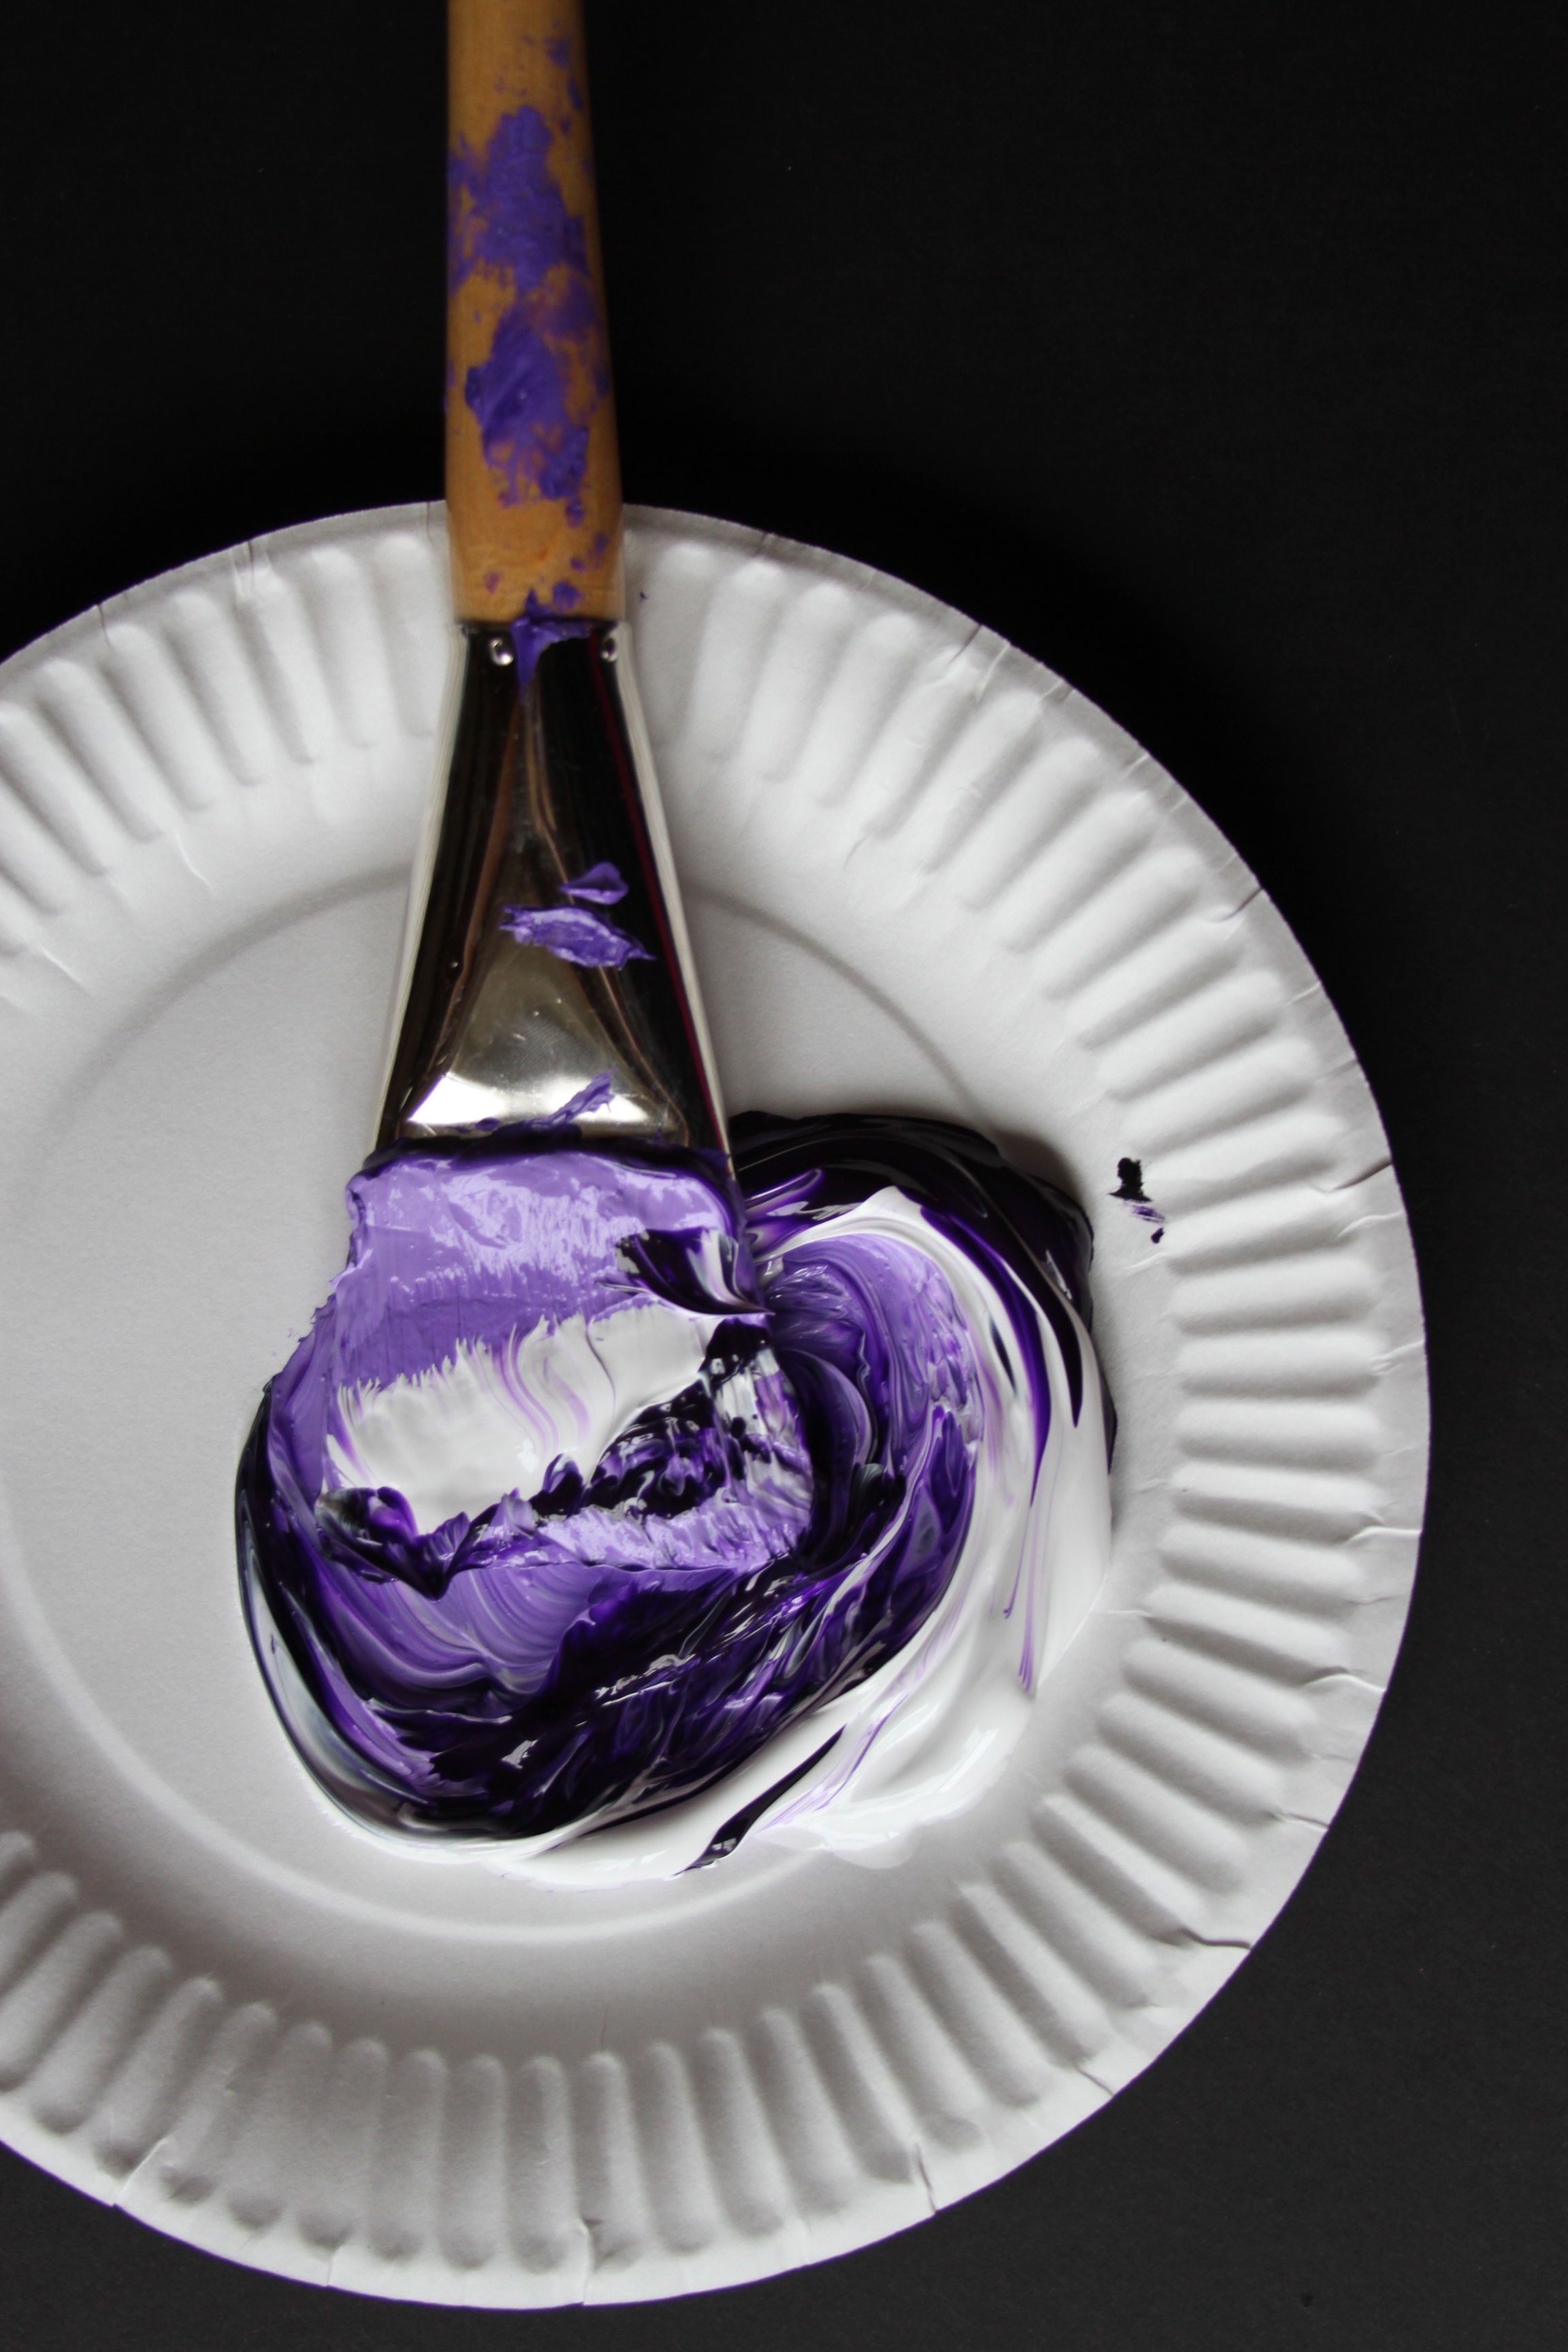
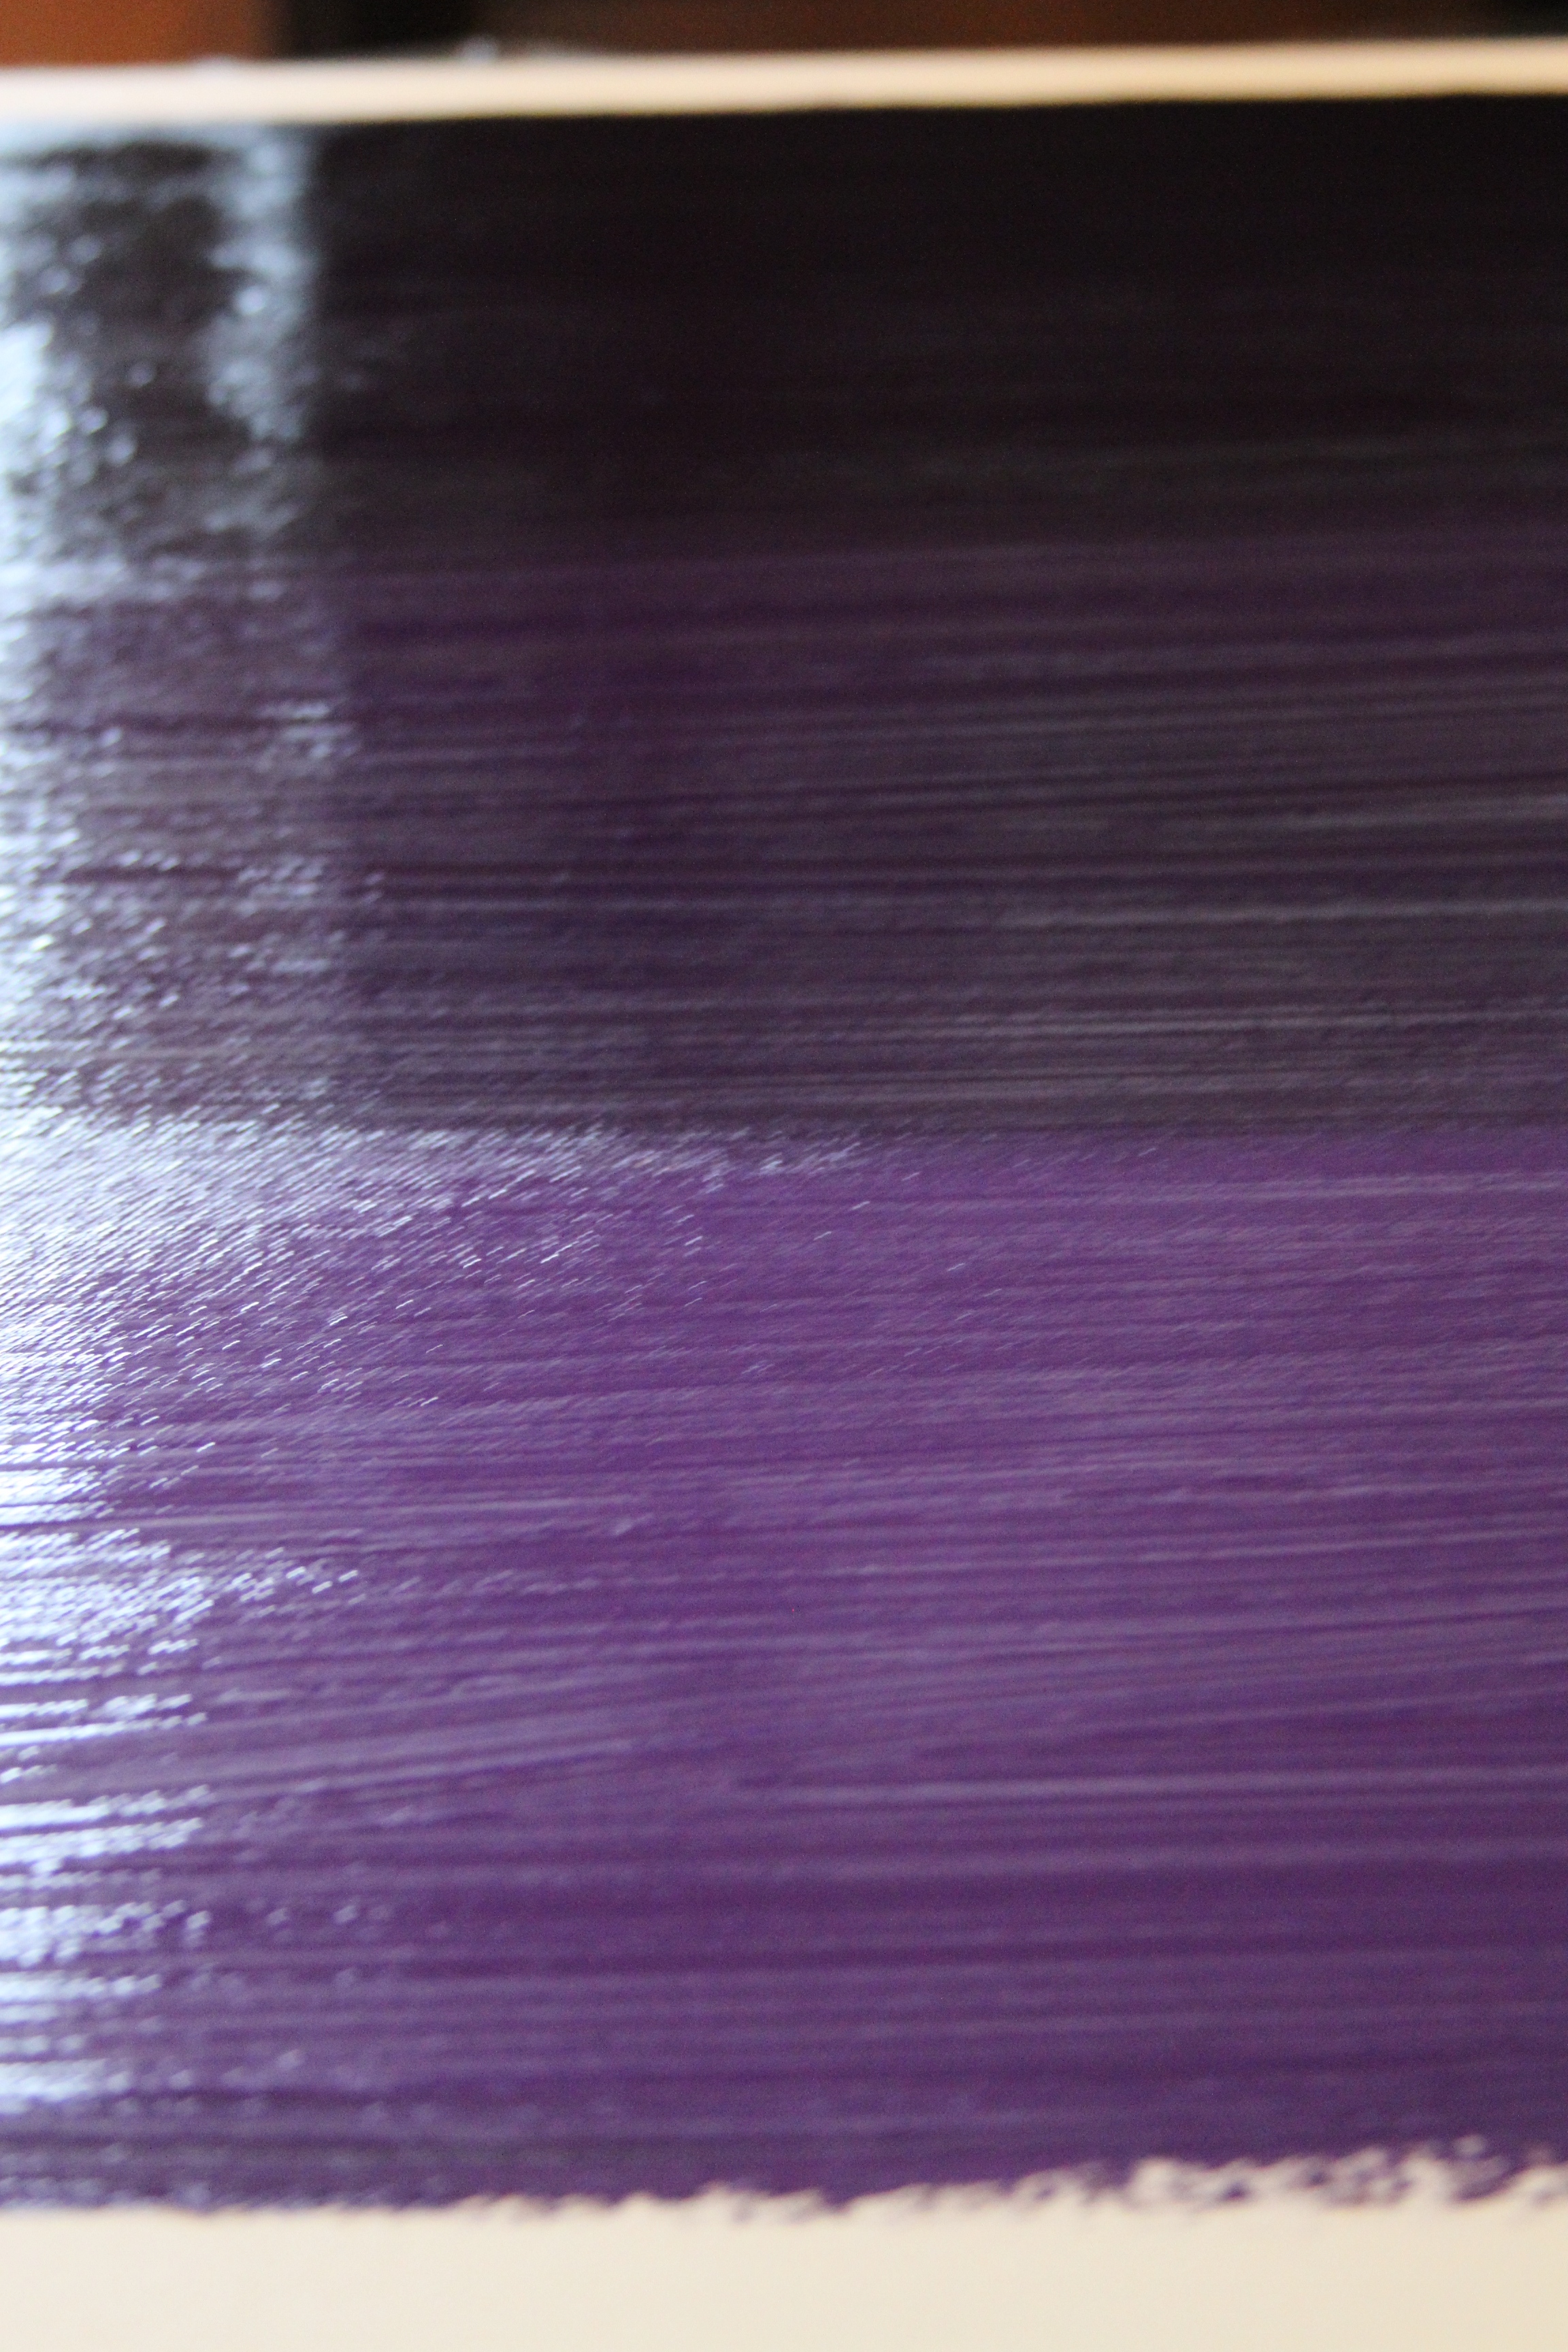
  1. Using your colored paint, paint a stripe at the edge of your canvas (I went from left to right, you could also work your way out to in as they did here). I tried to make the brush stroke at the top relatively straight across, but preferred to leave the bottom of the stripe imperfect.  Rinse and dry your brush.
  2. Mix a drop of white into your color and add another stripe, slightly overlapping the first. Rinse and dry your brush again.
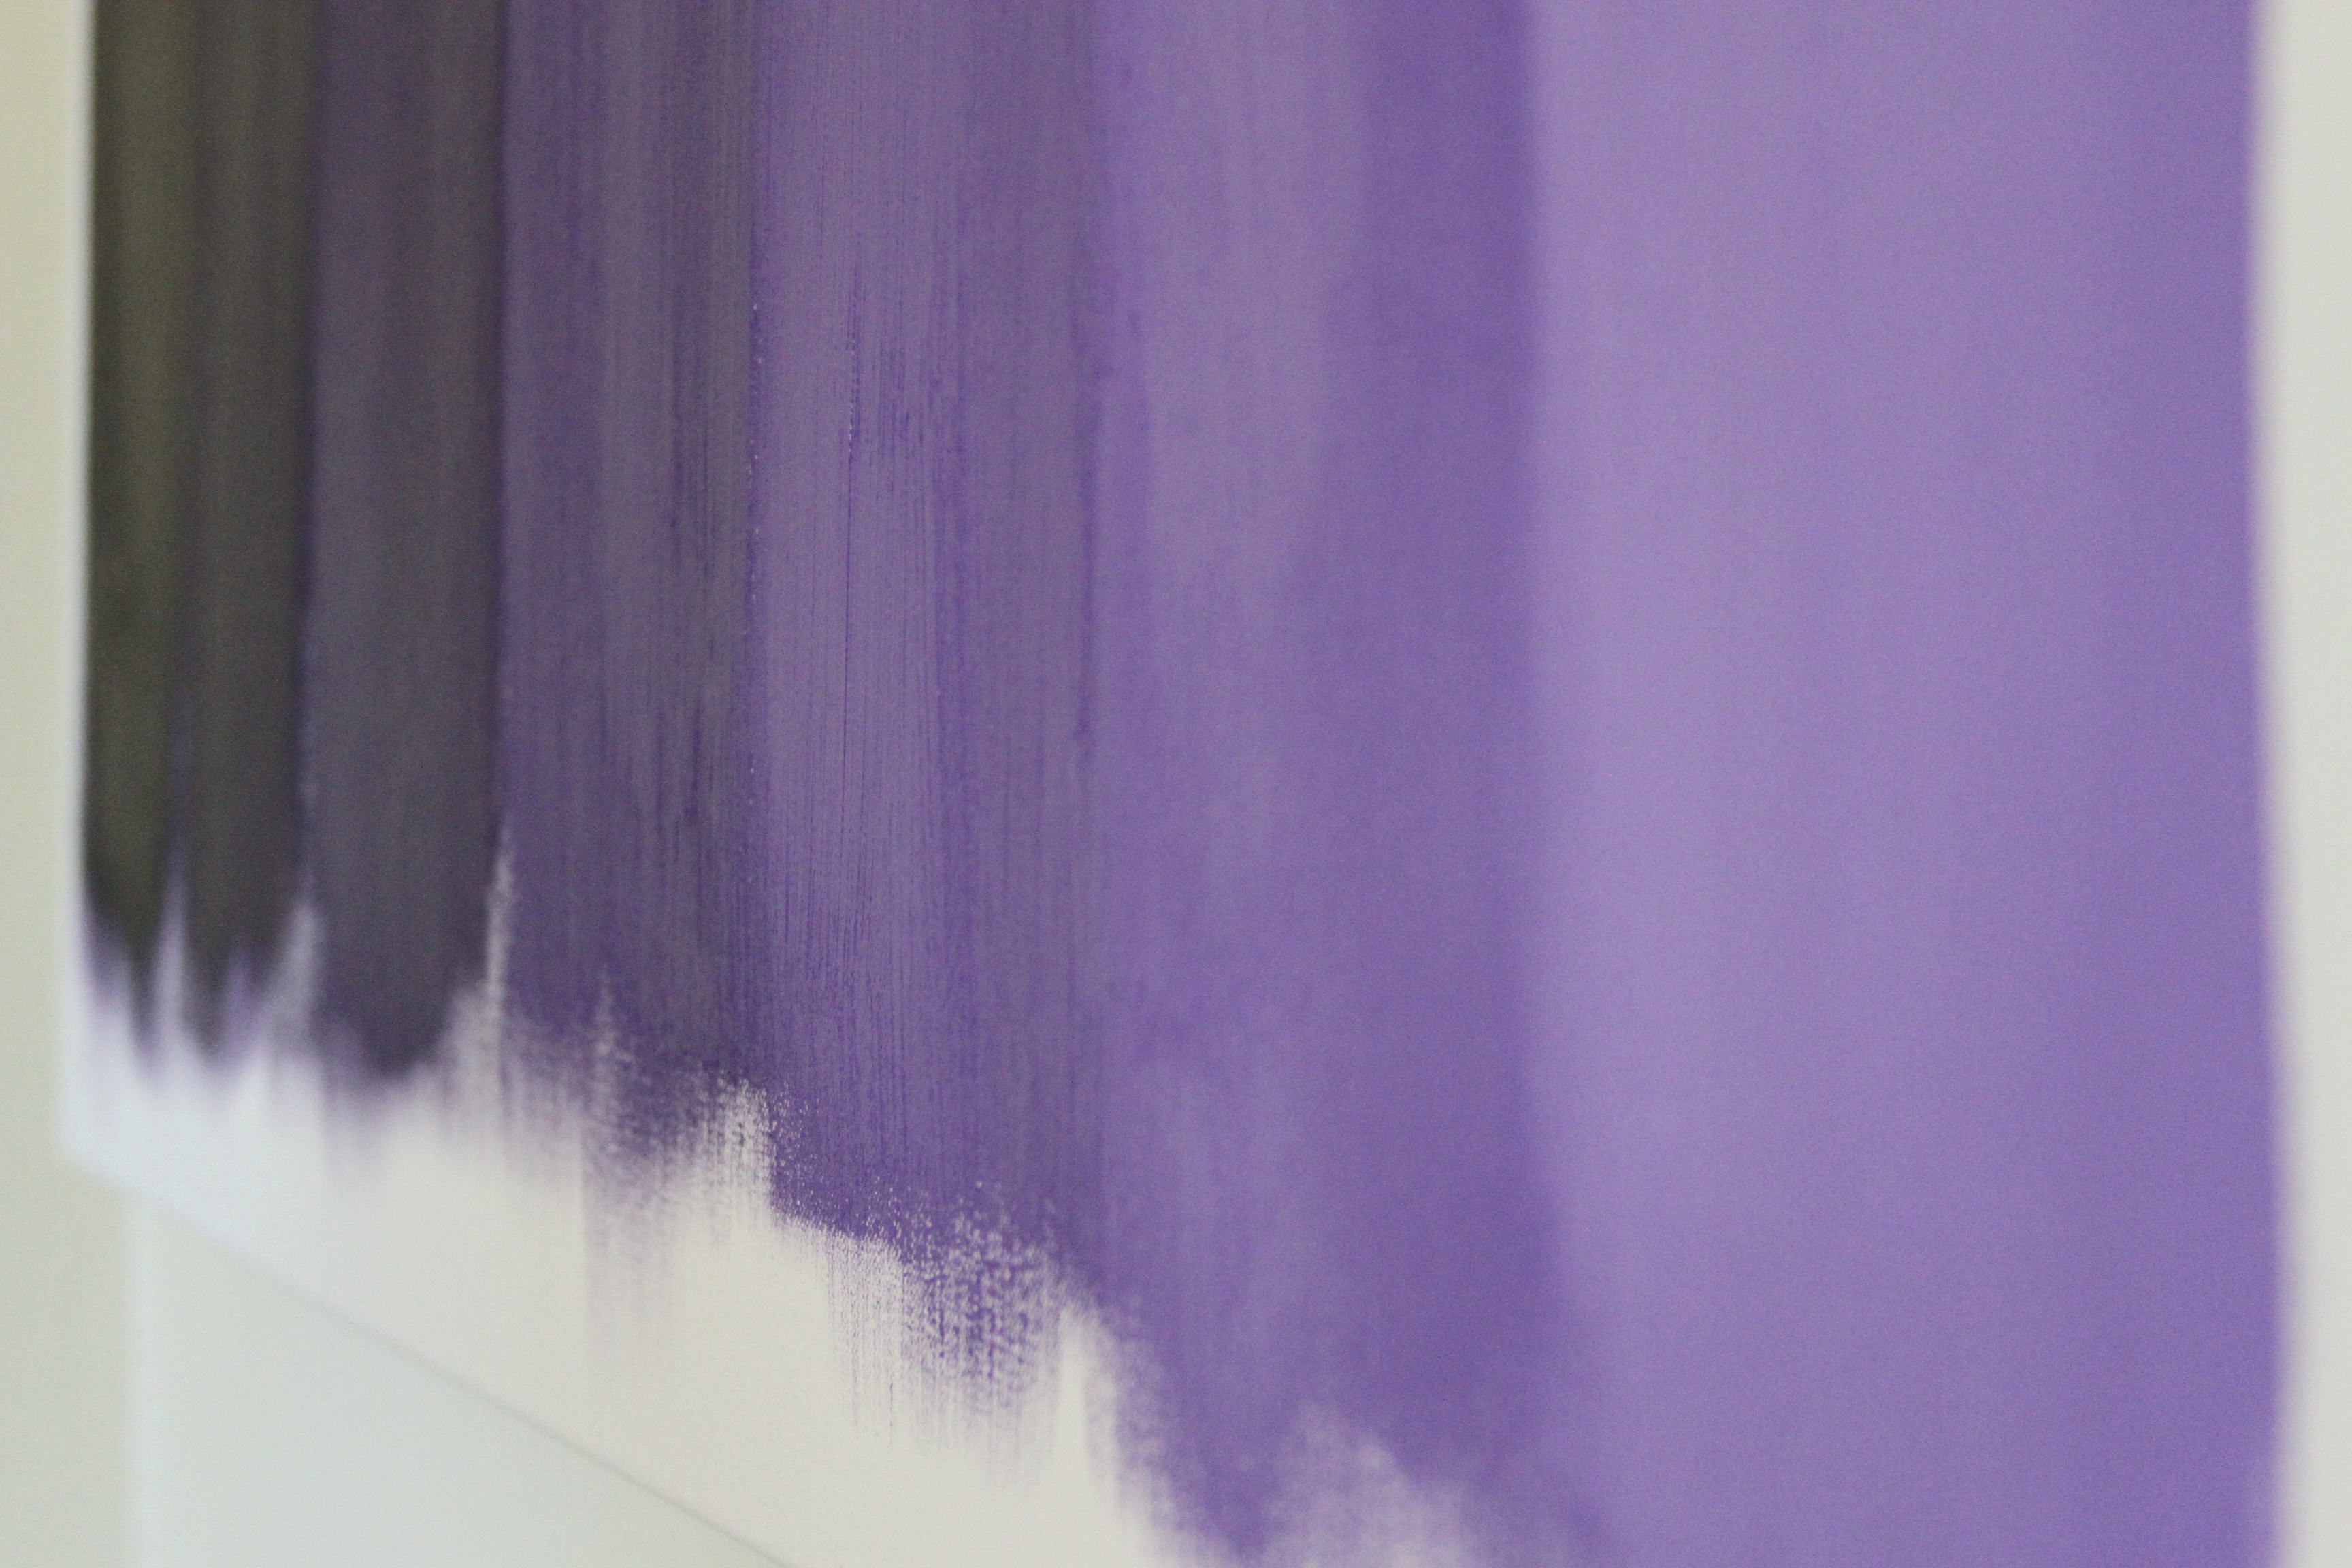
  3. Add a drop or so of white paint for each stripe.  The color will continue to get lighter as you move across the canvas.

IMG_6863 IMG_6873 IMG_6876 IMG_6879 IMG_6888 IMG_6893

Remember to space out your stripes so that you get to your desired lightened color at the end… You can always overlap a little more or less, depending on your spacing situation towards the end 🙂

IMG_7041