Browsing Tag

organization

Domestic

How to Remove Labels Off of Bottles

November 18, 2014

IMG_6167

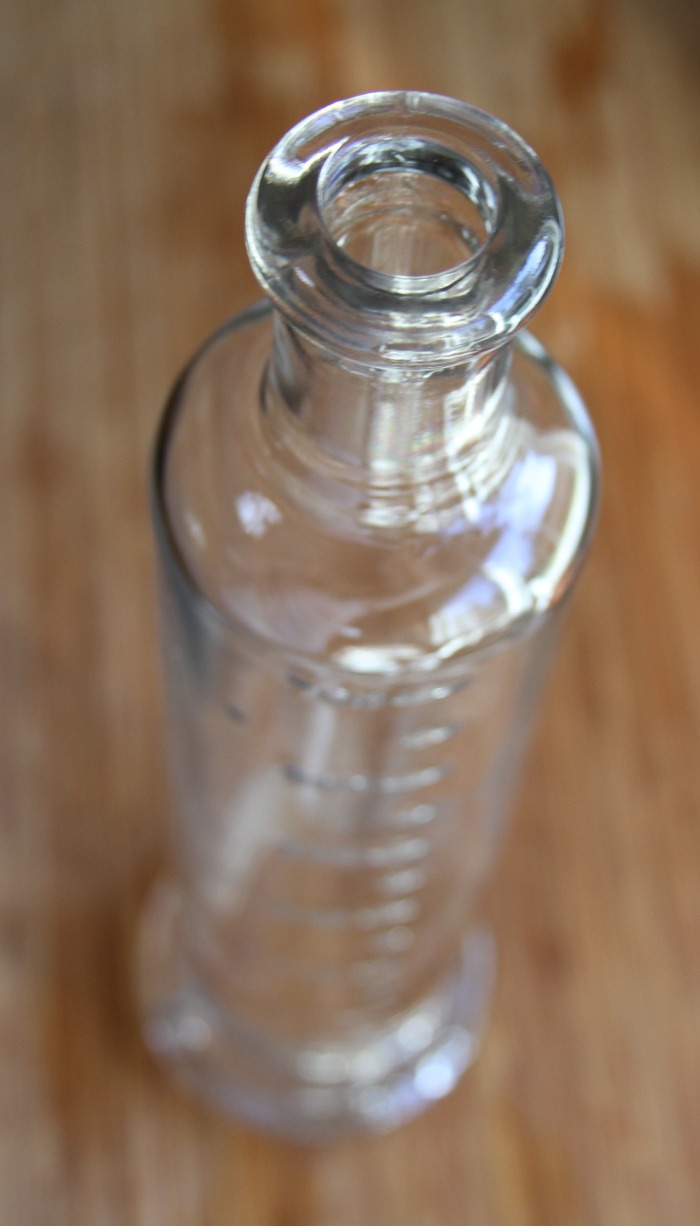
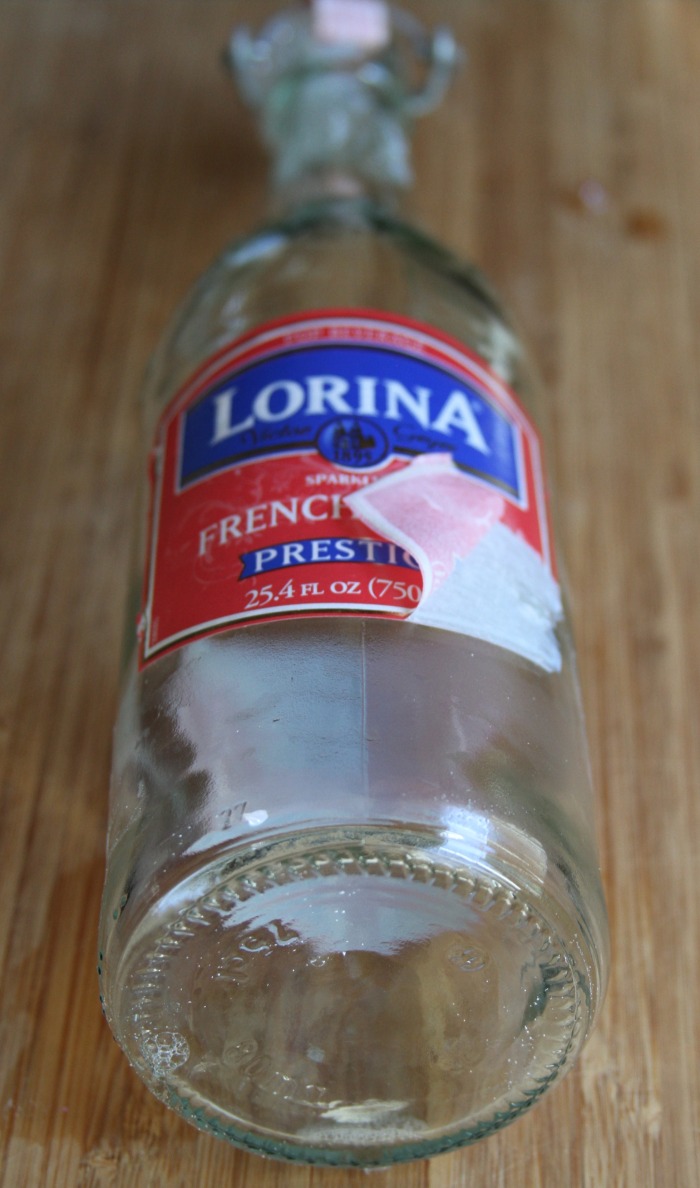
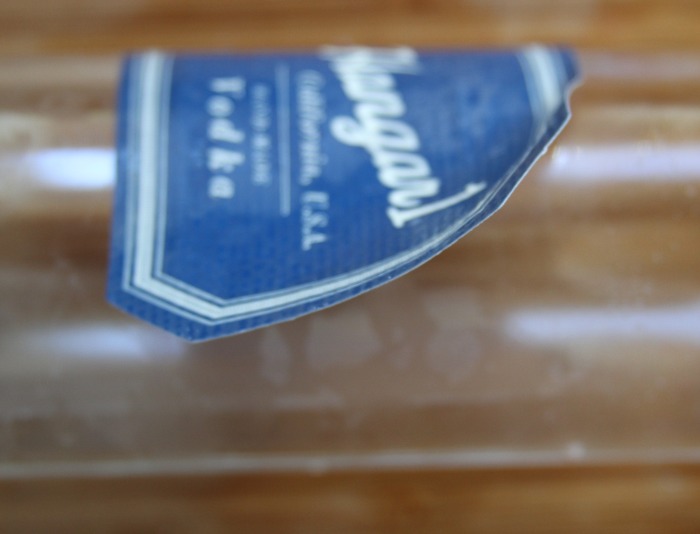
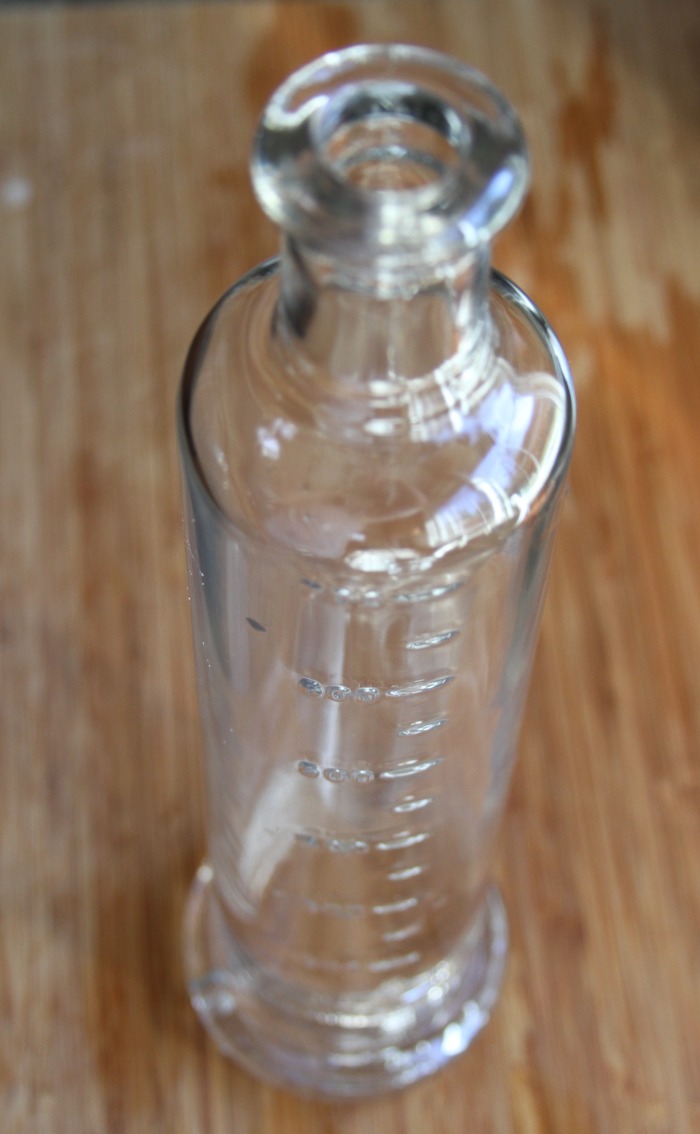
Between artisan olive oil, liquor and sparkling water, there are a lot of gorgeous bottles out there.  After a fun summer filled with lots of delicious meals, I have been left with a lot of empty bottles that I almost feel guilty throwing away.  Lucky for me, I came across a few restaurants that serve water out of recycled Bulleit bottles and Hangar One bottles, and figured what better way to repurpose my own!?

IMG_6144

The only thing that keeps from DIYing is the time and effort that goes into these projects.  Luckily this one requires very few of either and there are countless uses for these bottles afterwards!  Here a few easy steps to sparkling new bottles:

  1. Rinse out existing bottles
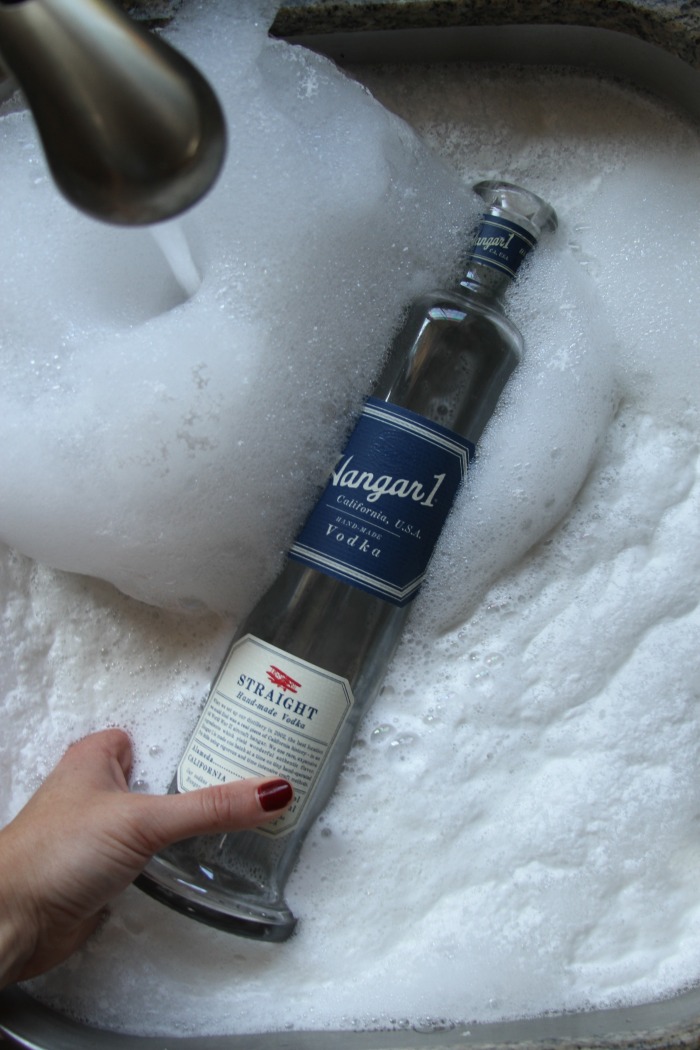
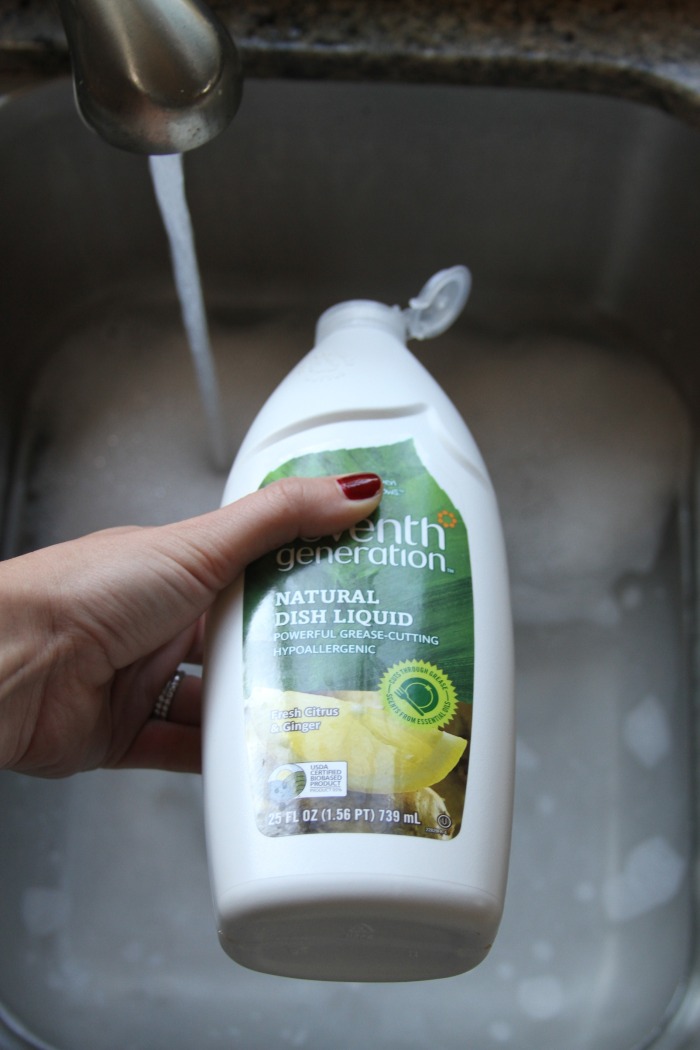
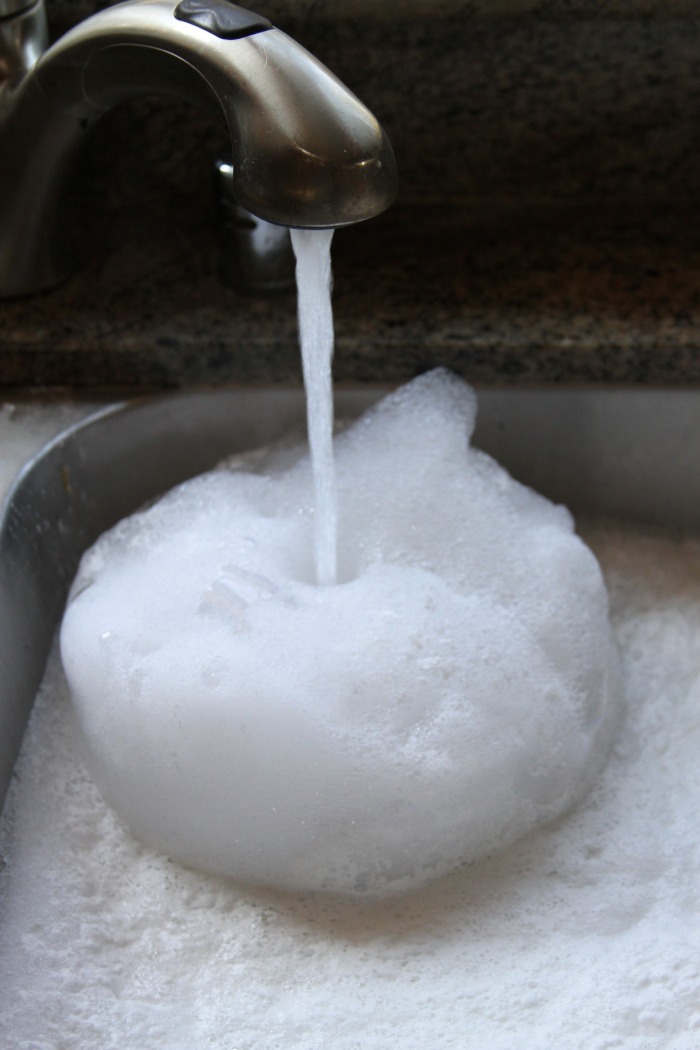
  2. Fill sink with VERY hot water.
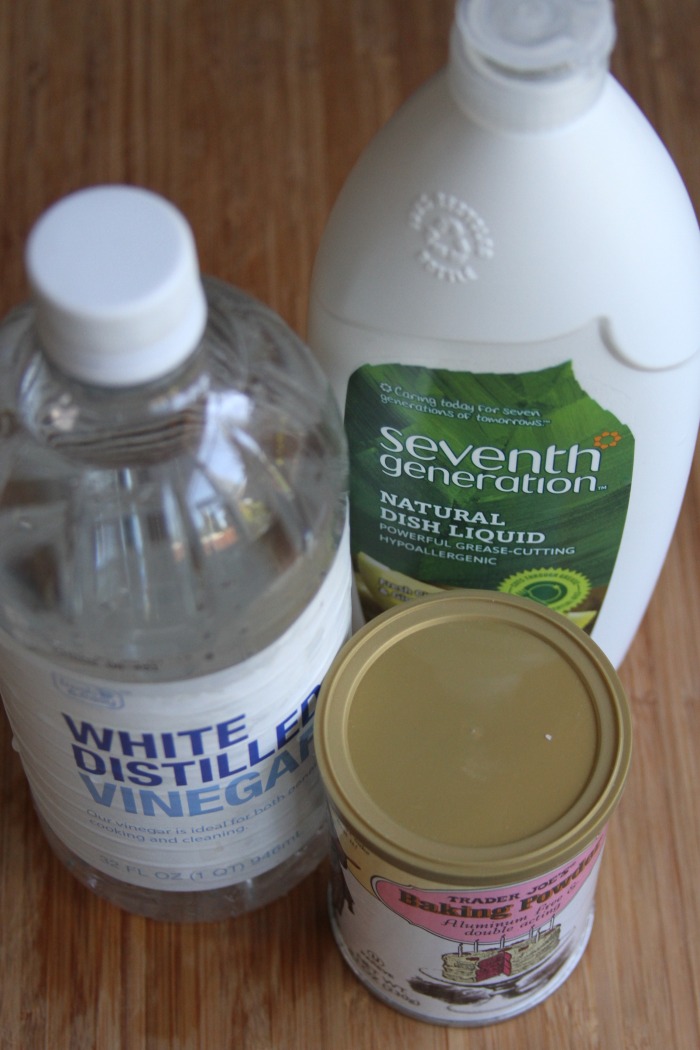
  3. Add 1/2 cup baking powder, 1 tablespoon dish washing liquid and 2 cups vinegar to the hot water.
  4. Swirl around to combine and add bottles.
  5. Let soak for an hour or so, or until labels are able to be removed relatively easily.
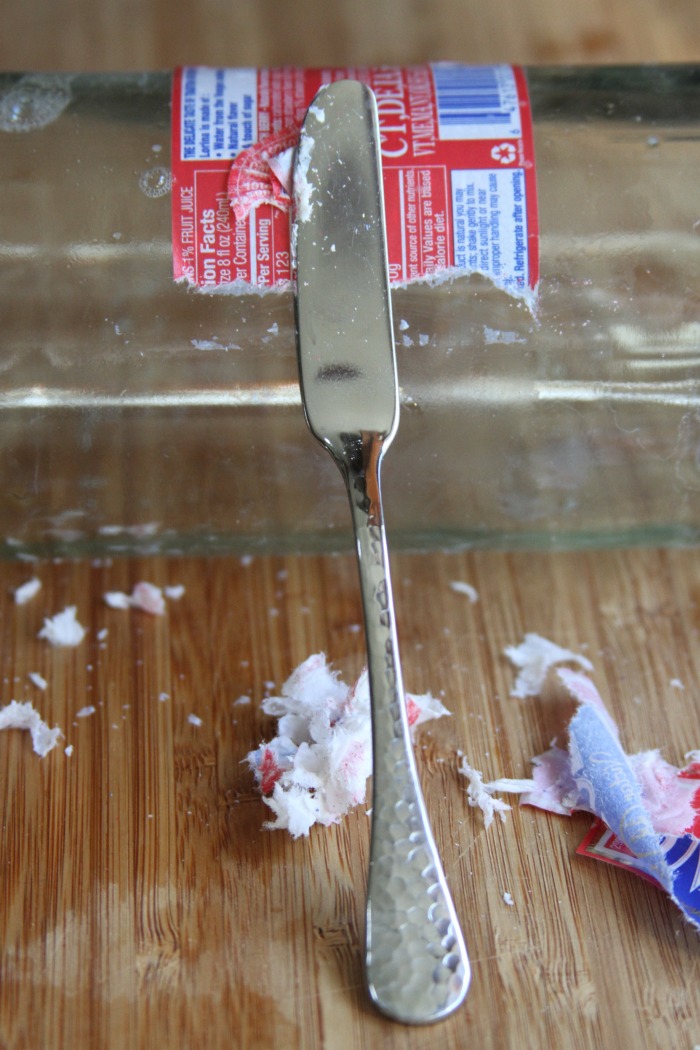
  6. Remove labels (you may need to use a butter knife for those that don’t peel off in one piece).
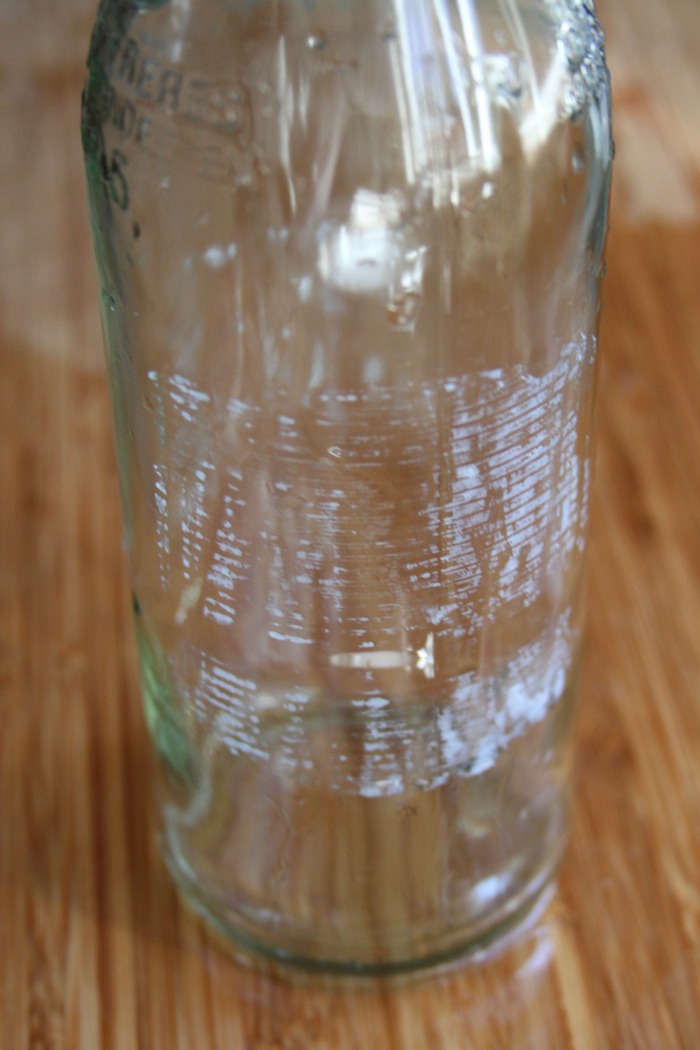
  7. Use rubbing alcohol or Go-Be-Gone to get rid of any remaining residue.
  8. Dry and store for later use.

IMG_6115

IMG_6134

IMG_6121

IMG_6136

IMG_6152

IMG_6154

IMG_6157

IMG_6162


IMG_6166

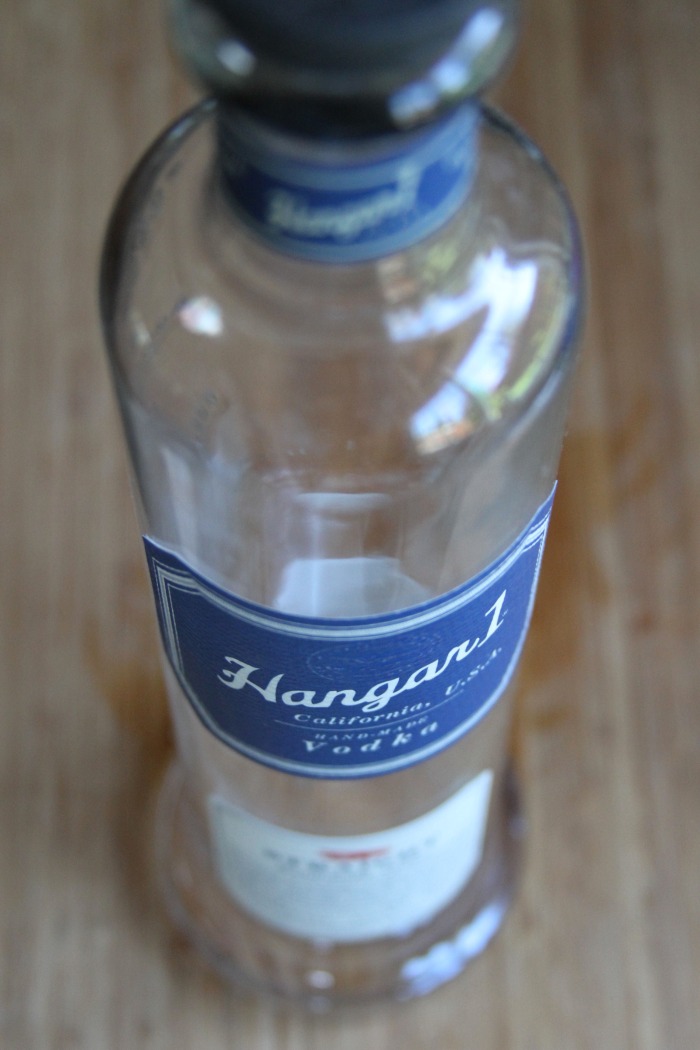
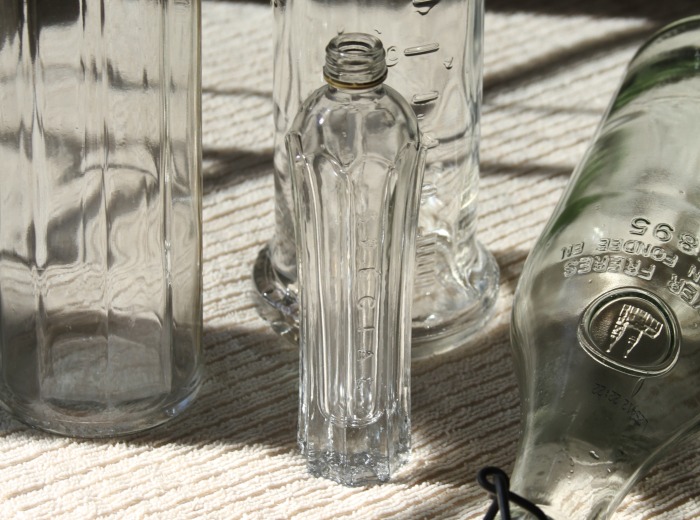
Note: I did this with 4 different bottles and each label was different.  The Hangar bottle removed in one piece with no residue left behind (definitely the easiest), while an olive oil bottle not only required a butter knife to remove the label, but the residue was SO sticky I had to allow the bottle to soak in the alcohol a bit (and use a LOT of elbow grease).

IMG_6165

Here are a some fun projects you can use with these re-purposed bottles: hanging flower arrangements, water bottle, or vases… just to name a few!

Looks

It’s Time….

August 21, 2014

Prada Miranda Priestly loves Graphic Image Datebooks…obviously.

I don’t know what it is with this year, but for once I’ve followed through with my vow to Christmas shop throughout the year.   It’s been so fun picking up goodies for friends and family during our trips or a killer online sale, and I’m most looking forward to a less stressful holiday season.

What do I think is my biggest factor to my increased organization?! Notebooks!  I’ve always been a fan of a calendar/agenda, but while most of my days don’t need minute by minute scheduling, I am a huge fan of notes, to-do lists and reminders.


WJ7 GTI-2

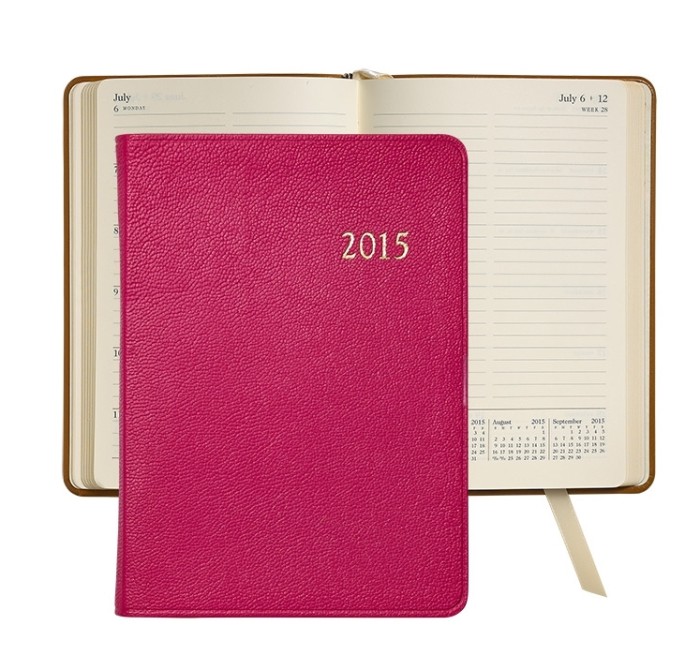
I have brought up NUMEROUS times how much of a fan I am of GiGi New York (my sisters, mom and I have a combined dozen pieces between the 4 of us), and when I discovered their sister store, Graphic Image’s gorgeous leather datebooks I had to share them with you all.

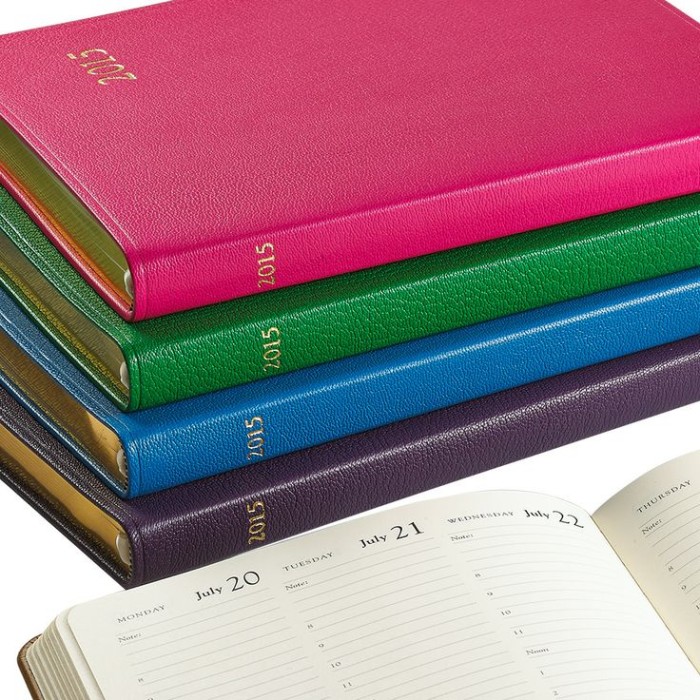
They not only come in a variety of leather covers (embossed python, metallic, crocodile, traditional) and colors, but has week and month-at a view layouts, as well as gorgeous cream acid-free pages and gilt edges – does it get any more luxurious than that?!

Journals

Their pocket sized, make them perfect for throwing in your clutch for the day and their desk dairies are large enough to keep track of everything in your life from business meetings to Pilates classes!

The best part? Now through September 8th use code fallfashion for 15% off of any of your Gigi New York or Graphic Images purchase… So do yourself a favor and get yourself organized for 2015… or better yet get one for someone on your Christmas list 🙂  Checking a name off in August feels AMAZING – trust me.


2015 Leather Planners and Agendas


Party

How to Make a Wedding Binder

July 16, 2014

WeddingBinder1

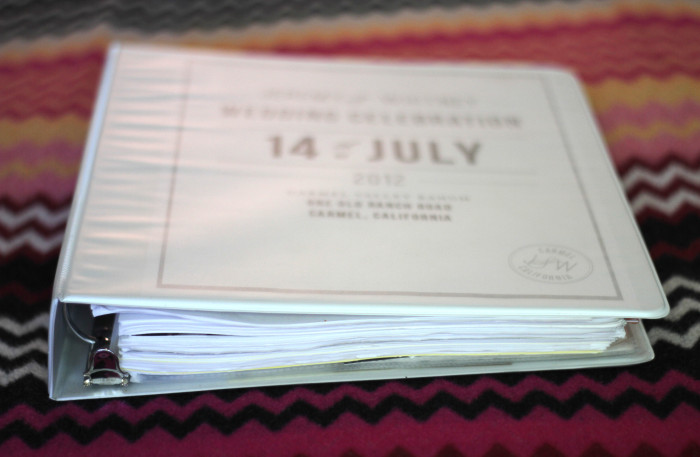
After last year’s Wedding Week, my most asked question was – where did you get your wedding binder?  After multiple tutorial requests, I figured one was long overdue… so here we go!

  1. Get a binder. Bigger is better. I think I upgraded binder sizes 3 times. Save yourself the hassle and start with an 1.5 inch (at least).
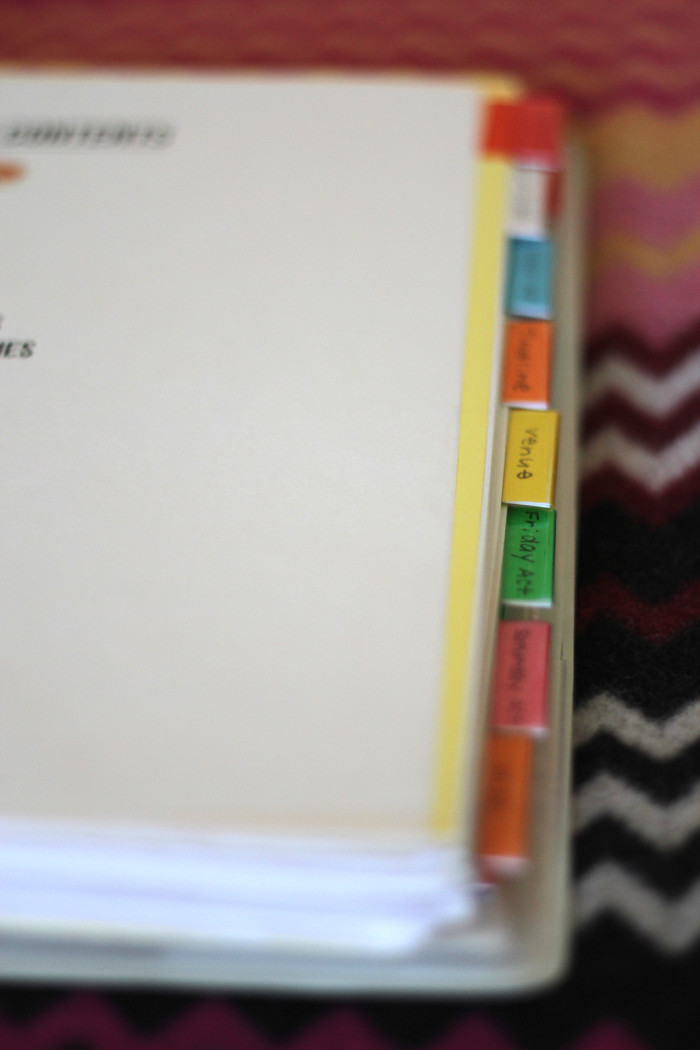
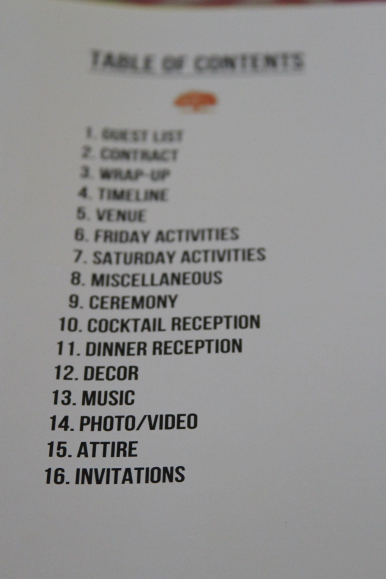
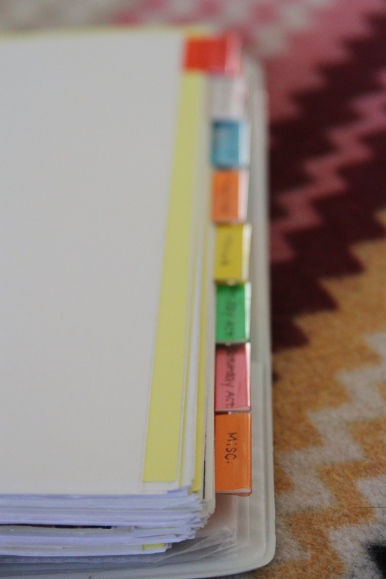
  2. Create tabs. These will/can be different for everyone, plus they will evolve throughout the planning process (details on my tabs later).  I also created a table of contents at the front of my binder to help with navigation.
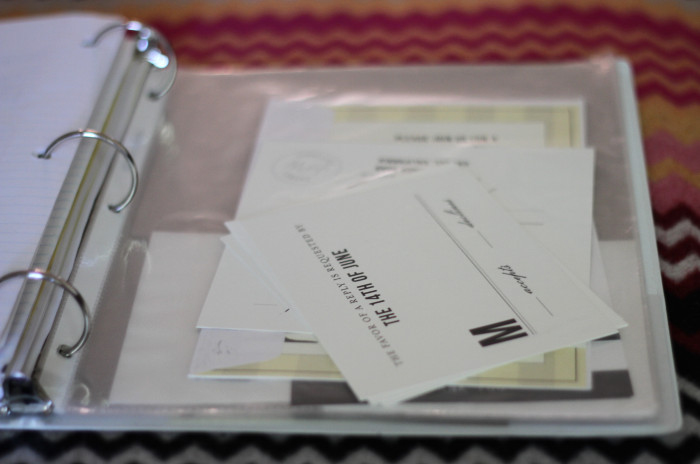
  3. Organize as you go. Whether you are half way through the planning process, or just beginning, take the paperwork you have (anything from magazine clippings you like, to the guest list) and give them a home in the binder.  I used plastic sleeves to hold loose clippings or smaller pieces of paper.  I also made sure that an extra copy of the invitation, program, etc. were all kept safe in the binder (my binder turned into a type of scrapbook by the end of the wedding!).
  4. Have a wedding Excel file. I had an ongoing Excel file up at all times to track RSVPs, wedding gifts, and attendance to various weddings events… I HIGHLY recommend you do the same.
  5. Keep current. I made sure to have updated lists, contracts, etc. filed and threw out old ones, as to not be confused.  Make sure that all inspiration is aligns with your final vision.  Started with a garden party theme and now want a more city chic approach? Get rid of anything that doesn’t match the final product.

WeddingBinder3

Ok so now onto the fun stuff… here were my tabs and what I included in each of them (please disregard any confusing tab names/contents… this is just what worked for me and my organization process):

Guest List

  • RSVP Guest List Spreadsheet – included RSVP tracking for all events (wedding, hotel, friday reception, welcome bags, etc.)
  • Gift Spreadsheet – kept track of all gifts and whether a thank you note had been sent yet or not
  • Address Spreadsheet – I kept track over everyone’s addresses and weather or not invites were sent out

Contract

  • CVR Contract – our copy of the contract (good to have at the front of the binder to review throughout the planning process)
  • BEO (Banquet Event Order) – our timing, menu requirements, room set-up, etc. were all listed here
  • Final Invoice – CVR’s final invoice statement
  • Budget Spreadsheet – I broke our budget down accordingly, and also tracked estimated, adjusted and actual costs, deposit amounts, payment due dates, fixed/fluctuating costs, etc.
  • Agenda – I had our itinerary overview listed out for the weekend
  • Vendor List – from ceremony location to our band, all vendors were listed in one place

Wrap-up

  • Checklist – CVR (our wedding location) provided a check-list that I stored here
  • Wedding Follow-up – I saved our list of notes/questions that we came prepared with for our last planning meeting, and tracked their changes/progress

WeddingBinder8

Timeline

  • Timeline – I had a minute by minute timeline prepared that included each and every detail – from when each vendor was arriving, to when the DJ would start playing for the reception.
  • To-Do List – I had every app known to man, but it was helpful to have an old fashioned to-do list (that I created/didn’t download) that had specific tasks I needed to do (i.e. order ice cream sandwiches, finalize welcome letters, get eyelash extensions)
  • Bridal Party Agenda – this was distributed to the bridal party at the beginning of the weekend and was a simple one sheet that contained where they needed to be for photos, event start times, and bridal party phone numbers
  • Checklist – I had a good ol’ downloaded off the internet checklist that broke things down according to time frame (12 months out, 9 months out, 1 day out, etc.)

Venue

  • Brochure/Pamphlet – I included a pamphlet from our venue (helpful in shopping various vendors our space)
  • Map – Venue map
  • Photos – enlarged photos of the space to help navigate our ceremony and reception locations

Friday Activity

  • Agenda – our wedding was a weekend affair, so I made sure to break down the activities for each day (including headcount, menus, etc.
  • Welcome Bag Count – I created a spreadsheet (SURPRISE) to pass off to the front desk for distribution with guest name/what the room was booked under/hotel name/etc.
  • Welcome Bag Collage – I used Publisher to create a collage of all of the items in the bag for an easy visual (pretzels, Advil, sunscreen, Shout wipes, Fruit Snacks, Pop Chips, etc.
  • Financials – I made sure to include receipts, contracts (for Friday’s dinner space), party bus invoice, etc. all in one spot

WeddingBinder12

Saturday Activities

  • Agenda – Saturday’s activities listed all in one place
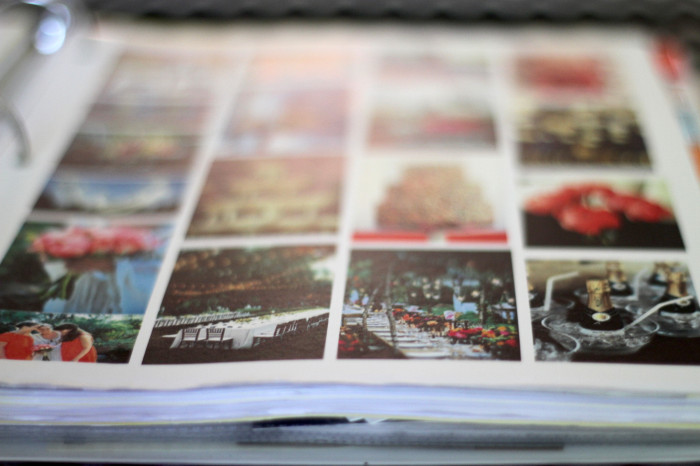
  • Inspiration Collages – I used Publisher to put together images from my Pintrest boards all in one place.  I found this super helpful when working with vendors (florists, etc.) to help give them a vibe of where I wanted to go with decor

Miscellaneous

  • Clippings – I used this space to save my favorite magazine articles (favor ideas, honeymoon tips, etc.)
  • Collages – I also stored random inspiration collages for favors, bouquets, cake ideas, etc.
  • Honeymoon Itinerary 

WeddingBinder7

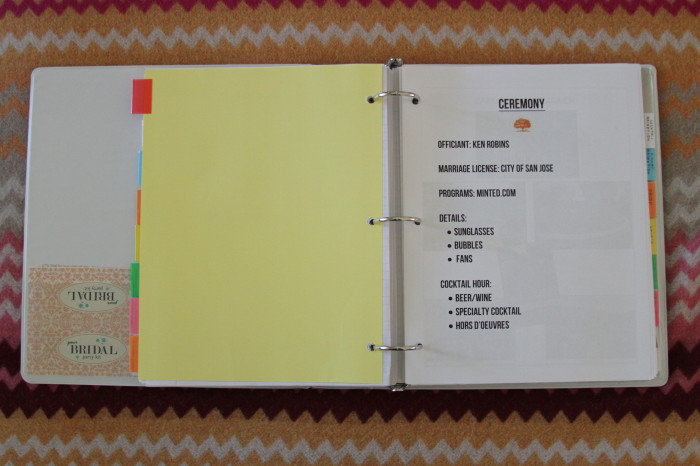
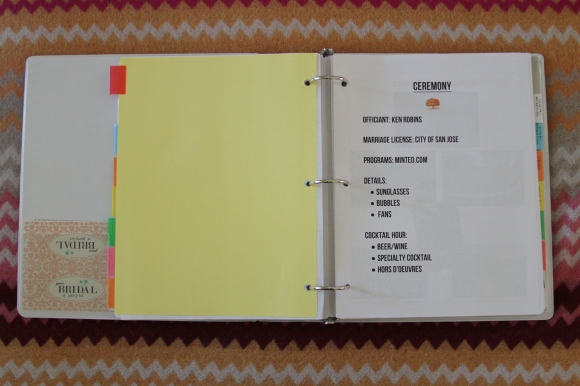
Ceremony

  • Details – Stored all ceremony details (officiant, favors, marriage license, program vendor, cocktail hour drinks, etc.)
  • Ceremony Decor Inspiration Collage
  • Favor Inspiration Collage
  • Program Design Collage – as well as program design, invoice, mock-ups, etc.
  • Favor Invoices

Cocktail Reception

  • Drink, Food & Decor Collages – Pintrest inspiration

Dinner Reception

  • Seating Chart
  • Reception & Table Decor Collage
  • Reception Menu 

Decor

  • Floral Inspiration Collage 
  • Florist Bid/Quote

WeddingBinder5

Music

  • DJ Survey/Planner
  • DJ Contract

Photo/Video

  • Photo Contract
  • Photo Schedule 

Attire

  • Bridal Party Collage
  • Dress/Suit Invoices – alteration slips, etc

Invitations

  • Invitations – mock-ups, final copies, etc.
  • Programs, Menus, etc.

WeddingBinder10

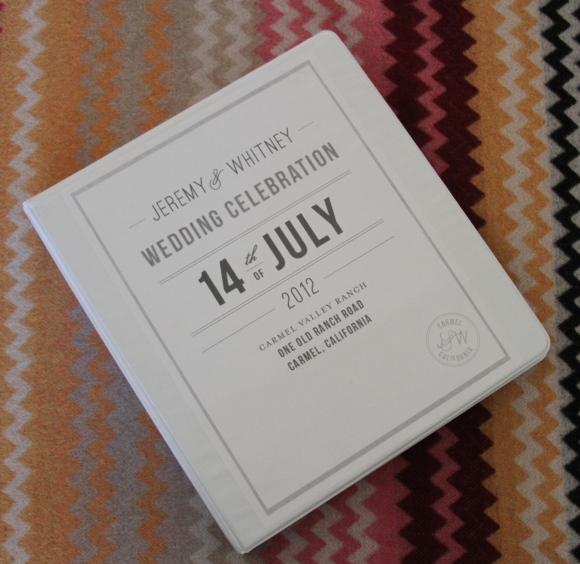
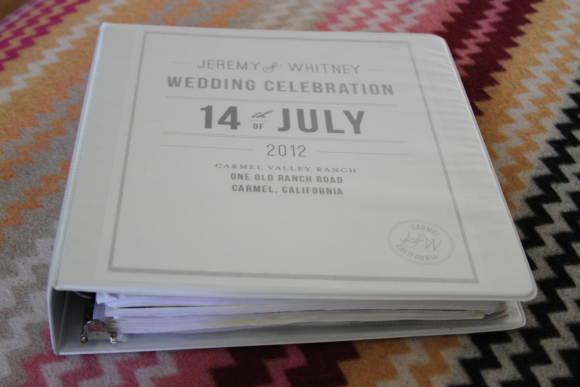
Once everything has a home, add a fun cover (I used Photoshop to create one that matched my invitations) and you will be ready to go! Happy planning!


Party

Wedding Week – Planning and Prep

July 8, 2013

Beaver Wedding

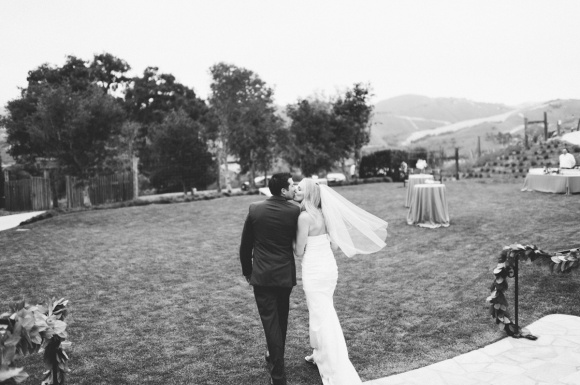
Jeremy and I will be celebrating our 1 year anniversary this weekend, and in honor of this momentous occasion, I wanted to kick-off Laundry in Louboutin’s Wedding Week!  I wanted to have a place to share some of my thoughts on the planning process, tips I learned along the way and things I would have done differently…  hopefully this will be helpful to any Bride’s to Be out there 🙂 So let’s get started!  Today’s theme is Planning and Prep but stay tuned this week for advice on Decor, Food, Entertainment, DIY, and more!

Wedding WeekA

I am obsessed with organization, lists, note taking, etc. so when it came to planning time, I went straight to Office Max and picked up some “binder essentials.”  For anyone planning their own wedding (as I did), this is critical.  Go get a large binder, some tabs and get started.  Here were my tab topics:

  • Guest List
  • Contracts
  • Timeline
  • Venue
  • Friday Activities (our wedding was a weekend long event, so we planned out different excursions, etc.)
  • Saturday Activities
  • Ceremony
  • Cocktail Reception
  • Dinner Reception
  • Decor
  • Music
  • Photo/Video
  • Attire
  • Invitations

Wedding WeekC

Wedding WeekD

At the beginning of the planning process, I recommend sitting down with your fiance and each writing down your Top 3 areas where you would like to focus your budget on.  J and I had both agreed on Food/Wine, but I had chosen Photography and Flowers, and he choose Venue and Music. We worked out a budget that reflected our priorities and off we went!  Some grooms are more interested in planning than others, but I think you’ll learn that many people will have input when it comes to planning your wedding, and it is really important that you look back and are happy with your day… and for us that meant it reflecting the two of us as a couple.

Binder

We decided to go with the “theme” of a A Really Fabulous Dinner Party.  Now you don’t have to have an actual theme – ie. Disney Princess or Nautical, but I think it really is helpful to have something to help “streamline” your vision.  We wanted to have people feel like we were having them over for a great dinner party – long tables that sat 30 people, a live band, great wine and yummy food. From there we got to planning!  Here were some of my favorite lists/guides:

  • Pintrest: There is no denying this is the holy grail for planning.  Need ideas for great ways to incorporate your favorite flower? His favorite color? Memorabilia from your dates?  This is the place!
  • Martha Stewart Weddings: Considering I am obsessed with all things Martha, this is not a surprise.  Her magazines are gorgeous, but this site has some genius ideas and gorgeous real wedding inspiration!
  • The Knot: This content-rich site was a little overwhelming at times.  But they had a good planning checklist (I recommend downloading the app on your phone).
  • Registry 360: Not sure if this is the best tool of it’s kind out there, but it was great to have all of our registries located in one place.  Plus people can track deals and shop online.  We had everything from a Sears grill, to Etsy artwork.

Wedding WeekB