Browsing Tag

healthy

Tasty

Gluten Free Banana Bread

January 28, 2015

IMG_8791

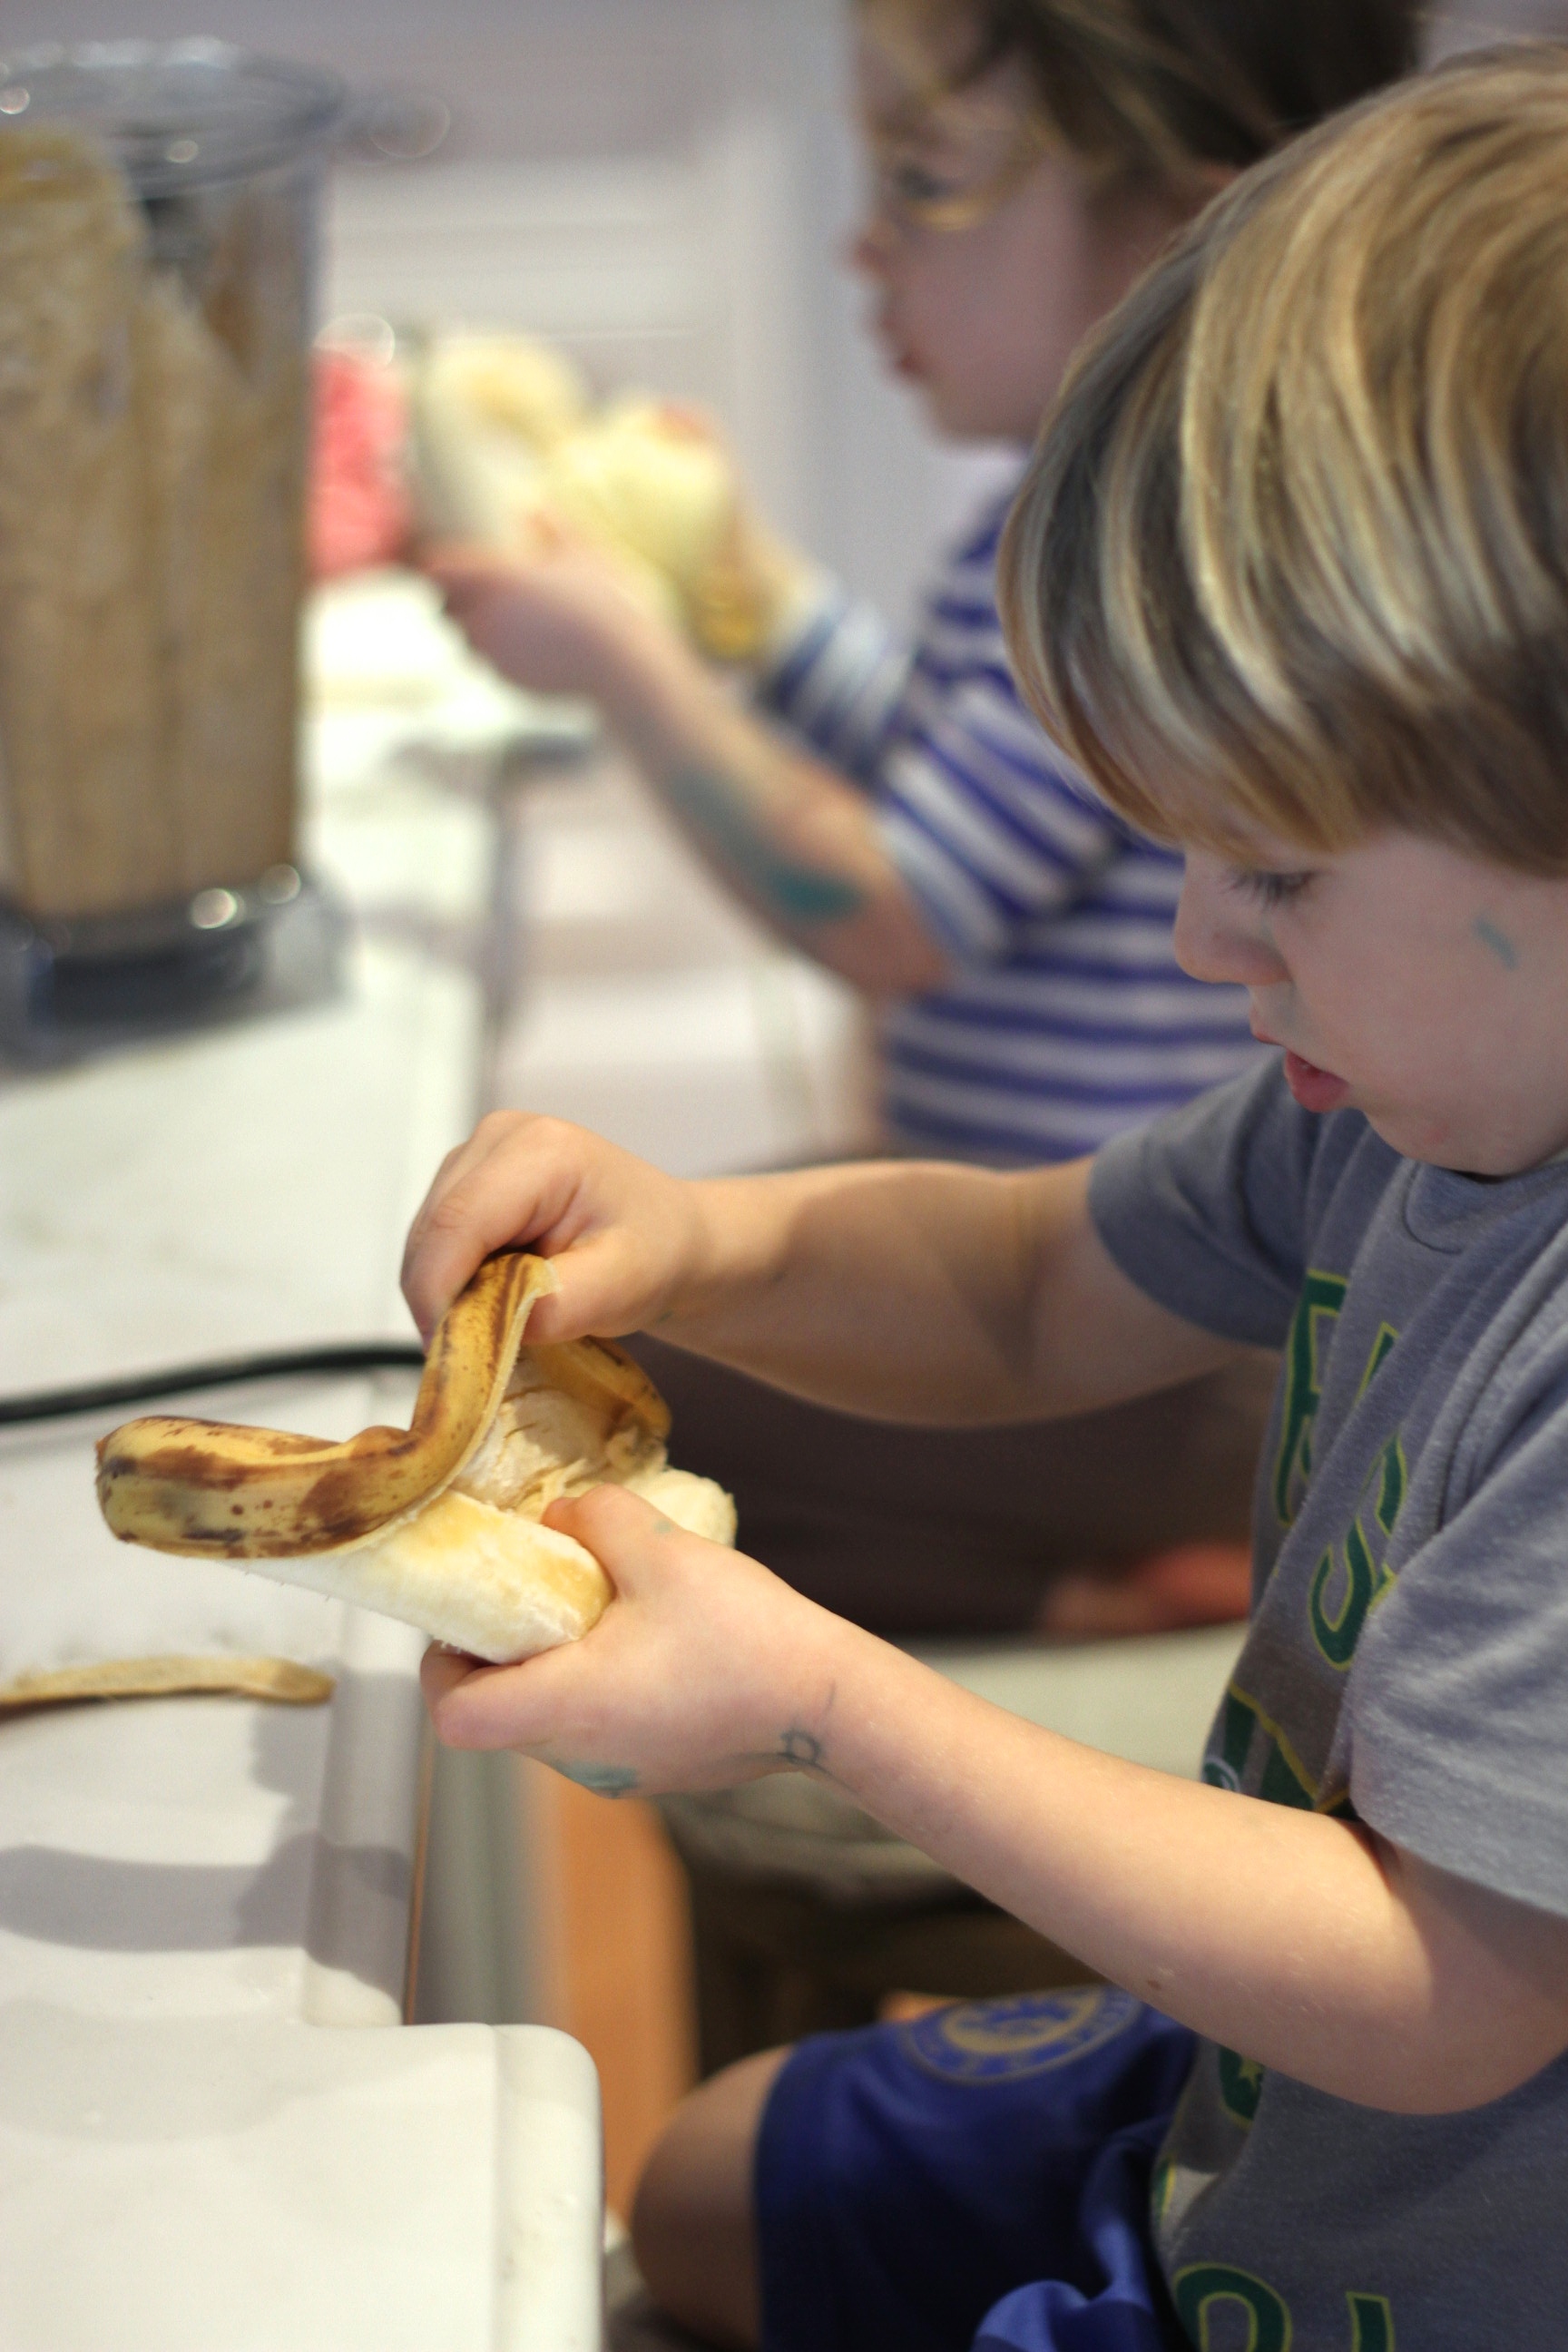
I love to meal plan, but sometimes you just don’t get around to using everything… one of biggest issues in the kitchen? Consuming bananas before they turn on me.  Therefore half of my freezer is frozen bananas – which isn’t a great situation for anti-smoothie weather.  But what to do?  Banana bread!

IMG_8786

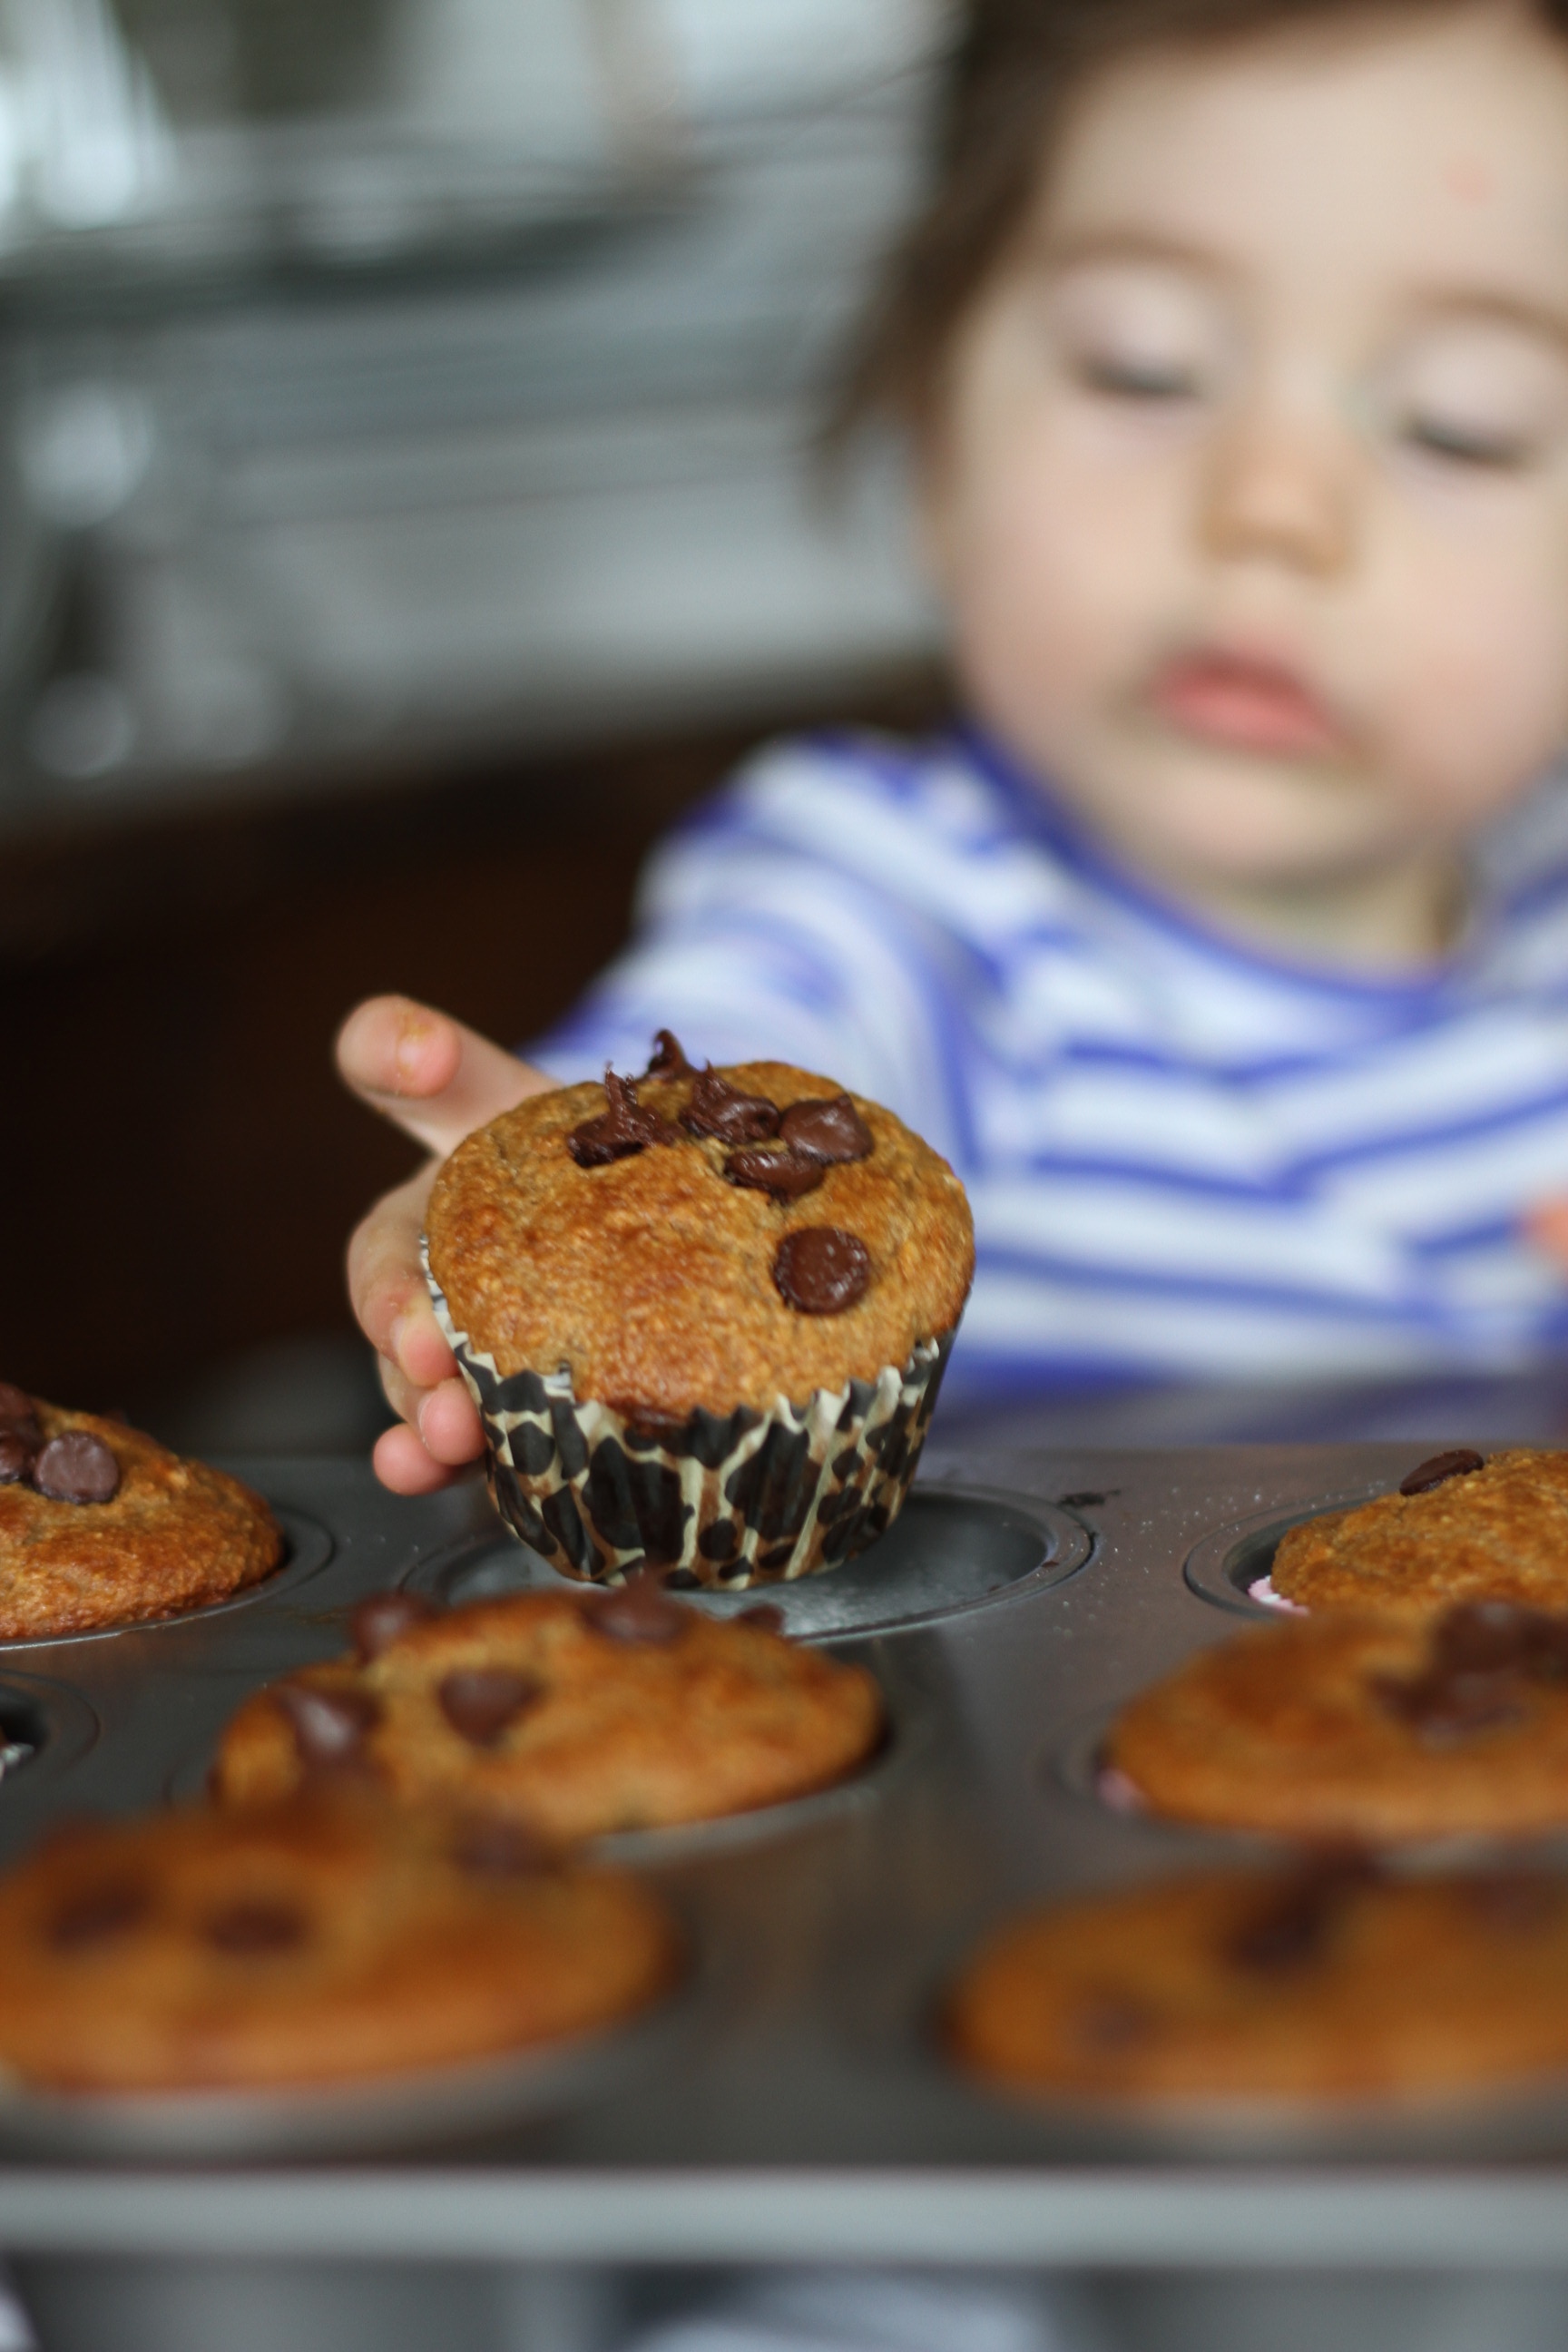
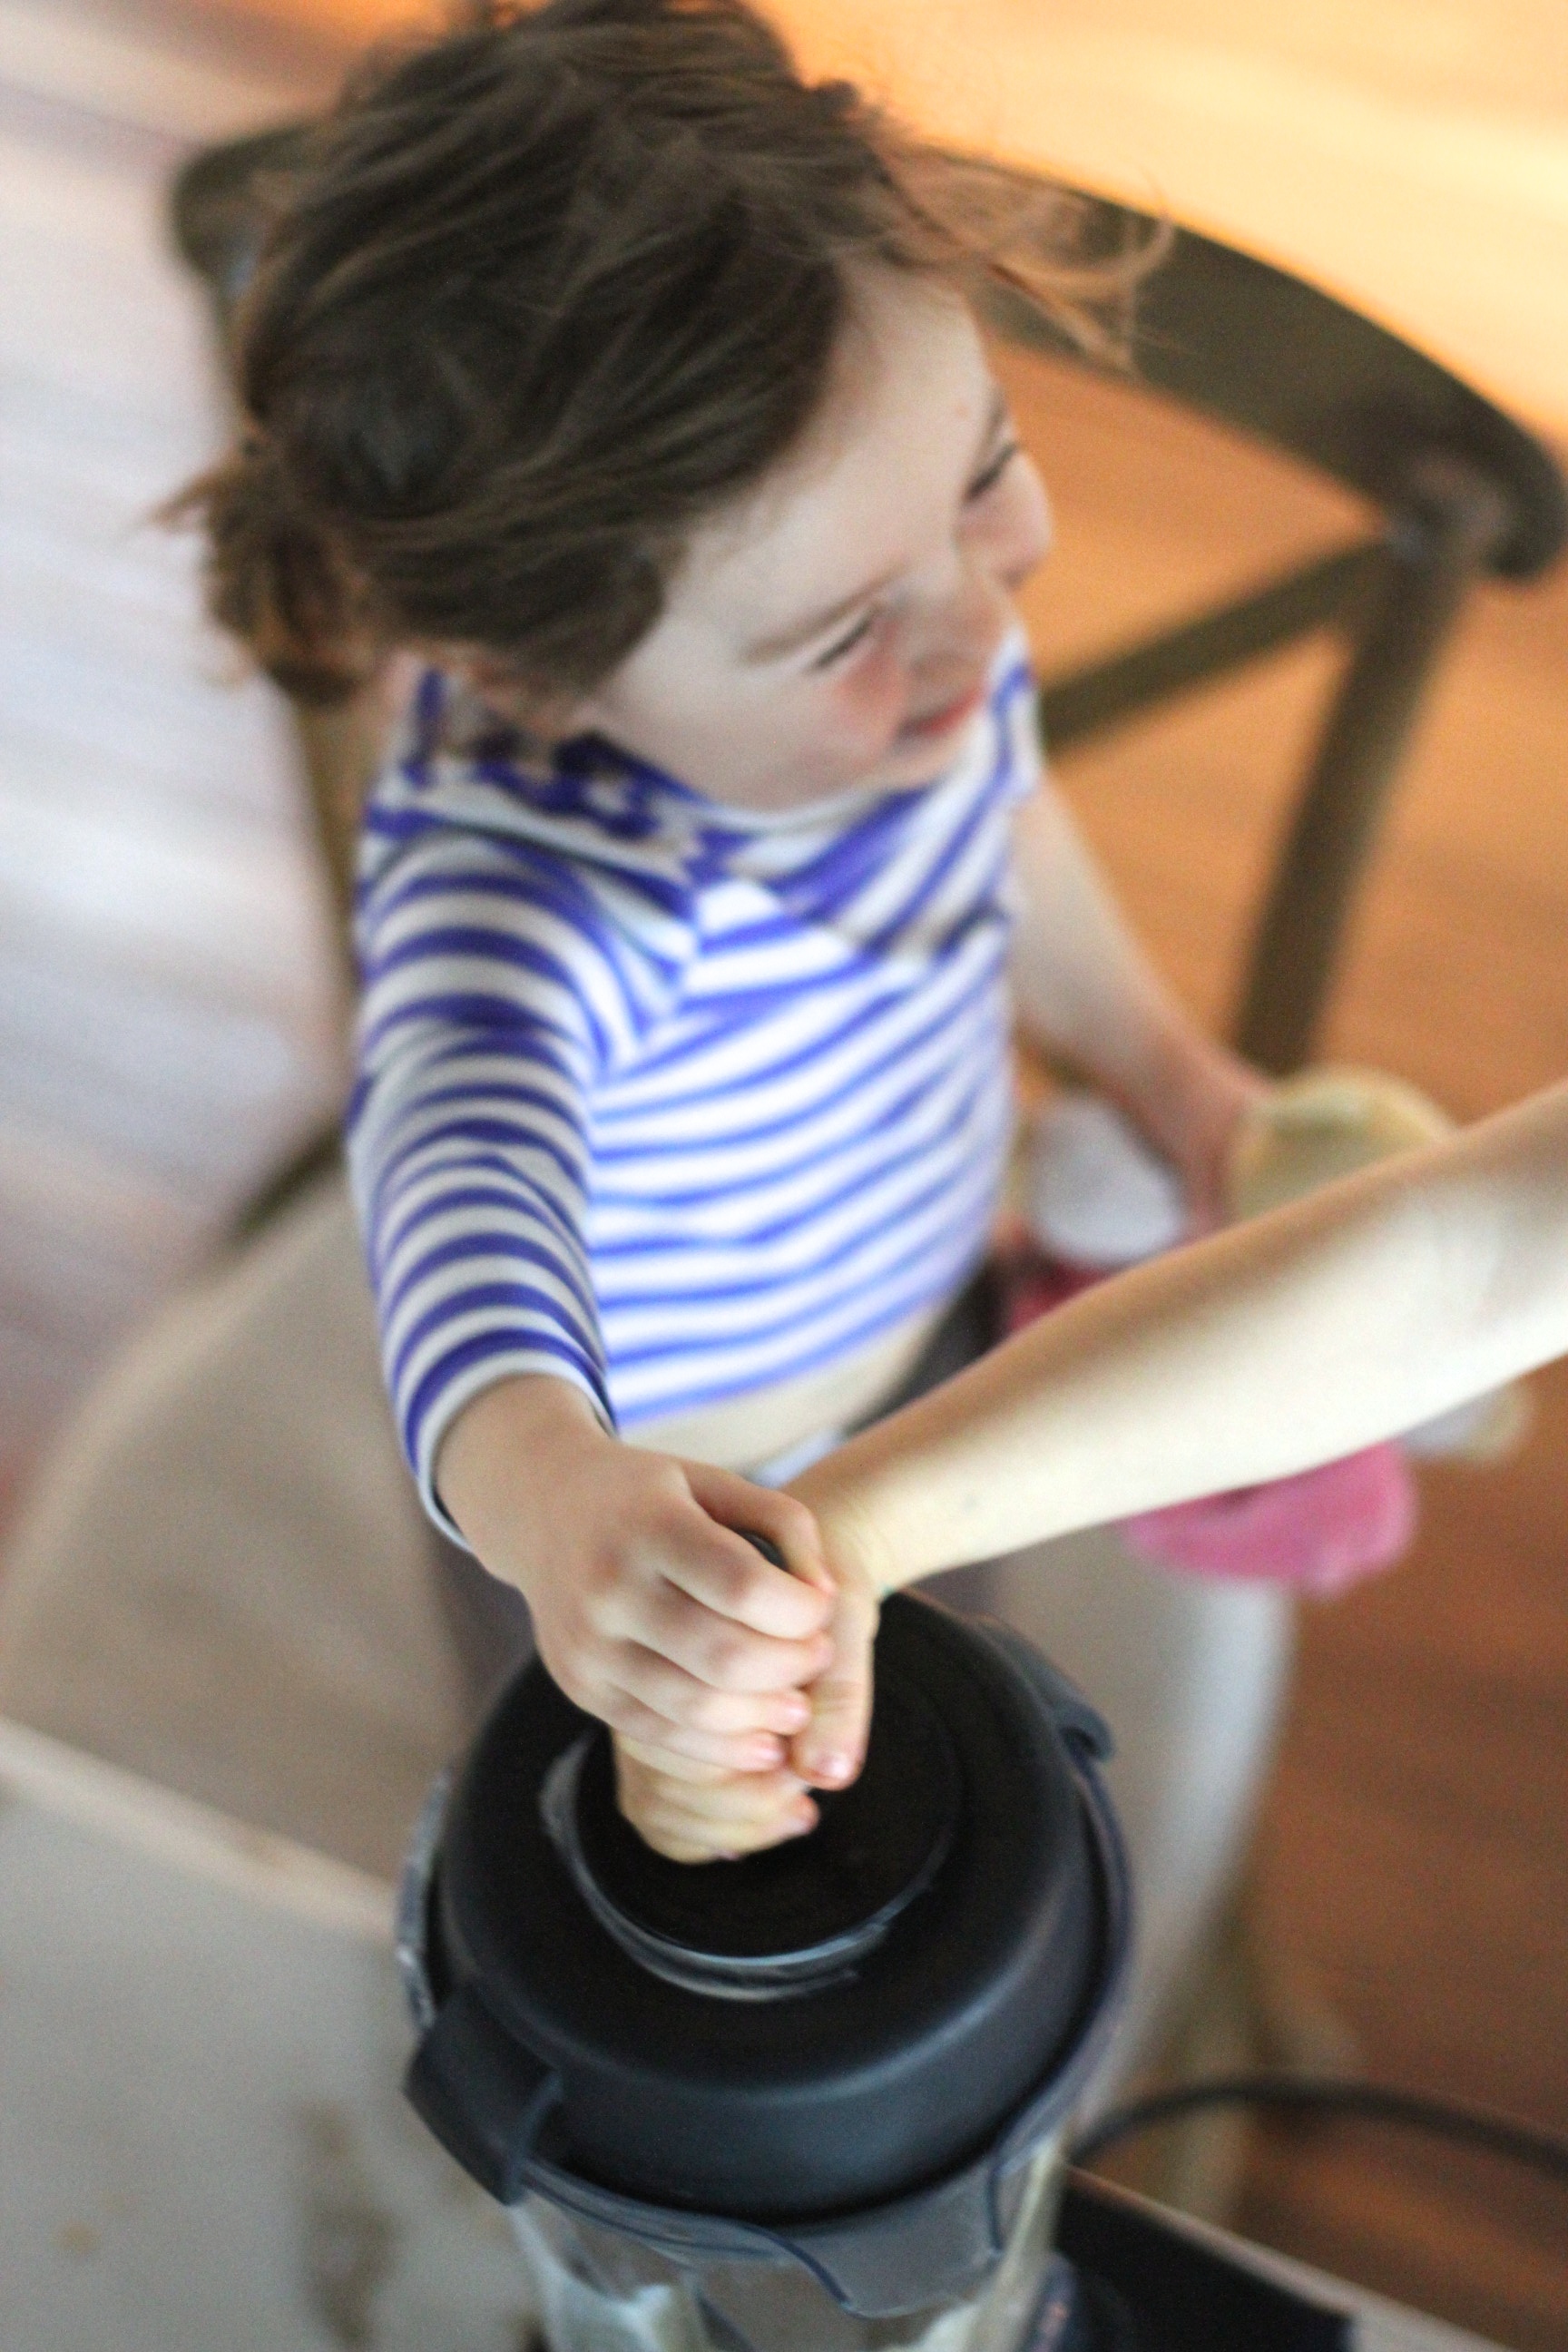
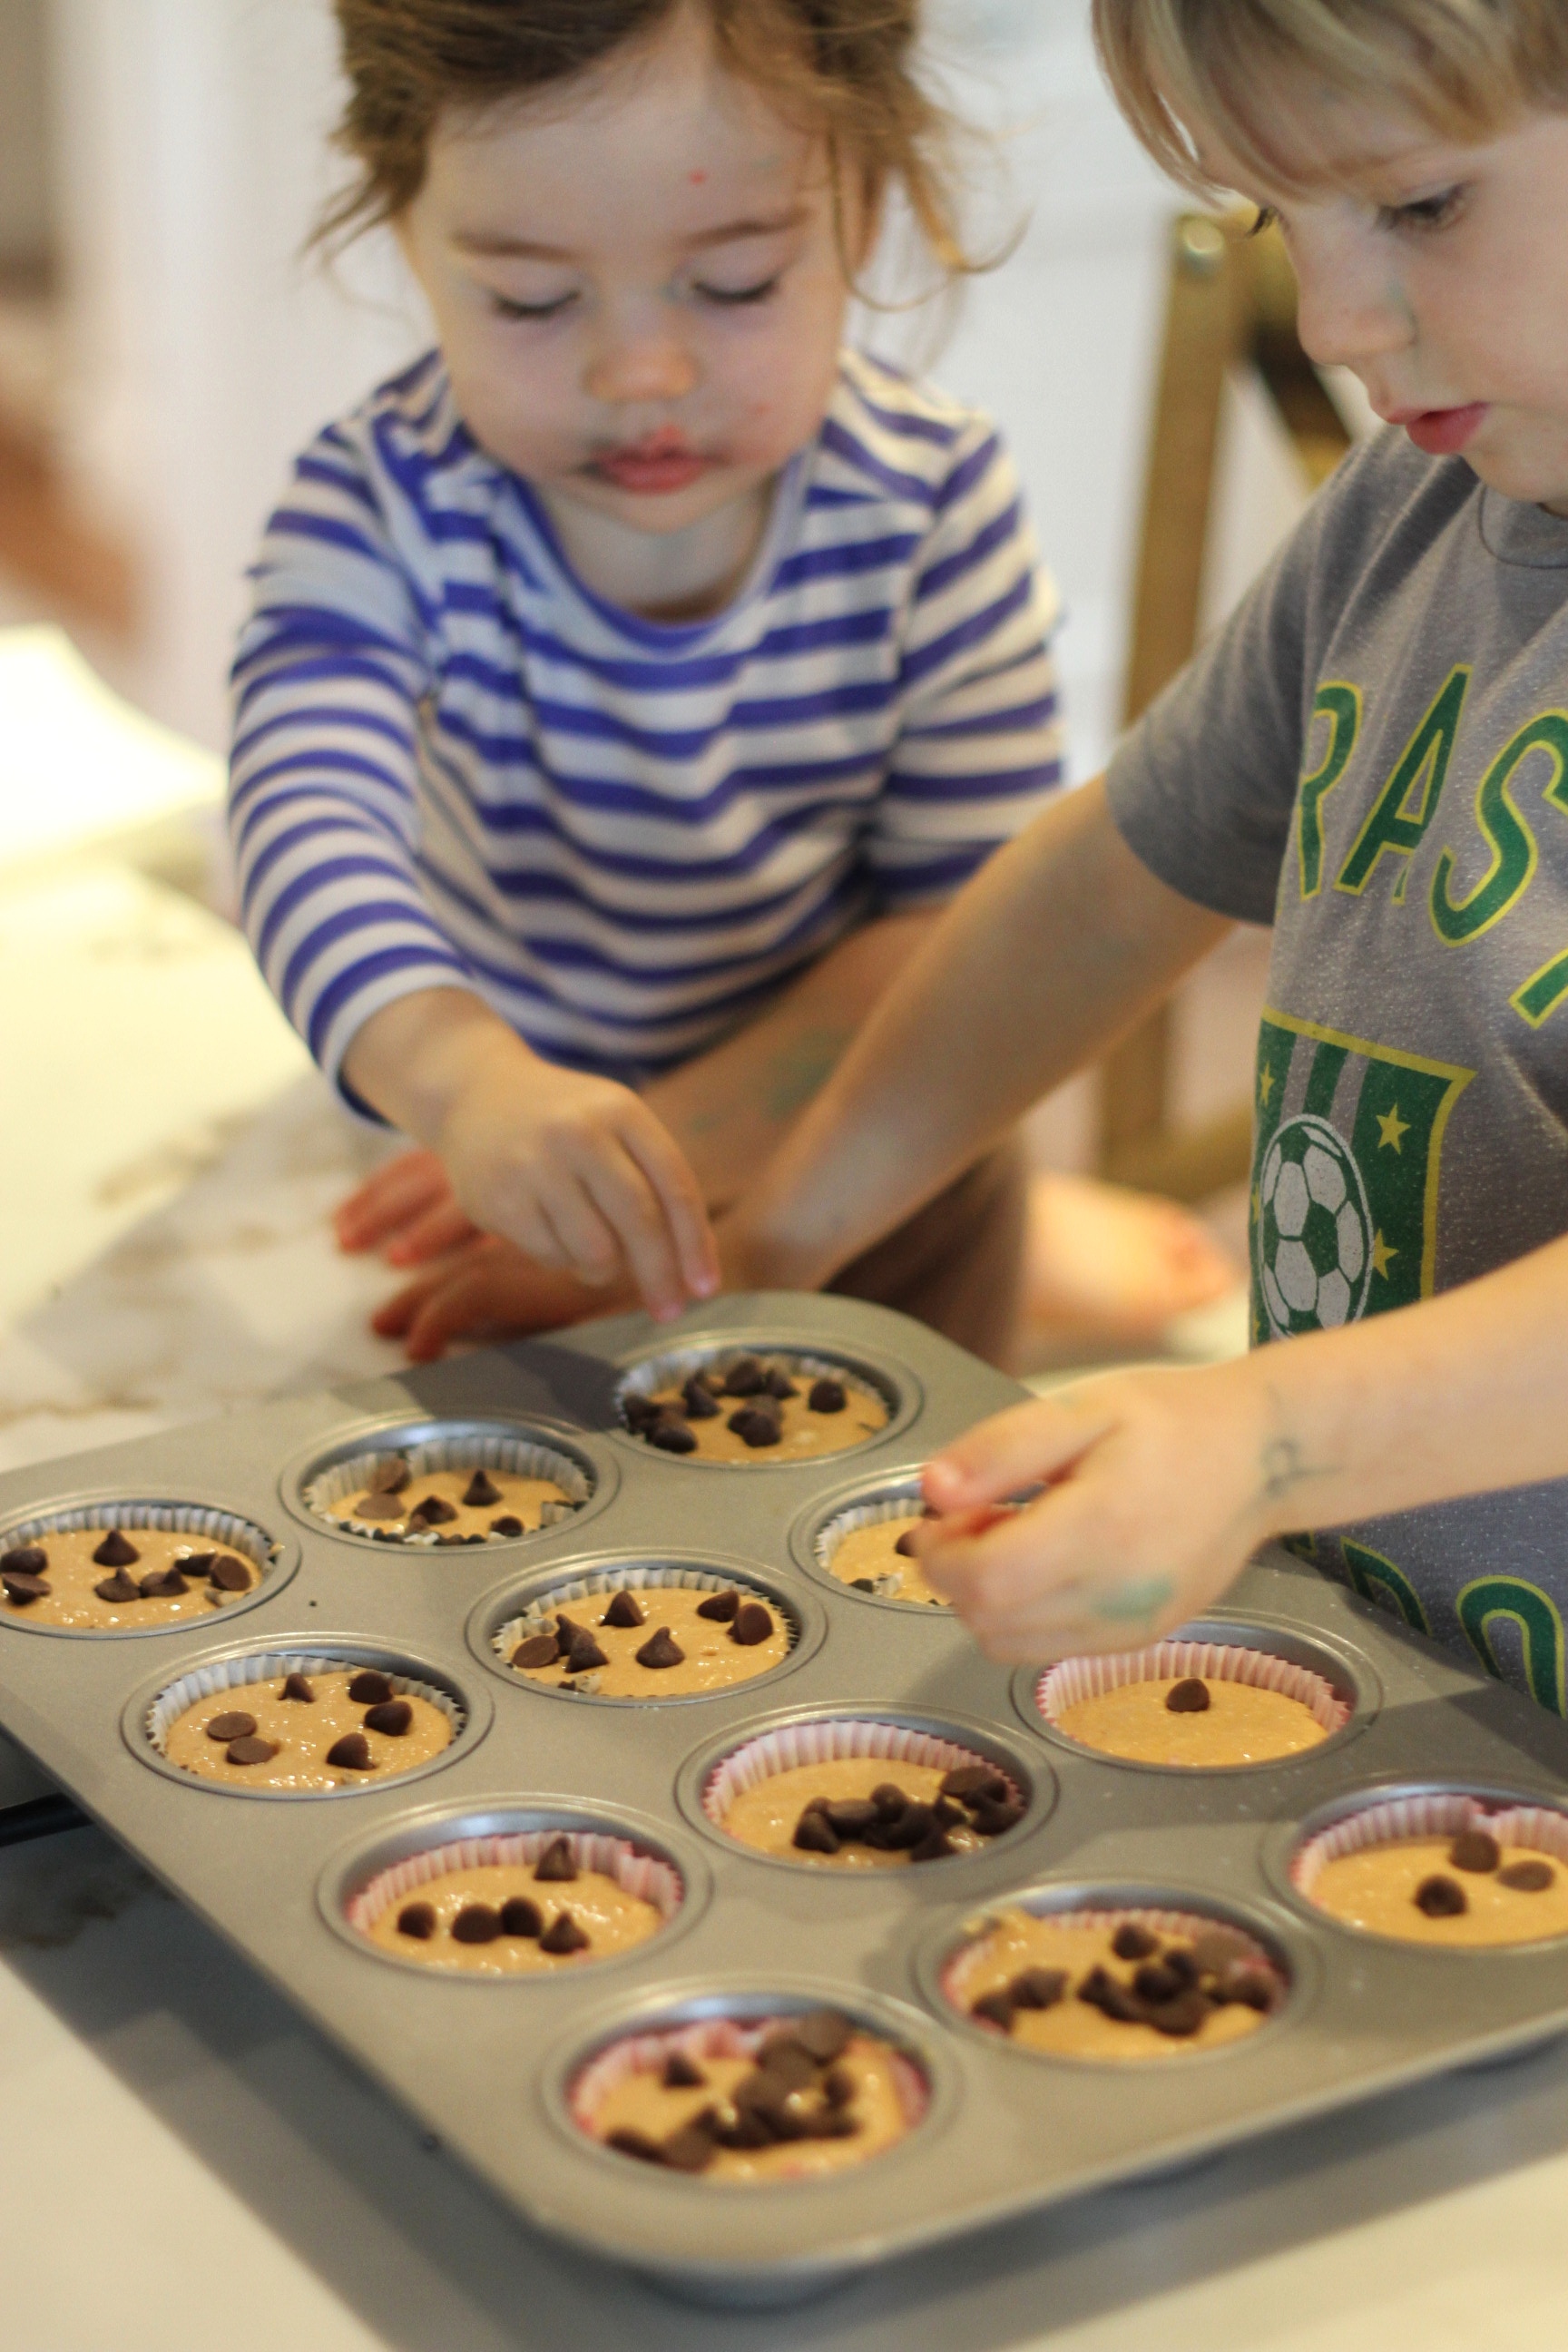
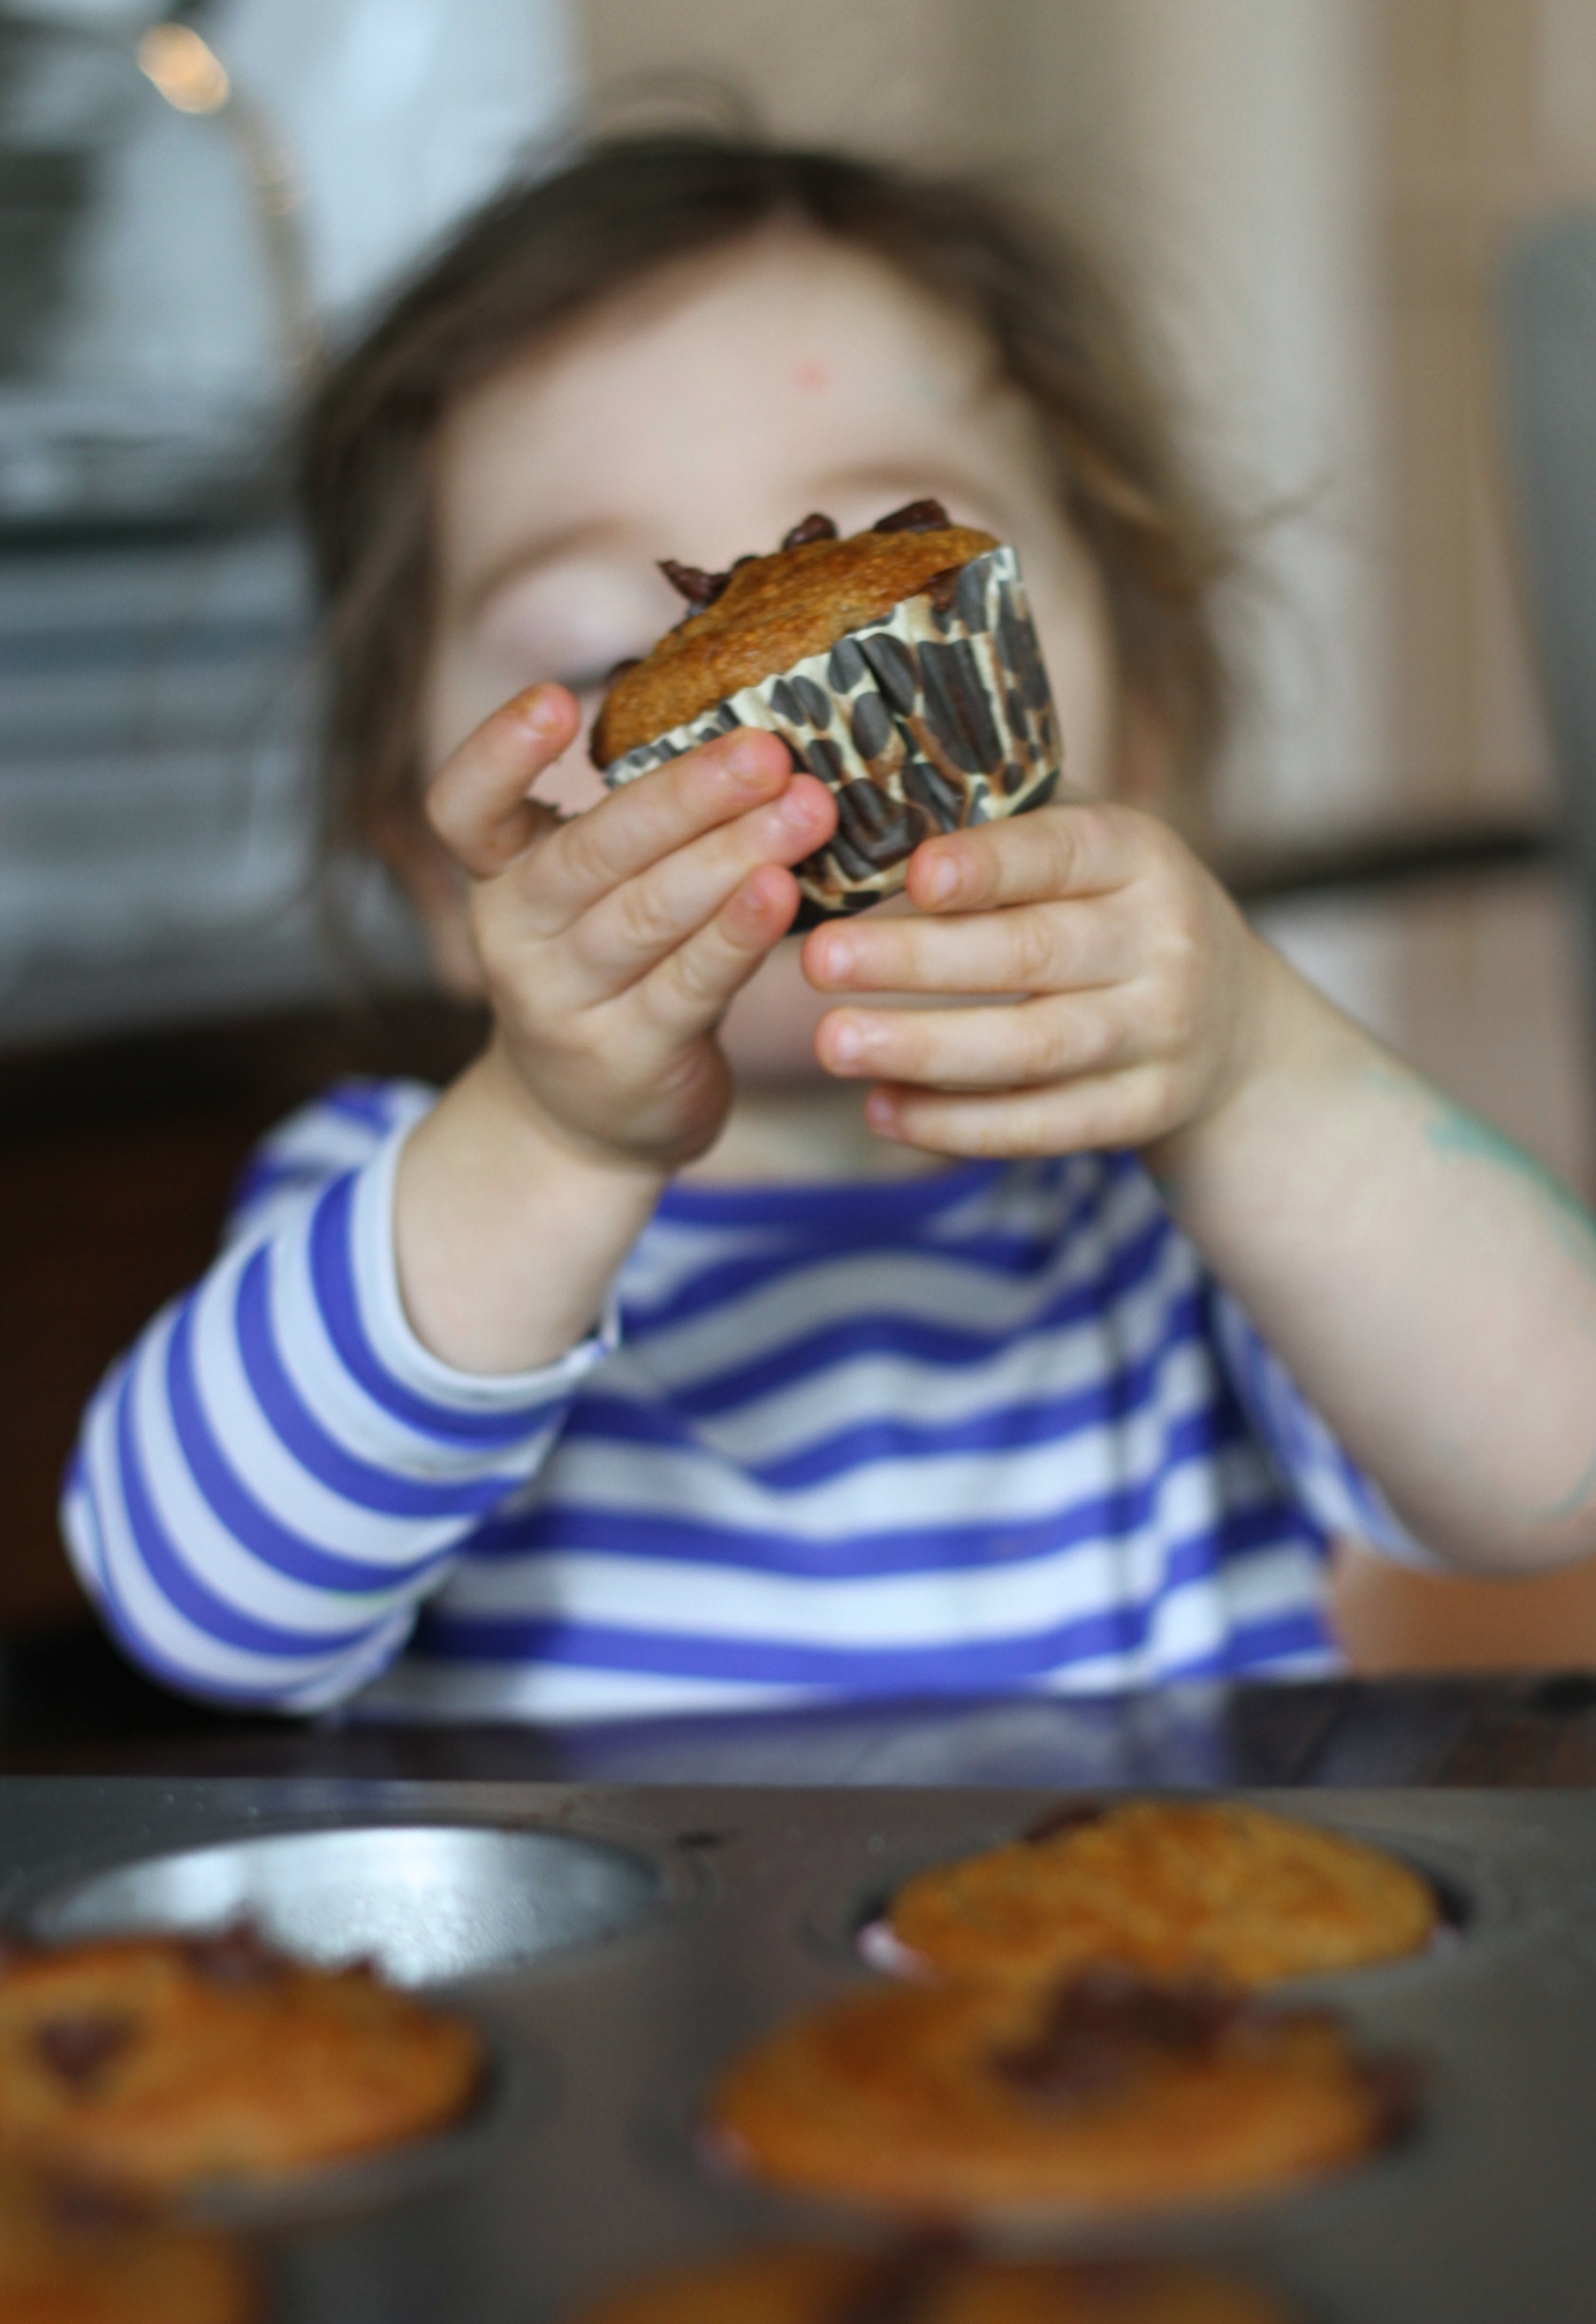
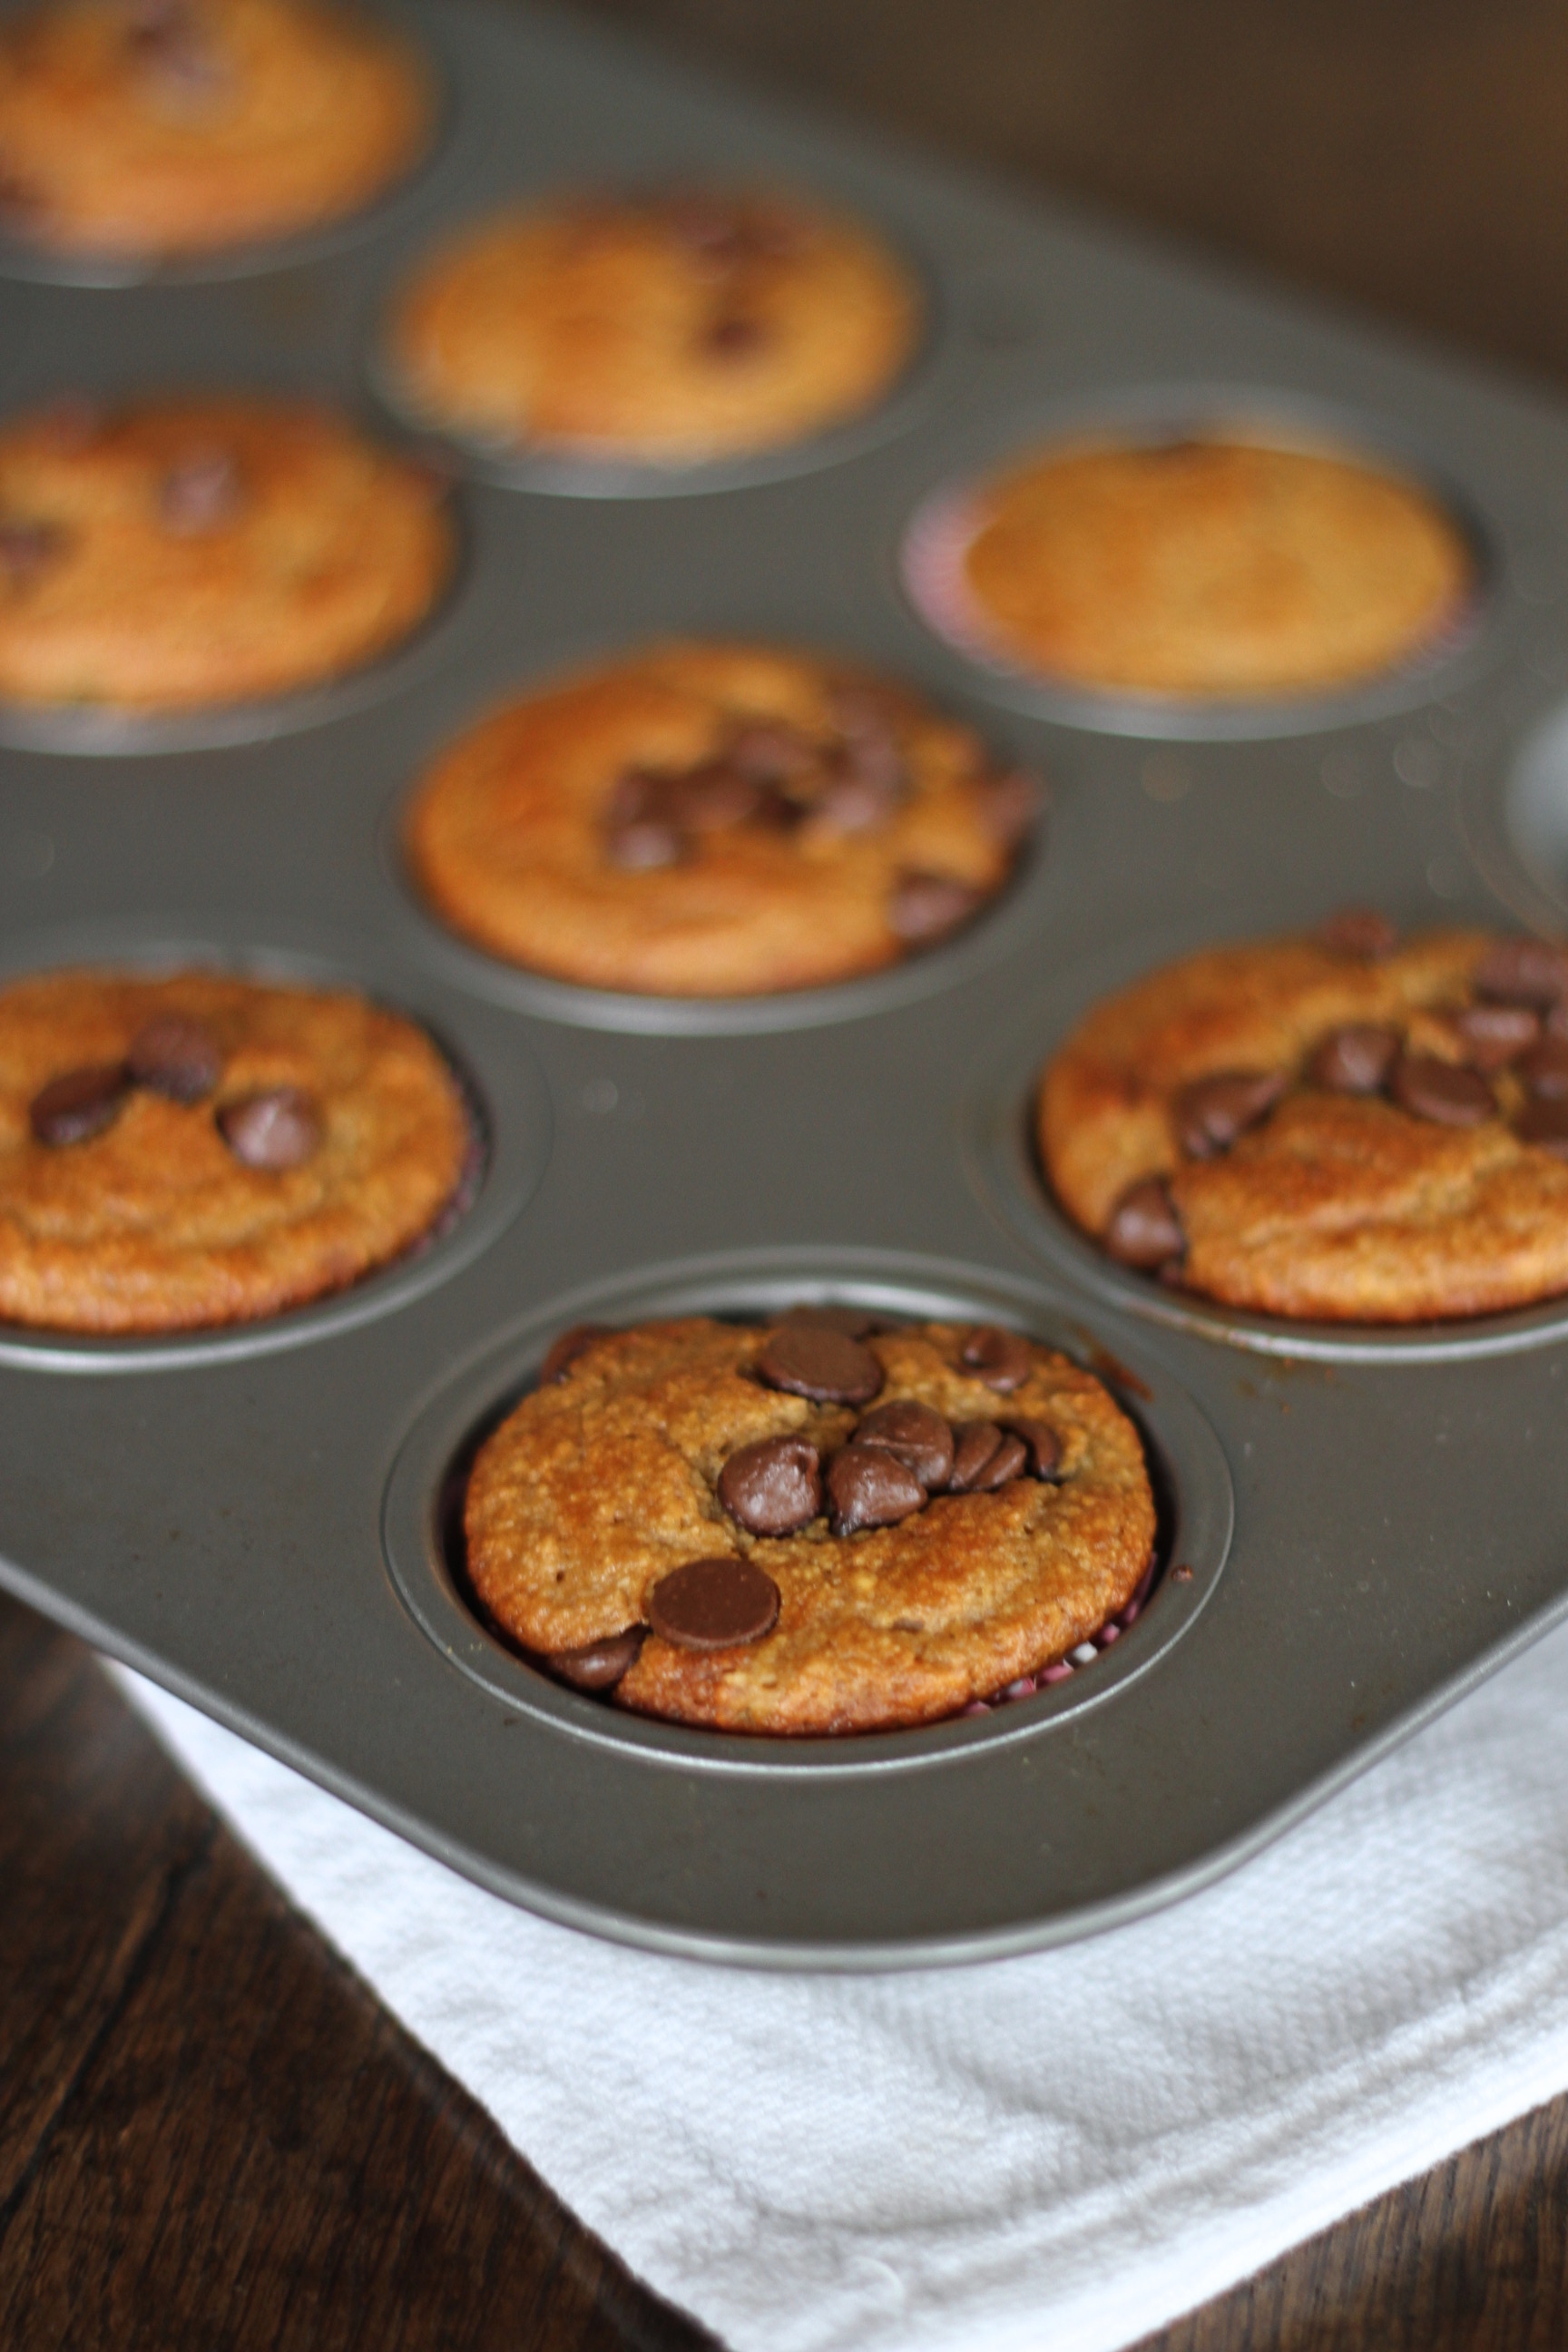
I enlisted the help of my favorite (and cutest) helpers and got to work some banana bread muffins.  The catch? They are flour, oil and butter free – and no one could tell the difference!

IMG_8723

Gluten Free Banana Bread

recipe via The Well Traveled Wife

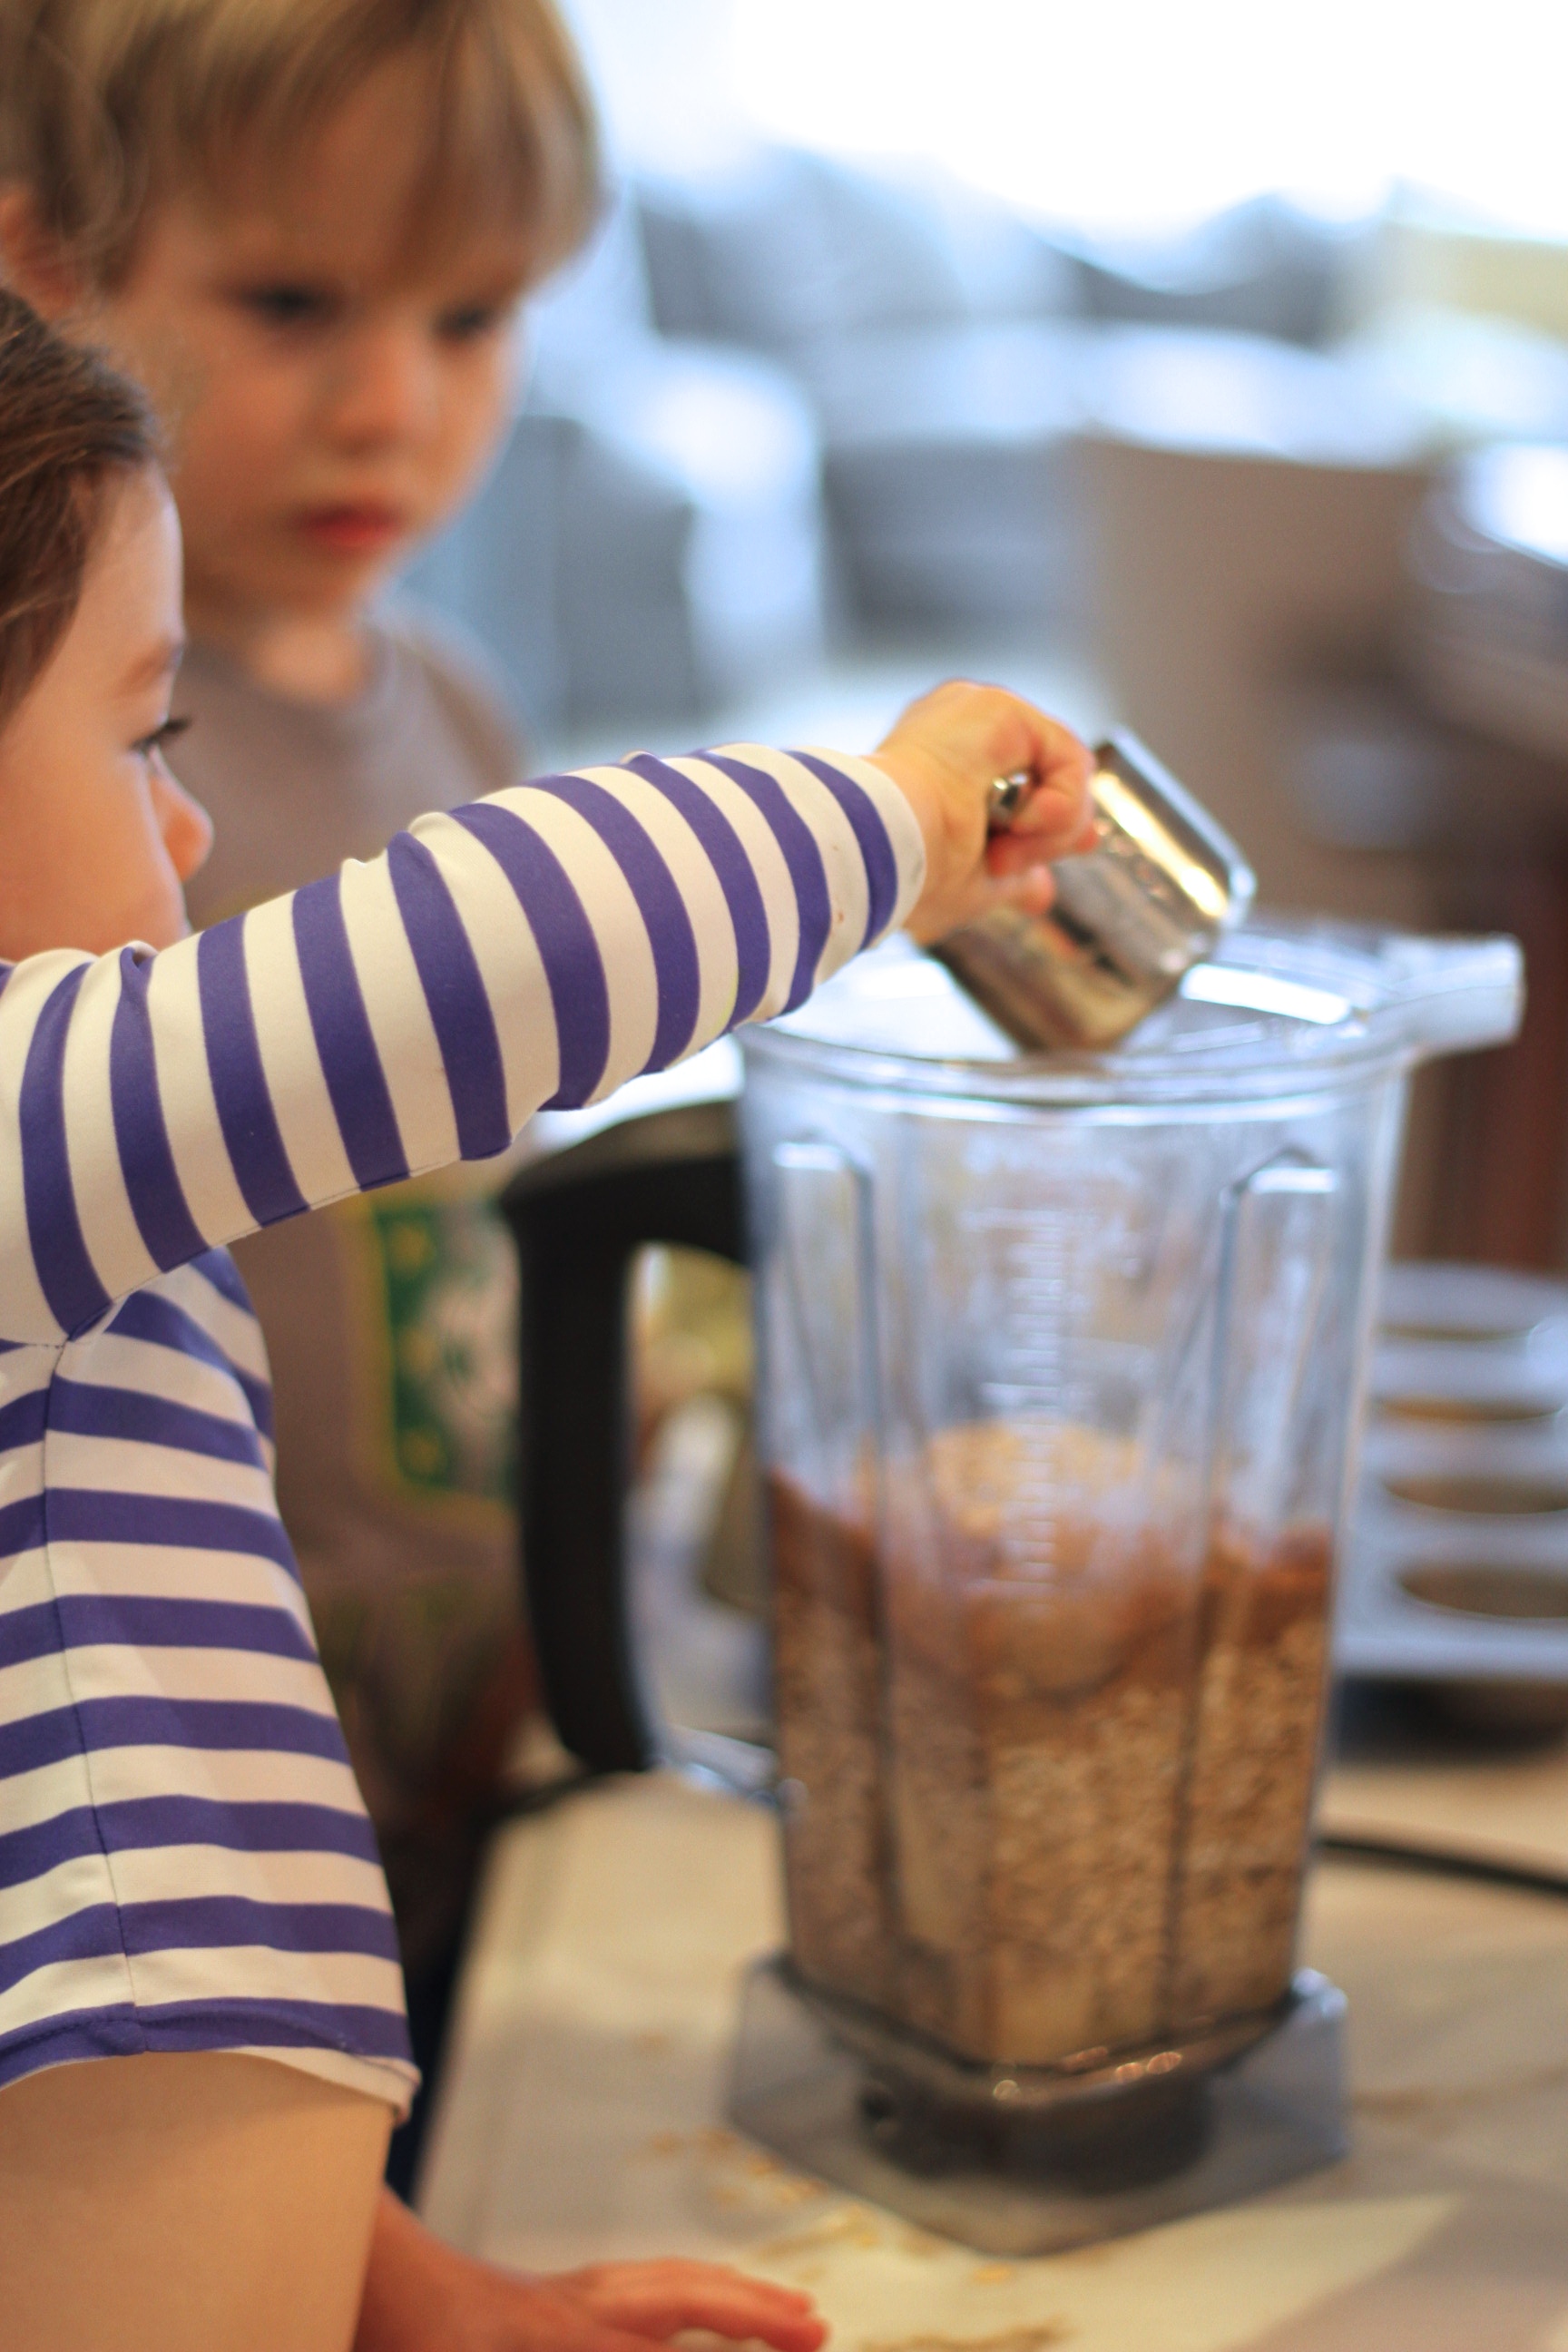
  • 2 1/2 cups gluten free old fashioned oats (you can use normal oats if you don’t care about GF)
  • 1 cup plain greek yogurt
  • 2 eggs
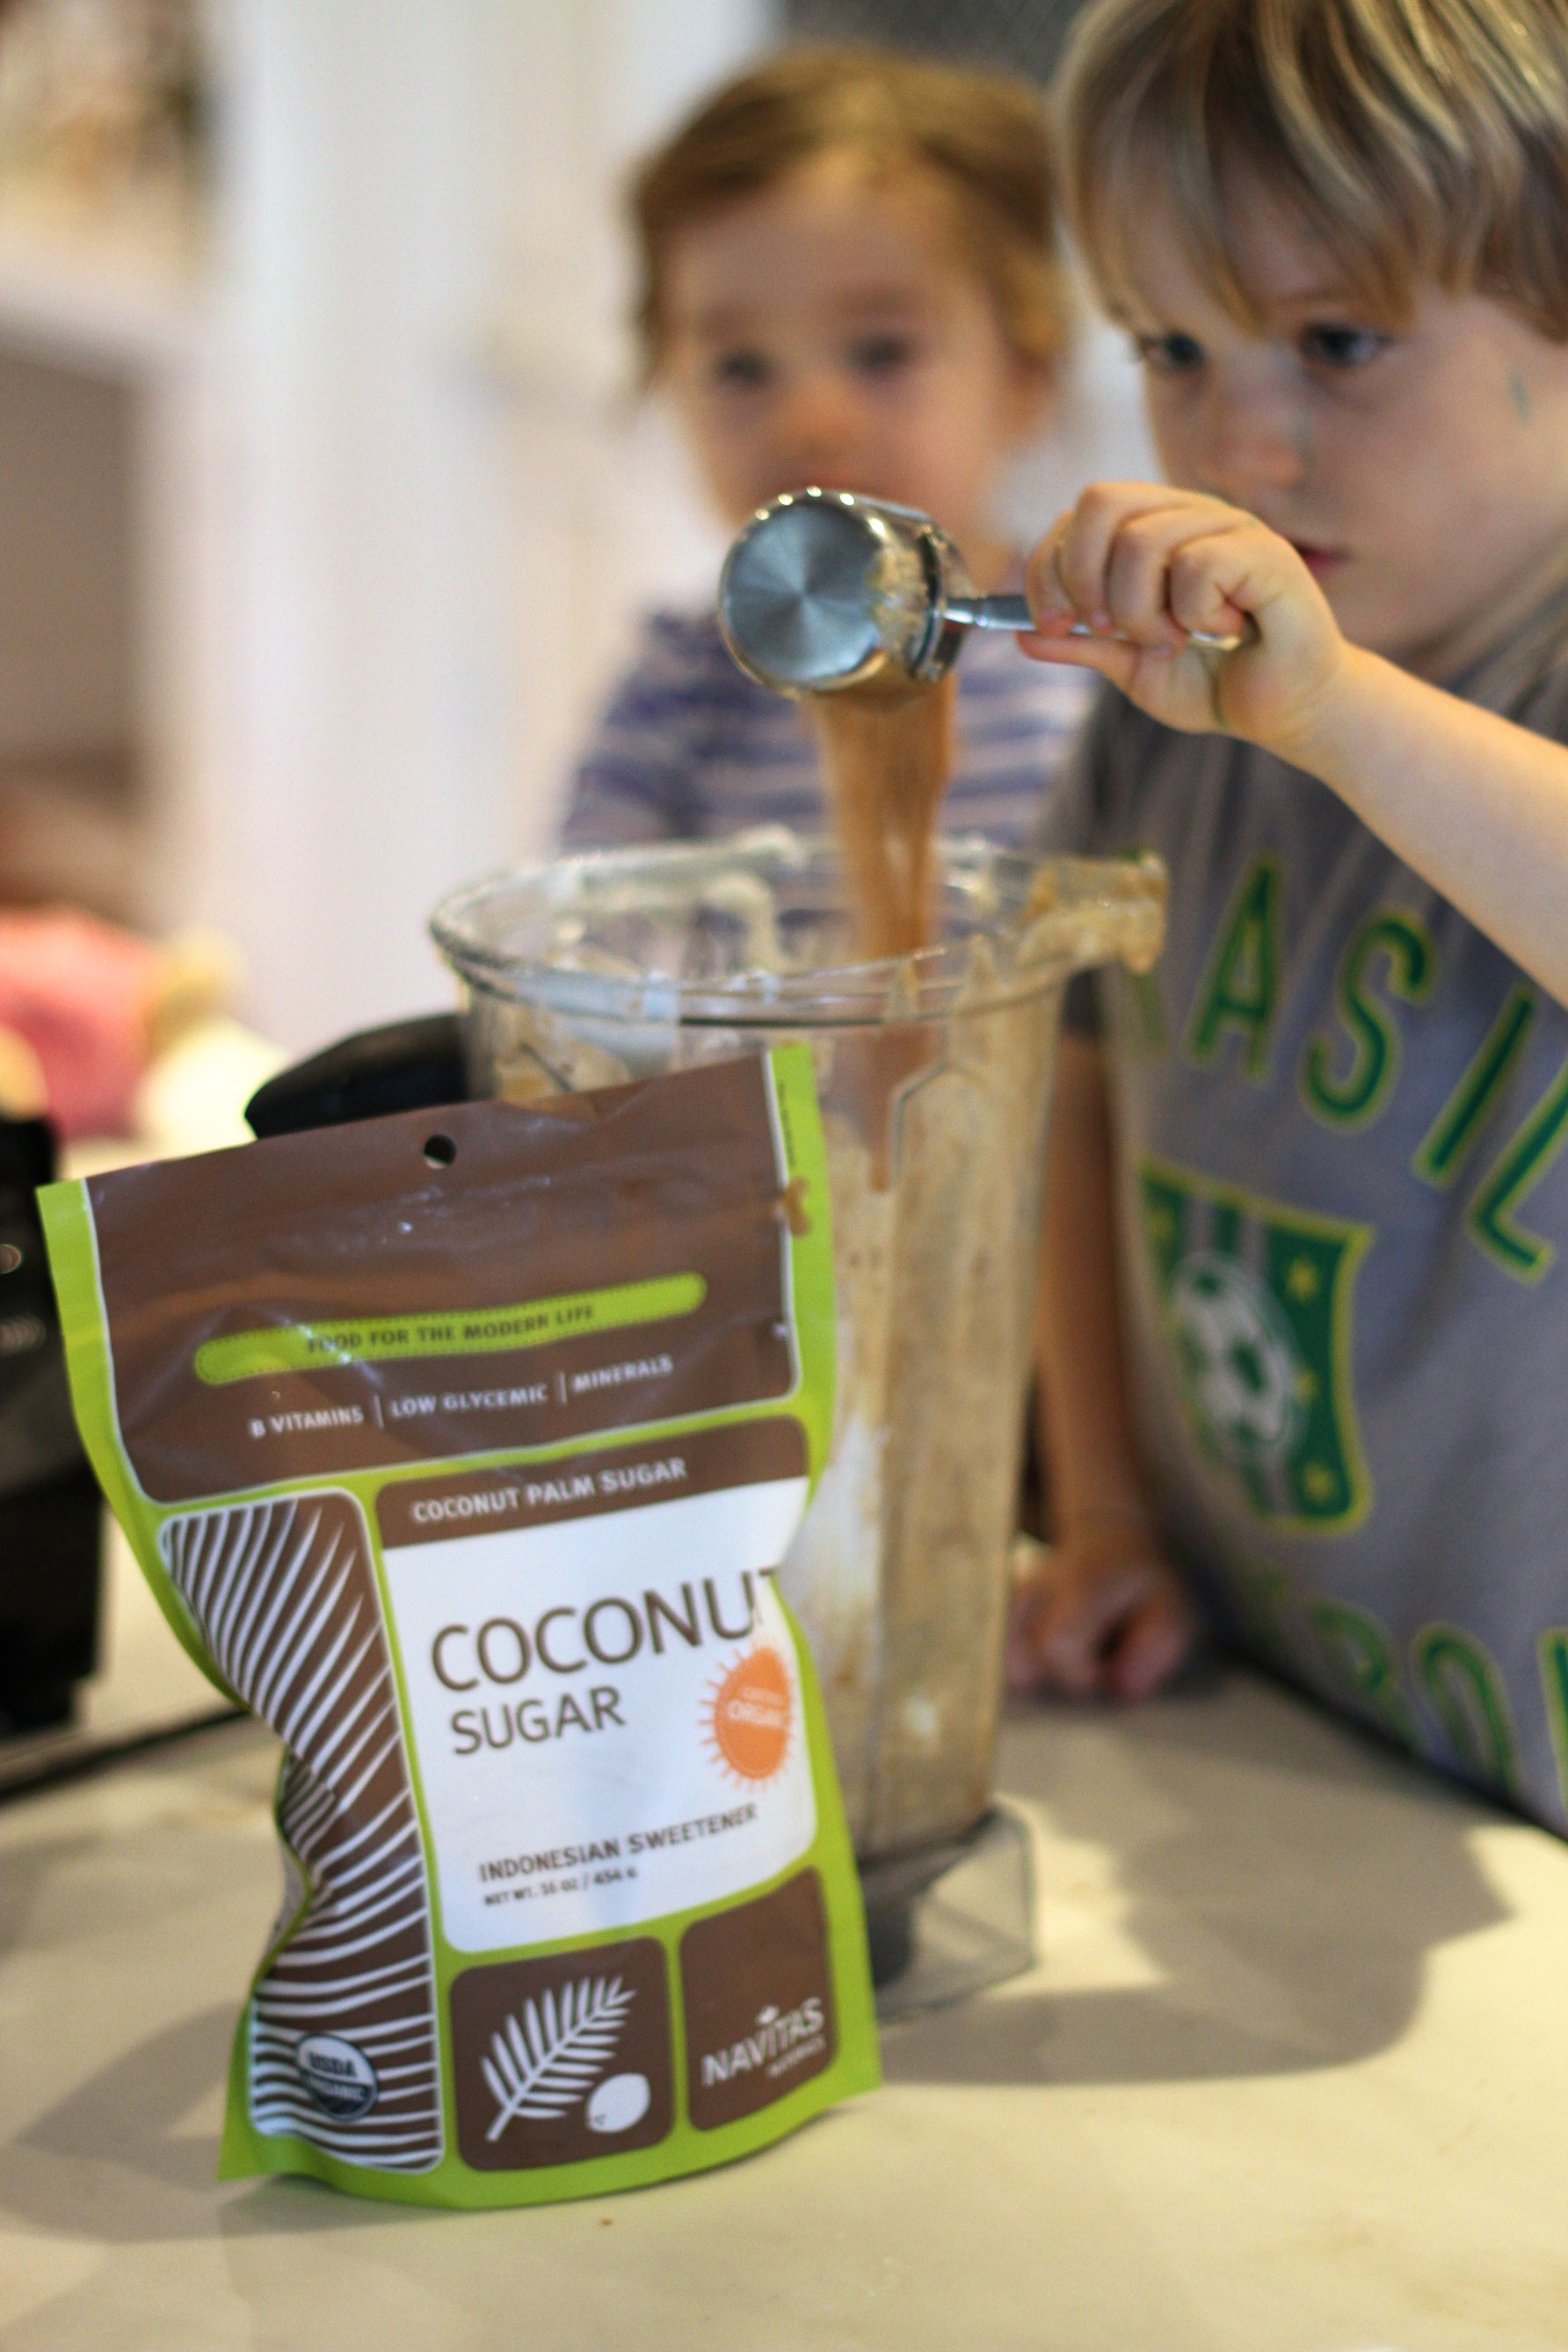
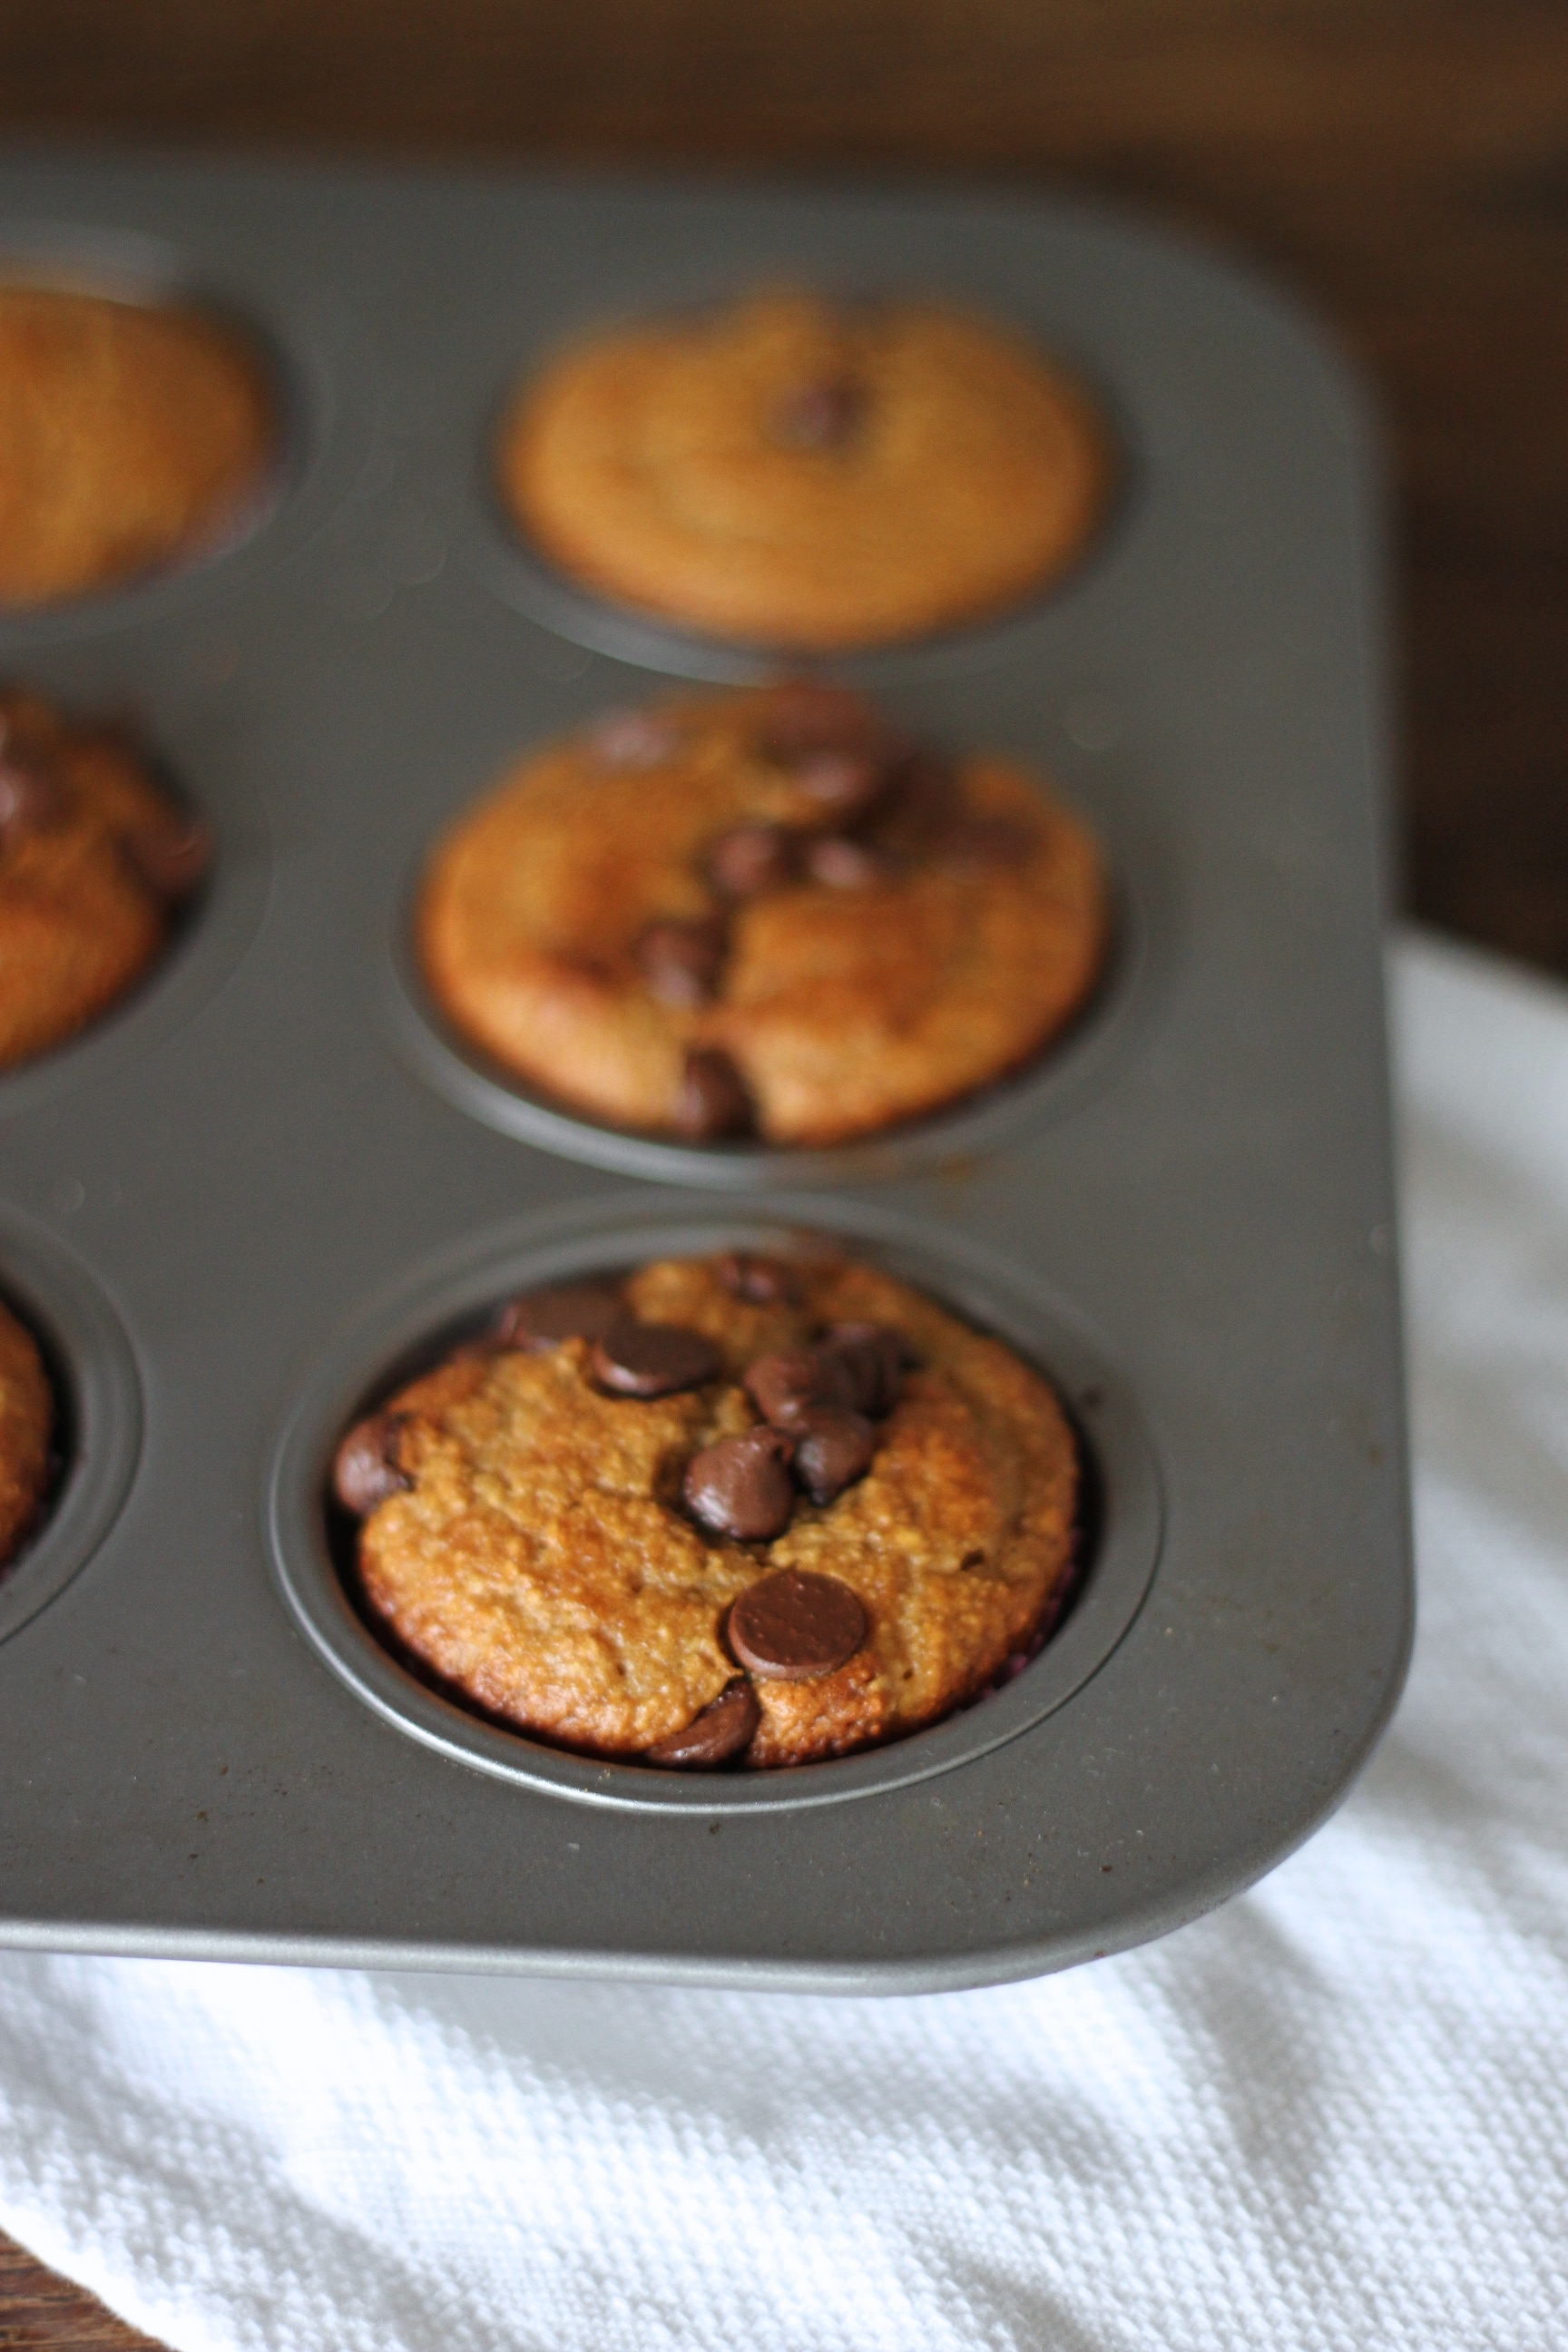
  • heaping 1/2 cup sugar (I used coconut sugar – hence the dark color – for a healthier sweetener alt.)
  • 1 1/2 teaspoon baking powder
  • 1/2 teaspoon baking soda
  • 2 ripe bananas
  1. Preheat oven to 400 degrees.
  2. Line muffin tins with liners or non-stick cooking spray.
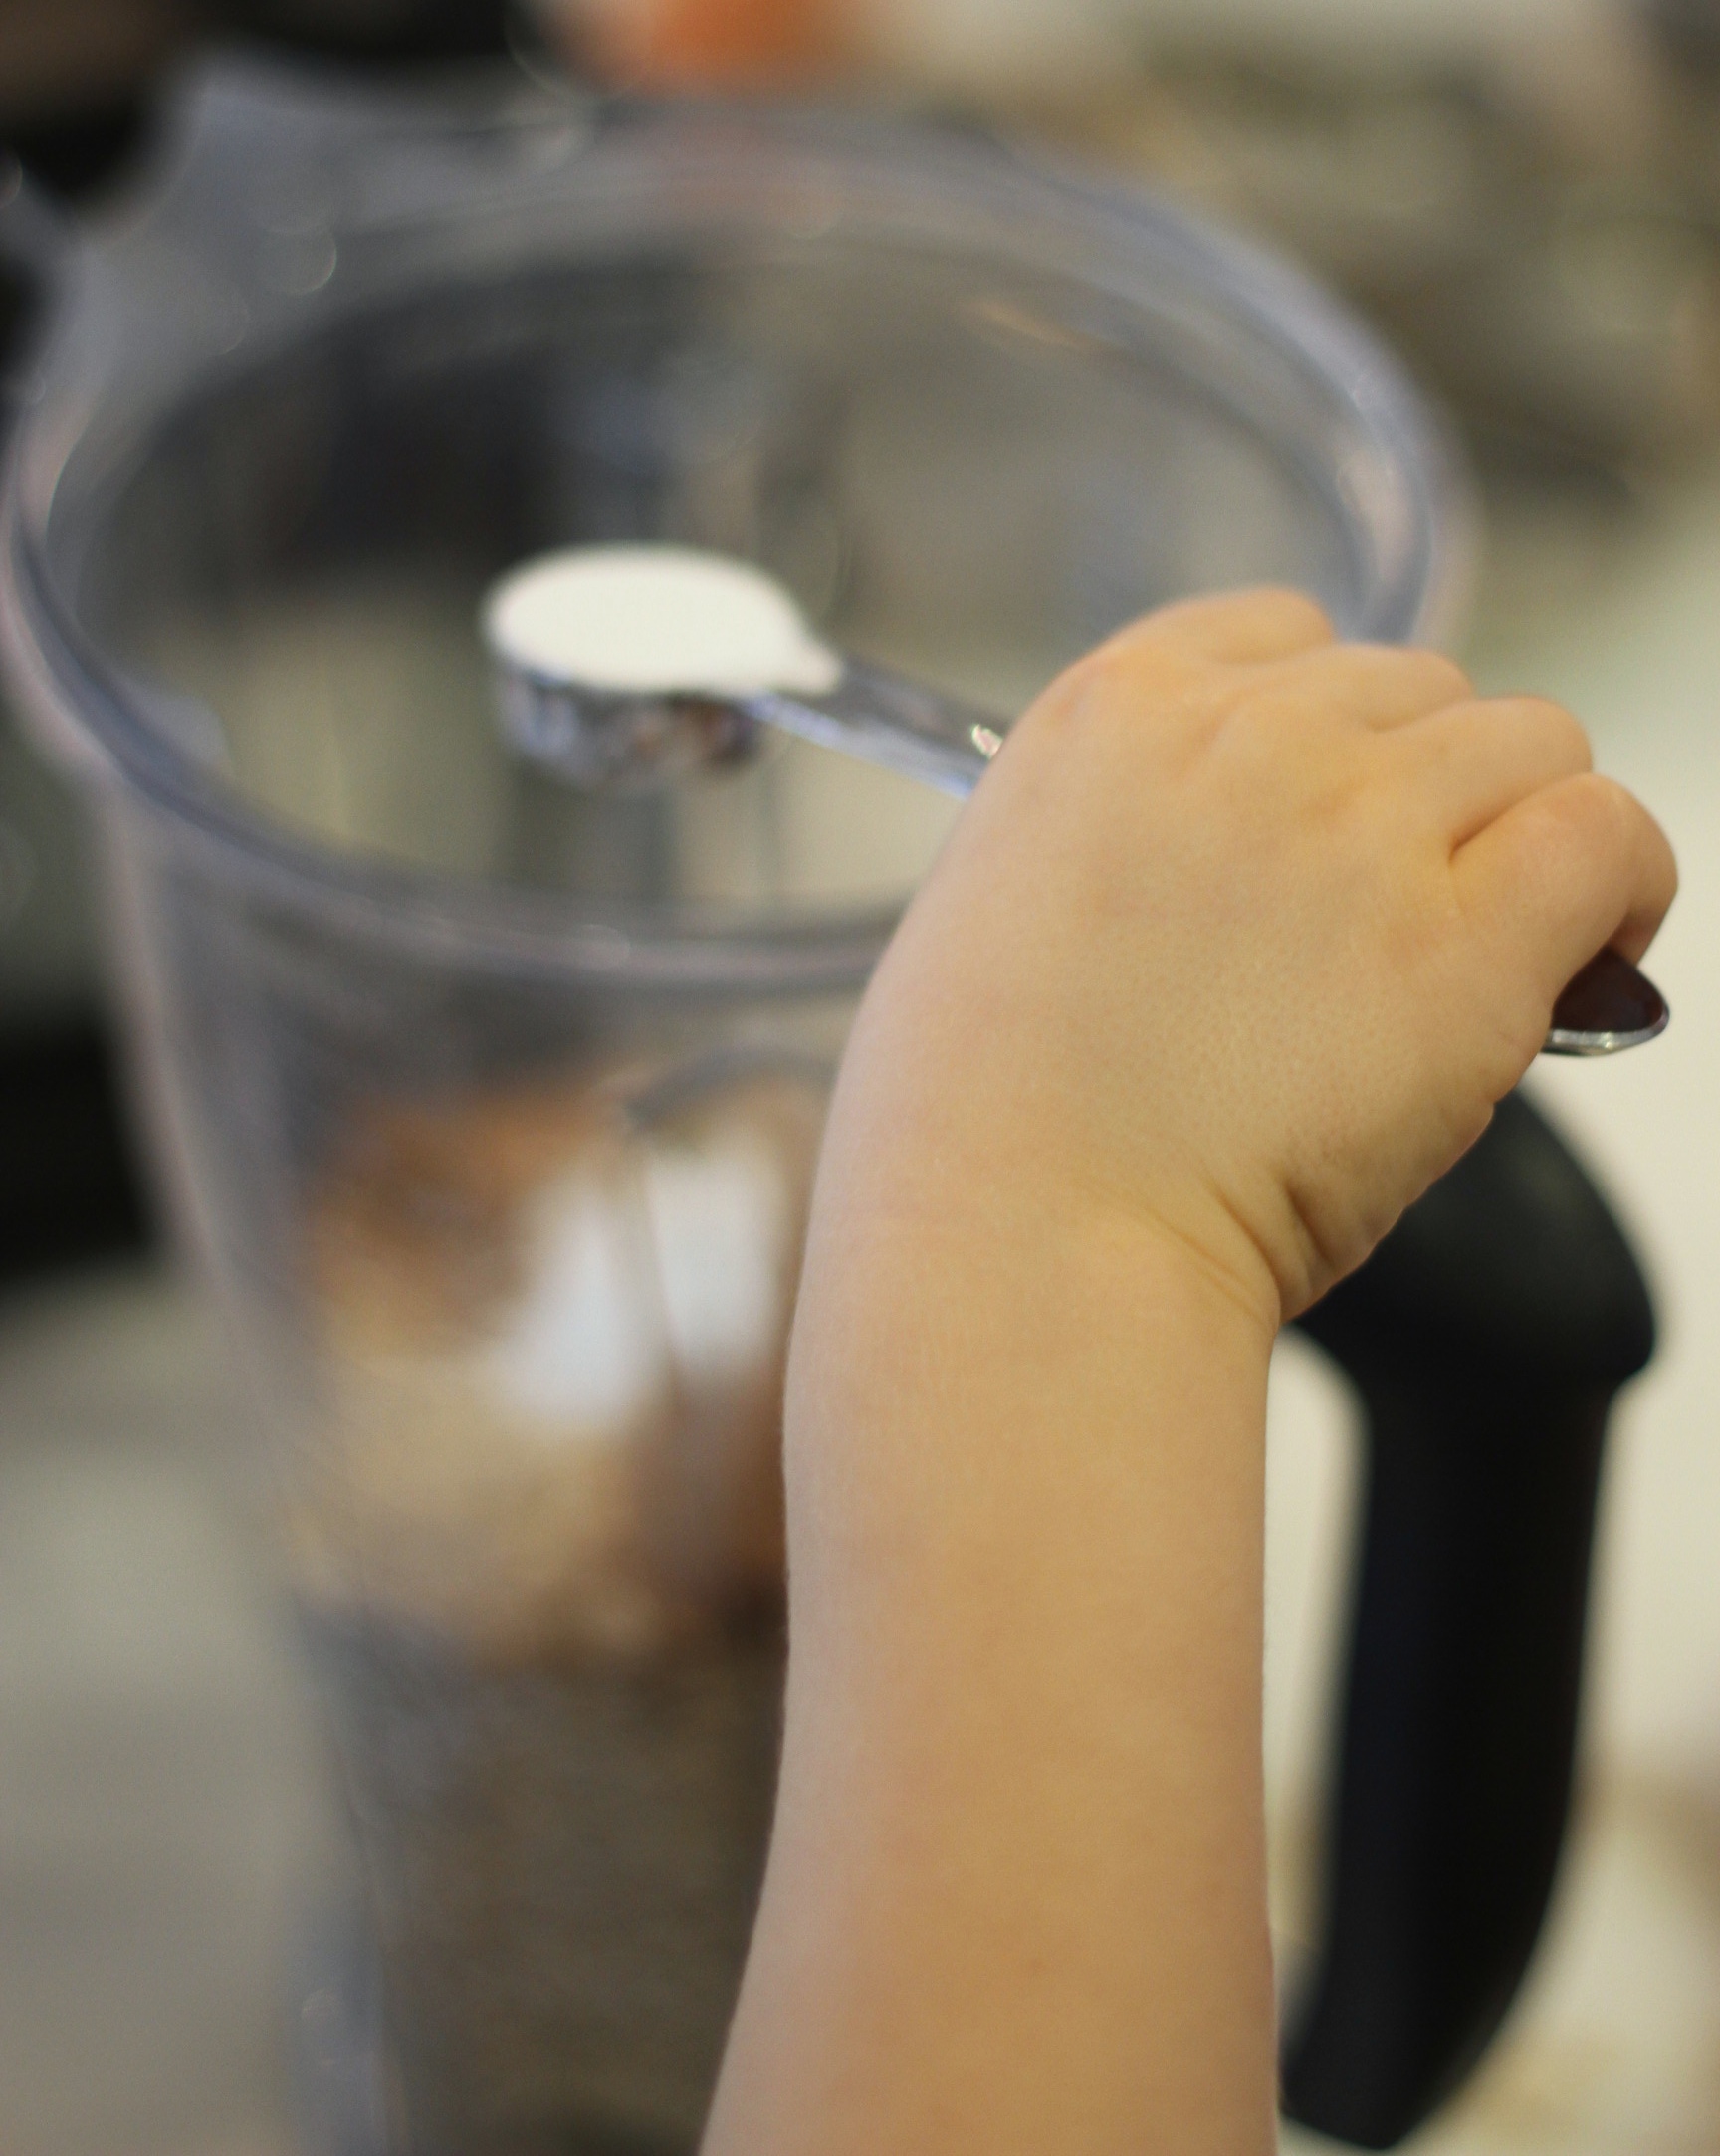
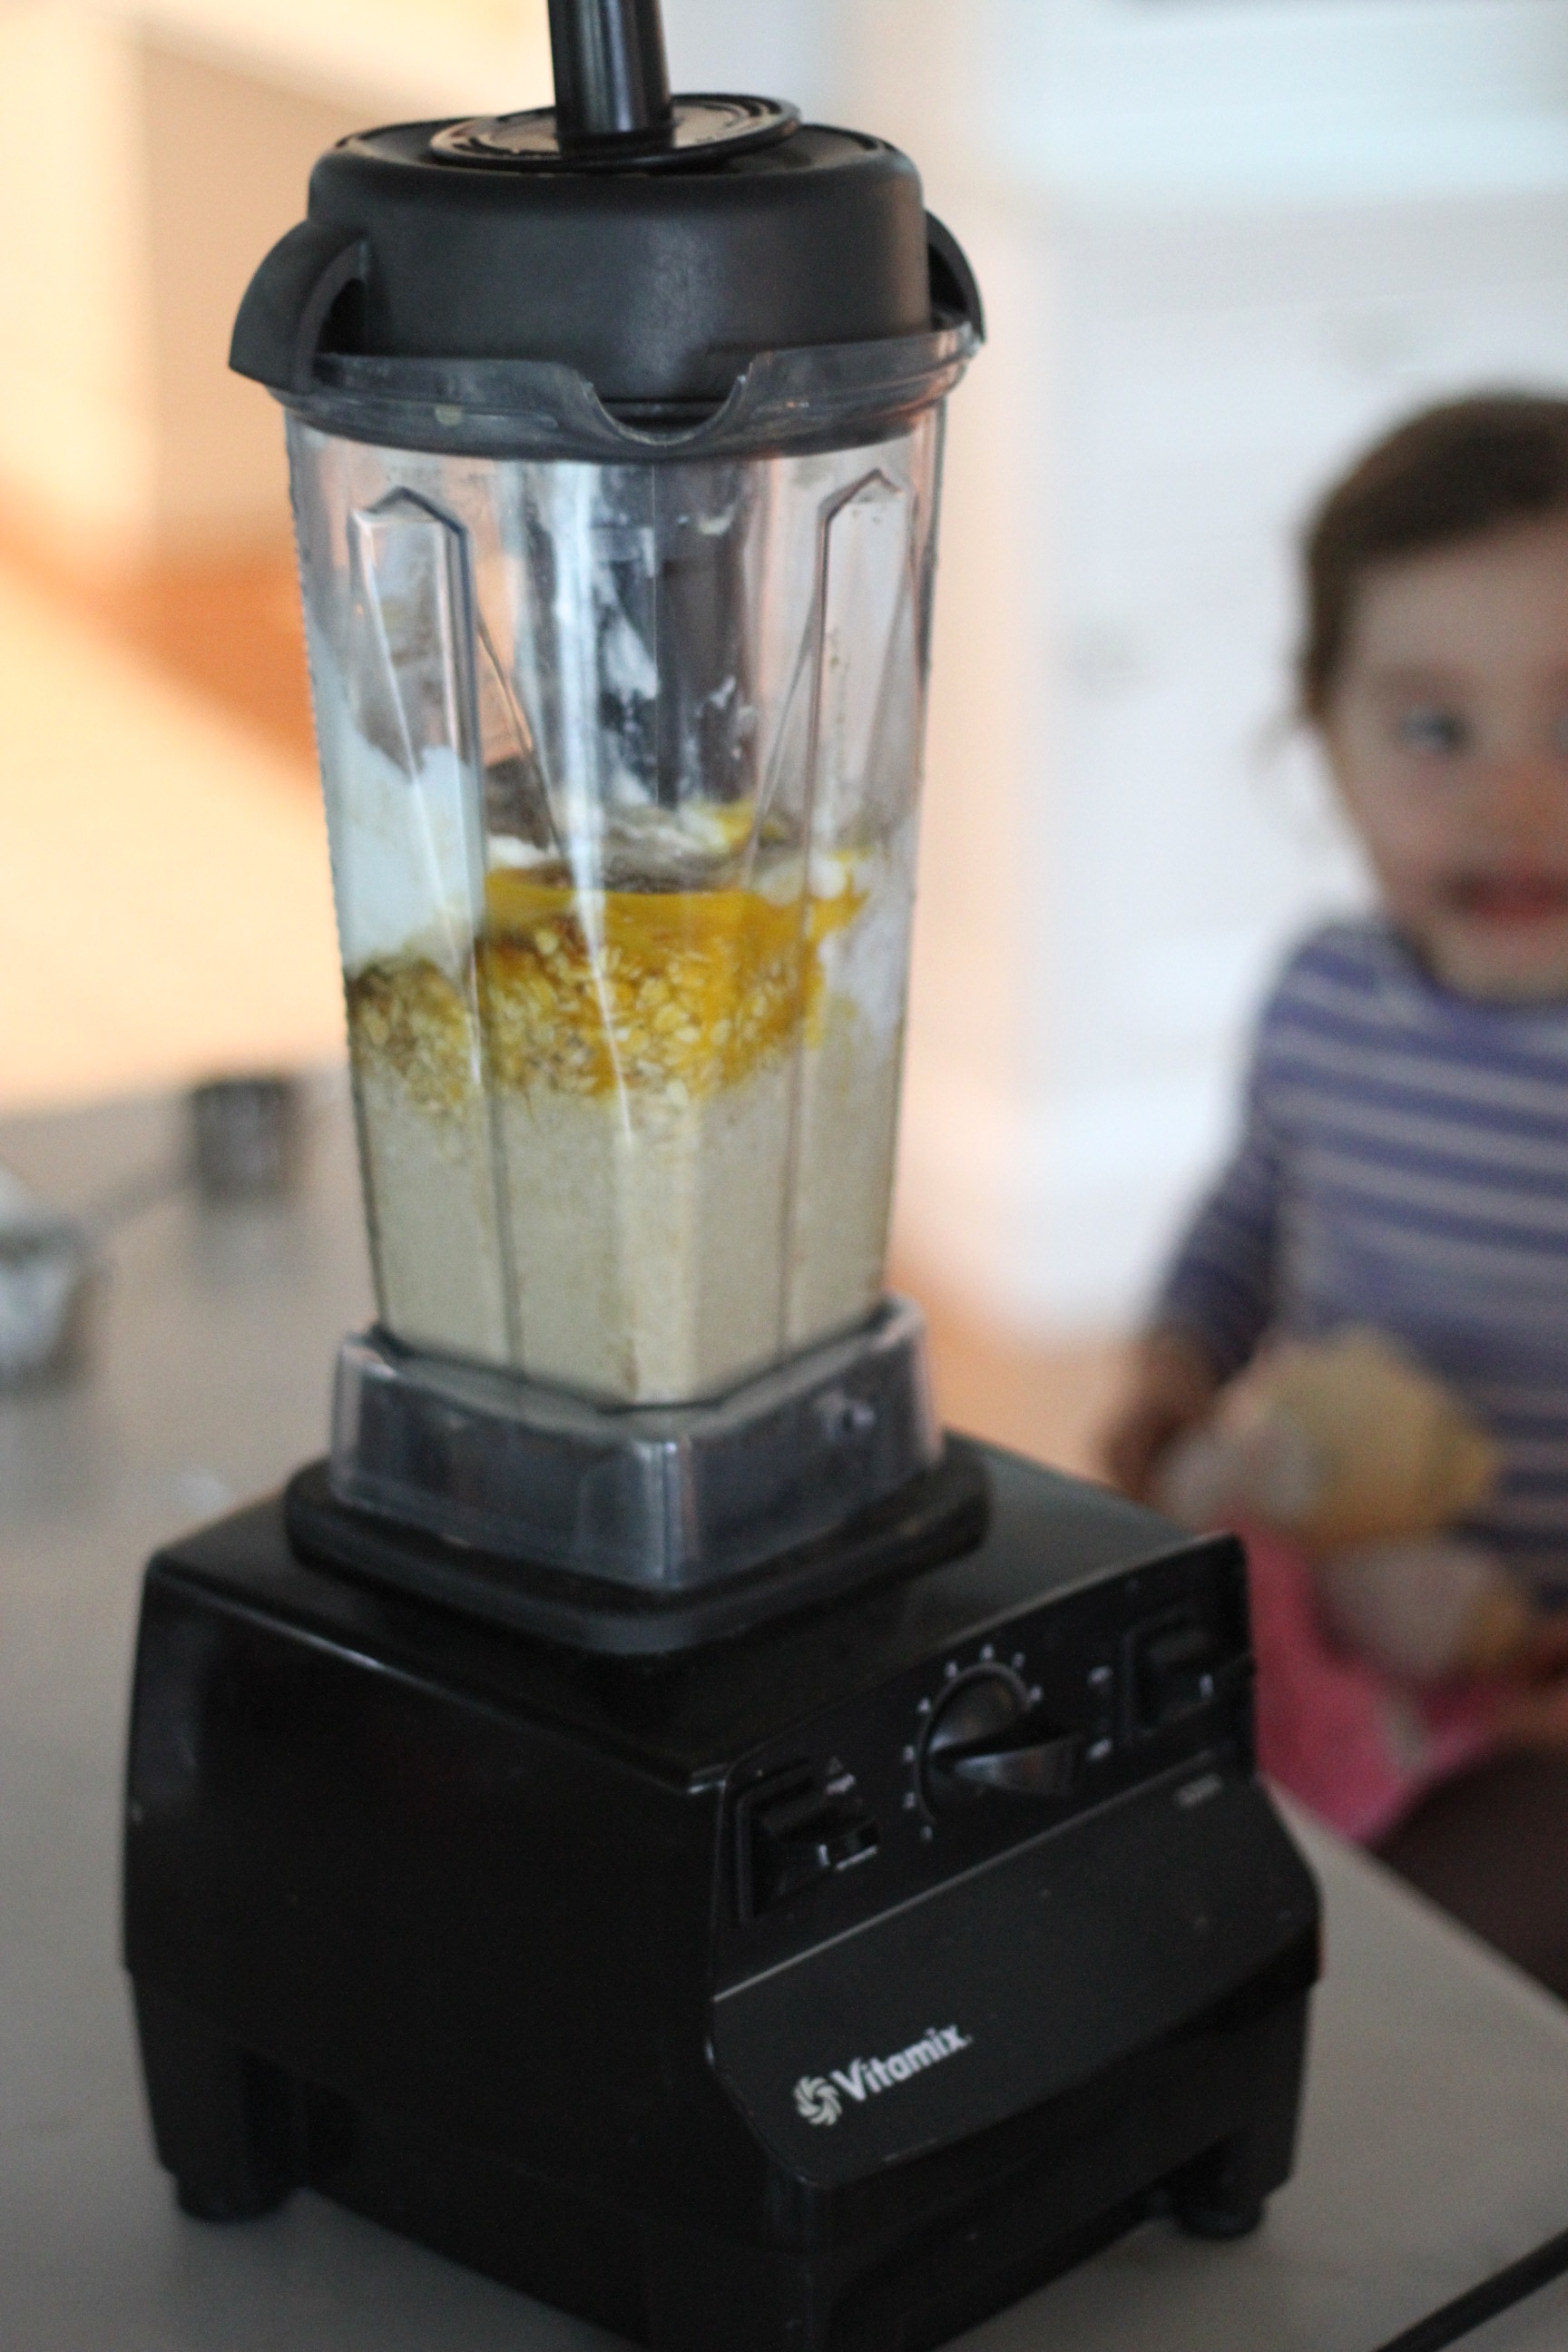
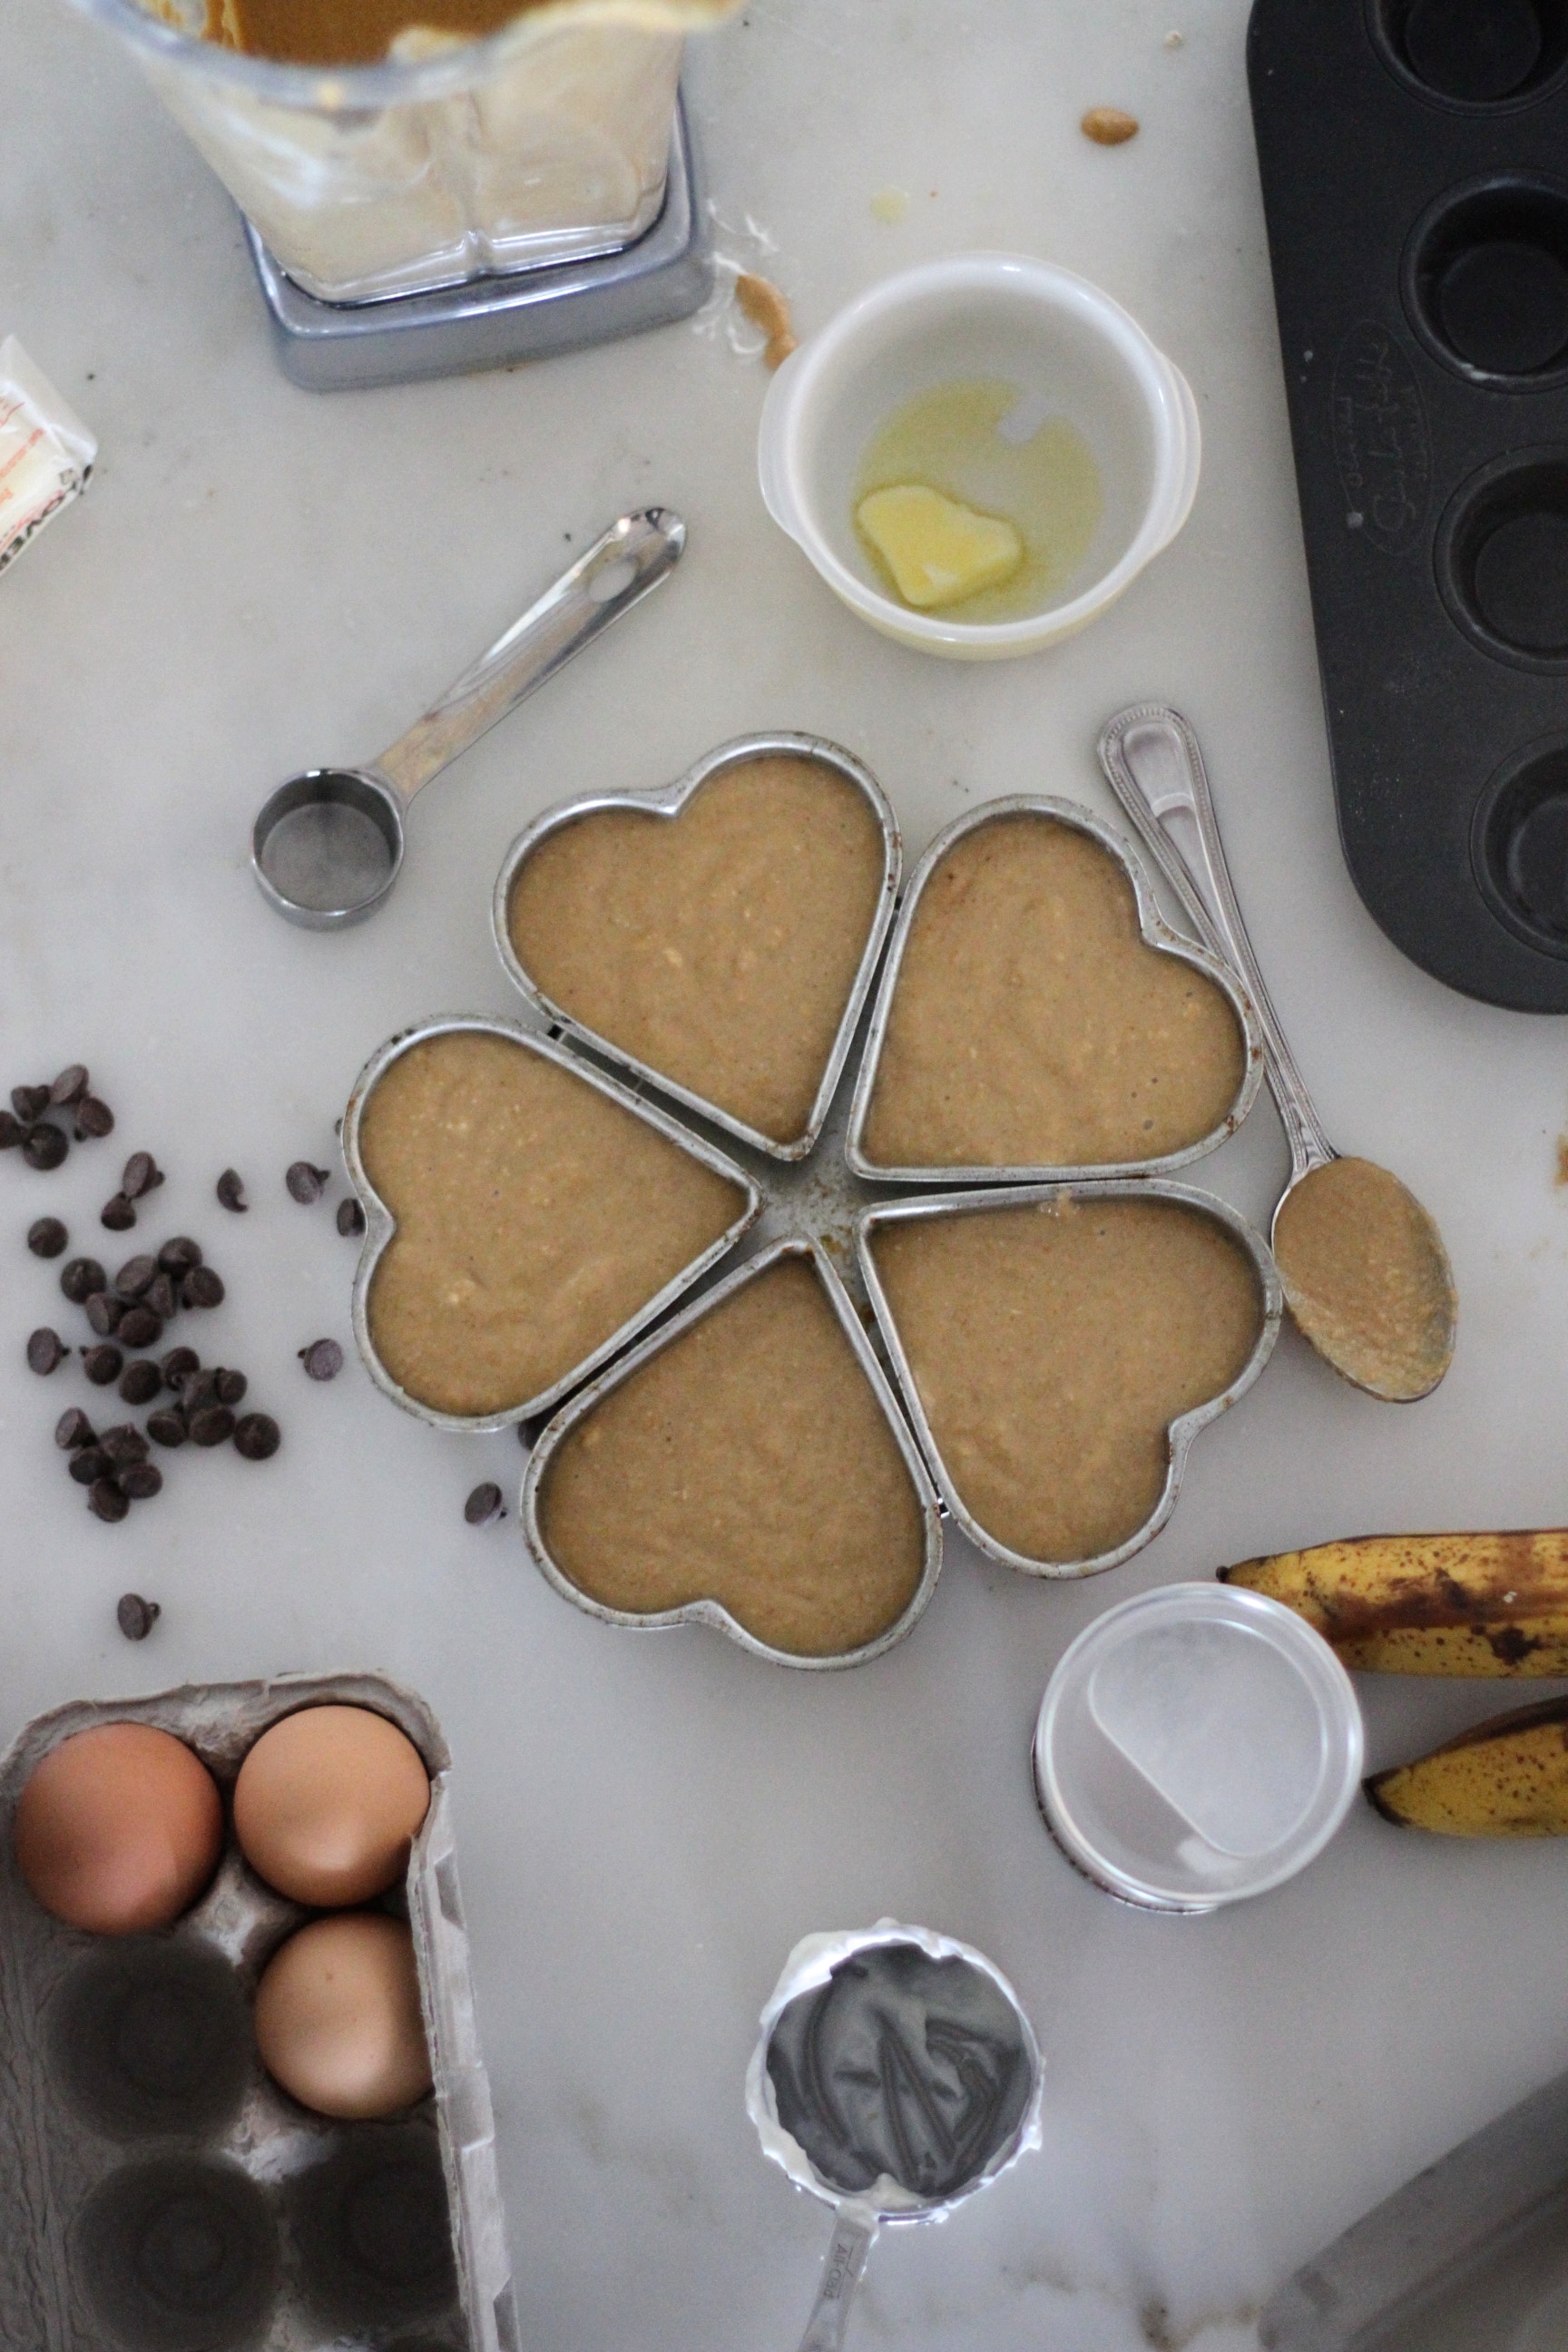
  3. Place above ingredients into a blender and mix until smooth (it works best to add the oats last, working with a cup at a time).
  4. Pour batter into muffin tins.
  5. Top with chocolate chips (optional)
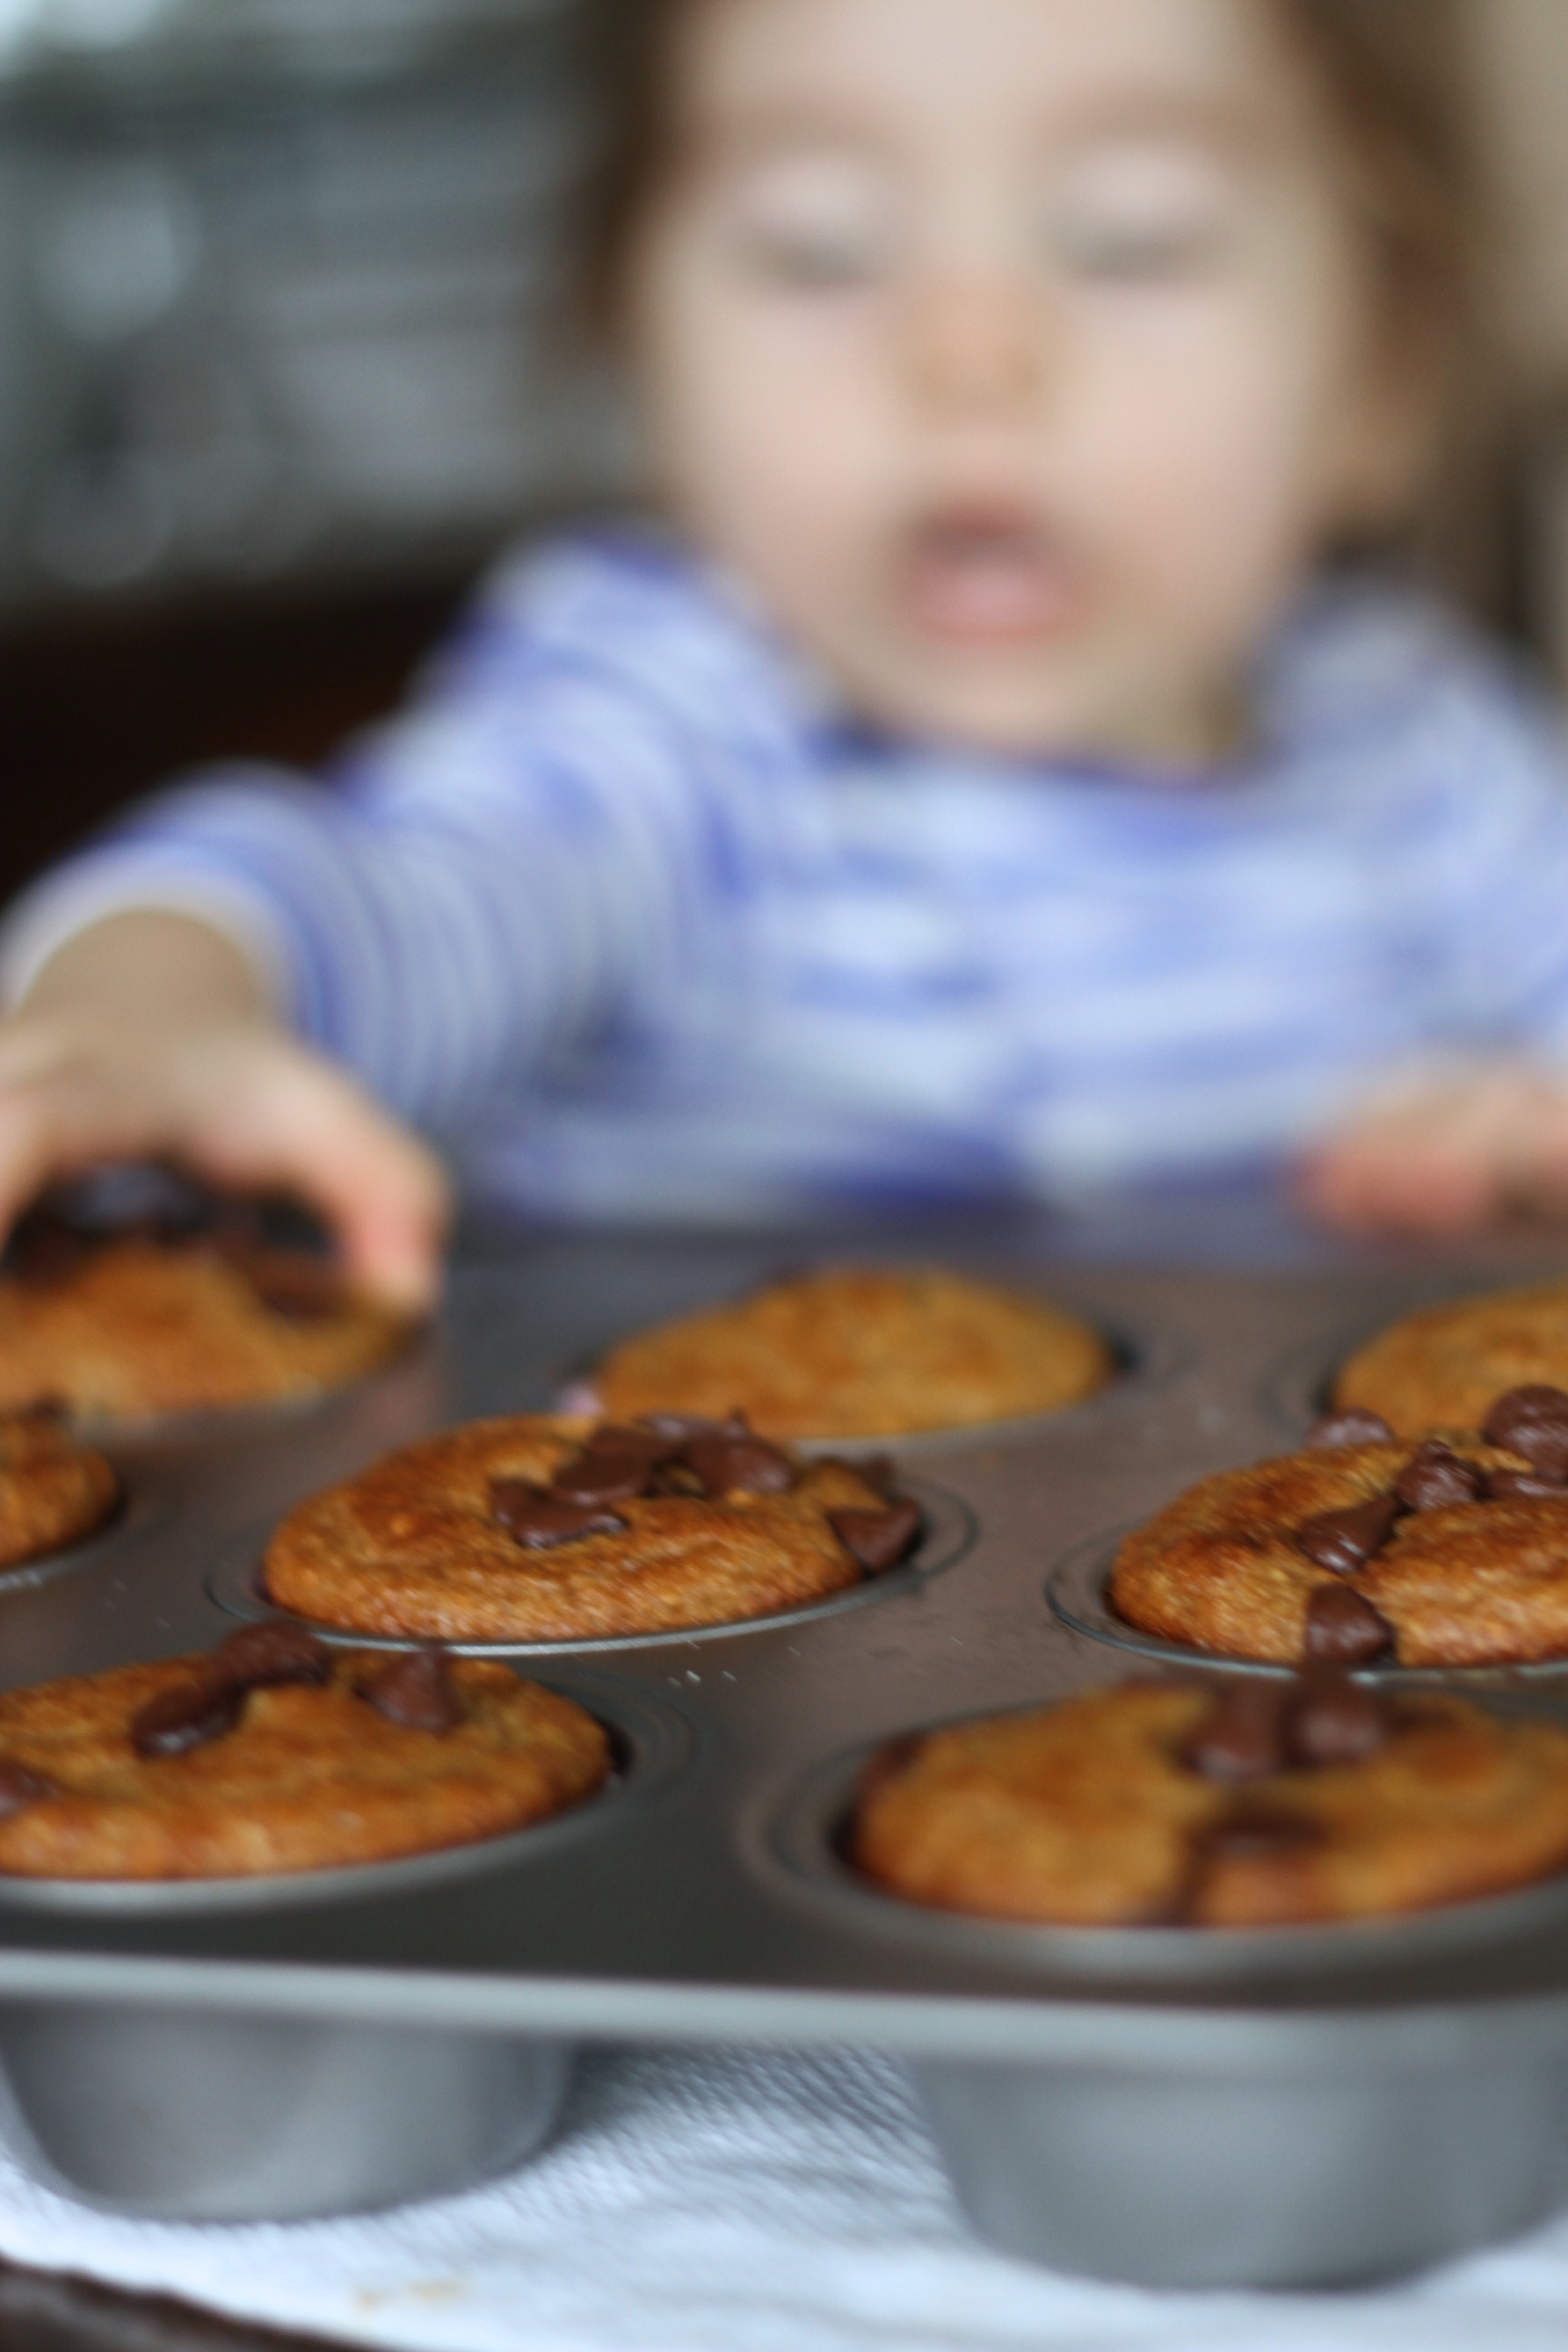
  6. Bake for 13-15 minutes or until toothpick comes out clean.

IMG_8679

A few tips:

  • You can fill the muffin tins pretty much up to the top.  They do not rise too much.
  • Do not overcook muffins.  It’s better to under-cook them a bit (they will cook a bit more once removed from the oven) – because they will end up chewy and tough.
  • These are great to make an extra batch and freeze for later.
  • Mixing in hemp seeds and flax seeds could be a nice healthy boost!

IMG_8734

IMG_8680

IMG_8730

IMG_8701

IMG_8706

IMG_8765

IMG_8719

IMG_8754

IMG_8781

IMG_8777

IMG_8785

Tasty

Zucchini Noodle Pad Thai

December 2, 2014

IMG_6421

After buying my spirlizer, I’ve embarked on a mission to find clever ways to use my new gadget.  One of my favorite recipes as of late? This vegetarian Pad Thai recipe that is virtually guilt free…  So spare yourself the take-out and make your own (in under 10 minutes!) – plus aren’t you full of Thanksgiving leftovers already!?

IMG_6401

Zucchini Noodle Pad Thai

via Inspiralized.com

  • 2 whole eggs
  • 1/4 roasted peanutes
  • 1/2 tablespoon peanut oil
  • 1 garlic clove, minced
  • 1 shallot, minced
  • 1 tablespoon cilantro, chopped
  • 1 tablespoon coconut flour (I have made this without and it’s fine)
  • 3 zucchinis

Sauce:

  • 2 tablespoons freshly squeezed lime juice
  • 1 tablespoon fish sauce
  • 1/2 tablespoon chili sauce
  • 1 teaspoon honey

I make this as a weekday meal, so here are my “make ahead instructions”:

Day before instructions:

  1. Make sauce by combining ingredients in an airtight container. Shake to combine and store in the fridge.
  2. Mince garlic and shallot and combine together in another airtight container. Store in the fridge.
  3. Use your spiralizer to spiralize (?!) your zucchini (I use a smaller blade, but it’s all about preference – they recommend Blade C). Store in an airtight container in the fridge.
  4. Grind peanuts in a food processor or blender until no big peanuts remain, but is not yet powdery). Store in an airtight container.

Day of instructions:

  1. Scramble eggs in coconut oil and set aside.
  2. Heat a non-stick skillet over medium heat.
  3. Add peanut oil and saute garlic/shallot mixture for 1-2 minutes or until softened.
  4. Add sauce and flour and whisk until sauce thickens. Cook for 2-3 minutes until sauce has reduced.
  5. Once sauce has thickened, add in the zucchini noodles and cilantro and stir until coated.
  6. For only a minute or so more (over cooking will lead to soggy noddles) then add eggs and ground peanuts.
  7. Cook for 30 more seconds until fully combined and serve with cilantro leaves and lime wedges.

IMG_6426

IMG_6528


Tasty

Sweet Potato and Black Bean Tacos with Pomegranate Cranberry Salsa

November 17, 2014

IMG_6210

With the weather cooling down, I’m excited to jump into some more seasonally appropriate meals.  First up? This gorgeous recipe I scored on Pinterest that I can’t stop looking at.

IMG_6179

IMG_6197

Sweet Potato and Black Bean Tacos with Pomegranate Cranberry Salsa 

Recipe via The Half Baked Harvest

Tacos

  • 2 tablespoons olive oil
  • 1/2 sweet onion, diced
  • 1 clove garlic, minced
  • 1 large sweet potato, peeled and chopped
  • 1 1/2 cups cooked quinoa
  • 2 teaspoons chili powder
  • 2 canned chipotle chilies, minced
  • 1 tablespoon chipotle in adobo (from the chipotle chili can)
  • 1 teaspoon smoked paprika
  • 1 teaspoon cumin
  • 1 teaspoon brown sugar
  • 1/2 teaspoon cayenne
  • 1 cup cooked black beans, drained and rinsed
  • 1 lime, juiced
  • 1 small bunch cilantro
  • Tortillas (flour, corn or hard shell)
  • 1 avocado, sliced or diced
  • 1 cup shredded sharp cheddar cheese
  • cotija cheese, crumbled, for topping

Roasted Cranberry Pomegranate Salsa

  • 12 ounces fresh cranberries
  • 1/4 cup brown sugar (I used a little less)
  • 1 canned chipotle chili, chopped
  • 1 lime, zested + juiced
  • 1 clove garlic, minced
  • 1/4 jalapeno, chopped and seeds removed
  • the seeds from 1 pomegranate
  1. Heat oven to 450 degrees F. Cover a baking sheet with foil and lightly grease.
  2. Place the cranberries, brown sugar, chipotle chili, lime zest and juice, garlic, jalapeño and a pinch of salt and pepper on baking sheet.
  3. Use your hands to toss everything together until the cranberries are evenly coated.  Roast in the oven until the cranberries burst and release their juices, about 15 minutes.
  4. Remove from the oven and and let cool (about 10 minutes).
  5. Add the pomegranate arils and toss well. Set aside at room temperature until ready to use.
  6. While the cranberries are roasting, start on the tacos… Heat the olive oil over a large skillet set over medium heat.
  7. Add the onions and sweet potatoes and toss to coat.
  8. Cover the skillet and let cook until the sweet potatoes are tender, but not mushy, stirring once or twice for about 10-15 minutes.
  9. Once the sweet potatoes are tender (easily pierced with a fork), add the garlic and saute 30 seconds.
  10. Turn heat to medium-high (adding more oil if needed) and add the quinoa.
  11. Let the quinoa get crispy and cook for about 5 minutes.
  12. Add 3/4 cup water, the chili powder, chipotle chilies, adobo sauce, smoked paprika, cumin, brown sugar and cayenne, stir to thoroughly combine and bring the mixture to a boil.
  13. Cook for 5-10 minutes or until the water has completely evaporated.
  14. Remove from the heat and stir in the black beans, 1/4 cup chopped cilantro and the lime juice.
  15. To assemble the tacos, place some of the quinoa in a tortilla or shell. Top with shredded cheddar cheese, avocado, a large dollop the the roasted cranberry salsa, crumbled catija cheese and fresh chopped cilantro.

IMG_6177

Cranberry Salsa

IMG_6195

IMG_6212

IMG_6221


By the way, if you haven’t checked out Half Baked Harvest before… you definitely need to do so! Her photography is amazing, and her recipes are next level.  I’ve been eating off solely off of her site for the last week and I couldn’t have been more excited to stumble across her gem of a site.  Enjoy!

IMG_6215


Domestic

Nekter Juice Bar – Mountain View

November 10, 2014

IMG_5934

After discovering acai bowls on this trip, I was very excited to be invited to try out a local Nekter Juice Bar in my neck of the woods.  With the help of my favorite juice loving gal pal – Erin, we were able to indulge in a crash course of Nekter’s bestsellers… and now we want to share them with you!

IMG_6001

First up on our tasting menu – Acai Bowls.  Erin and I tried (and LOVED) the Pitaya Bowl and the PB Bowl.  The Pitaya is made with dragon fruit, pineapple, coconut butter, banana, coconut water, hempseed granola, and raw coconut flakes, and while super delicious and refreshing, it was the gorgeous color that made this my favorite.  The PB Bowl made with acai, peanut butter, strawberries, dates, housemade vanilla cashew milk, granola and fresh berries was equally delicious but a little more on the indulgent side (definitely share worthy).

IMG_5940

IMG_5953

This place could survive on their acai bowls alone (as proved by the throngs of people leaving with them), but I am so happy they don’t!  Next up – juice.  Griffin, our all-star Nekter guru, educated us on their processing methods (HPP), and that their juice needs to be consumed within 15 minutes (the nutrients deteriorates by 70% after that window).  They also offer cold pressed juices (depicted below) that have a longer shelf life and are great for on-the-go.  Another perk? You can pick up a 1, 2, 3 or 5 day cleanse at their stores or online (classic or advanced)!

IMG_5948

Erin and I enjoyed the Greenie (with light parsley) and The Glow.  Griffin let us know The Glow was going to help our skin look great, so naturally we ordered that immediately.  The carrot based juice was yummy but we didn’t love it as much as the Greenie – a green juice with a hint of apple and lemon, that was super refreshing and light.  I also loved that you can customize your orders (add ginger, carrot, etc.) – so everyone is bound to find something they love!

IMG_5956

IMG_5937

We also enjoyed one of their ginger shots – mixed with lemon, strawberries and a dash of cayenne pepper.  It definitely cleared the senses, but (supposedly) gives you an energy boost… Between the great space, green juice, amazing customer service and overall great zibe, the energy level was already off to a great start!

IMG_5963

IMG_5939

IMG_5985

IMG_6006

We were able to finish with a couple of their smoothies.  We went with the Tropical Cooler and the Date Nut.  The Tropical Cooler  is like a pina colada meets green juice (pineapple, coconut butter, banana, kale, spinach and coconut water) and is equal parts refreshing and fulfilling.  The Date Nut (vanilla cashew milk with dates and bananas) was like a “healthy milkshake” – super tasty and perfect way to treat yo self.

IMG_5967

IMG_5945

IMG_6011

IMG_5942

I couldn’t find enough nice things to say about this place – super clean, attentive staff, amazing food, great selection… such a great way to start your day!   And come on… tell me Griffin isn’t cuter than your Starbucks barista!?

IMG_6013

So be sure to click here to find a Nekter nearest you… and if you are in Northern California be sure to check out their newest location in Mill Valley (right in the Strawberry Village Shopping Center)!

IMG_5993

Tasty

Chicken Lettuce Cups

September 17, 2014

IMG_4888

I’m working on finding more “whip it up” meals, that allow me to come home and create a delicious, healthy meal in a short amount of time.  If my husband likes it? Even better… luckily these lettuce cups fit the bill on all counts.

IMG_4849

Chicken Lettuce Cups

recipe via Leave a Happy Plate

  • 1 tablespoon EVOO
  • 1 lb ground chicken
  • 1 onion, diced
  • 2 cloves garlic, minced
  • 2 tablespoons hoisin
  • 1 tablespoon sriracha sauce
  • 2 tablespoons low sodium soy sauce
  • 1 handful basil leaves, snipped into strips
  • 3 scallions, sliced
  • 8 large Romaine or Bibb lettuce leaves

Sauce:

  • 1 jalapeño, thinly sliced
  • 1/4 cup rice wine vinegar
  • 1/4 low sodium soy sauce
  • 1 tablespoon chili garlic sauce
  1. Heat olive oil over medium-high heat in a large skillet. Add ground chicken and cook about 10 minutes (until cooked through), breaking up the meat as it cooks.
  2. While chicken is cooking, add jalapeño slices and rice vinegar in a small bowl. Let sit for 10 minutes (this will be the start of your sauce).
  3. Now back to the chicken… add the onion and garlic to your chicken mixture and cook for 5 minutes.  Add the soy, sriracha and hoisin and stir to combine. Season with salt and pepper and add herbs (basil/scallions), give a good stir and remove from heat.
  4. Now that your chicken mixture is complete, head back to your pickled jalapeño mixture.  Add soy sauce and chili garlic sauce and stir.
  5. Assemble lettuce cups by spooning chicken mixture onto lettuce leaf and topping with the jalapeño sauce (which surprisingly isn’t too spicy – more vinegary – which I love!)

IMG_4891

IMG_4852

IMG_4864

IMG_4869

IMG_4873

IMG_4896

IMG_4884