Not the most romantic of titles…. but what are you gonna do?!

My husband and I like to travel… a lot. And one of the biggest pains of traveling? Packing. I have tried to alleviate some of the pain by putting together a toiletry bag (or two) that can be grabbed at a moments notice.

Step 1. Make a list of everything you use in your daily routine.
For me that includes:
- Shampoo
- Conditioner
- Leave in Conditioner
- Face Wash
- Skin Care Products
- Eye Make-up Remover
- Night Mask
- Deodorant
- Hairspray
- Hair Brush
- Razor
- Toothbrush/paste
Now I’m sure I am missing a few things… but for the most part I NEED each of these every day.

Step 2. Go buy travel sized versions (or duplicates) of those MUST HAVE items above or transfer small portions into travel sized containers (can be bought here and here).
I know, I know, it may seem pricey, but it is well worth it. Trust me. I like smaller versions of the products I love (ie. It’s a 10) because I know exactly what product I’m using (don’t have to worry about labels falling off, etc.), and then I just refill it with the original sized product once it runs out.
Also, I HAVE to use a deep conditioner when I travel (the hard water is not my friend), so I always pack that, although I don’t use it on a daily basis. I also have a little thing of shampoo in case the hotel doesn’t have great products (not worth not bringing and then having bad vacation hair – right?).
I also LOVE Sephora for this reason. Their samples have pretty much made up the majority of my travel kit over the years – face creams, tiny sunscreens, little perfumes – it’s awesome!
Step 3. Keep a list of products you can’t buy duplicates of and need to add to your kit before traveling.
My skincare regimen is rather… pricey. So the idea of shelling out for duplicates, only to use once or twice a month, is not a good use of funds, so I make sure to add them before I leave.
Products that can “dry” out if not used regularly or in a smaller amount of time – ie my eyelash extension gel, also get put “on the list.”

Step 4. Add anything else that you know you are going to need, that you may not use on a regular basis.
For me that includes:
- Bobby pins/hairbands
- Feminine hygiene products
- Lip balm
- Sunscreen
The key here is not to let this “list” get out of control with hypotheticals. You easily could end up with 20 types of band-aids, aloe vera after-sun gel, antihistamines, etc., but I HIGHLY recommend you keep it to a travel sized pouch of Advil (2 tablets), 1 band-aid, and buy any cremes or large format items at your destination should you need them (unless you are a mom, then I guess you probably should be prepared for anything… but for those of you only looking out for yourself/carrying on your luggage, this is my recommendation).
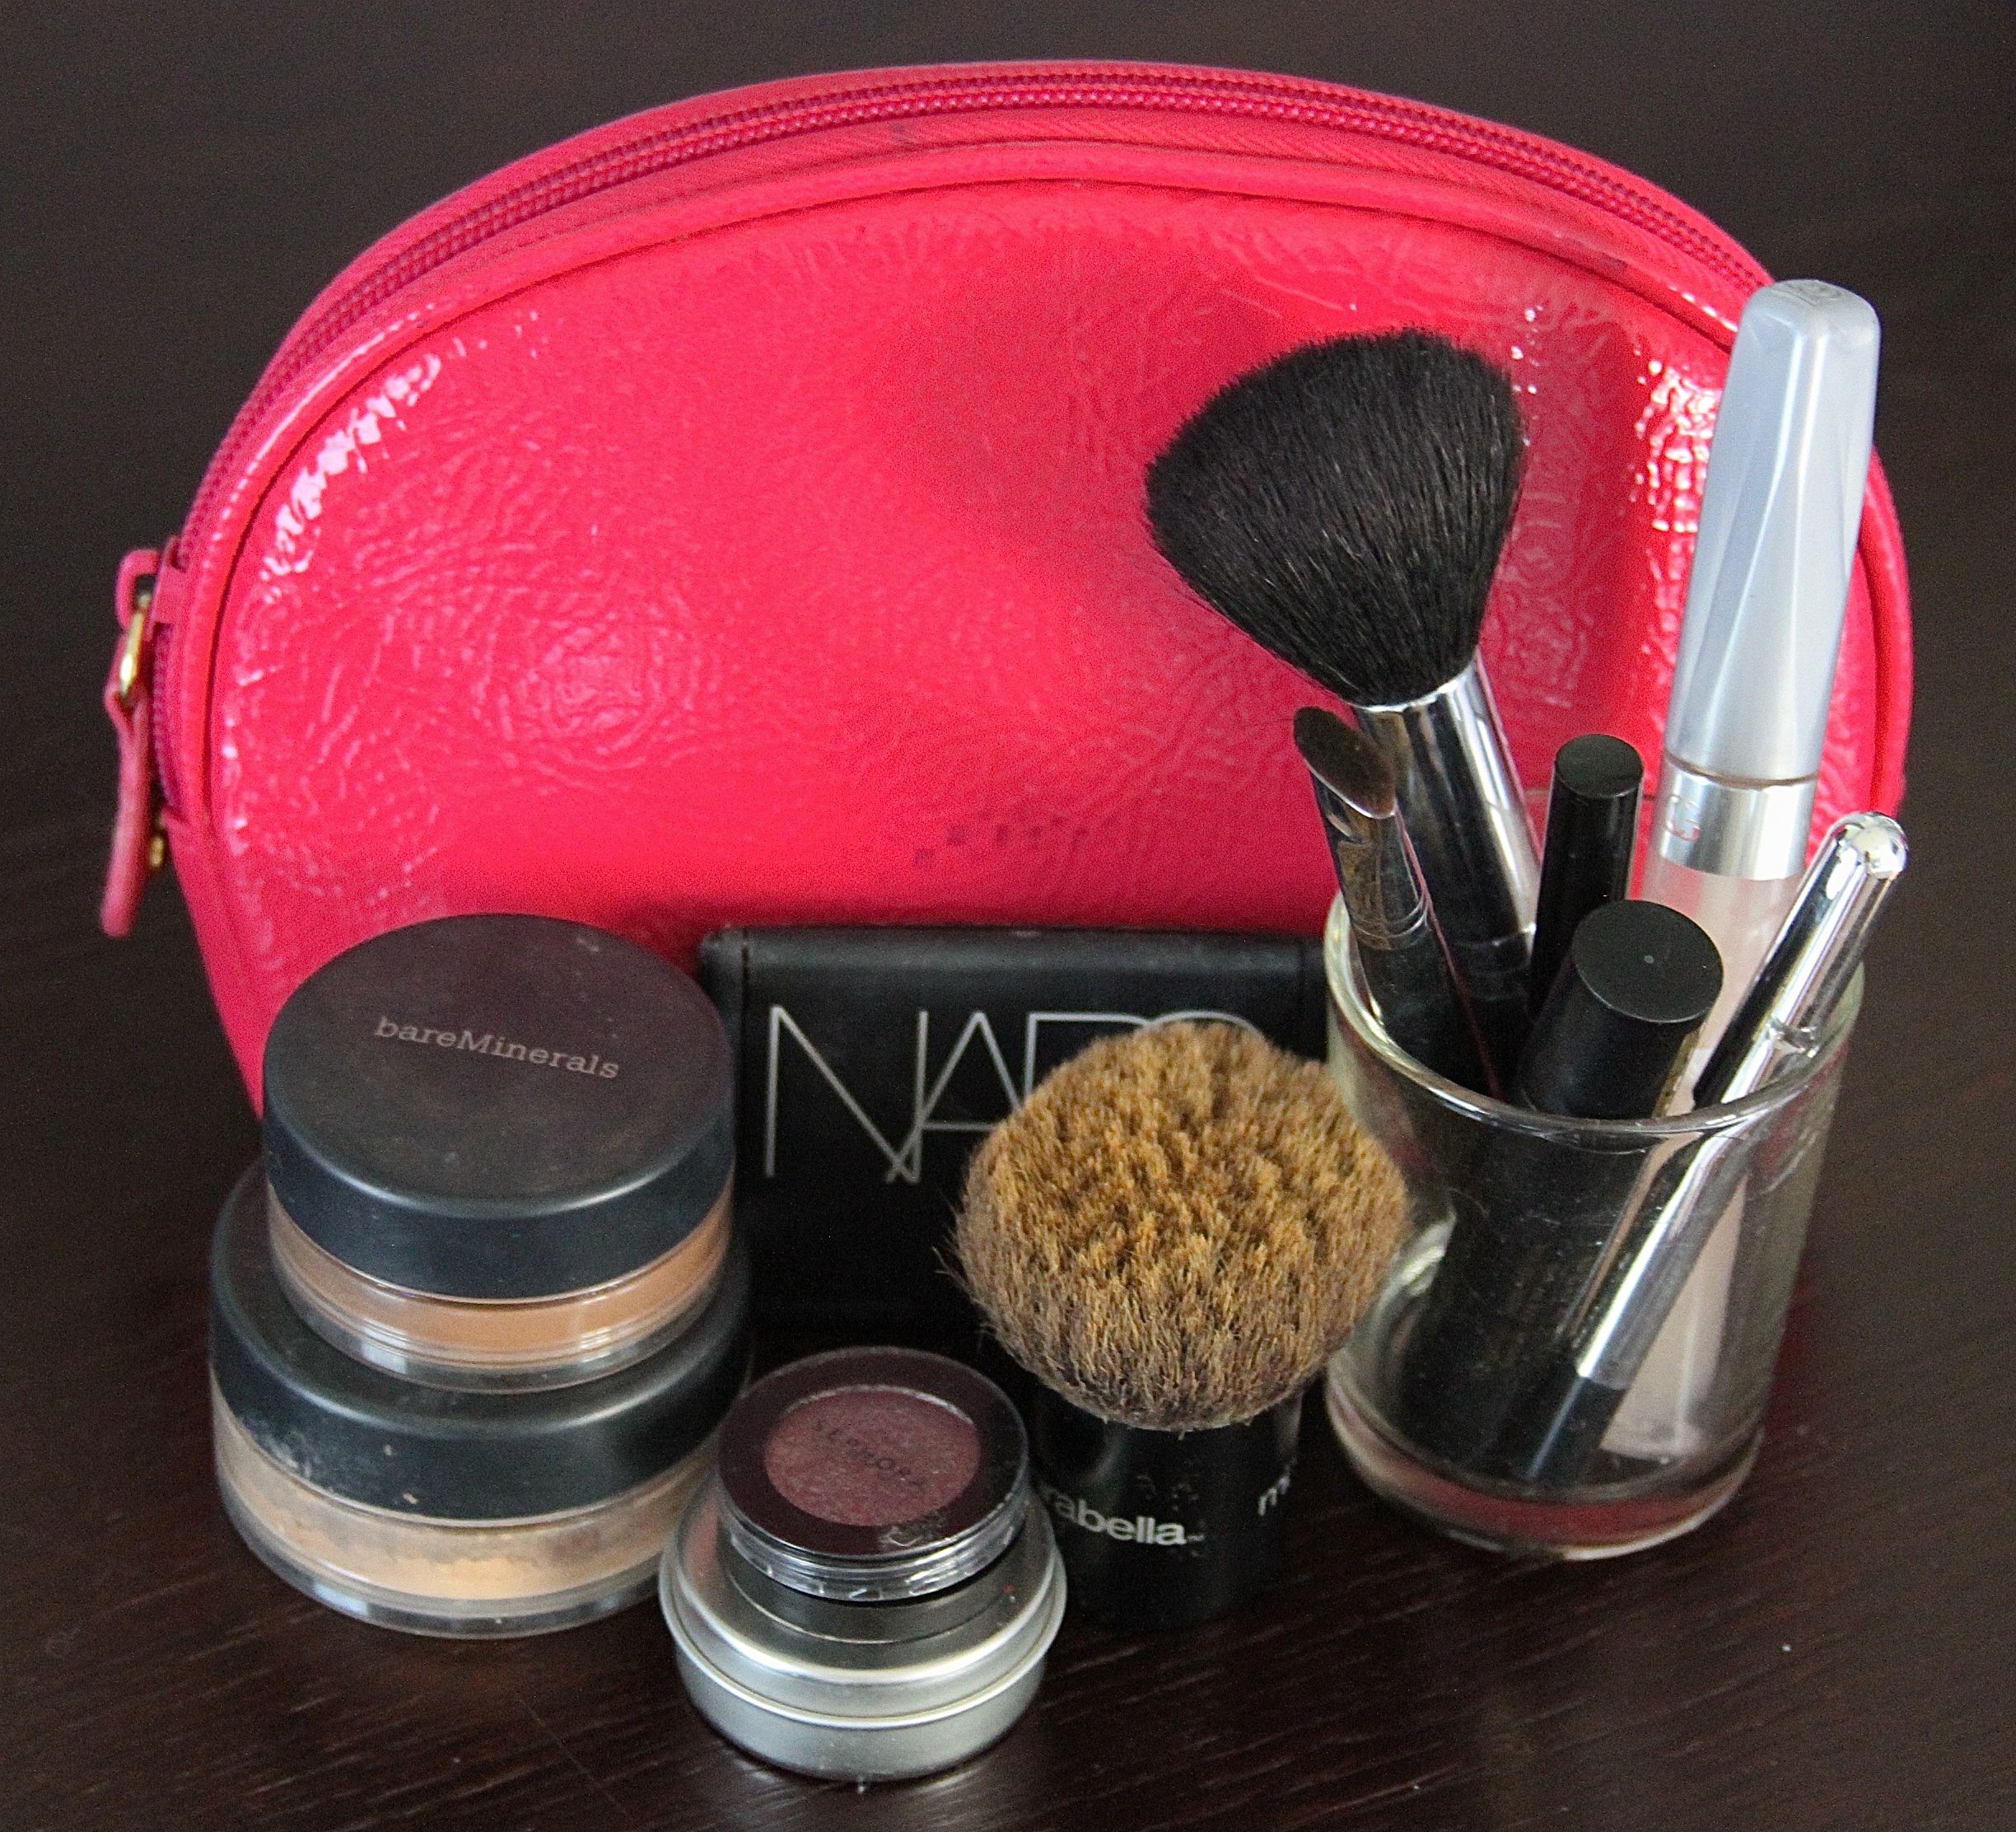
Step 5. While you are at it, put together an extra make-up kit.
Now this is ONLY for those of you that are not going to Vegas. I have traveled with many a girlfriend who has pulled out half a MAC store when it comes to getting ready for a night out on the town… this advice is not for you.
I realized that I was always forgetting something make-up wise when I traveled, so I eventually caved in and bought new stuff.
By “buy new stuff” I pretty much only bought more BareMinerals powder, but I basically moved my half used ones into my travel kit and upgraded my Kabuki brush. I originally was using travel sized brushes to do my make-up (why I have no idea), so I moved those into the kit and upgraded to REAL make-up brushes.
The Sephora samples also play a huge role here – I have a travel sized liquid eyeliner, mascara and lipstick that I travel with. It’s amazing how far those samples will take you!

Now that you are all set with your travel kits, store them in a cool place (I recommend under a sink/in a cabinet), because if you store them in your luggage (which you may store in the attic or another hot place), it could ruin all of your products, and then you are back at square one.
Good luck packing!