Browsing Tag

bracelet

Party

Valentine’s Day Cards

February 13, 2014

IMG_6759

Looking for a last minute card idea for your Valentine?   Look no further!

IMG_6736

All you need is:

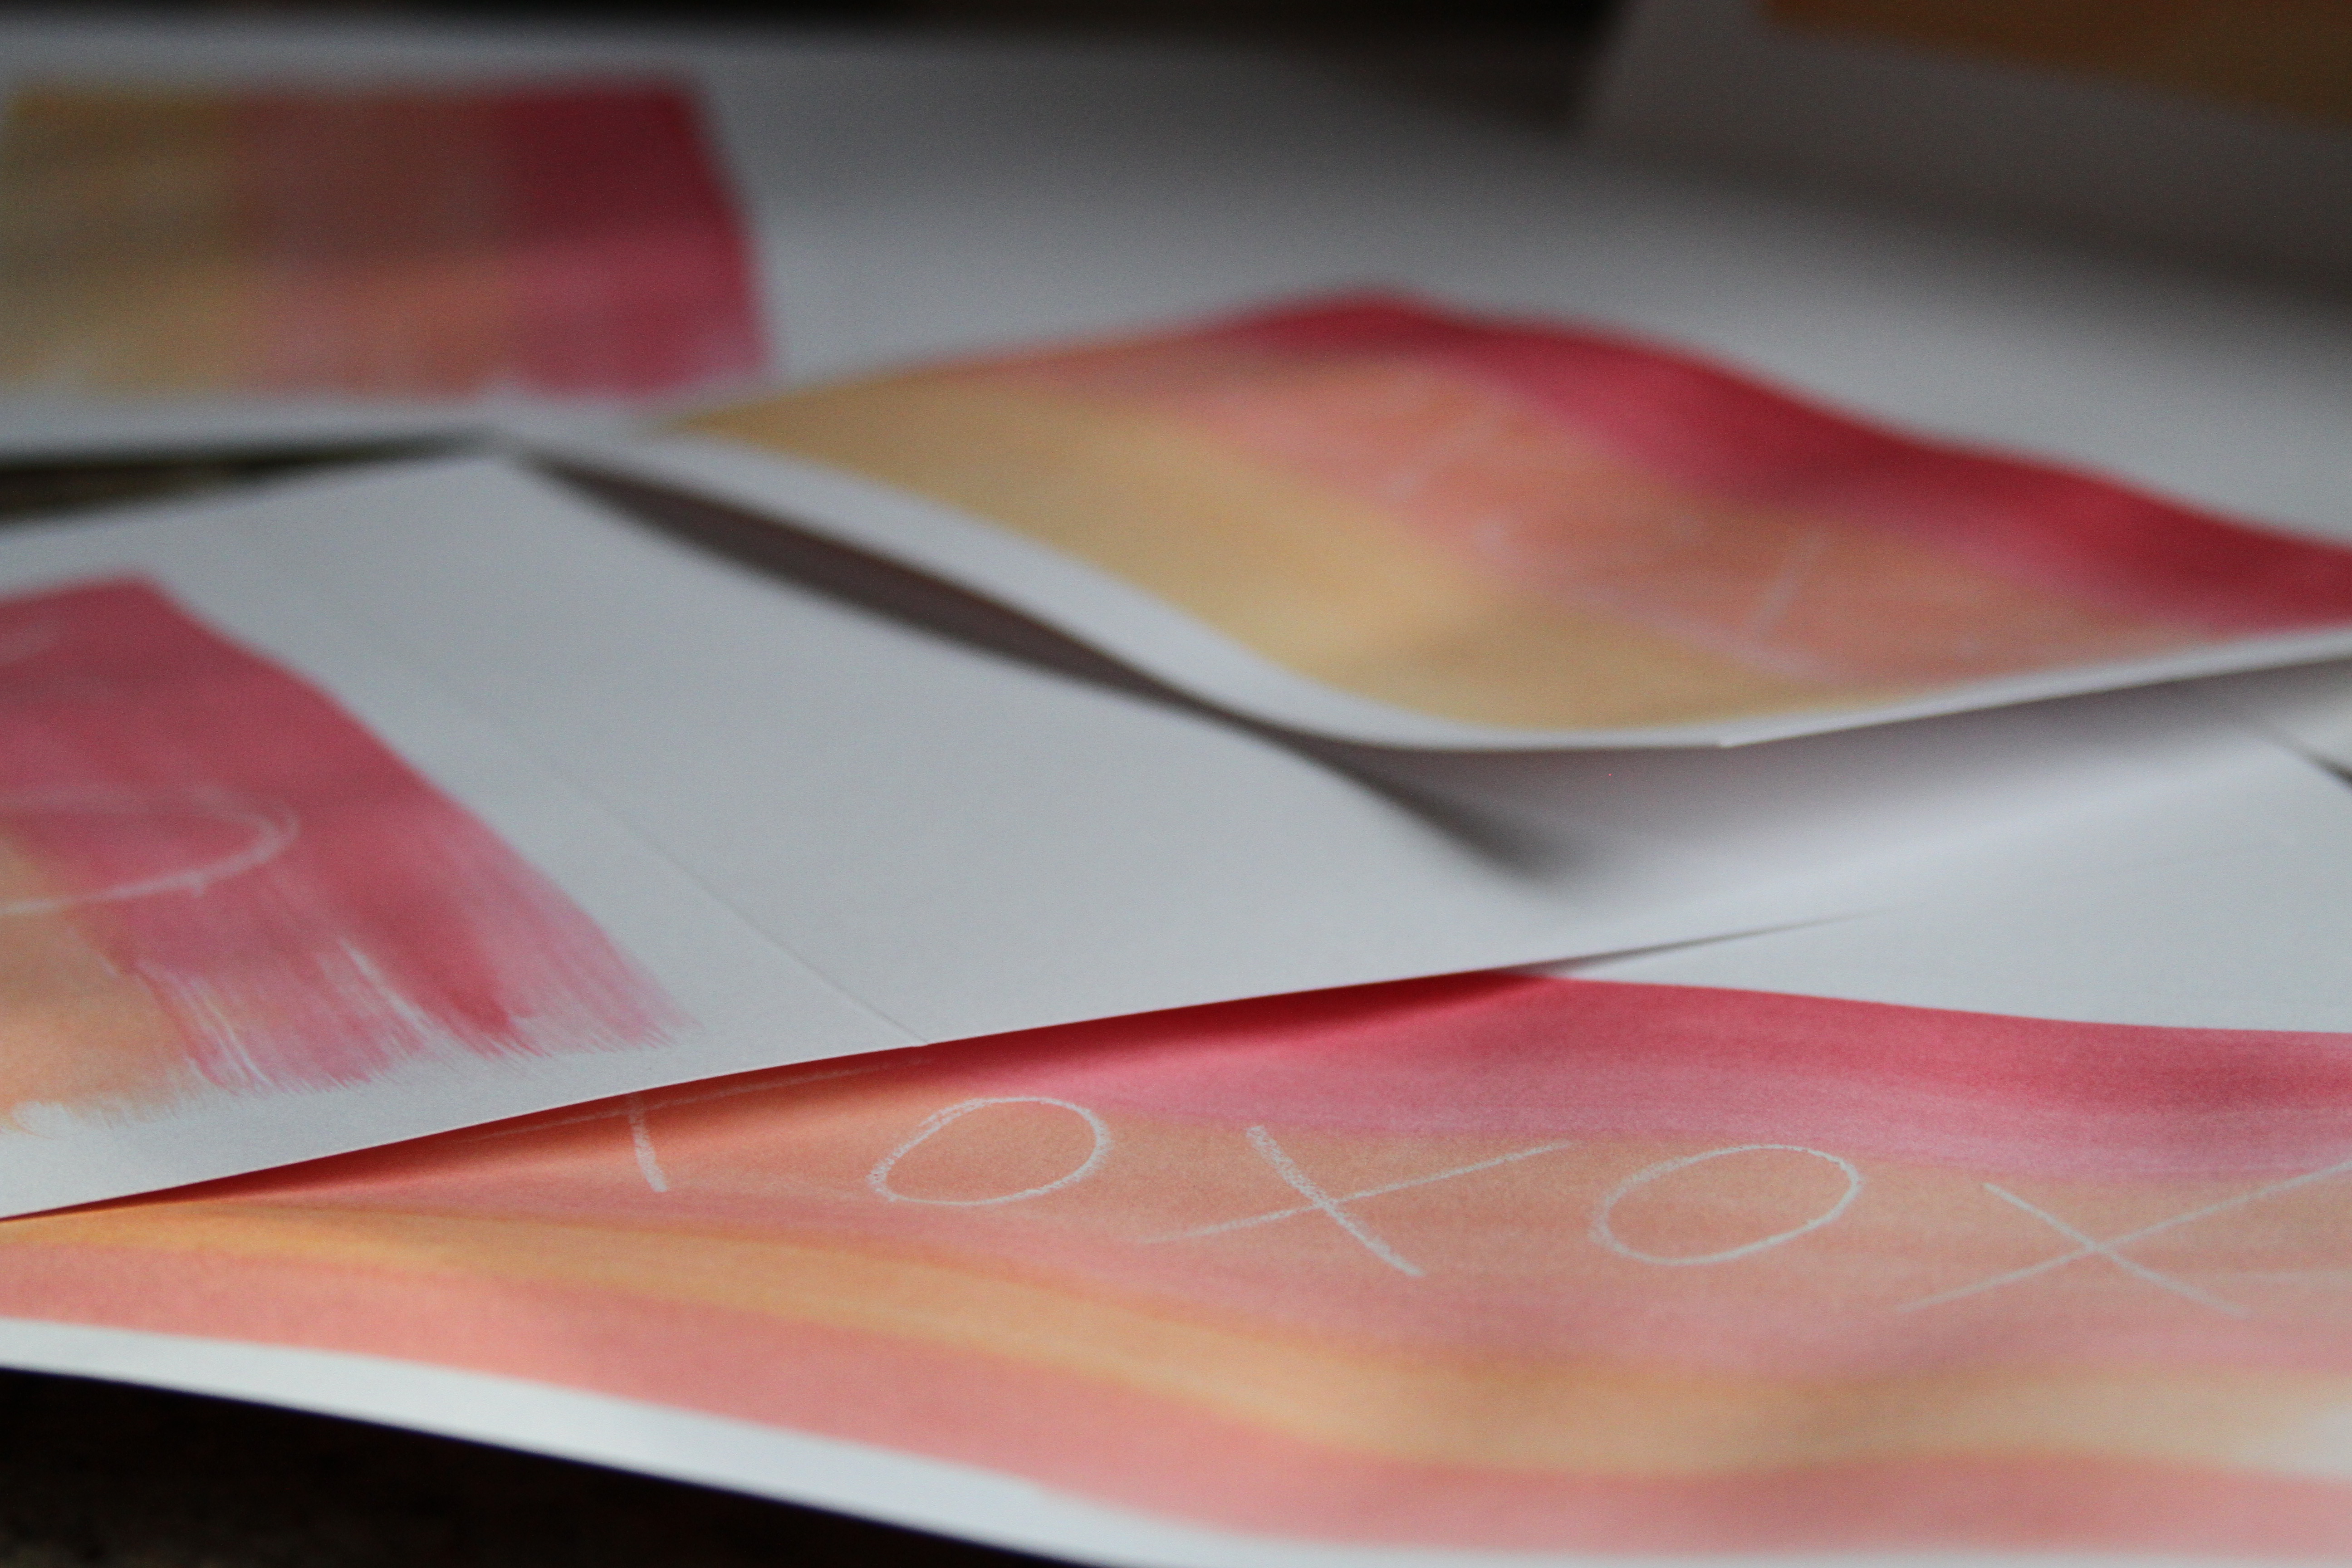
  1. Fold card stock in half.
  2. Use a white crayon to write a note, dray a symbol, whatever comes to you! – the tricky part here is you can’t see what you are writing… so I recommend the shorter the better 🙂
  3. Using watercolor paints, I did an ombre design on top of the crayon to reveal the sweet design!
  4. Let dry and gift to your favorite valentine(s)!

IMG_6746 IMG_6743

IMG_6753

I also made some homemade friendship bracelets for my sisters with some colored cord, fun beads and an adjustable knot.

IMG_6767

Looks

Make It Yourself!

August 1, 2013

ad8985091143016c622f8d41f67aadcc

I am not a big DIYer… but when it comes to jewelry I sometimes make an exception.  I used to be big into making my own jewelry in high school, but once I started college, I outgrew the hobby.  So when I found my old jewelry/beading containers a couple weeks ago, I was excited to get back in the jewelry making game!  I made a delicate beaded ombre necklace to match the Maya Brenner necklace my hubby got me with my new initials awhile back.  Since then, I’ve caught the bug!  I came across a gorgeous pendant at the bead store for and you can only imagine my surprise when I was surfing the Calypso St. Barth summer sale and saw this bracelet available for $70!

Materials: Center Bead, Hemp Cord

304

Step 1: Thread the cord through the bead.

315

Step 2: Take the right side string (we’ll call it String 1)  and place it under the left side (we’ll call this String 2) – make a backwards 4.

318

Step 3: Take the end of the String 1 and loop it through the hole you’ve made.

323

Step 4: Tighten the string to create a knot.

324

Step 5: Repeat Steps 1-4 until bracelet is the desired length.

333

Step 6: Repeat on both sides to complete your bracelet.

336

Enjoy the perfect summer accessory and the fact you’ll be saving $65!