Browsing Category

Tasty

Tasty

Green Goddess Bowl

February 24, 2014

IMG_6930

After all my Valentine’s indulgence (which carried over for a couple more weeks… opps), I am trying to get back into health-mode.  I have had a bunch of “detox” meals pinned and wanted to get on trying some of them… first on the docket – a Green Goddess Bowl!
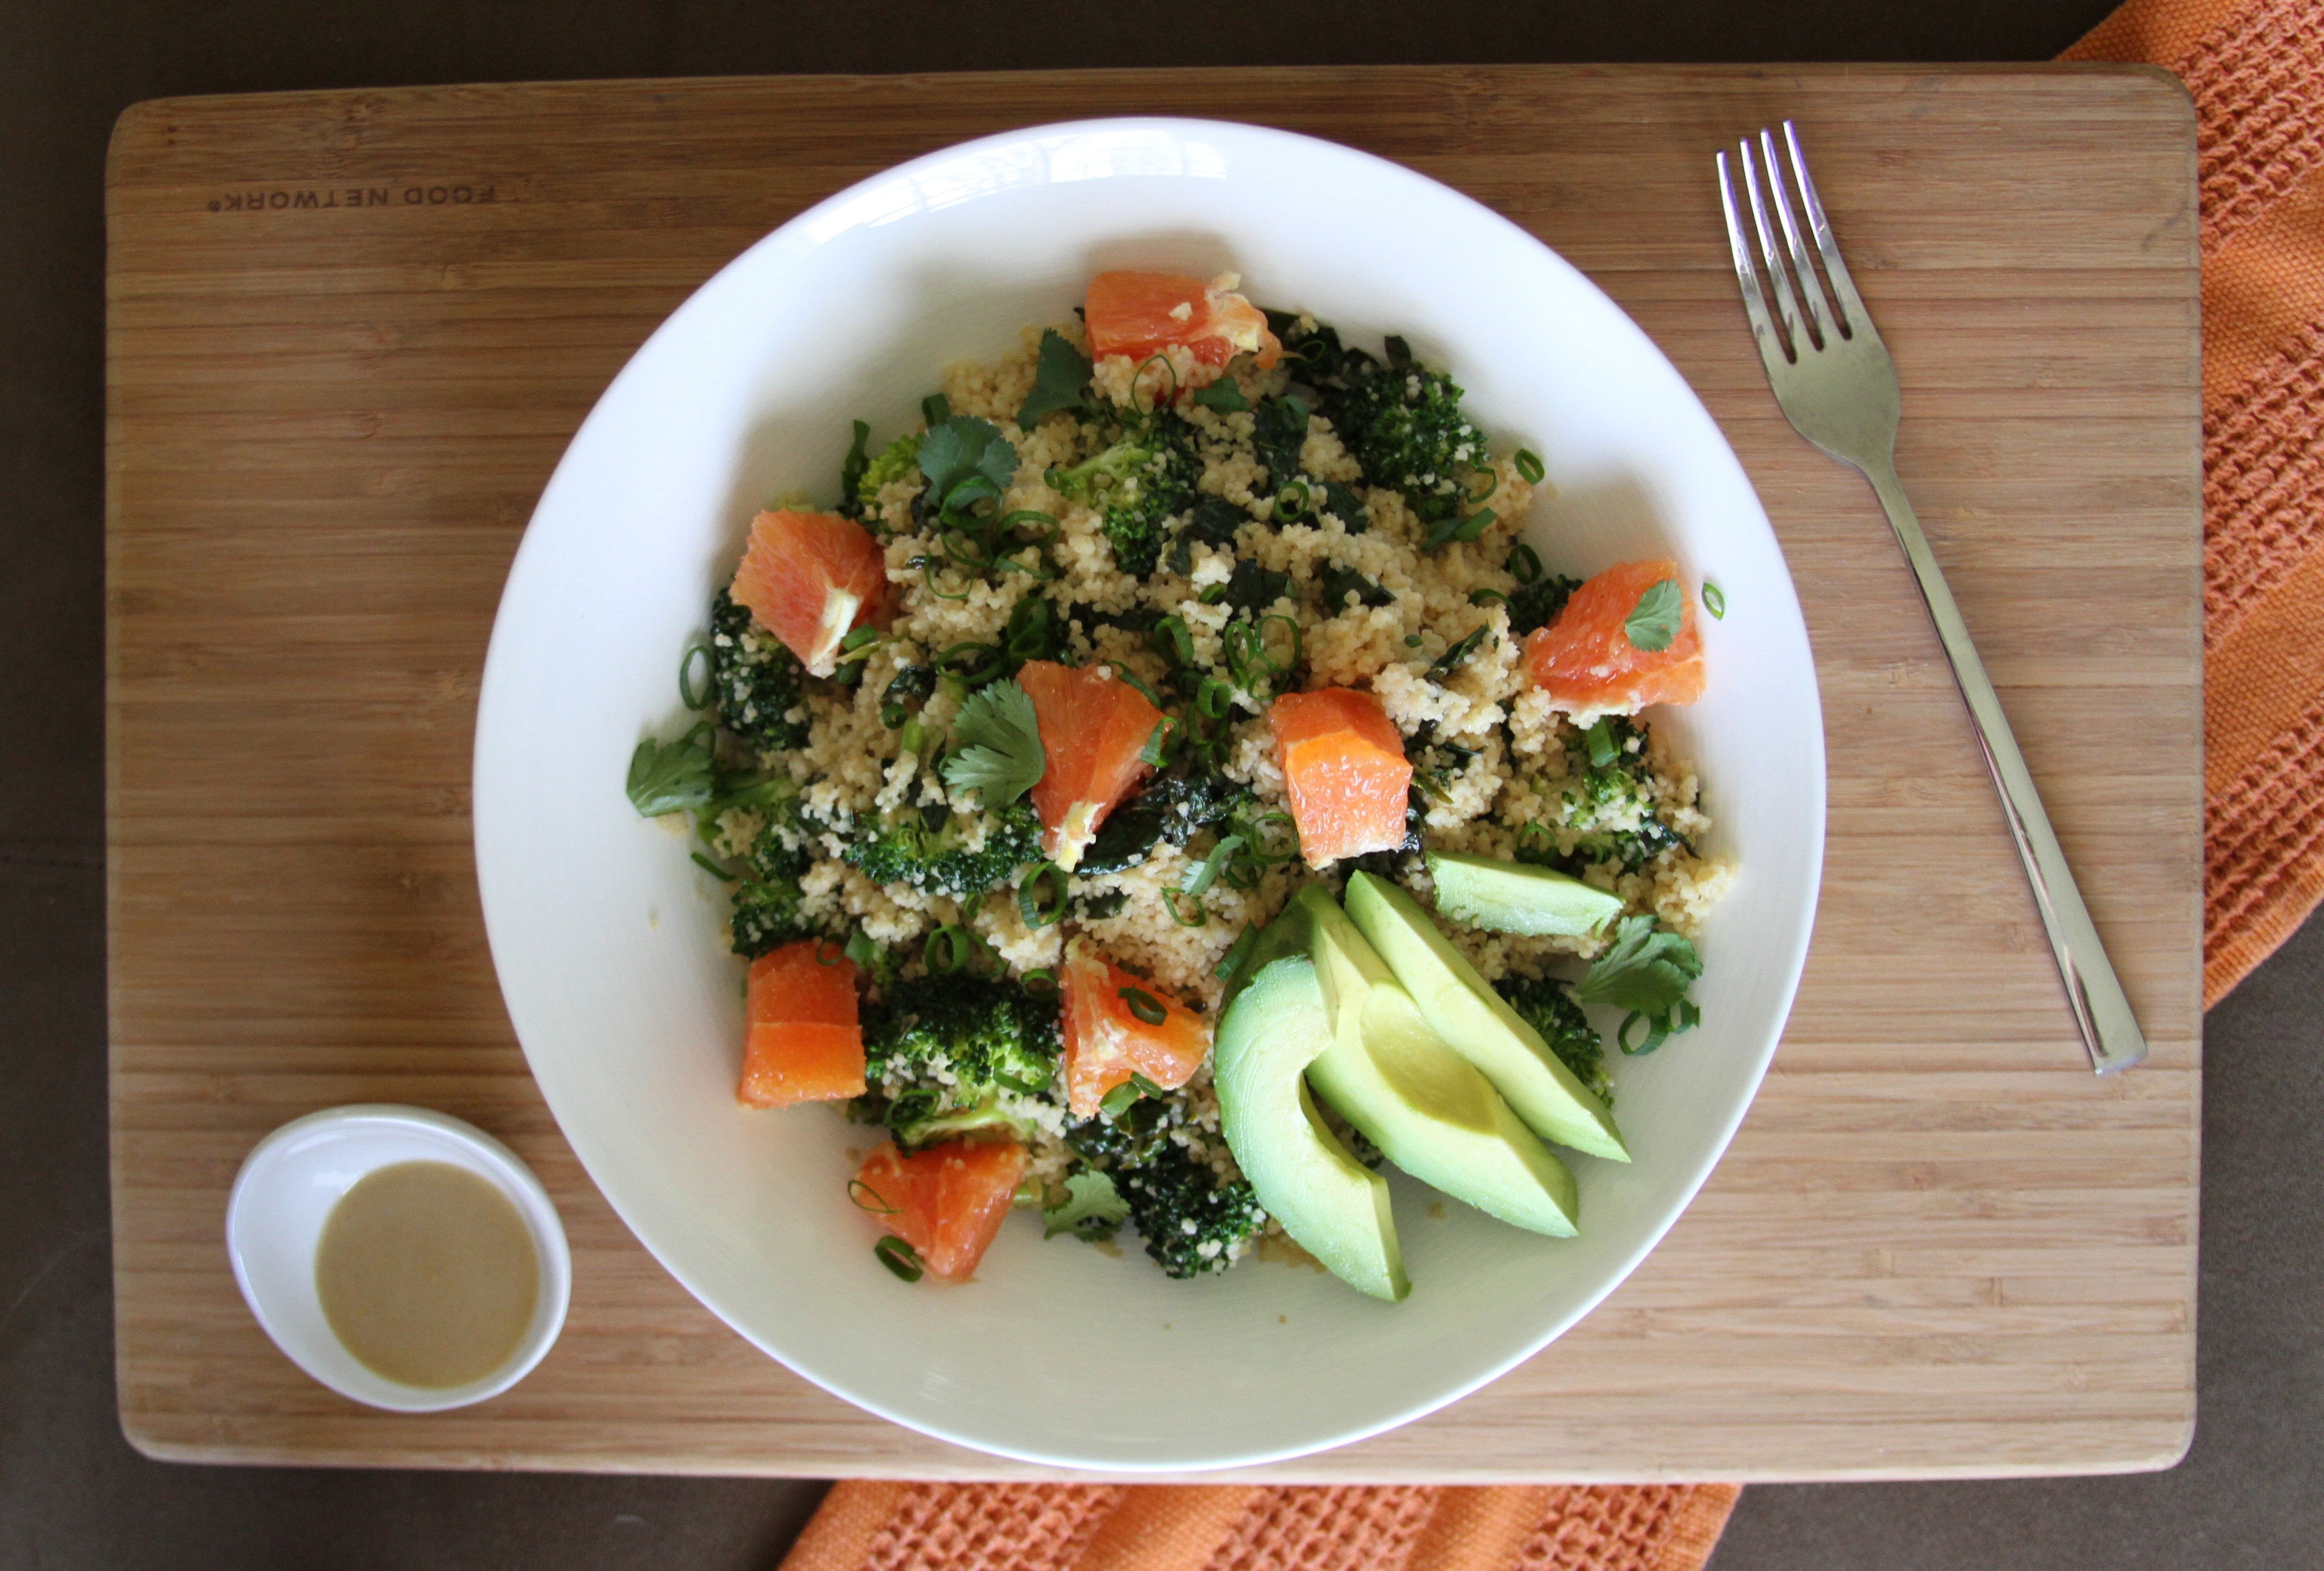
IMG_6921

IMG_6943


IMG_6948

Green Goddess Bowl

adapted via Lunchbox Bunch

Step One – Layout the following:

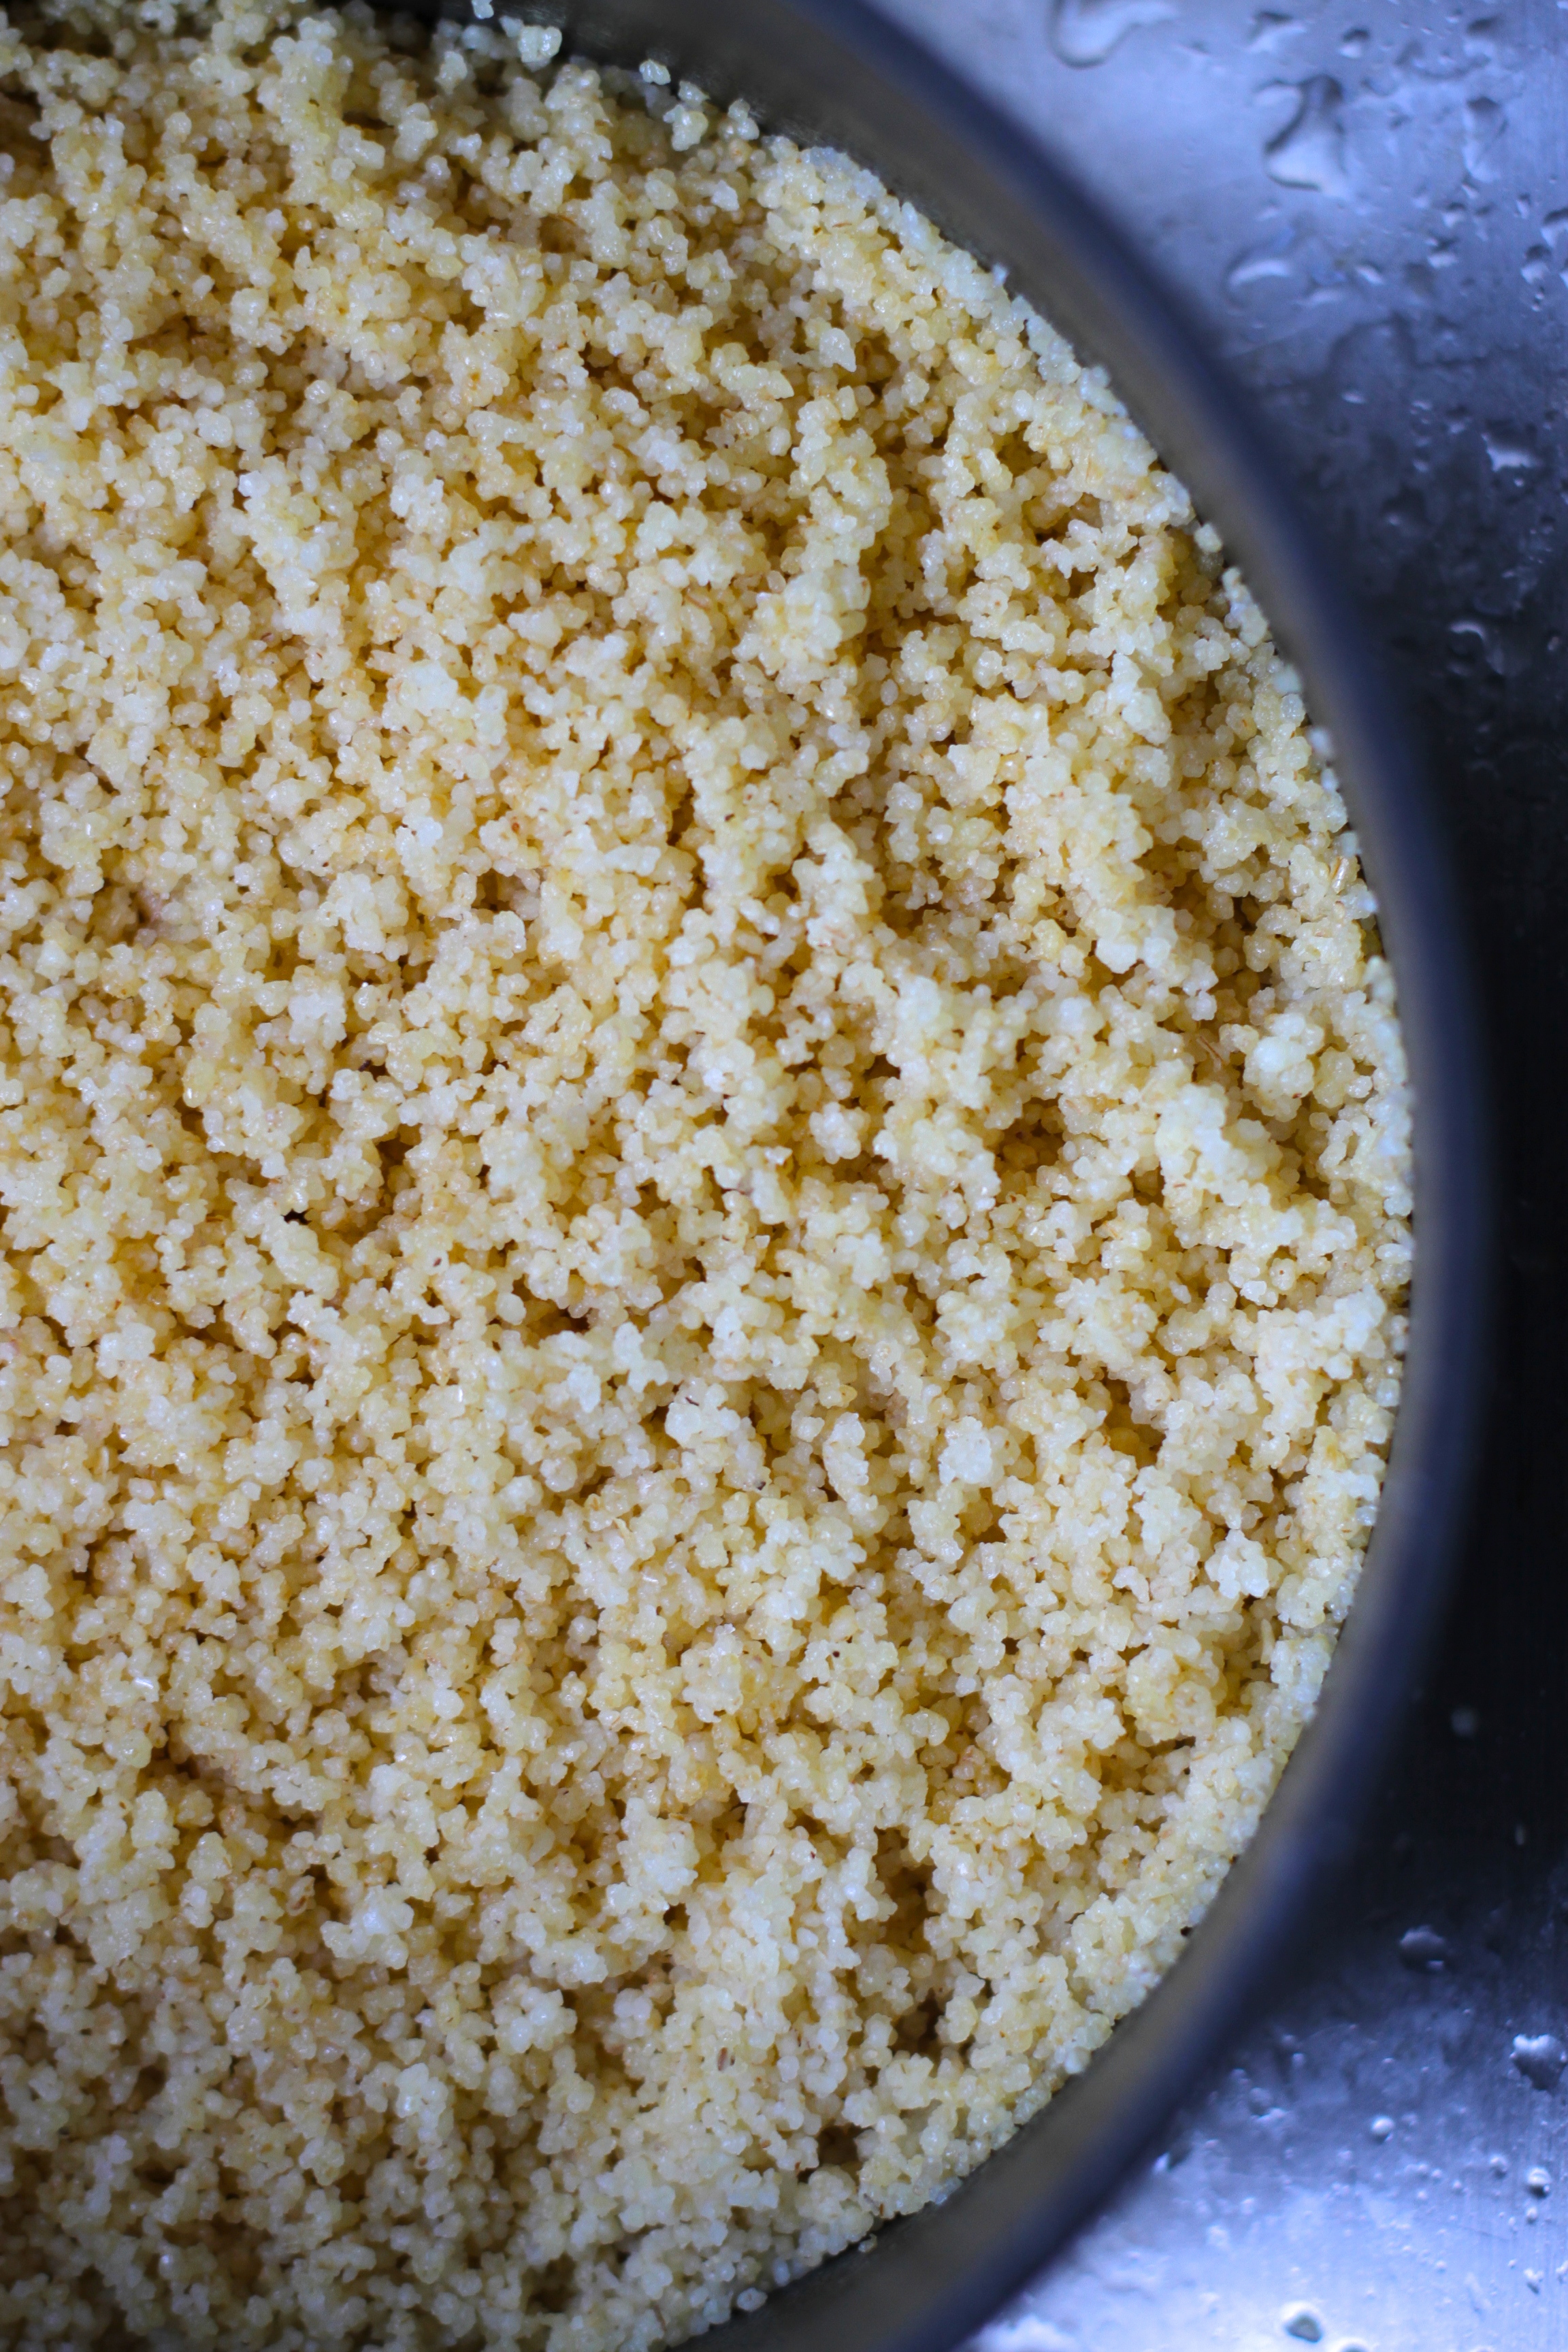
  • 2-3 cups cooked grains (I used couscous, but quinoa, barley, brown rice are all great options)
  • 2-3 cups sautéed greens (I used 2 heads of broccoli, 1 head of kale and sprinkled some edamame – you can use any green veggie you like, brussel sprouts, peas, spinach, etc.)
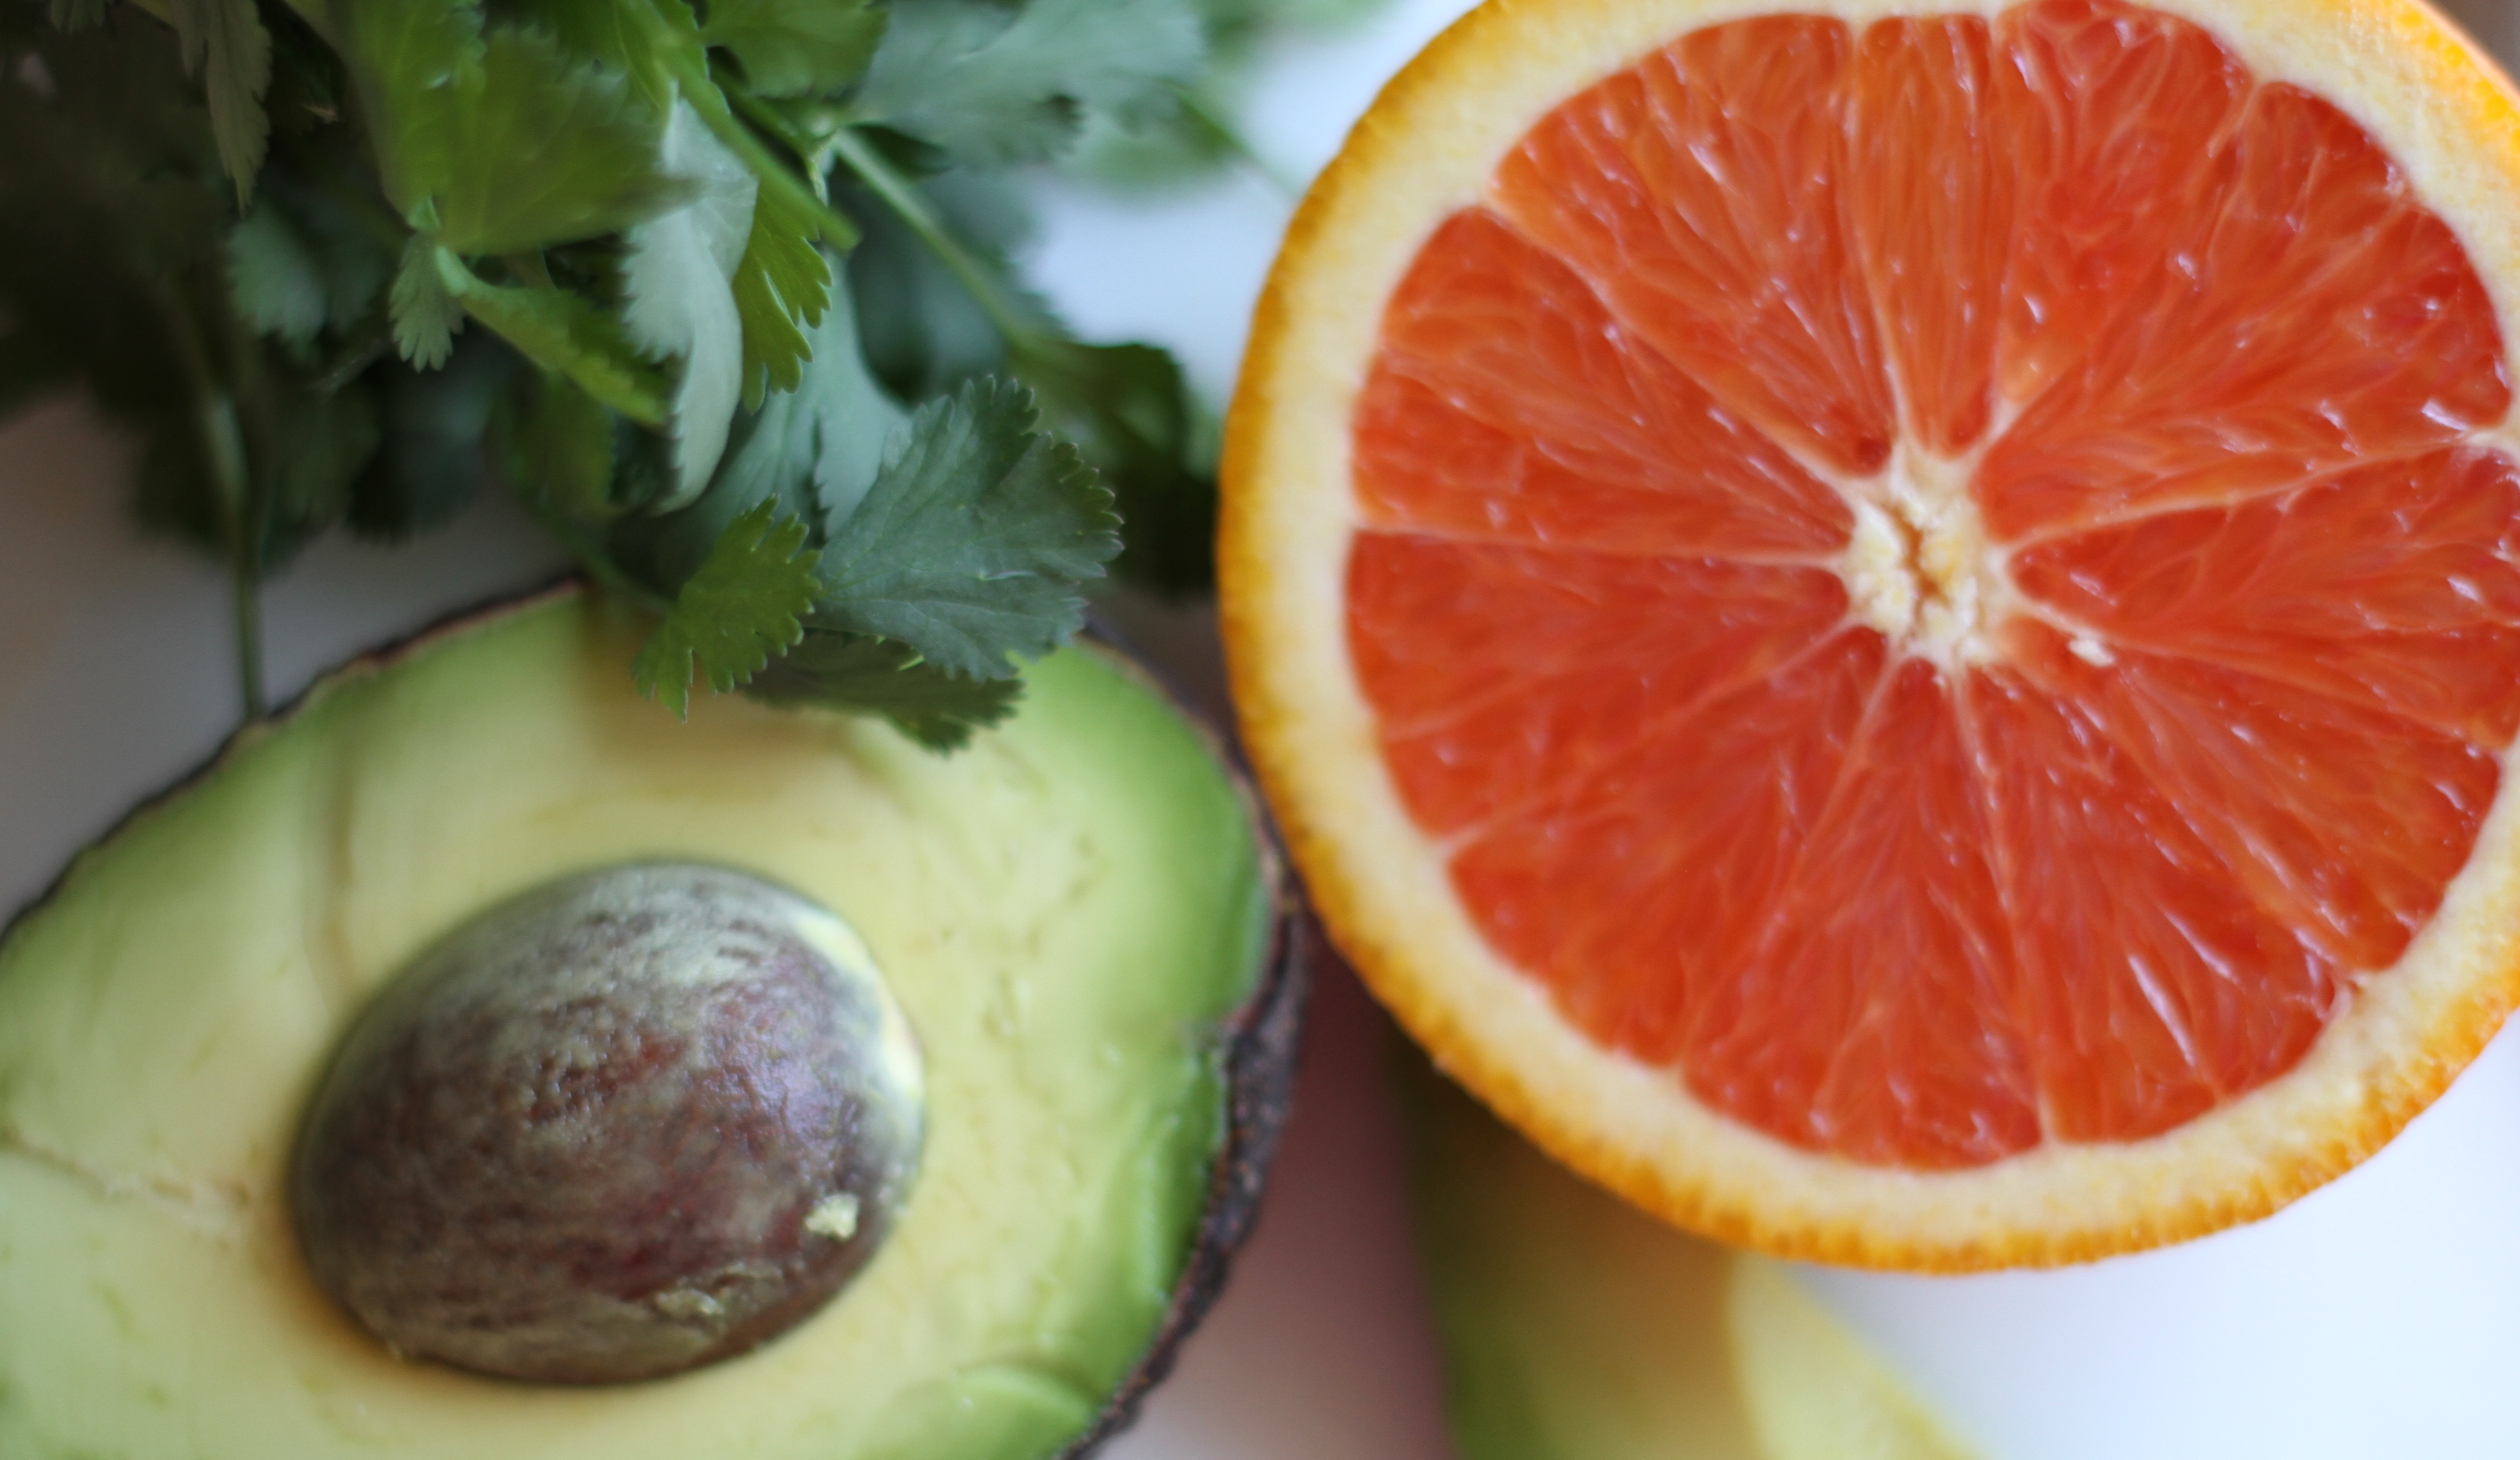
  • Sweet Accent: I used citrus (I used a Cara Cara orange, but grapefruit could be a great option)
  • Garnish: Avocado and fresh chopped green herbs

Step Two – Sauté Greens:

  • Sauté green ingredients on med-high until tender with the following ingredients:
    • 2 Tbsp white miso paste
    • Juice of 1 lemon
    • 2 Tbsp blood orange olive oil
    • 2 Tbsp minced garlic
    • Pepper to taste

Step Three – Fold:

  • Add to large bowl and fold together:
    • 3 cups fluffed couscous (or another cooked grain)
    • Some orange zest and juice of 1/2 an orange if you desire
    • Sautéed Greens

Step Four – Garnish:

  • 1 avocado, sliced
  • Chopped fresh herbs (I used cilantro, but basil, chives or parsley work too)
  • 1/2 cup chopped green onion (red onion would work as well)
  • 1 large orange, peeled and diced

Step Five – Dressing:
*choose one below or use your own – or for lighter version, just use fresh lemon juice over top bowl

Tahini Maple

  • 2 Tbsp tahini
  • 1 Tbsp olive oil
  • 1 Tbsp maple syrup
  • 2 Tbsp apple cider vinegar or lemon juice
  • Pepper

Creamy Wasabi

  • 1 tsp wasabi powder
  • 1 1/2 Tbsp mayo or greek yogurt
  • 2 Tbsp seasoned rice vinegar
  • Pepper

IMG_6918

IMG_6956

Tasty

Coconut Carrot Soup

February 19, 2014

IMG_6348

Shutterbean is one of my favorite food blogs, and when Tracy posted a write up on “Meal Prep” a couple of weeks ago, I was transfixed.   Honestly, read it if you haven’t.  IMG_6318 I love planning meals ahead of time, but realized that sometimes that doesn’t work for my life.  On weeks where my husband is going to be working late, or the weather is really nice and I don’t want to spend it in the kitchen, following Tracy’s game plan is a no-brainer.  IMG_6325 I have had her Coconut Carrot Soup pinned for FOREVER, so when she mentioned making a batch on Sunday to have for lunch throughout the week, it re-sparked my interest.  I had just received a bunch of gorgeous carrots from my Farm Fresh to You box, and actually had ALL of the ingredients in my house (that NEVER happens).  IMG_6330 So, the next day before work, I chopped the carrots/onions and put them in a Ziplock bag, and laid out the (non refrigerated) ingredients for later that night. Once I got home from work, I followed the very short directions… and voila! Dinner and a few lunches were prepared with (hands on time) of 10 minutes!  AWESOME!!!

IMG_6349

Coconut Carrot Soup

Adapted from Shutterbean

  • 4 tablespoons unsalted butter
  • 1 lb. carrots, peeled & chopped
  • 1 medium yellow onion, chopped
  • 2 cups low-sodium chicken broth
  • 1  14 oz. can unsweetened coconut milk
  • 1 tablespoon sambal oelek (I used sriracha as a back-up)
  • 1 lime
  1. Melt butter in a large saucepan over medium-high heat. Add carrots and onion, season with salt & pepper, and cook, stirring often, until carrots are softened, 15-20 minutes.
  2. Stir in broth, coconut milk, and sriracha.
  3. Bring to a boil, reduce heat, and simmer, stirring occasionally, until vegetables are very tender and liquid is slightly reduced, 40-45 minutes.
  4. Let soup cool slightly, then puree with an immersion blender until smooth.
  5. Reheat in the saucepan if needed.
  6. Add the juice of one freshly squeezed lime and stir.
  7. Divide soup among bowls, and drizzle with sriracha and top with cilantro.

IMG_6356

Tasty

Thai Night

February 17, 2014

IMG_6635

I realized that with all of the sunny winter days California has had these past few months, slow cooking meals haven’t been on my radar.   When the weather took a turn a couple of weeks ago, I was excited to get back in my “winter groove” of crock-pot cooking!  Here as a Thai inspired menu I put together for Sunday dinner:

IMG_6812

Skinny Pina Coladas

  1. Pour rum into a low ball glass with 1 large ice cube.
  2. Top with lime juice, stir and enjoy!

IMG_6589 IMG_6594

IMG_6624 IMG_6640 IMG_6611 IMG_6771 IMG_6779

Crockpot Curried Thai Short Rib Tacos with Mango Salsa

Recipe via Half Baked Harvest 

Short Ribs

  • 3 lbs beef short ribs, seasoned with salt and pepper
  • 2 tablespoons olive oil
  • 2 cloves garlic, minced
  • 1 tablespoon ginger, grated
  • 1 cup sweet thai chili sauce
  • 1/2 cup soy sauce
  • 1 tablespoon thai red curry paste
  • 1 teaspoon fish sauce
  • 1 head butter lettuce and/or small tortillas

Mango Salsa

  • 1 mango, diced
  • 1/2 small jalapeño, seeded & diced
  • 1/2 lime, juiced
  • 1/2 cup cilantro, chopped
  • 4 green onions, chopped

Thai Peanut Sauce

  • 1 (14 oz) can lite coconut milk
  • 3/4 cup creamy peanut butter
  • 1/4 cup brown sugar
  • 2 tablespoons soy sauce
  • 1 teaspoon thai red curry paste

Instructions:

  1. Heat olive oil in a heavy bottom pan and brown/sear short ribs over medium-high heat (about 1 minute for each side).
  2. Remove ribs and transfer to the crock-pot bowl.
  3. Add garlic, ginger, sweet thai chili sauce, soy sauce, thai red curry paste and fish sauce to crock-pot bowl/ribs.  Cover and cook on low for 8 hours (5-6 on high). The key is to make sure the meat is falling off of the bones when you remove them.
  4. While the ribs are cooking, make the mango salsa but mixing all the ingredients listed about together in a bowl.  Season to your liking and store in the fridge until ready to serve (I recommend doing this in the morning as well… it will only taste better the longer the flavors can meld).
  5. Make the peanut sauce by heating coconut milk, peanut butter, brown sugar, soy sauce and thai red curry paste in a medium sauce pan over medium heat.  Bring to a low bowl and stir until sugar has dissolved, peanut butter has melted and you are left with a smooth peanut sauce.  Store until you are ready to eat.
  6. Once the ribs are fully cooked, remove from the crock-pot and shred with a fork.  Feel free to put meat back into crock-pot with sauce (if you aren’t a “sauce” person, or like your meat a little drier than you can skip this step).
  7. Serve meat with lettuce (for lettuce cups) or tortillas (for tacos), and top with mango salsa and peanut sauce.
  8. Garnish with chopped peanuts and cilantro.

IMG_6826

IMG_6793

Tasty

Valentine’s Day Breakfast

February 10, 2014

IMG_6519

Trying to celebrate a holiday while running out the door for work can be a little counterproductive, so I wanted to put together a quick and easy menu for starting Valentine’s day off right!
IMG_6516 IMG_6543

Menu

Hazelnut Latte

Fresh Squeezed Blood Orange Juice

Sun Dried Tomato Frittata

Cinnamon Roll Hearts

Red Fruit Salad with Mint Syrup

IMG_6529 IMG_6522 IMG_6520 IMG_6528 IMG_6539

If you aren’t pressed for time, I’d recommend checkout out these other fun V-Day themed breakfast options:

IMG_6531 IMG_6542

Tasty

How to De-Seed a Pomegranate

January 30, 2014

IMG_5027

One of my favorite recipes growing up was my mom’s Pomegranate Salad… so my family has been trying to figure out the best way to de-seed pomegranates WAY before it was a “trendy” fruit.

Our methods have changed over the years, but here is our current method (please excuse the “interpretive” pics – it’s a little challenging photographing a how-to that requires two hands):

Step 1. Use a small knife to score around the crown of the pomegranate.

IMG_5032

Step 2. Wiggle the crown until you feel it pop and remove it.

IMG_5034

Step 3.  This is where I just get a good grip on both sides and break it in half.  The safer route is probably to gently slice it into segments and pull, but I tend to cut to deep and damage most of the seeds, this finding the “grab and go” approach more effective.

IMG_5039

Step 4. Break halves, in half again and using the back of a wooden spoon hit the skin of the pomegranate (in my attempts for a pretty picture, it actually is depicting the OPPOSITE of what you should do – fail.) into a water filled sink or large bowl.

Step 5. Also feel free to pick some of the seeds with your fingers – I just recommend you do so under water, as to not splash whatever you are wearing in VERY staining pomegranate juice.

Pomegranate Jewels

Step 6. Swirl the pomegranate seeds in the water and remove any floating debris (white pith, discolored seeds, etc.)

Step 7. Drain seeds and store in a air tight container.

IMG_5057