Travels

Happiness Files: SLO

November 20, 2014

IMG_0069

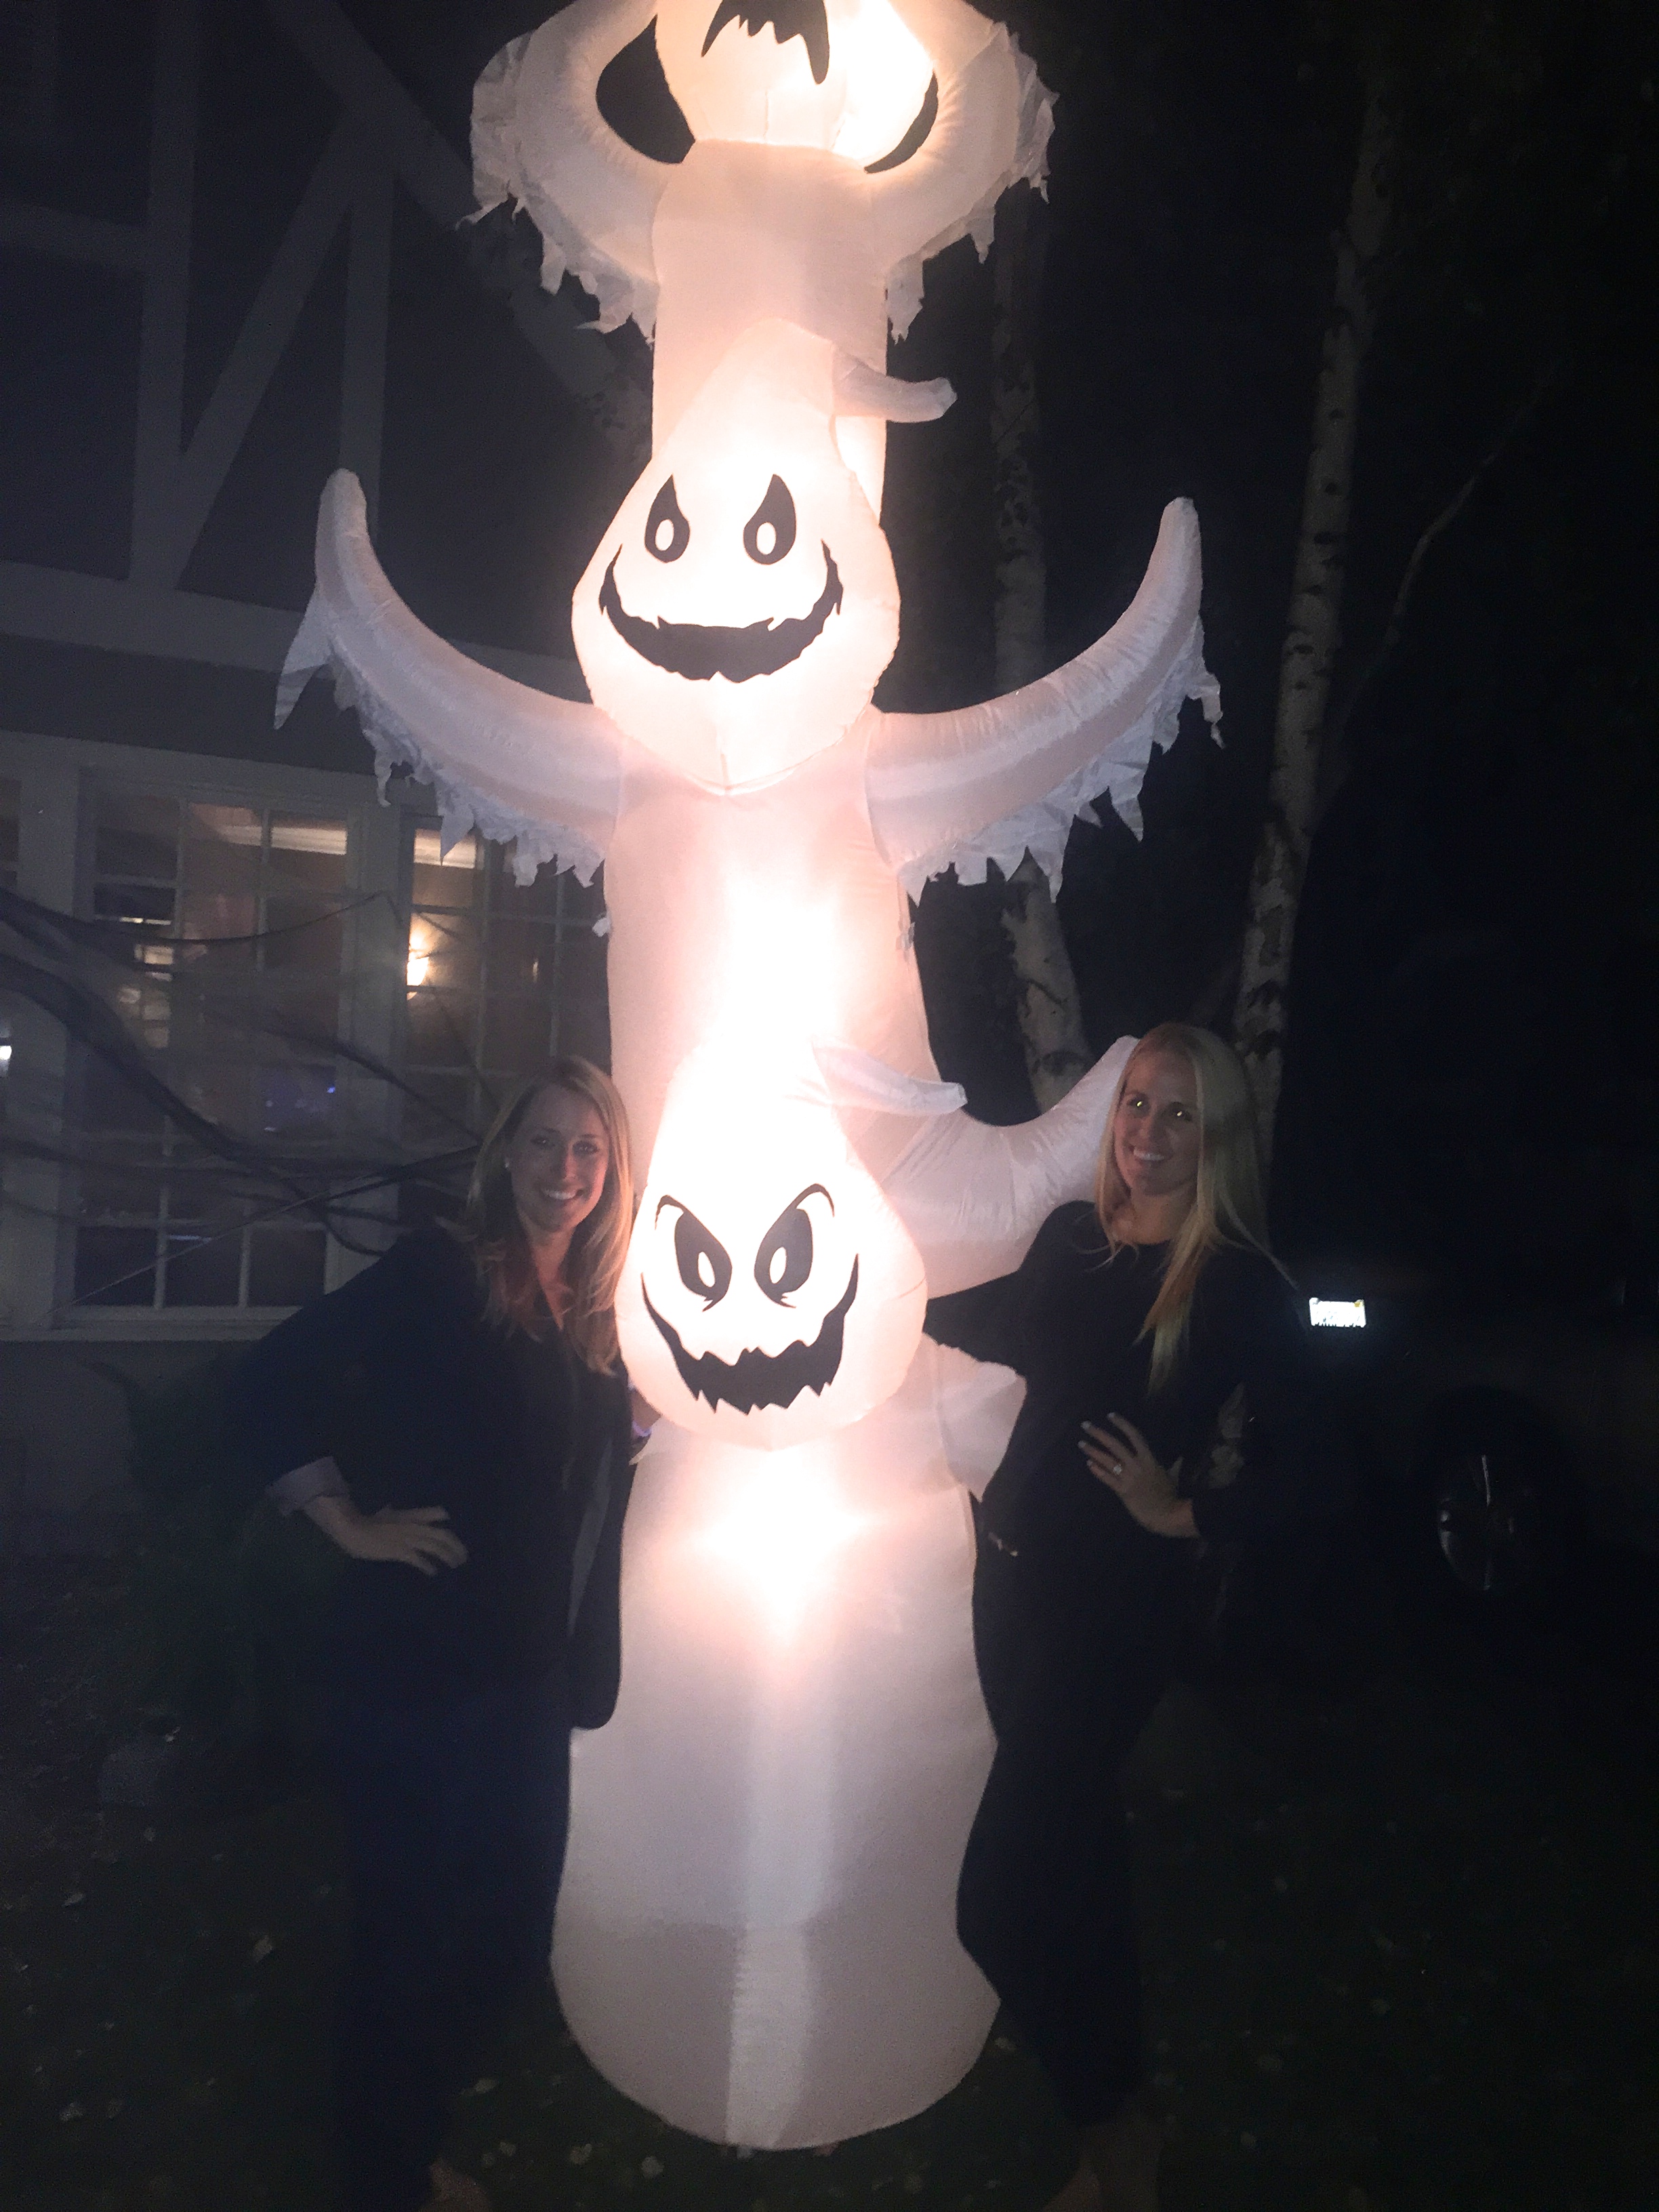
A couple of weekends ago my family was able to pack up and make the trip to San Luis Obispo to watch my sister’s boyfriend play in a Cal Poly football game.  Despite an eventful Halloween night (thanks to our awesome neighbors), we were able get on the road early Saturday for an eventful 48 hours.

IMG_9998

Here were some of the highlights:

IMG_0011

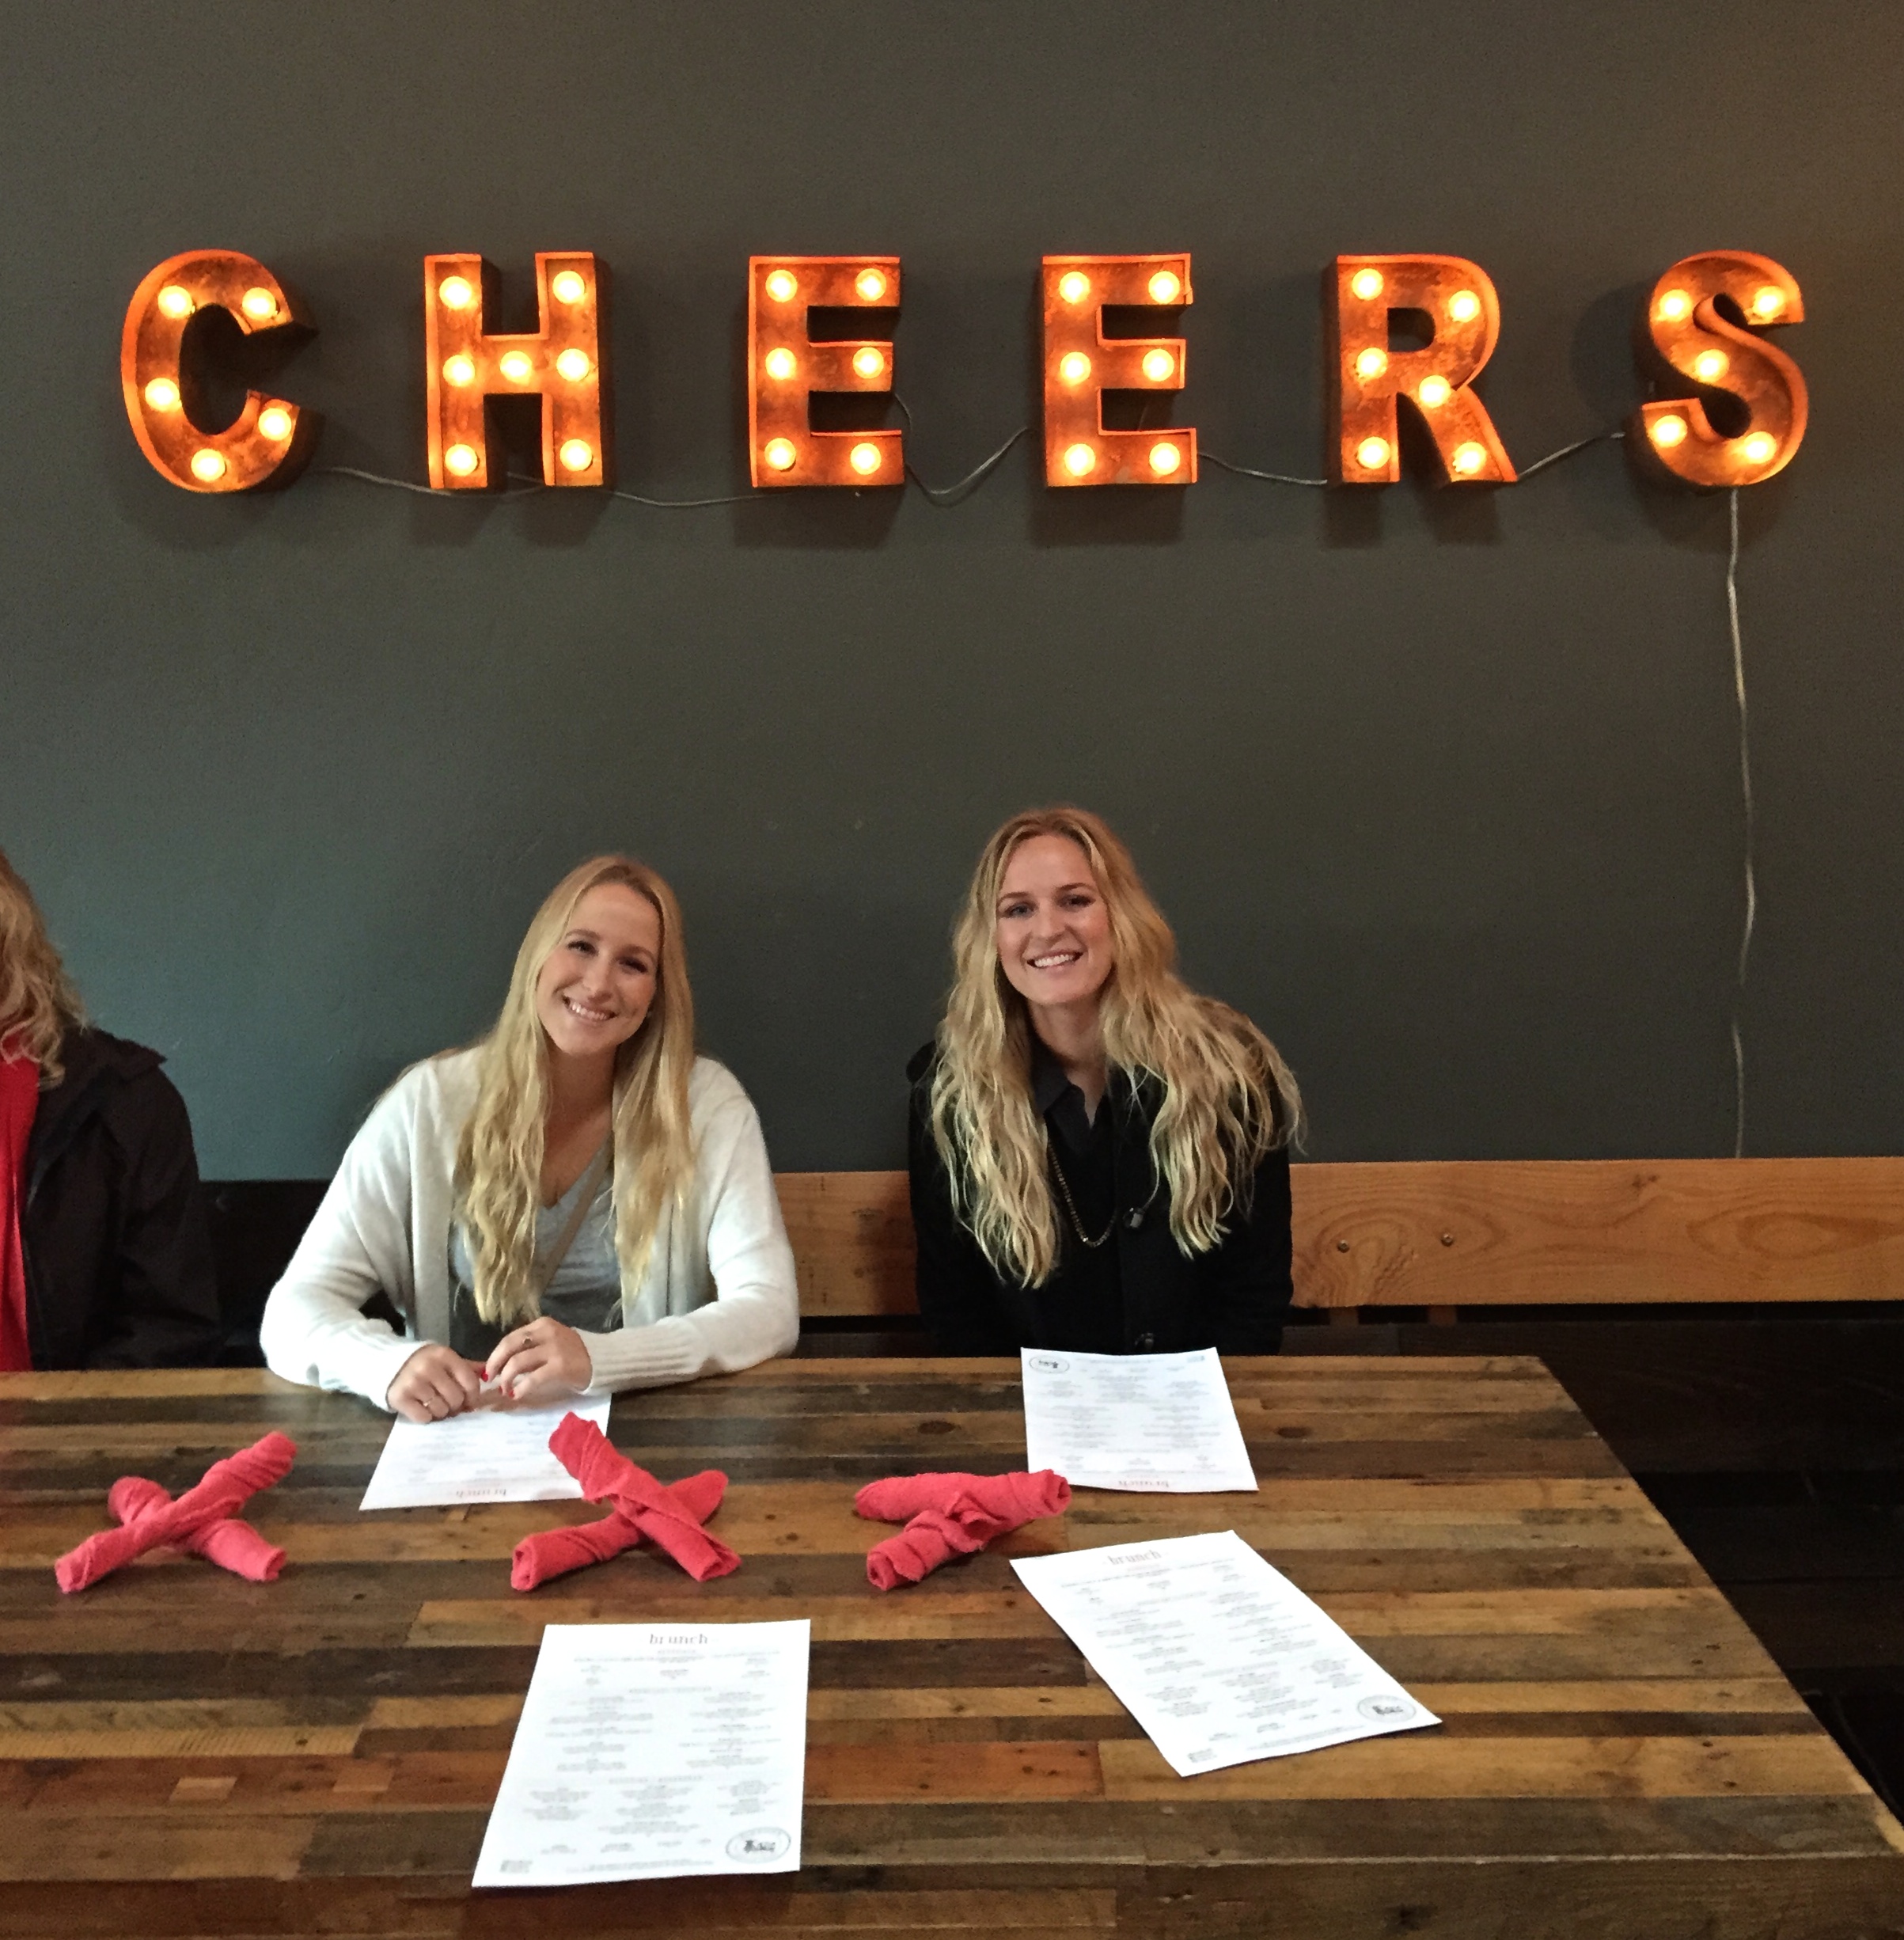
 Brunch at Sidecar – complete with a green juice Bloody Mary and tater tots.

IMG_0017

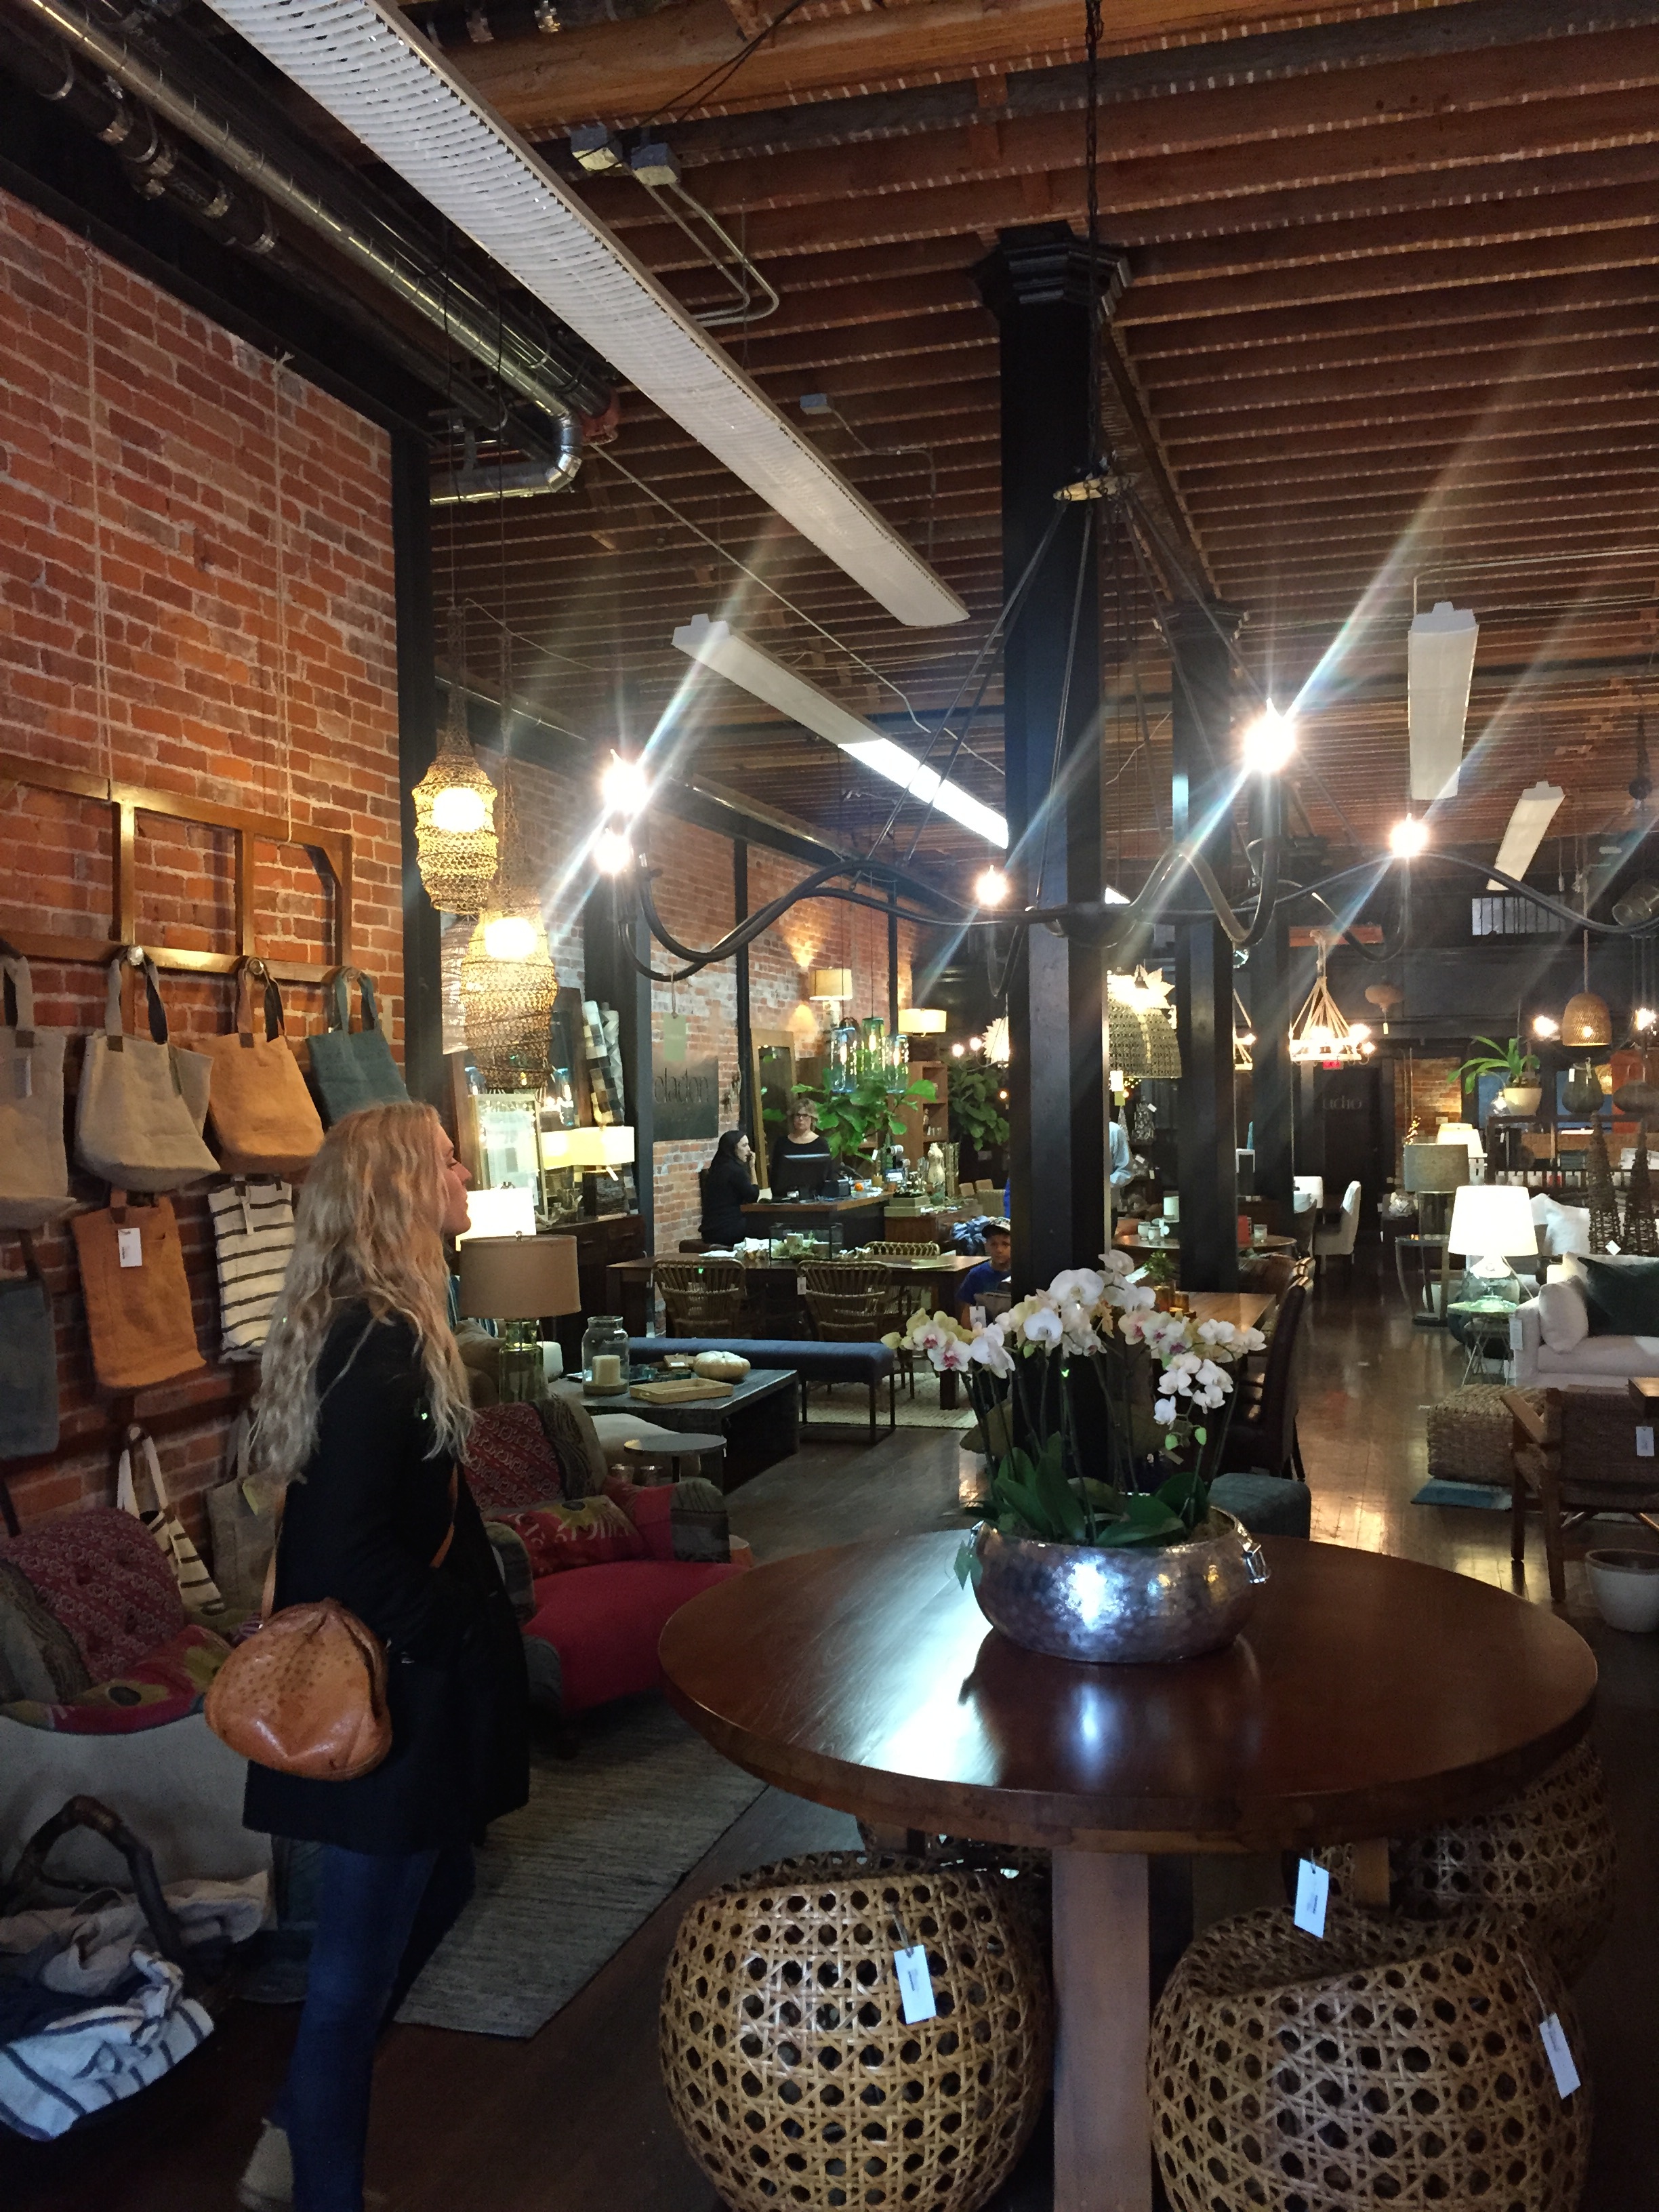
 Exploring the cutest home decor stores downtown SLO.
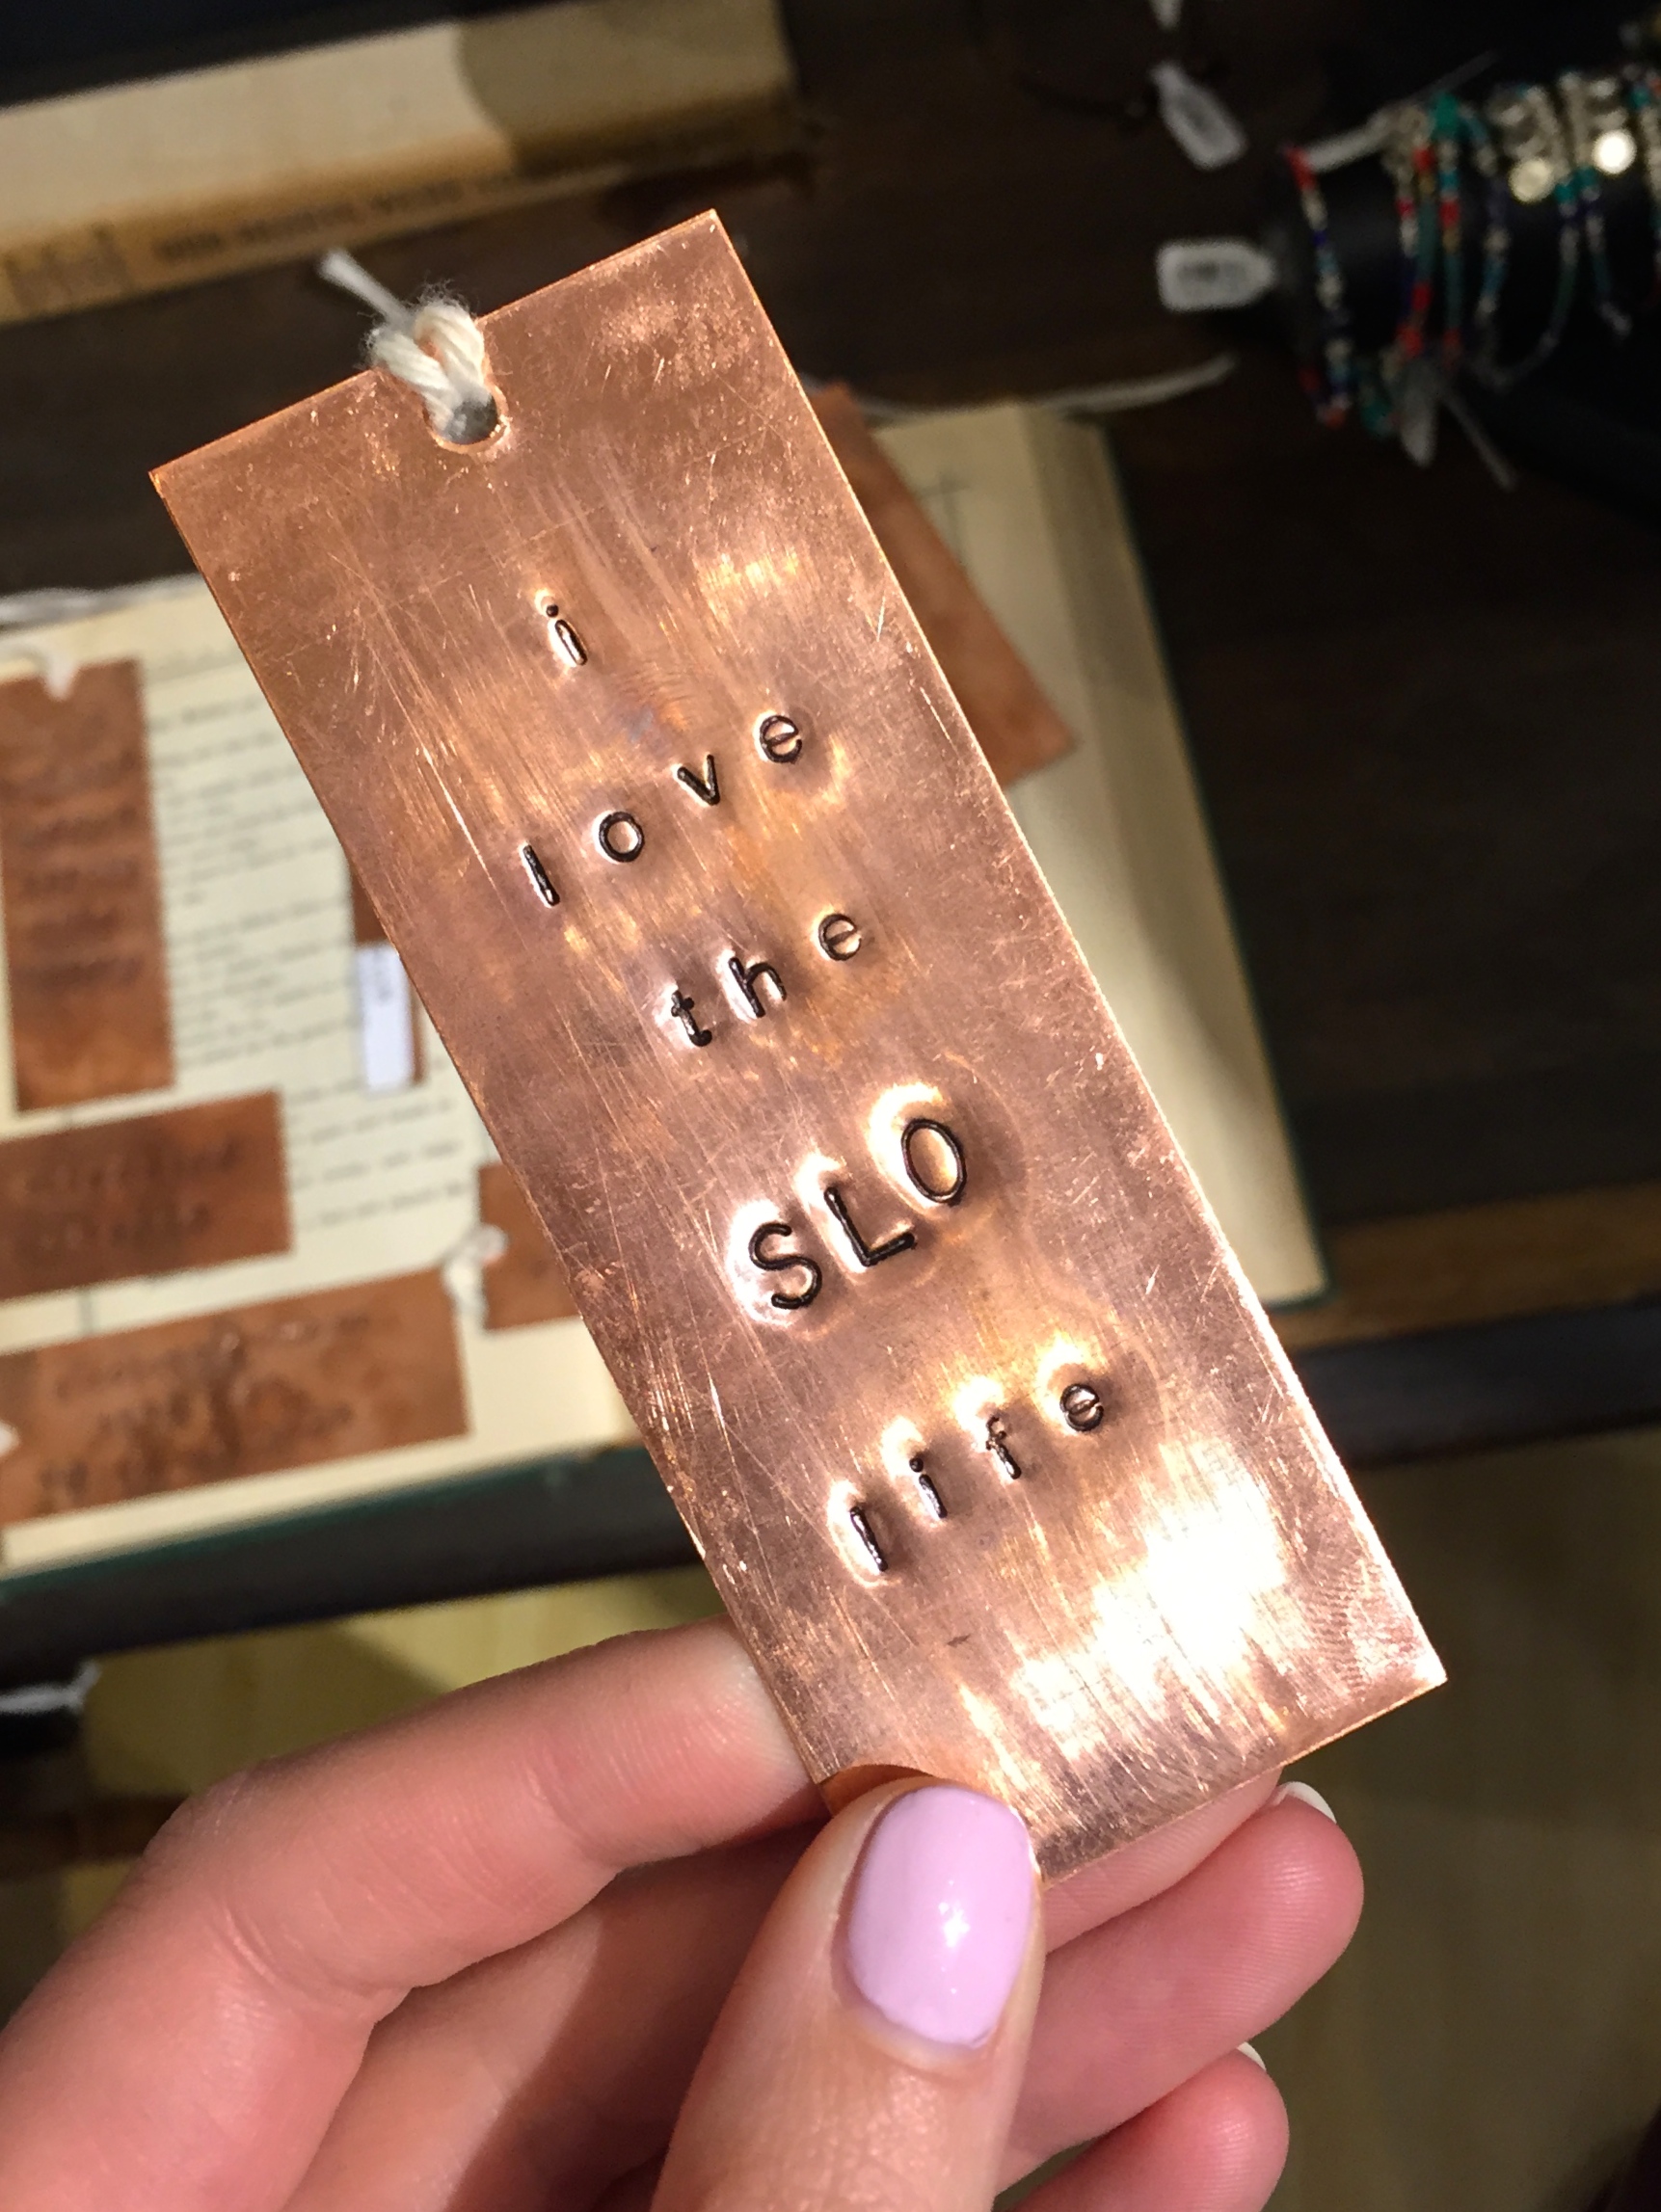
IMG_0028

duh.

IMG_0050

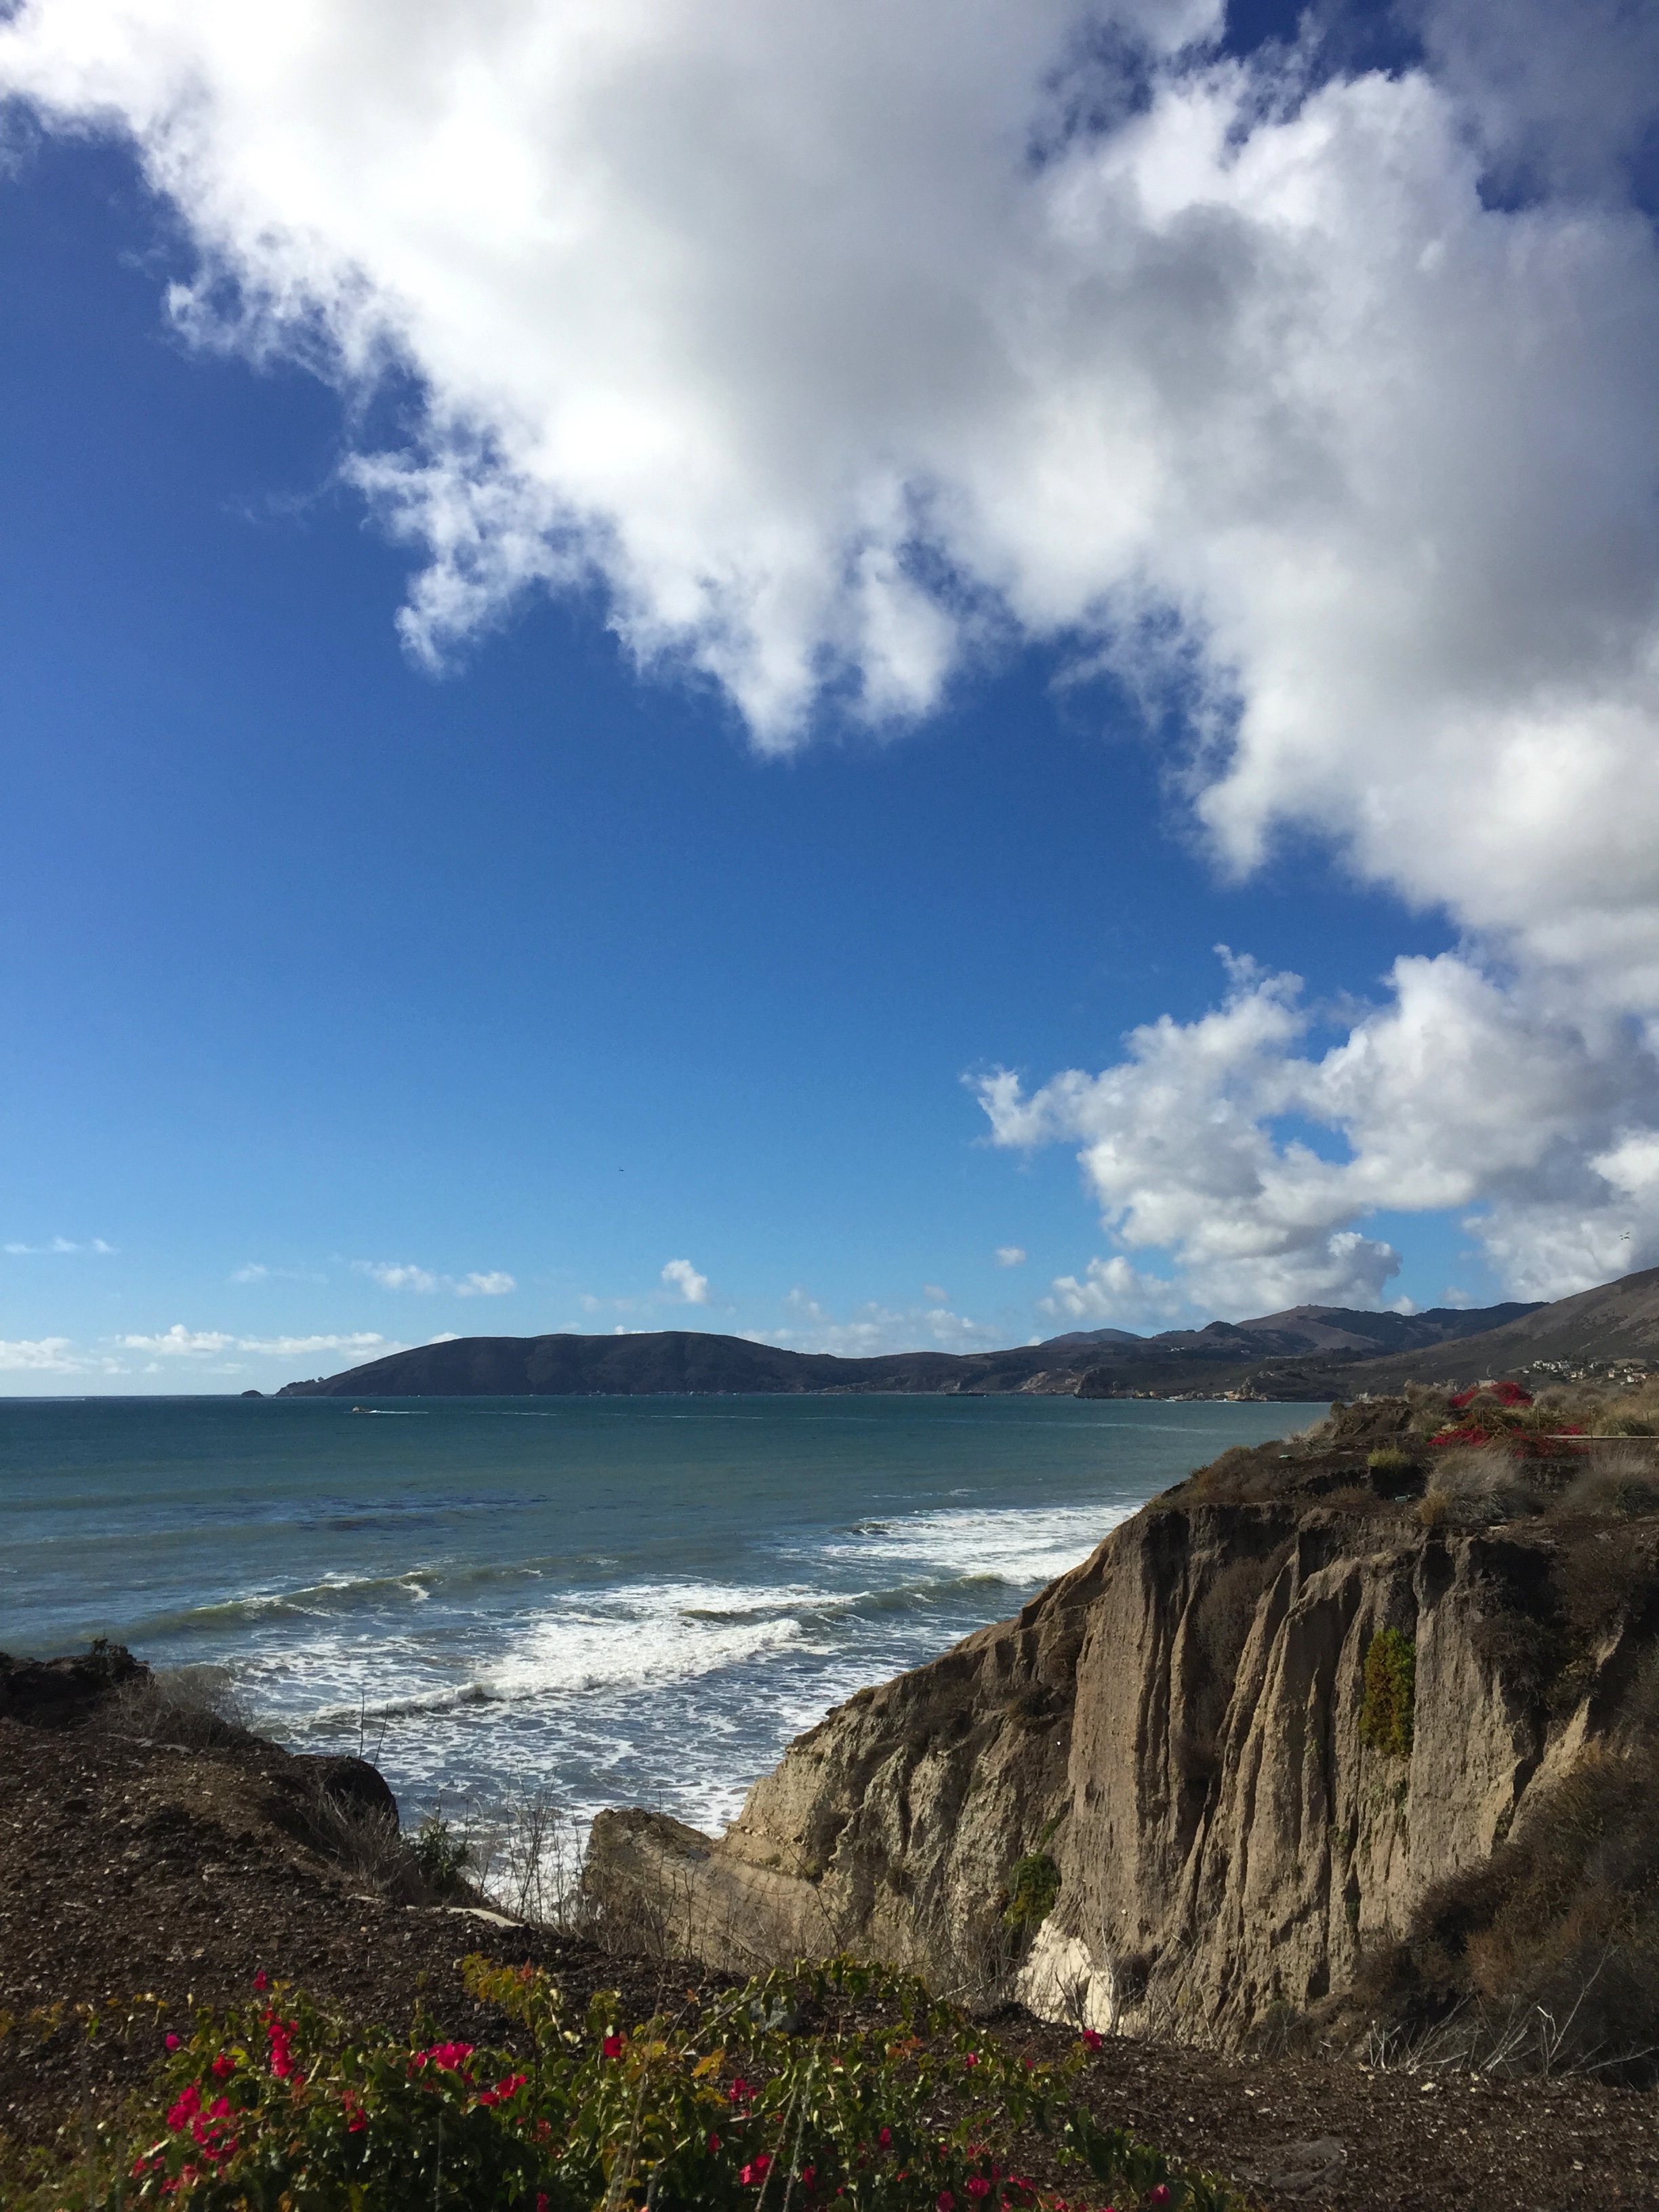
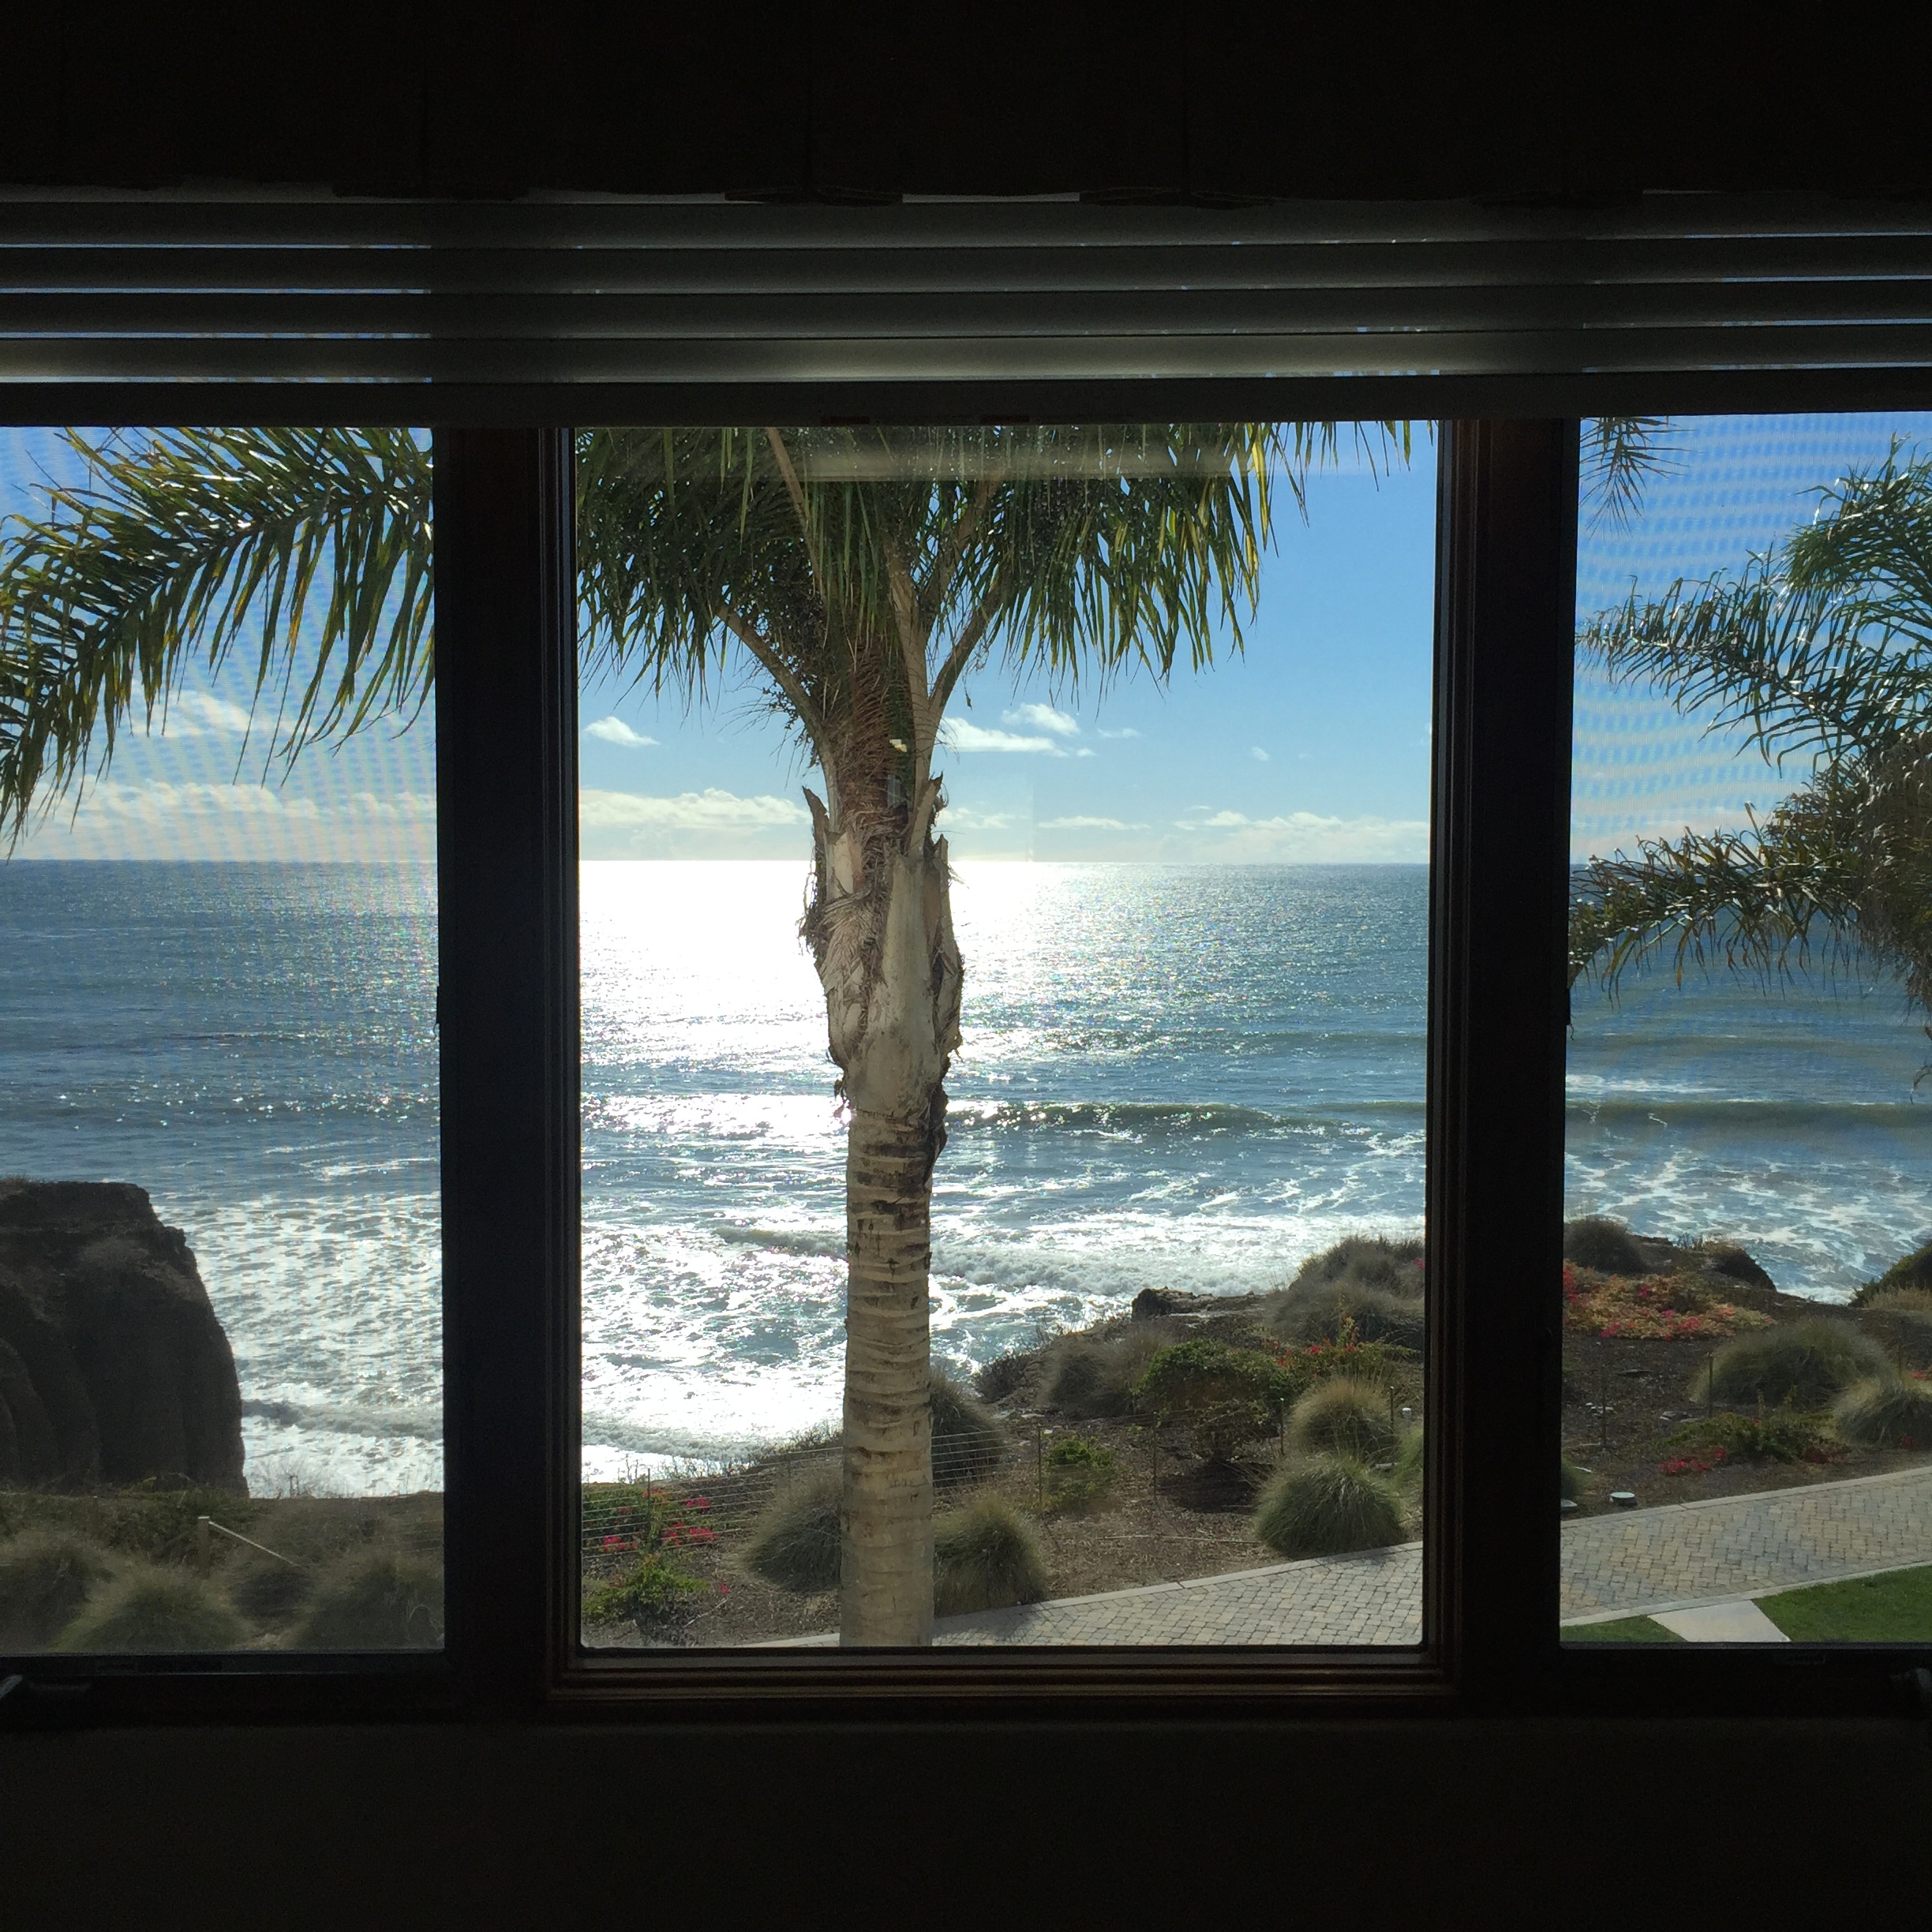
The gorgeous view from our room at Dolphin Bay.

IMG_0042

My new favorite coffee shop – Scout (they even have milkshakes – what isn’t to like!?)

IMG_0052

IMG_0075

IMG_0067

IMG_0089

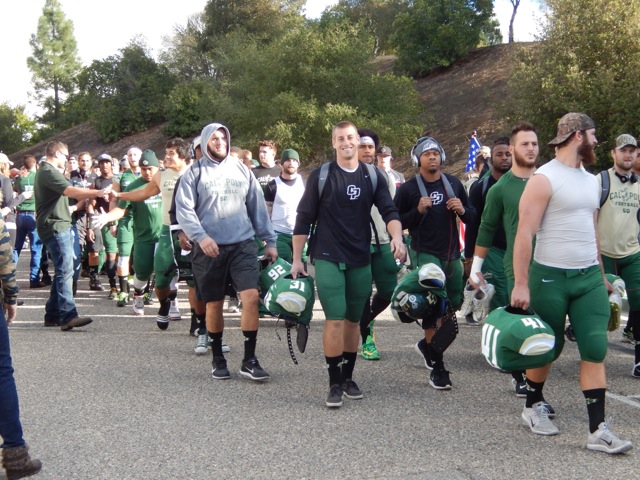
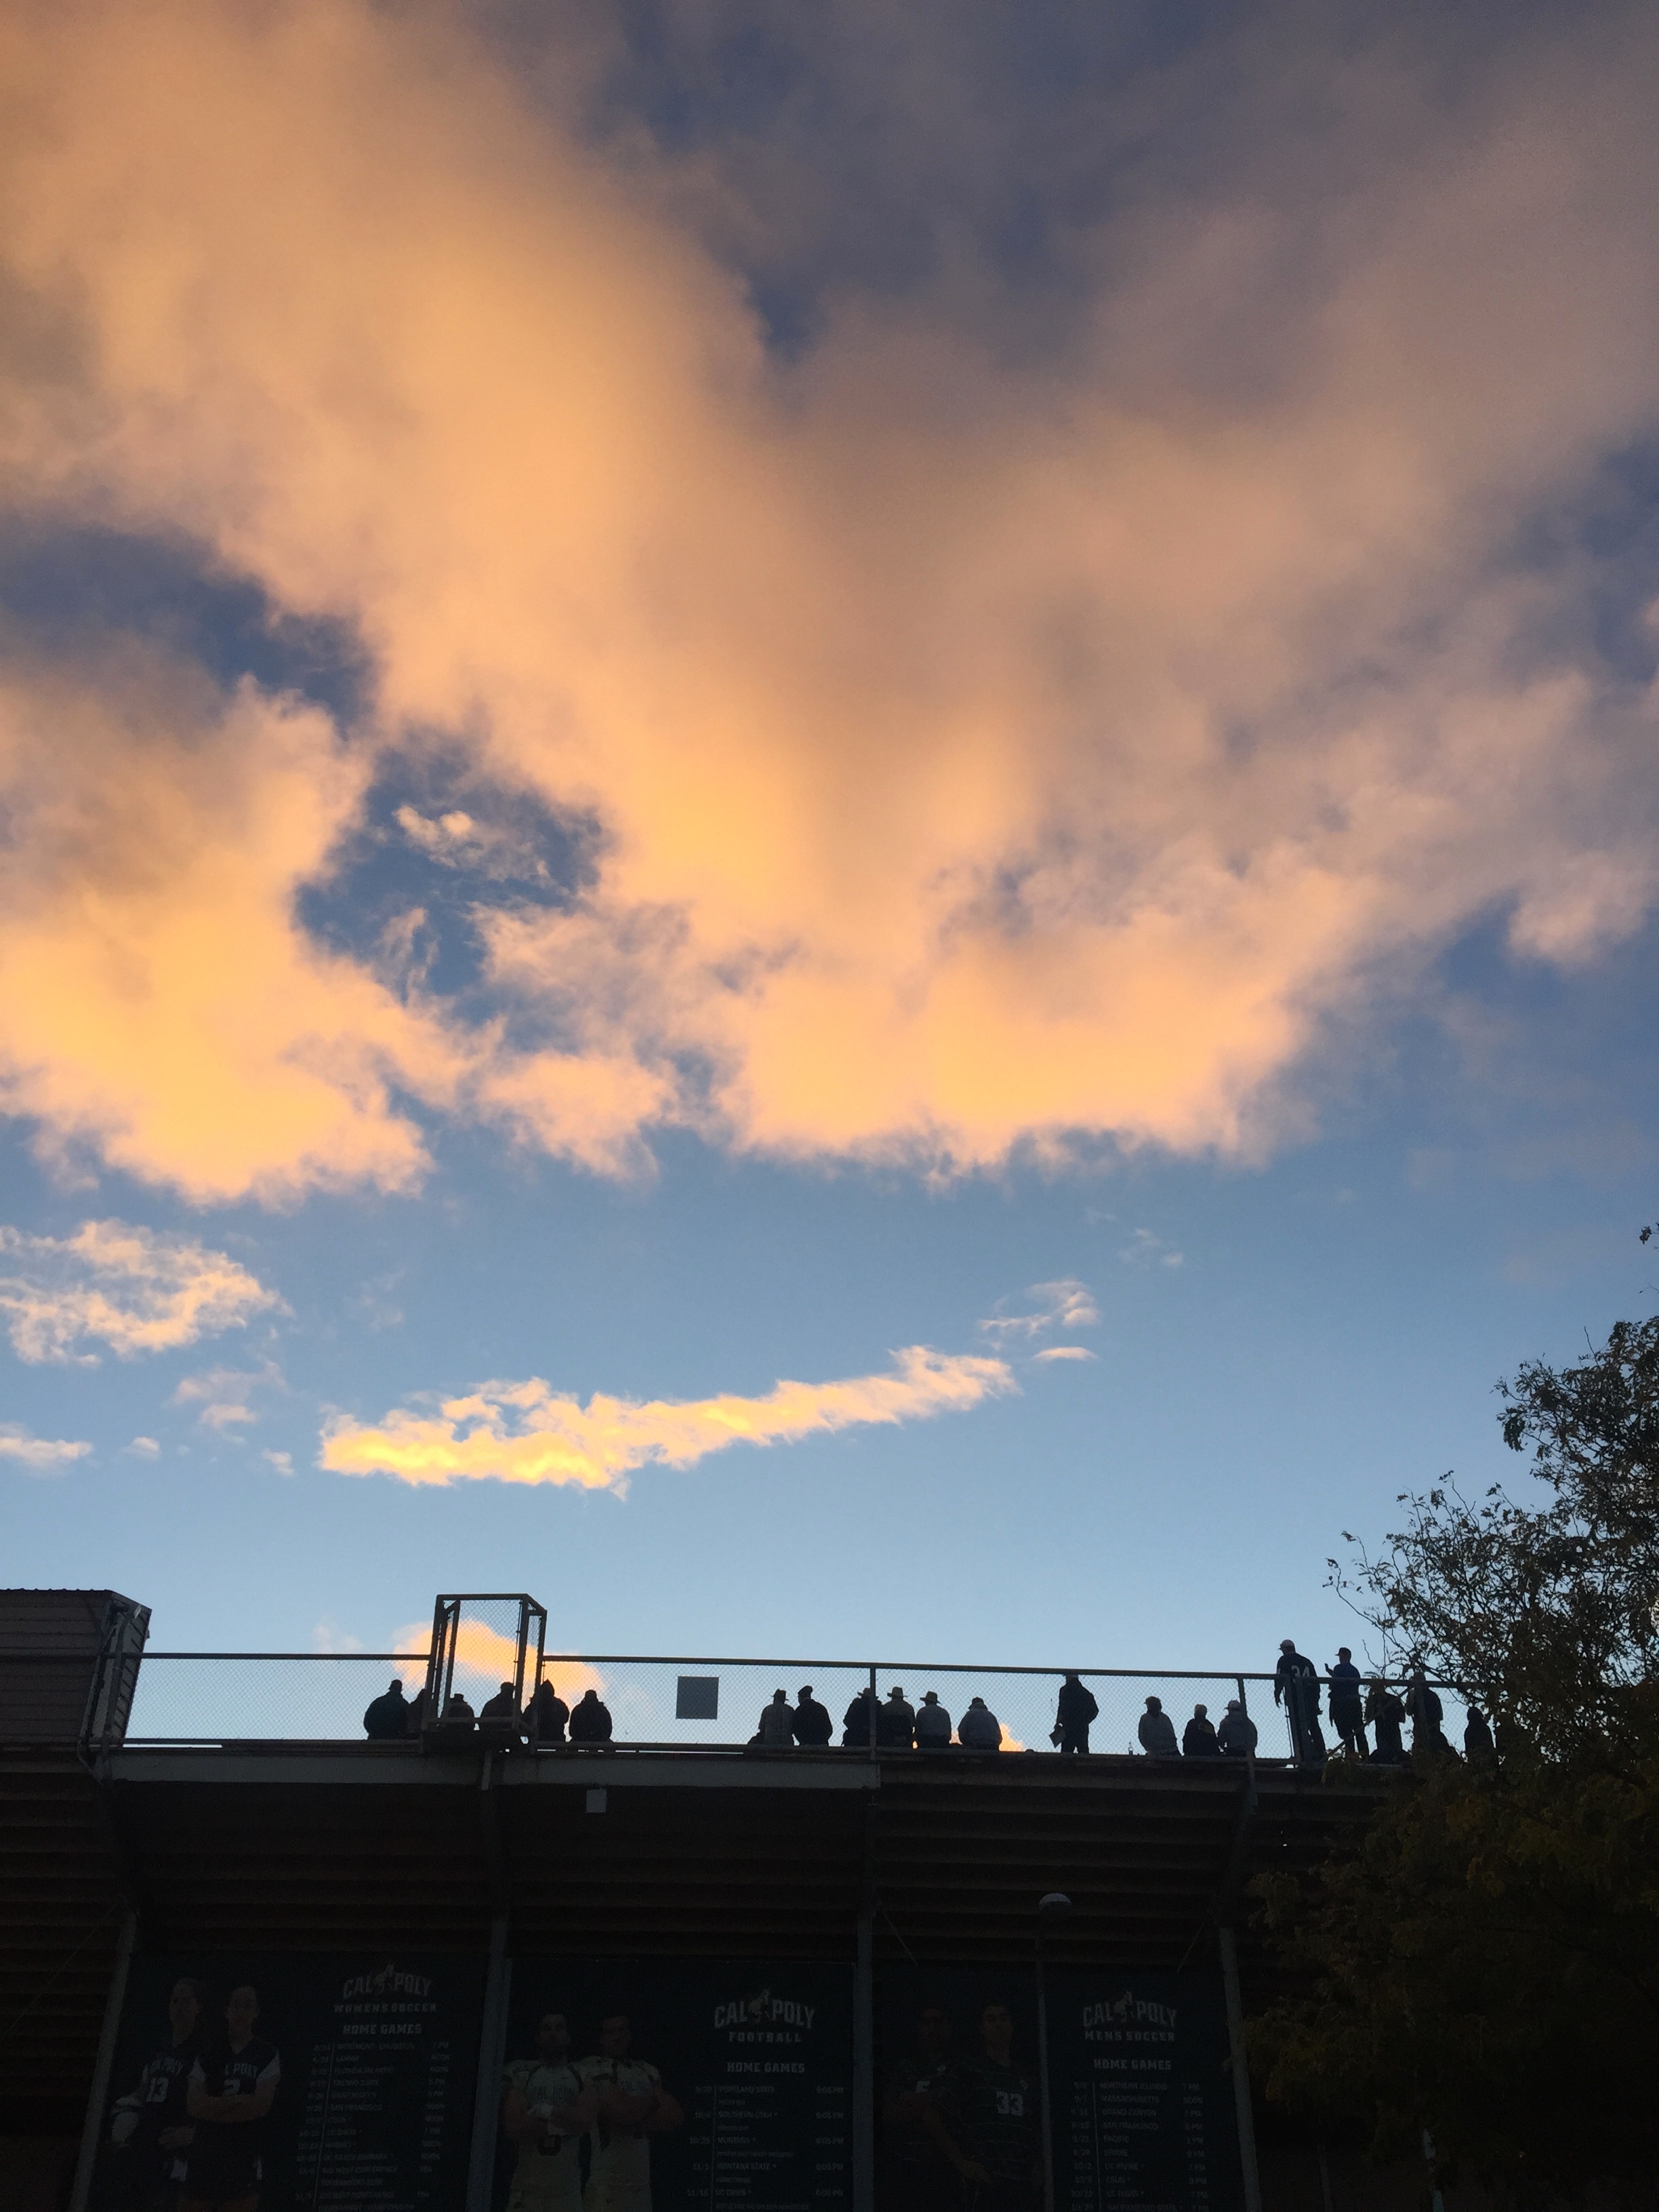
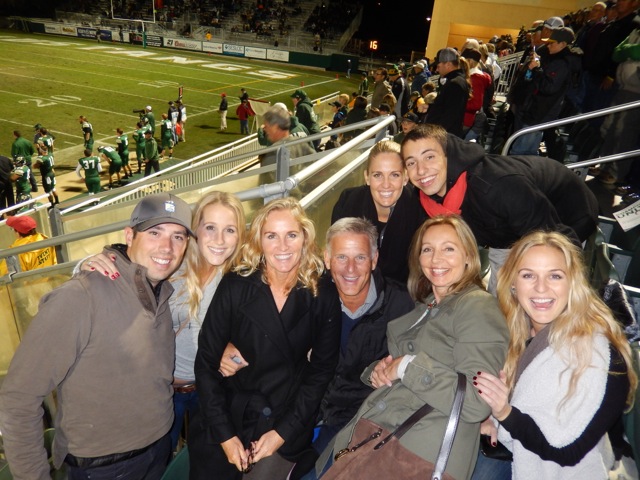
Tailgating at the Cal Poly Football game.

Brandon

IMG_0082

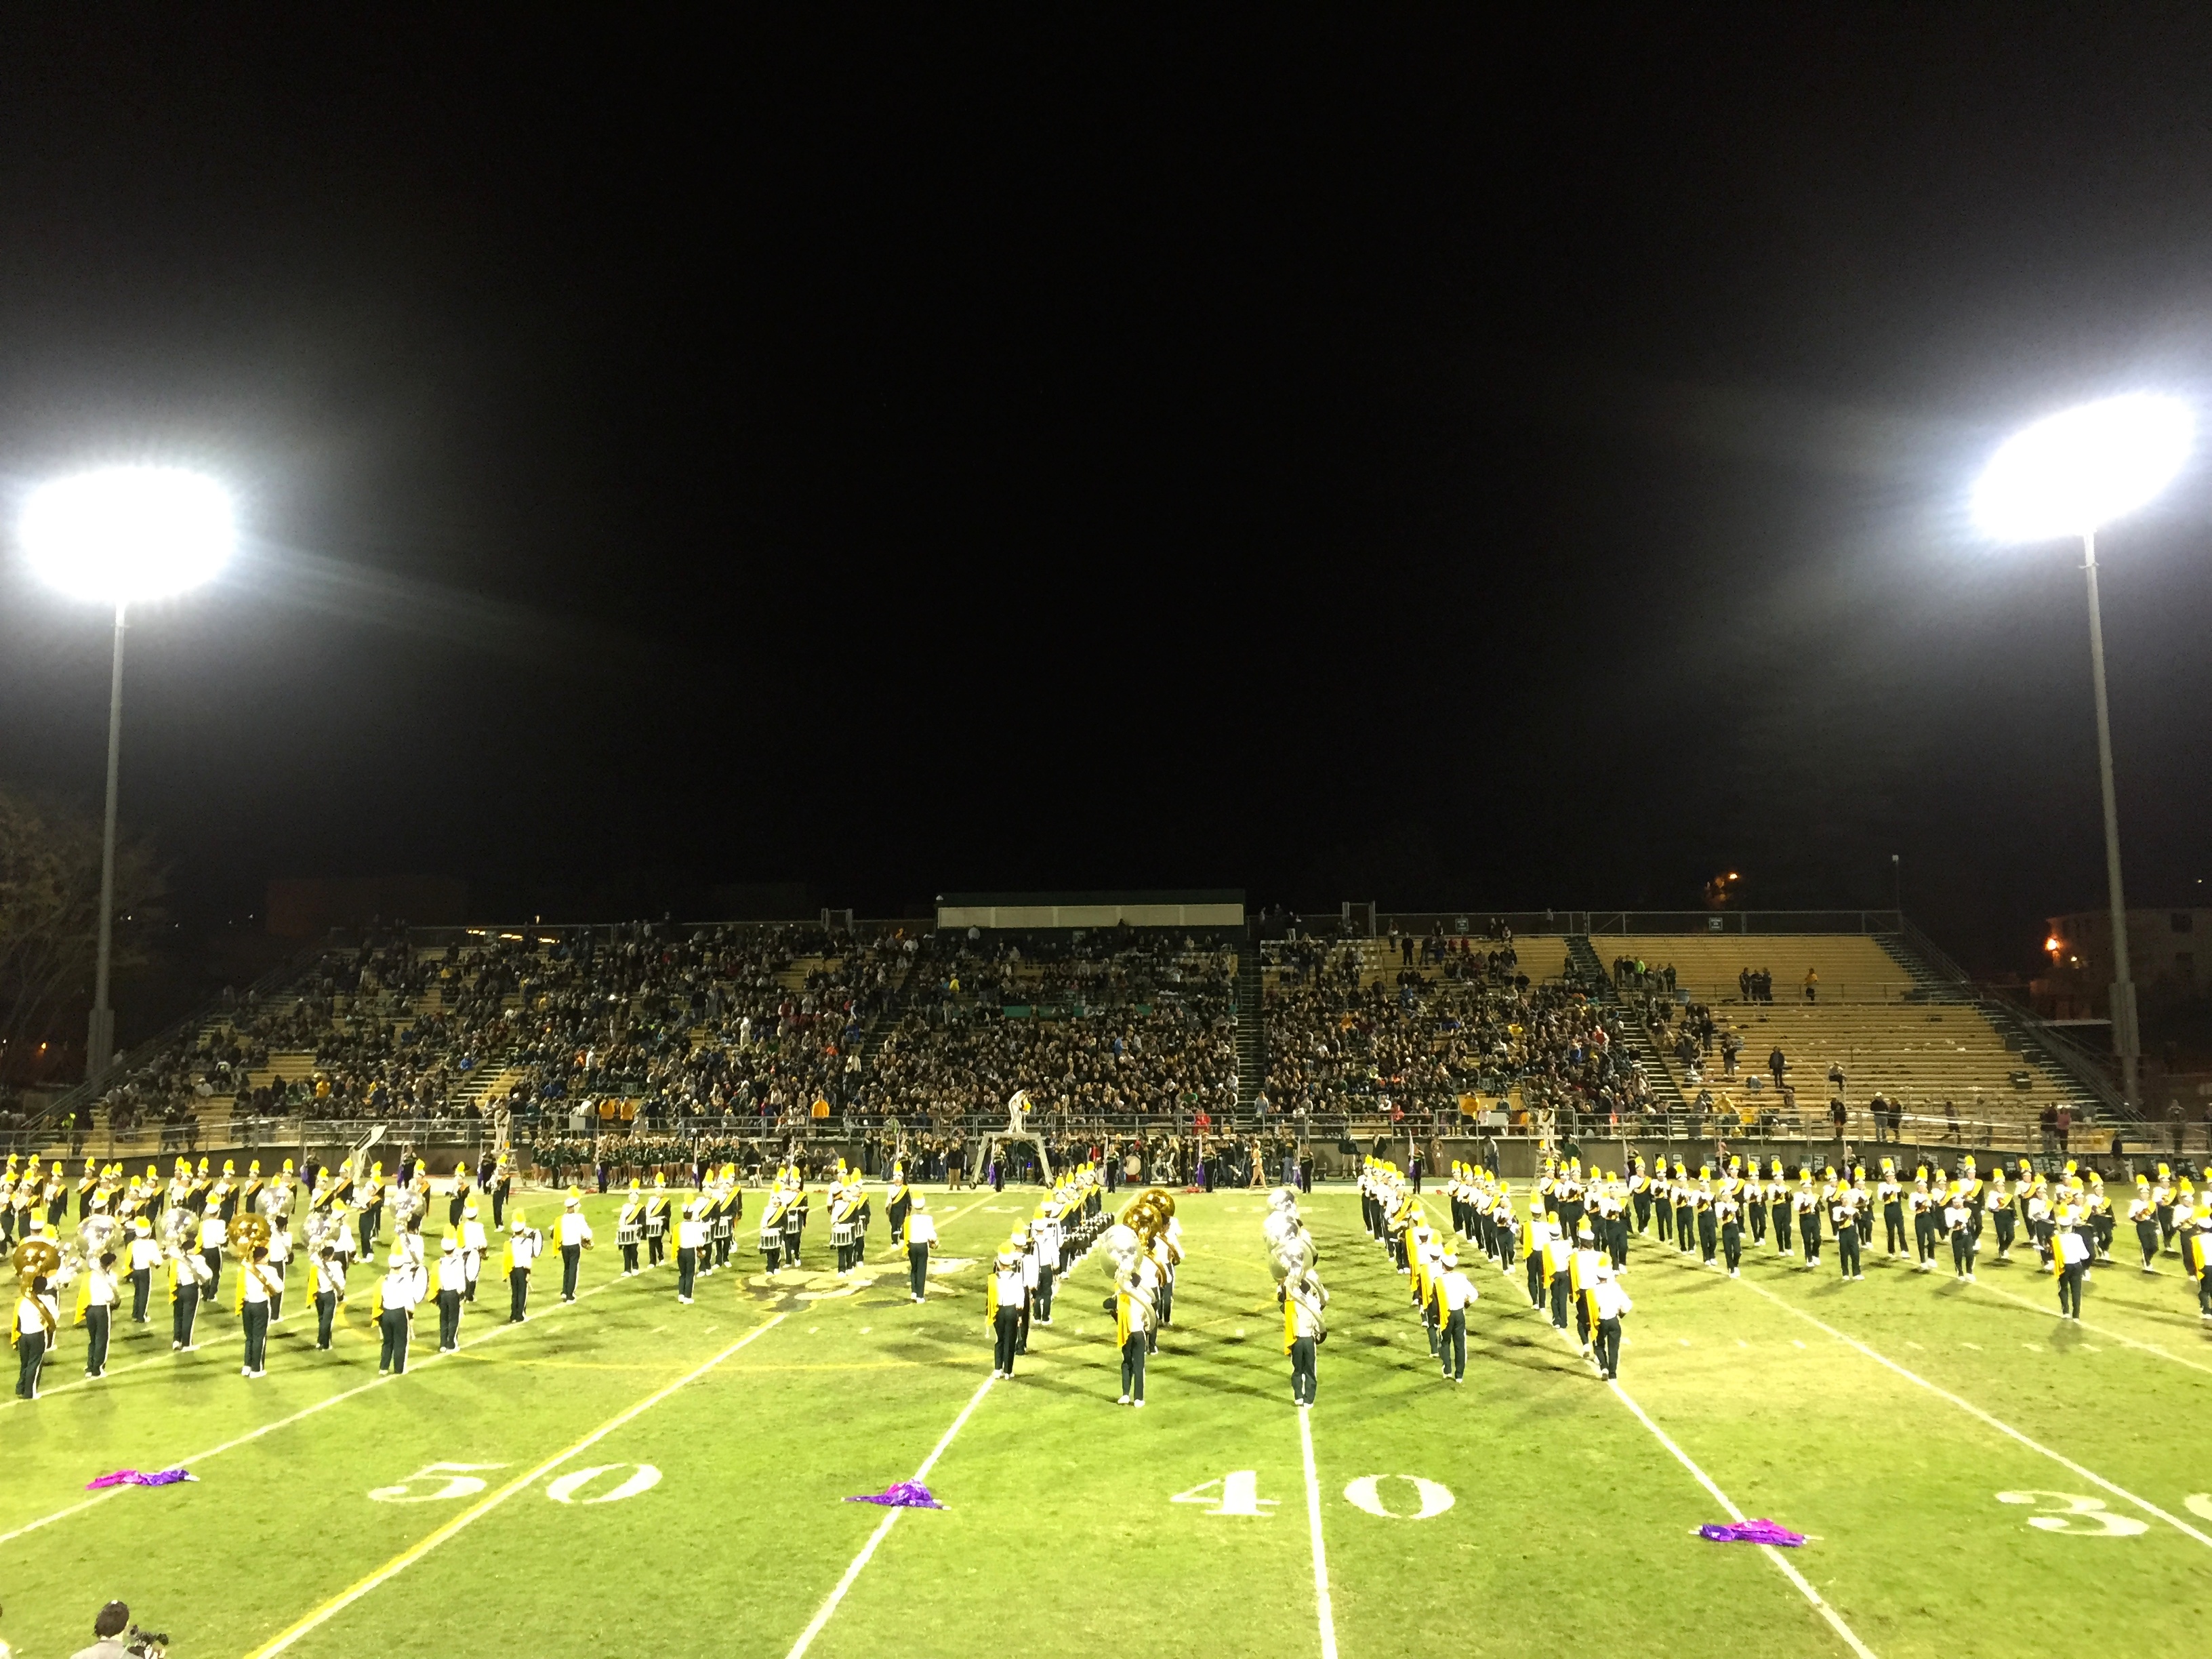
 oh when the saints…. go marching in…

IMG_0094

Brandon3

IMG_0157

IMG_0134

Cal Poly Mustangs

Brandon2

IMG_0163

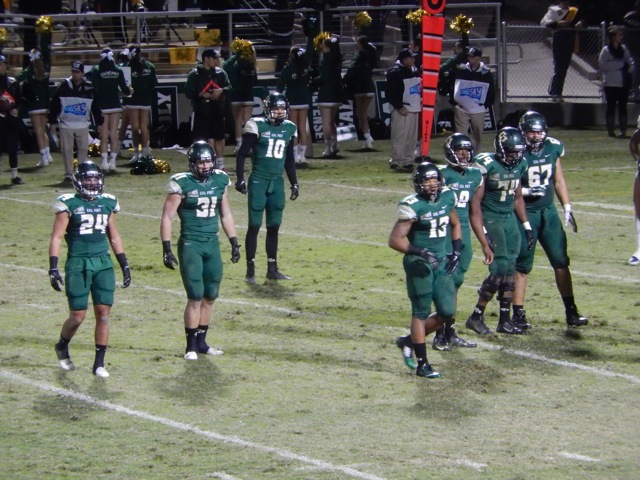
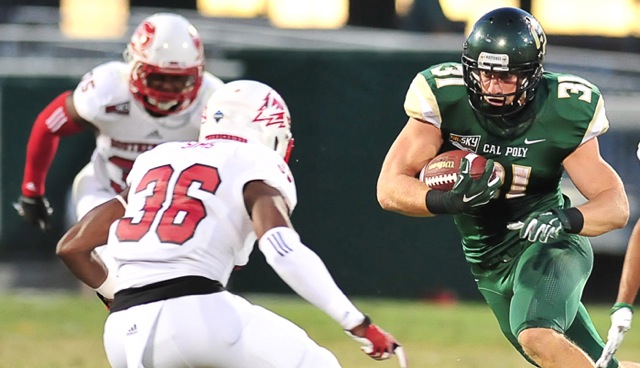
TOUCHDOWN by our favorite #31! GO BRANDON!!

IMG_0195

IMG_0204

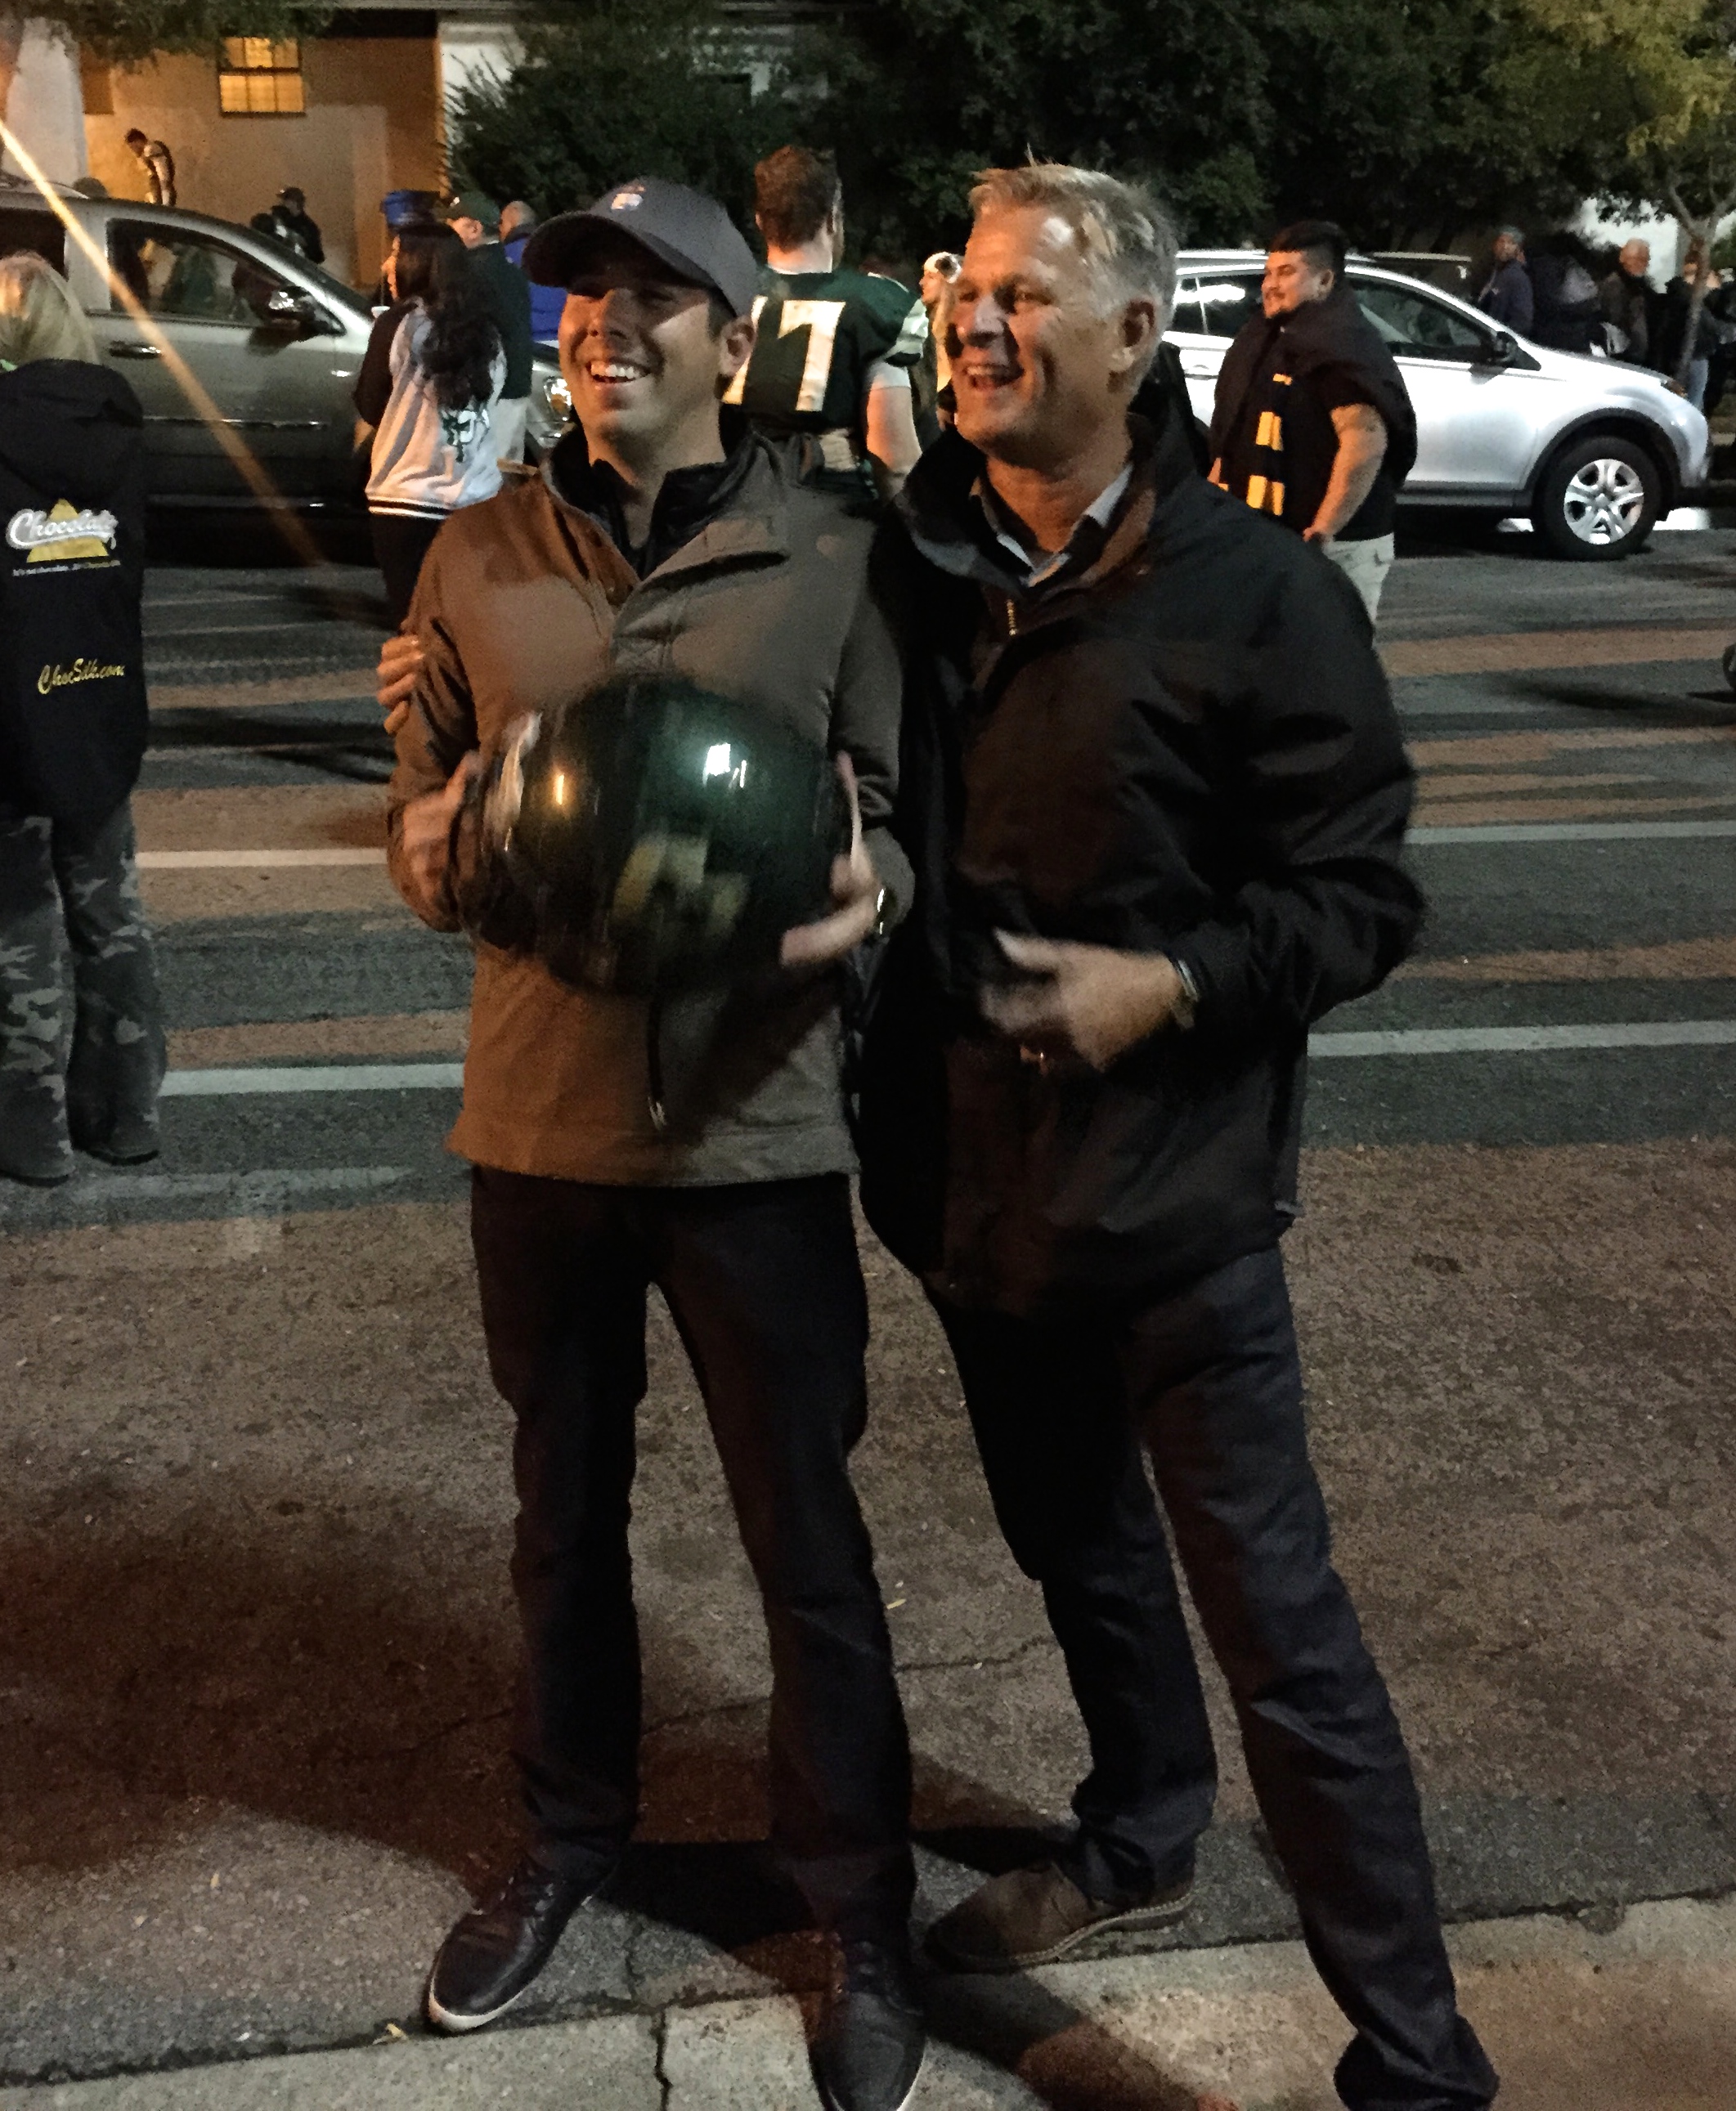
Thanks for such a great weekend… Go Brandon… and GO Mustangs!!!

Tasty

Beet Chips

November 19, 2014

IMG_6272

Sometimes I get a little over zealous on my produce shopping and am left with tons of left over veggies at the end of the week. My latest solution!? Chips!

IMG_6231

While this obviously works well with all kinda of potatoes (russet, sweet, purple, etc.) – I love experimenting with other types of baked chips. My latest favorite? Beet.

IMG_6252

I used some leftover golden beets, and while they were a little on the small size, the flavor made up for it in a big way.  Here is my easy recipe for baked beet chips:

  • Beets
  • Olive Oil
  • Maldon Sea Salt
  1. Use a mandolin to slice beets to 1/16 inch thickness (or thinness I guess I should say)
  2. Toss with a thin layer of olive oil (about 2 tablespoons for 2 large beets)
  3. Disperse on 1 or 2 baking sheets (make sure to leave room between each “chip”) and sprinkle with salt.
  4. If using a rimmed baking sheet, top with another rimmed baking sheet (or if your kitchen doesn’t have a ton to choose from – like mine, top a rimless baking sheet with a rimmed one). The goal is to have the beets be flattened initially, so they don’t curl up.
  5. Bake at 350 degrees for 20 minutes or until the edges start to dry out.
  6. Remove top baking sheet and rotate beet covered baking sheet 180 degrees.
  7. Bake 10-20 minutes more.
  8. Transfer to a wire rack and they will become crunchy as they cool.
  9. Enjoy!

*Note: Wrap baking sheets in foil to cut down on clean up time!

IMG_6224

IMG_6237

IMG_6241

IMG_6253

IMG_6259

IMG_6269


Domestic

How to Remove Labels Off of Bottles

November 18, 2014

IMG_6167

Between artisan olive oil, liquor and sparkling water, there are a lot of gorgeous bottles out there.  After a fun summer filled with lots of delicious meals, I have been left with a lot of empty bottles that I almost feel guilty throwing away.  Lucky for me, I came across a few restaurants that serve water out of recycled Bulleit bottles and Hangar One bottles, and figured what better way to repurpose my own!?

IMG_6144

The only thing that keeps from DIYing is the time and effort that goes into these projects.  Luckily this one requires very few of either and there are countless uses for these bottles afterwards!  Here a few easy steps to sparkling new bottles:

  1. Rinse out existing bottles
  2. Fill sink with VERY hot water.
  3. Add 1/2 cup baking powder, 1 tablespoon dish washing liquid and 2 cups vinegar to the hot water.
  4. Swirl around to combine and add bottles.
  5. Let soak for an hour or so, or until labels are able to be removed relatively easily.
  6. Remove labels (you may need to use a butter knife for those that don’t peel off in one piece).
  7. Use rubbing alcohol or Go-Be-Gone to get rid of any remaining residue.
  8. Dry and store for later use.

IMG_6115

IMG_6134

IMG_6121

IMG_6136

IMG_6152

IMG_6154

IMG_6157

IMG_6162


IMG_6166

Note: I did this with 4 different bottles and each label was different.  The Hangar bottle removed in one piece with no residue left behind (definitely the easiest), while an olive oil bottle not only required a butter knife to remove the label, but the residue was SO sticky I had to allow the bottle to soak in the alcohol a bit (and use a LOT of elbow grease).

IMG_6165

Here are a some fun projects you can use with these re-purposed bottles: hanging flower arrangements, water bottle, or vases… just to name a few!

Tasty

Sweet Potato and Black Bean Tacos with Pomegranate Cranberry Salsa

November 17, 2014

IMG_6210

With the weather cooling down, I’m excited to jump into some more seasonally appropriate meals.  First up? This gorgeous recipe I scored on Pinterest that I can’t stop looking at.

IMG_6179

IMG_6197

Sweet Potato and Black Bean Tacos with Pomegranate Cranberry Salsa 

Recipe via The Half Baked Harvest

Tacos

  • 2 tablespoons olive oil
  • 1/2 sweet onion, diced
  • 1 clove garlic, minced
  • 1 large sweet potato, peeled and chopped
  • 1 1/2 cups cooked quinoa
  • 2 teaspoons chili powder
  • 2 canned chipotle chilies, minced
  • 1 tablespoon chipotle in adobo (from the chipotle chili can)
  • 1 teaspoon smoked paprika
  • 1 teaspoon cumin
  • 1 teaspoon brown sugar
  • 1/2 teaspoon cayenne
  • 1 cup cooked black beans, drained and rinsed
  • 1 lime, juiced
  • 1 small bunch cilantro
  • Tortillas (flour, corn or hard shell)
  • 1 avocado, sliced or diced
  • 1 cup shredded sharp cheddar cheese
  • cotija cheese, crumbled, for topping

Roasted Cranberry Pomegranate Salsa

  • 12 ounces fresh cranberries
  • 1/4 cup brown sugar (I used a little less)
  • 1 canned chipotle chili, chopped
  • 1 lime, zested + juiced
  • 1 clove garlic, minced
  • 1/4 jalapeno, chopped and seeds removed
  • the seeds from 1 pomegranate
  1. Heat oven to 450 degrees F. Cover a baking sheet with foil and lightly grease.
  2. Place the cranberries, brown sugar, chipotle chili, lime zest and juice, garlic, jalapeño and a pinch of salt and pepper on baking sheet.
  3. Use your hands to toss everything together until the cranberries are evenly coated.  Roast in the oven until the cranberries burst and release their juices, about 15 minutes.
  4. Remove from the oven and and let cool (about 10 minutes).
  5. Add the pomegranate arils and toss well. Set aside at room temperature until ready to use.
  6. While the cranberries are roasting, start on the tacos… Heat the olive oil over a large skillet set over medium heat.
  7. Add the onions and sweet potatoes and toss to coat.
  8. Cover the skillet and let cook until the sweet potatoes are tender, but not mushy, stirring once or twice for about 10-15 minutes.
  9. Once the sweet potatoes are tender (easily pierced with a fork), add the garlic and saute 30 seconds.
  10. Turn heat to medium-high (adding more oil if needed) and add the quinoa.
  11. Let the quinoa get crispy and cook for about 5 minutes.
  12. Add 3/4 cup water, the chili powder, chipotle chilies, adobo sauce, smoked paprika, cumin, brown sugar and cayenne, stir to thoroughly combine and bring the mixture to a boil.
  13. Cook for 5-10 minutes or until the water has completely evaporated.
  14. Remove from the heat and stir in the black beans, 1/4 cup chopped cilantro and the lime juice.
  15. To assemble the tacos, place some of the quinoa in a tortilla or shell. Top with shredded cheddar cheese, avocado, a large dollop the the roasted cranberry salsa, crumbled catija cheese and fresh chopped cilantro.

IMG_6177

Cranberry Salsa

IMG_6195

IMG_6212

IMG_6221


By the way, if you haven’t checked out Half Baked Harvest before… you definitely need to do so! Her photography is amazing, and her recipes are next level.  I’ve been eating off solely off of her site for the last week and I couldn’t have been more excited to stumble across her gem of a site.  Enjoy!

IMG_6215


Sip

Sour Cherry Cider Sip

November 14, 2014

IMG_6053

Now that fall is in the (80 degree) air I am swapping watermelon for butternut squash, swim suits for sweaters, and vodka for bourbon.  My family loves sour cherry syrup (perfect for mixing with club soda and lime for a refreshing sipper), so when I came across a bottle of it, I knew I had to swoop it up (it can be hard to find).  I mixed it with a favorite of my fall-ish libations and here is what we came up with!

IMG_6061

Sour Cherry Cider Sip 

  • 1 1/2 oz whiskey
  • 1/2 oz sour cherry syrup
  • ~1/4 cup cider
  1. Pour whiskey in a low ball glass over ice.
  2. Add sour cherry syrup.
  3. Top with cider and stir.

You know how I love a cocktail with minimal clean-up… and this one hits the spot! Delicious, refreshing, seasonal and still a little bubbly from the cider – perfection!

IMG_6030

Step 1

  IMG_6035

Step 2

IMG_6047

 Step 3

IMG_6054

PS. if you aren’t able to find any syrup at your local artisan store (or Cost Plus or Home Goods), you can make your own!

IMG_6025

Cherry Simple Syrup 

  • 8 oz cherries (fresh or frozen)
  • 1/3 cup sugar
  • 1 tablespoon water
  1. Place ingredients in a sauce pan and stir over medium heat.
  2. Cover and lift lid only to stir occasionally.
  3. Once cherries soften (and are easily “mashable”), allow to cook 5 more minutes and then cool.
  4. Store cherries and syrup in an airtight container.

*For this recipe you can include both cherries and syrup in the cocktail.  Otherwise feel free to strain them.

IMG_6049