
My mom is queen of table setting, so I figured I’d rack her brain and share her top 10 tips with you all! Here is a step by step game plan to your perfect holiday table:
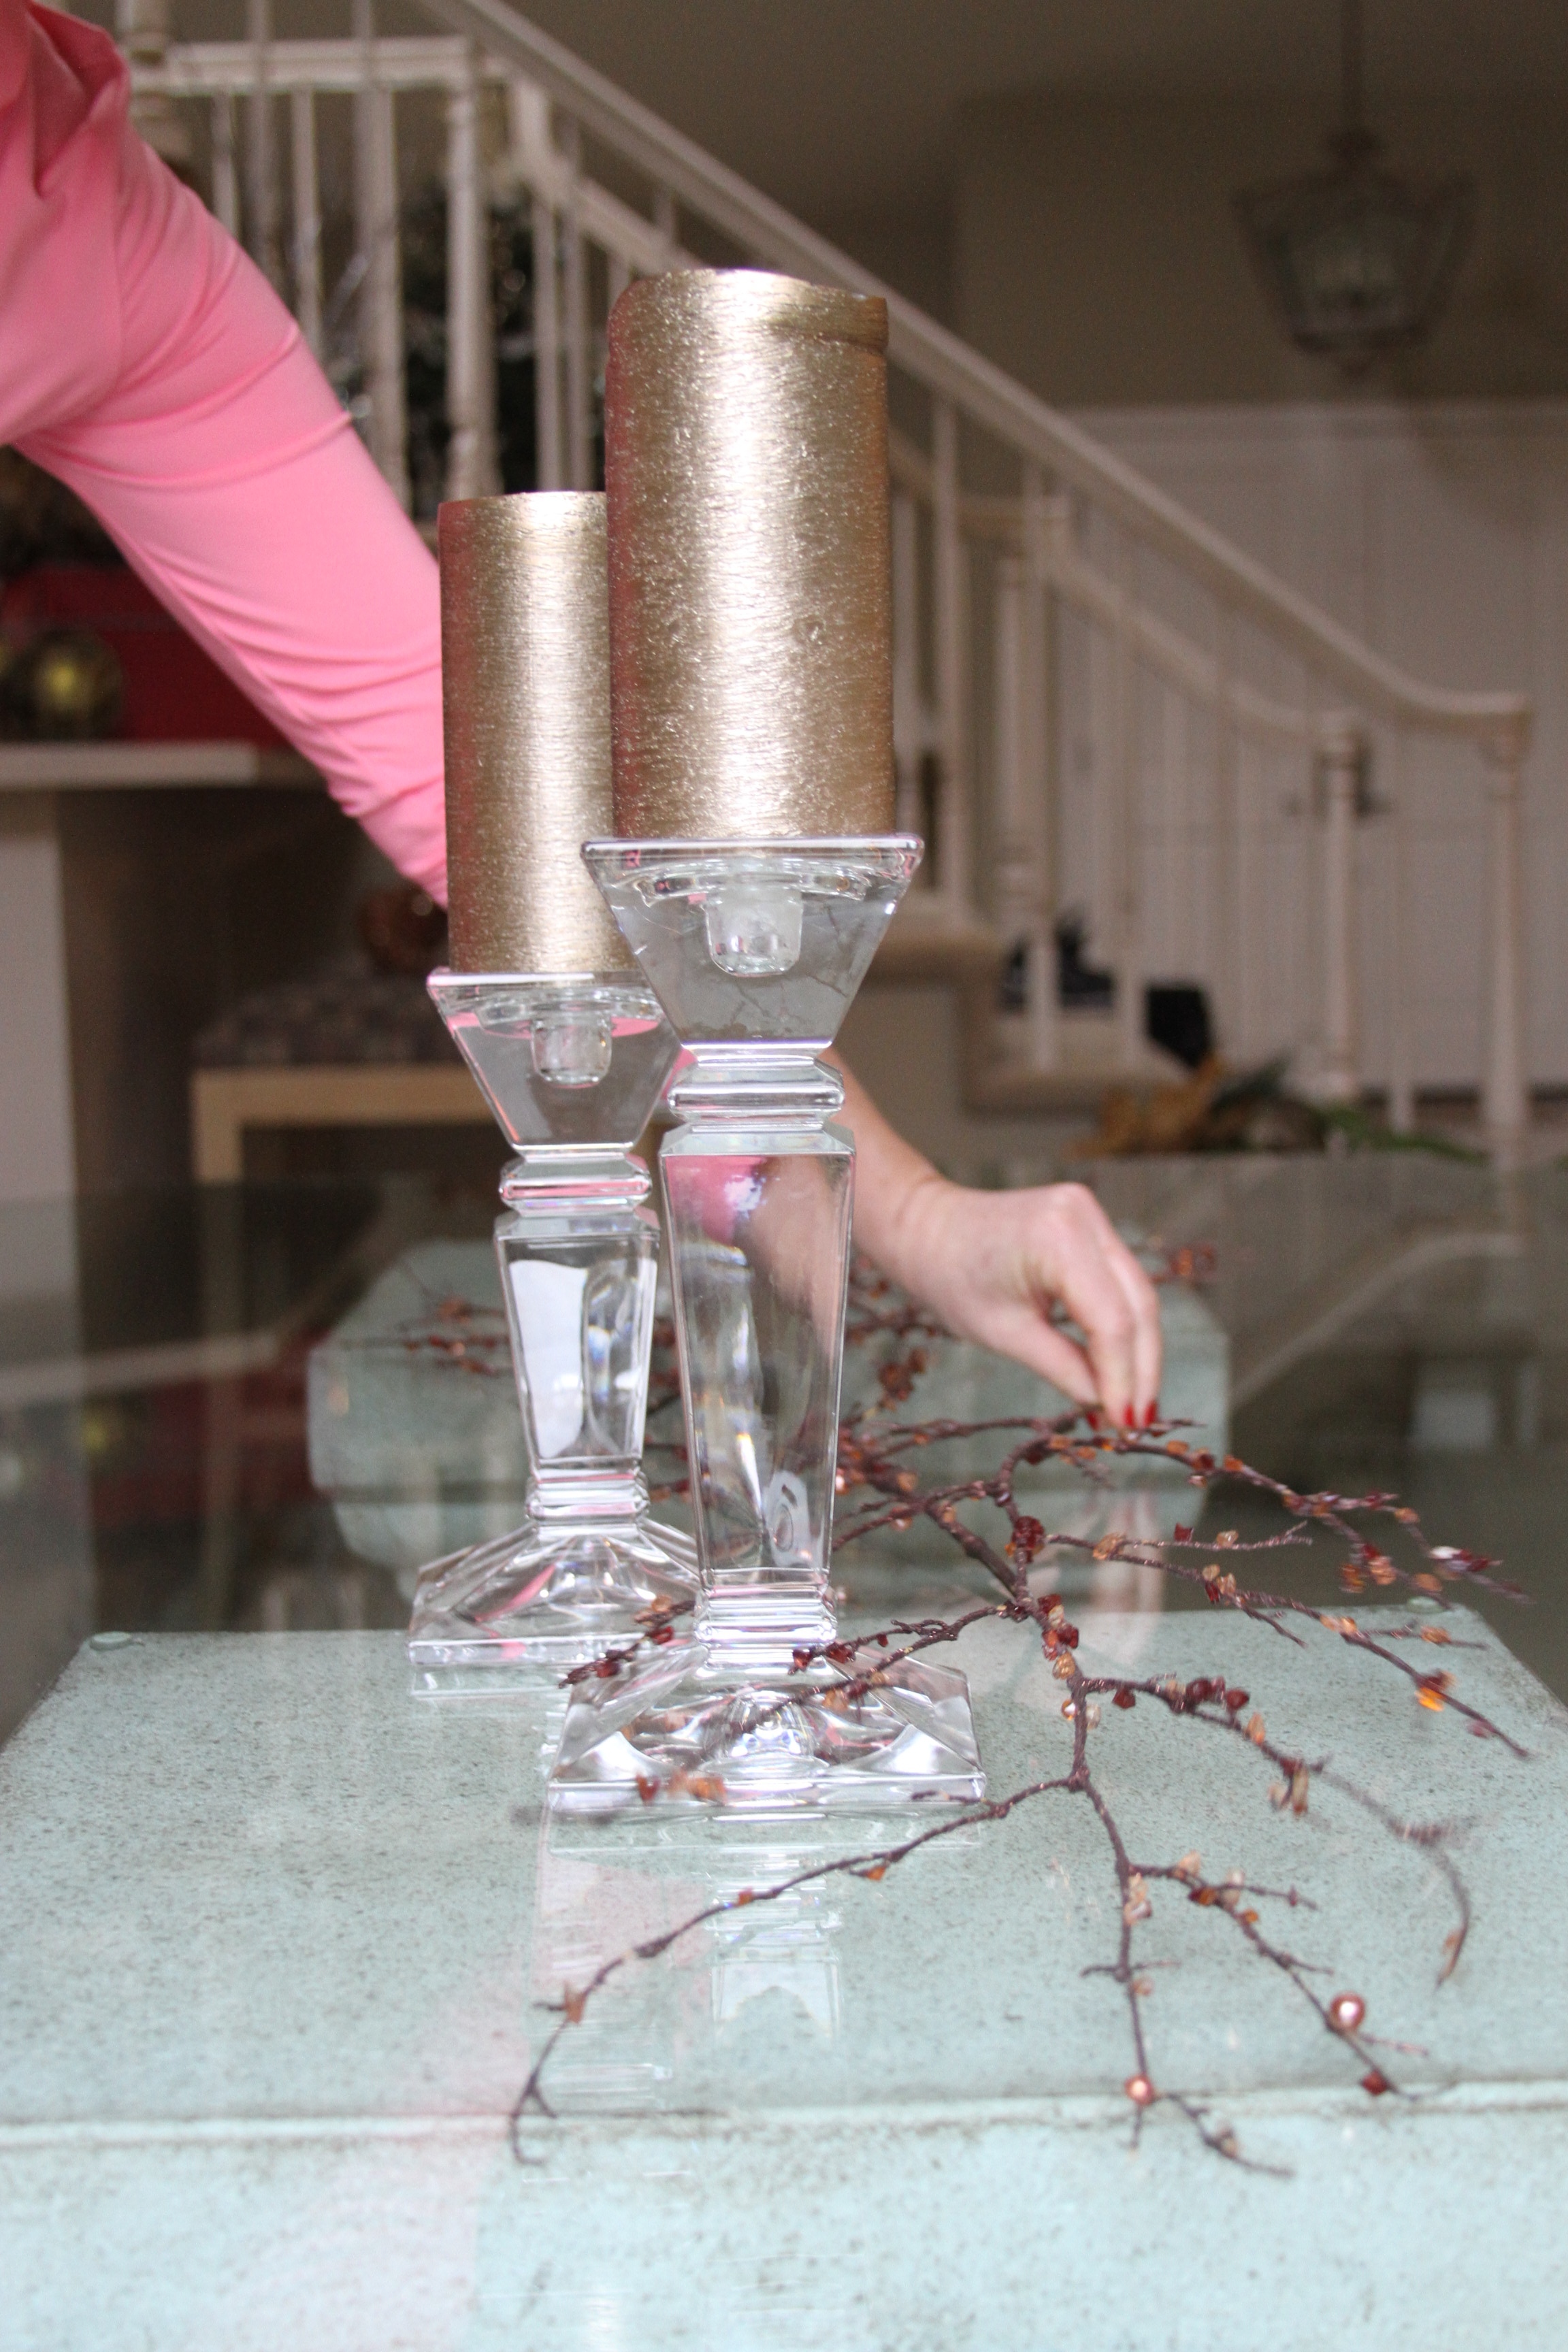
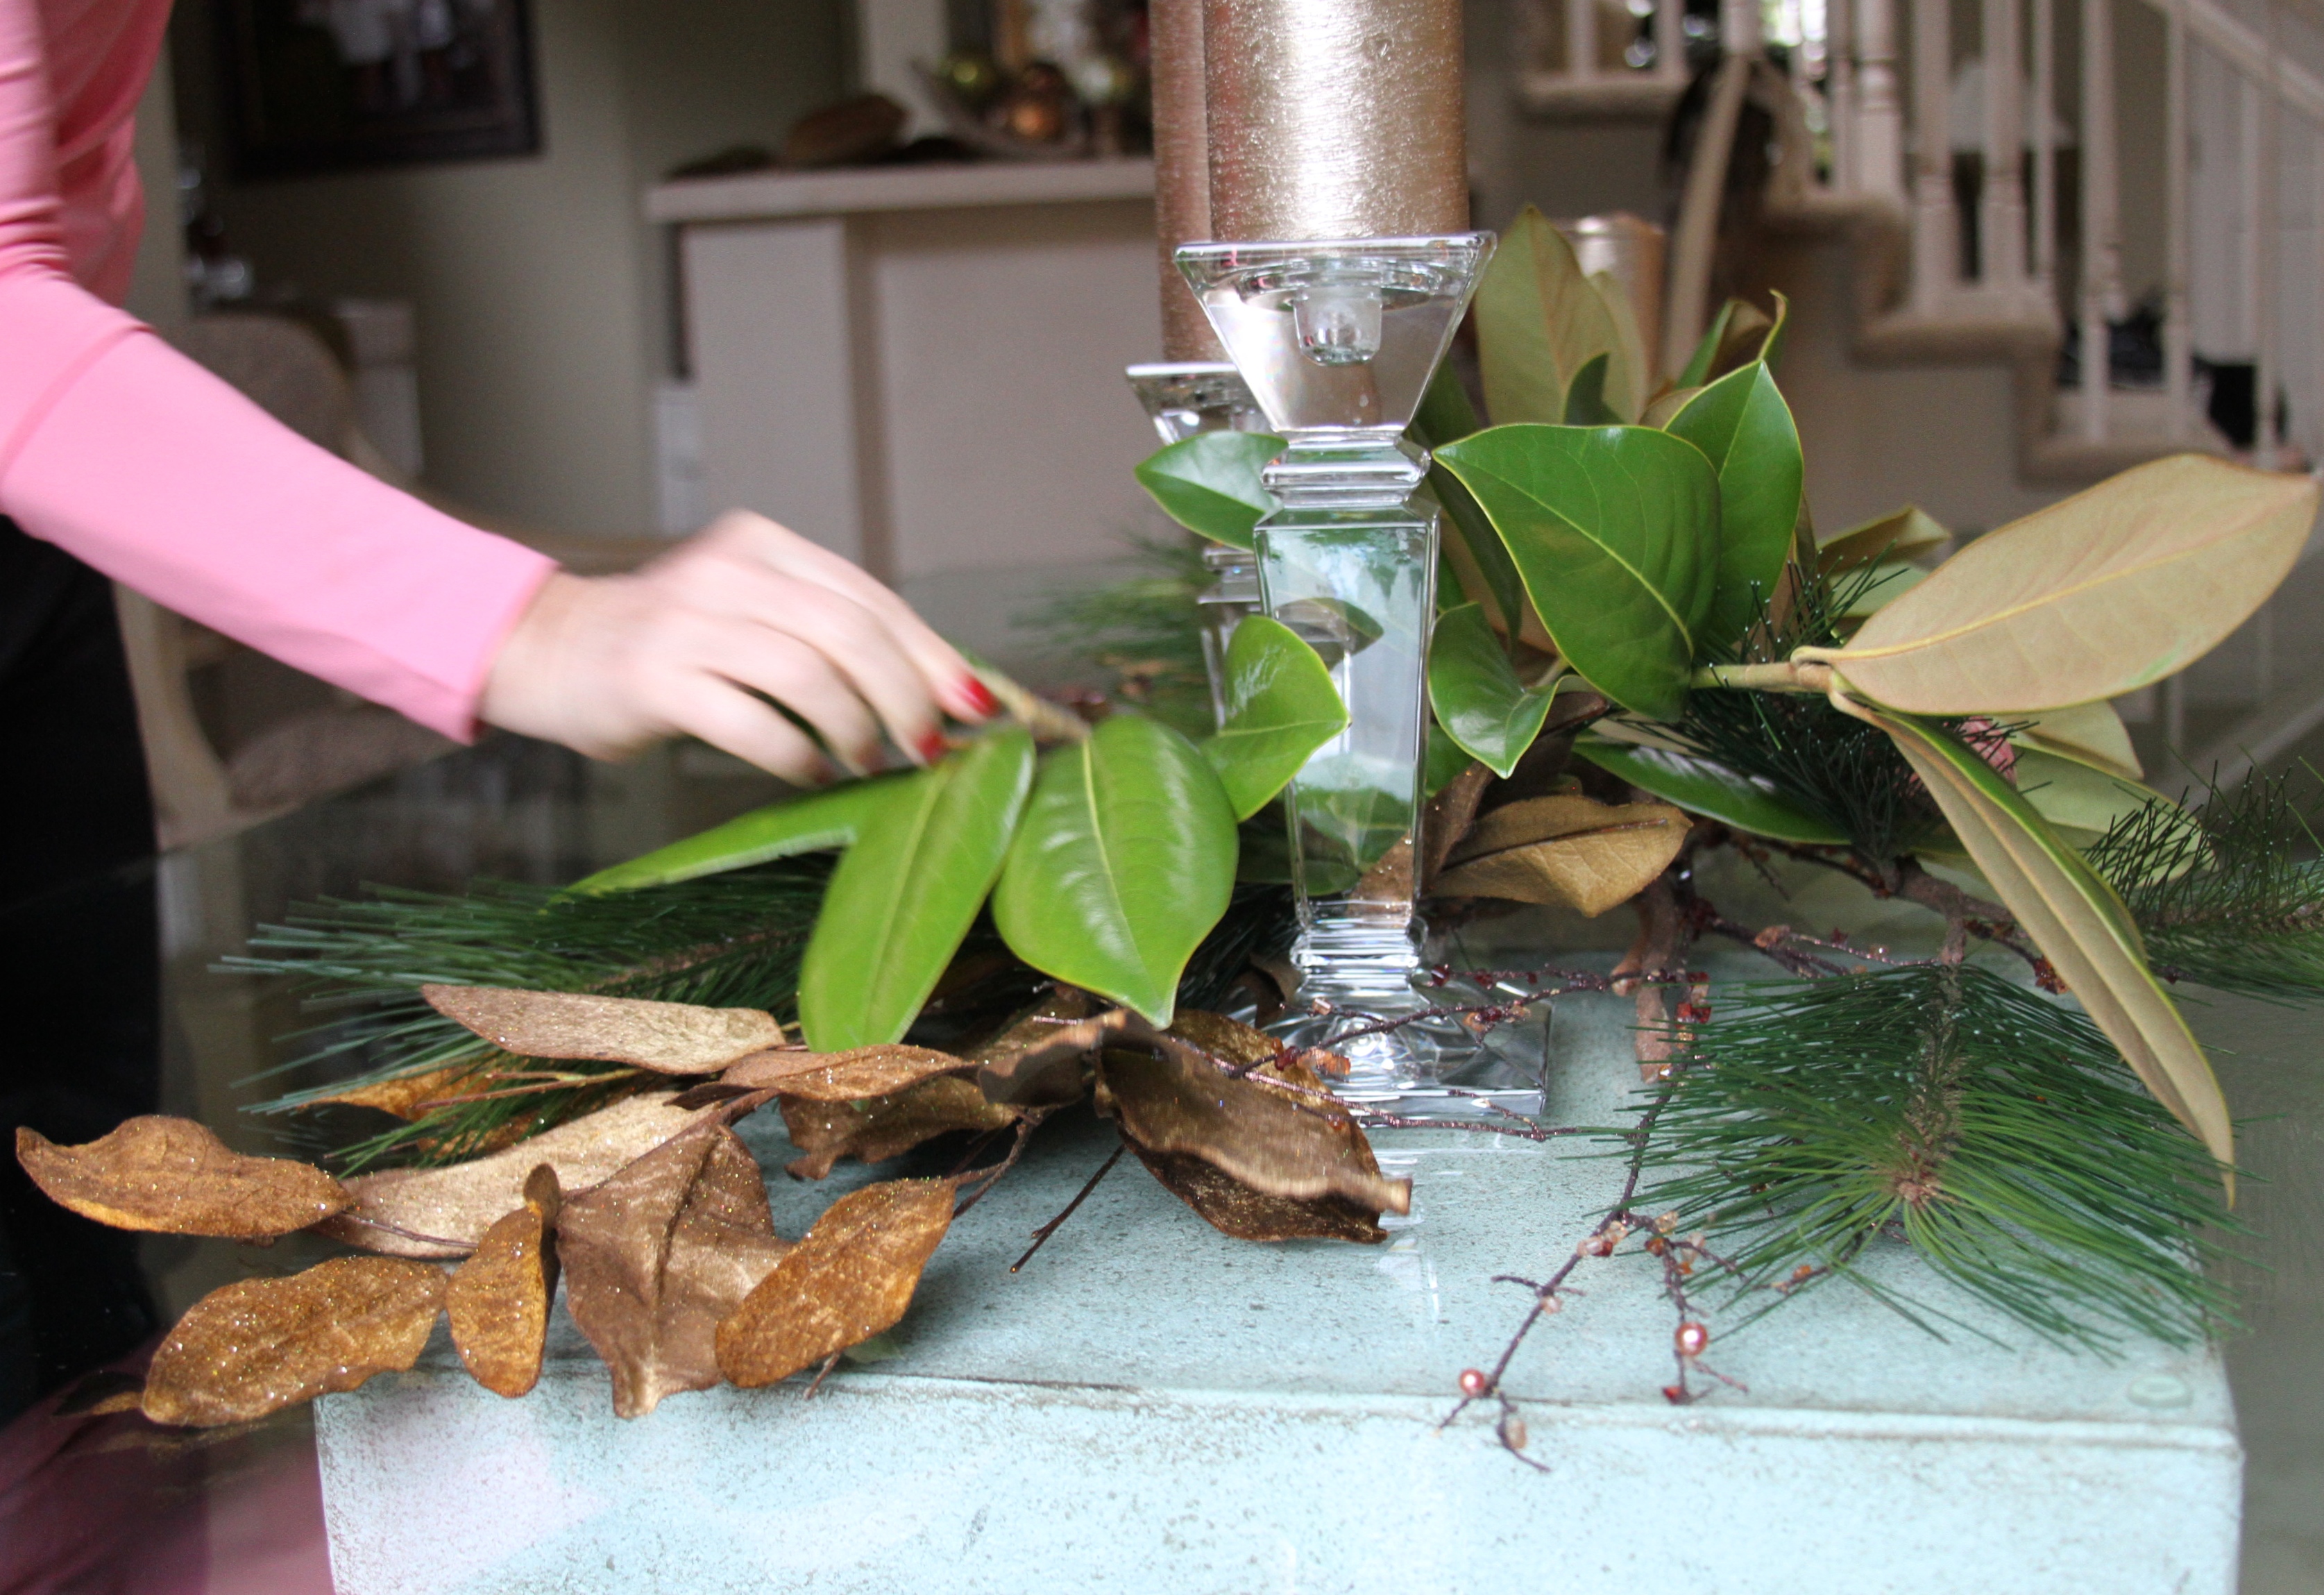
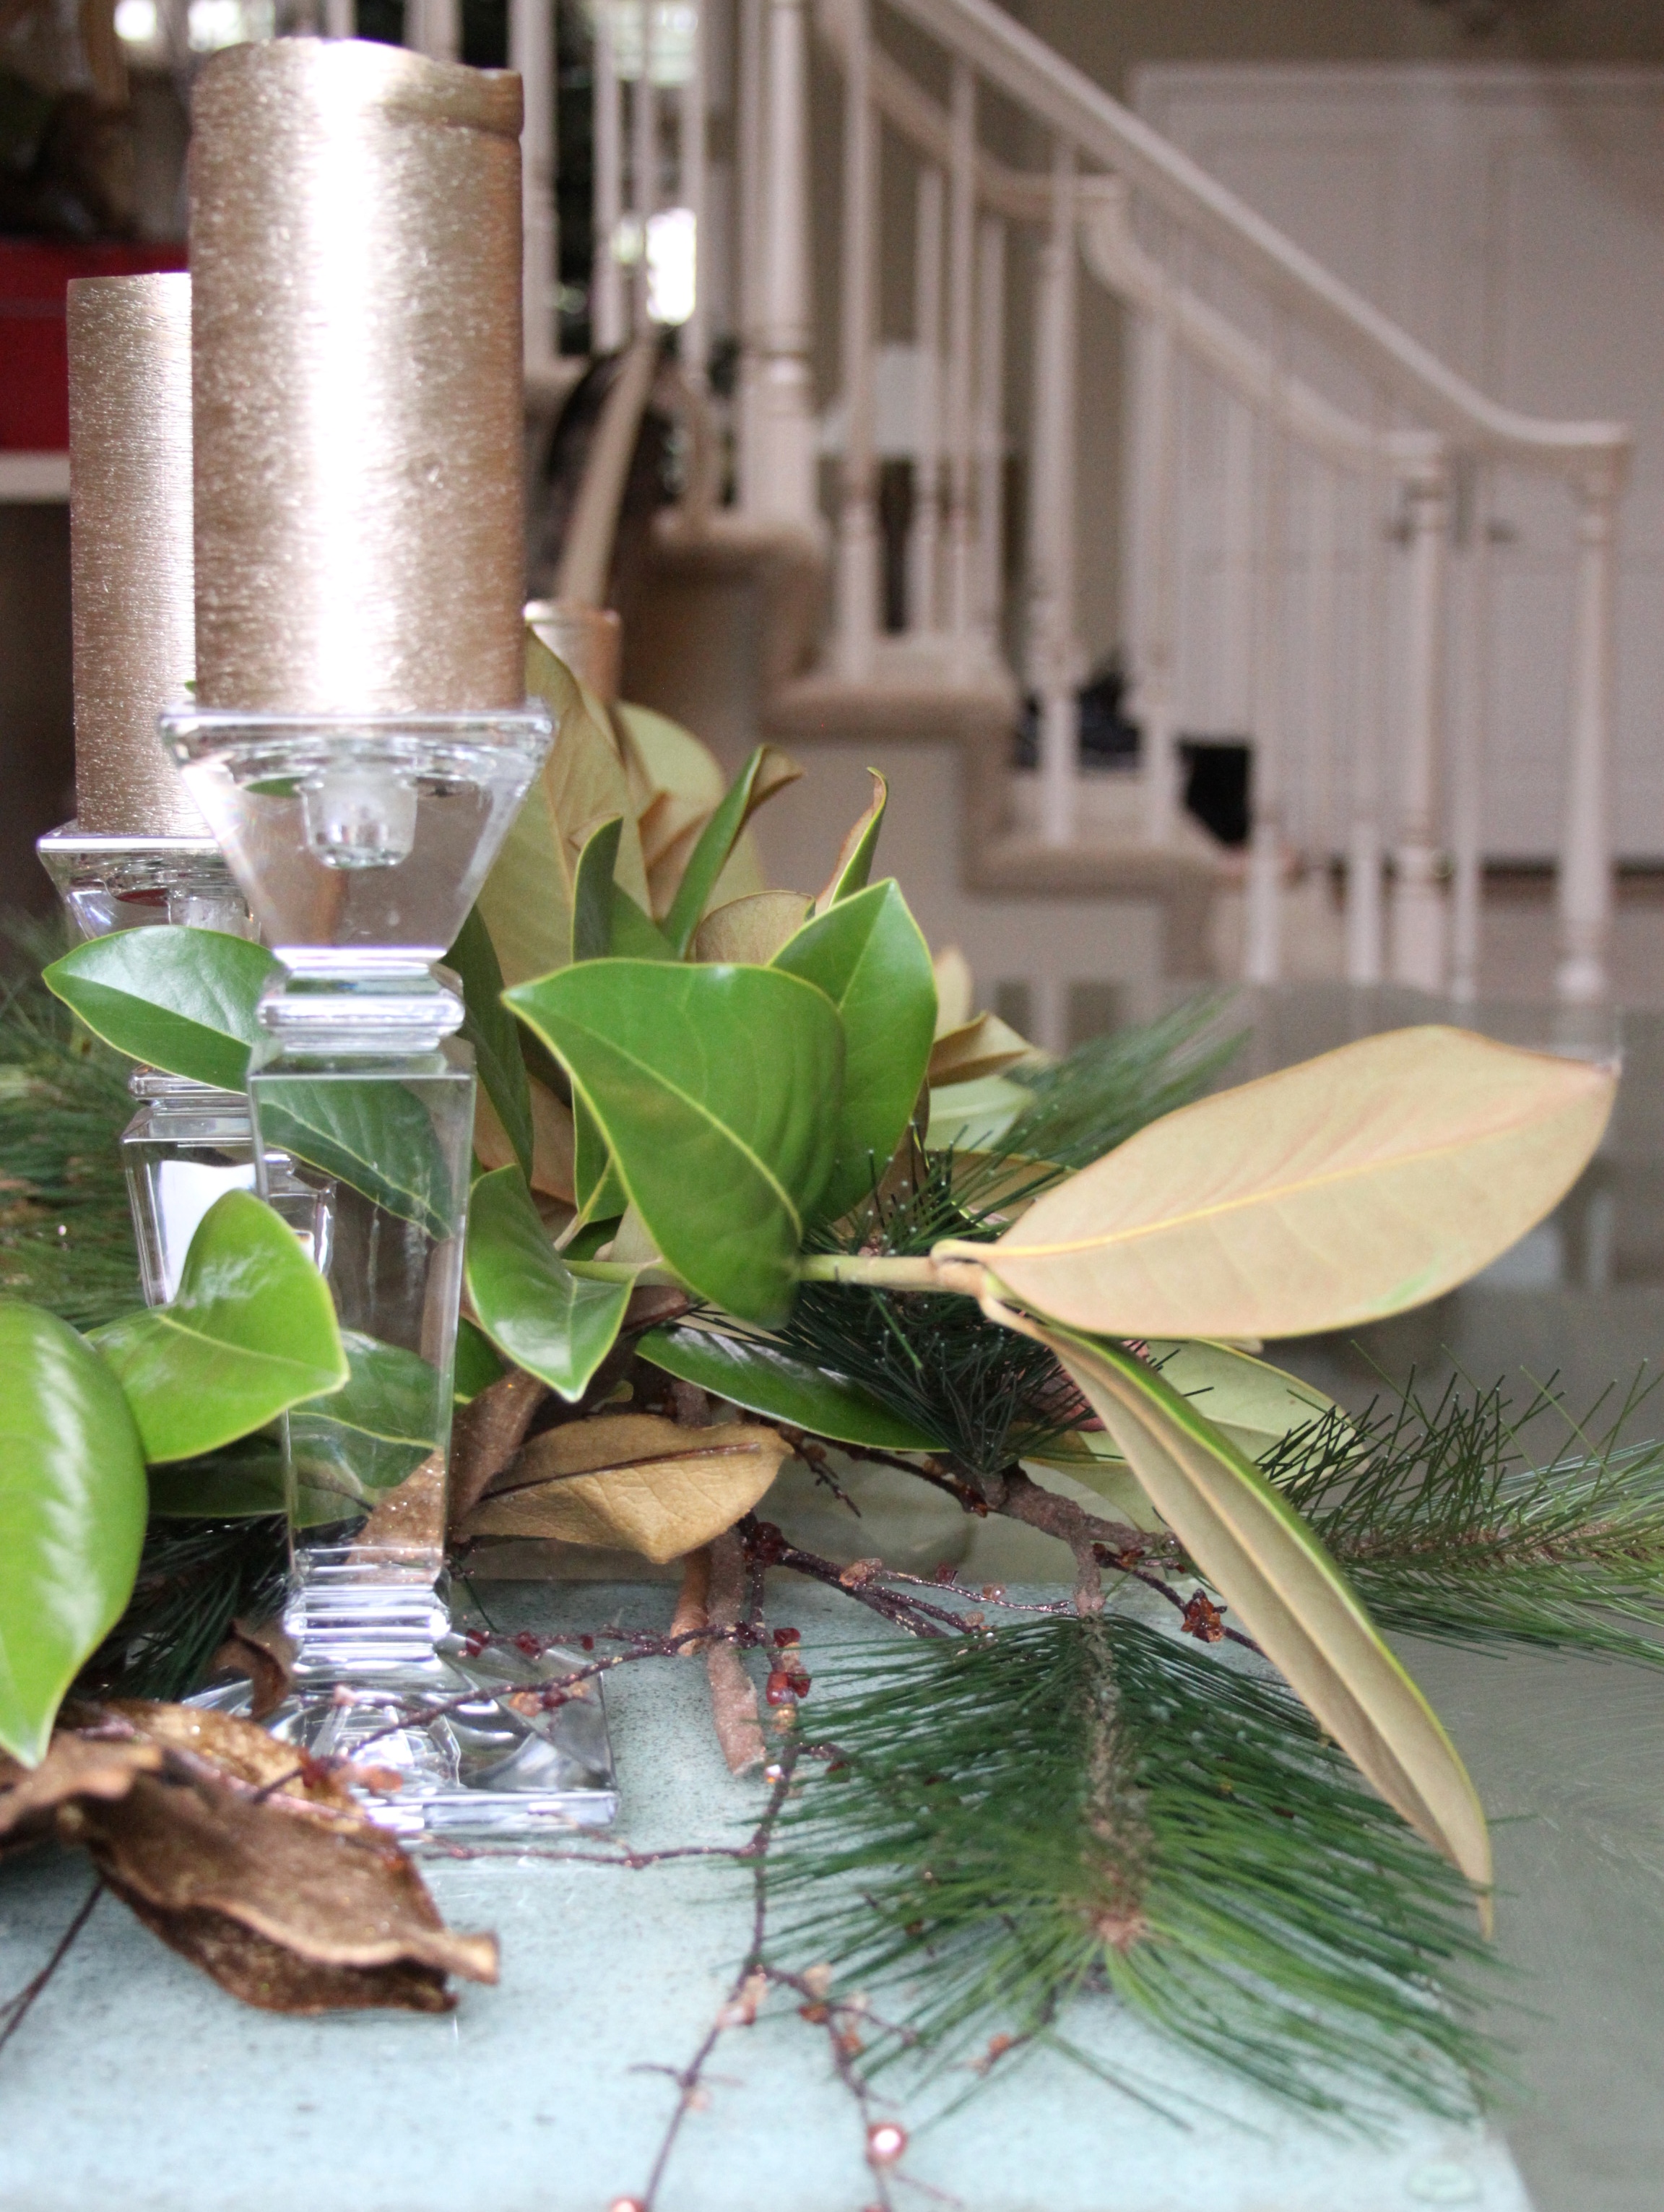
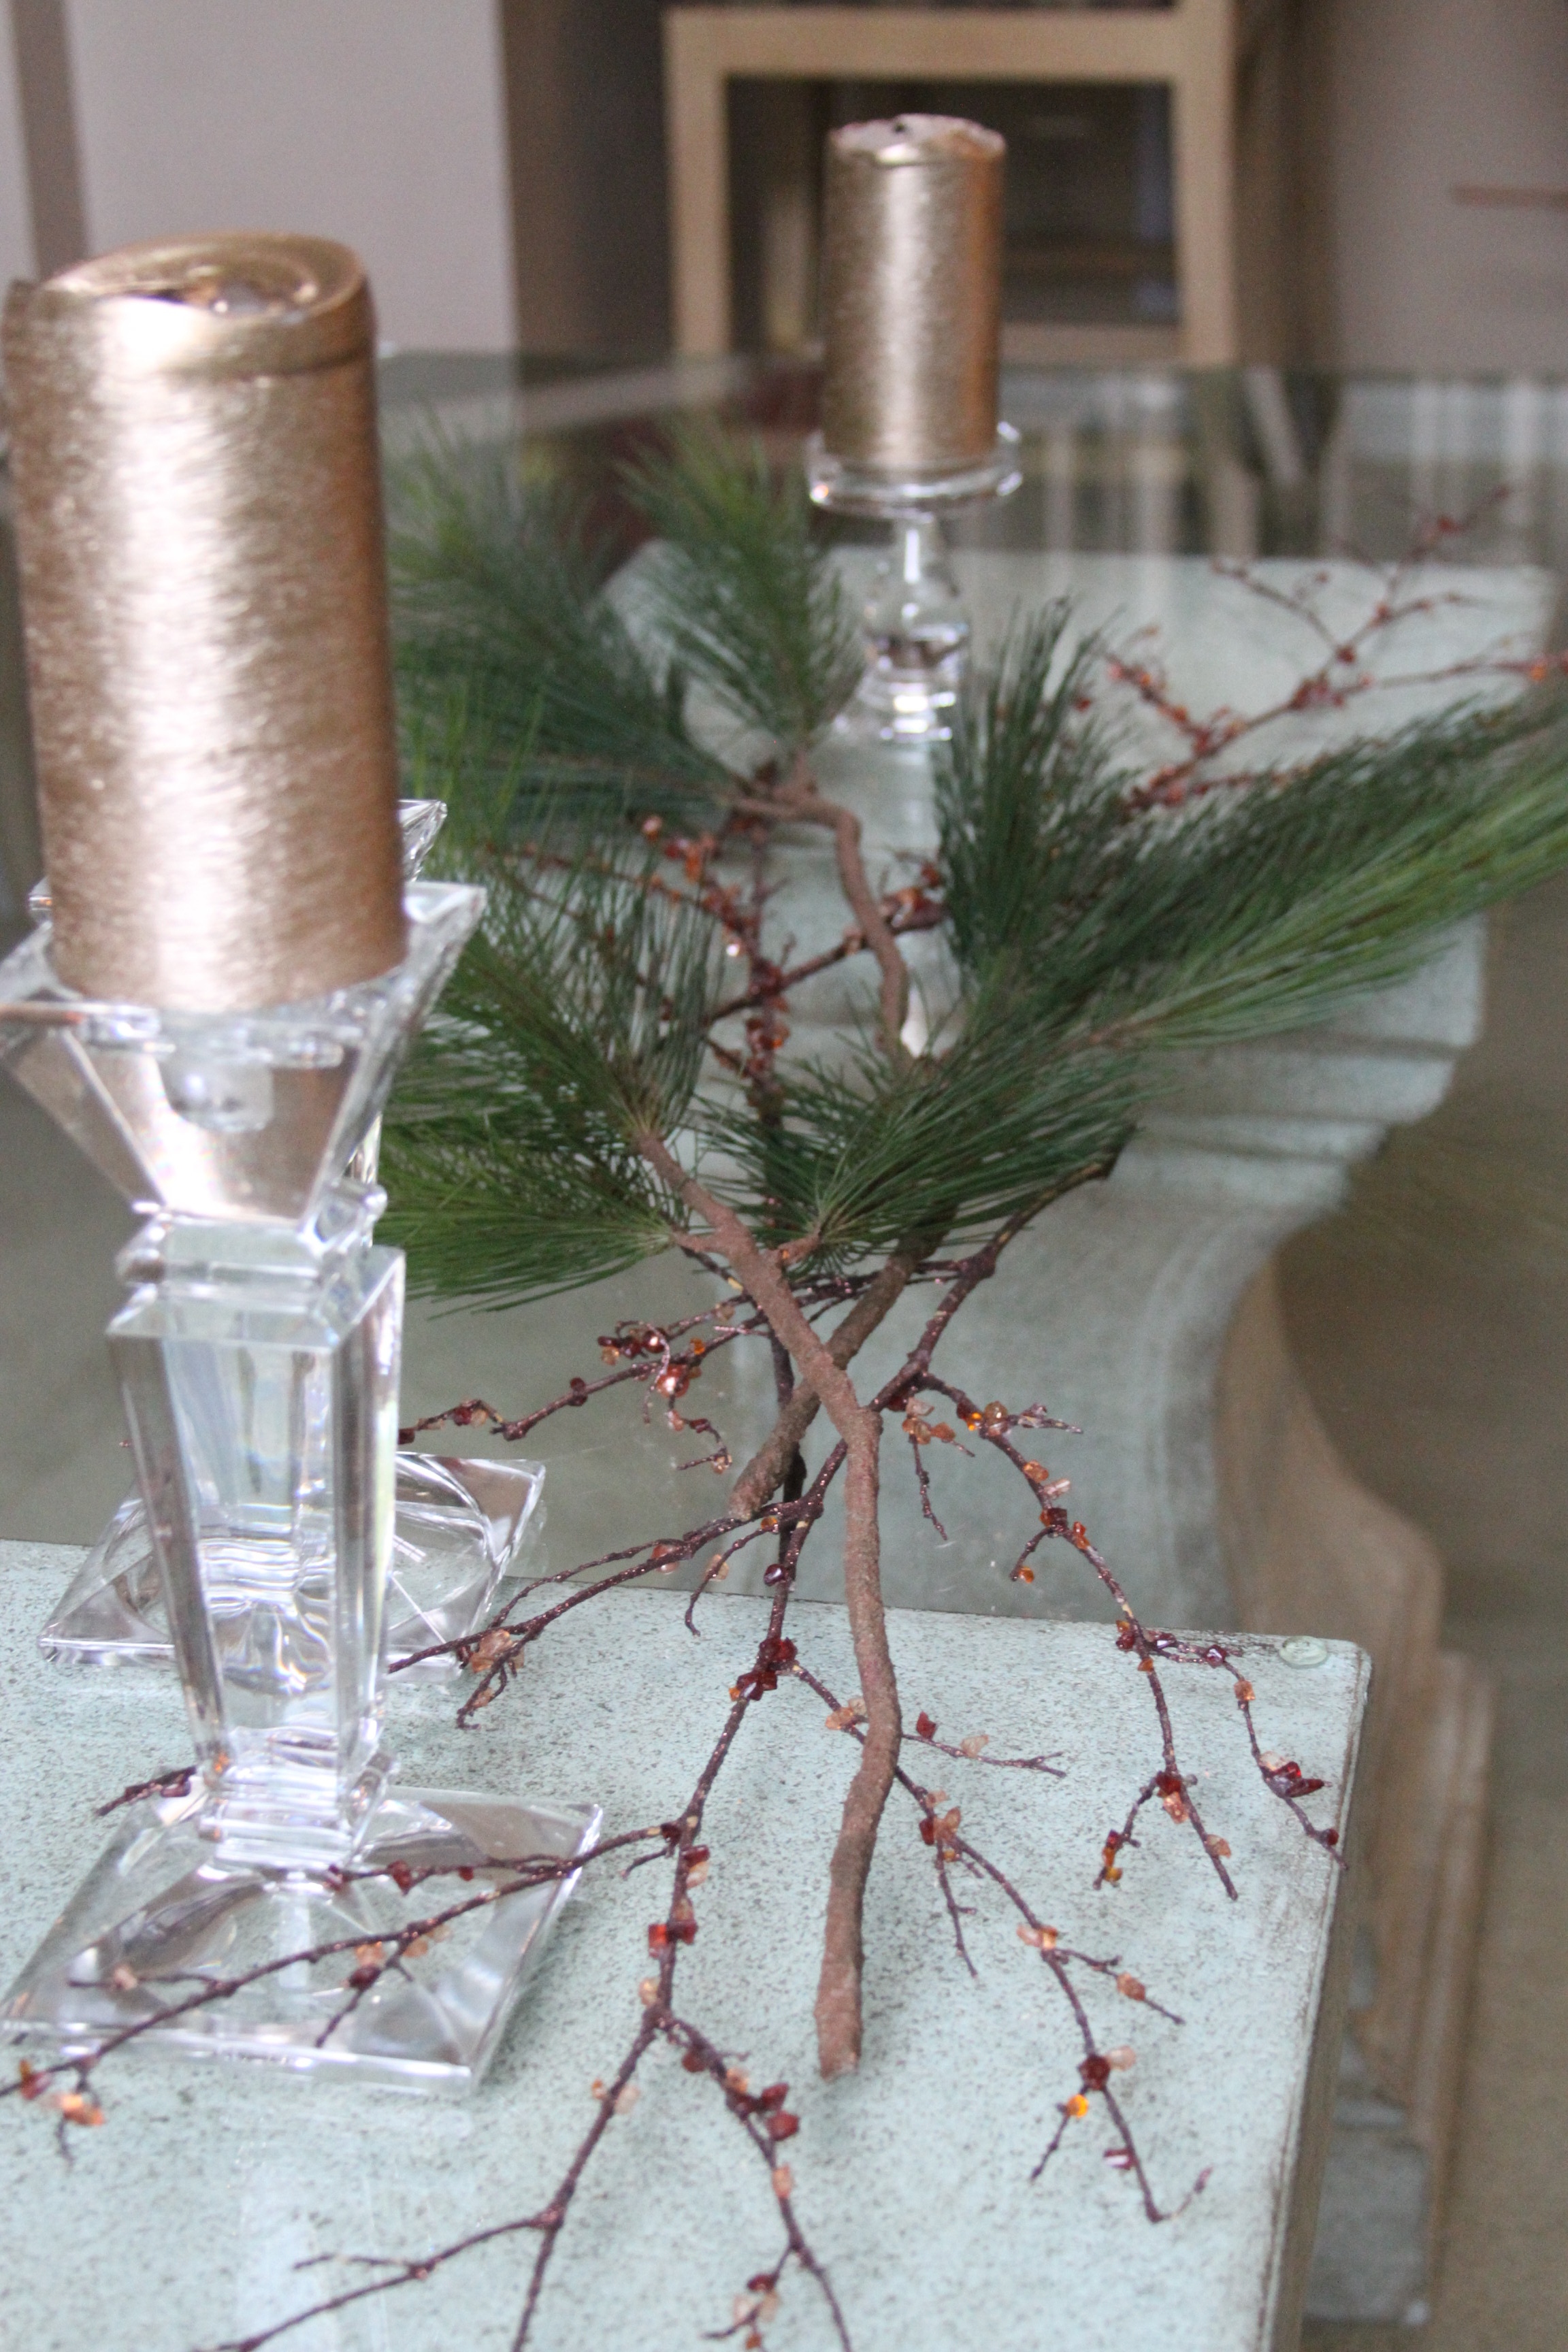
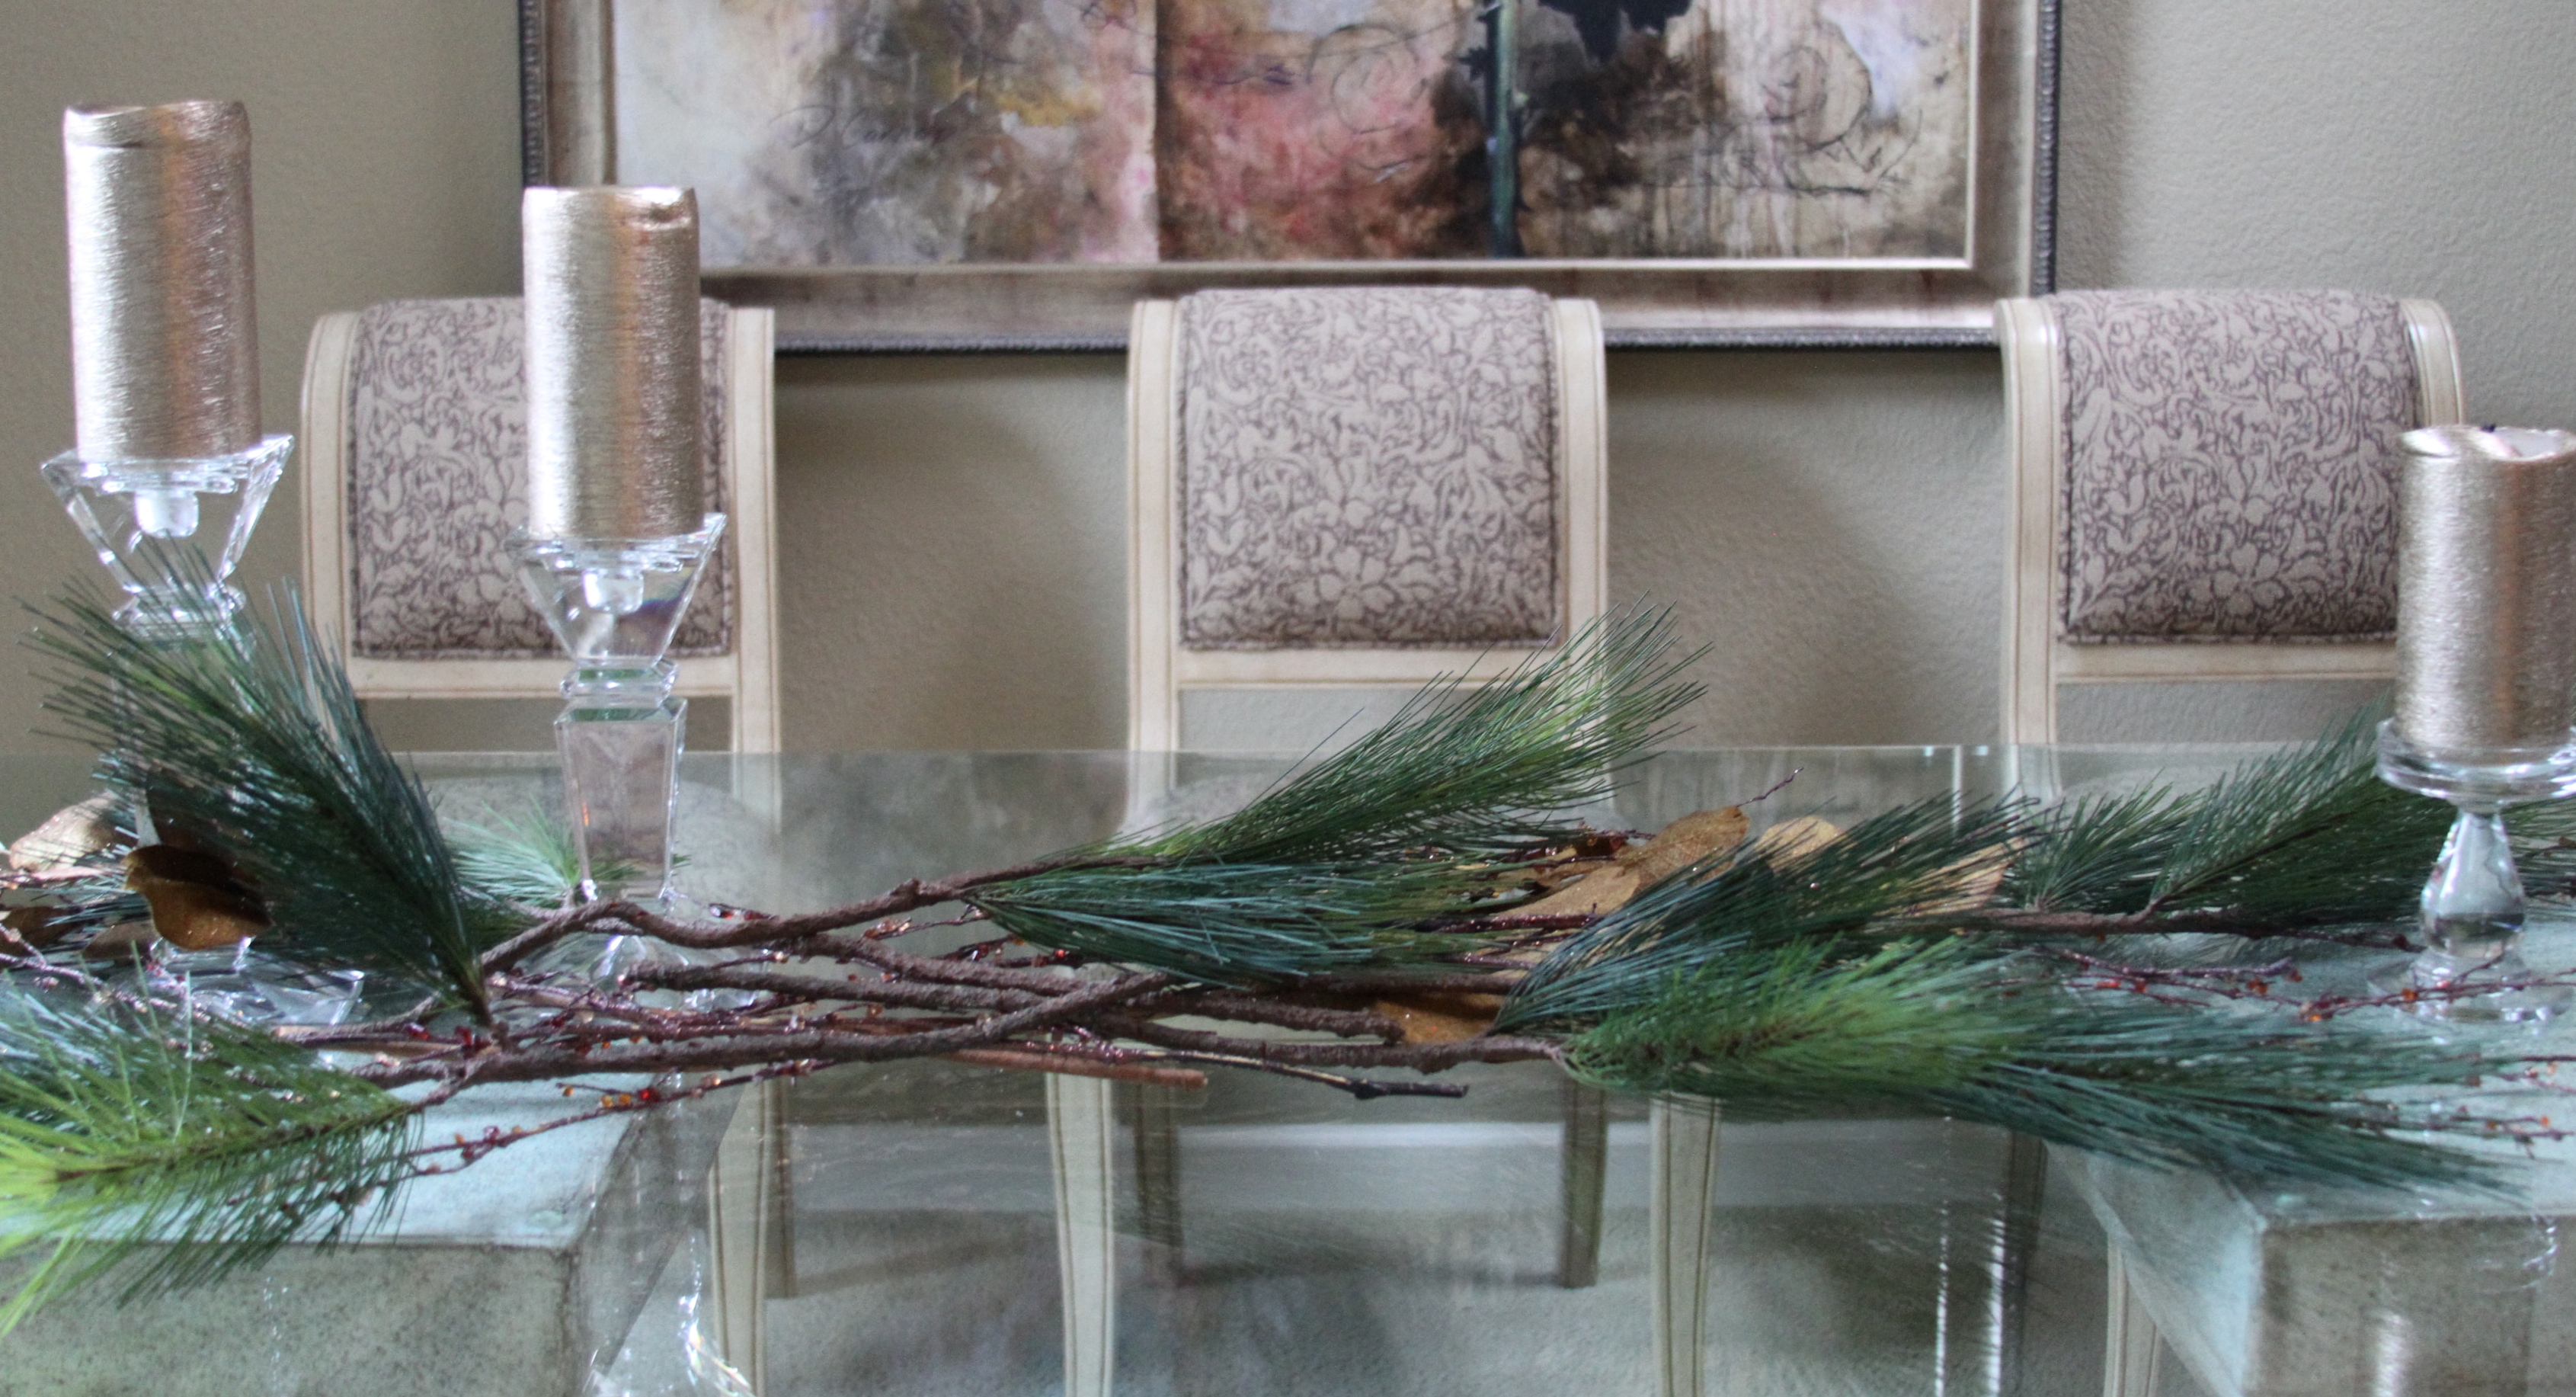
- First start with your base… my mom starts with candles (we are a big lighting family). We like to go with an asymmetrical, tapered approach, but you could also start with a large candlestick in the center and have 1-2 smaller candlesticks on each side (in descending height order).
- It’s all about layers. Once you’ve established your base, you will want to build your second layer. In this case we used beaded branches.
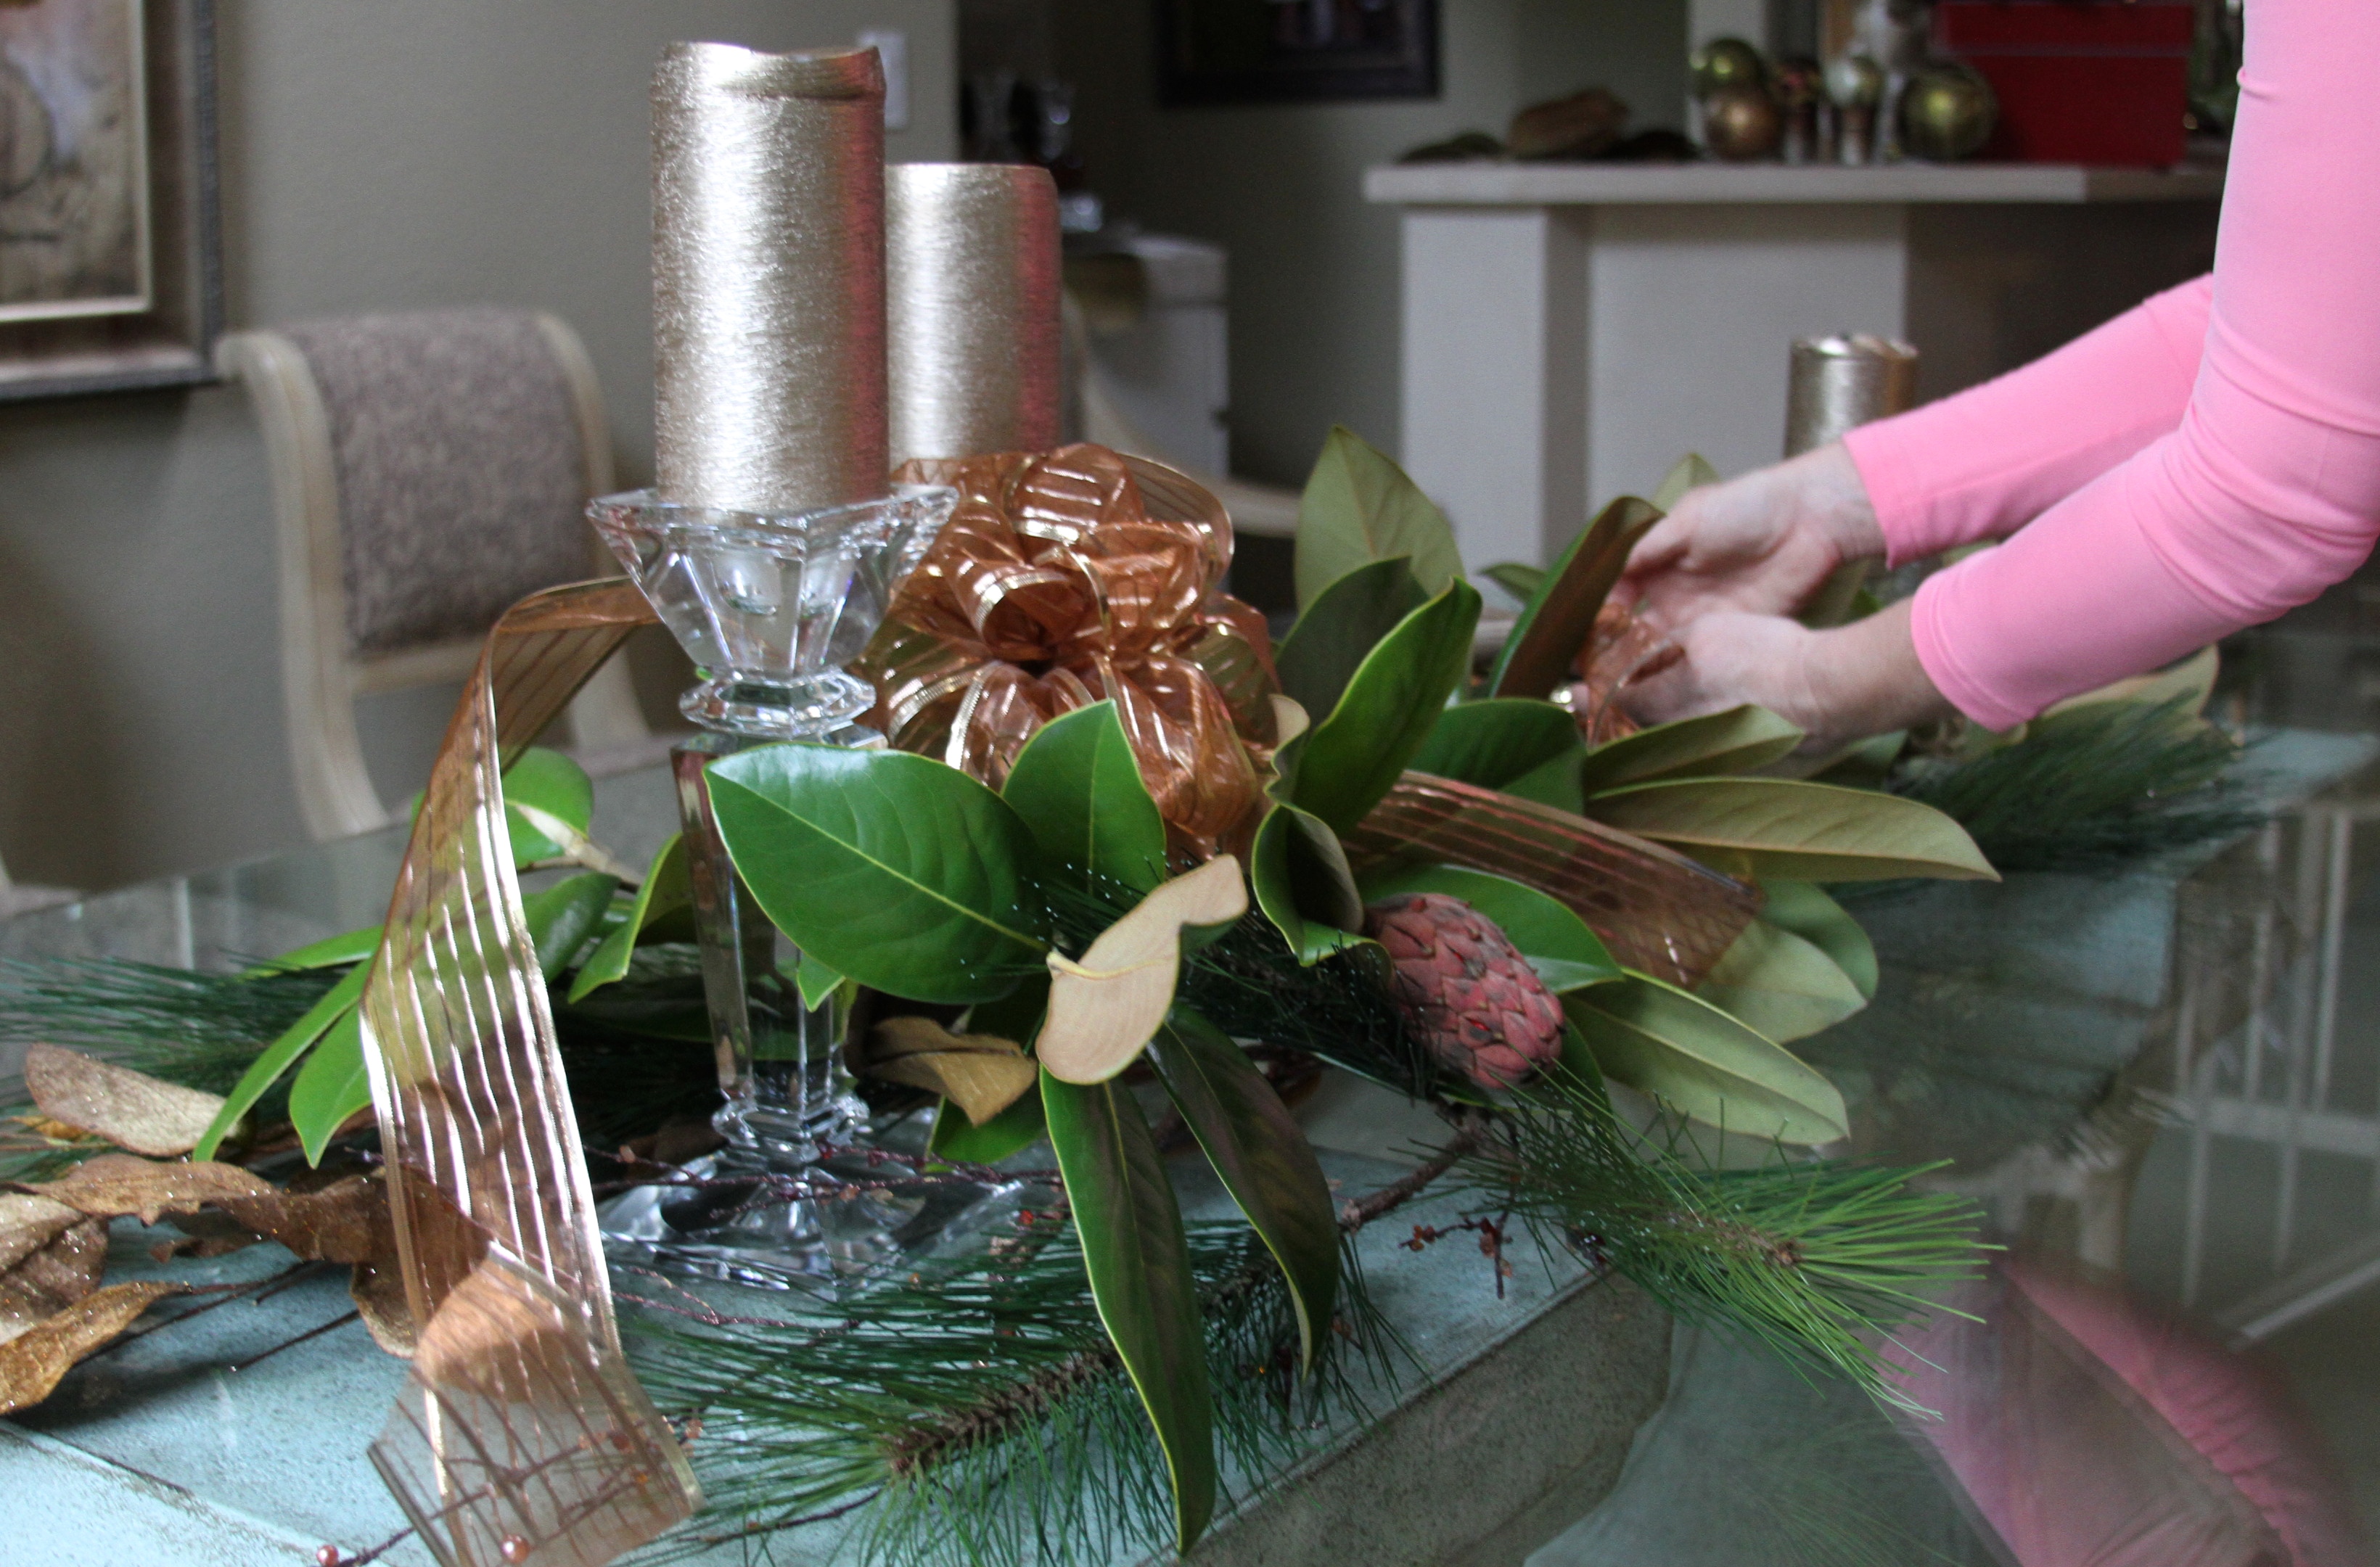
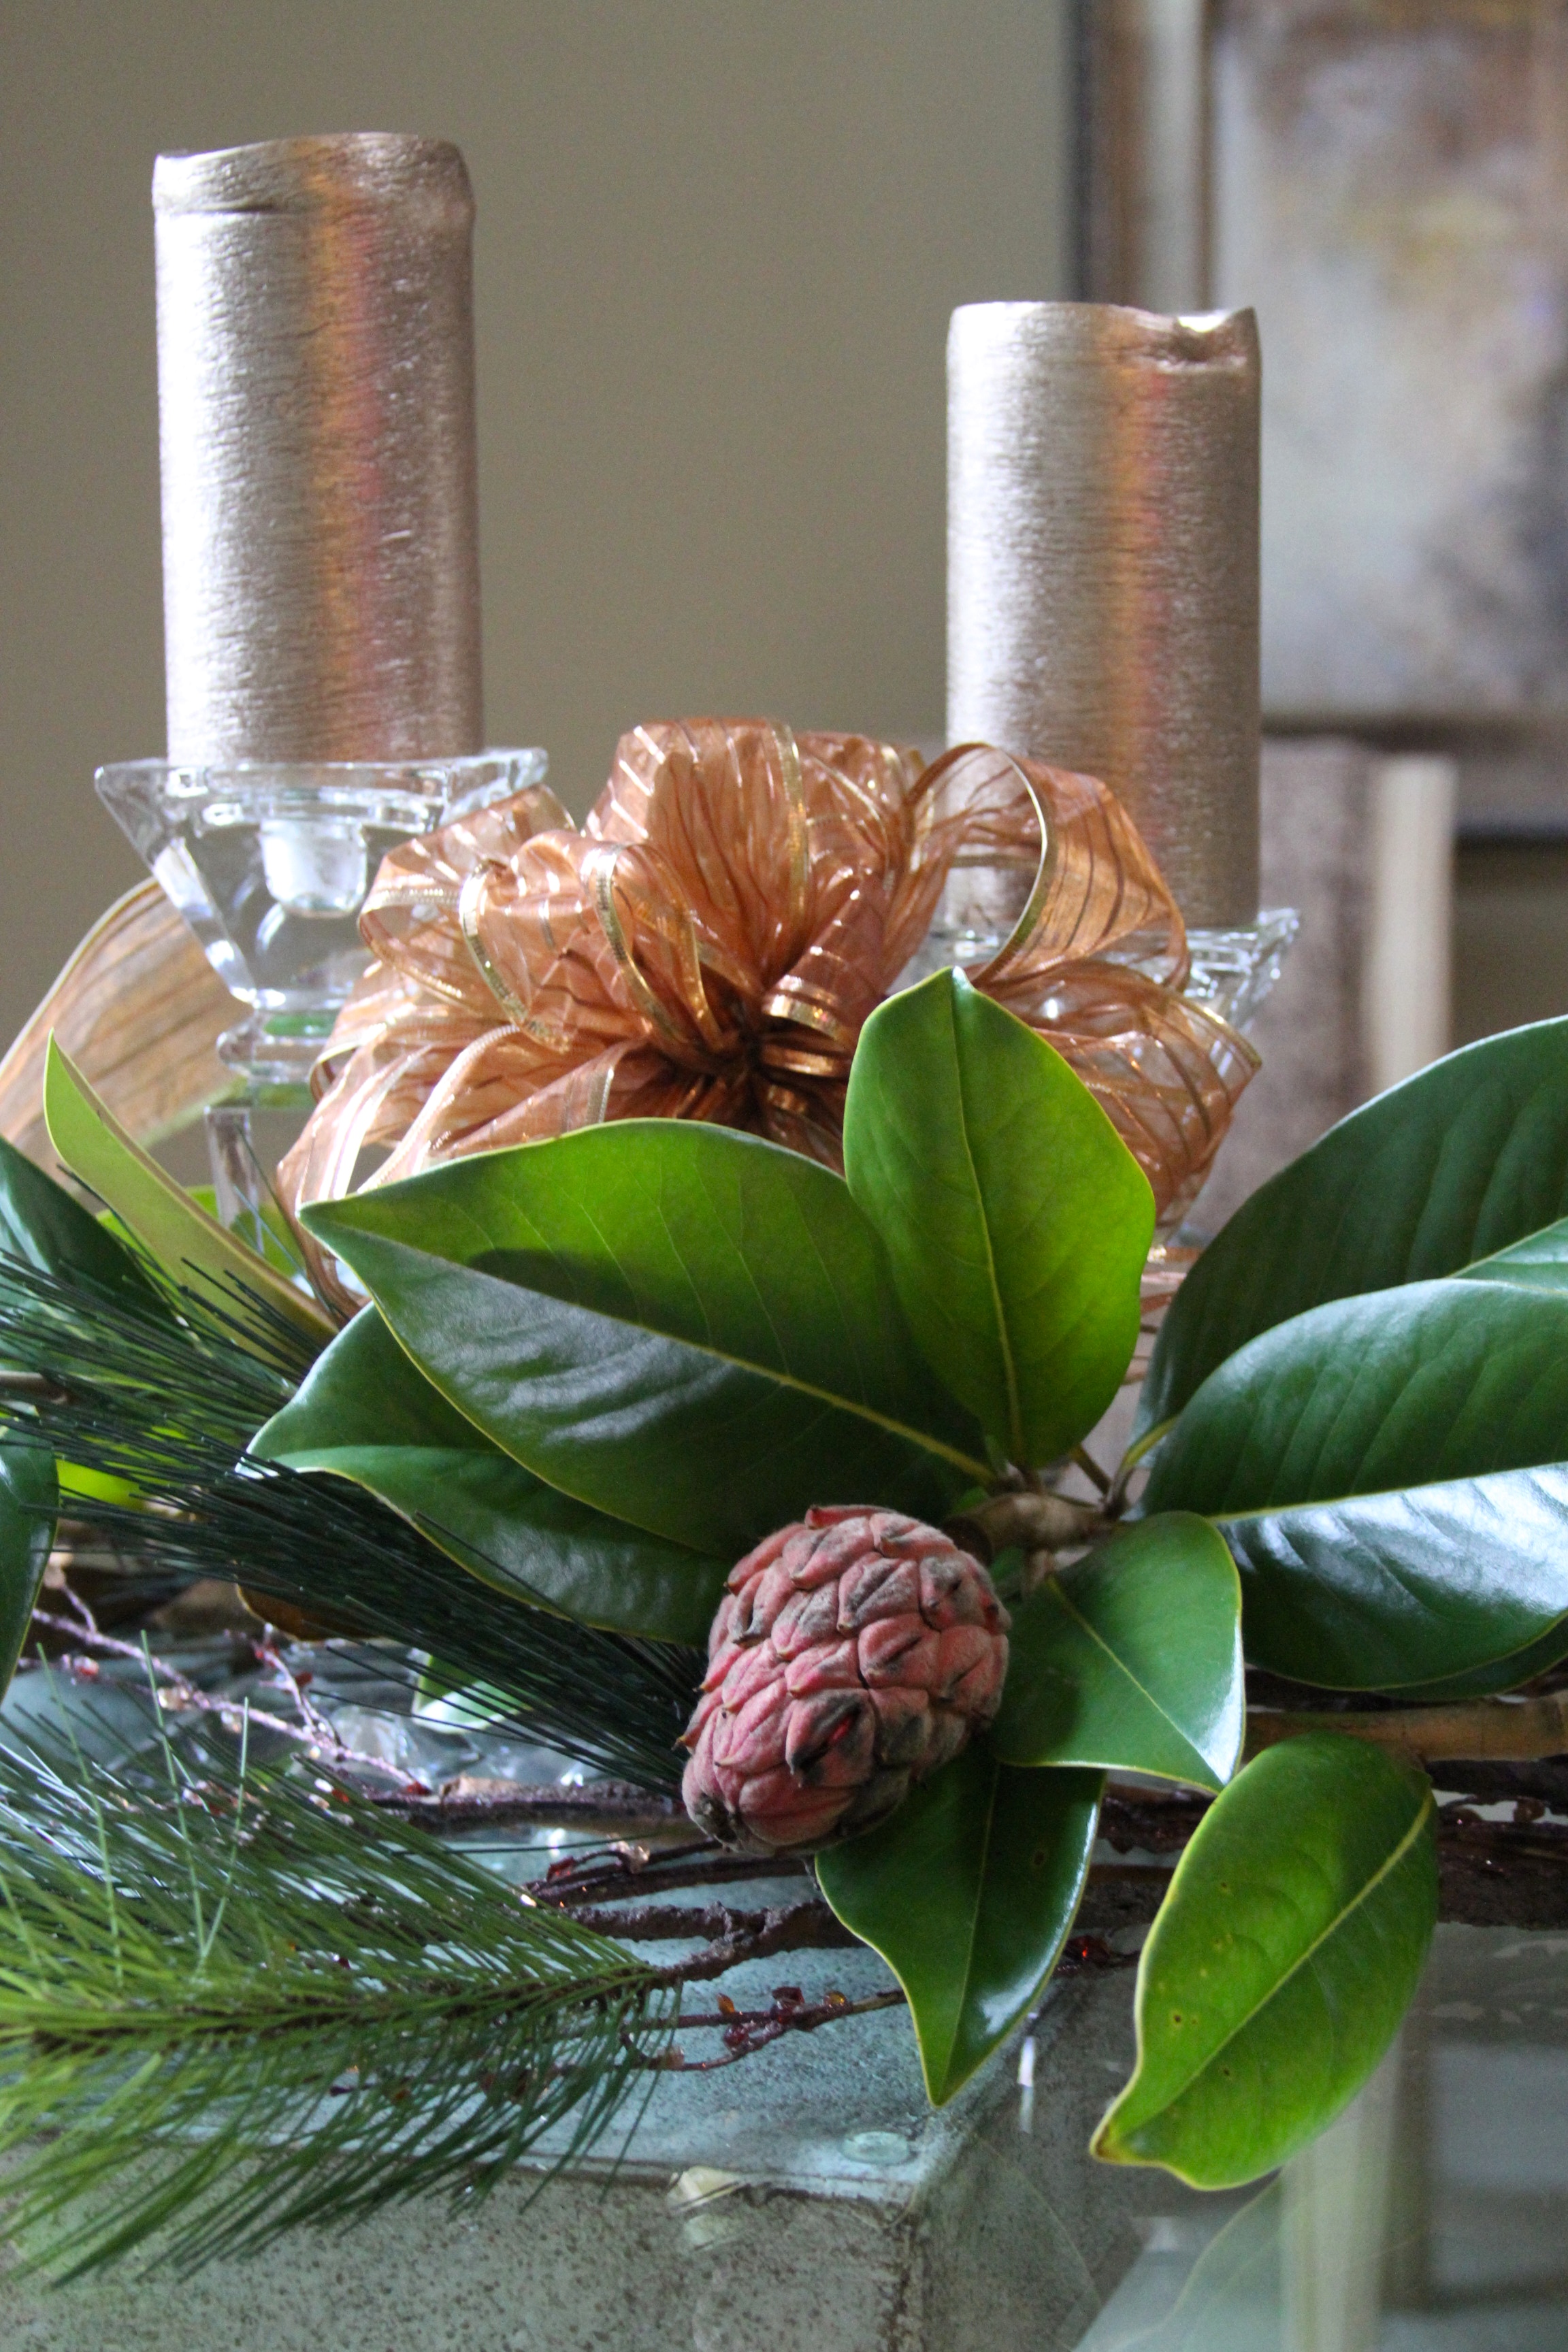
- Continue layering. From this point on my mom adds in different layers, faux garland, magnolia tree branches, etc. The key here is a complementing color scheme and matching elements.
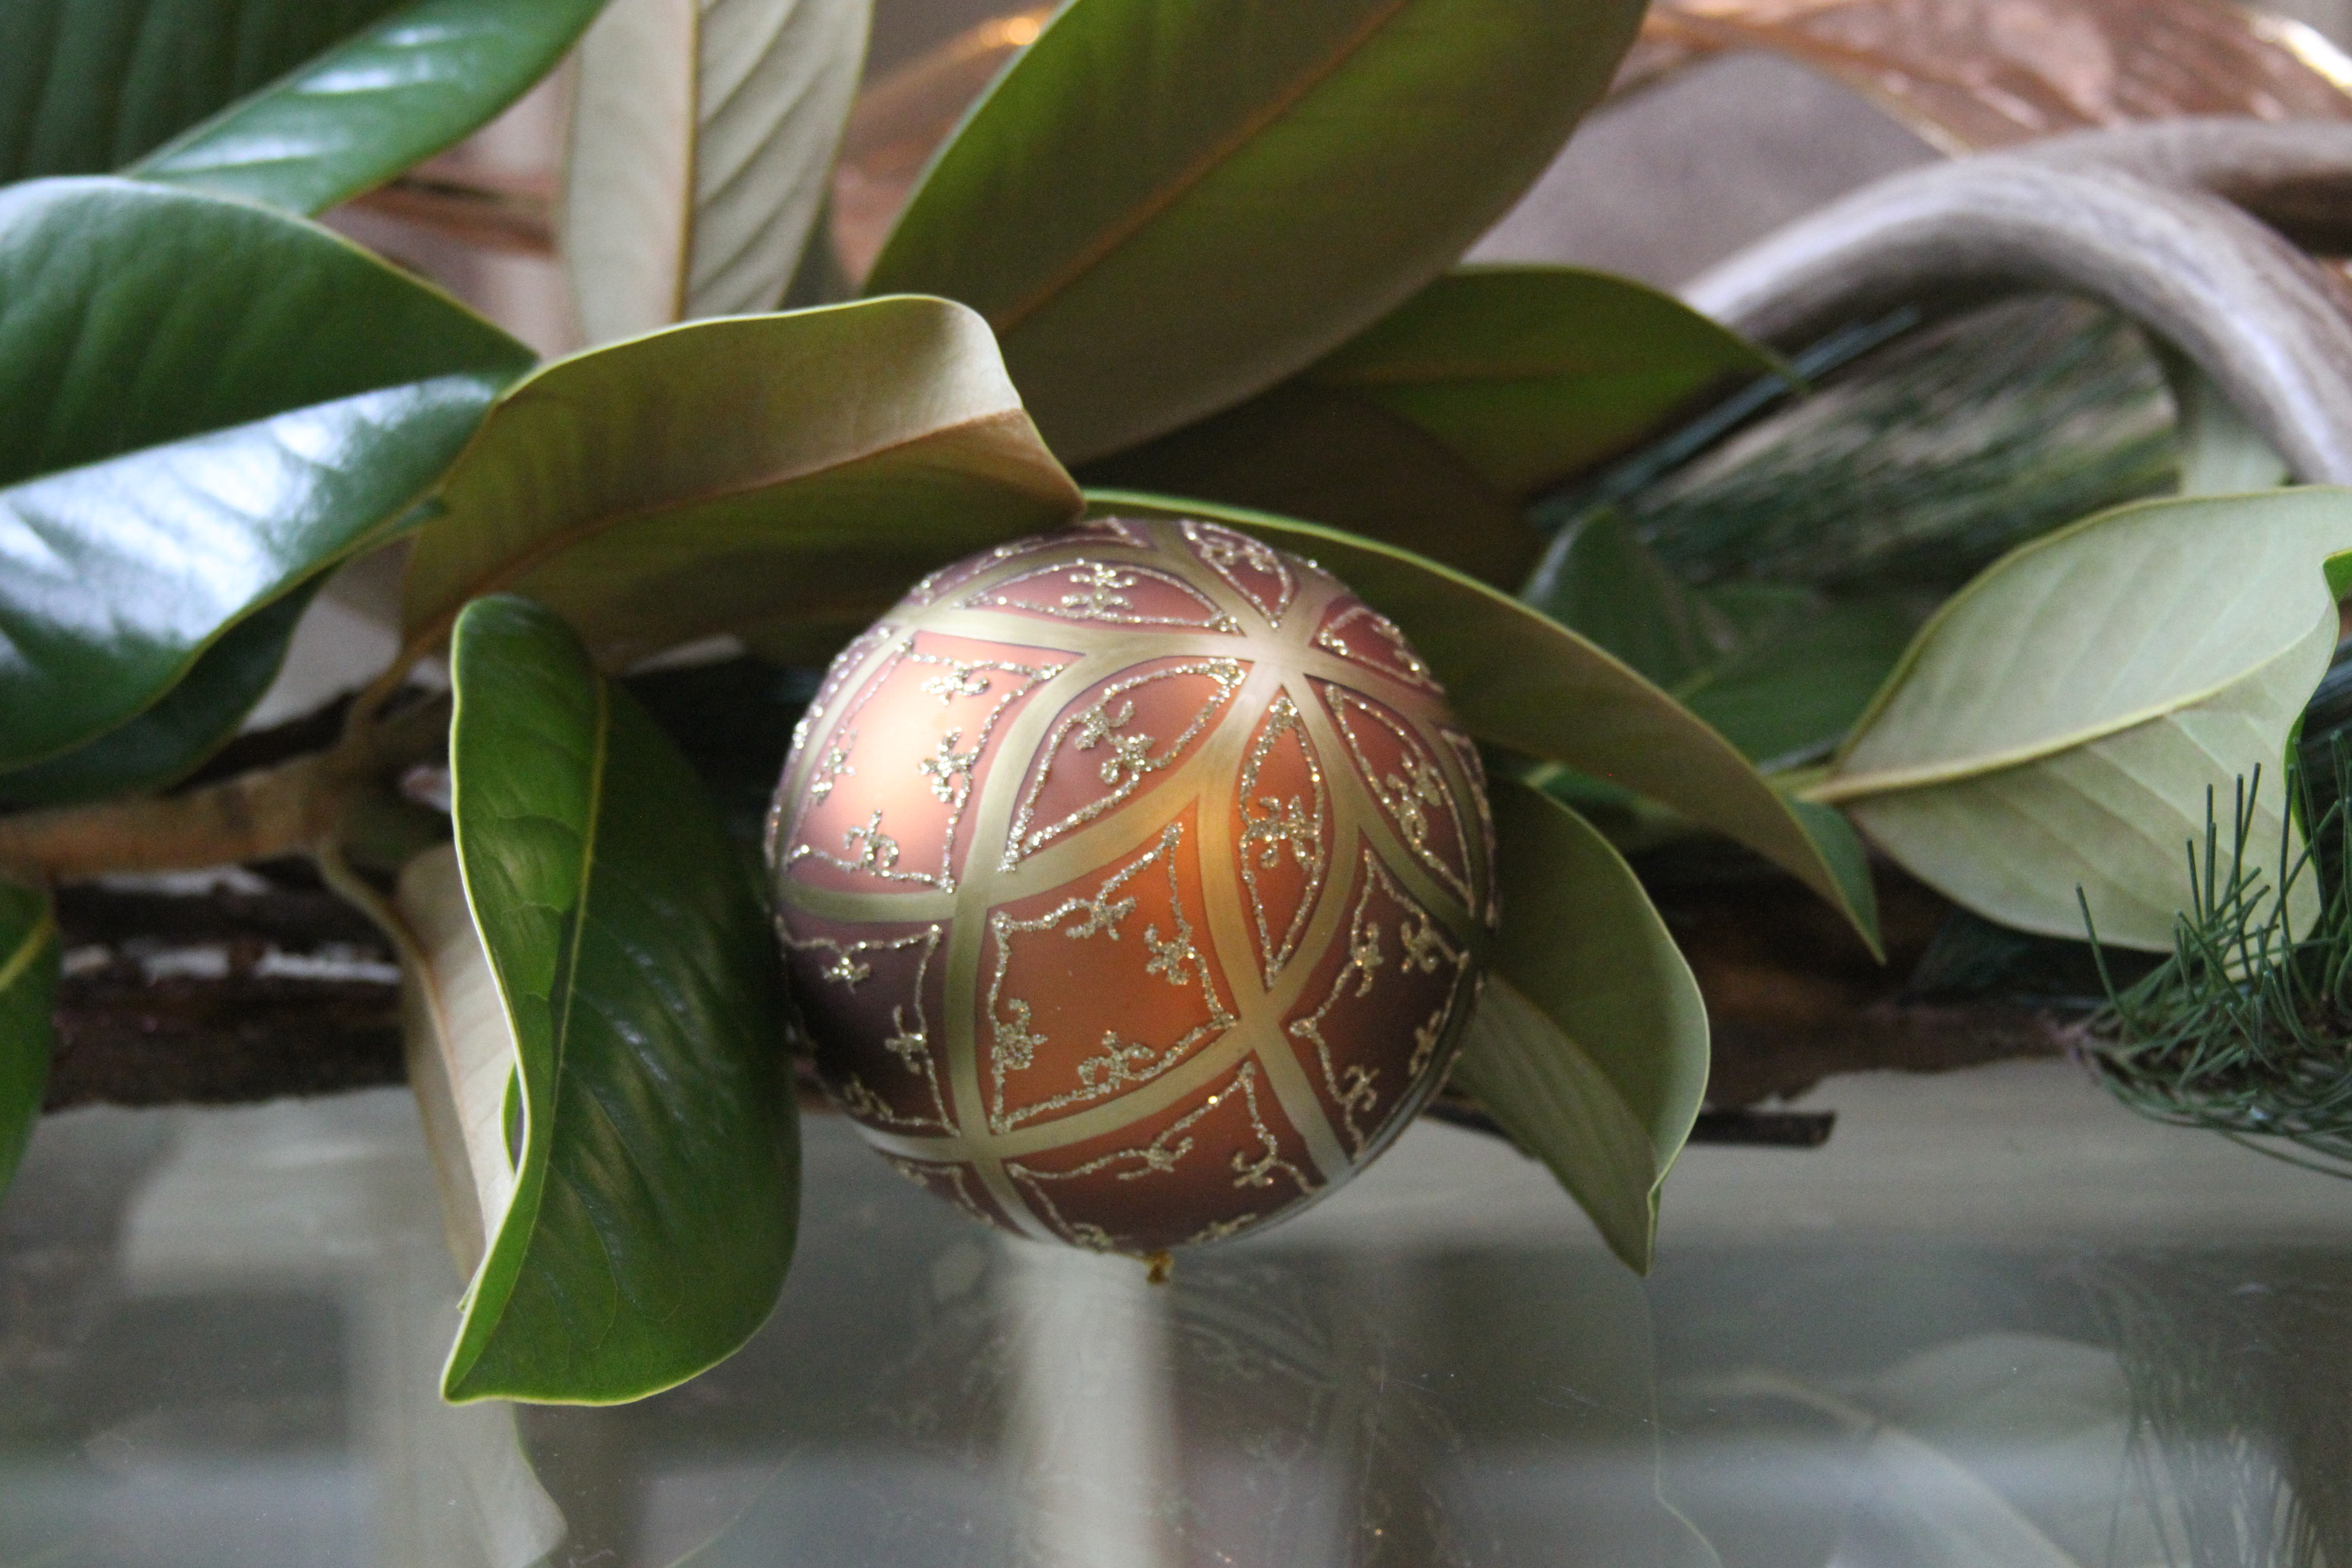
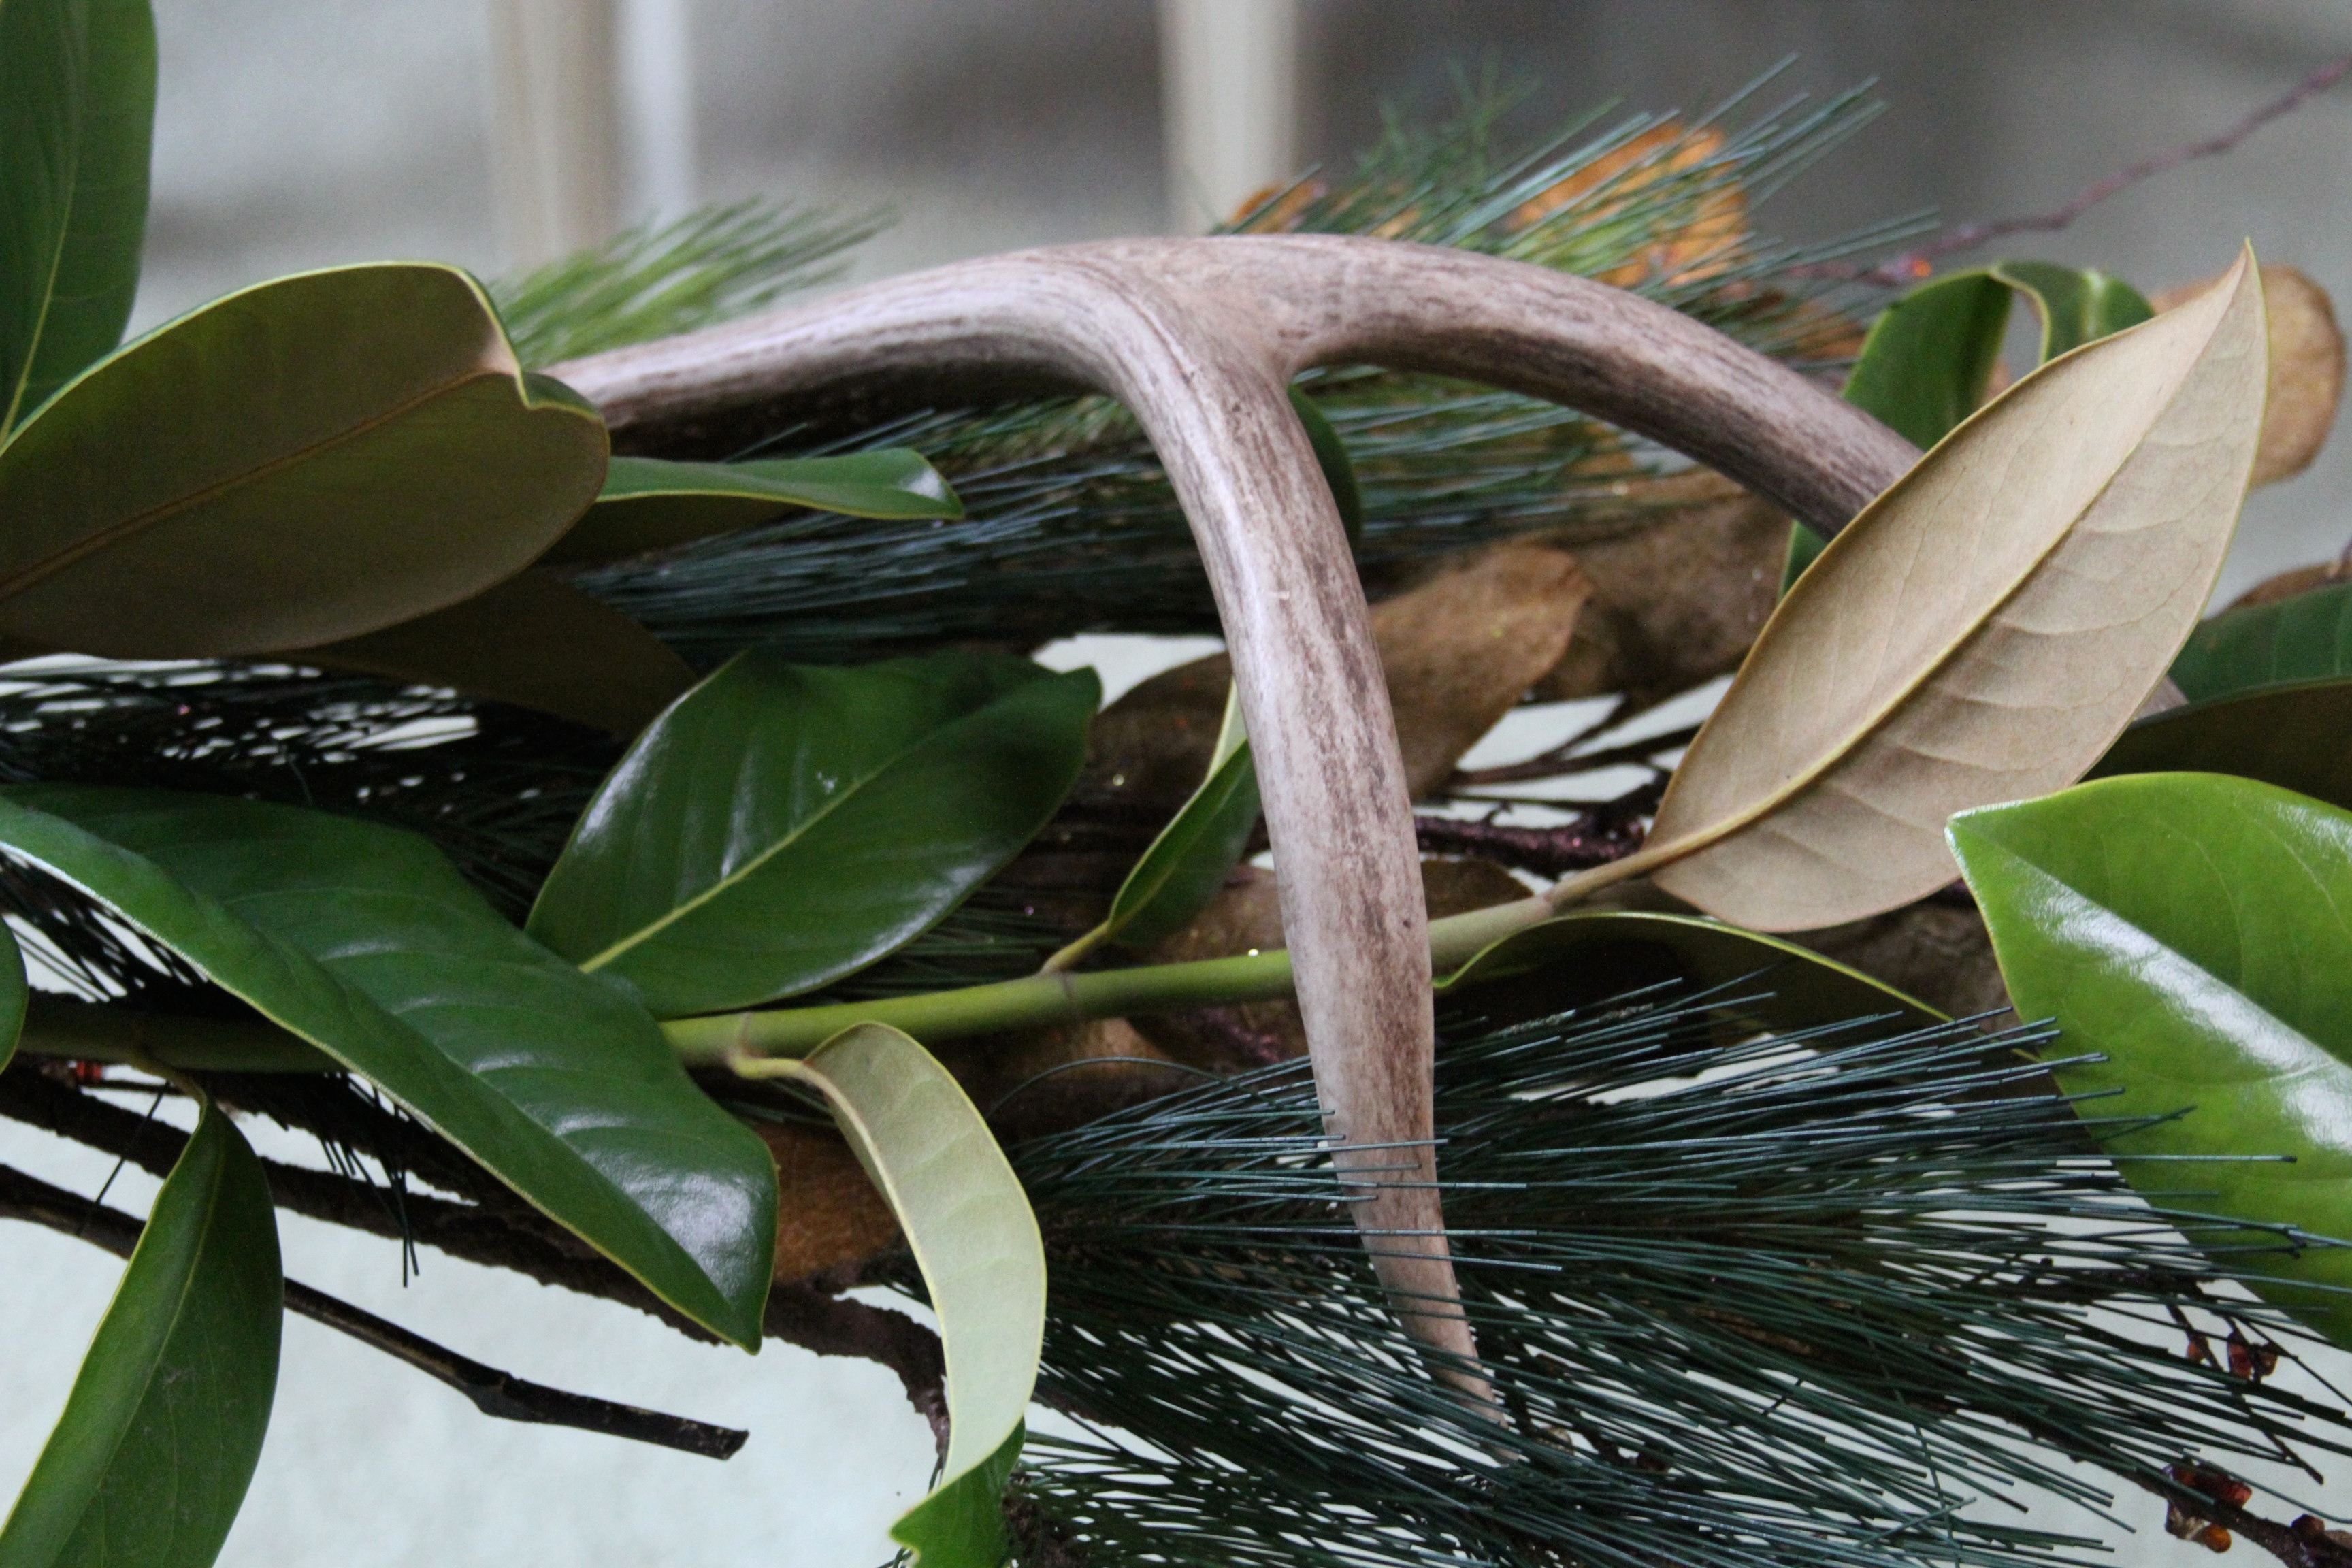
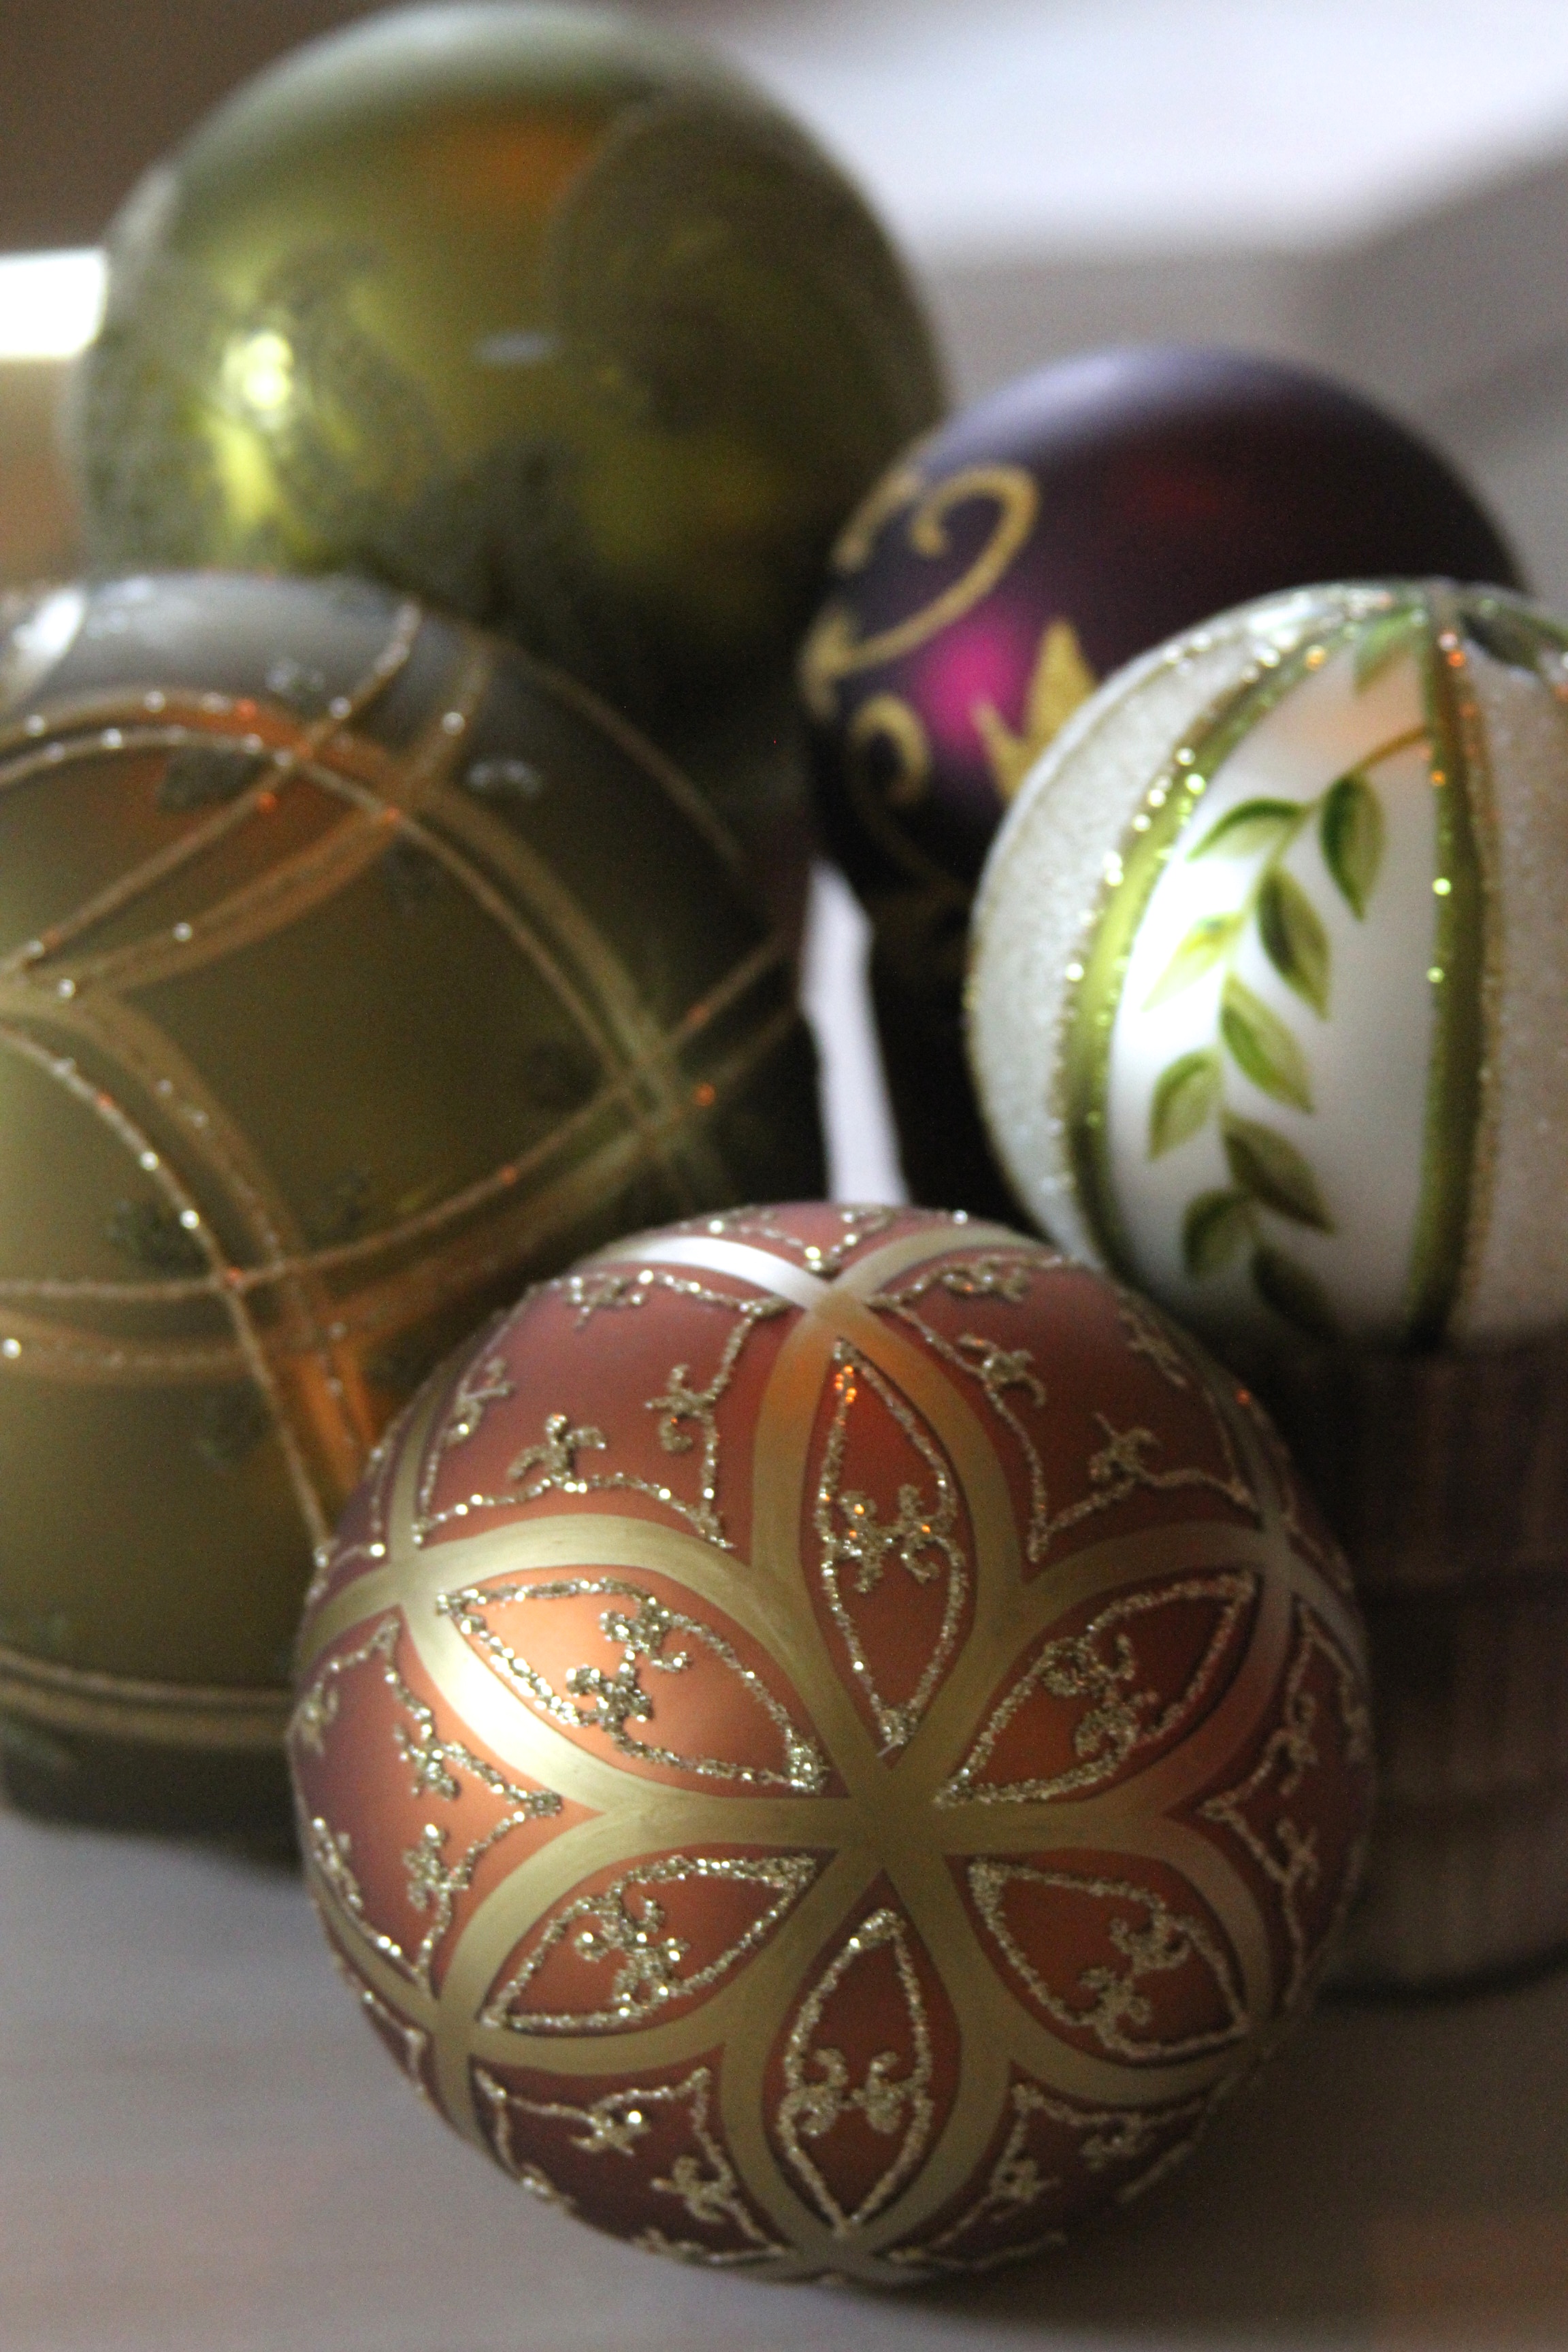
- Don’t forget the details. My favorite part of my mom’s centerpieces are the little details – bejeweled ornaments, rustic antlers, beautiful crystal votives. They are perfect conversation starters and easy on the eyes 🙂 Just make sure to nestle them in there, so they look like they are apart of the scene, not added after the fact.
- Add movement. An easy way to do that is to add a ribbon/bow. You want to make sure the material isn’t too heavy (ie velvet), because being able to see the candle light through it is really beautiful.
- Remember dinner! Whether you are setting your table for seasonal decor, or especially for dinner, you will need to remember people will be eating at some point. Therefore be aware of height, and width of the arrangement. My biggest issue is doing an elaborate centerpiece and then going to set the table to realize I have 6 inches to fit a 12 inch dinner plate.
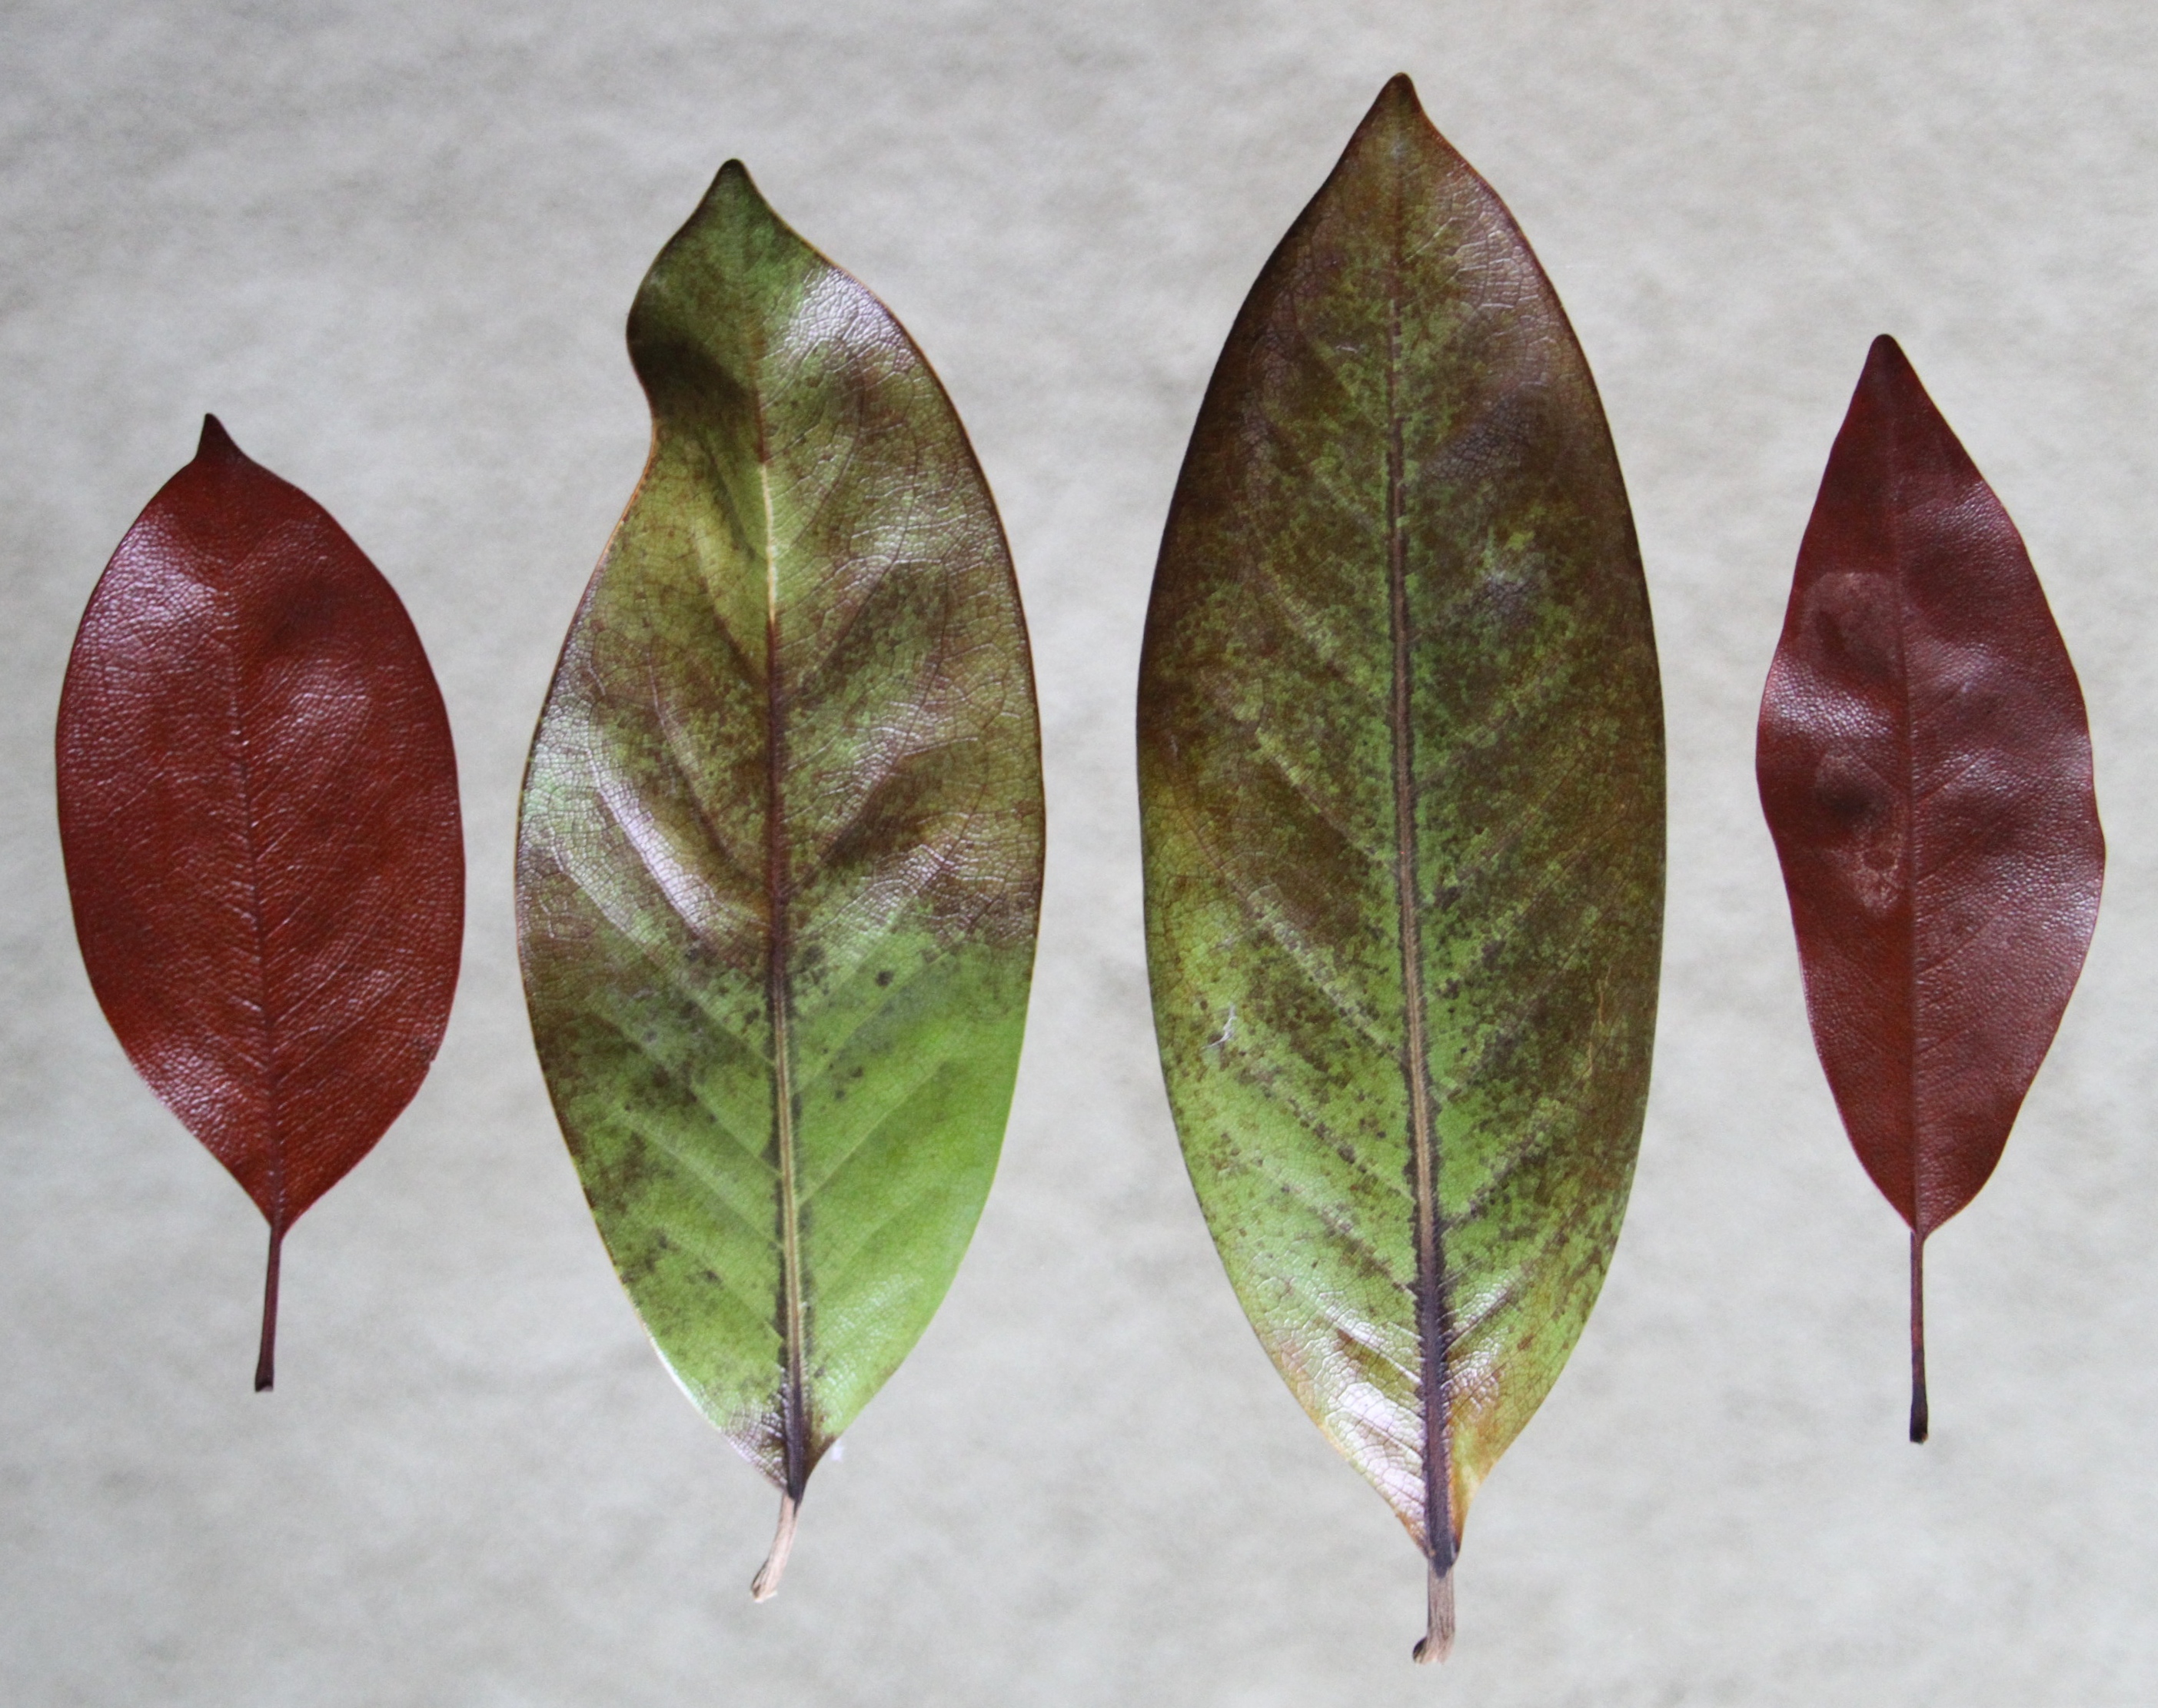
- Are they real? We prefer embracing a lot of natural elements in our centerpieces. That doesn’t necessarily mean flowers, but you definitely will see my mom sneaking away from our neighbors’ yards with her pruning sheers. Tree branches (especially magnolia or lemon trees) have great sturdy leaves that make for a great base for any arrangement.
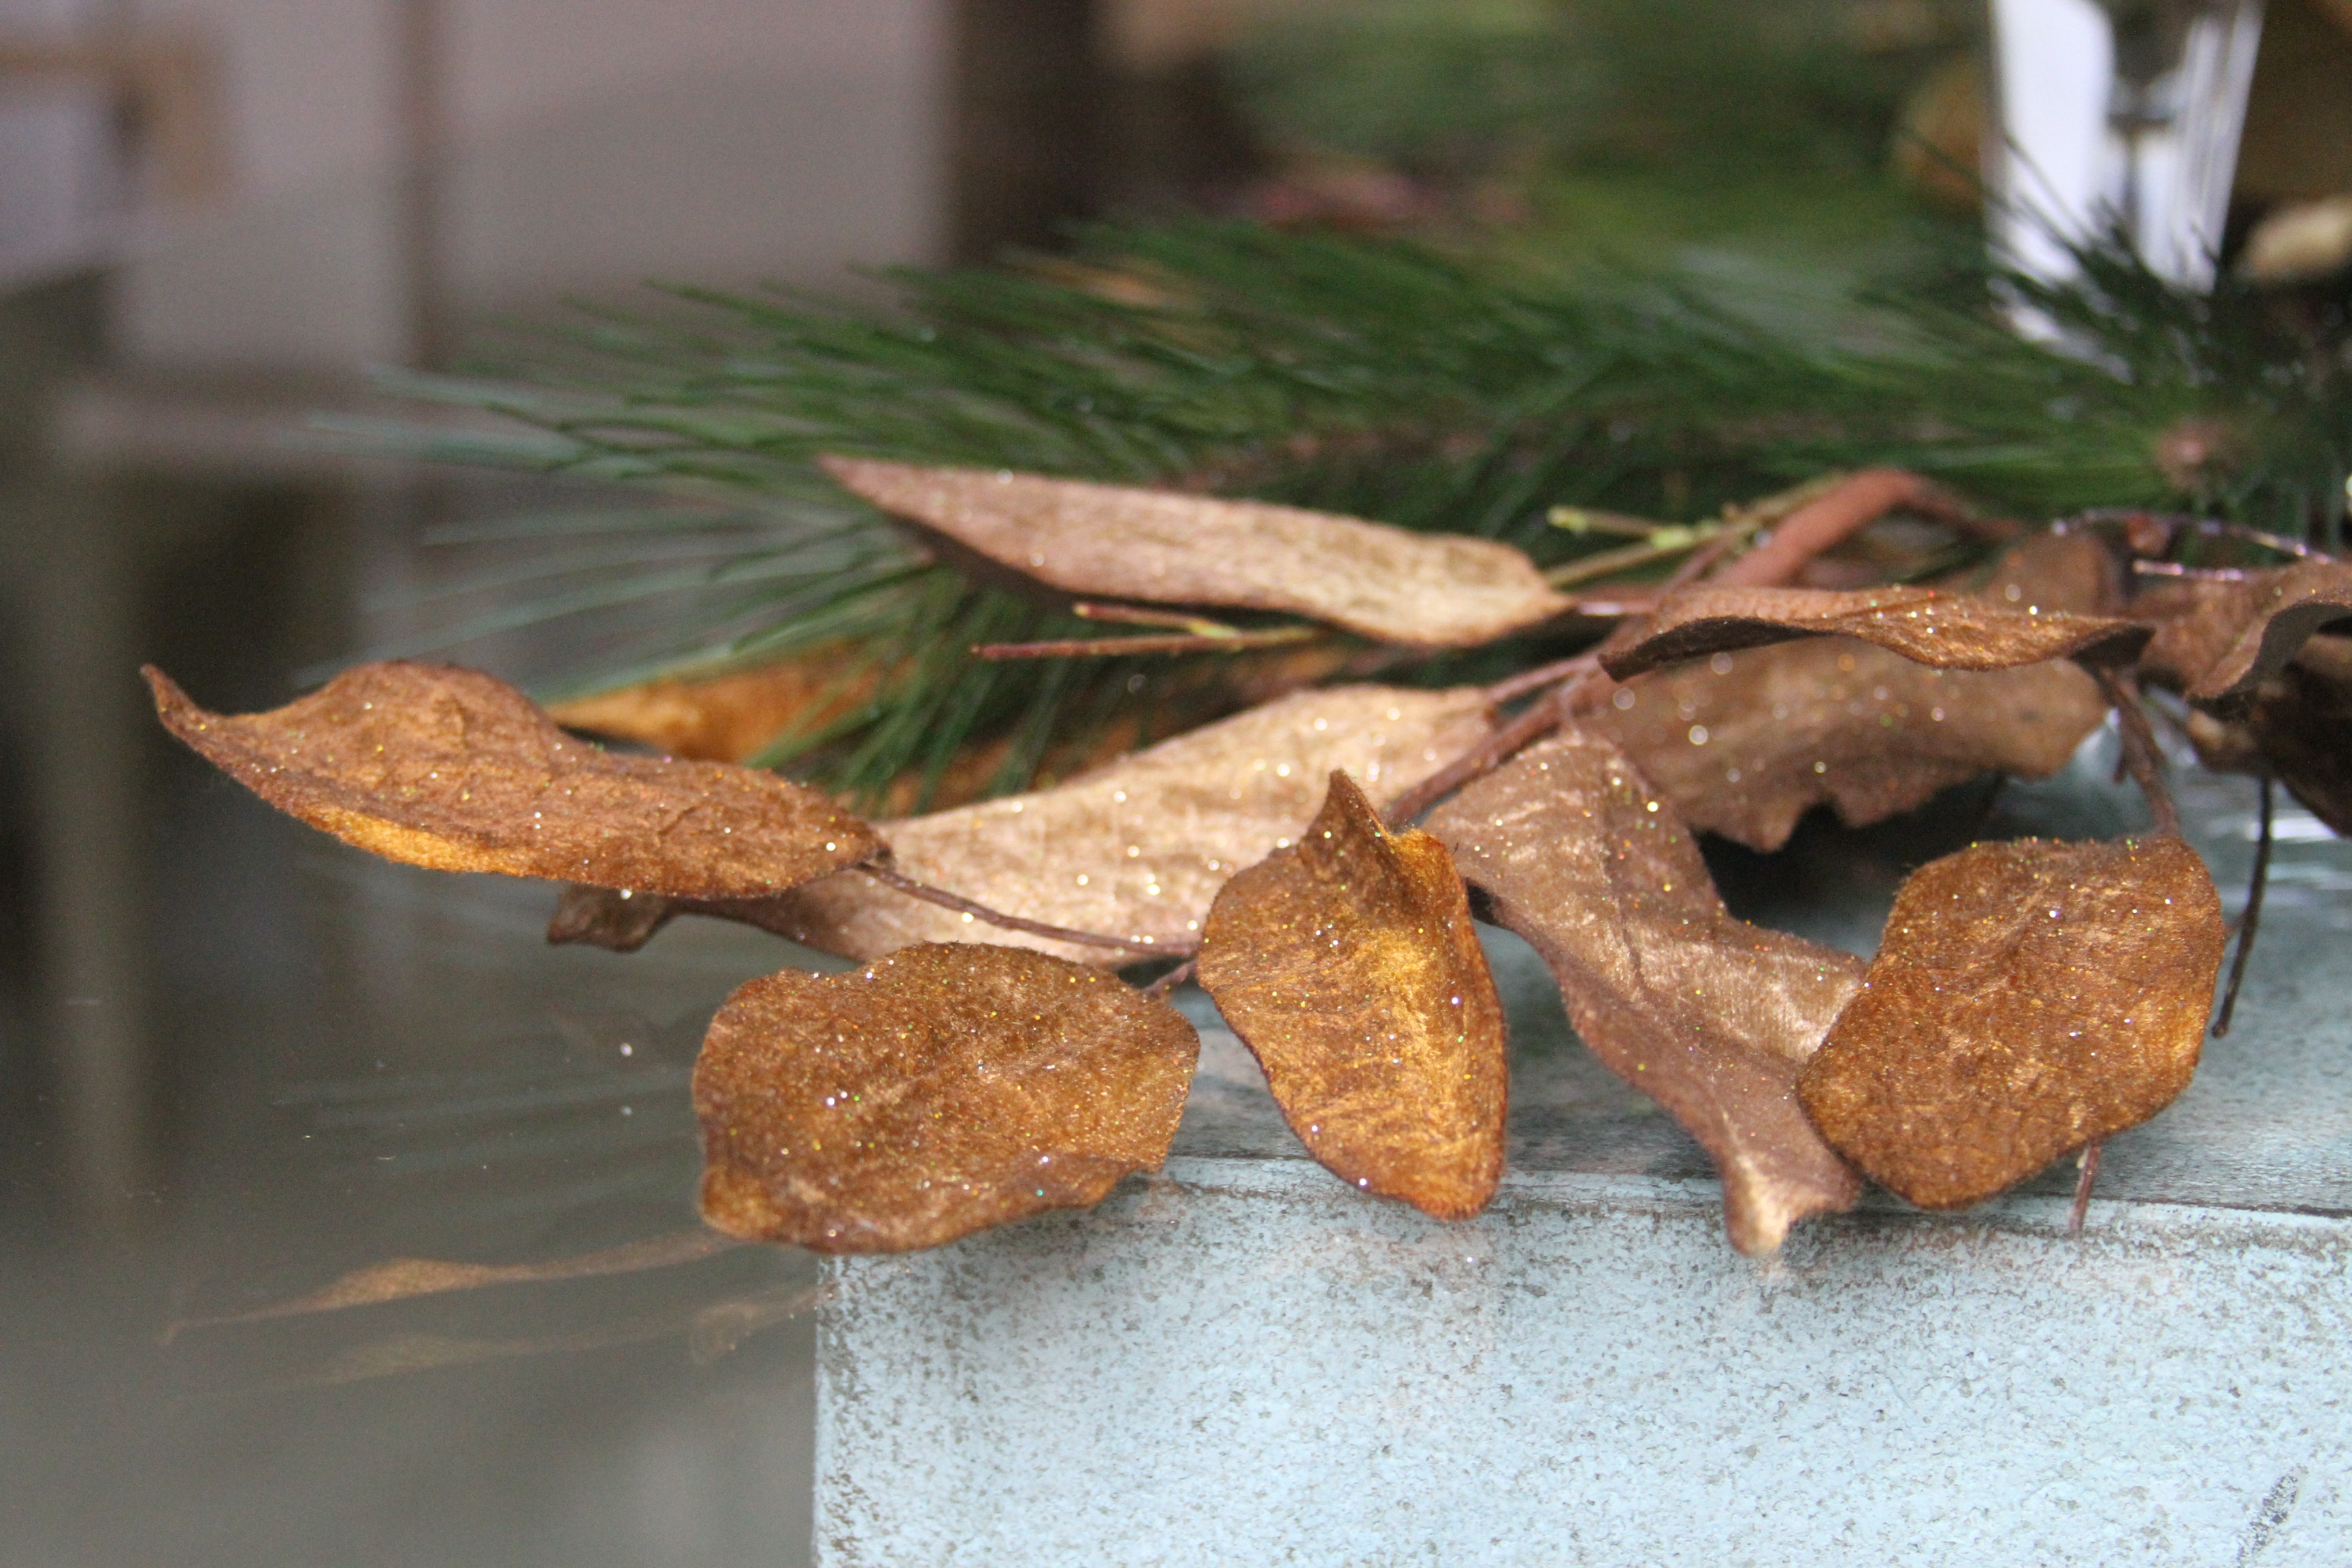
- Fill in the gaps. At the end of her arranging, my mom goes in with colored individual leaves and tucks them underneath larger branches, or any gaps to add contrast.
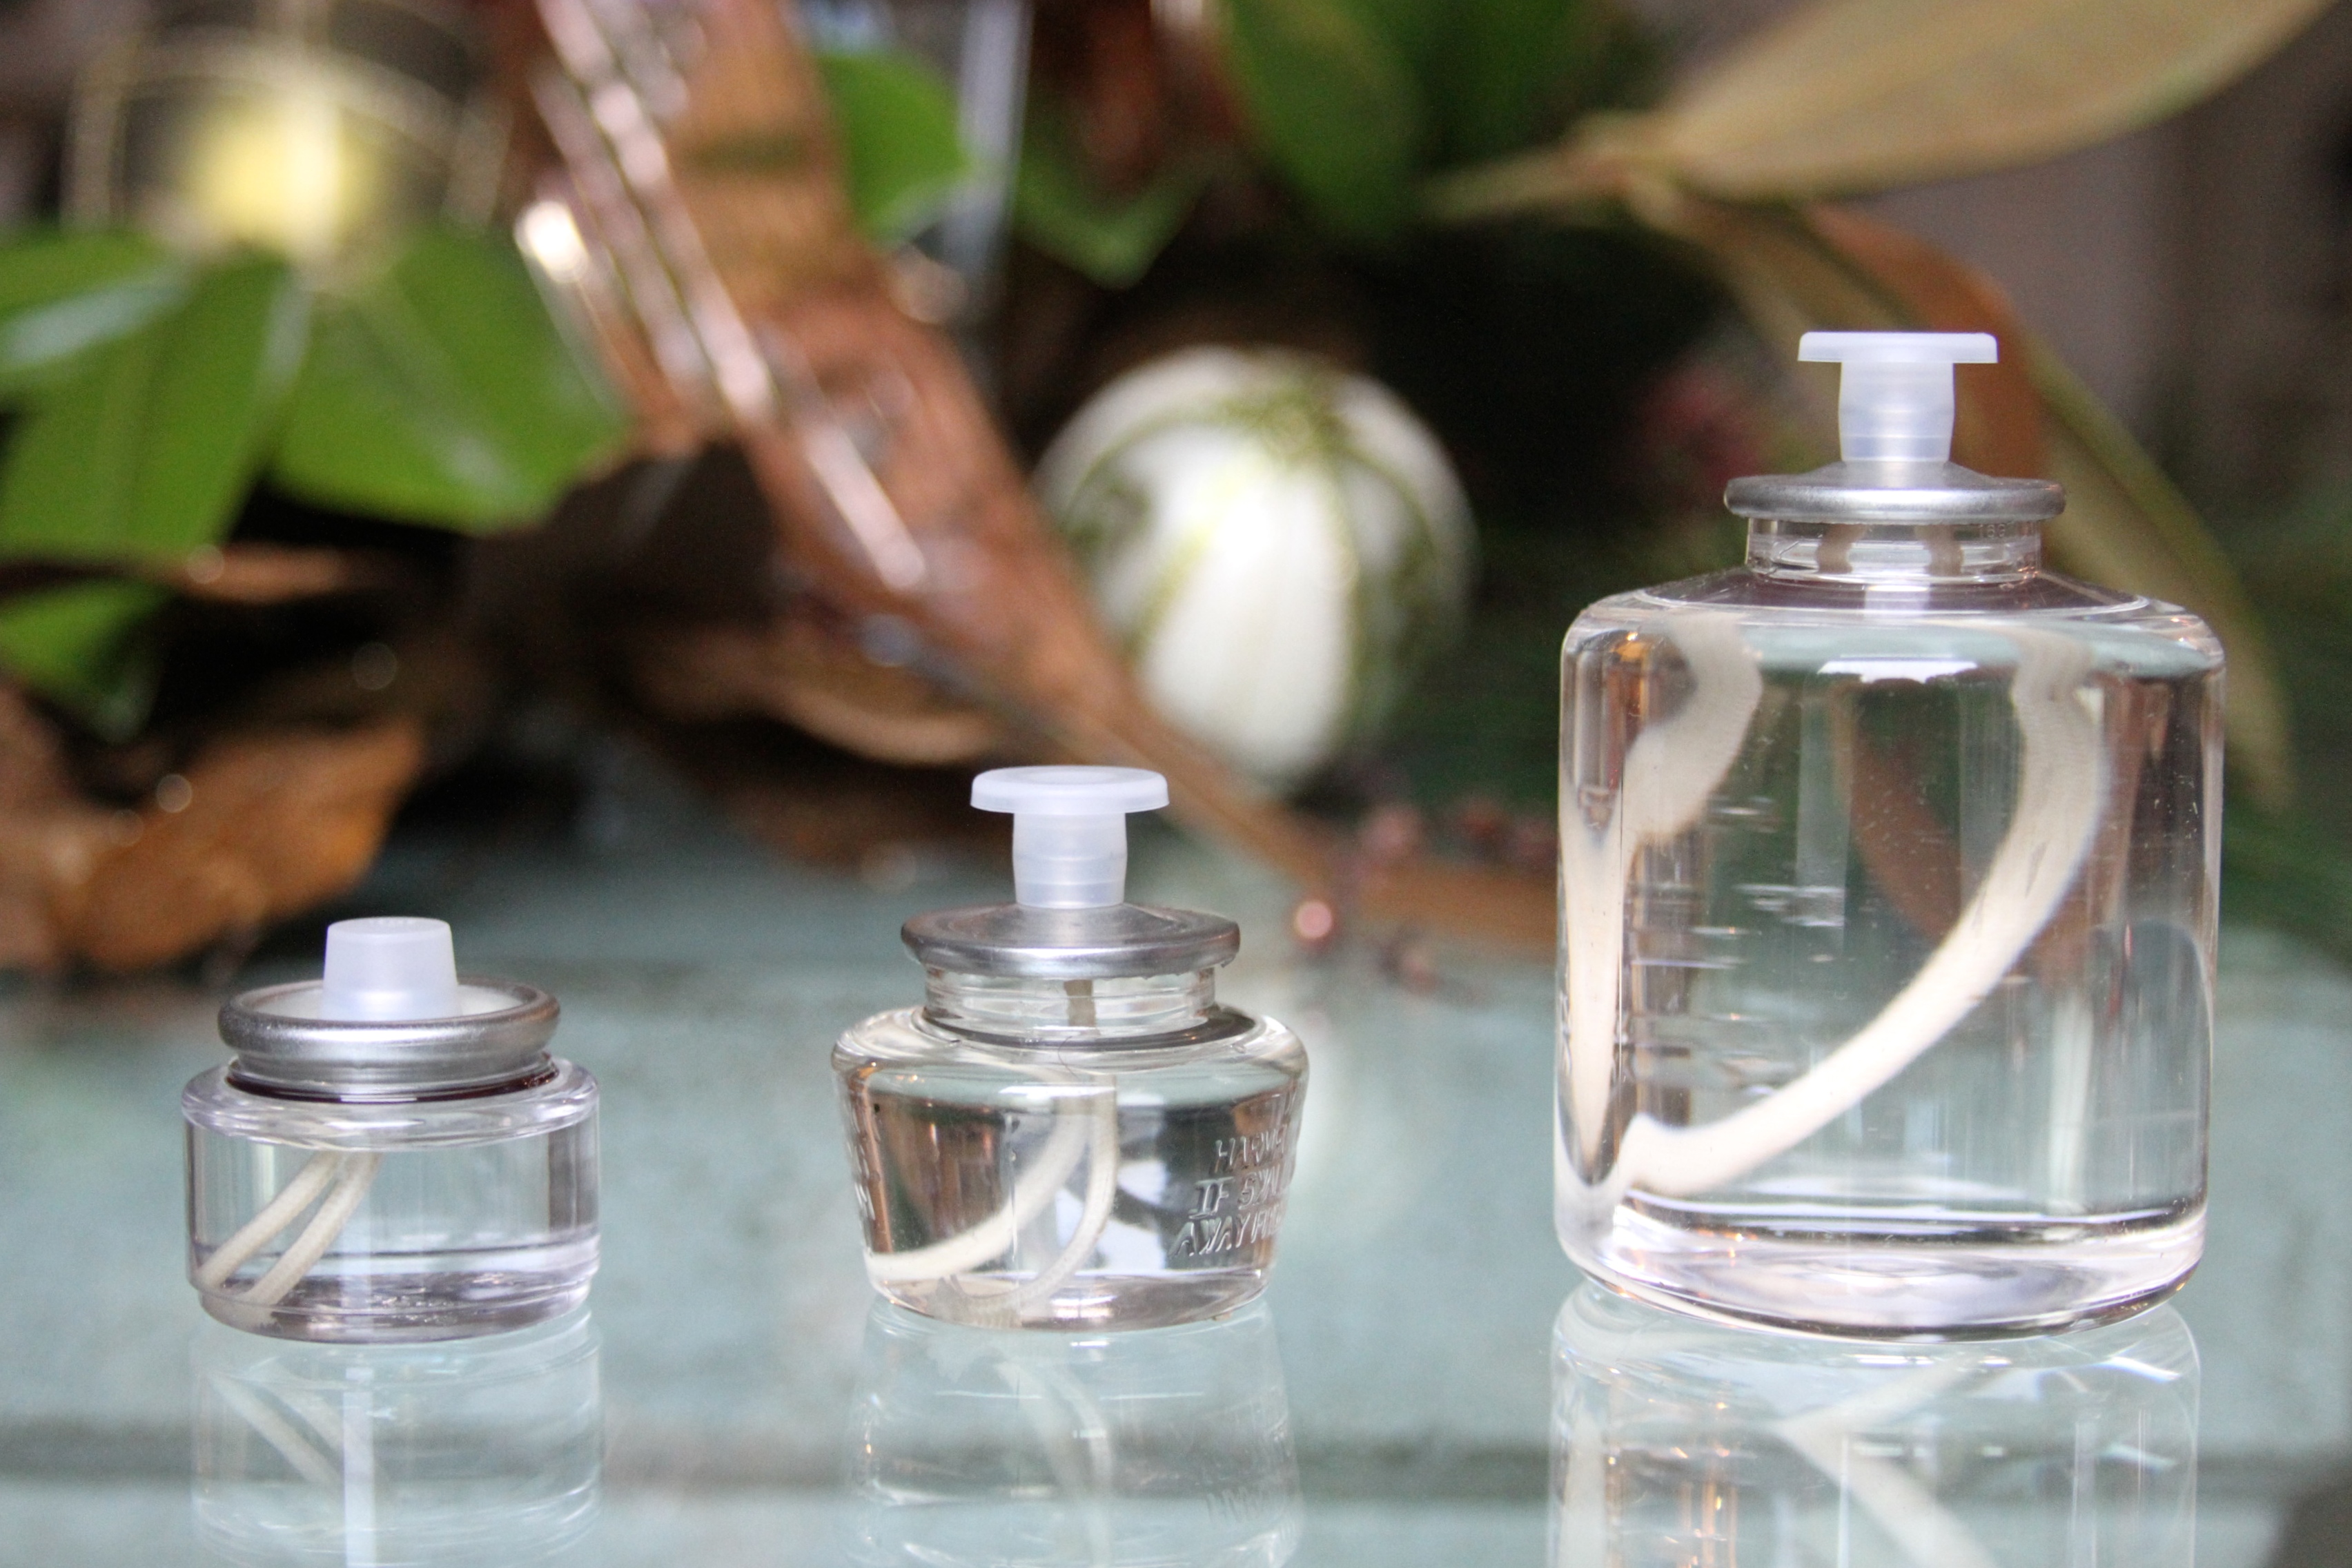
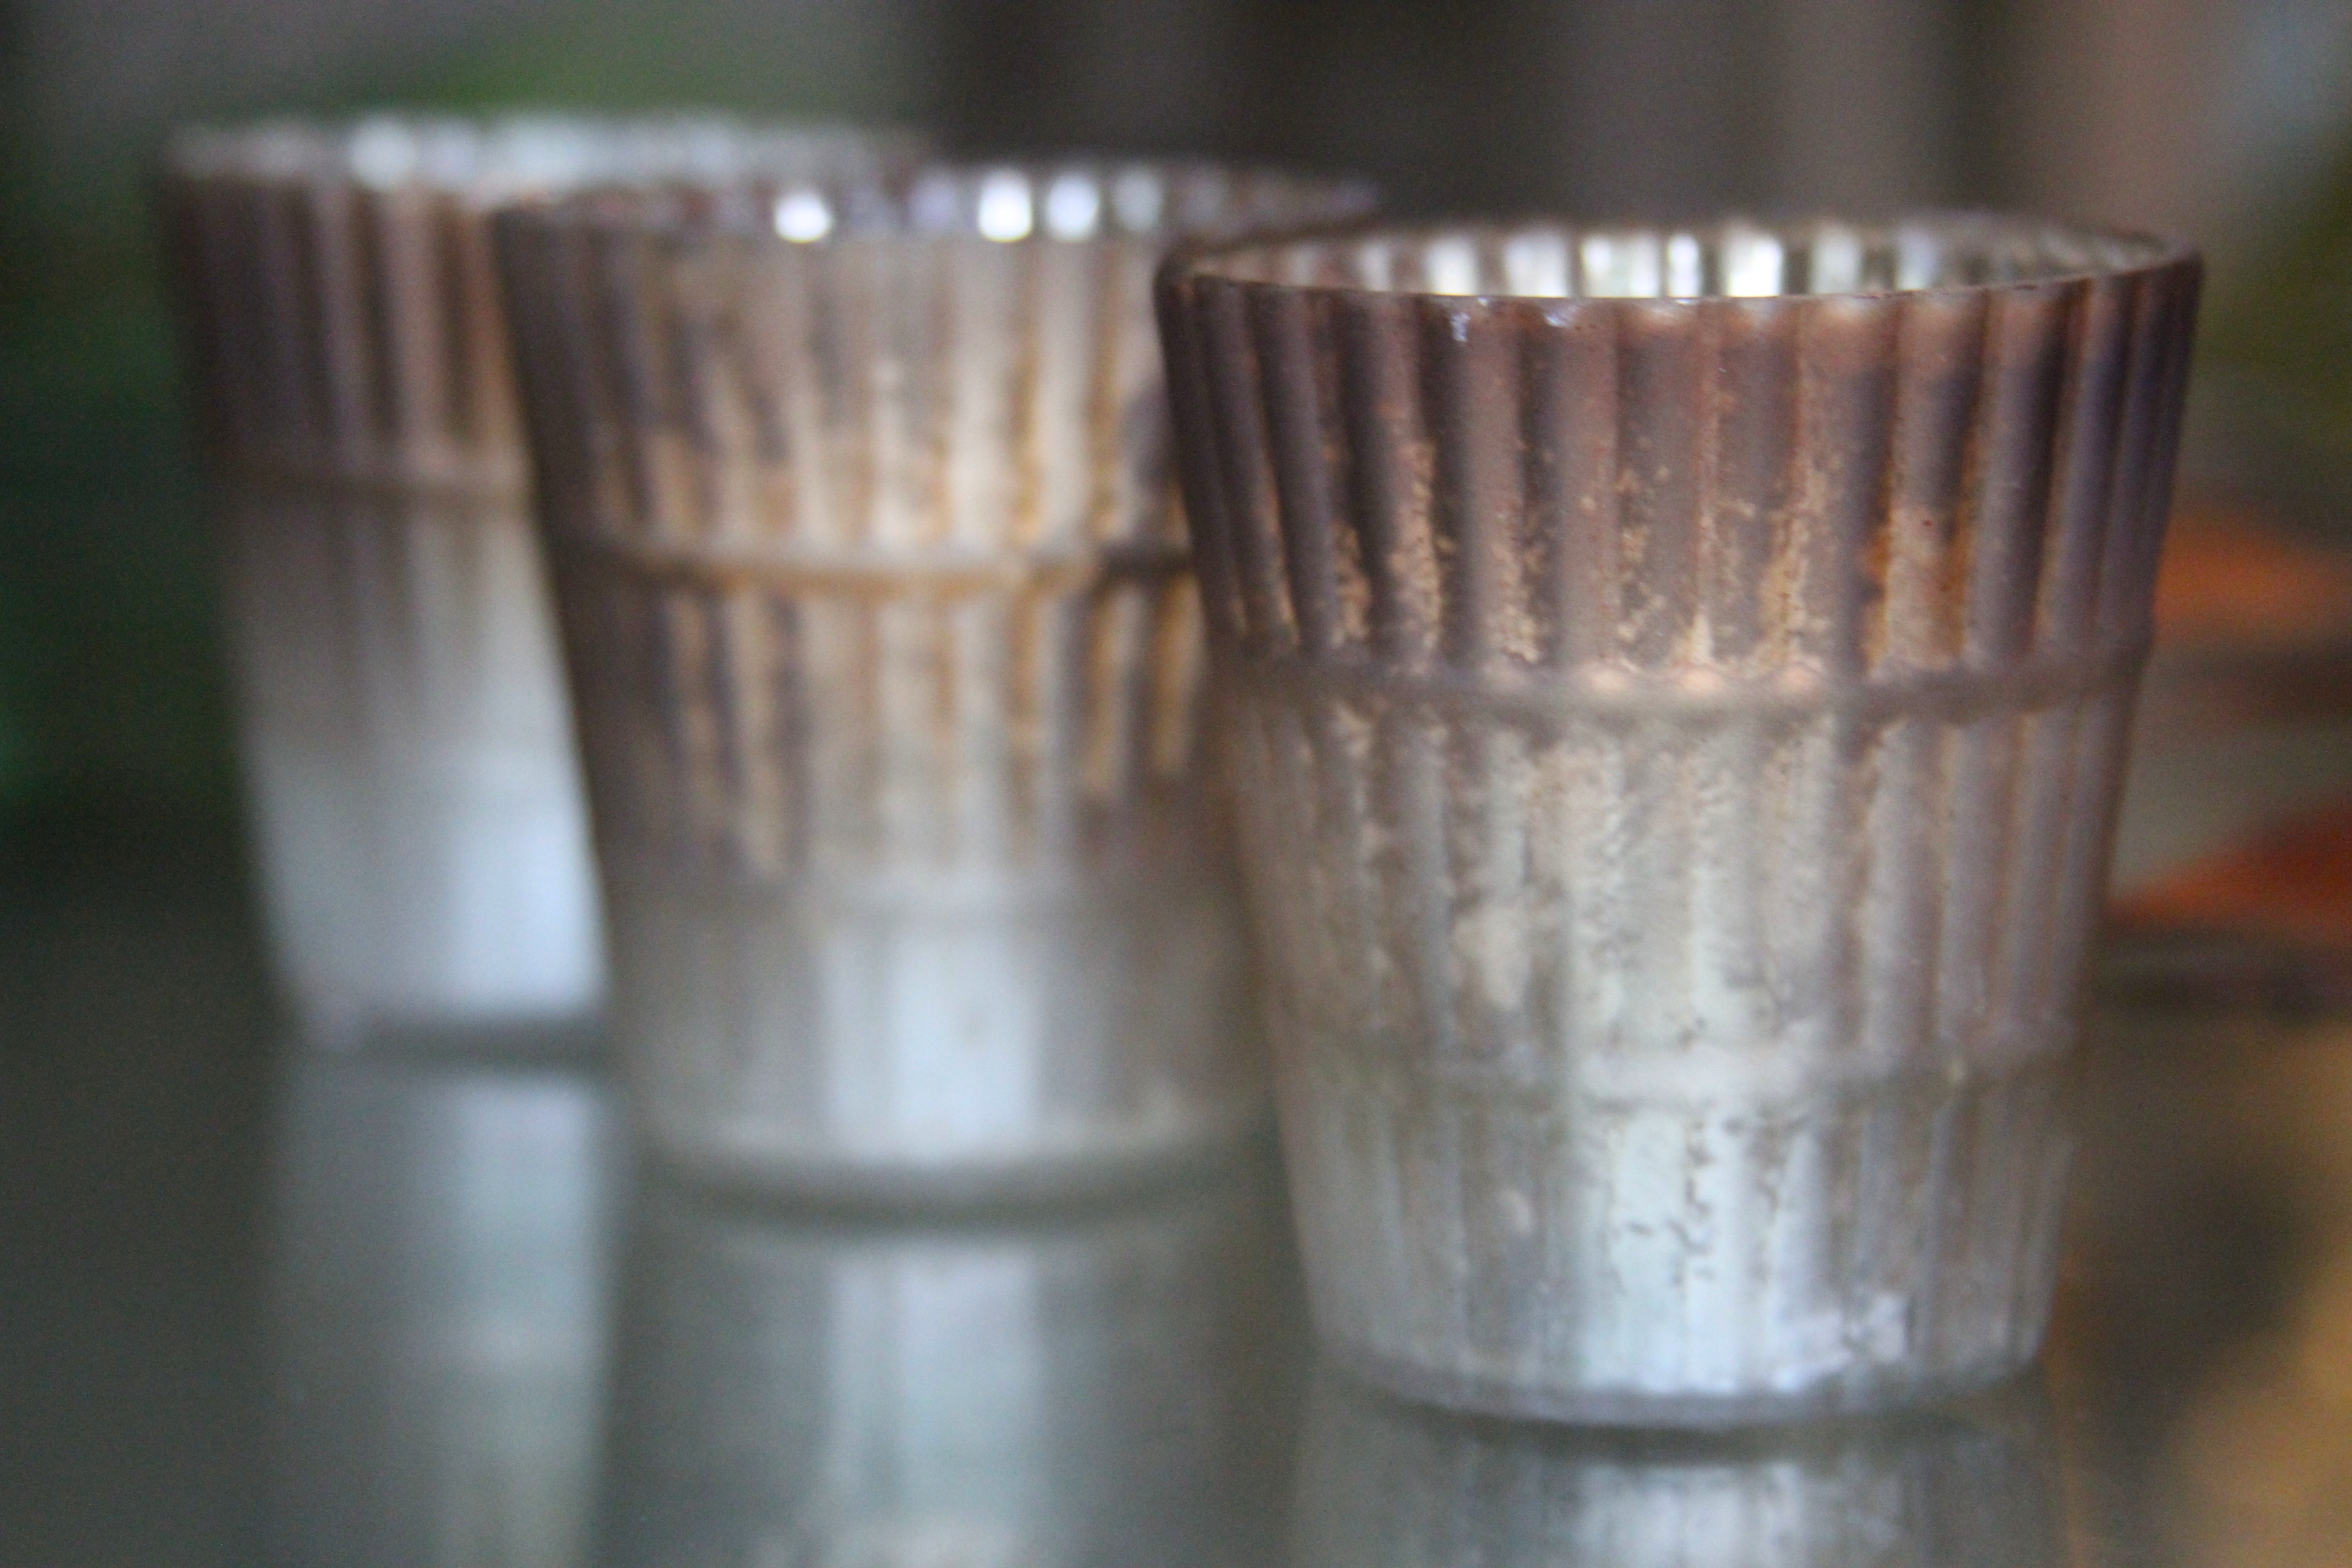
- Light it up. My number one rule for anything home related is lighting, and setting your table is no different. Whether it is large wax candles, or small reusable votives, lighting (of all shapes and sizes) is key. Also don’t forget the actually votive container and how it’s material can create different shadows, cast different glows etc (colored glass, verses etched crystal, etc.).
- Odd numbers. When it comes to the eye catching elements – ie candles, ornaments, etc. you want to make sure you are working with 3, 5, 7, etc. There is something about even numbers that is too contrived, and makes the whole look less interesting.
- Don’t forget the other side! Unless you are having everyone sit on one side of the table facing a wall (which well… you won’t be.), don’t forget to create your table while getting a 360 degree view of it. Try sitting down in every chair to make sure you like what you are looking at (no major gaps, exposed branch ends, etc). Also make sure to incorporate details on all sides as well (ie. ornaments).
Here is my step by step of our 2014 Holiday Table:
1.

2.

3.

4.
5.

No Comments